Fluffy and moist, and easy to throw together, you’ll love this Mini 6-Inch Vanilla Cake with Vanilla Buttercream. This cake is easy to customize and perfect for so many occasions.
Easy Mini Vanilla Cake
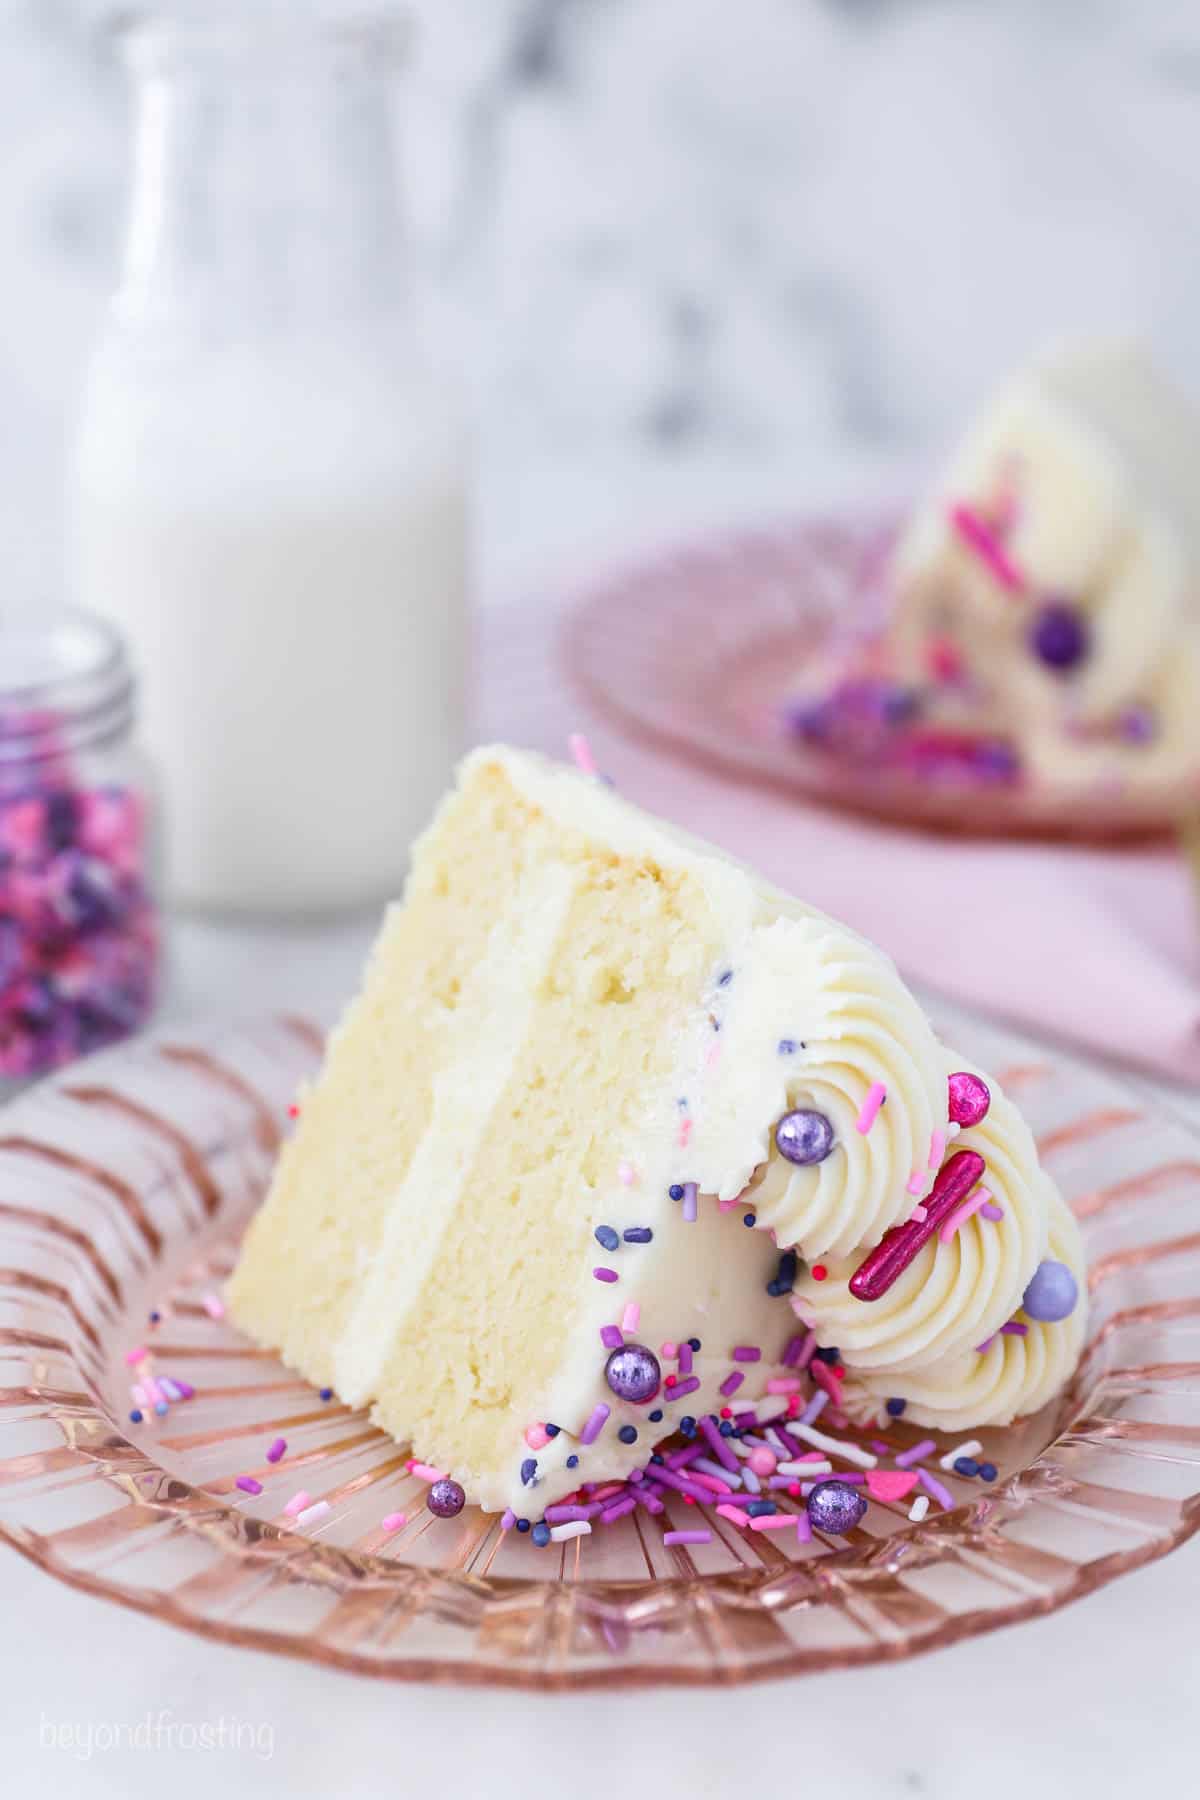
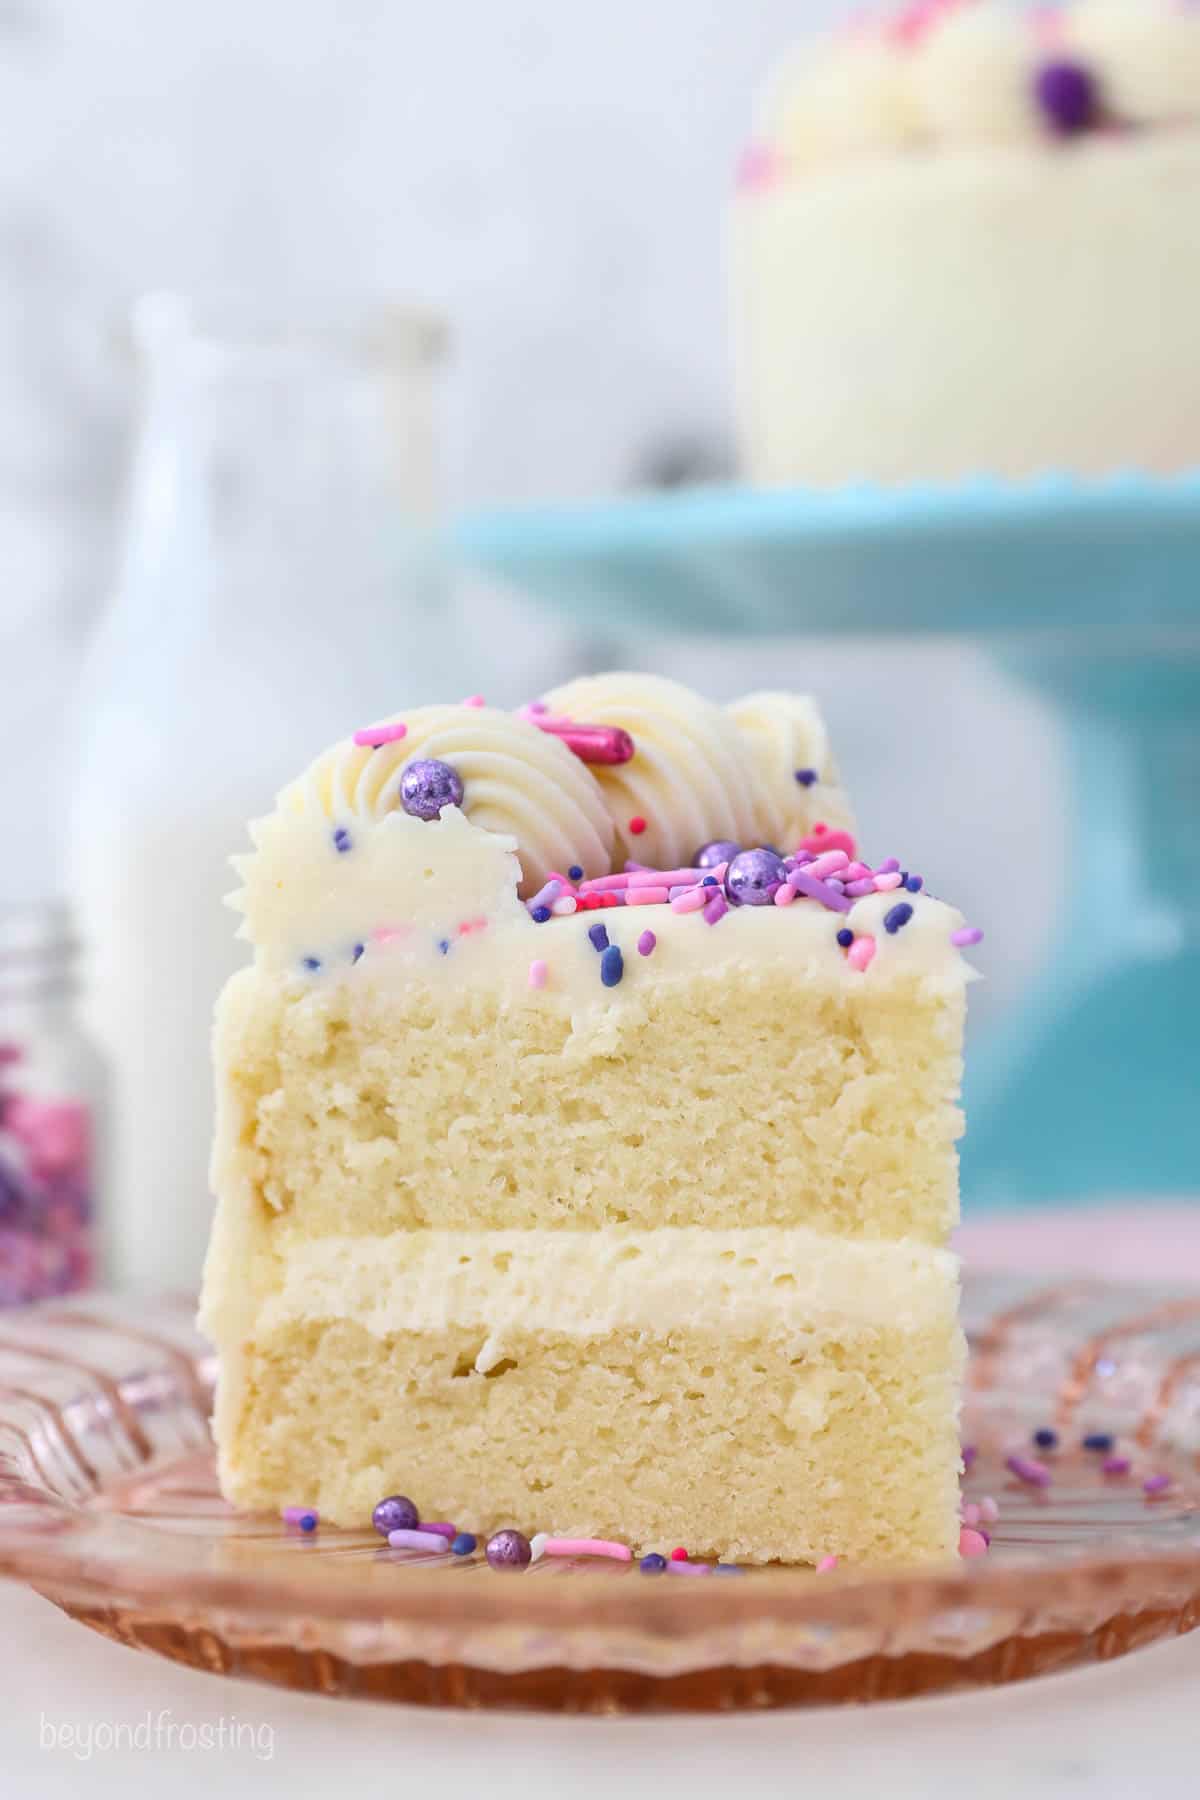
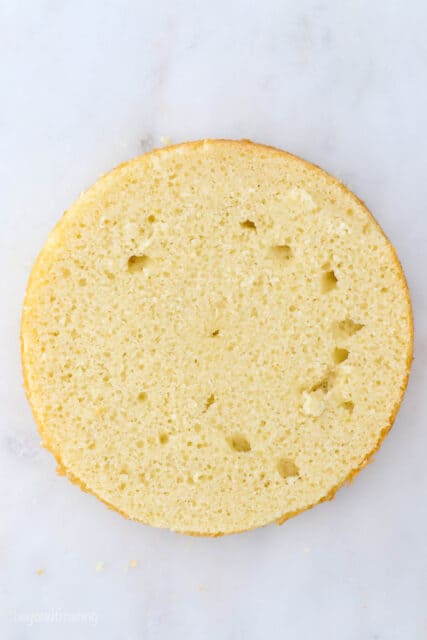
This is my beloved vanilla cake, made into a mini 6-inch version and topped with my favorite vanilla buttercream. The crumb is so moist and spongy, and it stays that way for several days. It’s an oil-based cake, so it’s quick and easy to throw it together.
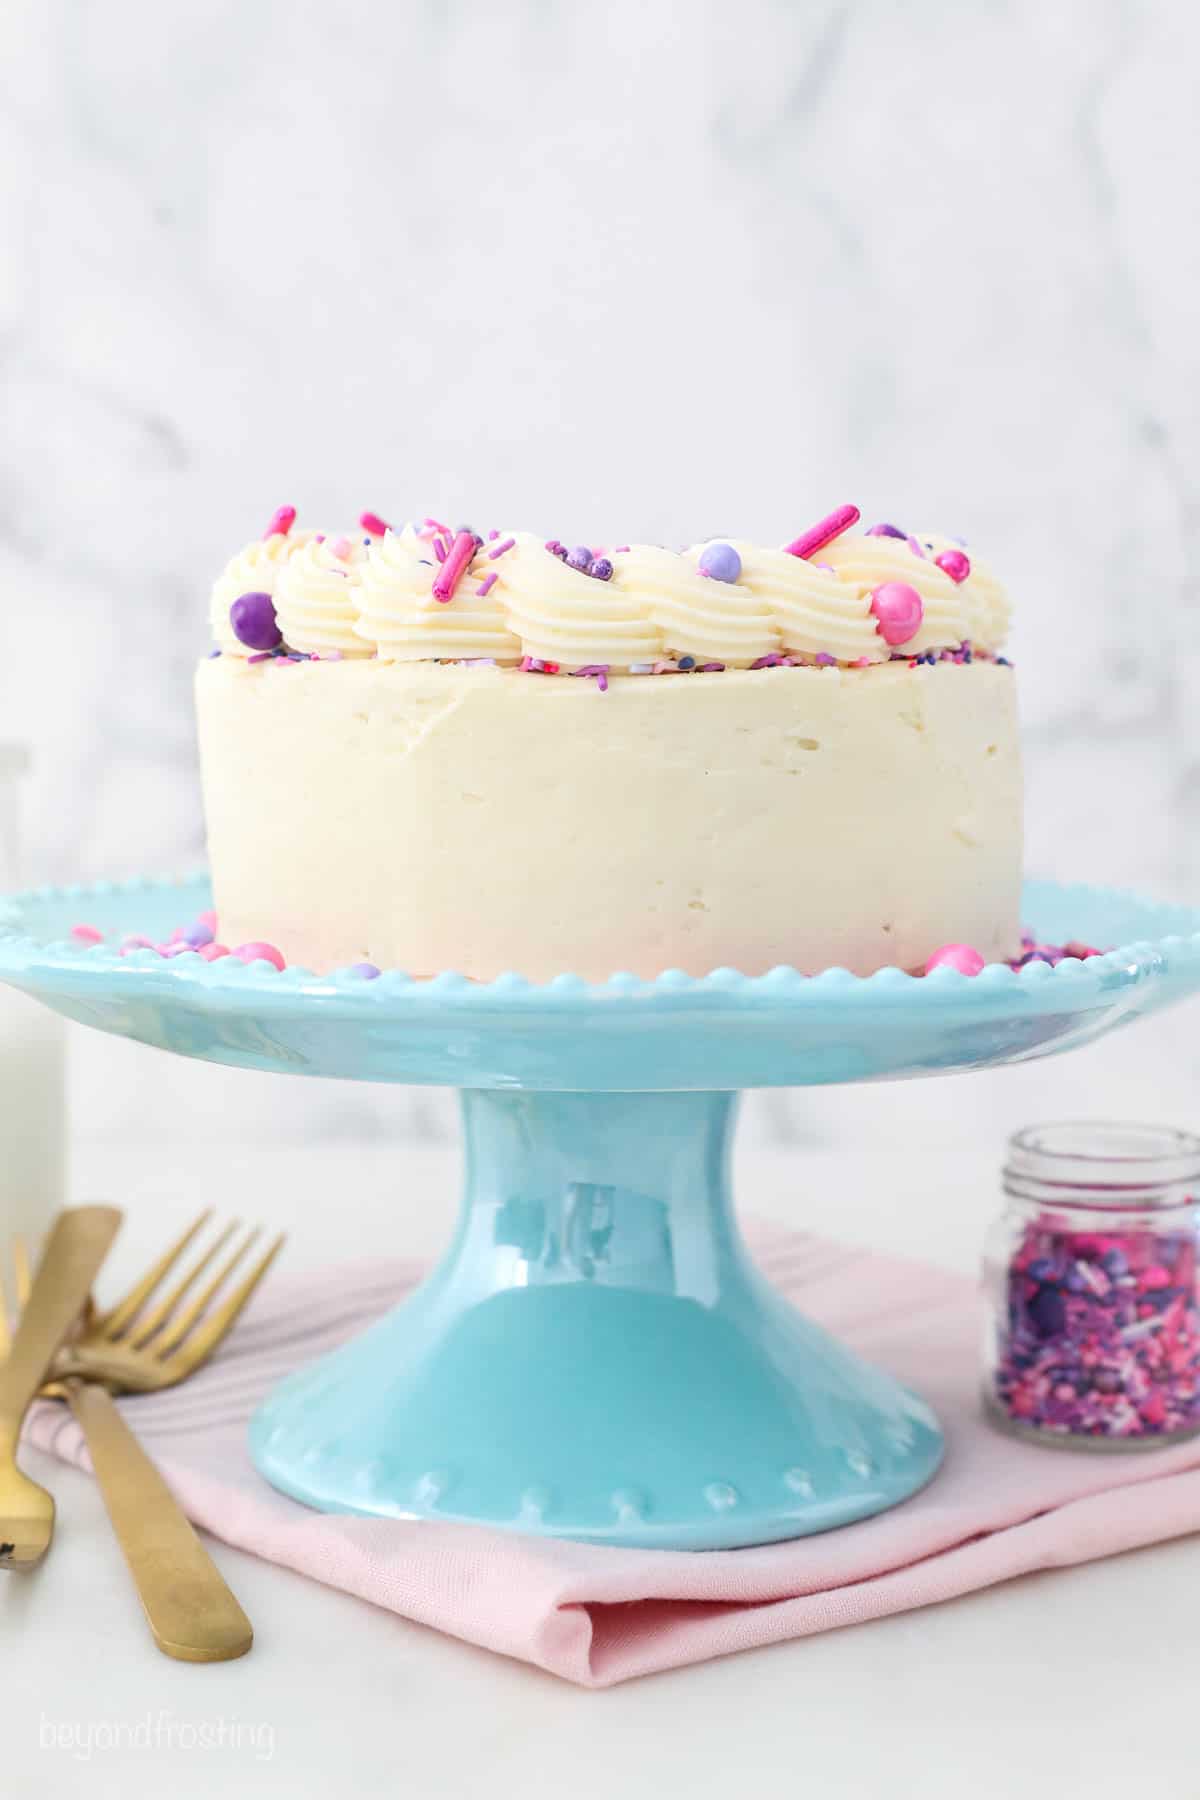
Sometimes you don’t need a whole cake if there’s just a couple of you. This will serve 2-4 people. It would be perfect for a smash cake, an anniversary dinner or for Valentine’s Day dessert. This is the cutest little cake, and there are endless ways to make it your own.
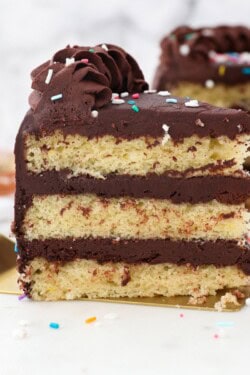
Looking for the chocolate version? I made one of those too.
You’ll Love This Cake
- Quick to throw together- less than 30 minutes!
- Easy to assemble
- Moist and tender crumb- it will stay fresh for several days
- Packed with vanilla flavor
- Ideal for when you want a dessert but don’t want a lot of leftovers
Ingredients You’ll Need
The cake and frosting ingredients are simple pantry staples. I’ve suggested some substitutions below if needed.
For the cake
- Granulated sugar
- Vegetable oil
- Eggs
- Pure vanilla extract
- Sour cream- you can substitute this with Greek or plain yogurt
- All-purpose flour, baking powder, salt
- Milk
For the frosting
- Unsalted butter– butter should be cold
- Powdered sugar
- Heavy whipping cream– you can substitute with milk
- Pure vanilla extract
- Pinch of salt
How to Make a 6-Inch Cake
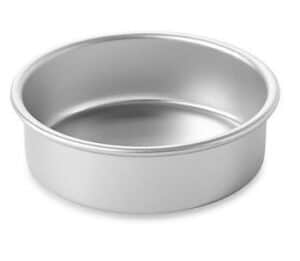
Prepare: Preheat the oven to 350°F and grease and flour two 6-inch pans. I like to line my pans with parchment paper. I also use bake-even stripes for nice, flat-even layers.
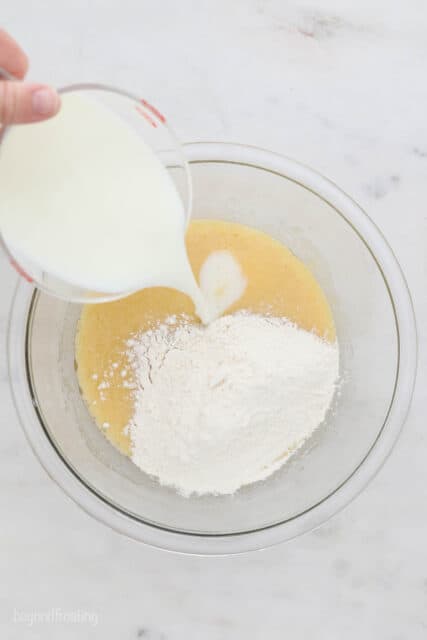
Mix the sugar with the wet ingredients: First, you’ll combine the sugar with the oil, eggs, and vanilla. Once that is well mixed, add in the sour cream and beat until all the ingredients are well combined.
Combine and the dry ingredients: You’ll alternate adding the dry ingredients and the milk slowly so that you don’t overmix the batter. Once all the ingredients are added, be sure it’s well mixed and stir with a spatula.
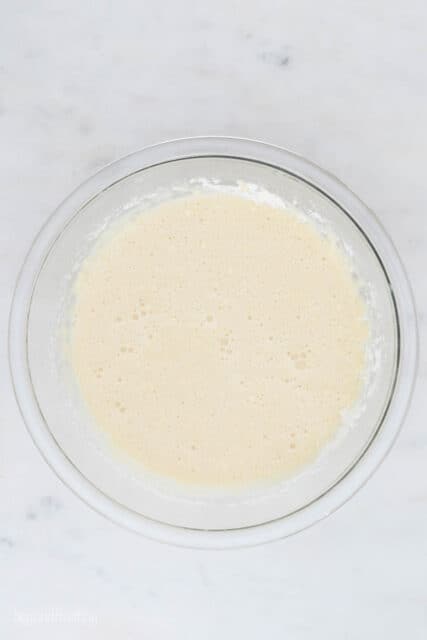
Fill the pans & bake: Divide the batter evenly between the two pans. It’s about 1 ¼ cups give or take. Then bake these for 20-23 minutes in a preheated oven. If you have hot spots in the oven, I recommend rotating the pans in the oven halfway through baking so they’ll bake more evenly. Once baked, let these cool completely prior to decorating.
The Best Vanilla Buttercream
I won’t go into great detail about my vanilla buttercream because I’ve covered this process in a very detailed tutorial. I will tell you that this buttercream is utterly delicious and is the perfect texture for decorating cakes.
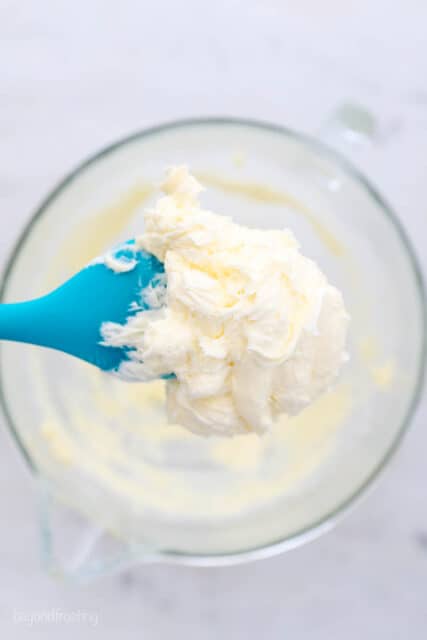
The secret to my frosting is to start with cold butter and let your mixture do the softening. It takes several minutes at high speed, but it will work if you follow all my tips.
- Beat the butter until it’s super light and fluffy
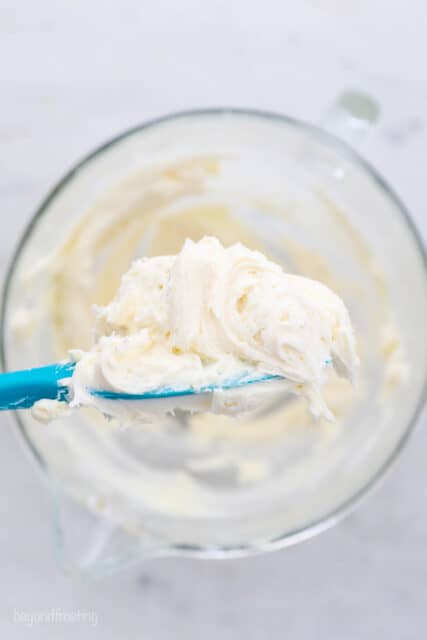
- Alternate adding: the powdered sugar and liquid ingredients, and with each addition, make sure it’s well incorporated. The more you mix it, the better it gets.
- One final mix: Once all the ingredients have been added, spend another minute or two beating the butter until it’s light and fluffy. If the frosting seems too stiff, you can slowly add more heavy cream or continuing beating until it reaches your desired consistency.
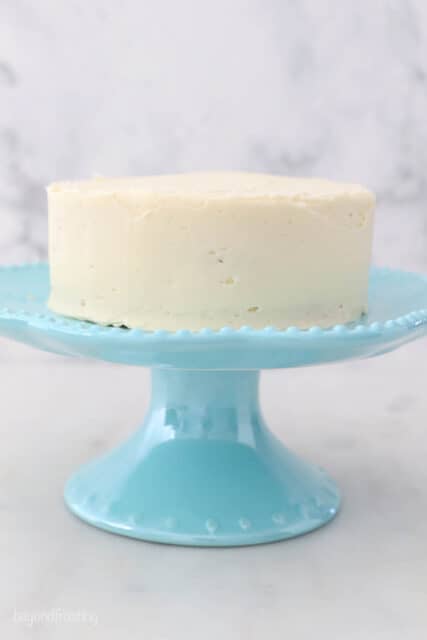
Assemble and Decorate
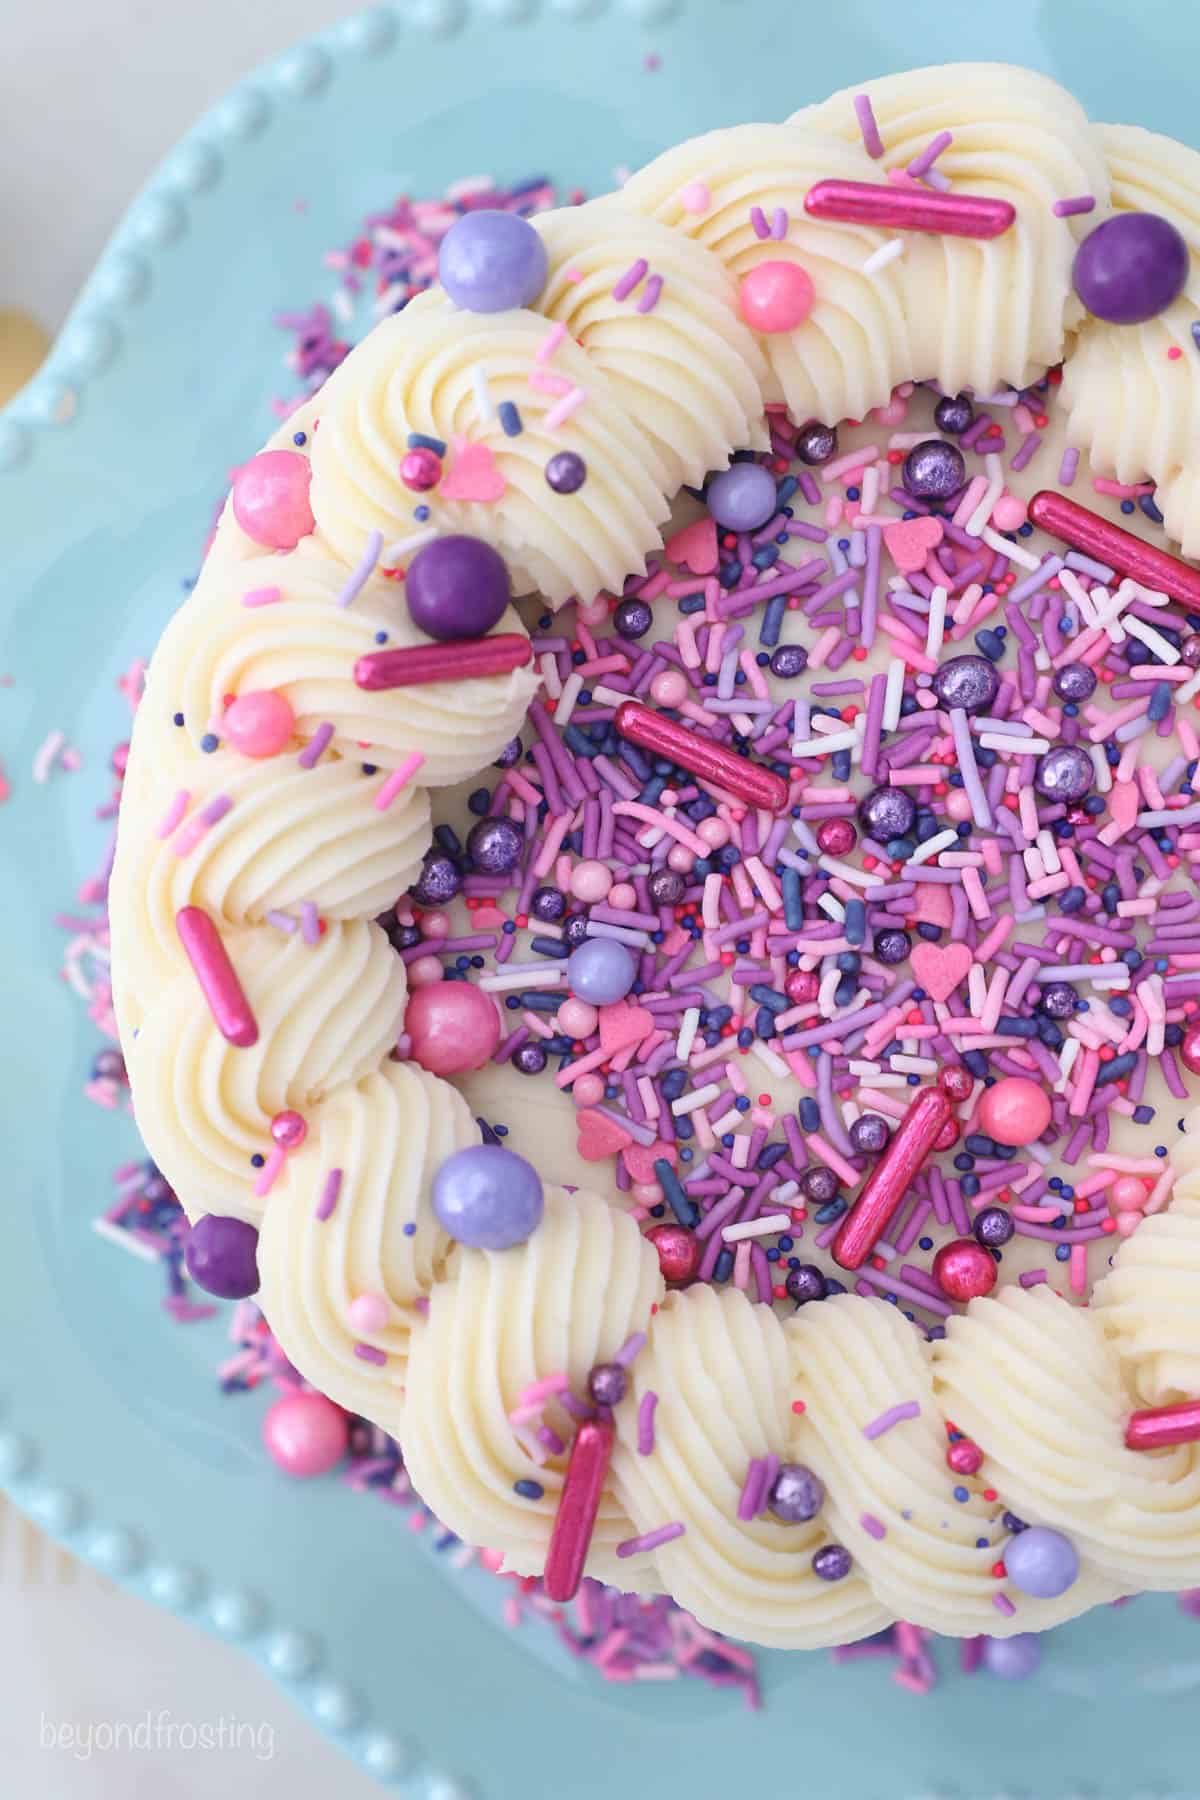
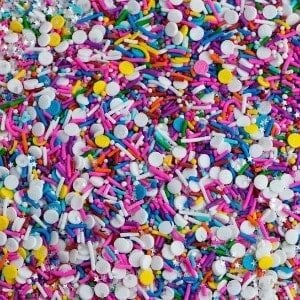
Decorating a mini cake is so much faster than a 3-layer cake. You can choose to decorate this any way you’d like. You might want to color the buttercream or add some crushed cookies, or toasted coconut. I opted for some colorful sprinkles instead.
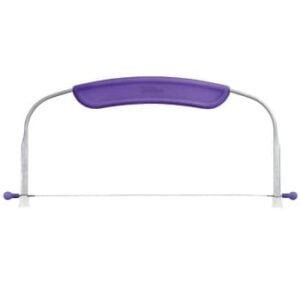
Level the cake layers: It doesn’t matter if you’re making a two-layer cake or a 6 layer cake, you need to start with even flat layers to prevent the cake from tilting or sliding.
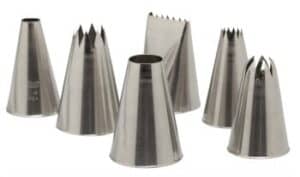
Pipe a layer of frosting: I find it easiest to use a piping bag, you can cut off the tip or use a large open round piping tip. Work your way from the outside edge into the middle then spread it evenly with an angled spatula.
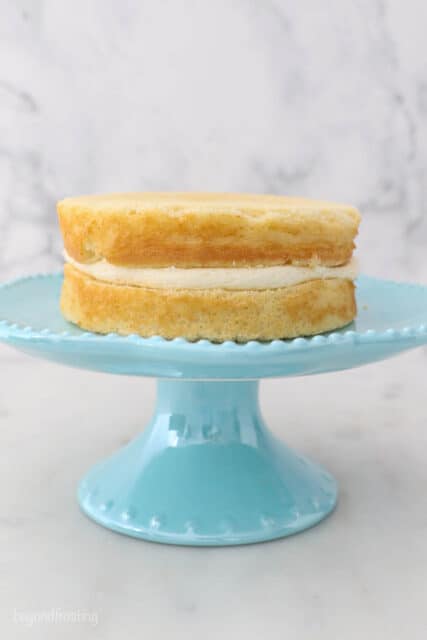
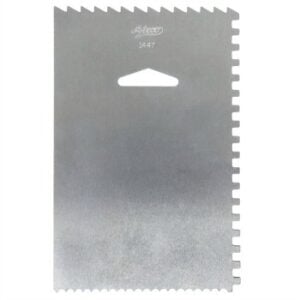
Add the top layer & decorate: I recommend inverting the top layer, so you have a nice flat top to decorate. Use the piping bag to fill in any gaps between the layers and then work your way from the bottom to the top. Use a scraper to remove excess frosting. Use a large French star tip to pipe a border around the outside edge and decorate with sprinkles.

Variation Ideas- How to Customize This Cake
- Swap out the vanilla frosting for cream cheese or chocolate frosting. Don’t like buttercream? This is also amazing with a mascarpone whipped cream.
- Make it gluten free– you can use a measure for measure gluten-free flour to make this cake gluten free. Here’s my cupcake version.
- Color the frosting– This frosting holds color beautifully. I recommend using concentrated gel colors. Here’s a helpful tutorial for you on how to color buttercream.
- Change the flavor- You can easily change this to a different flavor by changing the vanilla extrac to almond, lemon or even peppermint. Try adding a little fruit zest to amplify the flavor.
- Add a fresh fruit- Use fruit for decoration or make a small batch of my strawberry filling.
The Best Way to Store a Frosted Cake
Cakes are best kept in airtight containers. This can be stored at room temperature for 3 days. If you live in a warm or humid climate, then I would recommend refrigerating. It’s best stored at room temperature. I love my cake carrier; it holds cakes big and small and keeps my cakes fresh.
Tips For Freezing
It’s always my preference to serve freshly baked cakes, but I understand that maybe you need to prepare this ahead of time. You have two options, freezing cake layers to assemble at a later time or freezing finished cakes.
To freeze cake layers, allow them to cool completely. Place a piece of parchment paper on the top and bottom of the cake and double wrap tightly in plastic wrap. Freeze for up to 3 months. Thaw to room temperature prior to assembling.
To freeze a finished cake, I recommend placing it on a cake board inside of a cardboard cake box. Tightly wrap the box at least twice in plastic wrap. Freeze for up to 1 month. Save the garnishes for when the cake is thawed. To thaw the cake, place it in the refrigerator overnight to prevent condensation and then transfer it to the counter at least 2 hours ahead of time to serve at room temperature.
Print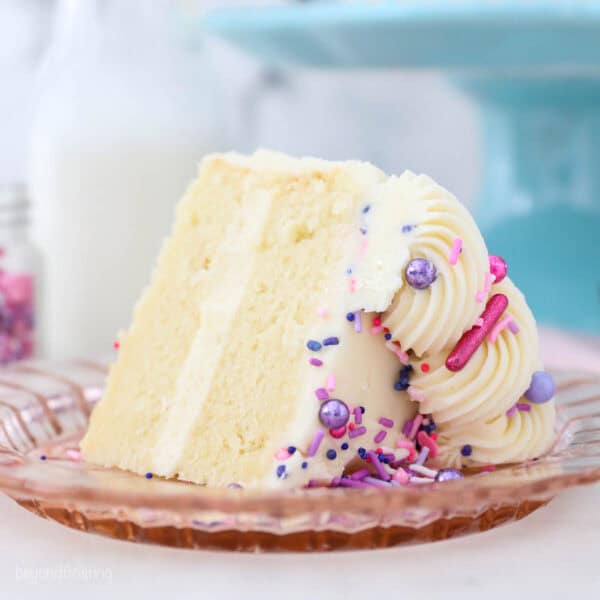
Mini Vanilla Cake
- Prep Time: 45 minutes
- Cook Time: 20 minutes
- Total Time: 1 hour 5 minutes
- Yield: 6 slices
- Category: Cake
- Method: Oven
- Cuisine: American
Description
Fluffy & moist, and easy to throw together, you’ll love this Mini 6-Inch Vanilla Cake with Vanilla Buttercream.
Ingredients
For the cake:
- 1 cup (190g) granulated sugar
- ¼ cup (59 ml) vegetable oil
- 2 large eggs, at room temperature
- 2 teaspoons (10ml) pure vanilla extract
- ¼ cup(49g) sour cream, at room temperature
- 1 ¼ cups (175 g) all-purpose flour, sifted
- 1 ½ teaspoon (6 g) baking powder
- ½ teaspoon salt
- 2/3 cup (158 ml) milk, at room temperature
For the frosting:
- 1 1/2 cup (339 g) unsalted butter, cold
- 6 cups (780g) powdered sugar
- 2 ½ (12 ml) tablespoons heavy whipping cream or milk
- 2 teaspoons (10ml) pure vanilla extract
- Pinch of salt
Instructions
For the cake
- Preheat the oven to 350°F. Prepare two 6-inch round pans, line the bottom with parchment paper and grease the sides. Prepare bake even stripes if desired.
- In a large mixing bowl, combine the sugar, vegetable oil, eggs and vanilla extract. Beat on medium speed until well incorporated. Scrape down the bowl as needed. Next mix in the sour cream and beat until well combined.
- In a separate bowl combine the remaining dry ingredients and sift together the flour, baking powder and salt. Add half the dry ingredients, and half the milk, and beat on low speed just until the flour starts to incorporate. Repeat until all ingredients are added and combined. Use a spatula to scrape down the sides of the bowl and stir the batter from the bottom to the top to ensure it’s well mixed.
- Divide the batter evenly between the two pans, about 1 ¼ cups of batter per pan. Bake at 350°F for 20-23 minutes. Rotate your pans in the oven halfway through baking. Test the cake for doneness by inserting a toothpick into the center of the cake. If the toothpick comes out clean, the cake is done. Remove from the oven and allow to cool completely.
For the frosting:
- Cut butter into pieces. Using the paddle attachment, whip the butter for 5-7 minutes, scraping down the bowl occasionally. Beat until the butter looks light in color.
- Alternate adding 2 cups of powdered sugar at a time with the liquid ingredients: vanilla extract & heavy cream. Ensure the powdered sugar is well combined, then and whip for 1-2 minutes before adding more powdered sugar.
- Once all the powdered sugar has been added, increase speed to medium-high and beat for another 3-5 minutes to whip additional air into the frosting.
To assemble the cake:
- Use a cake leveler to cut the domes off the top of the cake. Place a dollop of frosting on your cake board and place the bottom layer of cake on top of that.
- Set aside 1 cup of frosting to decorate the top of the cake. Place about 2 cups of frosting in a large piping bag fitted with a large open round tip, or simply cut off the end of the piping bag. Pipe a layer of frosting on top of the cake, starting at the outside edge and working your way into the middle. Spread evenly with an offset spatula then place your second layer inverted on top.
- Use your piping bag to fill in any gaps between your layer of frosting using the piping bag, pipe around the outside edge of the cake from the bottom to the top. Once the sides of the cake are roughly covered, use your icing smoother to even out and remove any excess frosting and smooth out.
To decorate this cake:
- Pipe a border along the top of the cake using a large Frech Star tip or something similar.
- Use your hands to press the sprinkles into the sides of the cake. It’s best to do this over a sheet pan lined with parchment paper, allowing you to easily capture and reuse the sprinkles that fall off the cake.

Nutrition
- Serving Size: 1 slice
- Calories: 781
- Sugar: 35g
- Sodium: 246mg
- Fat: 59g
- Carbohydrates: 57g
- Fiber: .8g
- Protein: 6.9g
- Cholesterol: 191mg
The cake is very tasty. I made it yesterday, for Easter, to make up for the bomb of a cake I made for my Dear Brother for his birthday in February. Things happen in baking – even with experienced bakers. But, I continue to learn, and strive to improve my baking skills. Anyway, my Dear Brother is enjoying it. And, it’s just enough. This is my first effort making a six-inch cake, as well as my first effort baking a cake without butter. I thought there would be a notable lesser quality in taste without the butter, but, not so!
Thank you for including the accompanying buttercream frosting recipe. This is my second attempt at making buttercream frosting. The first time – a different recipe – called for room temperature butter. So, I was curious to try your recipe. Unless one is doing fancy decorating, I agree – the recipe makes a LOT of frosting. How would one scale back the recipe if doing simple basic frosting treatment of the cake?
Than you!
Hi there! Thanks for leaving your review! I am happy you found this recipe. You can reduce the butter to 1 cup, and use 4 cups of powdered sugar, reduce the whipping cream to about 1 tablespoon or add more for a lighter buttercream
Made this for my mom for her birthday and it was delicious! I have a ton of extra frosting though, can I put it in the fridge? And if so how long can it stay in there?
Thank you so much Elija! I am so happy you enjoyed it. Extra buttercream can be stored in the refrigerator in an airtight container for 7 days, it in the freezer for 2 months. Thaw to room temp and remix for best results.
cake was moist and delicious! it was great! could I make this in a bigger cake by doubling the recipe?
Hi Sarah! Thank you so much! The recipe for a large cake is not exactly doubled, but here is the larger version: https://beyondfrosting.com/moist-vanilla-layer-cake/
Great recipe, great cake, but my cakes had to bake for 27-30 minutes! Will definitely recommend!
Thank you so much for sharing Cleveyn!
It’s a beautiful cake but seems like a lot of frosting to make for a 6 inch cake.
Hi Brenda, I made this with 1/2 cup less butt and less powdered sugar but I had JUST enough to work with, like scraping the bowl to finish. So if you don’t like to do a lot of decorating you could certainly reduce the frosting. I would rather end up with too much frosting then run out before I am done.