This post may contain affiliate sales links. Please see my full disclosure policy for details
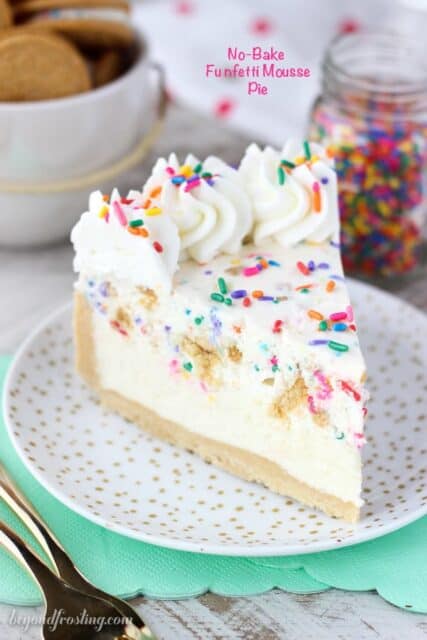
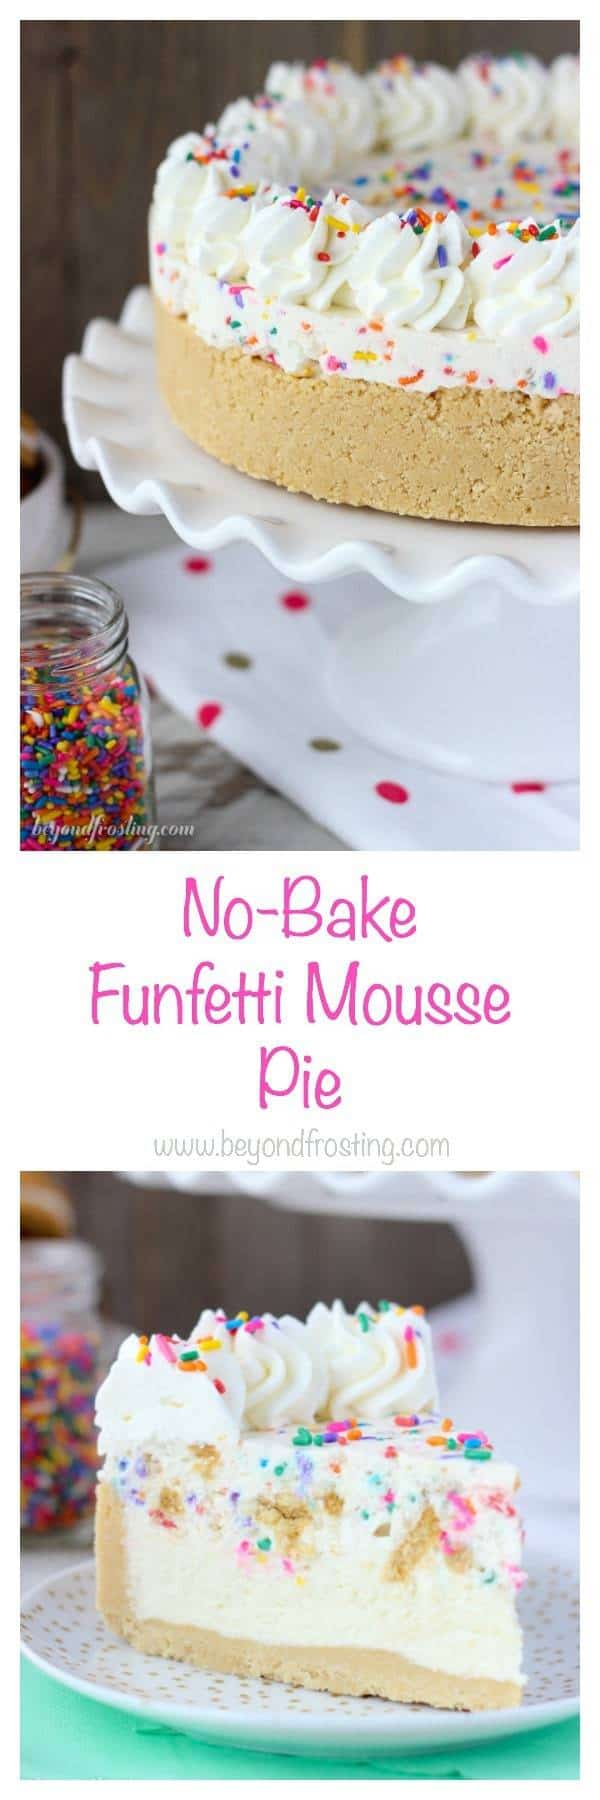
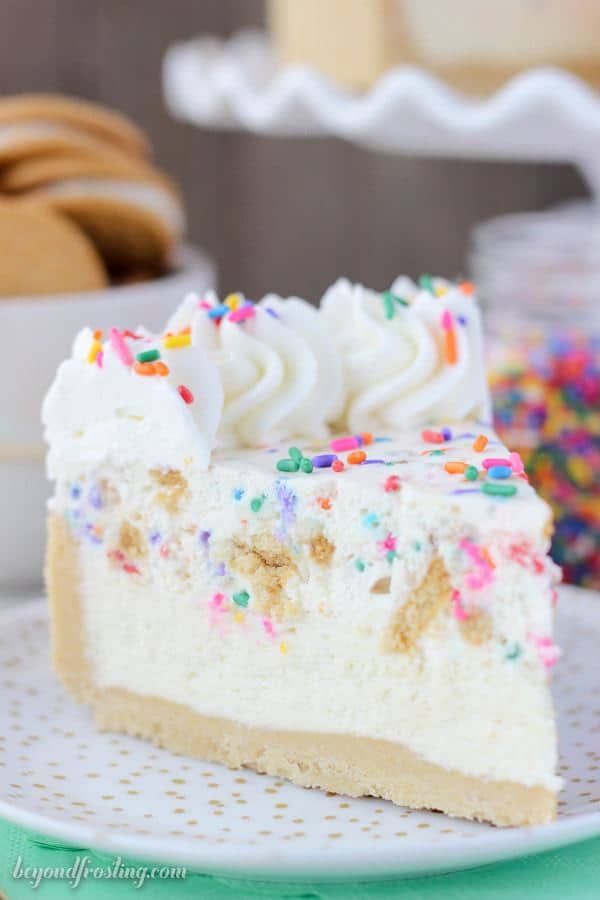
No-Bake Funfetti Mousse pie is everything you dream of. It starts with a thick Oreo crust, with a layer of white chocolate mousse and another layer of Oreo Funfetti Mousse made with cake batter whipped cream!

I know I am late to the party, (err real late) but I am now hooked on Gilmore Girls. Like I best not start a new episode because there’s no way I am getting off the couch before I finish it. Now that we have a TV in the living room, it’s on all night while I am baking on the weekends. I’m only on season 2 and I have so so long to go. If Netflix wants to add Dawson’s Creek to the line up, I would not be bummed.
Today we’re celebrating my Dad’s birthday a couple days early. He is my number one dessert-loving fan and I just love when he makes my recipes. Most recently he made a few batches of my Snickerdoodle cookies for Easter.
Also, tomorrow marks the one year anniversary my cookbook presale and finally, my mom had officially retired as of yesterday (congrats Mom!), so there is lots to celebrate today!
I am officially on the no-bake train again. It’s almost May and eventually it will actually be spring here in Portland or maybe we will bypass spring and go straight to summer. I’m okay with that too. Either way we’re making desserts.
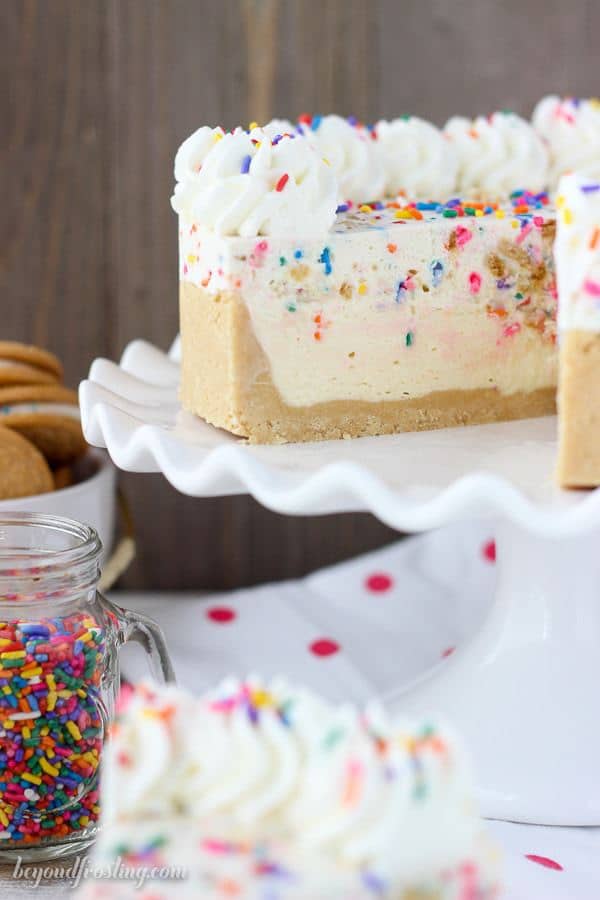
This No-Bake Funfetti Mousse Pie has a thick Oreo crust, with a layer of white chocolate mousse and another layer of Oreo Funfetti Mousse.
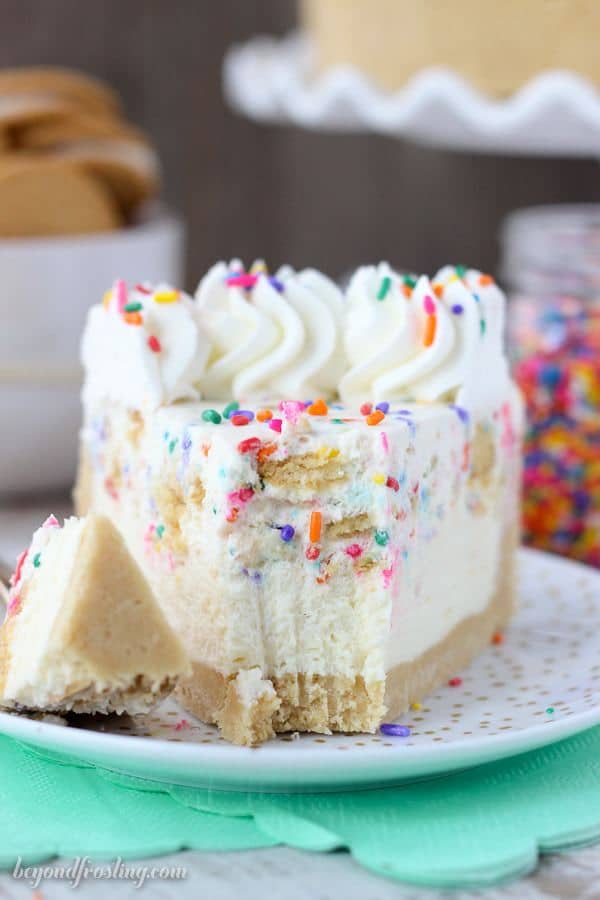
Each layer is devine, with a subtle chocolate note and that cake batter flavor that you’re looking for. The Funfetti mousse is made with a cake batter whipped cream and crushed Oreos. You can use either Birthday Cake Oreos or Golden Oreos, but of course I am always going to pick the birthday cake ones! The cookies get nice and soft, so the texture becomes similar to cake.
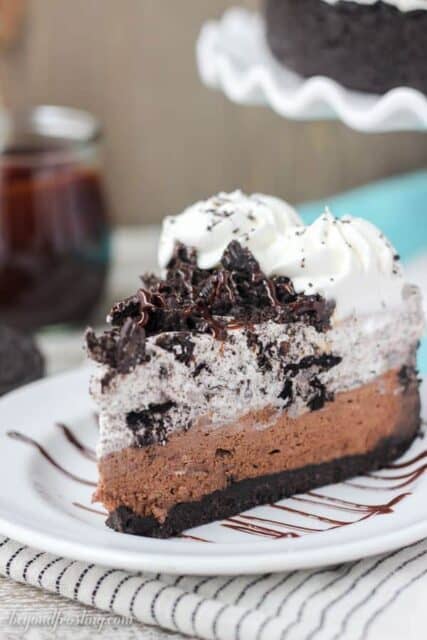
Here’s the deal with the mousse pies. Sometimes it starts with a brownie and sometimes it starts with a layer of chocolate mousse. I first made an Oreo version and almost immediately made the Funfetti version.
When I served this to my girlfriends, they told me this pie reminds them of their childhood. I swear they were fighting over the last slice. I totally understand why.

Follow Beyond Frosting:
Facebook | Twitter | Pinterest | Instagram
If you love no-bake recipes, be sure to check out my cookbook, No-Bake Treats!
Print
No-Bake Funfetti Mousse Pie
- Prep Time: 30 mins
- Cook Time: 4 hours
- Total Time: 4 hours 30 minutes
- Yield: 8-10 slices
Description
No-Bake Funfetti Mousse pie is everything you dream of. It starts with a thick Oreo crust, with a layer of white chocolate mousse and another layer of Oreo Funfetti Mousse made with cake batter whipped cream!
Ingredients
- For the crust:
- 2 pkgs Birthday Cake or Golden Oreo Cookies (14.03 oz), divided
- 8 tablespoons unsalted butter
- For the chocolate layer
- 1 tablespoons cold water
- 1 teaspoon gelatin
- 6 ounces white chocolate
- 1 cup plus 2 tablespoons heavy whipping cream, divided
- 3 tablespoons vanilla cake mix
- ½ teaspoon vanilla extract
- 4 ounces cream cheese, softened
- For the Oreo mousse layer:
- 1 tablespoons cold water
- 1 teaspoon gelatin
- 1 ¼ cup heavy whipping cream
- ¼ cup vanilla cake mix
- 10 Birthday Cake or Golden Oreo cookies
- 4 tablespoons sprinkles
- For the topping:
- ¾ cup heavy whipping cream
- 2 tablespoons powdered sugar
- 5 Birthday Cake or Golden Oreo cookies
- Sprinkles for garnish
Instructions
- For the crust: Prepare a 9-inch springform pan by lightly greasing the edges of the pan with cooking spray, and then wiping gently with a paper towel.
- Grind one full package of Oreos cookies into a fine crumbs using a food processor or blender.
- In a small bowl, melt the butter in the microwave for 30 to 45 seconds. Pour the melted butter over the cookie crumbs and stir until the crumbs as well coated.
- Pour the crumbs into your springform pan and press firmly into the bottom and up on the sides to create a thick crust. Refrigerate the crust while you are preparing the filling.
- Place the mixing bowl and whisk attachment in the freezer for 5 to 10 minutes to chill while you are preparing the next steps.
- For the chocolate layer: Place 1 tablespoons of cold water in a small dish. Sprinkle the gelatin over the cold water, trying to spread the powder evenly. Allow the gelatin to turn to a solid (about 2-3 minutes)
- In a microwave-safe bowl, combine the white chocolate chips and 2 tablespoons of heavy whipping cream. Microwave in 30-second increments, stirring each time until the chocolate is melted.
- Next, melt the gelatin in the microwave for 5-8 seconds until it turns back to a liquid. Watch it closely! Stir the liquid gelatin into the melted chocolate and set it aside to cool.
- Prepare the whipped cream. Pour the heavy whipping cream into the chilled bowl and use an electric mixer to beat the heavy cream on medium-high speed until the cream start to thicken. Slowly add the cake mix and continue beating on high speed until stiff peaks form. Set the whipped cream aside.
- Soften the unwrapped cream cheese in the microwave for 15 seconds. Change the mixer to the paddle attachment and beat the cream cheese until it’s completely smooth.
- Scrape down the sides of the bowl, and add the melted chocolate, beating until it’s completely mixed into the cream cheese, scraping down the bowl as needed.
- Lastly, fold in the prepared whipped cream and mix until all ingredients are combined. Pour the filling into the prepared crust, spread evenly and refrigerate.
- For the Oreo mousse layer: Wash and dry your mixing bowl. Place the mixing bowl and whisk attachment in the freezer for 5 to 10 minutes to chill while you are preparing the next steps.
- Place 1 tablespoons of cold water in a small dish. Sprinkle the gelatin over the cold water, trying to spread the powder evenly. Allow the gelatin to turn to a solid (about 2-3 minutes).
- Next, melt the solid gelatin in the microwave for 3-5 seconds until it turns back to a liquid. Watch it closely!
- Prepare the whipping cream. Pour the heavy whipping cream into the chilled bowl and use an electric mixer to beat the heavy cream on medium-high speed until the cream starts to thicken. Slowly add the vanilla cake mix and continue beating on high speed until peaks start to form.
- Slowly pour the liquid gelatin into the mixing bowl and continue mixing until stiff peaks form.
- In a large Ziploc bag, roughly chop and smash 10 Oreo cookies into small pieces/crumbs. Fold the smashed cookies into the prepared whipped cream.Fold the sprinkles in last. Pour the whipped cream over the chocolate layer and spread evenly.
- Refrigerate the pie for 3 to 4 hours until all layers are firm. When ready, remove the sides of the pan and prepare the toppings before serving.
- For the topping: Prepare another batch of whipped cream by placing your bowl in the freezer for 5-10 minutes.
- Prepare the whipping cream. Pour the heavy whipping cream into the chilled bowl and use an electric mixer to beat the heavy cream on medium-high speed until the cream starts to thicken. Slowly add the powdered sugar and continue beating on high speed until stiff peaks form.
- Pipe the boarders of the pie with whipped cream using a large open star tip. Garnish with sprinkles.
- This pie must stay refrigerated.
- Category: Dessert
- Method: Refrigerator
- Cuisine: American
You might also like:
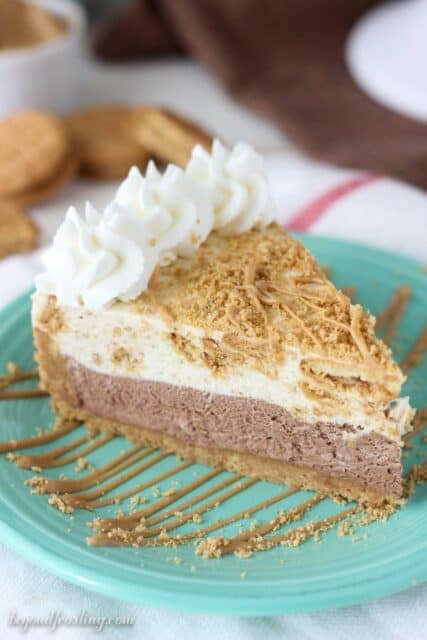
No-Bake Peanut Butter Mousse Pie
Fun recipes from my friends: