Description
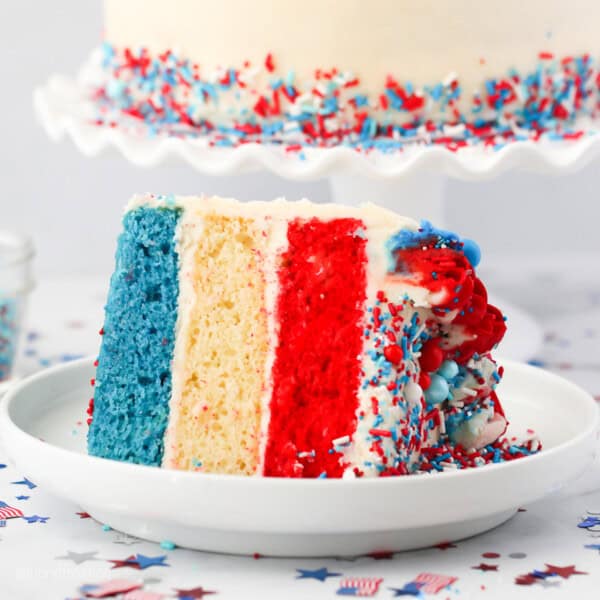
This Red White and Blue layer cake is made with my favorite vanilla cake, and decorated in a patriotic theme with vanilla buttercream and sprinkles. It’s the perfect cake for a Memorial Day BBQ or July 4th party.
Ingredients
For the cake
- 2 cups (380g) granulated sugar
- ½ cup (118 ml) vegetable oil
- 3 large eggs
- 1 tablespoon (15 ml) pure vanilla extract
- ½ cup (118 ml) sour cream
- 2 ½ cups (350 g) all-purpose flour
- 3 teaspoons (11.2 g) baking powder
- 1 teaspoon (5 g) salt
- 1 ¼ cups (296 ml) milk (I use nonfat)
- Gel colors- super red & royal blue
For the frosting
- 2 ½ cups (576g) unsalted butter, cold
- 8 cups (1041g) powdered sugar
- 1 tablespoon (15ml) pure vanilla extract
- 2–3 tablespoons (30-44ml) heavy whipping cream (or milk)
- Pinch of salt
Instructions
For the cake:
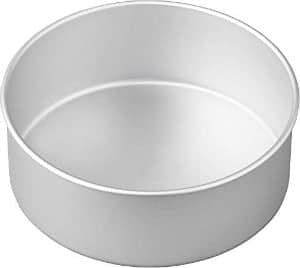
- Preheat the oven to 350°F. Prepare three 8-inch round baking pans line the bottom with parchment paper and grease the sides. Prepare with bake even strips if desired.
- In a large mixing bowl, combine the sugar, vegetable oil, eggs and vanilla extract. Beat on medium speed until the eggs and oil are well incorporated about 2 minutes. Scrape down the bowl as needed. Next mix in the sour cream and beat until well combined.
- Combine the dry ingredients in a separate bowl. Alternate adding half the dry ingredients, and half the milk at a time, mixing on low speed until all of the ingredients are well combined, repeat until all ingredients are added. Use a spatula to scrape down the sides of the bowl and ensure it’s well mixed.
- To dye the cake batter, divide it into thirds about 1 2/3 cups per color. Leaving one bowl undyed for the white cake, and then color each of the other bowls red and blue. Add as much gel as you’d like to achieve the desired color and ensure it’s thoroughly mixed.
- Add the batter to the prepared pans. Bake at 350°F for approximately 20-23 minutes. Rotate your pans in the oven halfway through baking (after about 10 minutes). Test the cake for doneness by inserting a toothpick into the center of the cake. If the toothpick comes out clean, you cake is done. Remove from the oven and allow to cool completely.
For the frosting
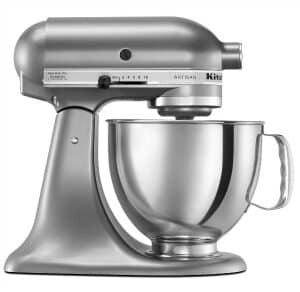
- Cut butter into pieces. Using the paddle attachment, whip the butter for 5-7 minutes, scraping down the bowl occasionally. Beat until the butter looks light in color.
- Alternate adding 2 cups of powdered sugar at a time with the liquid ingredients: vanilla extract & heavy cream. Ensure the powdered sugar is well combined, then and whip for 1-2 minutes before adding more powdered sugar. Repeat until all ingredients are added.
- Once all the powdered sugar has been added, increase speed to medium-high and beat for another 3-5 minutes to whip additional air into the frosting.
To assemble and decorate
- Use a cake leveler to cut the domes off the top of the cake. Place a dollop of frosting on your cake board and place the bottom layer of cake on top of that.
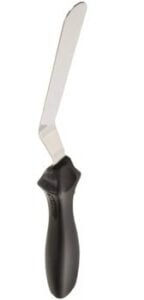
- Place about 2 cups of frosting in a large piping bag fitted with a large open round tip, or simply cut off the end of the piping bag. Place the blue layer on the bottom. Pipe a layer of frosting on top of the cake, starting at the outside edge and working your way into the middle. Spread evenly with an offset spatula. Place the white layer next. Repeat the frosting with the second layer of cake and then place the red layer on top.
- Use your piping bag to fill in any gaps between your layers and to create a crumb coat. Using an offset spatula or icing smoother, wipe away the excess frosting, leaving just enough to coat the outside of the cake. Do not mix your crumb coating frosting back into your icing if it has cake debris in it.
- Separate out 1 ¼ cups of frosting for the decorative board, divide it into thirds. Leave one undyed, and dye one of them red and one of them blue using the gel colors until the desired color is reached.
- Lay out a piece of plastic wrap, spread (or use a Ziploc bag to pipe) a thick row of each color of frosting side-by-side onto the clear wrap. Fold the plastic wrap up and tightly roll, twist one end and cut the tip off. Drop the plastic wrap into a piping bag fitted with an Ateco 848 (or any closed star tip). Set aside.
- Use the remaining frosting to frost the top and sides of the cake using your offset spatula. Once the sides of the cake are covered, use you icing smoother to remove any excess frosting.
- Before the frosting has set, use your hand to press the sprinkles into the cake along the bottom edge. Pipe the boarder on top of the cake with the tricolor frosting and fill the middle with remaining sprinkles.


Notes
Storing a frosted cake- The best option is to use a cake carrier which can allow it to be stored in an airtight container. You do not have the refrigerate this cake unless you live in a hot a humid environment. If you need to refrigerate the cake, try to do so in airtight container. It’s best to serve at room temperature, so remove the cake in plenty of time prior to serving.
Nutrition
- Serving Size: 1 slice
- Calories: 1005
- Sugar: 113g
- Sodium: 240mg
- Fat: 50g
- Carbohydrates: 136g
- Fiber: .8g
- Protein: 5.9g
- Cholesterol: 153mg