Description
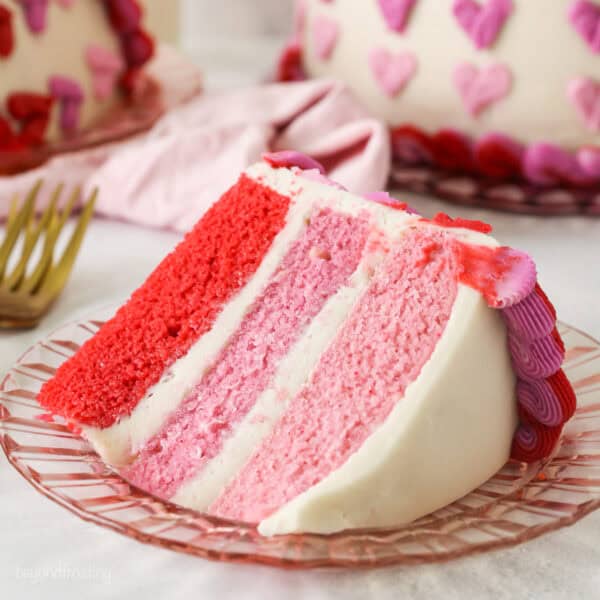
This homemade chocolate cake with vanilla buttercream is decorated with ombre hearts. You can make this Valentine’s Day Ombre Heart Cake with these few easy tips.
Ingredients
For the cake:
- 2 cups (380g) granulated sugar
- ½ cup (118 ml) vegetable oil
- 3 large eggs, at room temperature
- 1 tablespoon (14.8 ml) pure vanilla extract
- ½ cup (120g) sour cream at room temperature (or plain yogurt)
- 2 ½ cups (350 g) all-purpose flour, sifted
- 3 teaspoons (11.2 g) baking powder
- 1 teaspoon (5 g) salt
- 1 ¼ cups (296 ml) milk (any type) at room temperature.
For the Cake Frosting:
- 2 cups (453g) unsalted butter, cold
- 7–8 cups (910-1041g) powdered sugar
- 1 tablespoon (15ml) vanilla extract
- 2–3 tablespoons (30-44ml) heavy whipping cream (or milk)
- 1/8 tsp salt (omit if using salted butter)
For the Colored Frosting (decoration)
- 1 cup (226g) unsalted butter, cold
- 3/12- 4 cups (390-520g) powdered sugar
- 2 teaspoons (1oml) Pure vanilla extract
- 1 tablespoon (15ml) heavy whipping cream (or milk), cold
- Pinch of salt
Instructions
For the Cake:
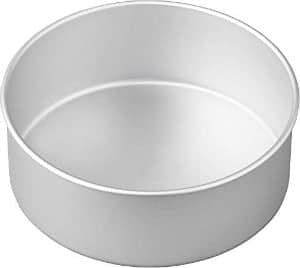
- Preheat the oven to 350°F. Prepare three 8-inch round baking pans, line the bottom with parchment paper, and grease the sides.
- In a large mixing bowl, combine the sugar, vegetable oil, eggs, and vanilla extract. Beat on medium speed until well incorporated. Scrape down the bowl as needed. Next mix in the sour cream and beat until well combined.
- In a separate bowl combine the remaining dry ingredients and sift together. Add half the dry ingredients, and stream in half the milk while beating on the lowest speed just until the flour starts to incorporate. Repeat until all ingredients are added and combined. Use a spatula to scrape down the sides of the bowl and stir the batter from the bottom to the top to ensure it’s well mixed.
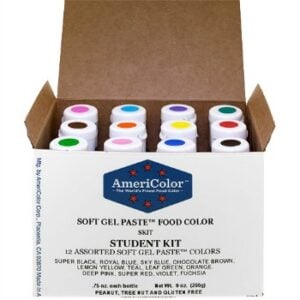
- To color the cake, add just a touch of a light pink color to the entire batter, mixing slowly or by hand until incorporated. Measure out 1 2/3 cups of batter, and place it into one of the prepared pans. Next, to the same mixing bowl, add another drop or 2 of the pink to achieve a darker color. Once mixed, measure out 1 2/3 cup of batter and place in a second pan. To the remaining batter, add a drop or two of red gel color, mixing to combine and filling the final pan.
- Bake at 350°F for 20-23 minutes. Test the cake for doneness by inserting a toothpick into the center of the cake. If the toothpick comes out clean, the cake is done. Remove from the oven and allow to cool completely.
For the Frosting:
Since most mixers would not be able to handle such a large batch, I’ve separated out the buttercream for the cake and for the decorating. You can follow these same instructions, preparing the batches separately.
- Cut butter into pieces. Using the paddle attachment, whip the butter for 5-7 minutes, scraping down the bowl occasionally. Beat until the butter looks light in color.
- Alternate adding 2 cups of powdered sugar at a time with the liquid ingredients: vanilla extract & heavy cream. Ensure the powdered sugar is well combined, then and whip for 1-2 minutes before adding more powdered sugar.
- Once all the powdered sugar has been added, increase speed to medium-high and beat for another 3-5 minutes to whip additional air into the frosting.
To Assemble the Cake:
- Use a cake leveler to cut the domes off the top of the cake. Place a dollop of frosting on your cake board and place the bottom layer of cake on top of that.
- Place about 2 cups of frosting in a large piping bag fitted with a large open round tip, or simply cut off the end of the piping bag. Pipe a layer of frosting on top of the cake, starting at the outside edge and working your way into the middle. Spread evenly with an offset spatula. Repeat with the second layer of cake and then place your third layer on top.
- Place about 2 cups of frosting in a large piping bag fitted with a large open round tip, or simply cut off the end of the piping bag. Using 1 cup of frosting for each layer, pipe a layer of frosting starting at the outside edge and working your way into the middle. Spread evenly with an offset spatula. Place another layer on top and repeat the frosting with the second layer, then place the final layer on top, inverted so the bottom of the cake is on top.
- Use your piping bag to fill in any gaps between the layers and to create a rough crumb coat. Using an offset spatula, wipe away the excess frosting, leaving just enough to coat the outside of the cake. Do not mix your crumb-coating frosting back into your icing if it has cake debris in it. Refrigerate the cake for 15-30 minutes to allow the crumb coat to harden.
- Once chilled, use the remaining frosting to add the final layer to the top and bottom of the cake.
To decorate
- Prepare the piping bags using the double bag method. Fit one piping bag with a coupler and tip (size 12 round recommended) and then prepare 3 additional bags of frosting, one of each color, cut off the tip about ¾-1 inch up.
- Prepare the frosting for decorating if you haven’t already. To color the buttercream, start with the lightest pink: Add 1 drop of pink gel color to the frosting and mix until well combined, add more as needed to match the cake until the desired color is reached. Remove 1 cup of frosting, and place into a piping bag.
- Next, add 1–2 more drops of pink gel to the remaining frosting to deepen the color to match the cake layer, mixing to combine. Remove 1 cup of frosting, and place it into a piping bag. To the remaining frosting, add 2–3 drops of red gel color. Mix thoroughly and transfer to a third piping bag.
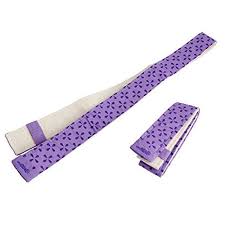
- On the cake, mark the top row of hearts evenly around the circumference (about 1.5 inches apart center to center). Use a flexible tape measure and a toothpick for spacing. Begin piping the hearts directly onto the cake, working row by row, starting with the lightest pink on top to match the cake layer (opposite of what I am showing in the photos). Start by making a teardrop shape, squeeze the piping bag until it makes a circle and then slowly pull down as you ease the pressure and swiftly pull it away. Repeat on the opposite sides, meeting at the center. Repeat with all 3 colors of hearts.
- With the remaining frosting, prepare the tricolor piping bags. Pipe two parallel lines of each frosting color onto a sheet of plastic wrap. Roll it tightly into a tube and twist the ends to seal. Repeat to make two tubes. Insert the wrapped frosting into a piping bag fitted with a coupler and an open star or French star tip (size 199).
- Hold the piping bag at a 45-degree angle to the cake. Squeeze to form a shell, releasing pressure as you pull down and away. Overlap each shell slightly with the previous one for a seamless border. Rotate the piping bag slightly after each shell to enhance the ombre effect. Repeat along the top and bottom edges of the cake.

Notes
- Note that the ombre hearts piped onto this cake are placed opposite of the way the cake layers are. Ideally, you want to hearts to match the cake layers. I did it backwards.
Storing
- Store the cake. The best way to store a frosted cake is in an airtight container, like a cake carrier, at room temperature. You can also store individual slices in a container. The cake lasts about 3 days at room temperature or 1 week in the fridge. In a warmer or humid climate, you’ll need to refrigerate it from the start and be sure to serve at room temperature.
- Freeze the cake. I don’t usually like to freeze a decorated cake. If you need to freeze yours, store it in a cake box double-wrapped in plastic wrap. Freeze the cake for up to 1 month. Thaw the cake first in the fridge overnight, and then remove it from the fridge to serve at room temperature.
- Save the leftover buttercream. Store any leftover frosting in an airtight container or bag and keep it in the fridge for up to 1 week, or in the freezer for up to 1 month.
Nutrition
- Serving Size: 1 slice
- Calories: 1077
- Sugar: 122.6 g
- Sodium: 325.2 mg
- Fat: 52 g
- Carbohydrates: 150.5 g
- Fiber: 0.9 g
- Protein: 6.5 g
- Cholesterol: 159.1 mg