Description
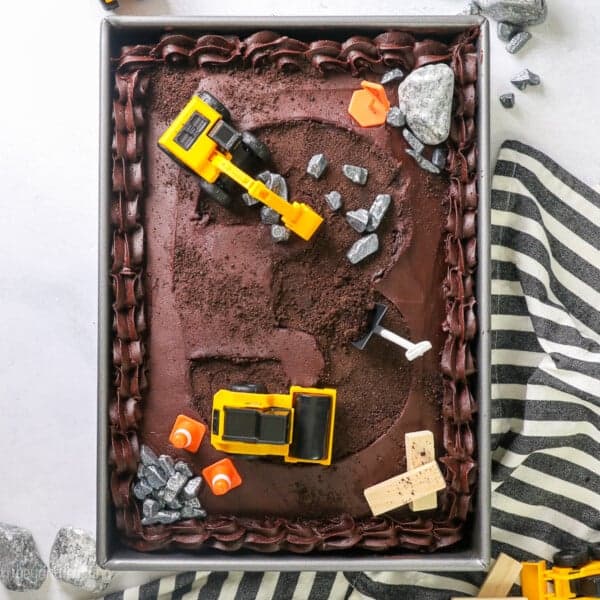
You don’t have to be a professional baker to make this fun and chocolatey construction birthday cake! All it takes is chocolate frosting, some toys, and a little creativity.
Ingredients
For the Cake
- 2 cups (380g) Granulated sugar
- 2/3 cup (157 ml) Vegetable oil
- 4 Large eggs, at room temperature
- 1 tablespoon (15 ml) Pure vanilla extract
- 2/3 cup (160g) Sour cream, at room temperature
- 2 2/3 cups (320g) All-purpose flour, sifted
- 2/3 cup (54 g) Cocoa powder, sifted (Hershey’s Special Dark)
- 3 teaspoons (12 g) Baking powder
- ¾ teaspoon Baking soda
- 1 ¼ teaspoon (6.25 g) Salt
- 1 ½ cups (354 ml) Hot brewed coffee
For the Frosting
- 1 ½ cups (339g) Unsalted butter, cold
- 1 cup (80g) Cocoa powder, sifted (Hershey’s Special Dark)
- 1 tablespoon (15 ml) Pure vanilla extract
- 6 cups (780g) Powdered sugar
- 5 tablespoons (75ml) Heavy whipped cream
Decorations
- 10–15 Oreos
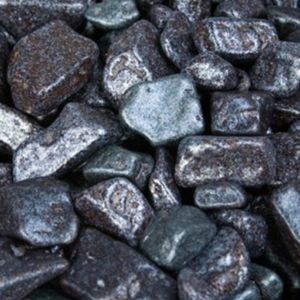
- Chocolate Rocks
Instructions
For the Cake
- Preheat the oven to 350°F. Spray the pan with cooking spray.
- In a large mixing bowl, combine the sugar, vegetable oil, eggs, and vanilla extract. Beat on medium speed until the eggs and oil are well incorporated and the batter is lighter in color. Next mix in the sour cream and beat until well combined.
- In a separate bowl, sift together the dry ingredients. Add half the dry ingredients to the wet ingredients, followed by half of the coffee, and mix until the flour is just incorporated at a low speed. Then add the remaining dry ingredients and coffee. Beat until all of the ingredients are well combined. Use a spatula to scrape down the sides of the bowl and stir the batter from the bottom to the top to ensure it’s well mixed.
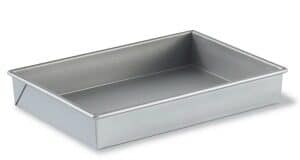
- Pour the batter into a 9×13-inch pan and bake at 350°F for 26-28 minutes. Test the cake for doneness by inserting a toothpick into the center of the cake. If the toothpick comes out clean, your cake is done. Remove from the oven and allow to cool completely.
For the Frosting
- Cut butter into pieces, 1 tablespoon size. Using the paddle attachment, whip butter for 5-7 minutes, scraping down the bowl occasionally. Beat until the butter looks light in color and has more volume.
- Sift the cocoa powder into a mixing bowl. Turn the mixer on slow speed and beat until cocoa powder is incorporated. Add 2 cups powdered sugar and the vanilla extract and mix on low speed until incorporated. Beat for an additional 2 minutes.
- Continue adding additional powdered sugar, 2 cups at a time, alternating with the heavy whipping cream, and beat on low speed until the sugar is incorporated. Increase speed to medium-high and beat for 2 minutes before adding more powdered sugar.
- After all the powdered sugar has been added, increase the speed to medium-high and beat for another 2 minutes to whip additional air into the frosting.
Decorating
- Remove the cream filling from the Oreos and pulse the cookies in a food processor until it’s a fine crumb.
- Frost the top of the cake in one even layer, and smooth it out as best as possible. Chill for at least 15 minutes until the top of the frosting has crusted over.
- Place the number cutout in the center of the cake, vertically and then use a sharp pairing knife to cut around the number. Next, remove the top layer of frosting by making small cuts in the actual number to remove small pieces at a time. Discard the frosting.
- Next, fill a small piping bag with frosting, squeeze a little bit back into the cake, and spread it out with a knife. Alternatively, you could skip this step and just fill in the number with crumbs, but this helps lock in the moisture of the cake and gives something for the crumbs to stick to. Spoon Oreo crumbs over top of the fresh layer of frosting and use the back of the spoon to press into place.
- Use the remaining frosting to pipe a shell border. For this, you can use a 1M piping tip, an open star tip, or a French star tip.
- Decorate with trucks and props, chocolate rocks and sprinkle leftover Oreo crumbs around for dirt.
Notes
Recipe Tips
- You only need to remove the top layer of frosting, but if some of the cake comes with it that’s okay.
- Chilling the cake before removing the top layer of frosting makes it easier to remove.
- Use a sharp pairing knife to cut out the letter.
- There are lots of ways to decorate this cake, I’ve linked the options below.Note that most of the decorations are not edible, so use your best judgment based on the age range and make sure to remove non-edible parts before serving.
- Number Cut-outs: I included numbers 1 through 6, which you can easily print out. Do not scale the printout at all, it’s set for a 9×13-inch cake. Simply print the page with your desired number, find the template here.
- To remove the cake from the pan, make sure to grease and flour the pan entirely, or line the bottom with parchment paper
Storing, Freezing and Making ahead
- Storing: Once frosted, this cake can be stored in an airtight container on the countertop for up to 3 days. If you live in a hot and humid environment, then you’ll need to refrigerate it. However, this can sometimes dry out the cake. Be sure to use an airtight container and serve at room temperature for the best results.
- If hosting an outdoor party, be sure the cake is not sitting in direct sunlight, and if it’s hot or humid, consider storing it in a cooler before serving.
- If preparing in advance, add decorations prior to serving.
- Freezing: You can freeze the cake frosted or unfrosted. I recommend leaving it in the pan, and tightly wrapping the pan with two layers of plastic wrap. Freeze for 1 month. Thaw to room temperature before serving.
Decorations
- Chocolate rocks are my go-to. You can find smaller packages of these at Hobby Lobby, and one tube of them is enough to decorate with. Otherwise use leftovers for goodie bags.
- Toy trucks. I love this CAT activity set or this CAT toy truck set. These go on sale frequently for half off.
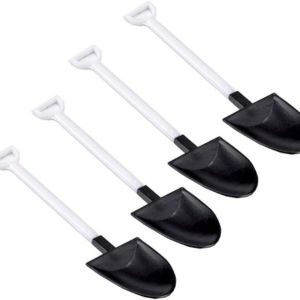
- Shovels. I use these mini shovel spoons, they’re just as perfect for decorating this construction cake! Plus you can pass them out with the sliced cake.
- Boulders. These chocolate boulder rocks are a fun topper idea. M&Ms or chocolate chips are also great options.
- Candy. Use unwrapped candy bars, like chocolate wafer bars or Kit Kats, to stack up as “beams” or logs.
- Construction signs. If your little one loves construction, you probably have a few things laying around you can stick on top like plastic road signs.
- Candy. Use unwrapped candy bars, like chocolate wafer bars or Kit Kats, to stack up as “beams” or logs.
- Construction signs. If your little one loves construction, you probably have a few things laying around you can stick on top like plastic road signs.
Nutrition
- Serving Size: 1 Slice
- Calories: 700
- Sugar: 74.2 g
- Sodium: 292.6 mg
- Fat: 34.1 g
- Carbohydrates: 99.2 g
- Fiber: 3.5 g
- Protein: 6.8 g
- Cholesterol: 107.6 mg


