Description
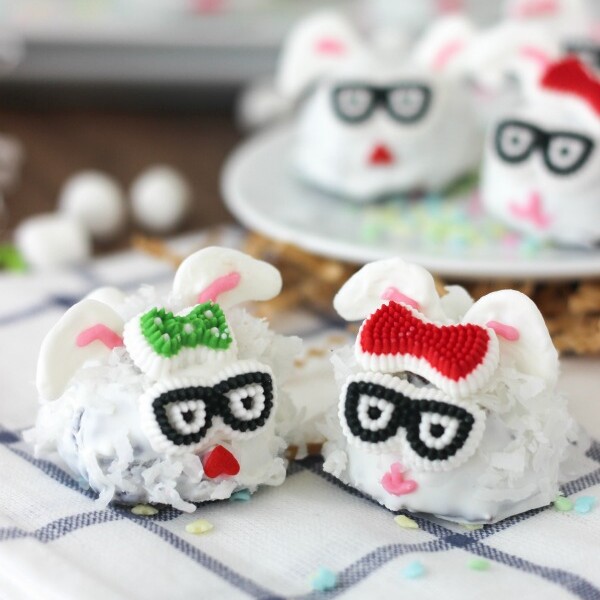
These Easter Bunny Truffles are such a fun and creative Easter dessert idea for you to make for the kids. The brownie truffle is coated in white chocolate and rolled in shredded coconut.
Ingredients
- 1 box Fudge brownie mix
- Ingredients listed on the box (egg, oil water)
- 1 bag Wilton Bright White Candy Melts
- 2 oz Pink Candy Melts (optional)
- 3 tbsp Crisco Shortening
- Wilton icing decorations
- Sweetened shredded coconut
- Mini Marshmallows
- Heart shaped sprinkles
Instructions
- Prepare brownie mix according to the instructions on the box. Allow to cool completely.
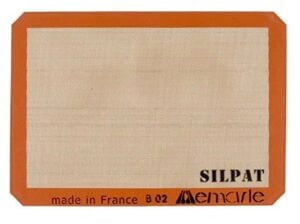
- Cut off the hard edges. Use a fork to break apart the brownies into crumbs. With a medium size cookie scoop (approximately 2 tablespoons), spoon the brownie crumbs and press into the cookie scoop. Place with the flat side down on a baking sheet lined with a silicone mat or parchment paper.
- Freeze for a minimum of 2 hours or longer if prepared in advance.
- Prepare the bunny ears before starting the truffles. Take about 3 oz (10 pcs) of White Candy Melts and melt in the microwave. Stir until completely smooth. Repeat with pink candy melts.
- Use a small piping bag with a coupler and a size #2 round tip and pipe the bunny ears using the template provided above. Fill in the middle with the pink candy melts. Refrigerate the bunny ears to harden faster.
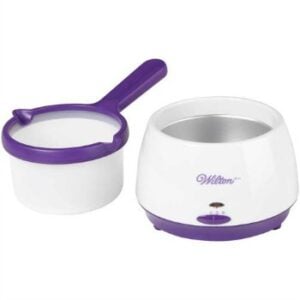
- Pour remaining candy melts into melting pot. Use the “melt” setting until white candy melts are melted and smooth. Add Crisco 1 tablespoon at a time to thin out the candy melts until there is smooth drip from the spoon. Using a spatula, stir until well mixed. Turn setting down to “warm” on your melting pot.
- Remove brownies from the freezer. Use a toothpick to insert into the brownie, dip and swirl in the candy melts. Tap off excess chocolate.
- Place on a baking sheet lined with parchment paper or a silicone mat. Gently twist toothpick to remove. Take a knife to dab a drop of candy melts to cover the hole from the toothpick.
- Optional: to cover the truffle in coconut, use your hands to immediately pat the coconut into the chocolate before it hardens. It will harden quickly. Allow the truffles too set completely.
- To attach the bunny tails, gently dab one side of the mini marshmallow with candy melts. Press onto the back side of the truffle. It will cool quickly.
- To attach the bunny ears, gently insert the knife into the top of the truffle. Take one ear and gently dip the end into the candy melts. Lightly press into the top of the truffle.
- To attach the icing decorations, dab the backside of the icing decorations with candy melts and gently press onto the truffle.
- For the bunny nose, you can either use a heart shaped sprinkle or use your pink candy melts to pipe the nose. Attach the sprinkle by using a tiny drop of the candy melts.
- Refrigerate truffles if not serving within a day.

Notes
- The brownies can be prepared and frozen in advance. It took me 1-1.5 hours to complete the truffles from start to finish after the brownies were frozen. Be sure to prepare the bunny ears in advance of dipping the truffles. This will save time.
- If the candy melts crack once you dip the brownies, that means the chocolate is too hot and it need to be cooled before proceeding.
- Download the template for the bunny ears. I recommend taping it to a baking sheet and then taping a piece of parchment or wax paper over top.