
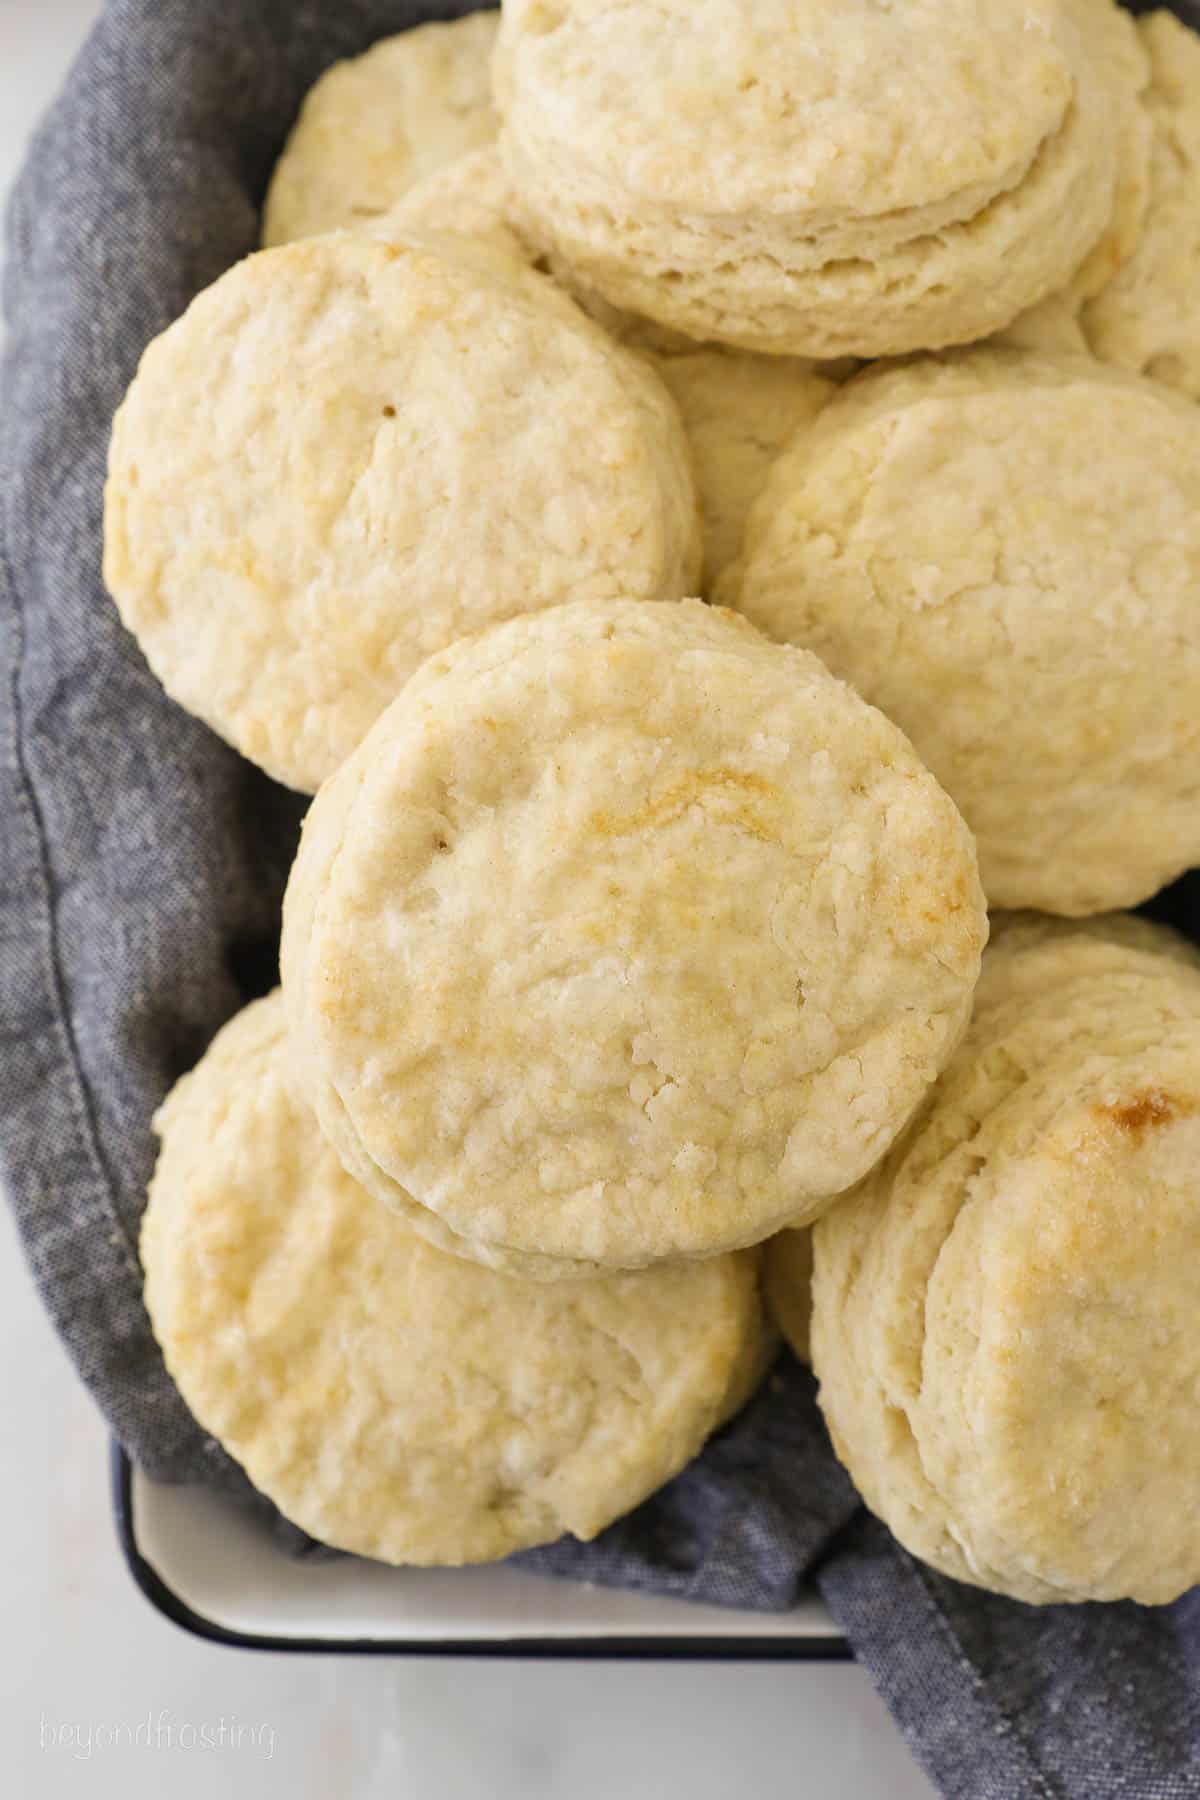
Layer upon flaky layer, these golden biscuits use tangy buttermilk to make them melt-in-your-mouth tender. This easy buttermilk biscuits recipe is sure to be the star of your next breakfast or brunch.

Real Buttermilk Biscuits, Made from Scratch
Let’s talk biscuits. You see, making these homemade beauties doesn’t need to be a bit intimidating.
I first made this buttermilk biscuits recipe from my grandmother’s favorite version. Her technique is tried and true: use good ingredients, take your time, and add some TLC. I can’t wait for you to see how this simple dough bakes up into something truly special.
Why You’ll Love ‘Em
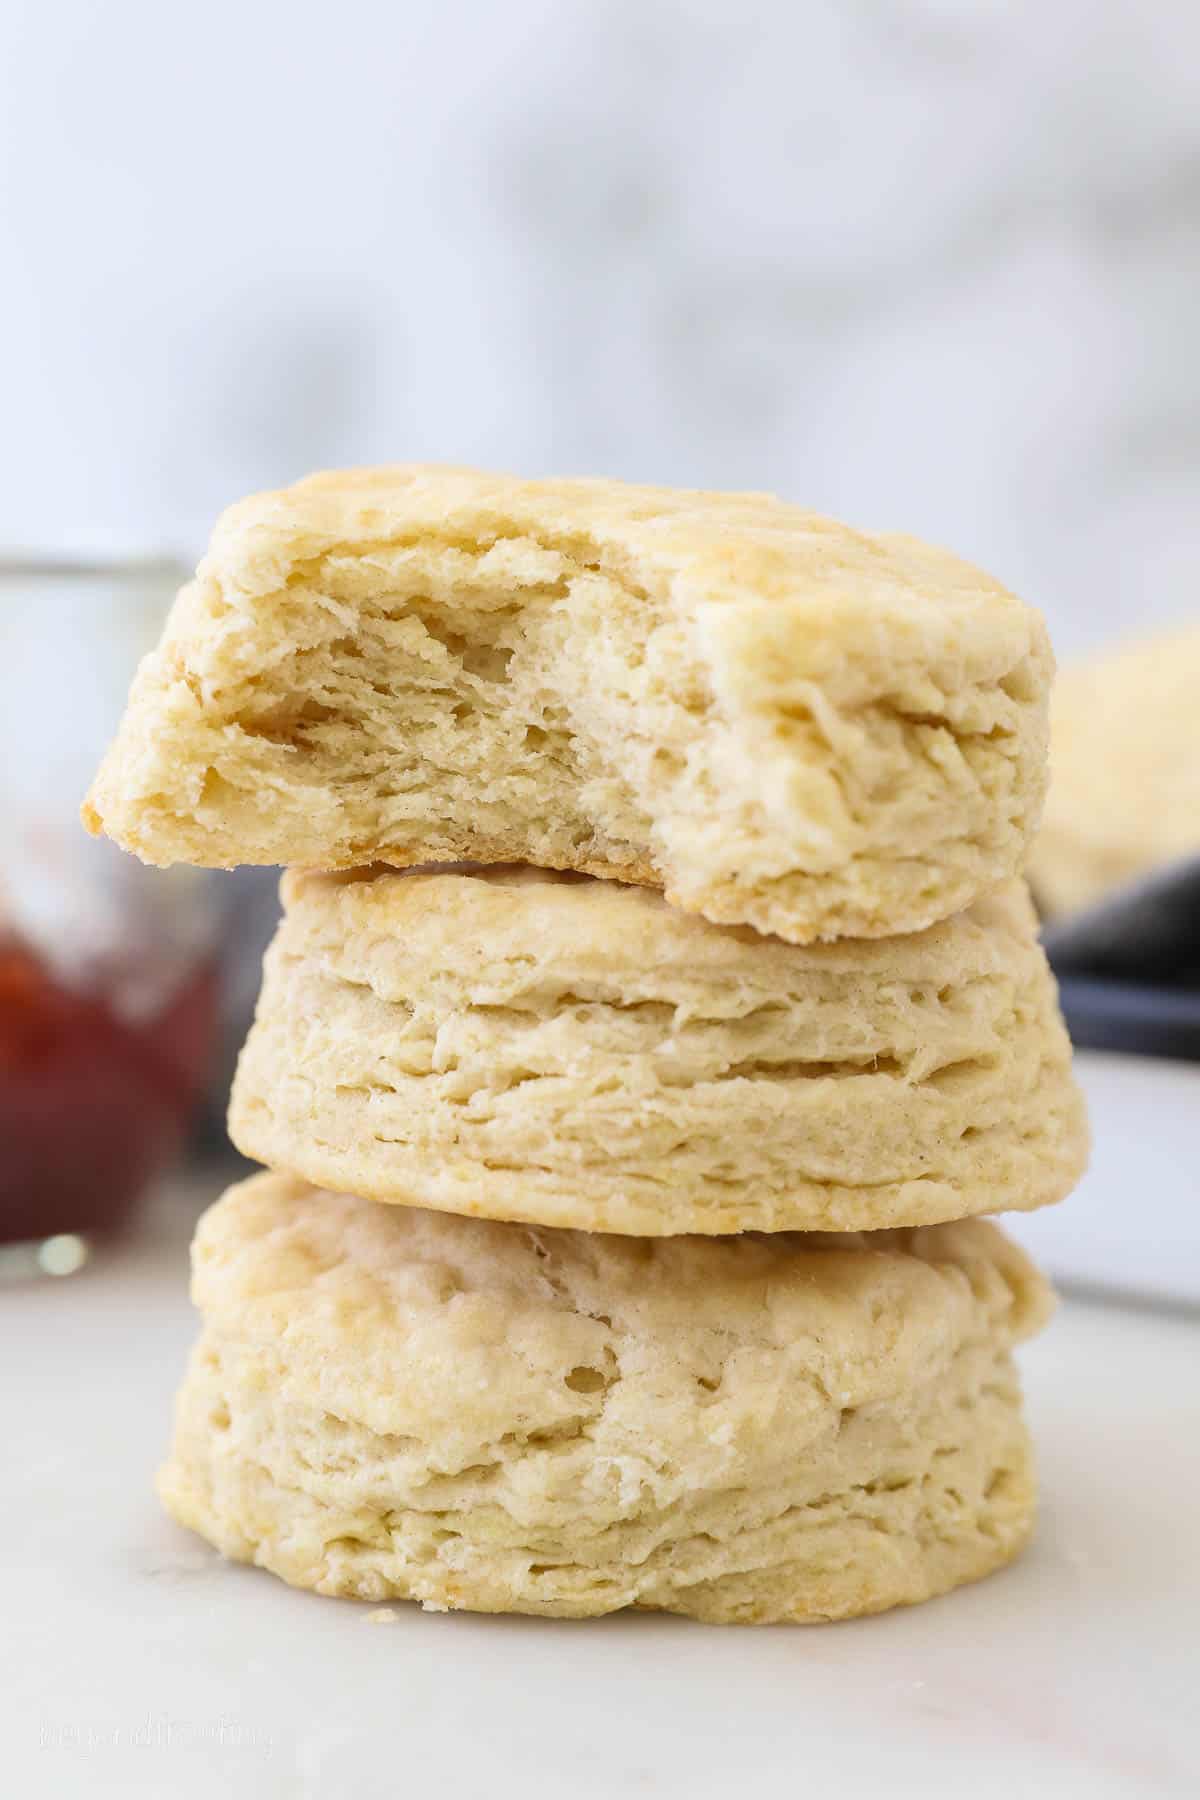
The flaky layers created from the cold butter and shortening make biscuits with a pillowy soft crumb.
My Grandma’s original recipe called for only using shortening. Instead, I chose to use a combination of both butter and shortening. You get rich flavor from the butter while still achieving the softness and flakiness that shortening.
Biscuits Ingredients
Here is all you will need to make buttermilk biscuits from scratch.
- All-purpose flour
- Baking powder
- Baking soda
- Salt
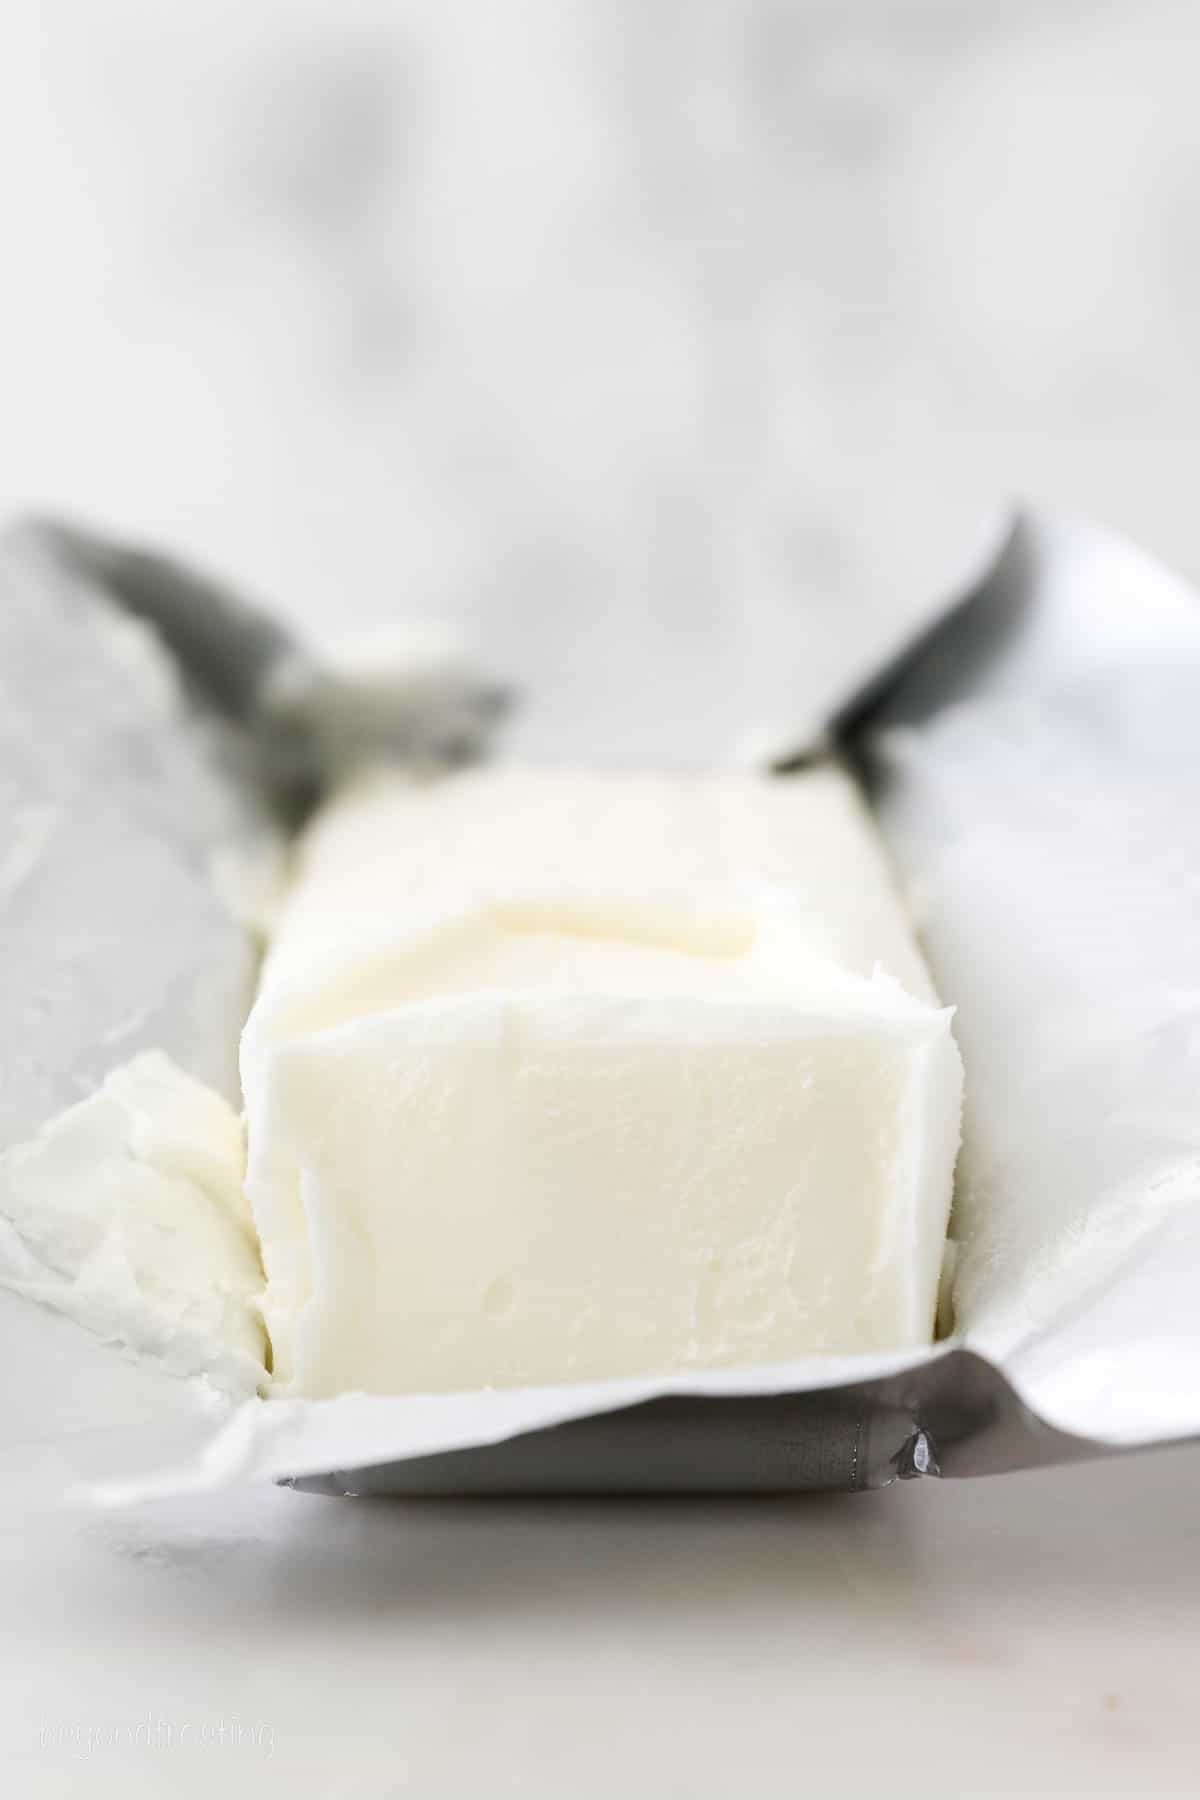
- Butter – Unsalted and chilled.
- Vegetable shortening – Chill in the fridge for 20 minutes.
- Buttermilk – Cold
Buttermilk reacts with the baking soda to give the biscuits that fluffy rise. It also adds a pleasant tangy taste and some richness to the flavor of dough.
Shortening has a higher melting point than butter while also traps air bubbles. The biscuit dough will rise higher and has a softer, airier texture.
Let’s Bake Some Biscuits!
Follow these steps for light and flaky biscuits that would make my grandma proud.
- Prep your tools. Preheat your oven to 375°. Line baking sheet with parchment paper.
- Whisk together dry ingredients. Use a large mixing bowl.
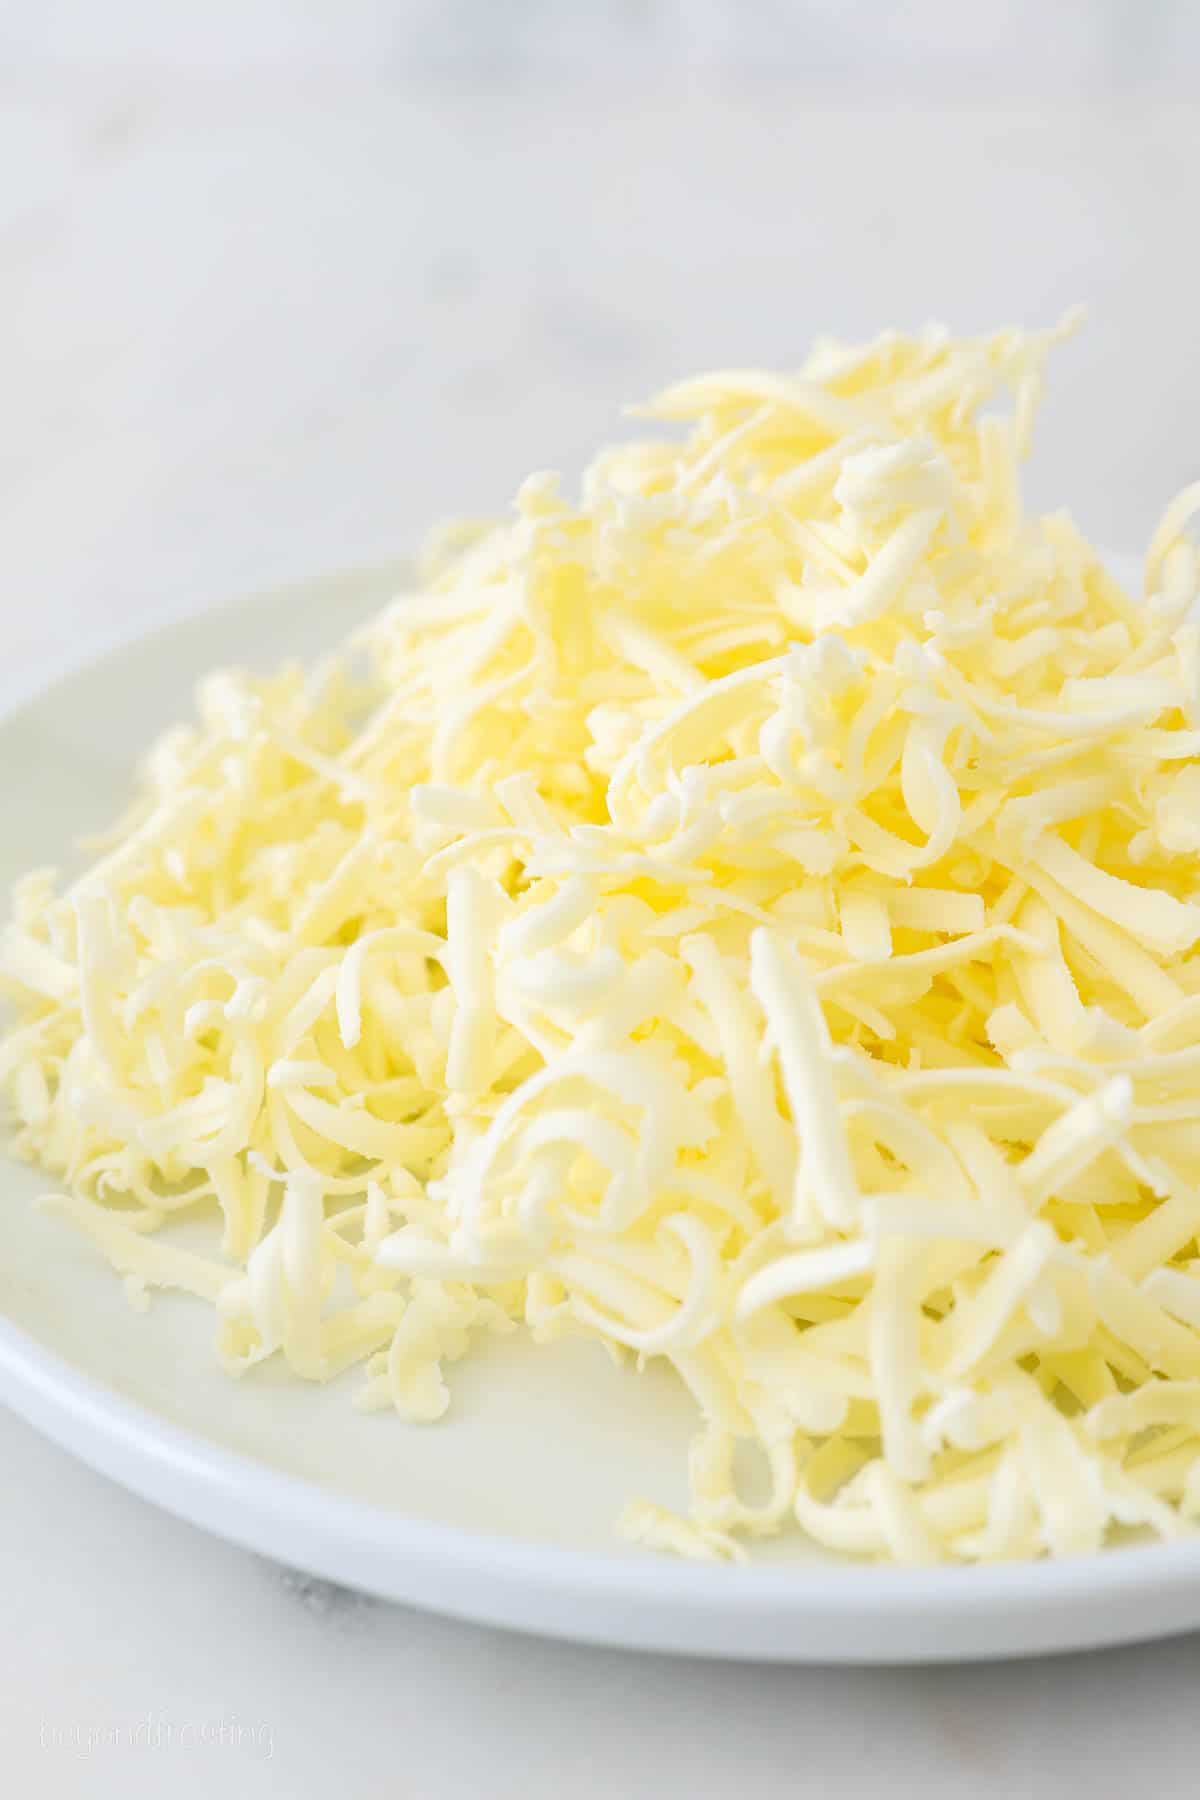
- Prep the butter and shortening. Use a large cheese grater to shred the butter, then cube shortening into small chunks.
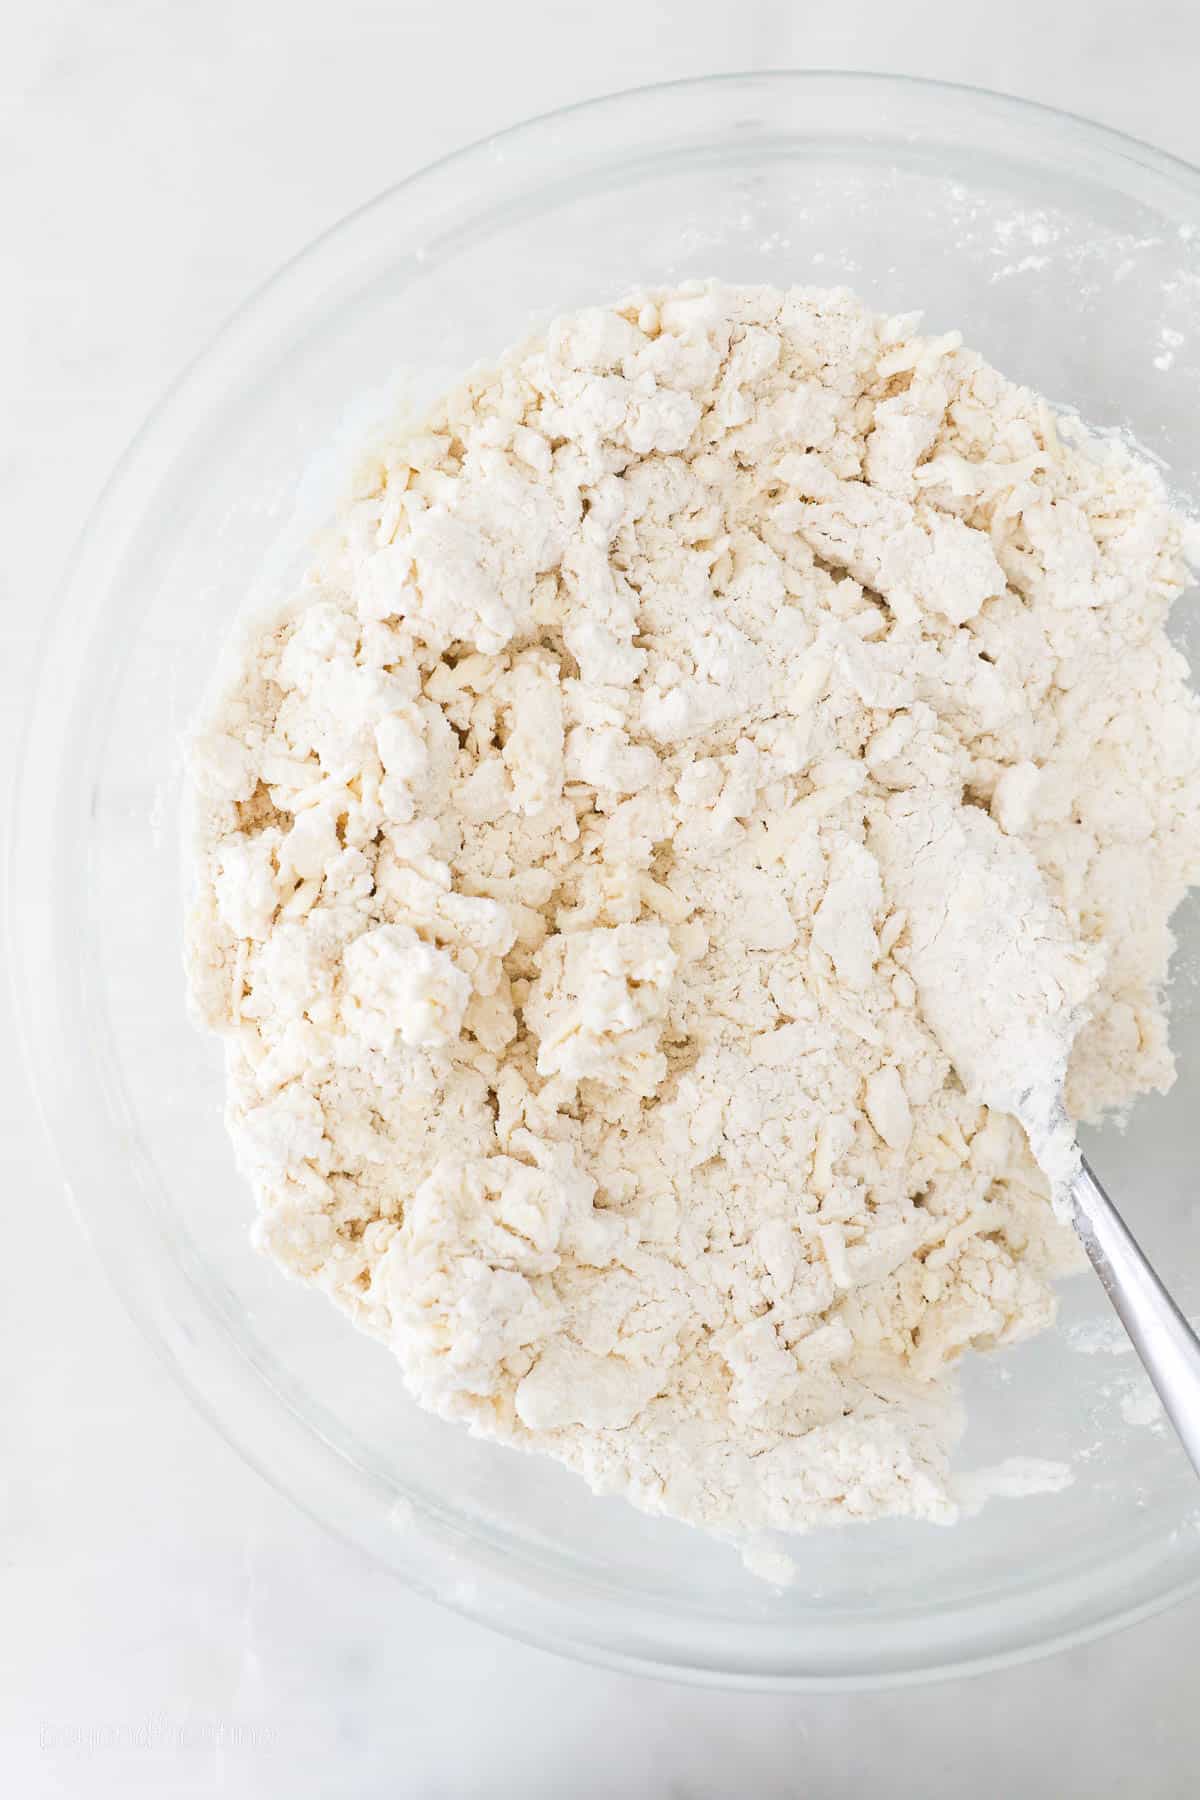
- Cut the butter and shortening into the flour mixture. You can use a pastry cutter or two forks to combine the butter and shortening with the flour mixture. Work quickly until the butter and shortening are the size of peas. The mixture will be coarse and crumbly.
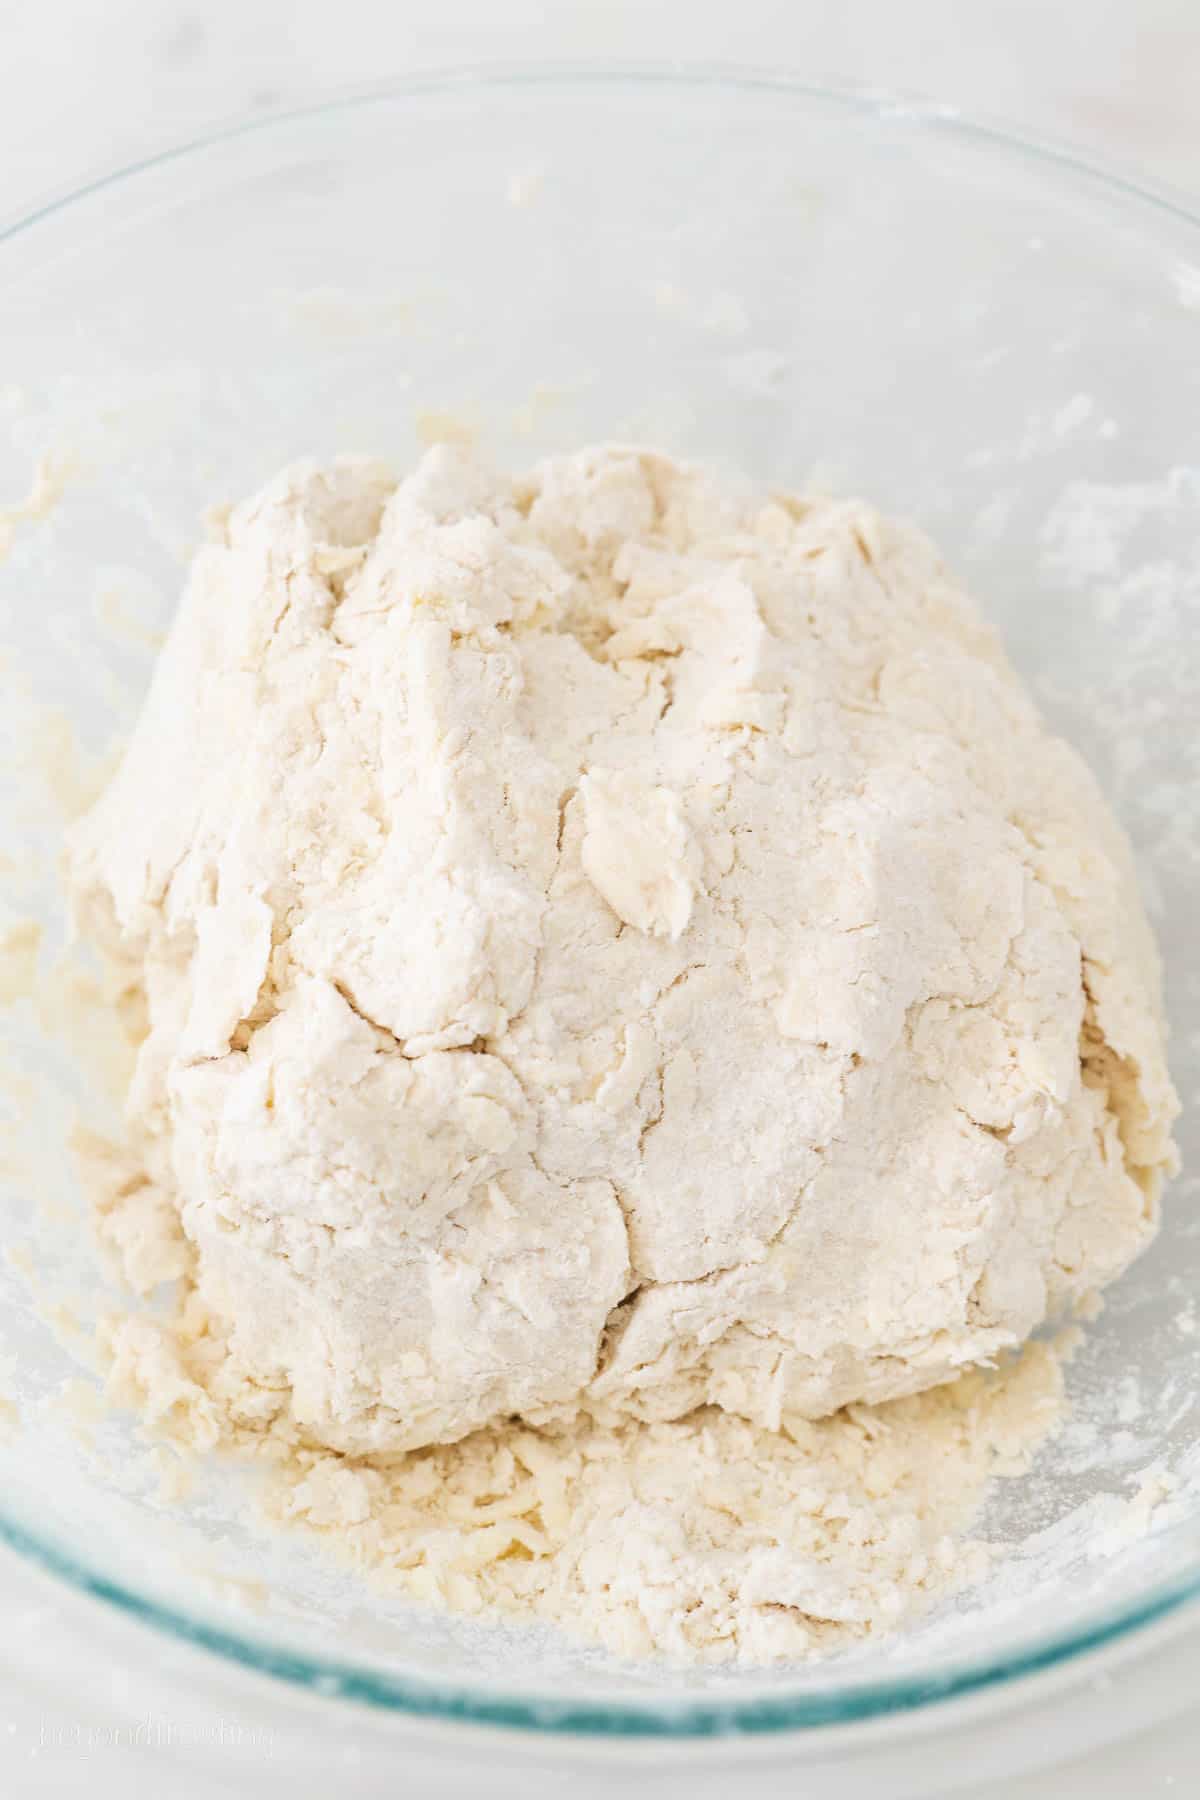
- Add the buttermilk. Slowly add the buttermilk and stir with a spatula. You want the dough to just come together into a rough ball. If needed, add an additional tablespoon of buttermilk to absorb any dry ingredients.
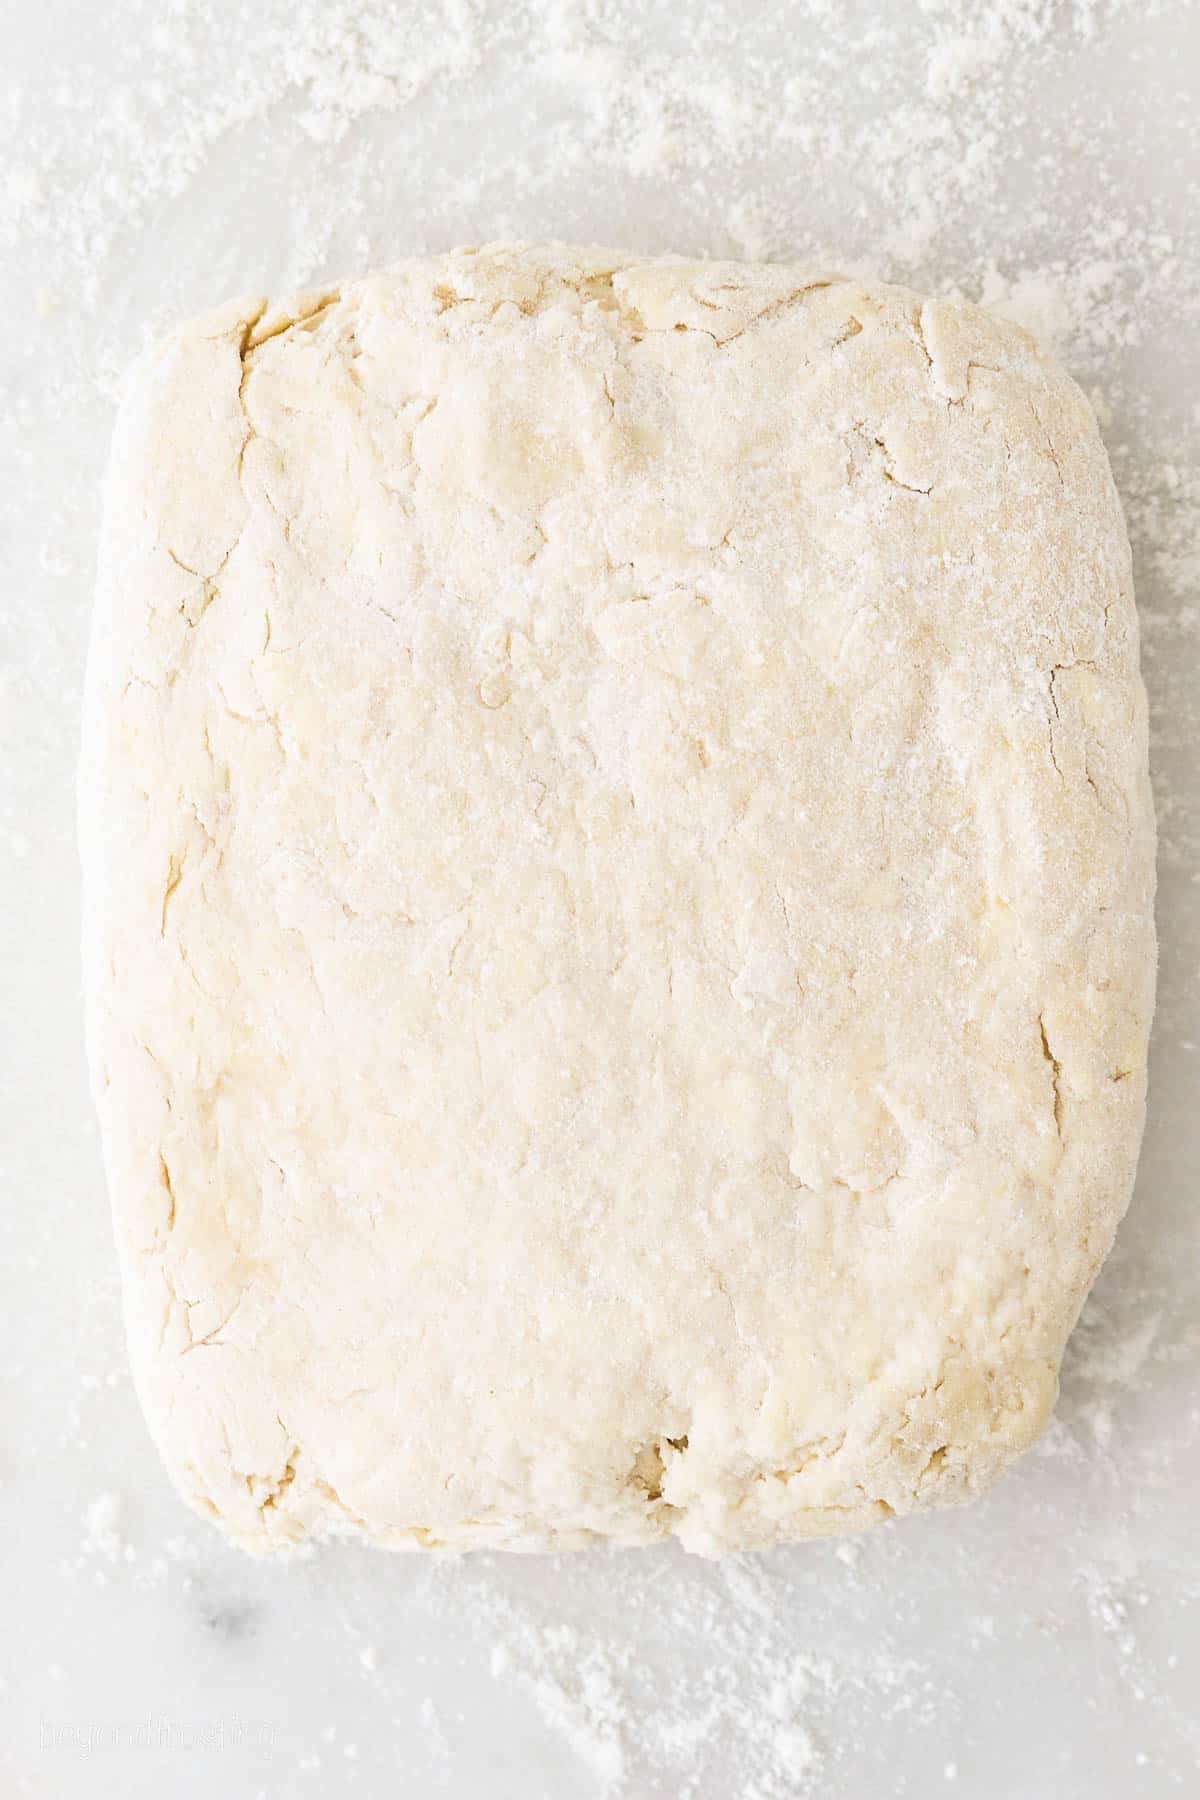
- Turn dough out of bowl. Transfer onto a clean, well-floured surface.
- Shape the dough into an initial rectangle.
- Divide the dough into thirds visually.
- Fold the dough inward. Take the two ends, bring into the middle, and press back into one large rectangle.
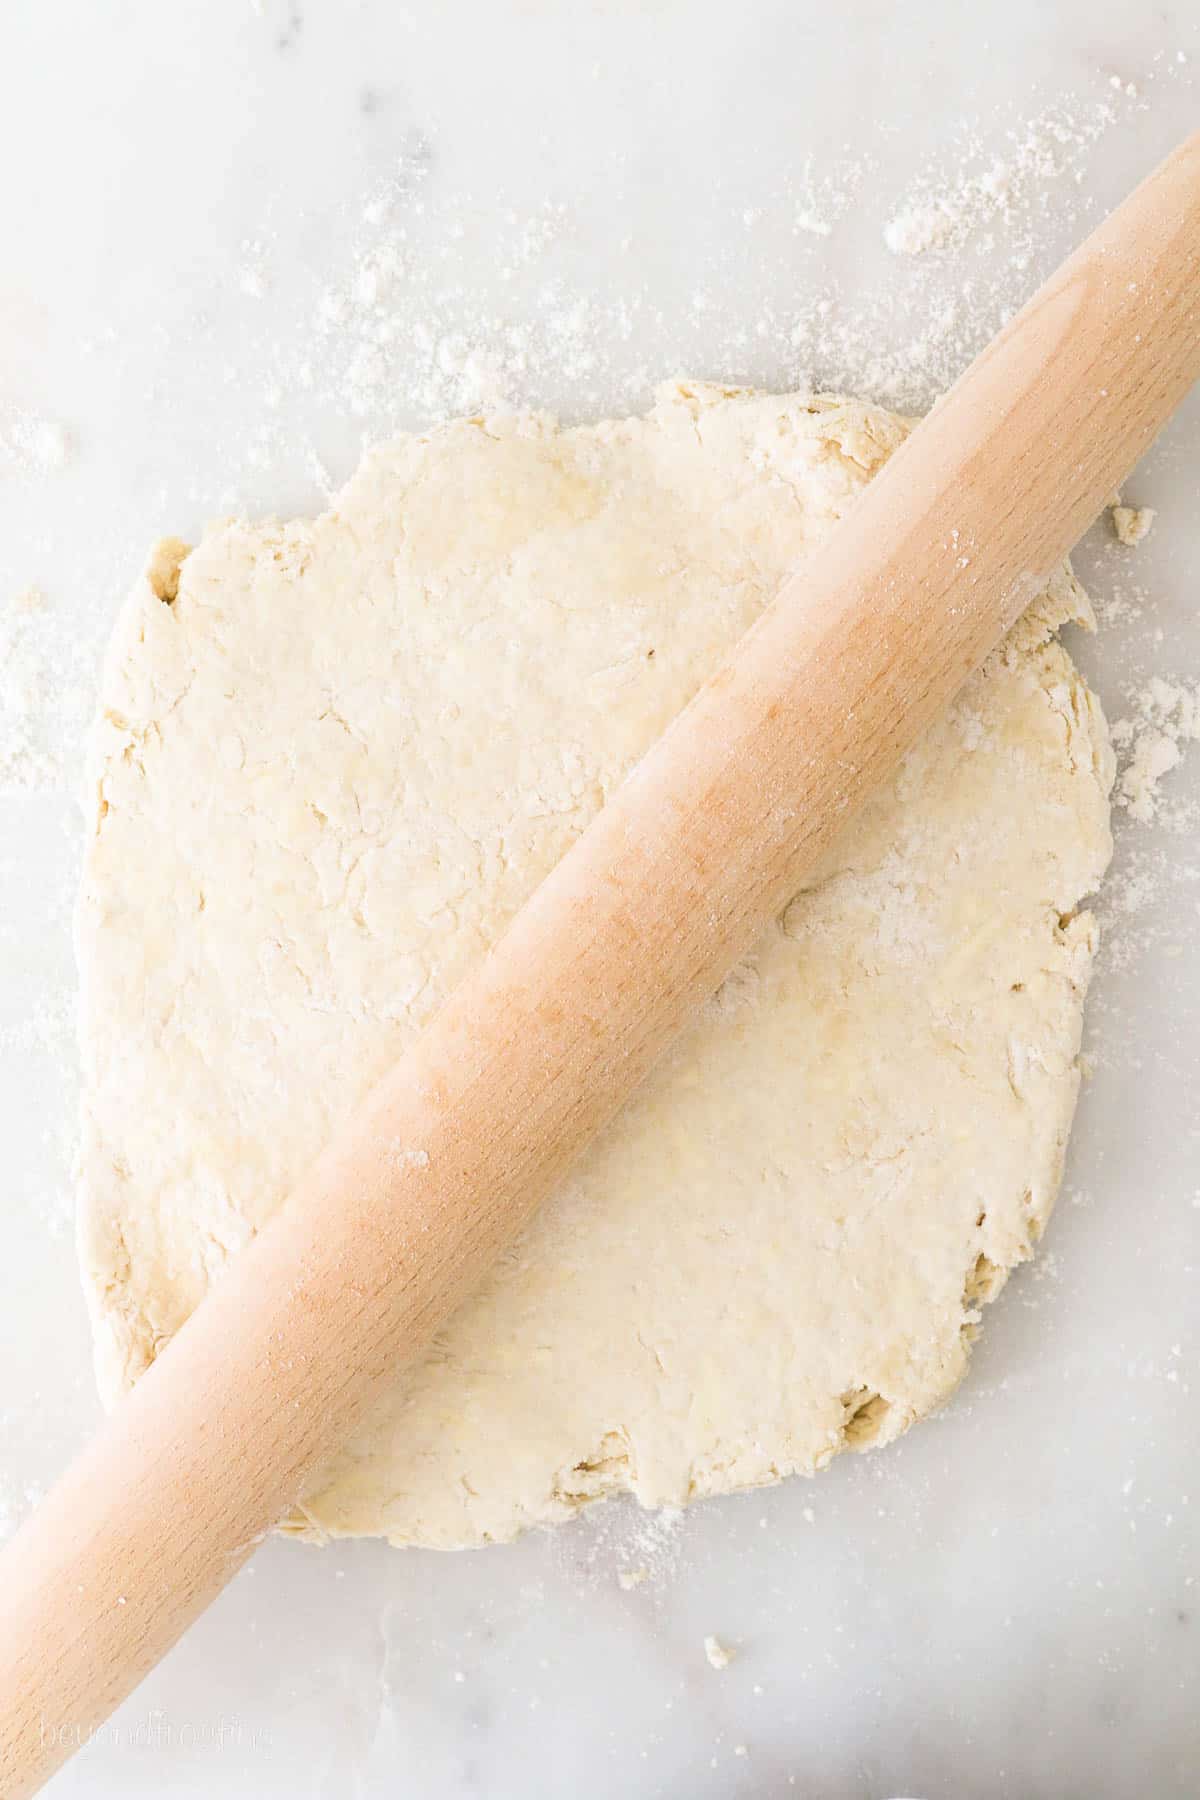
- Gently roll out your dough. Use a rolling pin to achieve a 1-inch thickness.
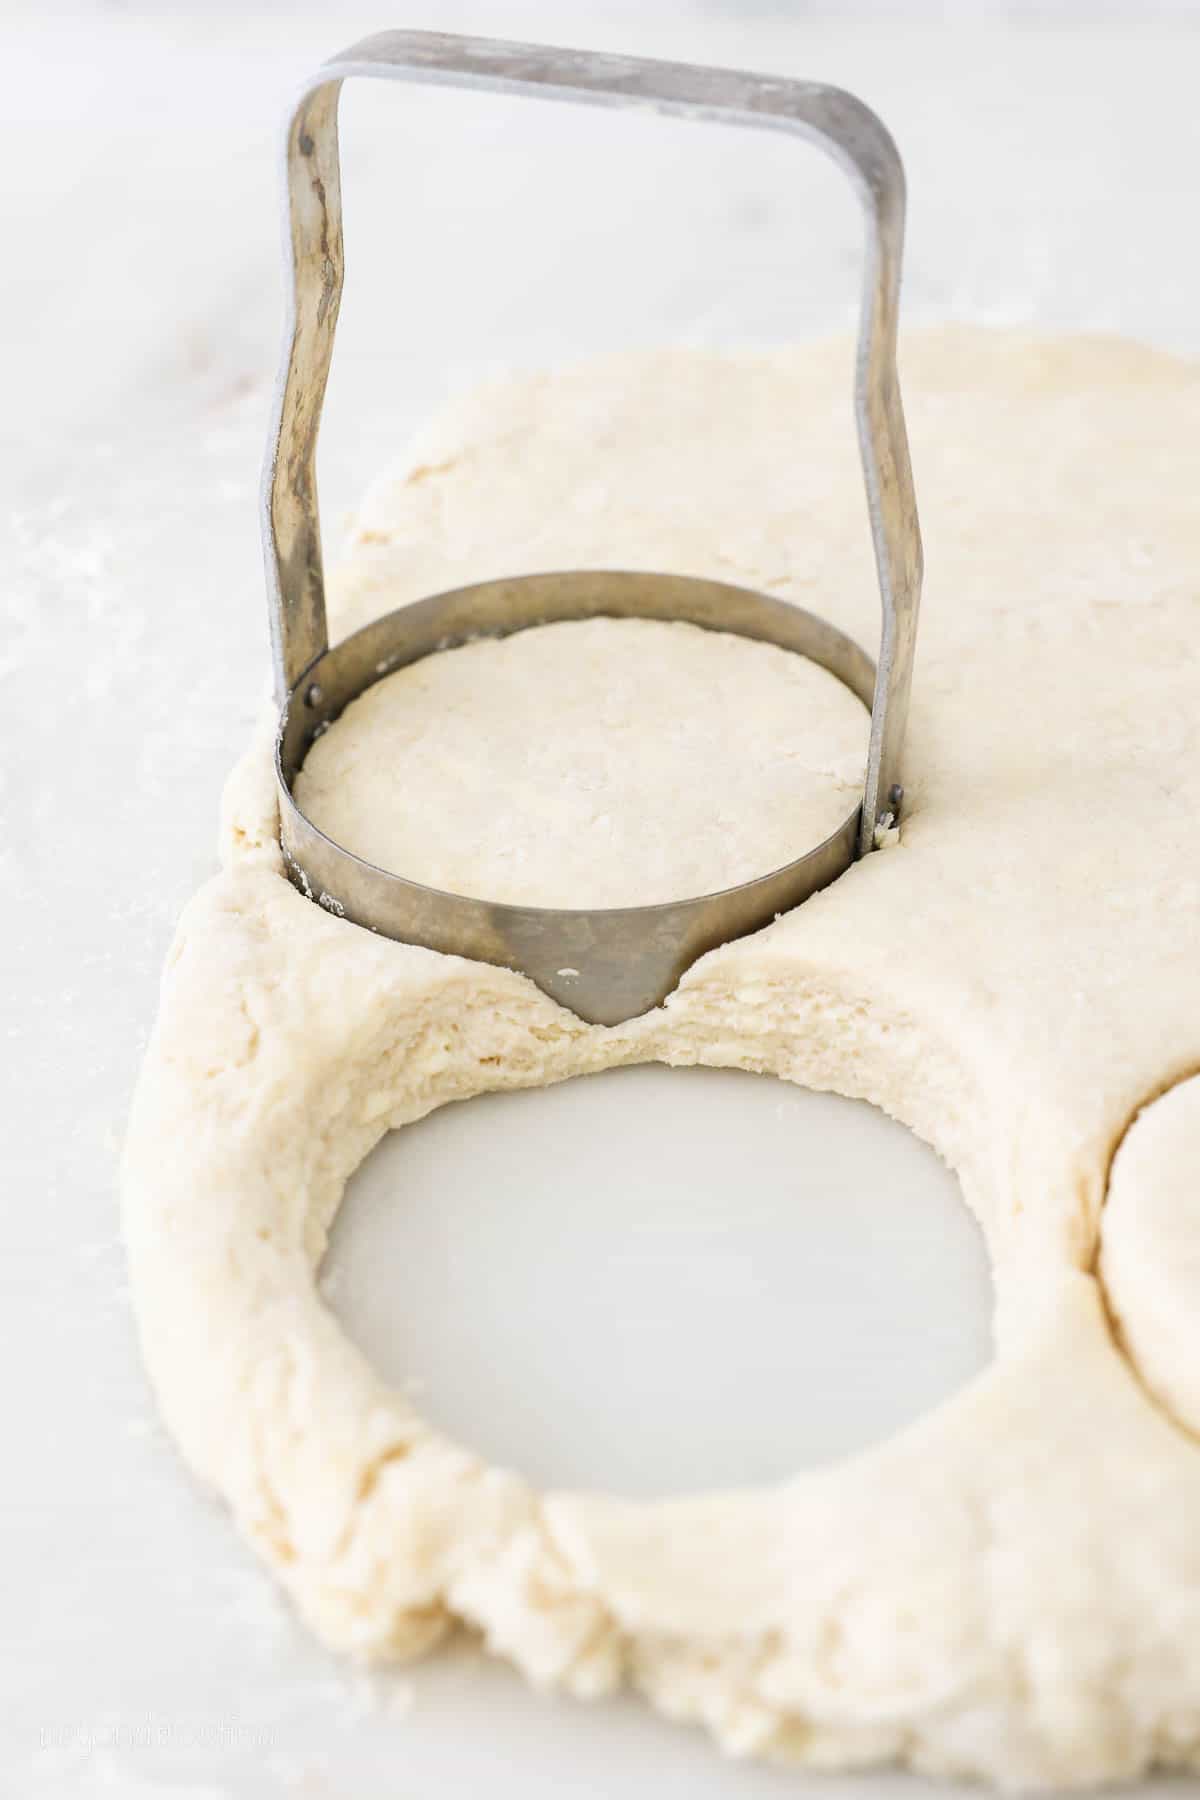
- Cut out biscuit dough. Use a biscuit cutter or glass.
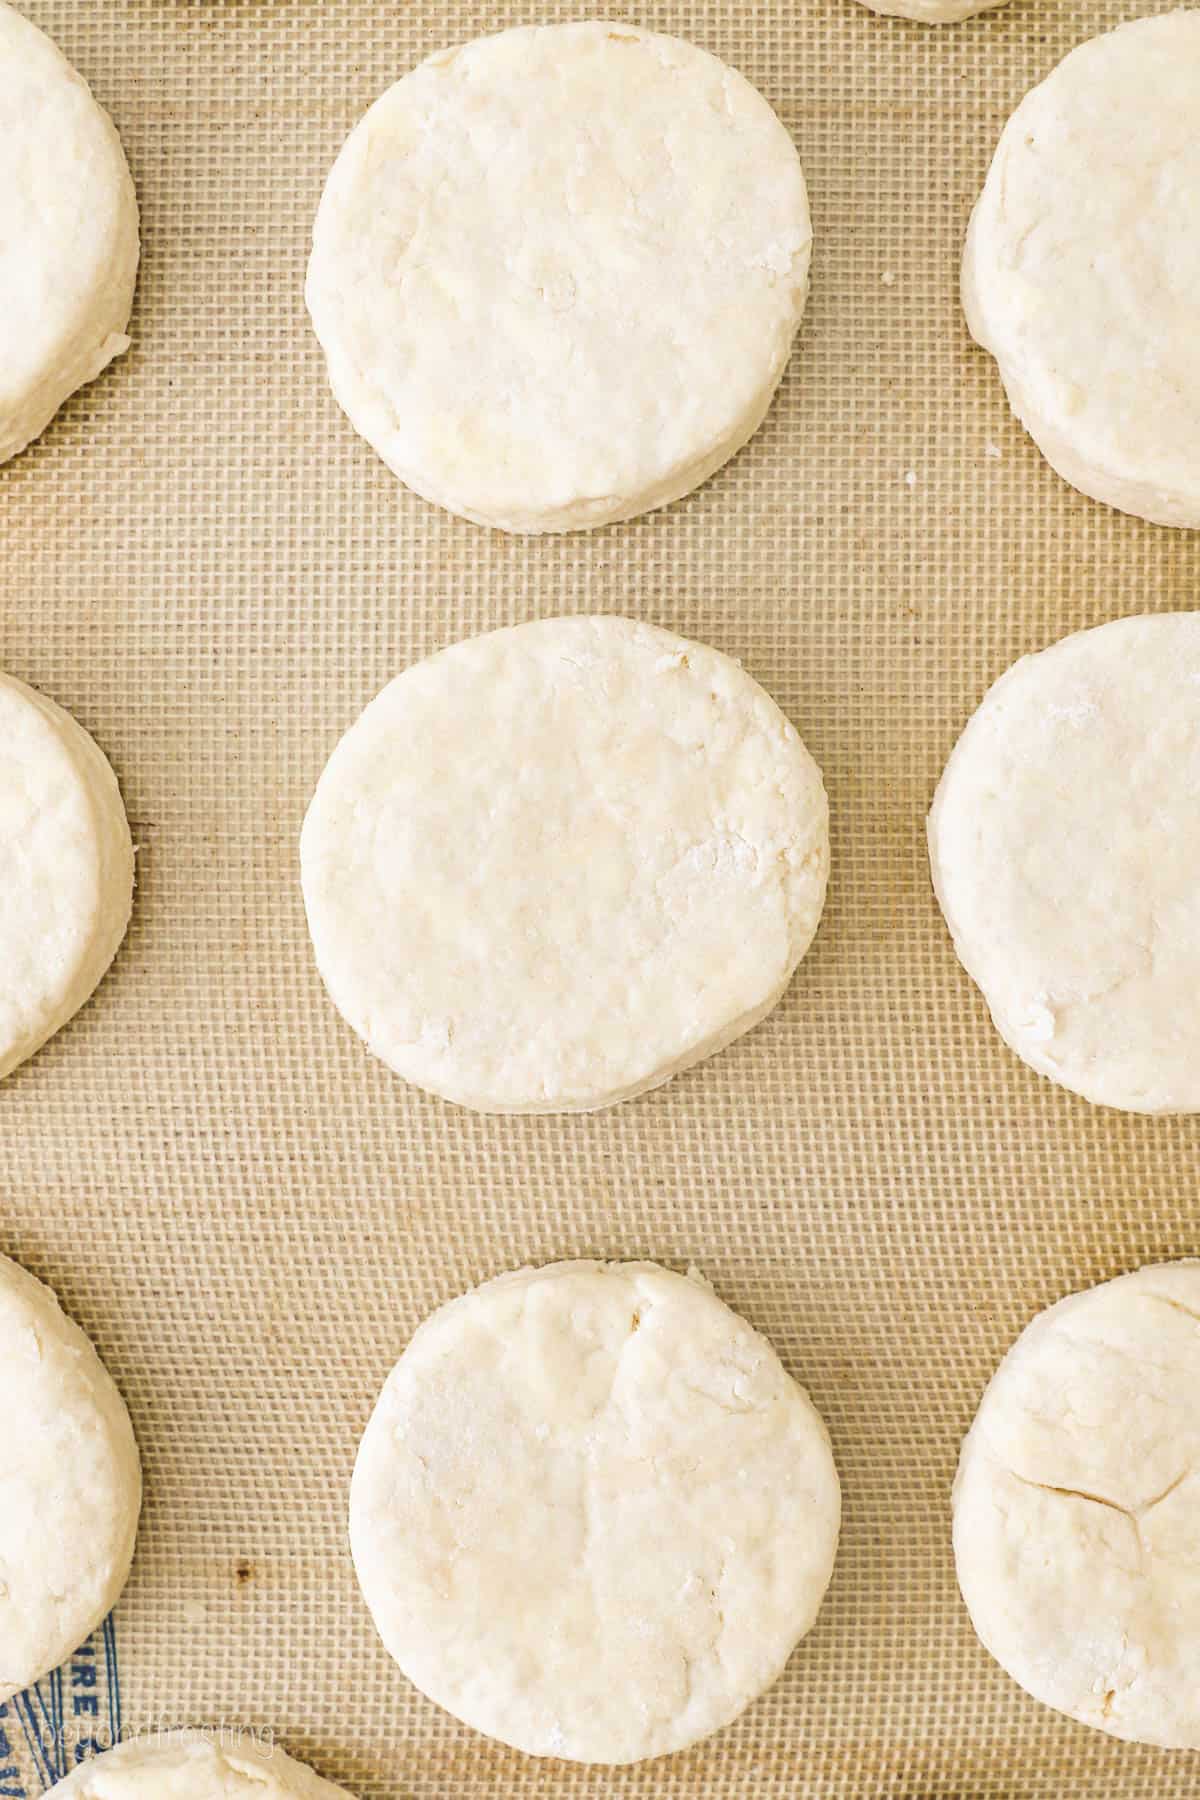
- Gently pat excess dough back together. Continue cutting out the biscuits until there’s no dough remaining. Place on the prepared baking sheet.
- Bake. Use the middle oven rack for 12-18 minutes, or until the tops start to turn brown.
- Once baked, remove from the oven. Transfer a wire cooling rack. Serve warm.
Important Recipe Tips
Let’s take any intimidation out of making buttermilk biscuits from scratch. Here are some tips so you can always rise to the occasion.
- Read through the whole recipe. Each step is important. Familiarizing yourself first will set you up for success.
- Don’t overwork the dough. When rolling out your biscuits, handle the dough as little as possible. Overworking will melt the butter and this prevents getting flakey layers.
- Grating is great. Using a cheese grater for the cold butter helps work the butter into the dough and will prevent it from getting soft too quickly.
- Chill the Crisco too. Shortening typically is stored at room temperature. Place in fridge for 20 minutes before using.
- Halve it. You can easily cut this recipe in half to make 6-7 biscuits.
Serve Your Buttermilk Biscuits With…
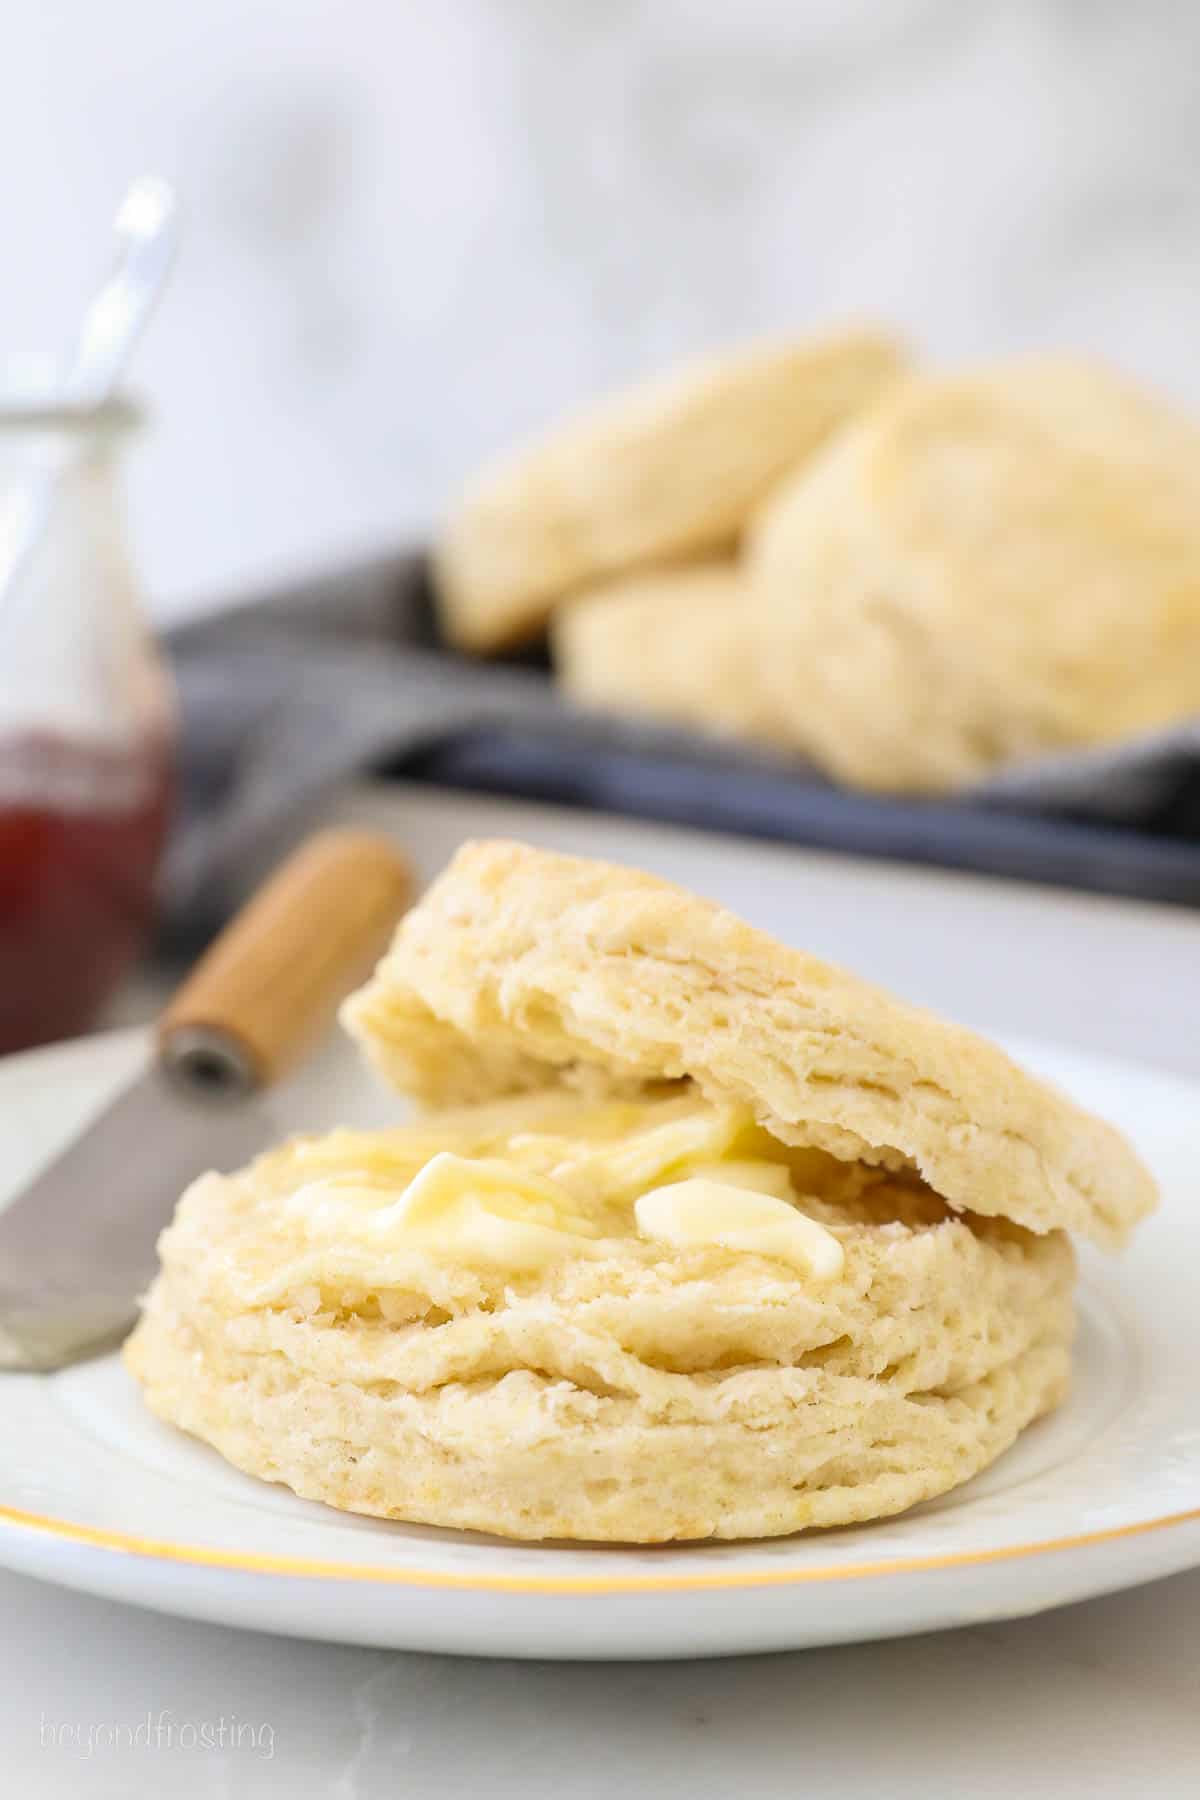
These buttermilk biscuits are versatile – they can be enjoyed in many ways.
- Warm and slathered with good-quality softened butter.
- Sweetened by drizzling with honey or spread with fruit preserves or jam.
- Covered in sausage gravy.
- Make a breakfast sandwich. Simply layer a sliced biscuit with crispy bacon, egg, and cheese and then call it: you’ve won at life today.
Storing, Warming, and Freezing
Leftover buttermilk biscuits can easily be stored and then reheated, here’s how.
- Counter: Once cooled, biscuits may be stored in an airtight container or zipped-top bag for 3 days.
- Freezer: Wrapped well in plastic wrap or foil they can be frozen for up to a month.
- Reheat: In the microwave for 15-20 seconds.
More Bread Recipes You Should Try
Once you’ve mastered the basics, you might be ready to try something a little different. Here’s a few of my favorites.
Print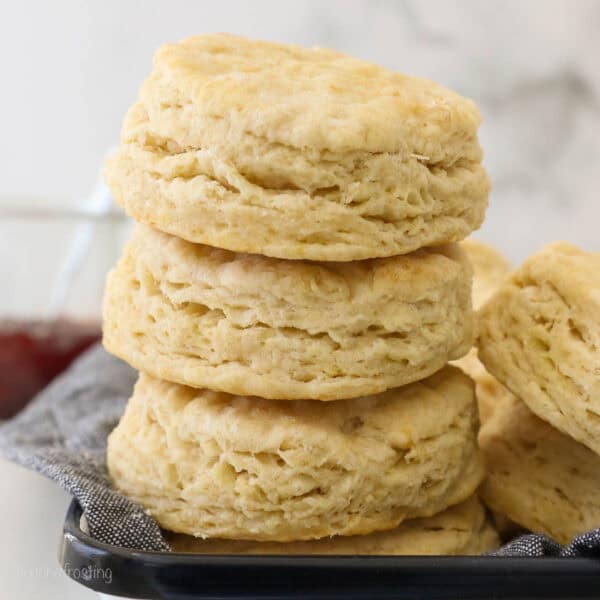
Easy Buttermilk Biscuit Recipe
- Prep Time: 15 minutes
- Cook Time: 18 minutes
- Total Time: 33 minutes
- Yield: 10-12
- Category: Bread
- Method: Oven
- Cuisine: American
Description
These scratch-made Buttermilk Biscuits are tall, soft, flaky, and easy to learn how to make.
Ingredients
- 3 ½ cups (420 g) all-purpose flour
- 7 teaspoons (26g) baking powder
- ½ tsp baking soda
- ½ teaspoon salt
- ½ cup(113g) unsalted butter, cold
- ¼ cup(48g) vegetable shortening, cold
- 1 cup(236ml) + (1-2 tbsp as needed) buttermilk, cold
Instructions
- Preheat the oven to 375°. Line a baking sheet with parchment paper. Set aside.
- In a large mixing bowl, combine all the dry ingredients and whisk together.
- Grate the butter using a large cheese grater and cut the vegetable shortening into smaller cubes. Using a pastry cutter or two forks, cut the butter and shortening into the flour mixture until the mixture is crumbly in texture.
- Slowly add the buttermilk, mixing with a spatula until the dough comes together in a rough ball. If needed, add an additional 1-2 tablespoons of buttermilk to absorb the remaining dry ingredients.
- Turn the dough out onto a clean, well-floured surface. Press into a rectangle, then visually divide into thirds and fold the two ends into the middle to form one large rectangle. Then press the dough out into a rectangle again.
- Gently roll out until it’s about 1 inch thick. Use a biscuit cutter or glass to cut out as many biscuits as you can. Press the excess dough back together and continue cutting out the biscuits until there’s no dough remaining. Place the biscuits on the prepared baking sheet.
- Bake in the middle rack of the oven for 12-18 minutes, until the tops start to turn brown. Once baked, remove from the oven and place on a wire cooling rack. Serve warm.

Notes
- Storing: Biscuits may be stored in an airtight container or baggie for up to 3 days. Reheat in the microwave for 15-20 seconds.
- Shortening substitute- cold butter may be used instead
Nutrition
- Serving Size: 1
- Calories: 258
- Sugar: 1.1 g
- Sodium: 179 mg
- Fat: 13 g
- Carbohydrates: 32.1 g
- Fiber: 1.1 g
- Protein: 4.5 g
- Cholesterol: 22.6 mg


Love receiving your easy Recipes !
Always something new for me
Can’t wait to try a new Recipe for Chrisrmas Eve.
Felicity Isserow Cape Town
Enjoy!