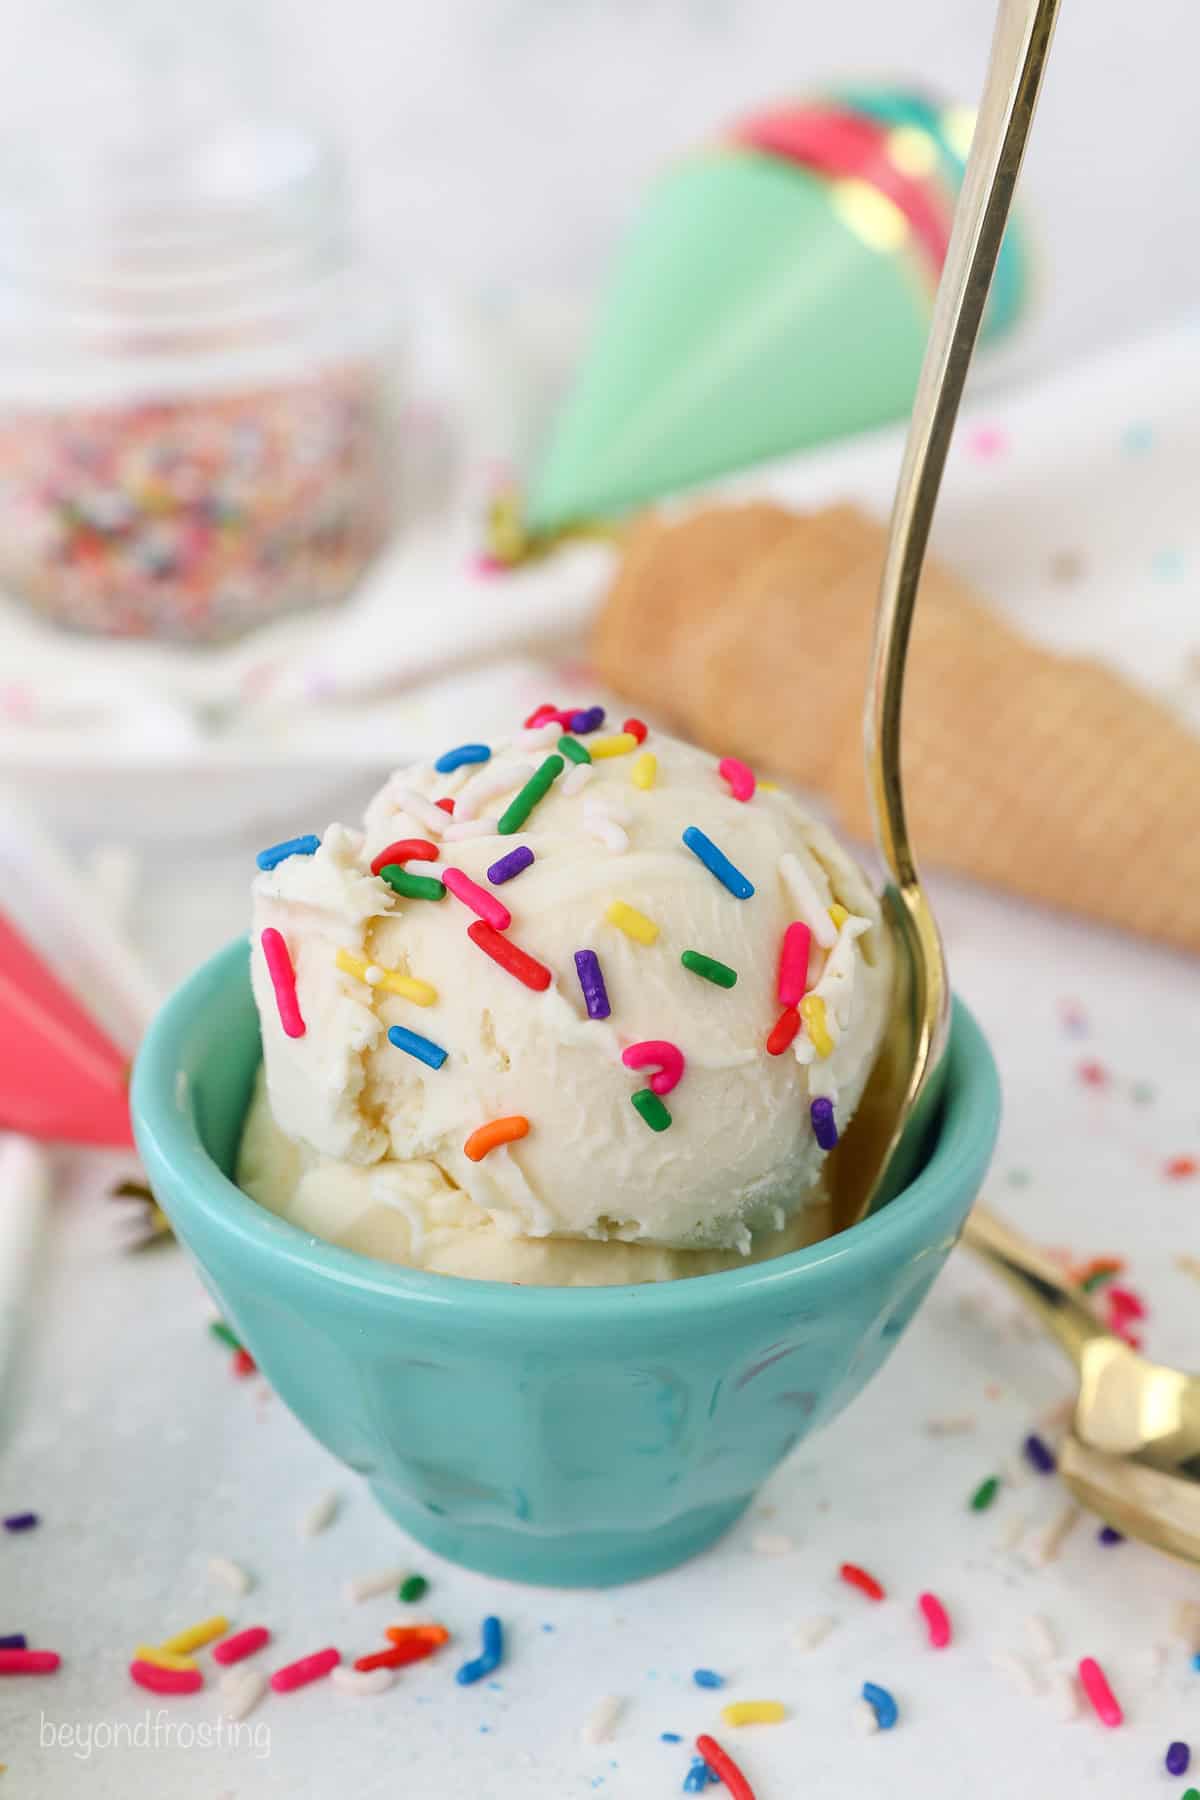
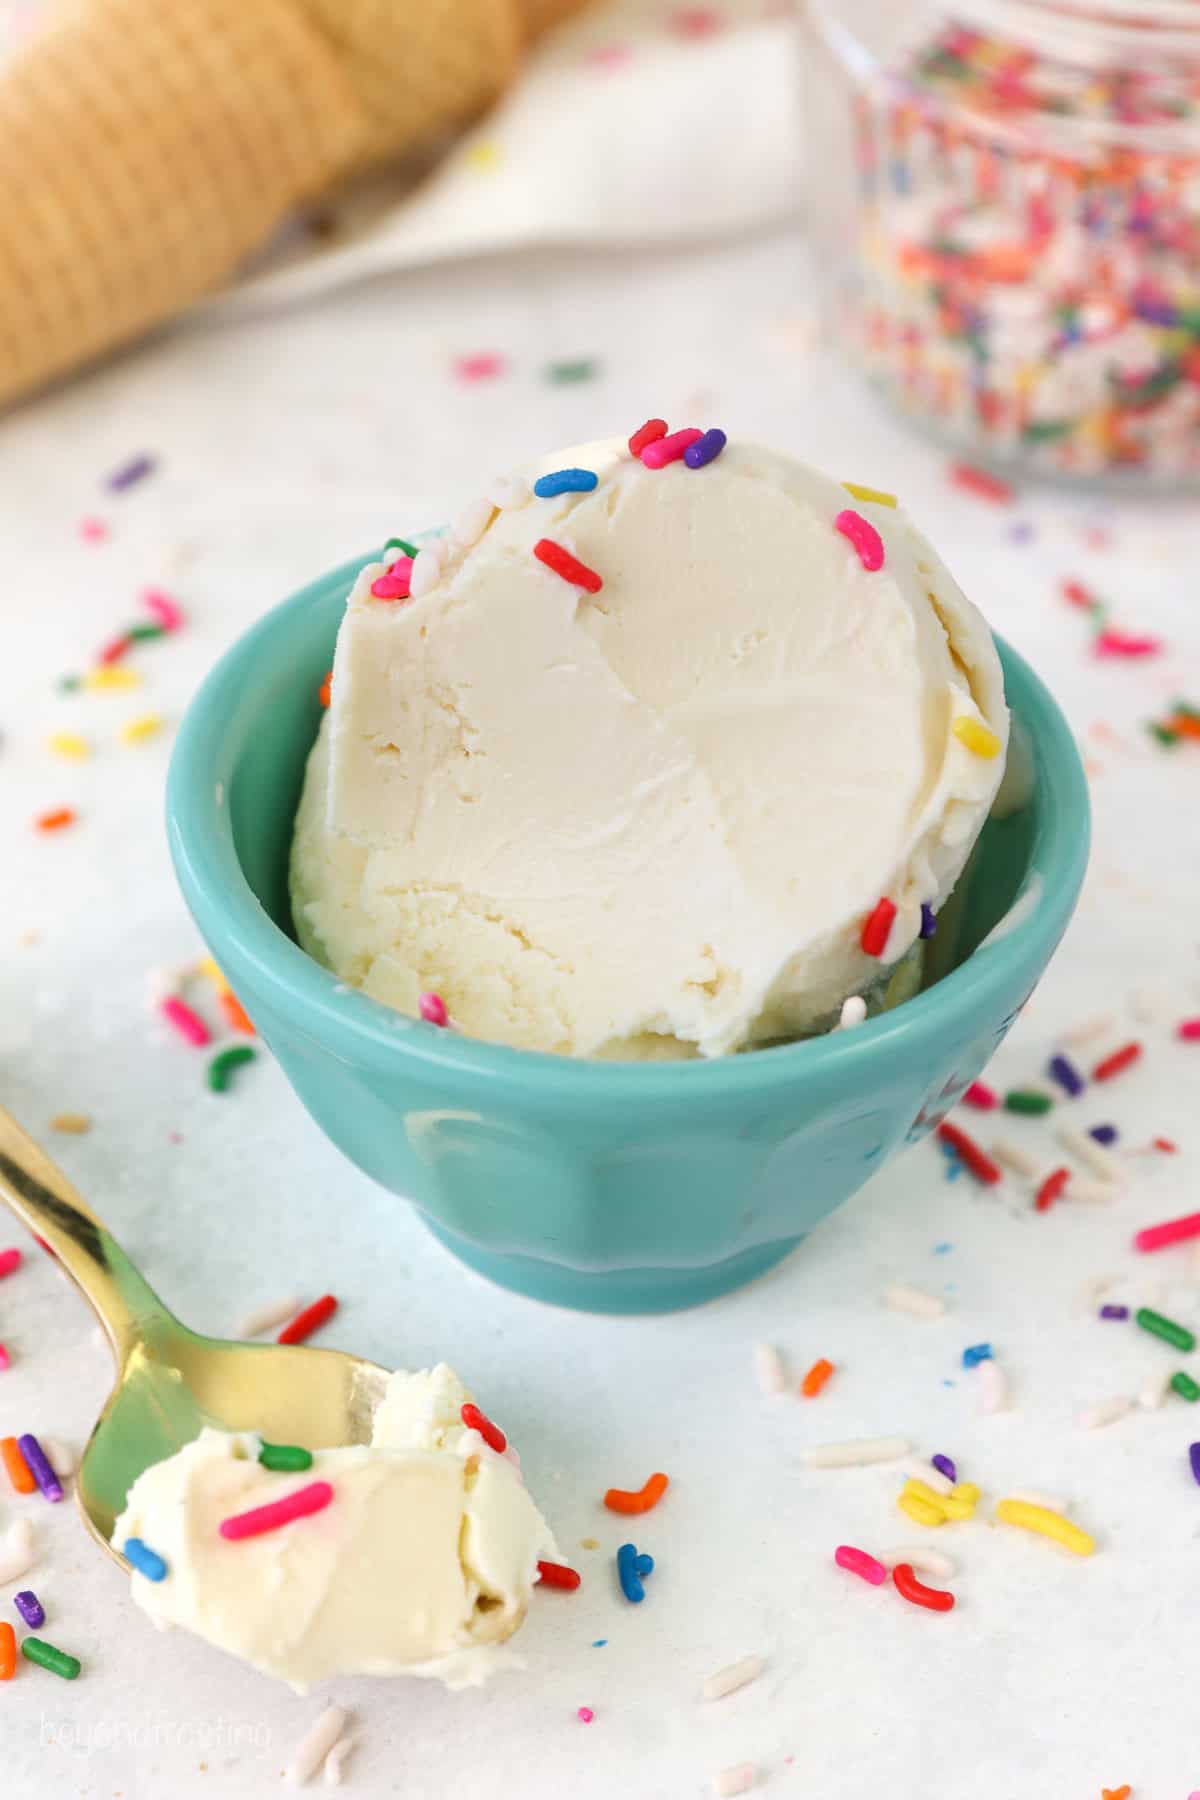
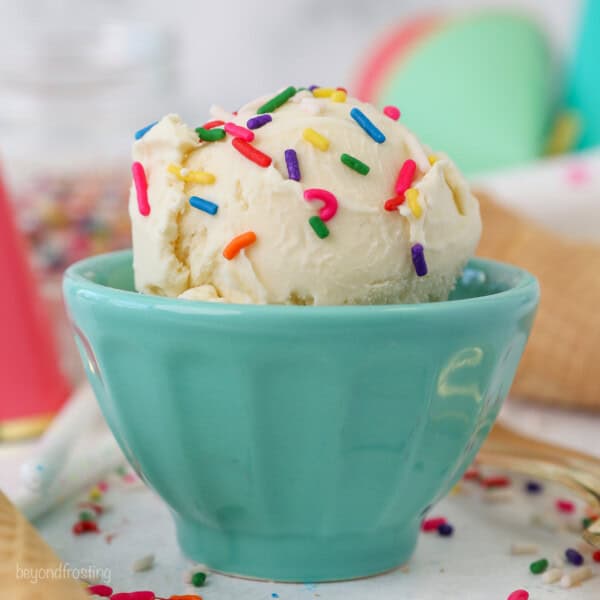
This irresistibly smooth Cake Batter Ice Cream made in the Ninja Creami captures the nostalgic flavor of licking the cake batter bowl clean —the perfect treat die-hard cake batter lovers.
This post is sponsored by American Dairy Association Mideast. All opinions are my own
Over the year, I have truly started to love ice cream, even more so than some baked goods, but I’ll admit I am a bit of snob when it comes to good ice cream, which is not hard to find here in Portland.
After last summer’s Funfetti Ice Cream Cake, my good friends over at the American Dairy Association Mideast asked me to whip up a new flavor of ice cream in the Ninja Creami, I was more than ready for the challenge.
My preschooler and I made a whopping eight batches of ice cream while testing this recipe. I also learned he doesn’t want sprinkles IN his ice cream, but instead of the side. If that is not a 4-year-old for you, I don’t know what is. If you know me, you know I love an opportunity to teach my kids in the kitchen, so we also watched this fun video on how ice cream is usually made and talked about how milk is transported from the farm to our fridge.
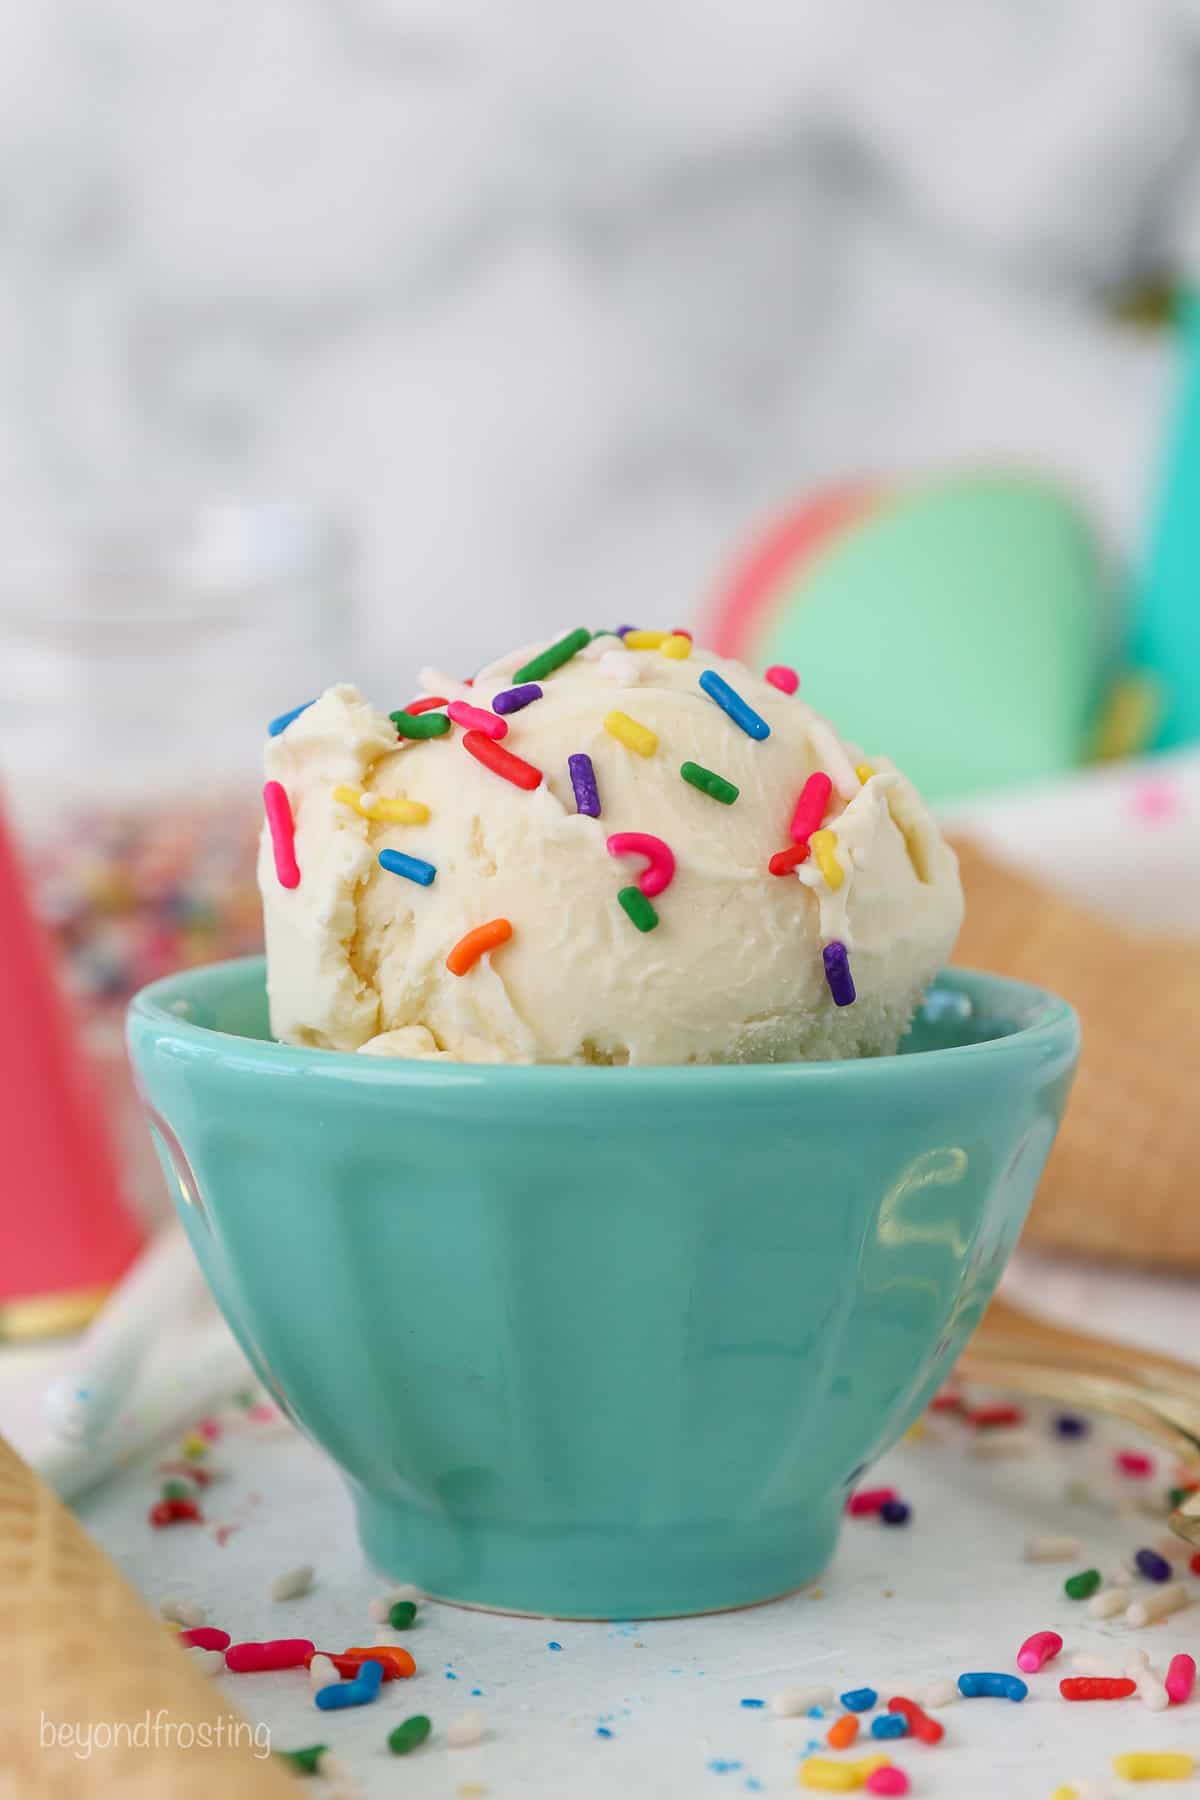
This Cake Batter Ice Cream is top-notch. It’s incredibly smooth and creamy which is something I find can be challenging with homemade ice cream. It’s got that distinct cake batter flavor without the artificial taste that can come along with cake batter desserts. If you’re looking for a new flavor, give this one a try.
This recipe uses a combination of milk and heavy cream. When used together, the two have the highest content of milkfat which makes for a delicious and creamy ice cream base. Milk in particular offers a unique combination of 13 essential nutrients, including vitamin A, vitamin D and provides high-quality protein.
I just have to say one more thing, I get the hype. The Ninja Creami is going to be putting in some work this summer as I explore the endless flavor possibilities.
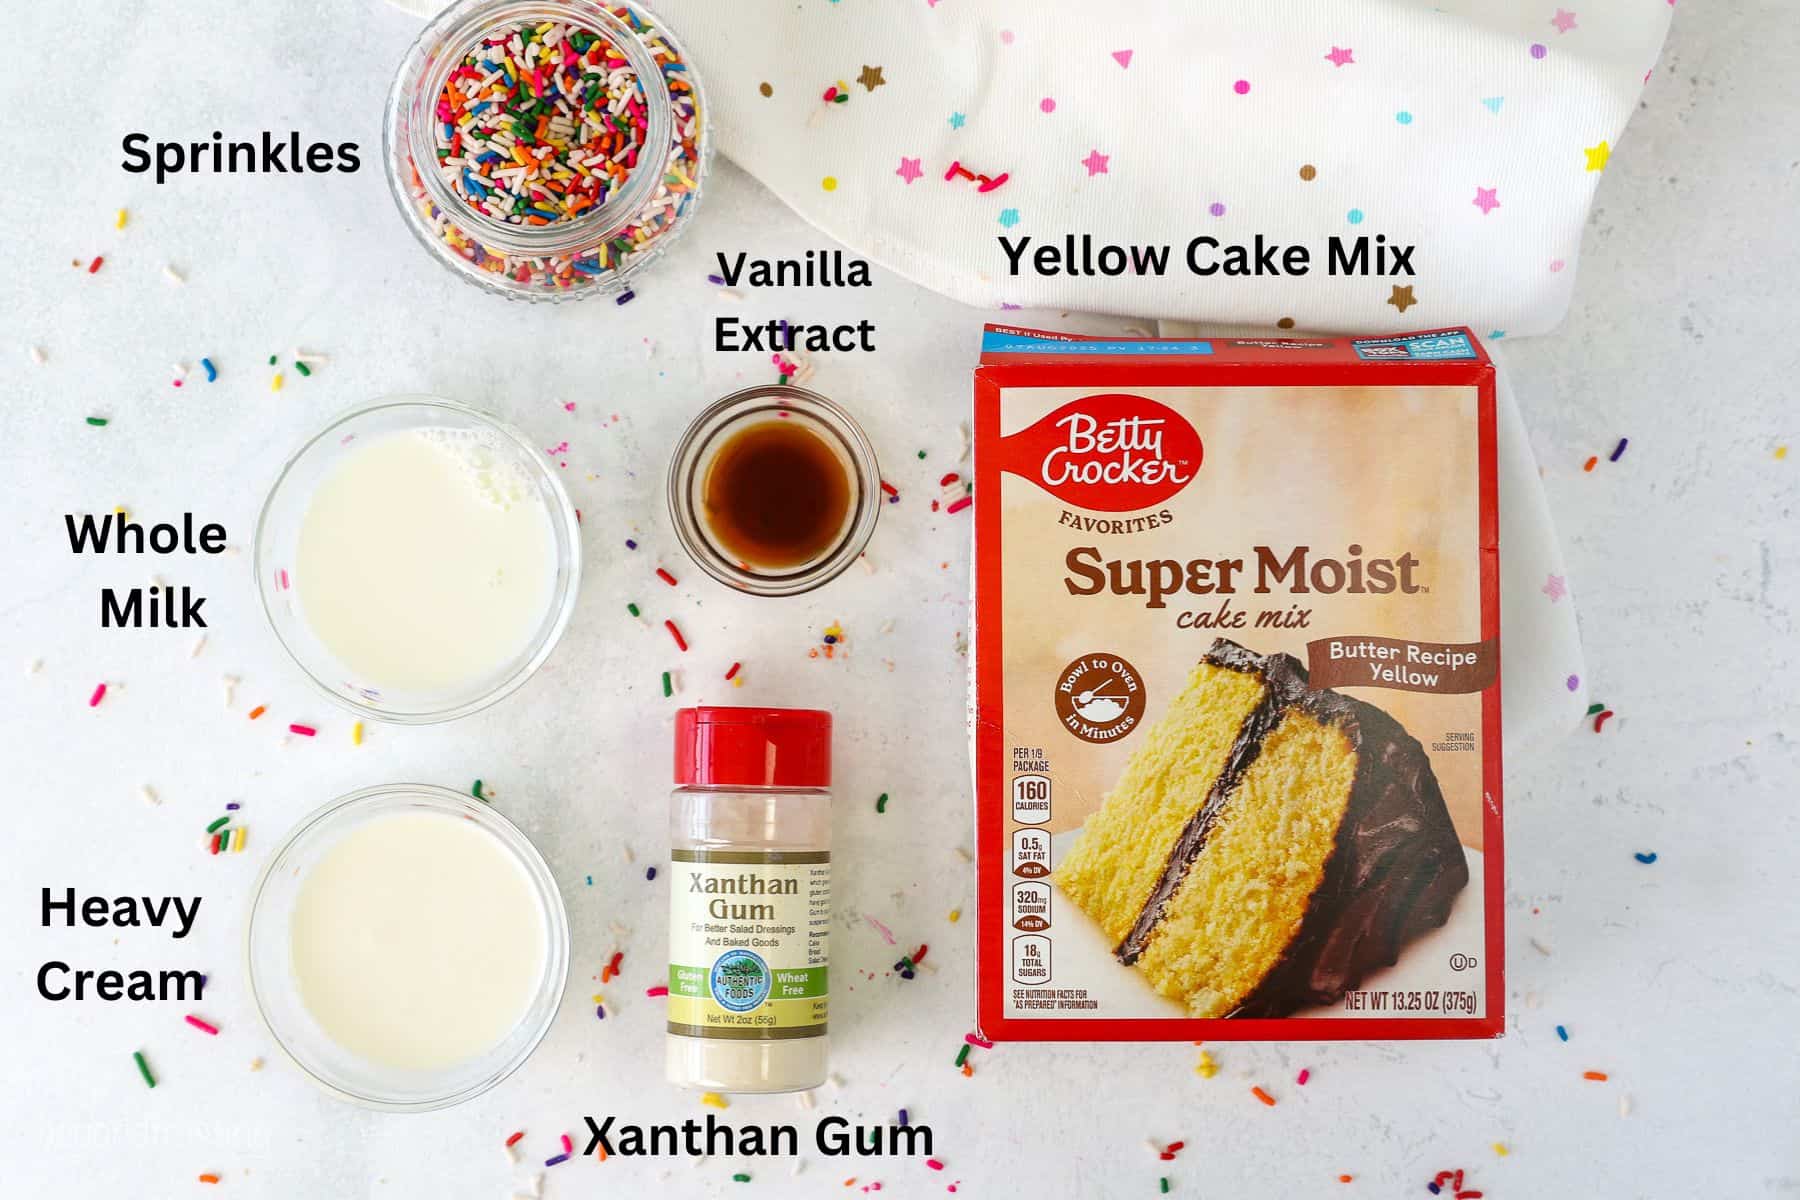
Ingredients and Notes
I did a ton of recipe testing and flavor combinations to capture an authentic cake-batter taste. Scroll to the bottom of this post for the full recipe card.
- Yellow cake mix – I tested this with Betty Crocker, but any brand should do the trk.
- Xanthan gum – See below for my notes
- Heavy whipping cream – Opt for heavy whipping cream instead of whipping cream. Heavy cream has a higher fat content which is good for ice cream.
- Whole milk -For best results, whole milk, which contains a higher milkfat, and it is the closest to the way it comes out of the cow
- Pure vanilla extract – Don’t skip this for added flavor.
- Sprinkles – See the recipe tips section for more about when to add sprinkles to the ice cream.
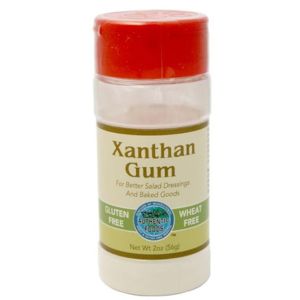
What does Xanthan Gum do for ice cream?
Xanthan gum is typically a binder used in gluten-free baking, but it also shows up in ice cream recipes (my favorite Portland-based ice cream company uses this in place of eggs in their base recipe). As noted by thekitchn.com, xanthan gum helps to prevent ice crystals from forming which in turn makes for a richer and creamier ice cream.
In my recipe testing, I discovered that adding xanthan gum made this ice cream scoop like a dream, and more closely resembles traditional ice cream. It was also a touch creamier than batches that were made without it.
How to Make Cake Batter Ice Cream in the Ninja Creami
This entire process should take less than 10 minutes, not including cooling time.
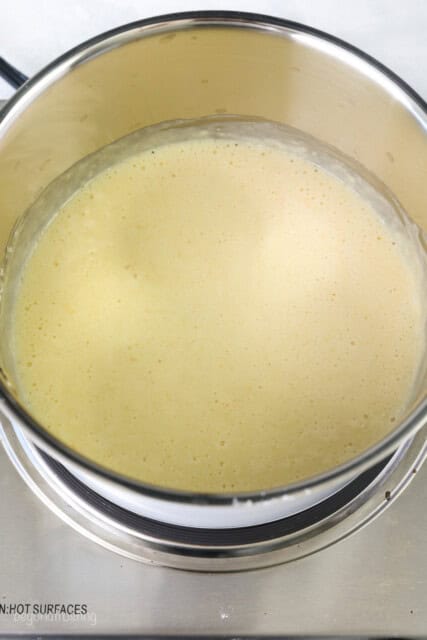
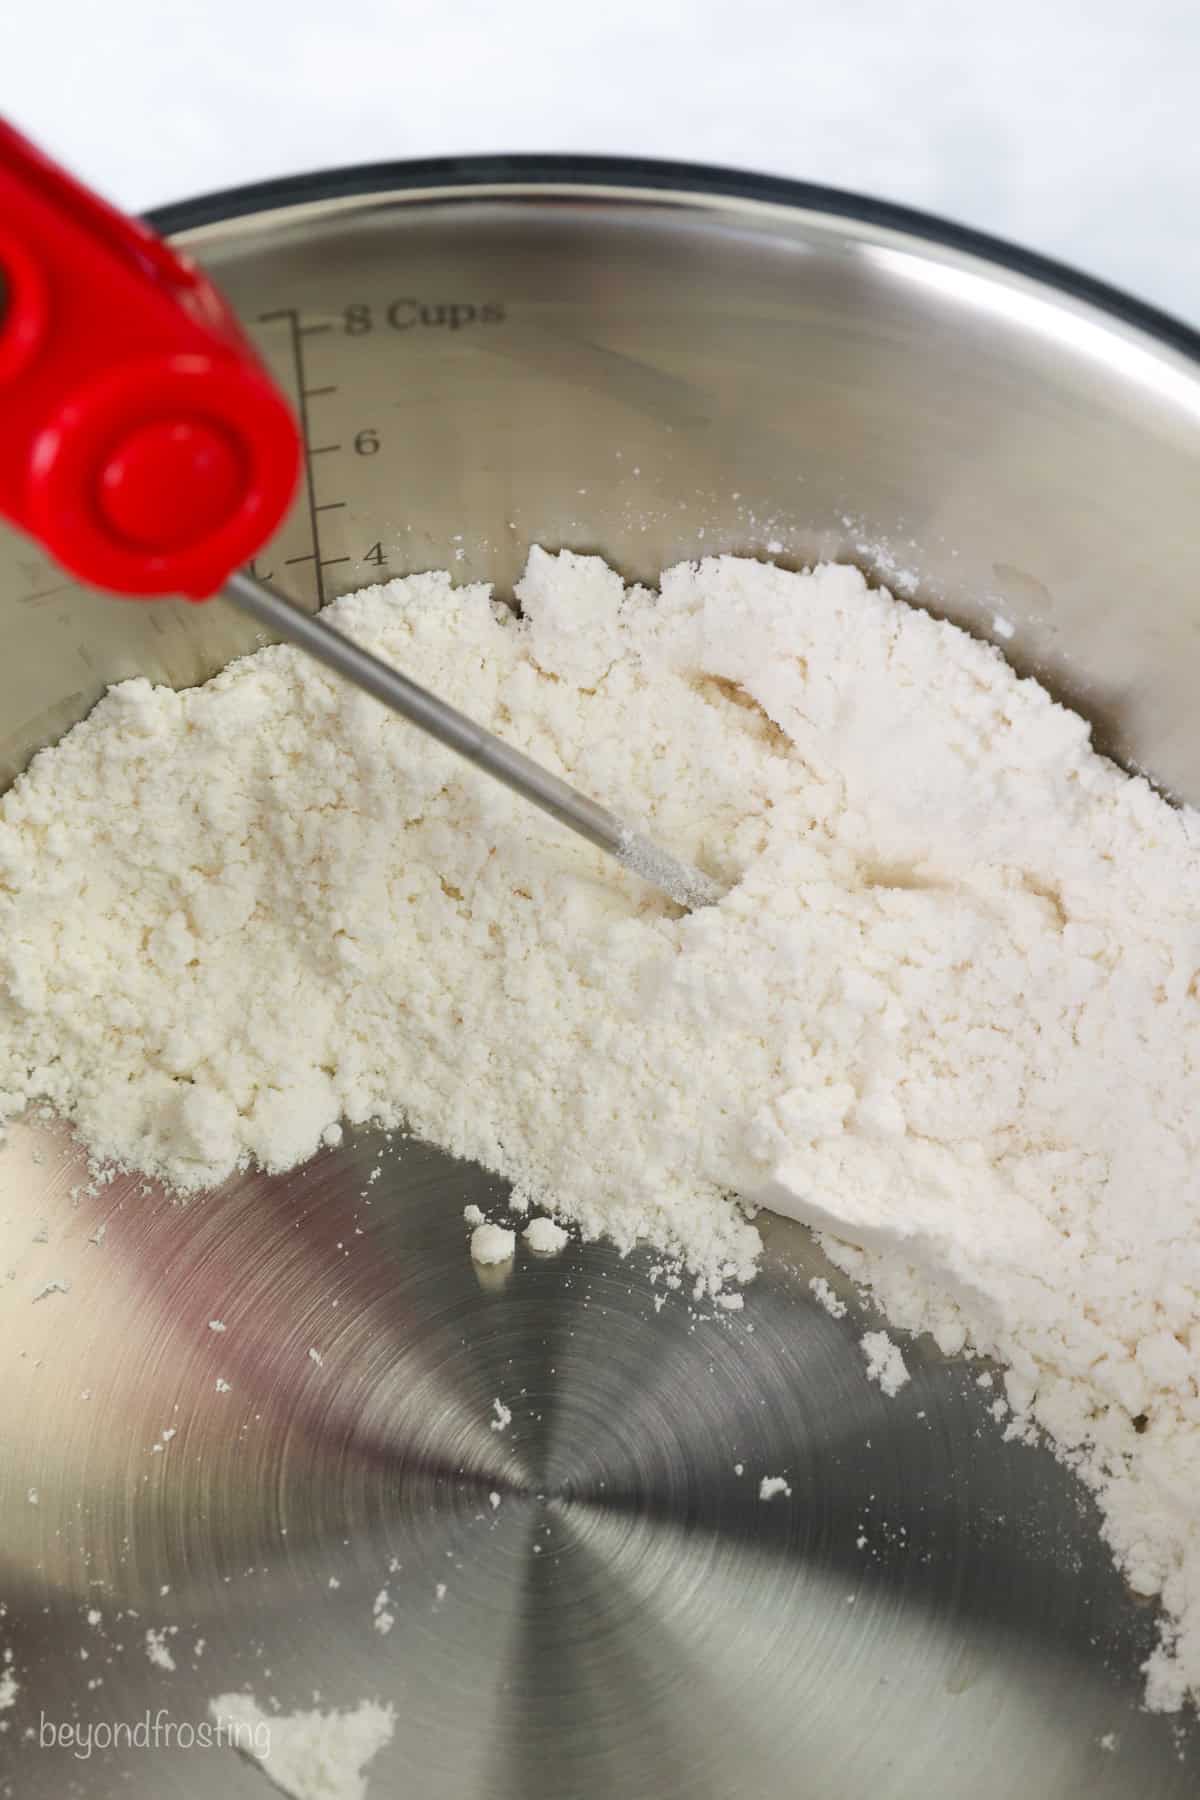
Heat the raw cake mix. In a medium-sized saucepan, heat the cake mix over medium-low heat until it reaches 160°F, stirring frequently to prevent burning. If it burns, you’ll need to start over. Stir in the xanthan gum.
Combine and add the liquid. In a large measuring cup, combine the milk and heavy cream. Add about ½ cup to the saucepan and stir it until the dry ingredients are dissolved. Then add the remaining milk and cream. Continue heating and stirring for about 2-3 minutes just to ensure the dry ingredients are fully dissolved. Remove it from the heat and stir in the vanilla extract.
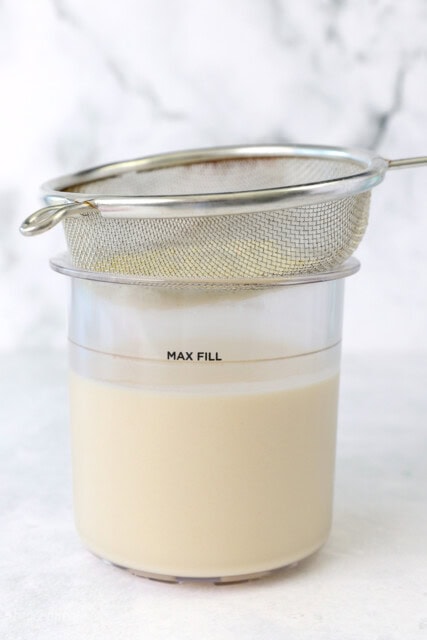
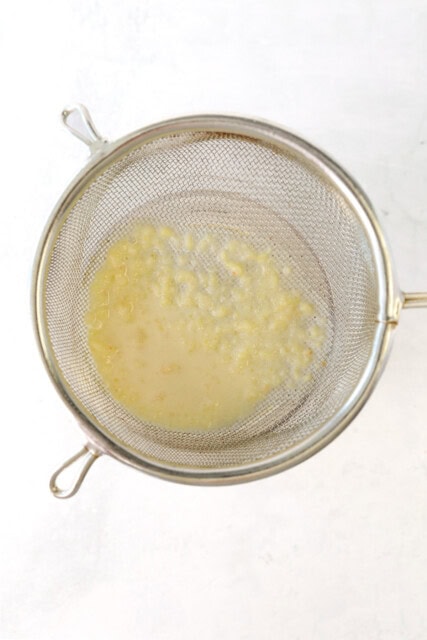
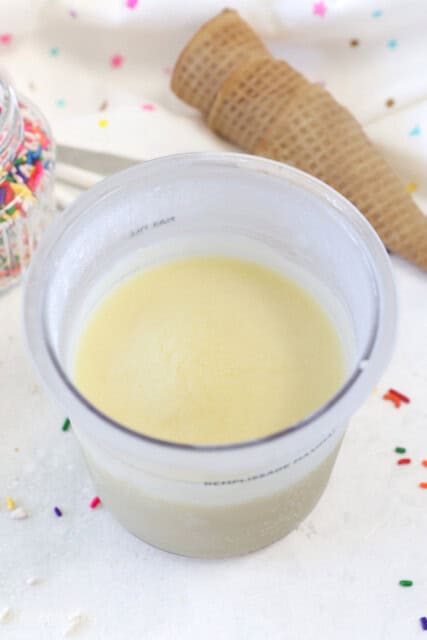
Strain the liquid. Place a small sieve over the pint container and pour the ice cream base through it to remove any remaining dry ingredients and ensure a smooth ice cream texture
Cool and freeze. In order to prevent unnecessary ice crystals from forming, I cooled the liquid mixture on the counter for 20-30 minutes before covering and freezing. Stir occasionally to prevent a skin from forming on the top of the ice cream as well. Cover tightly and freeze for up to 24 hours until the base reaches at least 9°F.
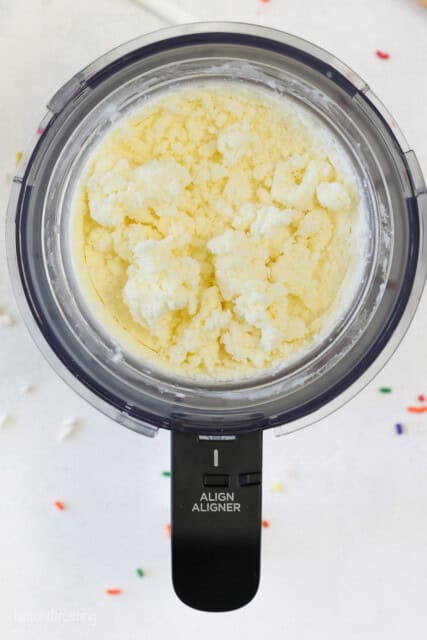
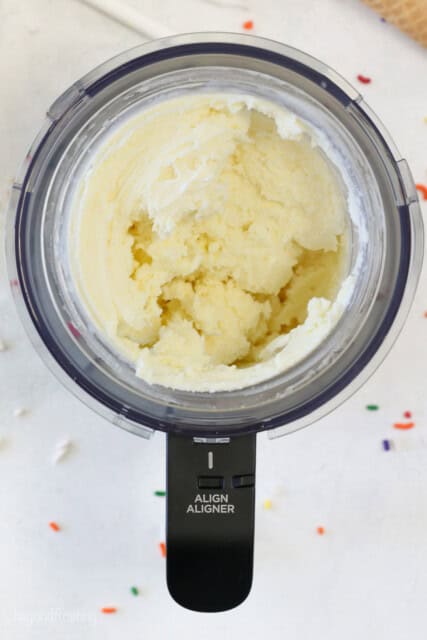
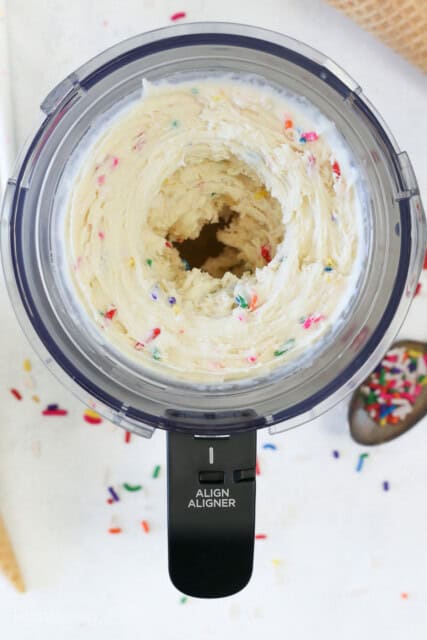
Spin and serve. Remove frozen pint, for the first spin, press the ice cream button. Remove the outer bowl lid. If you want to add sprinkles, do so at this time. The ice cream will appear crumbly. Place it back in machine and press respin button. For a more soft-serve texture, you can spin for a third time, using the mix-in setting. Serve immediately.
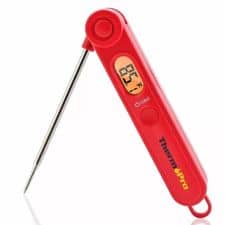
Pro Tip: How to check the temperature of the cake mix
Gather the dry cake mix into a pile on one side of the pan and insert the digital thermometer into the pile without touching the sides of the pan.
Follow These Tips For The Best Results
I made eight batches of ice cream, experimenting with different combinations and preparation methods. If you’re considering modifications to the recipe, here are my notes on what worked and what didn’t.
- Why you need to heat the cake mix. In the testing process, I whisked together the raw, uncooked cake mix with the heavy cream and the mixture was quite thick and left a bit of chalky texture in the finished product. Heating the cake mix allows the cake mix to dissolve more effectively, leaving a much smoother finish on the ice cream.
- The best combination is equal parts milk and cream. When additional milk was used, the ice cream was an icier texture.
- Skip the cake batter extract. I found that this gave the ice cream an incredibly artificial flavor. We didn’t eat much of that pint.
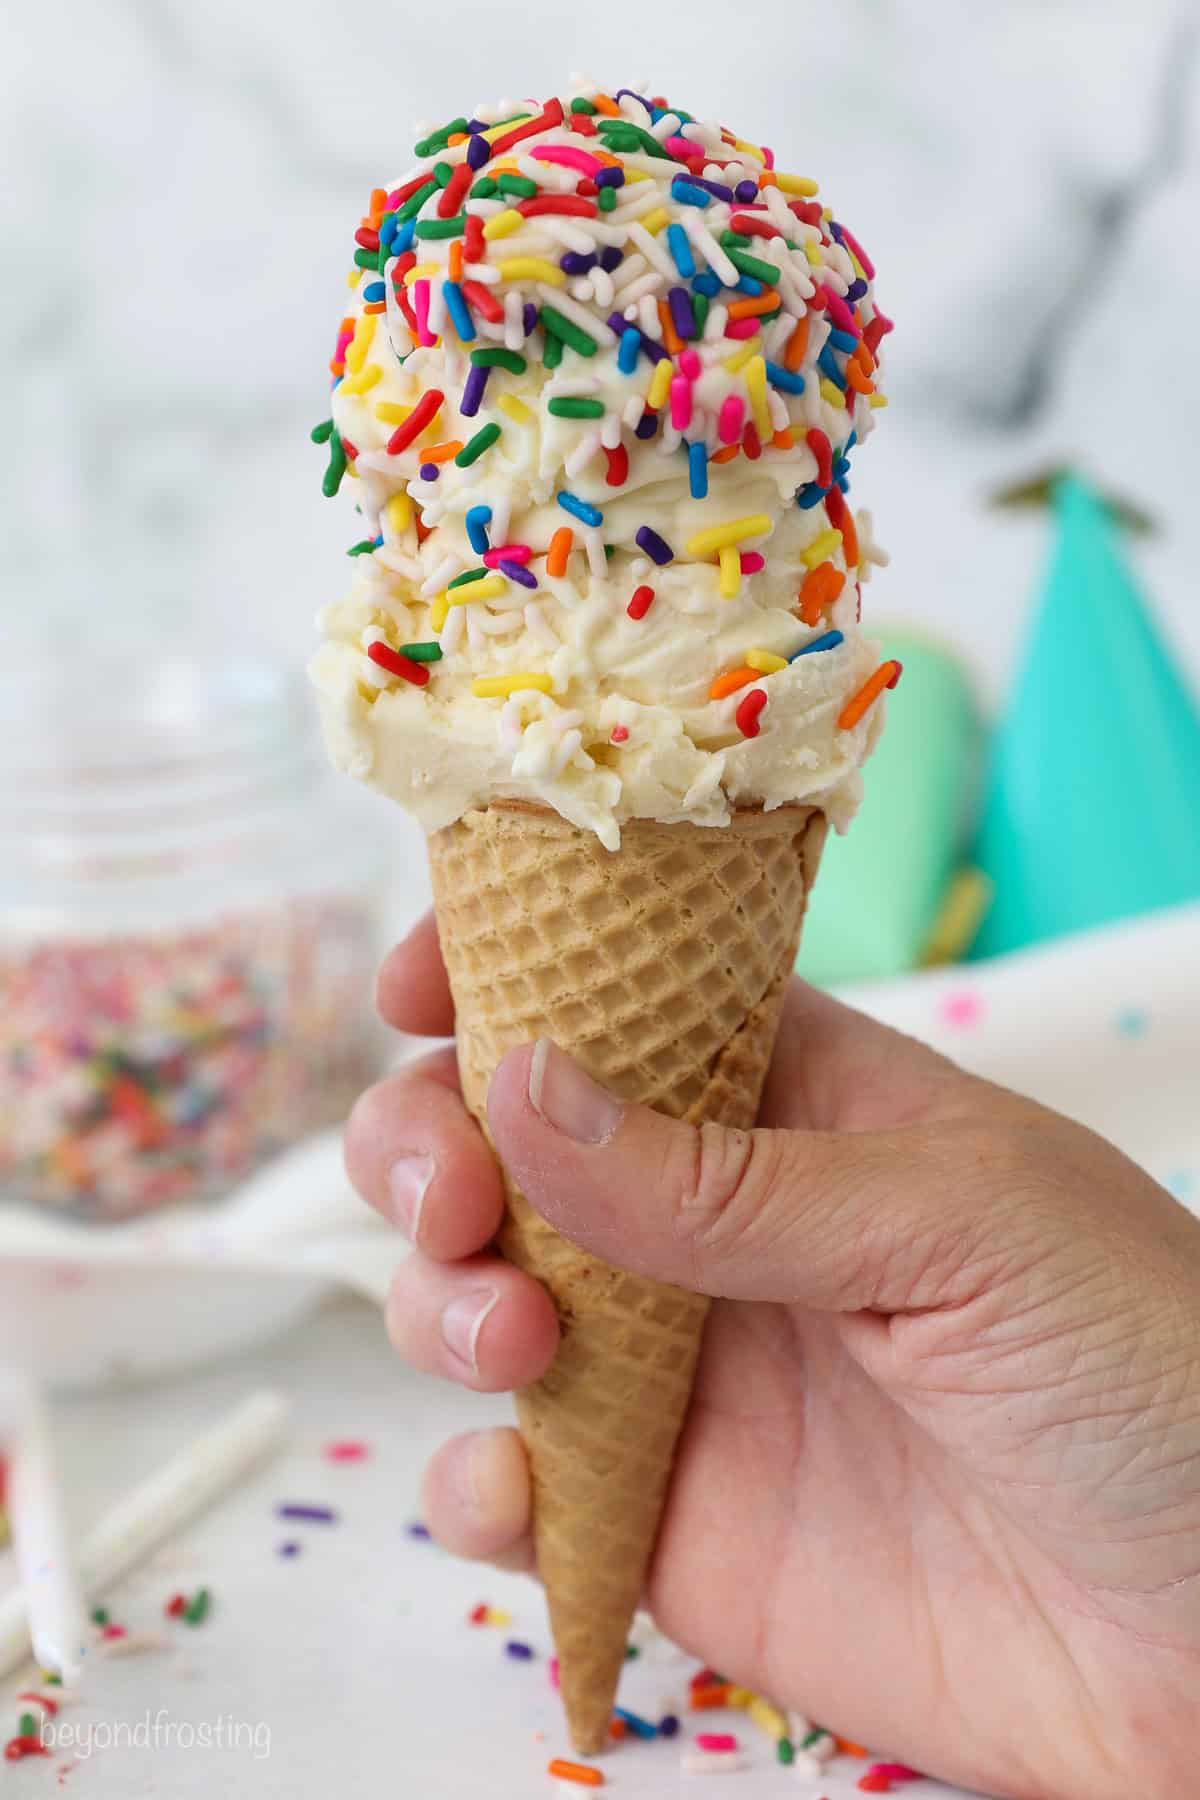
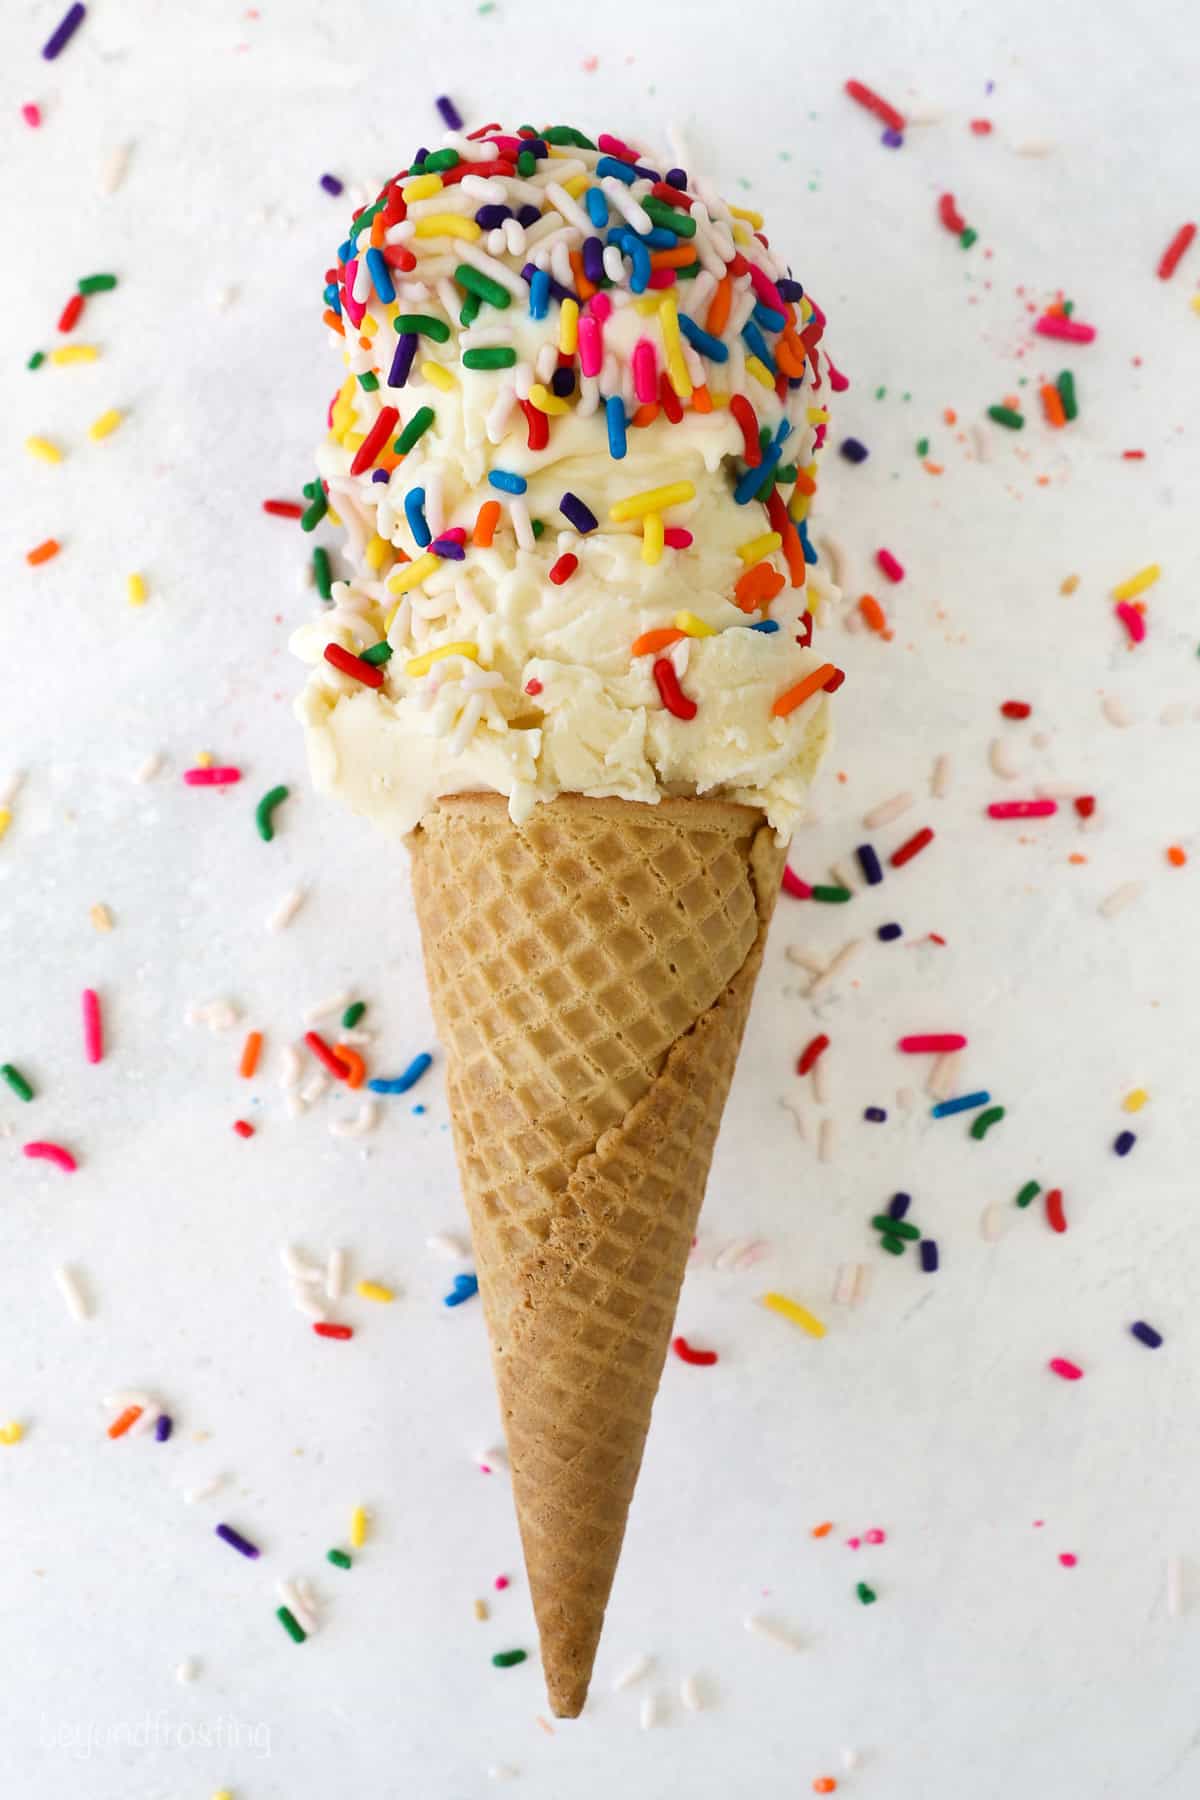
- When to add the sprinkles.For my desired results, one spin on ice cream mode and one respin resulted in the perfect texture. If you want to add sprinkles, do it after the first spin because otherwise the ice cream ends up too soft. You may experience some color shifting in the base color of the ice cream.
- Additional Mix-ins. This is a pretty versatile base, feel free to add your favorite mix-ins either directly into the ice cream before spinning or just on top of the finished product.
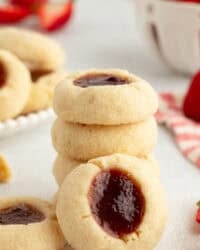
- Leftover cake mix. Use the leftover cake mix to make a batch of Cake Batter Whipped Cream or Funfetti Cheesecake.
Helpful Ninja Creami Tips
As a newer user of the Ninja Creami, I found a lot of helpful information in various online communities. Different types of Ninja Creami recipes require their own set of testing methods, specifically when it comes to what settings are used.
- More spins equals softer ice cream– One of the things I noticed in testing is that if I spin, respin and then do mix-ins, the texture of the ice cream becomes softer than scooped ice cream, but not as thin as a milkshake or Frosty.
- Mix-ins: Create a wide hole that reaches into the bottom of the pint to try and ensure the mix-ins are distributed throughout. Otherwise, the mix-ins will only be distributed through the top half.
- Freezing time: Every freezer is a bit different, which is why the recommend time for freezing is 24 hours. In my freezer, I only needed about 12 hours. For ice cream, the temperature of the frozen pint should be between 9°and -7°F. You can use your digital thermometer to insert into the center to check the temperature.
- Freeze flat: Be sure the ice cream is frozen on a flat surface. If the surface is uneven, it can damage the unit.
- Spin right away: Don’t allow the frozen ice cream base to sit on the counter for an extended period of time. It’s best to spin right away.

The Ninja Creami makes homemade ice cream easy! You can also make Sorbet, Gelato, Milkshake or Smoothie Bowls.
Digital Meat Thermometer. Instant reading thermometer with backlight features 3.9 inches food grade stainless steel probe gets temp readout. Great for indoor, outdoor cooking, grilling.
Xanthan Gum acts as a binder in recipes.
Frequently Asked Questions
The FDA recommends against eating raw flour as it could contain bacteria. Heating the flour with the milk also allows it to combine and dissolve more effectively.
I’ve learned through the online communities that guar gum is another binder that is a popular alternative to thicken ice cream and acts as a stabilizer. While I did not test this, it seems to be a well-known alternative.
Yes, you could try this with any flavor of cake mix. Try adding different mix-ins or extracts to enhance flavors.
How to Store Leftovers
If you don’t need the container right away, it is easiest to just pop the Ninja pint container back in the freezer. Alternatively, you could scoop out the ice cream and transfer to a freezer-friendly container. Store for up to 1 week (but it usually is gone long before that!).
I found after allowing the leftovers to sit on the counter for 15 minutes, the texture was perfect. And there was no need to respin the leftovers.
For more information about dairy nutrition, to find delicious new recipes and meet Ohio and West Virginia dairy farmers, visit www.Drink-MIlk.com, and follow the American Dairy Association Mideast on Facebook, Instagram, Pinterest and X.
Cake Batter Ice Cream (Ninja Creami Recipe)
- Prep Time: 30 minutes
- Chill Time: 24 hours
- Total Time: 24 hours 30 minutes
- Yield: 1 Pint
- Category: Ice Cream
- Method: Ninja Creami
- Cuisine: American
Description
This irresistibly smooth Cake Batter Ice Cream made in the Ninja Creami captures the nostalgic flavor of licking the cake batter bowl clean —the perfect treat die-hard cake batter lovers.
Ingredients
- ½ cup (65g) yellow cake mix
- ¼ teaspoon xanthan gum
- ¾ cups (177ml) heavy whipping cream
- ¾ cups (177ml) whole milk
- 2 teaspoons (10ml) Pure vanilla extract
- 2 tablespoons Sprinkles (optional)
Instructions
- In a medium saucepan over medium-low, heat the cake mix until it reaches 160° Stir continuously to prevent burning. Add the xanthan gum, whisking to combine into cake mix.
- Combine the heavy cream and milk, add about ½ cup to the saucepan, whisking the dry ingredients until dissolved into the liquid. Add the remaining milk and cream. Cook another two minutes or so, ensuring the dry ingredients are dissolved. Remove from heat and whisk in the vanilla extract.
- Strain the mixture through a sieve into the Ninja Creami pint container. Cool on the counter for about 20 minutes. Seal tightly and place in the freezer for 24 hours until frozen solid.
- Remove the frozen pint, for the first spin, press the ice cream button. Remove the outer bowl lid. If you want to add sprinkles, do so at this time. The ice cream will appear crumbly. Place it back in the machine and press the respin button. For a more soft-serve texture, you can spin for a third time, I recommend the mix-in setting. Serve immediately.
Notes
- Storing Leftovers: Store leftover either in the Ninja Creami pint container or transfer to a freezer-safe container. Allow the leftovers to sit on the counter for about 15 minutes or until it reaches the desired softness.
Nutrition
- Serving Size: 1 Pint
- Calories: 1039
- Sugar: 56.7 g
- Sodium: 586.7 mg
- Fat: 82.4 g
- Carbohydrates: 84.9 g
- Fiber: 0.6 g
- Protein: 13.3 g
- Cholesterol: 220.3 mg

This had no taste
Thanks for your feedback and sorry to hear it was not up to your expectations.