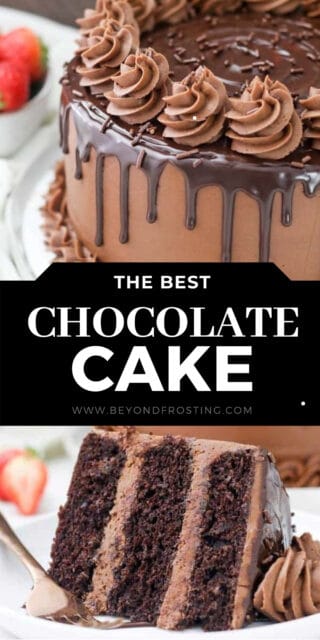
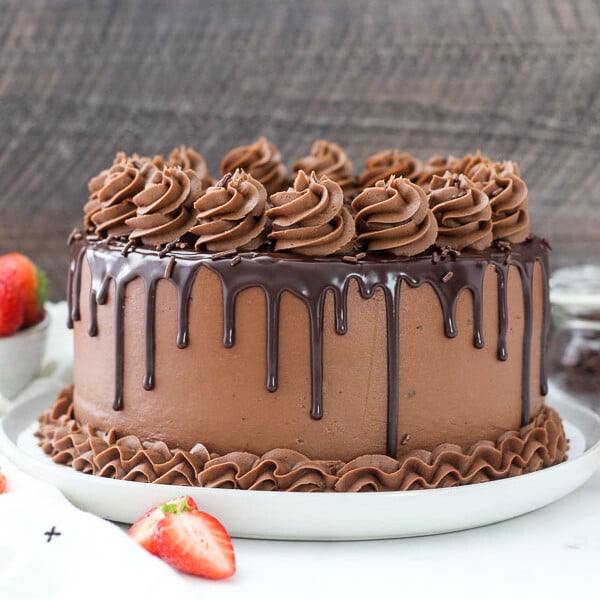
This easy recipe makes a moist and fluffy chocolate cake covered with chocolate frosting, then finished with chocolate ganache. The ganache is dripped down the sides of the cake, then topped with sprinkles and swirls of frosting. This cake is impressive and yet simple to put together!

Homemade Chocolate Drip Cake
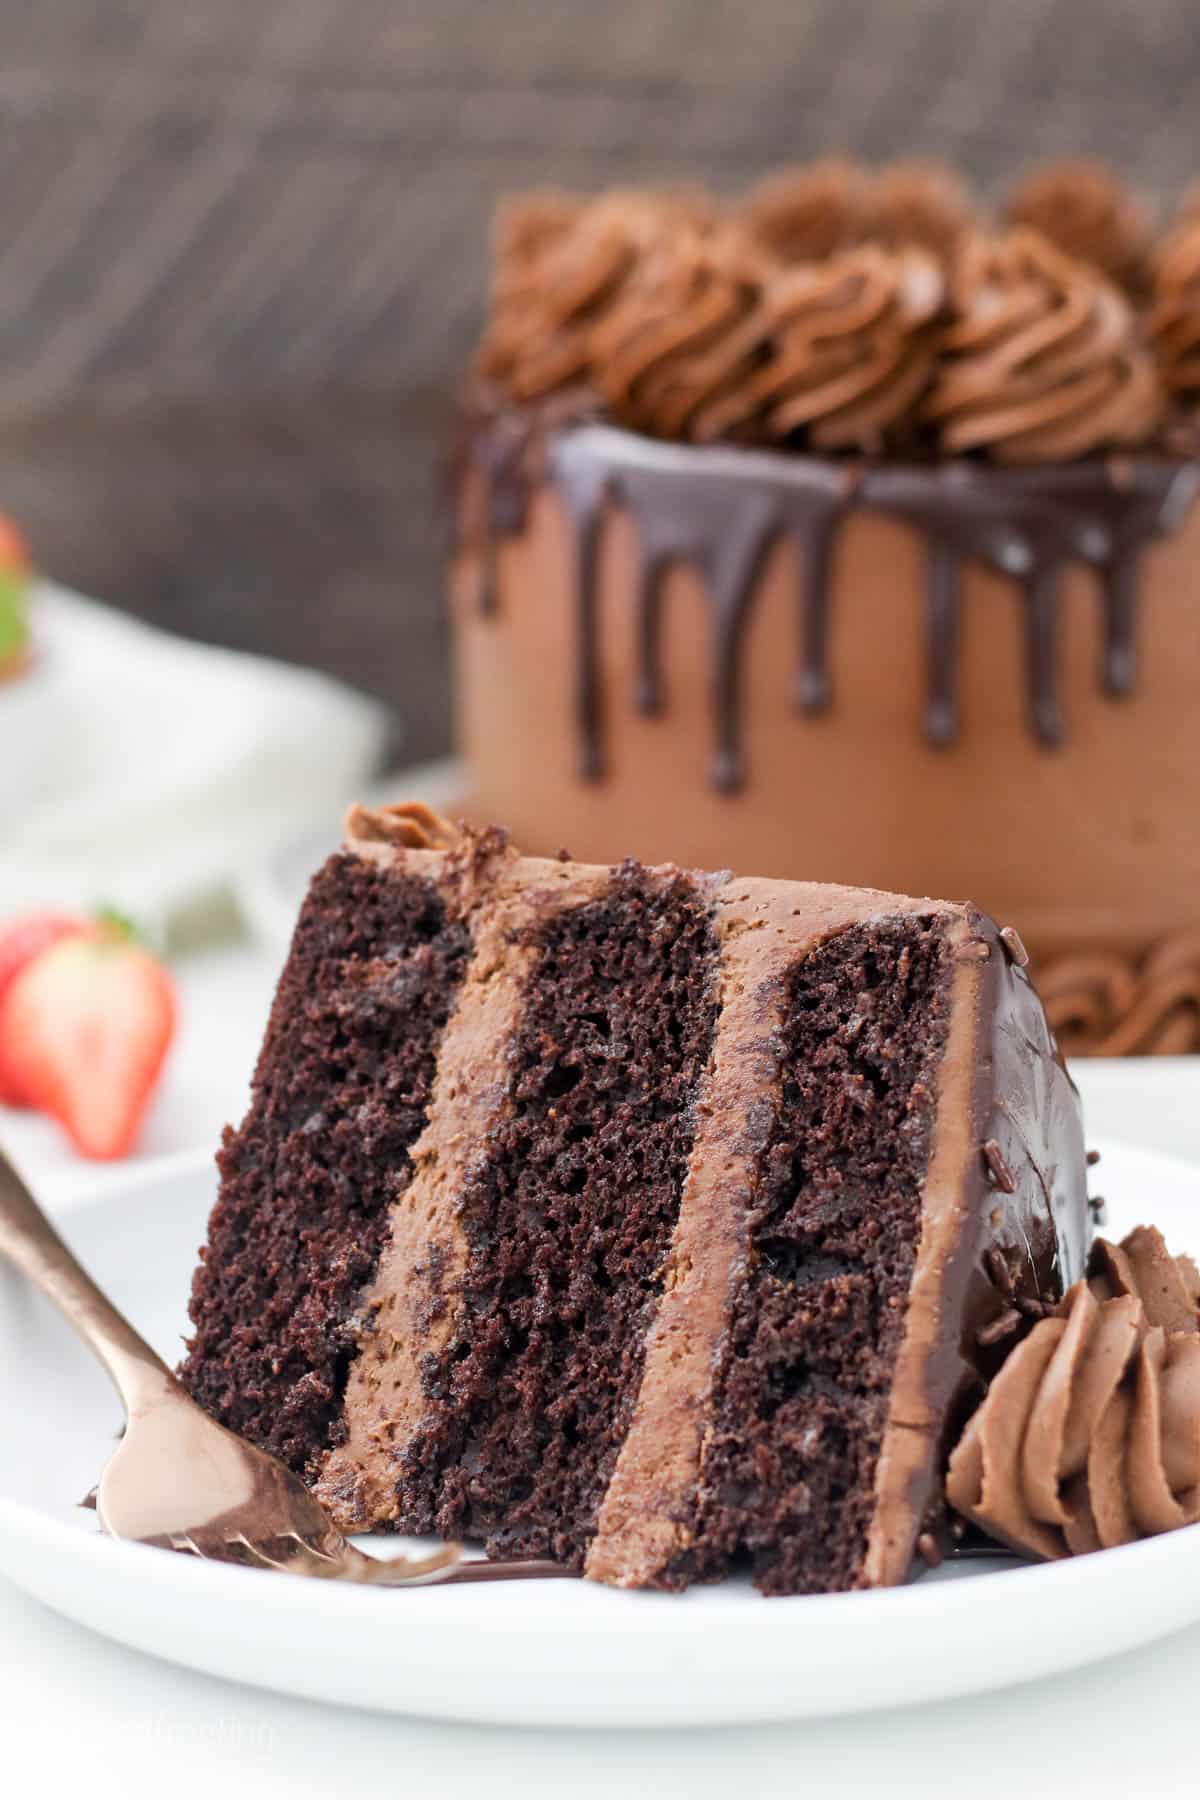
This chocolate cake is everything you could ever want in a cake. Fluffy and moist chocolate cake covered with whipped chocolate frosting then finished with a chocolate ganache that is dripped down the sides and topped with even more frosting. This cake is perfect for birthdays, anniversaries, you name it! And the best part is that while the finished cake looks super impressive, it’s actually simple to put together. I’ve included step-by-step instructions below along with photos to help you make the best cake ever.
They say the proof is in the pudding, but in this case, the proof is in the cake. My husband hardly ever eats any of my desserts. He is the most particular person when it comes to chocolate cake. But I’m a little embarrassed to tell you that the two of us actually ate this entire cake over 4-5 days. Yes, it is that good. Try it. You’re welcome.
What is a Drip Cake?
A drip cake is a cake that has ganache across the top and dripped down its sides. The base can be any kind of cake – vanilla, chocolate, you name it. The ganache is usually made with either regular or white chocolate. For this recipe, we are using dark chocolate to make a rich ganache that is spread over the top of the cake and then dripped down the sides. It’s easy to do and it looks fancy too!
What You’ll Need
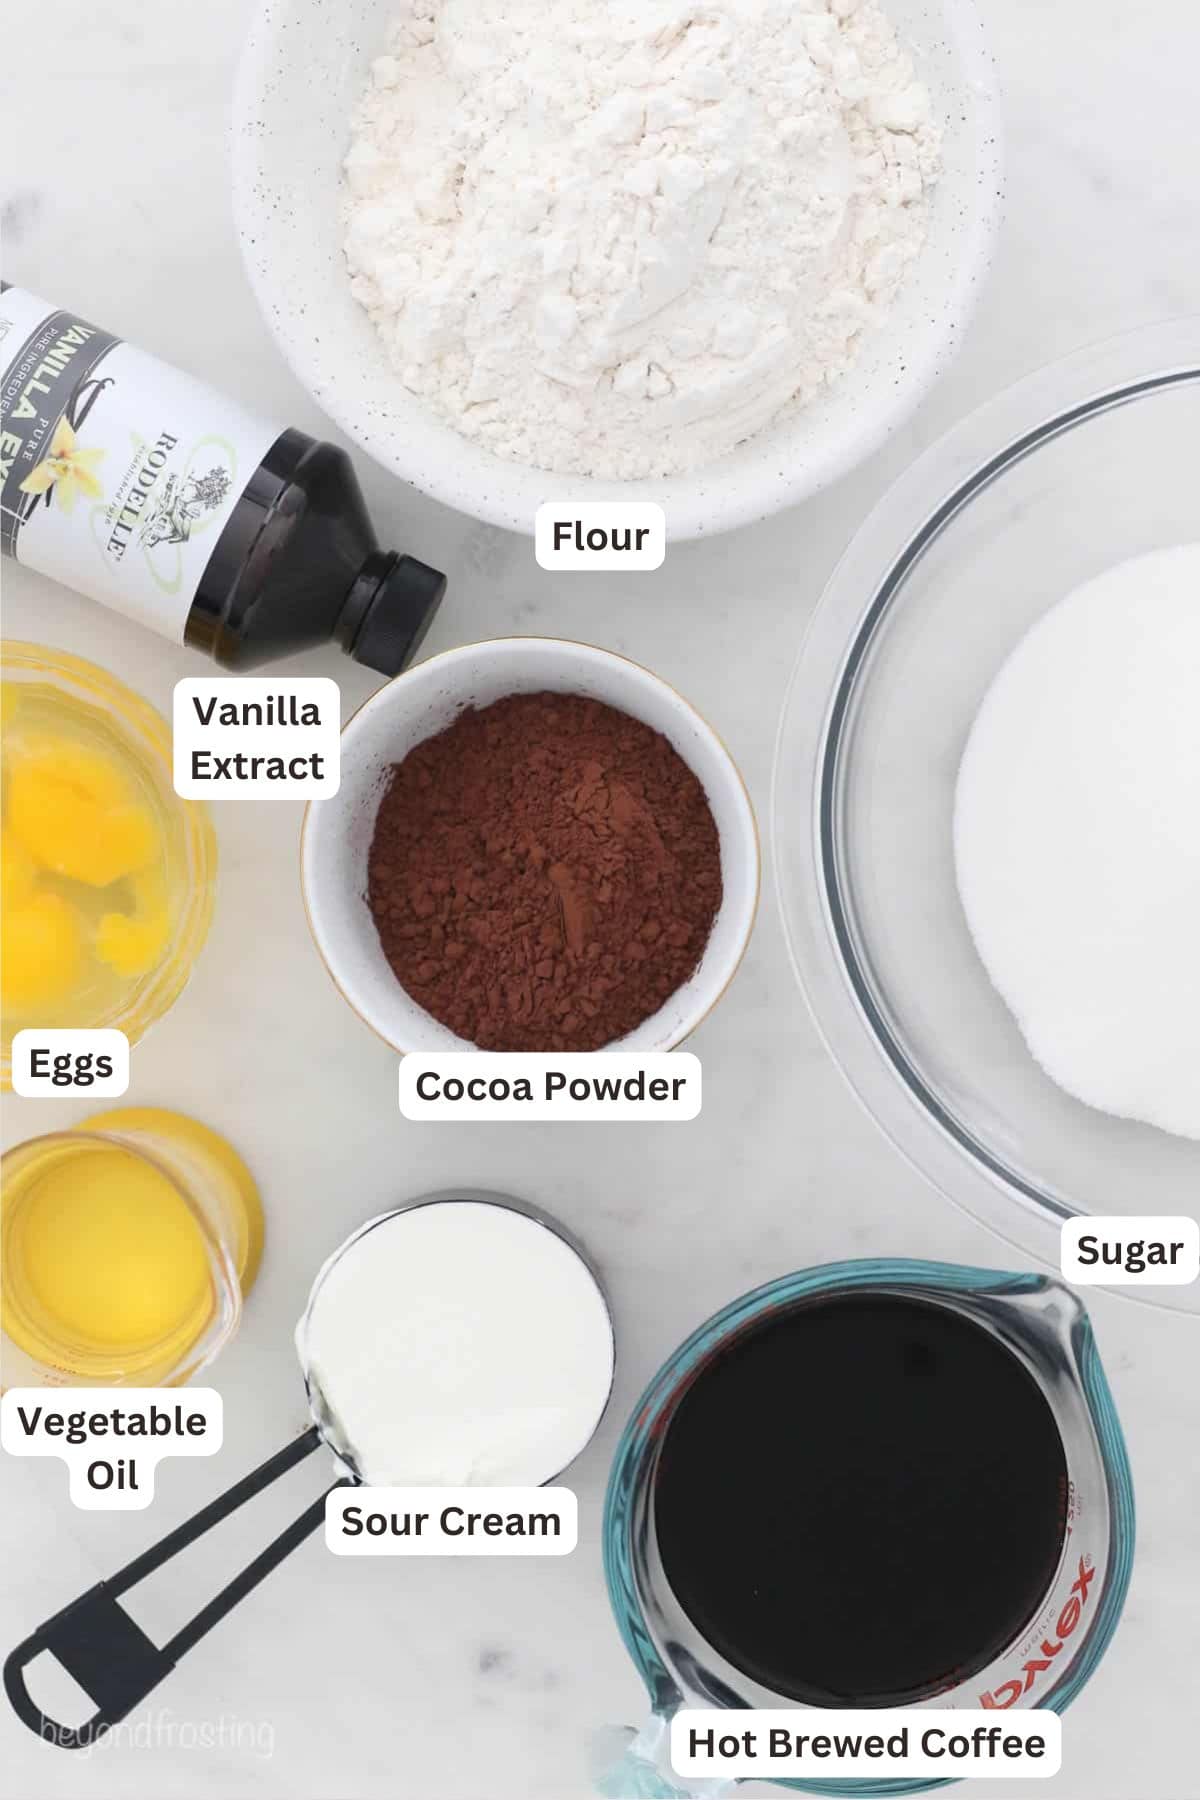
Even though this chocolate cake looks all kinds of fancy, the truth is that you only need a few simple ingredients to make it. Here’s what you’ll need. Be sure to scroll down to the recipe card for specific amounts.
- Granulated sugar
- Vegetable oil – Oil tends to make cakes more moist than butter. It also makes the crumb and texture a bit more tender.
- Eggs
- Pure vanilla extract – Be sure you get a high-quality REAL vanilla extract.
- Sour cream – Sour cream helps keep this cake moist.
- Dry Ingredients – All-purpose flour, baking powder and baking soda, salt.
- Natural Unsweetened Cocoa Powder
- Espresso powder (optional) – Sometimes I like to add espresso powder to chocolate cakes, it helps intensify the chocolate flavor. The espresso powder is optional, or can be substituted for a fine ground coffee or omitted.
- Brewed Coffee – Coffee helps bring out the chocolate flavor, but don’t worry, the cake don’t taste like coffee at all. I recommend using hot coffee.
Ingredient Substitutions
I don’t recommend ingredient substitutions whenever possible, but know that sometimes they are necessary. Here are some suggestions:
- Sour cream – If you don’t have sour cream. I recommend substituting with non-fat Greek yogurt. The recipe calls for light sour cream, but you can also use full-fat sour cream.
- Brewed Coffee – If you don’t want to use coffee you can also use milk.
Can I use a Dutch-processed cocoa powder for this recipe?
Yes, you can! I have tested this recipe with my favorite Dutch-processed cocoa powder from Rodelle. In order to make this chocolate cake with dutch processed cocoa, adjust the baking powder to 2 teaspoons and then ADD 1/2 teaspoon baking soda (so 1 teaspoon total). The amount of cocoa powder is 1 to 1 with a regular unsweetened cocoa powder.
How to Make Chocolate Drip Cake
Are you ready to make the best chocolate cake ever? Here’s how to do it:
Prepare Your Pans for Baking
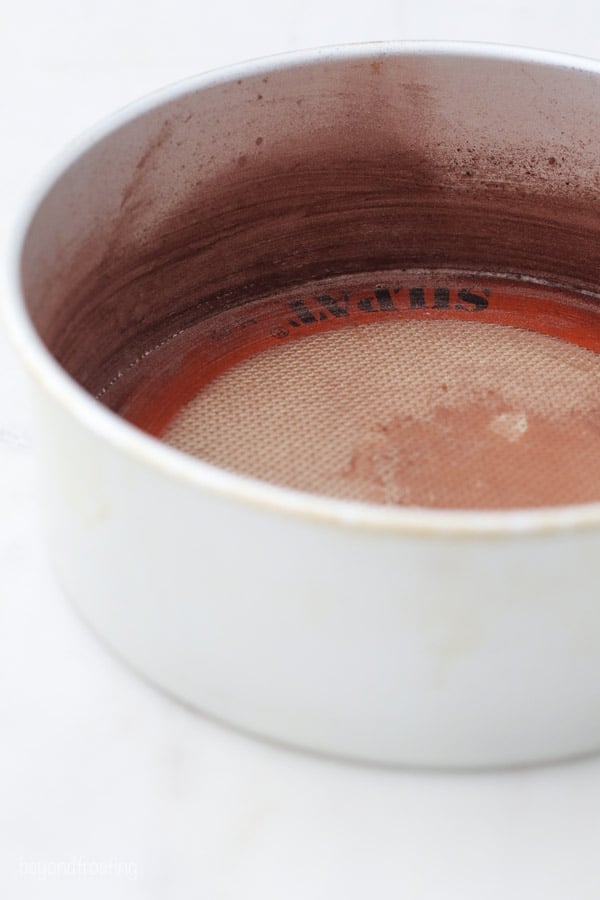
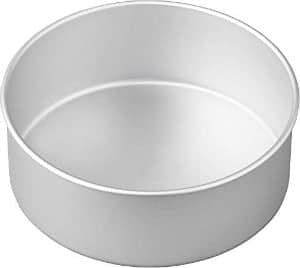
Believe it or not, how you prepare your cake pans can have a huge impact on the finished product. Why? Because a properly prepped cake pan allows your cake to bake throughout and also makes it easier for you to remove the cake from the pan after it’s cooled. Here is how I prep my pans for this chocolate cake recipe:
- Line the pans. I recommend lining the bottom of my pans with parchment paper or a Silpat silicone baking mat. This helps the cake easily release from the pan.
- Grease the sides of the pan with Crisco vegetable spread
- Add flour.Coat the grease with a mixture of flour and cocoa powder. Lightly dust and then empty any remaining flour out of the pans
- For flat cake tops. I recommend using bake even stripes to help make these cake flatter on top, which means less of a dome and less wasted cake!
Make the Chocolate Cake
1. Prep: Preheat your oven to 350F. Prep your cake pans.
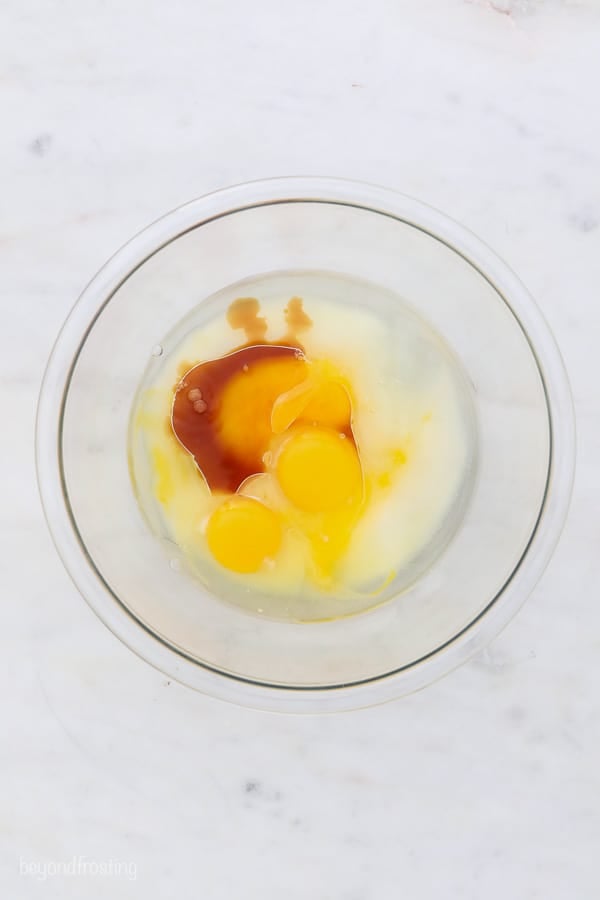
2. Mix wet ingredients: Start by combing the granulated sugar with the, eggs, oil and vanilla extract and beat them together until fluffy. Then add sour cream and beat until well combined.

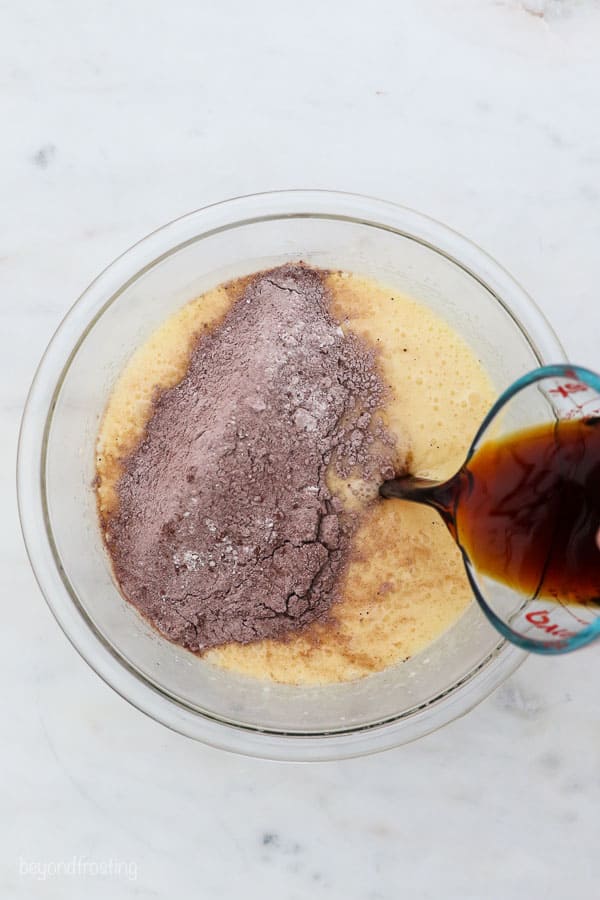
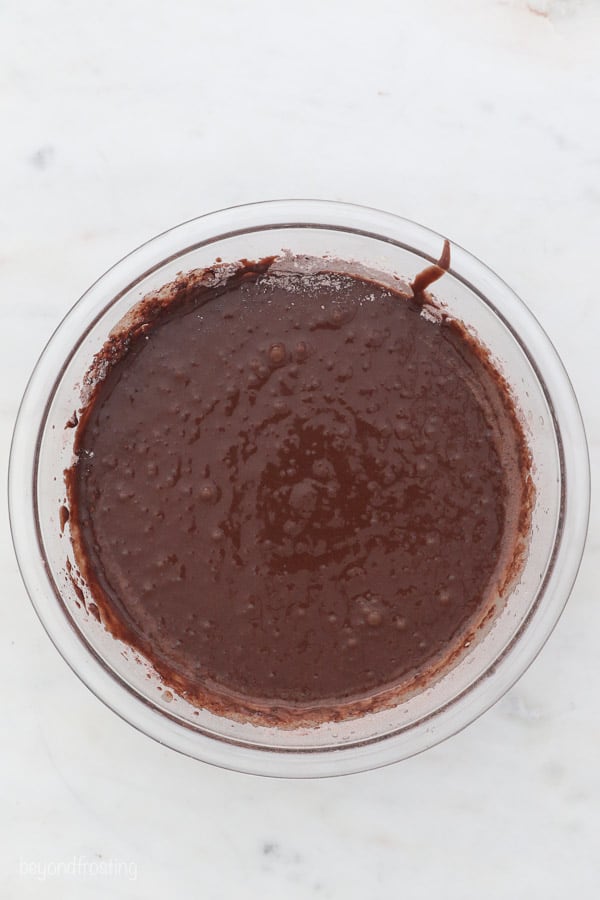
3. Combine dry ingredients. Then alternate adding half the coffee and half of the dry ingredients to the batter at a time and beat until incorporated. Slowly adding the coffee and the dry ingredients will prevent you from overmixing the batter.
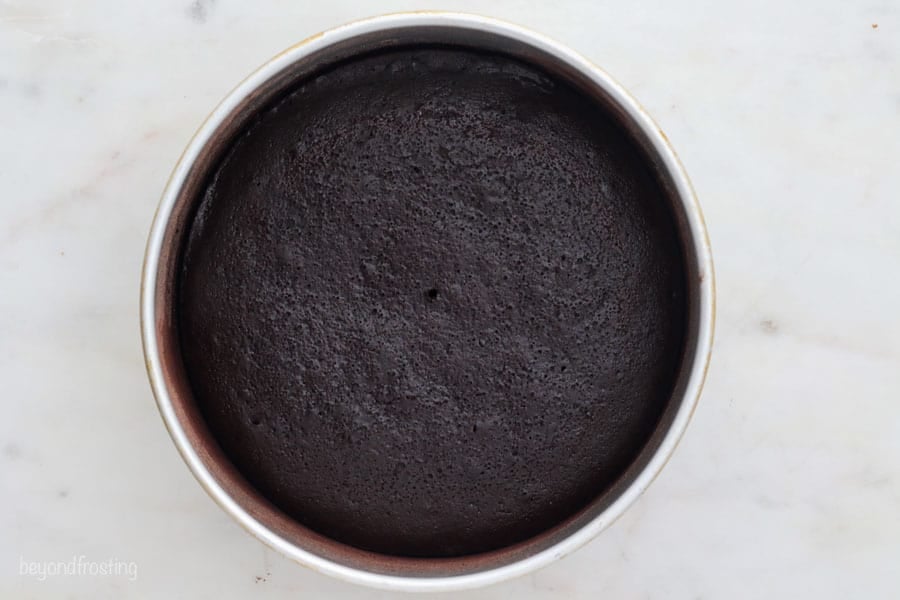
4. Pour the batter into prepared pans. Divide the batter evenly among the cake pans.
5. Bake.These cakes bake at 350F for 20-24 minutes. Rotate your pans in the oven halfway through baking to allow for even baking. Cool to room temperature before frosting.
Make the Frosting
For this cake, I made my traditional chocolate frosting with Rodelle Baking Cocoa. It’s a Dutch-processed cocoa powder with one of the highest concentrations of cocoa butter on the market. It gives this frosting an extra rich and deep chocolate flavor. You can make this buttercream with any type of cocoa powder, but Rodelle is a high-quality ingredient and it really comes through in the taste.
My secret for making my frosting recipe is that I start with cold butter, not room-temperature butter. I spend several minutes beating the frosting in the beginning. Essentially, the mixer is softening the butter for you, but this base gives you perfect whipped and fluffy frosting.
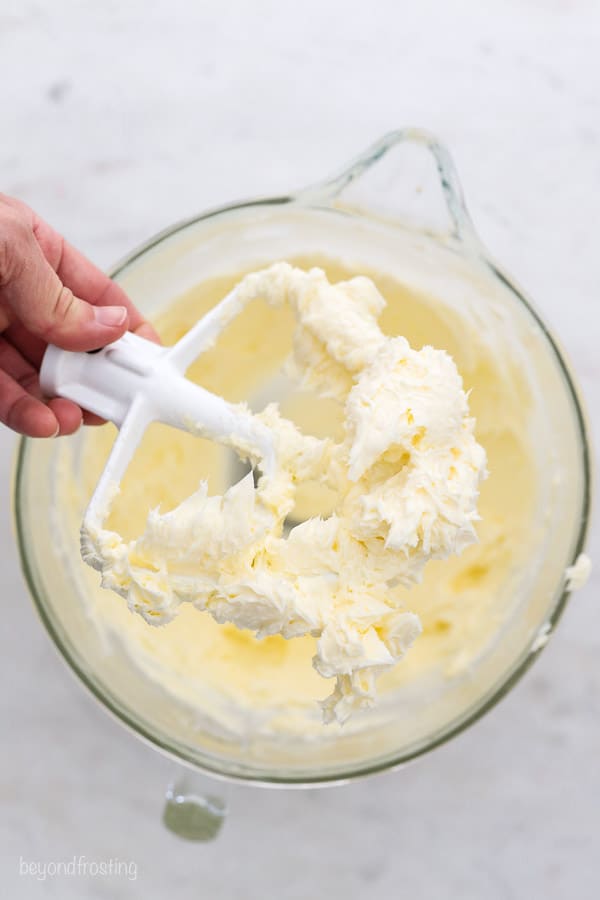
- Whip the cold butter. Cut the butter into pieces. Using the paddle attachment, whip butter for 3-4 minutes, scraping down the bowl occasionally. Beat until the butter is very soft and whipped.
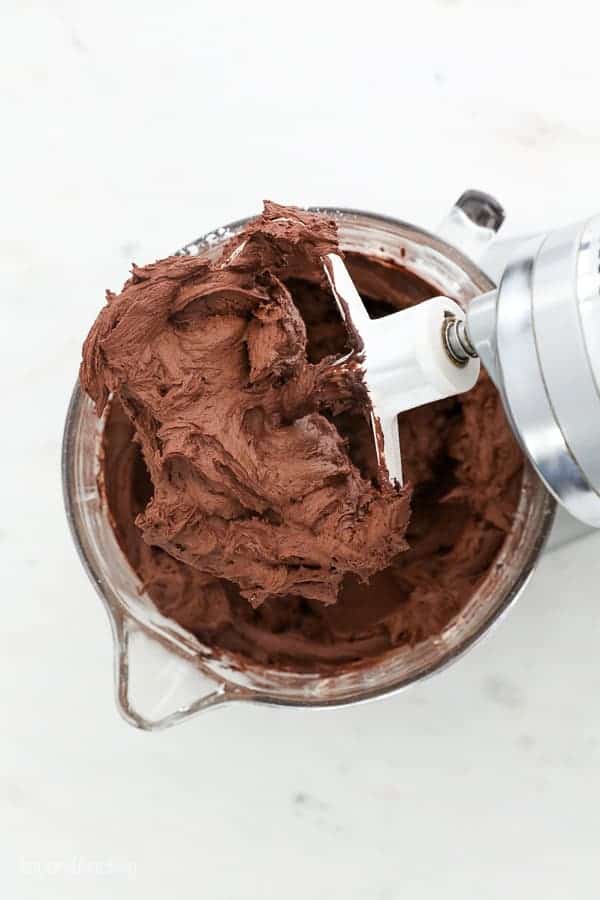
- Add cocoa powder and beat until combine.
- Add powdered sugar, whipping cream and vanilla extract. Alternate adding 2-3 cups of powdered sugar at a time with the liquid ingredients. Add a pinch of salt if needed. With each addition of powdered sugar, be sure to beat the frosting really well.
- Beat until fluffy Once all ingredients have been added, whip for 3-4 minutes until the frosting is light and airy. If the frosting is too thick, add additional heavy whipping cream 1/2 tablespoon at a time.
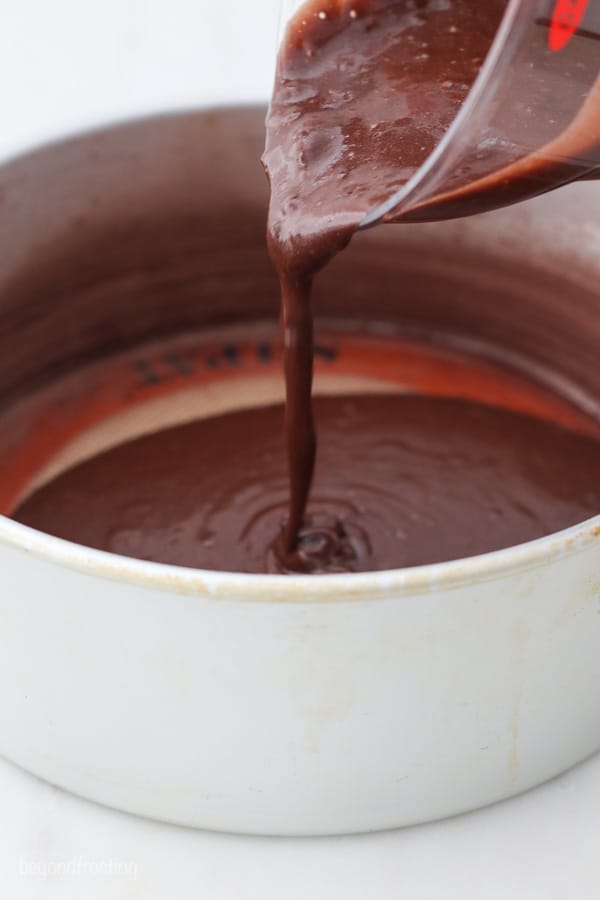
Make the Chocolate Ganache
- Melt the chocolate. Microwave the chocolate together with the heavy cream in 30 second increments, stirring as needed.
- Allow the chocolate to cool. I like to drizzle the ganache on the side of a glass to see how far it will fall down the glass, if it’s too fast, the ganache is probably too hot still.
Assemble
If you’re new to making layer cakes, I have a full cake tutorial from start to finish. I’ve also included a video of this recipe which might help.
- Level your cakes. Remove any domes with a serrated knife. Place a dollop of frosting on your cake board and place the bottom layer of cake over that.
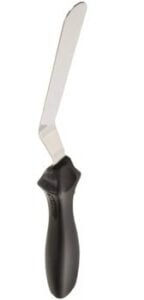
- Add frosting between the layers. You’ll need 2-21/2 cup of frosting for the cake layers. You can put this in a large piping bag and cut off the tip about 1 inch up from the bottom or measure out and spread with an angled spatula. If using a piping bag, pipe in circles working outside edge to the middle. Spread evenly with an offset spatula. Repeat for the second and third layers.
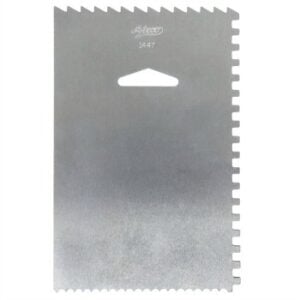
- Frost the cake. Use the offset spatula to press any excess frosting onto the edges of the cake to create a crumb coating. To finish, pipe the frosting along the outside edge of the cake using a large open round tip or a cake icer tip. Then use an offset spatula or icing smoother to create a smooth edge.
- Chill the cake. Refrigerate the cake for 15-20 minutes. Be sure that your cake is completely cold before drizzling the ganache.
- Drizzle the ganache. Use a small squirt bottle or using a spoon, hold it directly over the edge of your cake. Squeeze out more ganache for a longer or thicker drizzle. Add sprinkles if desired. Let it set.
- Add sprinkles and rosettes. To pipe the rosettes on top, use a large piping bag fitted with a large open star, fill the piping bag with the remaining frosting, and pipe the border of the cake.
How to Adjust For Different Pan Sizes
I’m frequently asked how to make recipes in pan sizes other than what is in the recipe. Here is how to make this chocolate cake in some of the most common alternate pan sizes:
- For two 9-inch cakes: Bake for 28-32 minutes. Baking times will vary due to how full the pans are, type of pans and true oven temperature. Please note these did “crust” a little more on the outside edge due to extended baking times and they rose quite a bite in the middle, so you’ll lose more of the “dome” of the cake.
- For two 8-inch cakes: This should be baked for approximately 25-30 minutes and about 2 1/4 cups of batter per pan.
- For 6-inch pans: A full recipe will make four 6-inch layers, filling each one with about 1 1/3 cup of batter and baking for approximately 22-28 minutes. A half batch makes two 6-inch layers, and you can follow the recipe for my mini chocolate cake.
- For 10-inch pans: I’ve never tested this with 10-inch pans, but I would recommend a 2-layer cake so you still have nice thick layers. Try baking for 18-20 minutes and assess additional time needed from there.
How to Store a Frosted Cake
This cake is best stored at room temperature in an airtight container such as a cake carrier. If you live in a hot or humid environment, store in an airtight container in the refrigerator, and serve it at room temperature.
Can I Make this Ahead?
You can prepare the cake layers up to 2 days in advance. Wrap them tightly in plastic wrap with a piece of parchment paper on the top and bottom of the cake layer. These can also be stored in an airtight container. Cake layers can also be frozen, or double-wrapped in plastic wrap.
The frosting can also be prepared 1-2 days in advance and kept in an airtight container at room temperature. You’ll need to remix it prior to using it.
Easy Chocolate Drip Cake
- Prep Time: 90 minutes
- Cook Time: 20 minutes
- Total Time: 1 hour 50 minutes
- Yield: 12 slices
- Category: Cake
- Method: Baked
- Cuisine: American
Description
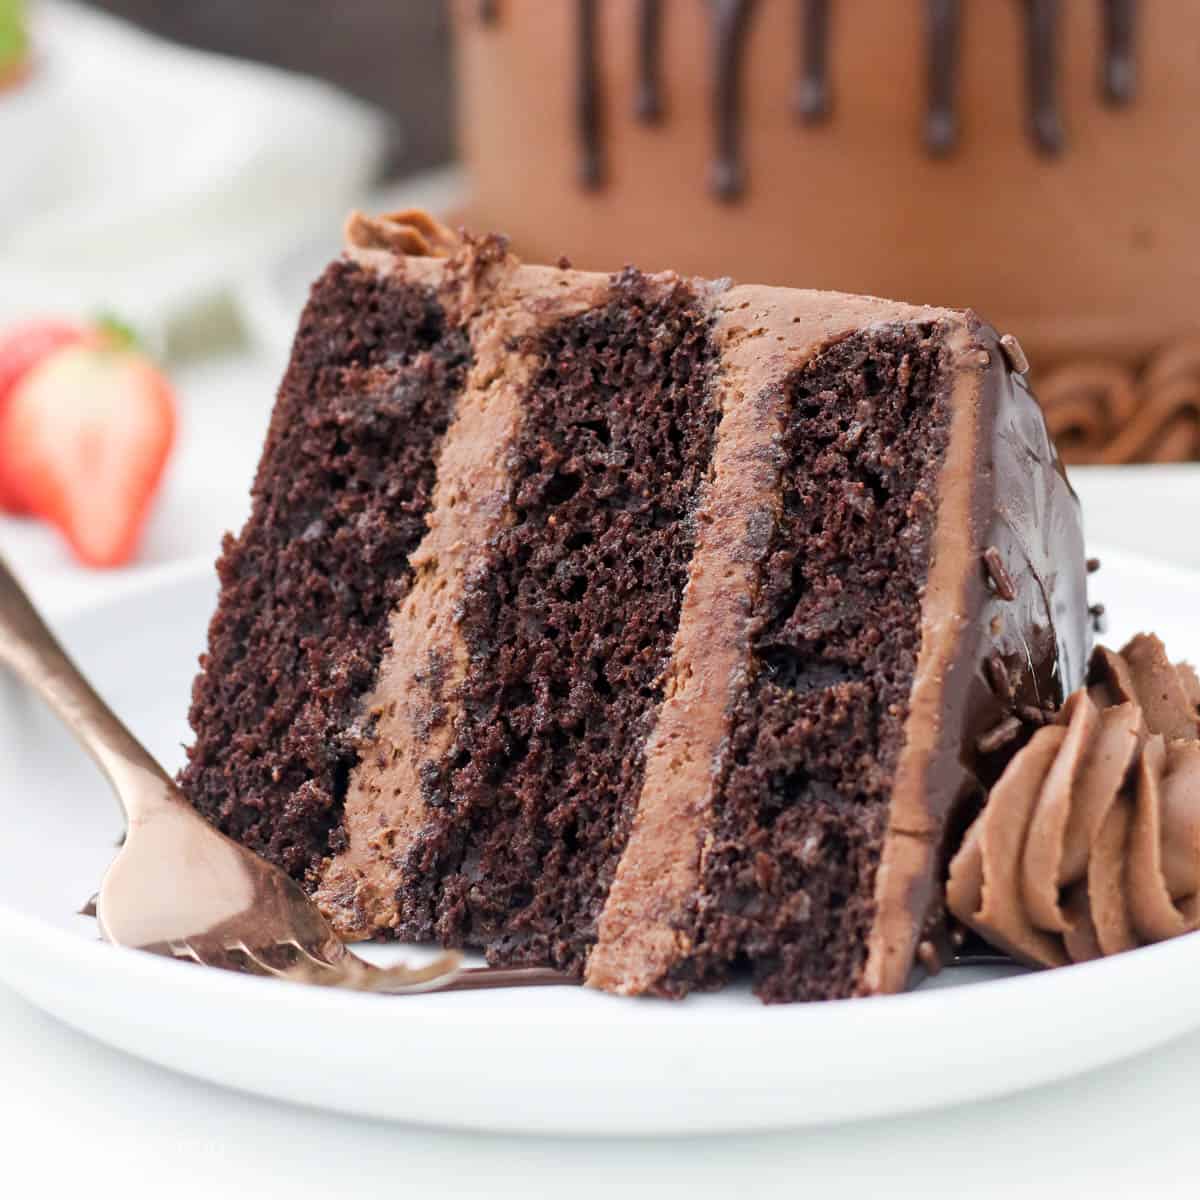
This Chocolate Cake Recipe truly is the BEST EVER! You HAVE TO try it! It’s a 3-layer, super moist chocolate cake with a rich, melt-in-your-mouth chocolate buttercream frosting. And to top it all off, this cake is covered with a chocolate ganache drip. It’s chocolate overload and you won’t regret it.
Ingredients
For the cake:
- 1 ½ cups (285g) granulated sugar
- ½ cup (118 ml) vegetable oil
- 3 large eggs, at room temperature
- 1 tablespoon (15 ml) pure vanilla extract
- ½ cup (118 ml) full-fat sour cream, at room temperature
- 2 cups (280g) all-purpose flour, sifted
- ½ cup (40 g) cocoa powder, sifted
- 1 tablespoon (5g) espresso powder (optional)
- 2 ½ teaspoons (9 g) baking powder
- ½ teaspoon (2 g) baking soda
- 1 teaspoon (5 g) salt
- 1 ¼ cup (296 ml) hot brewed coffee
For the frosting:
- 3 cups (689g) unsalted butter, cold
- 1 ½ cups (167g) cocoa powder (natural unsweetened or dutch processed)
- 9–10 (1171 g) cups powdered sugar
- 3–4 tablespoons (44-58ml) heavy whipping cream
- 1 tablespoon (15ml) pure vanilla extract
- Pinch of salt
- Chocolate sprinkles (optional)
For the ganache:
- 2 ounces (56g) dark chocolate
- 6 tablespoons (88ml) heavy whipping cream
Instructions
For the cake:
- Preheat the oven to 350°F. Prepare three 8-inch round baking pans, line the bottom with parchment paper and grease the sides. Prepare the bake even stripes if desired.
- In a large mixing bowl, combine the sugar, vegetable oil, eggs and vanilla extract. Beat on medium speed until well incorporated. Next mix in the sour cream and beat until well combined.
- In a separate bowl, sift together the dry ingredients. To the batter, alternate adding half the dry ingredients followed by half of the coffee and mix just until the flour starts to incorporate. Repeat with remaining ingredients. Use a spatula to scrape down the sides of the bowl and stir the batter from the bottom to the top to ensure it’s well mixed.
- Divide the batter evenly between the three pans, about 1 2/3 cups of batter per pan. Bake at 350°F for 20-24 minutes. Rotate your pans in the oven halfway through baking. Test the cake for doneness by inserting a toothpick into the center of the cake. If the toothpick comes out clean, your cake is done. Remove from the oven and allow to cool completely.
For the frosting:
- Cut the butter into pieces. Using the paddle attachment, whip butter for 3-4 minutes, scraping down the bowl occasionally. Beat until the butter looks light in color. Next, beat the cocoa powder into the butter until well mixed.
- Alternate adding 2-3 cups of powdered sugar at a time with the liquid ingredients: vanilla extract & heavy cream. Add a pinch of salt as needed. Ensure all the powdered sugar is well combined and beat for 2-3 minutes before adding additional powdered sugar.
- Once all ingredients have been added, whip for 3-4 minutes until the frosting is light and airy. If the frosting is too thick, add additional heavy whipping cream 1/2 tablespoon at a time.
For the chocolate ganache:
- In a microwave-safe bowl, combine the chocolate and heavy whipping cream. Melt the chocolate in the microwave at 50% power in 30-second increments and stir until completely combined. Allow to cool.
To assemble this cake:
- Level the cake layer by removing any domes. Place a dollop of frosting on your cake board and place the bottom layer of cake over that.
- Using 2-2/12 cups of frosting in a large piping bag (about 1 cup per layer), pipe the frosting in circles working the outside edge to the middle. Spread evenly with an offset spatula. Add the second layer of cake and add the remaining frosting. Place the third layer of cake on top.
- Use your offset spatula to press any excess frosting onto the edges of the cake. To finish, pipe the frosting along the outside edge of the cake using a large open round tip or a cake icer tip. Then use an offset spatula or icing smoother to create a smooth edge. Refrigerate the cake for 15-20 minutes.
- Use a spoon or piping bag to drizzle the ganache along the edges of the cake. Allow the ganache to set completely. To pipe, the rosettes on top, use a large piping bag, fill the piping bag with the remaining frosting, and pipe the border of the cake. Garnish with chocolate sprinkles.

Notes
Ingredient substitutions:
- Sour cream Use plain yogurt or plain Greek yogurt.
- Brewed Coffee: I recommend using milk instead, but only if needed.
- Cocoa powder: I prefer to use Hershey’s Special Dark Cocoa Powder for the cake and regular or Dutch-processed cocoa powder for the frosting.
Storing
- Storing a finished cake: This cake is best stored at room temperature in an airtight container such as a cake carrier. If you live in a hot or humid environment, store in an airtight container in the refrigerator, and serve it at room temperature. This cake can be made up to 2 days in advance if stored properly.
- Preparing in advance: Prepare the cake layers up to 2 days in advance. Wrap tightly in plastic wrap with a piece of parchment paper on the top and bottom of the cake layer. These can also be stored in an airtight container. Cake layers can also be frozen, double double-wrapped in plastic wrap. The frosting can also be prepared 1-2 days in advance and kept in an airtight container at room temperature. You’ll need to remix it prior to using it.
Cake Pan Sizes:
- For two 9-inch cakes, they baked for 28-32 minutes. Baking times will vary due to how full the pans are, type of pans and the true oven temperature. Please note these did “crust” a little more on the outside edge due to extended baking times and they rose quite a bit in the middle, so you’ll lose more of the “dome” of the cake.
- For two 8-inch cakes, this should be baked for approximately 25-30 minutes, and about 2 1/4 cups of batter per pan and 1 batch of my best chocolate frosting.
- For 6-inch pans: a full recipe will make four 6-inch layers, filling each one with about 1 1/3 cup of batter and baking for approximately 22-28 minutes. A half recipe will make 2 6-inch layers, follow this recipe for a mini chocolate cake.
- For 10-inch pans: I’ve never tested this with 10-inch pans, but I would recommend a 2-layer cake so you still have nice, thick layers. Trying baking for 18-20 minutes and assessing additional time needed from there
Nutrition
- Serving Size: 1 Slice
- Calories: 1178
- Sugar: 123.2g
- Sodium: 391.9mg
- Fat: 65.7g
- Saturated Fat: 42.1g
- Carbohydrates: 151g
- Fiber: 5.2g
- Protein: 7.9g
- Cholesterol: 186.3mg


Hi made this chocolate cake for my granddaughter birthday. I did 7 inch tins. It was still moist 1 Week later. Would recommend. I give it full marks and gold star lol. Thank you so much
I use such a lot of your recipes.
Thank you so much, Christine! I am so happy to hear that!
How was that butter cream enough for all the layers , top and sides it didn’t look like a lot of butter cream ?? Just wondering
Hi Phyllis, it’s 6 sticks of butter and 9-10 cups of powdered sugar should be more than enough. You don’t need to add a ton of frosting between the layers either.
What size pans do you use to get three layers?
8-inch pans as listed in the recipe card
I am looking to make 1 8” round pan if I cut the recipe in half will this work ? Plus I want to use cake flour, will the measurements for flour be the same if I use cake flour
Hi Holly, yes if you cut the cake recipe in half, you can make 1 8-inch layer. Regarding cake flour, I do not recommend it, It is not a 1:1 substitute and this recipe has not been tested with cake flour.
Have you ever made this recipe into cupcakes? Should I change the baking temp or just the time?
Hi Alex- yes it will make 24 cupcakes and you don’t need nearly as much frosting. Cupcake baking time is 14-16 minutes. You can cut the frosting in half
I made this cake for my lil girls 8th birthday and she loved it! It was SO moist and deliscious!! All the guests went on and on about the cake tasting so good and it being the best they’ve ever had! Will definitely be making this one again! Thanks so much for sharing your awesome recipe with us! ☺️
That is so amazing Ellen!
The cake was pretty rich, but absolutely delicious! It was a big hit, and I’ve been asked to make it several times.
Awesome! Thank you so much for sharing Lauren!
Excellent chocolate cake recipe! Light & fluffy cake and sweet & creamy icing. The birthday boy loved it!!
Thank you so much Annie! I am so so glad you enjoyed it!
I put the espresso and coffee as the recipe said and my cake tastes exactly like it:( should I have used one or the other? Instead of both?
Hi Nat, do you usually have a sensitive taste to coffee? Personally I don’t taste it at all.
I mixed the sugar with the other dry ingredients instead of with the eggs & sour cream did I ruin it?
No go ahead and make the cake still. It should be okay.
Hi Julianne
I am wanting to bake your chocolate cake recipe in a Aga, do you happen to know how long I should bake it for in that type of oven.
Many thanks
Peter
Hi Pete, I am sorry I am not familiar with that or how to bake in one.
Ok, thanks for responding anyway Julianne.
Peter
I loved making this cake everyone loves it thank you for your baking genius
You’re so welcome Shari!
Could I use sunflower oil in place of Vegetable oil? I live in Spain and its hard to find anything except sunflower or olive oil. Thanks!
Hi Monica- I’ve never used sunflower oil, but if it’s similar to vegetable oil that it would probably work.
Your recipe is so easy and simple to understand… You have boosted my confidence to bake and decorate the cake for my daughter’s birthday. Will share the pics soon…
Thank you so much Manali! I am so happy to hear this.
Can I use melted margarine instead of oil? Will it change the consistency in any way? Need to make for a birthday. Please let me know..
I have not made this recipe with melted margarine myself but melted butter would be a suitable substitute. Any variation of the original recipe will not produce the same results, but the melted butter in place of oil will still bake fine and taste good!
I’m excited to try this one out, however I only have 9 inch pans. I saw that you adjust the baking time, but was curious to whether I could still do three layers (even if they wouldn’t be as thick). Would there be a baking time adjustment or would you just recommend sticking with two 9 inch layers?
Yes you could still do 3 layer 9-inch cake with thinner layers
This cake looks amazing and plan on making it these days. I was wondering if I could half the sugar as 10 cups is a ridiculous amount of sugar.My kids never had store bought desert, and everything I make,I usually half the amount of sugar,or in some recipes I use maple syrup. I am scared I will send my family into a diabetic coma 😁.
Thank you.
Hi Ann- For frosting, a standard ratio is 2 cups of powdered sugar for every 1/2 cup of butter. You are welcome to reduce the powdered sugar, and you’ll get less yield for the frosting. If you halve the sugar, you’ll probably want to reduce the butter. You might consider just using less frosting on the cake, and making a half recipe or something. I hope you enjoy this cake.
I have made this cake serval times. I absolutely love it, and so has anyone that has tried it.
My daughter has a birthday coming up, and I just wanted to make her a smaller cake. I was wondering if I could use the leftover for cupcakes, or if it would be best to just reduce the recipe?
Hi Lauren, you definitely can! How small are you thinking? I half recipe would make this adorable 6-inch cake or a single layer 8-inch cake.
Hi I would like to make a 4 layer 8inch so how much more ingredients would I need , thanks very much x
Sorry also if I’m would it be ok to make the day before and then frost on the day to give to someone … and how long does it keep with having cream … can’t wait to try it , it looks lovely x
Yes it will keep for several days in a cool and dry climate at room temperature.
Thanks for getting back xxx
Depends how thick you want the layers. This recipe will make 2 thick layers of 8 inch cake. With 4 layers the cake would be really quite tall. You can 1×5 times the recipe and that would be more than sufficient.
Thanks very much , it is a tall cake that I want … appreciate the advance xxx
My family loved this cake! I need to work on applying the ganache HAHA..I think I was so anxious to work with the overlay of the ganache drip that i poured a little too much on some of parts the but it was still pretty and tasted fabulous! Definitely will make it again.
Awesome! Thank you JoAnne, I love this! If you aren’t using a piping bag, try using a spoon to pour the ganache over the cake.
This recipe didnt work for me. My cake came out chewy in texture. Didnt rise well (maybe that’s on me) but the texture i would blame adding in all the liquid ingredients together at the same time. Oh well …
Definitely going to try this, it looks amazing! Just to clarify… it’s over 1,000 calories for one slice of cake?
This is estimated based on preparing the recipe using the entire ingredients lists and also dependent on how many slices you cut. But I think you’ll find that any slice of a cake in a bakery is equal to or more than- or most cake recipes on the internet 🙂
On your frosting, how many cupcake would this cover?
More than 24 cupcakes