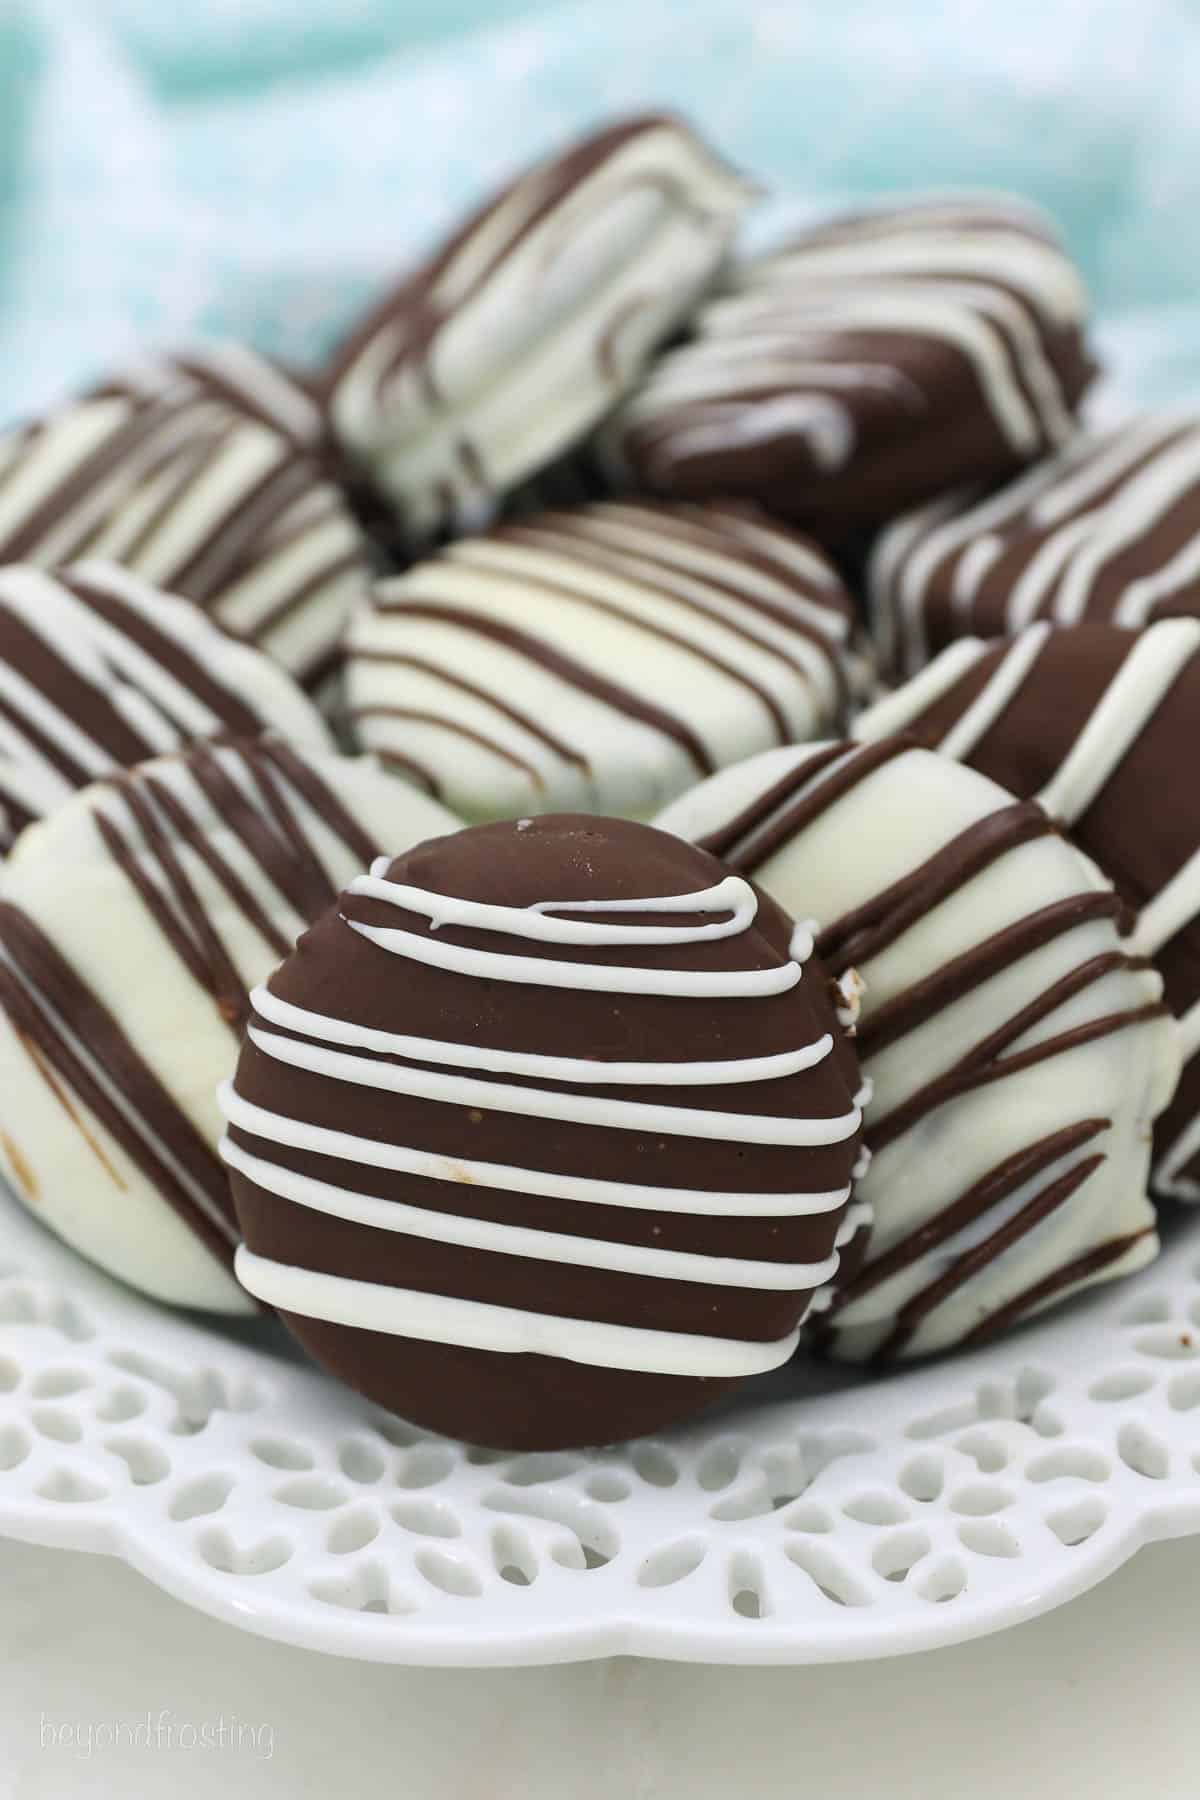
These Chocolate Covered Oreos turn regular Oreo cookies into an indulgent chocolate dessert! They may look fancy, but these are so easy to make in under 15 minutes.

Easy Chocolate Covered Oreos
Want a simple way to make anything taste better? Just cover it in chocolate! I’m a huge fan of chocolate-covered desserts. They’re super fun, super easy, and of course, super delicious! I swear that everything is yummier when it has a smooth chocolate coating.
Desserts like chocolate-covered Oreos and Chocolate Covered Strawberries will never go out of style. They always look beautiful and there are infinite ways to decorate them. These chocolate-covered Oreos can be made with any kind of chocolate your heart desires – milk, dark, white, or a combination!
Recipe Ingredients
Technically you only need two things to make chocolate-covered Oreos – the cookies and some chocolate. But, I like to kick things up a notch by using two kinds of chocolate and adding garnishes as a finishing touch.
Here’s what you’ll need to make chocolate-covered Oreos the way I do:
- Oreos: You’ll need one full bag of Oreos. You can use any flavor you’d like.
- Chocolate Wafers: I use a 10-oz bag of milk chocolate wafers.
- White Chocolate Wafers: 10-oz bag.
- Garnishes: Feel free to add sprinkles or other garnishes before the chocolate sets.
What Type of Chocolate is Best for Dipping?
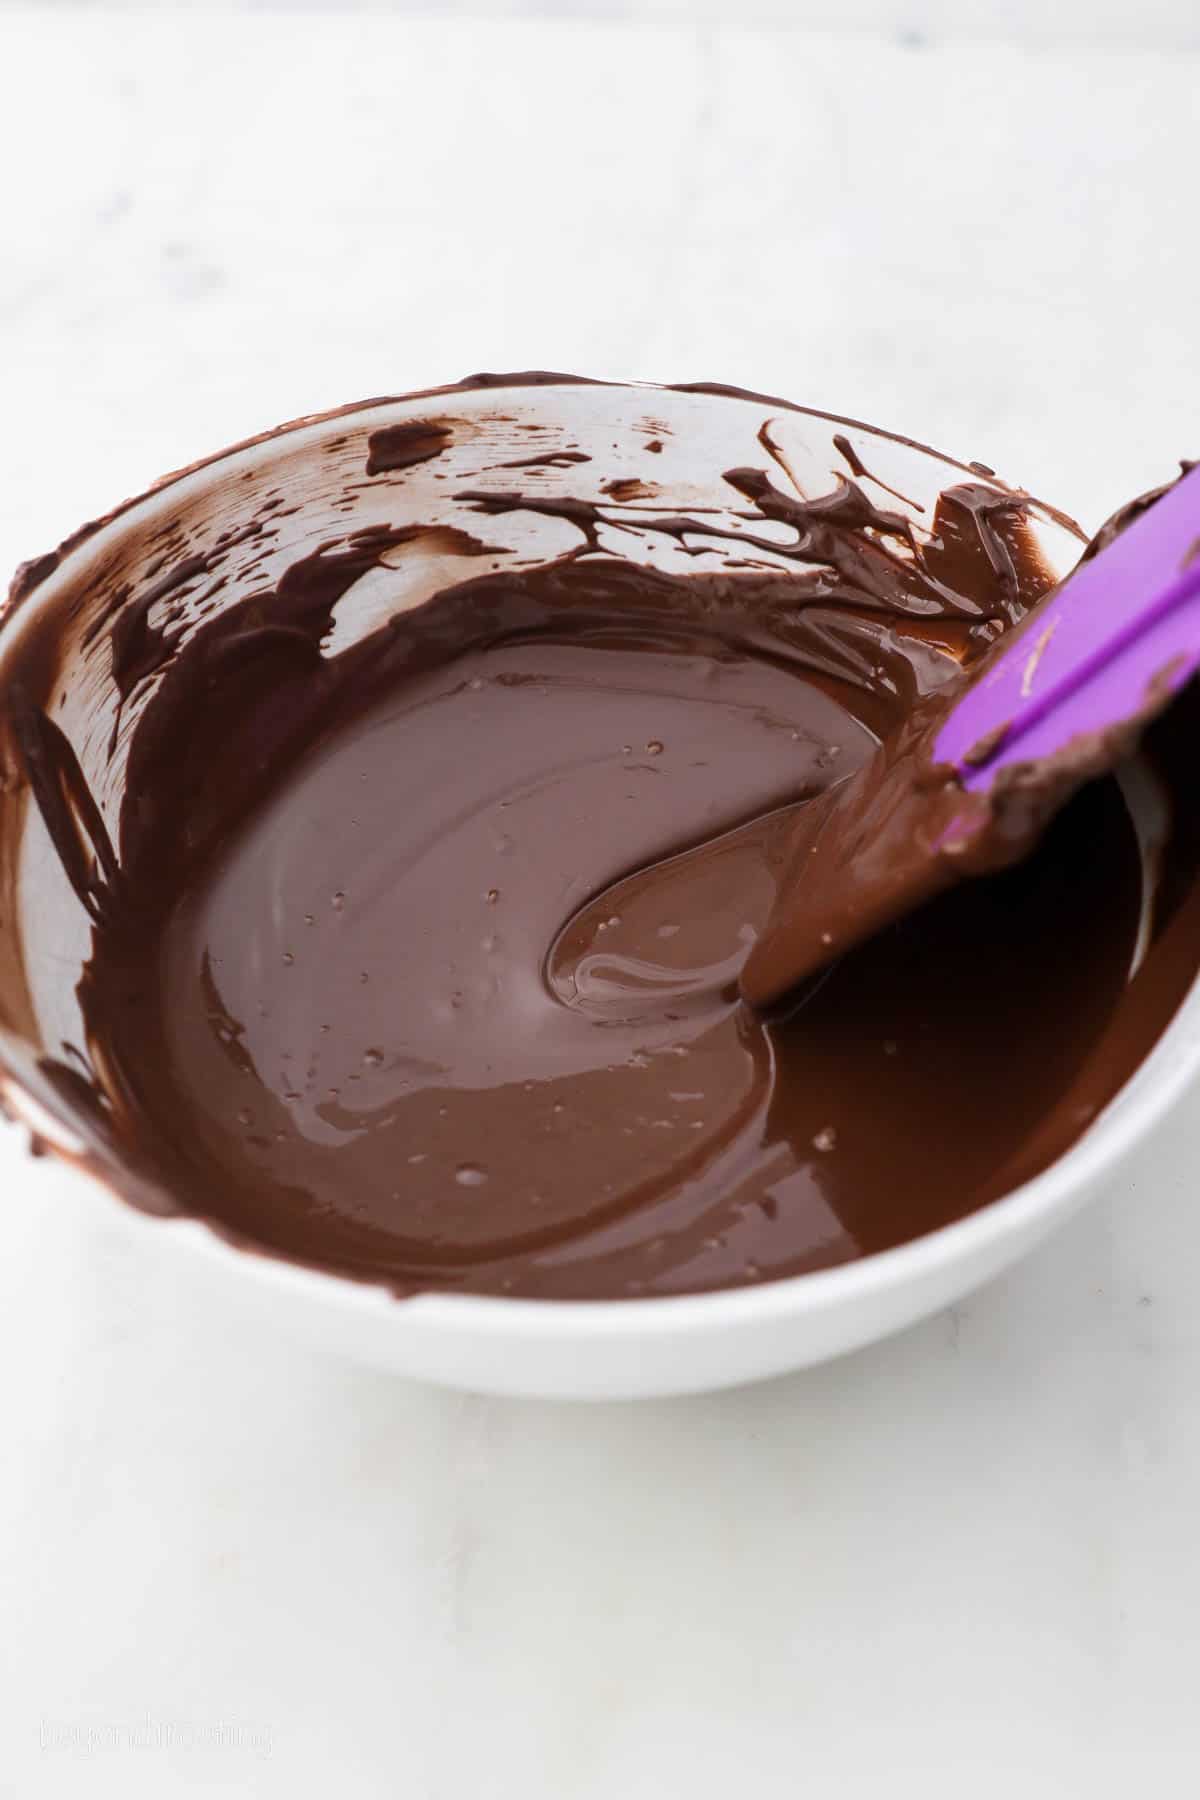
It’s best if you can use melting wafers, which are made by Ghirardelli or Guittard. These are both high-quality chocolate and taste the best. They’re made specifically for melting, and they have the smoothest texture. You can also melt small quantities, which is perfect when you want to add a drizzle of chocolate on top of all the other chocolate!
Working with White Chocolate
White chocolate is thicker than milk or dark chocolate when melted. If you’re dipping Oreos in white chocolate, you’ll notice the crumbs in the chocolate. So, if you are planning to also use white chocolate for a drizzle or to create different colors, you may want to set some aside. This way you’ll get that clear white drizzle of chocolate without any crumbs in it.
What are Candy Melts and Chocolate Wafers?
Now bear in mind that melting wafers are not the same as candy melts. Taste-wise, candy melts are not as good, and while they’re great for melting and dipping, they tend to have a thicker consistency. This makes it harder to dip your cookies and get a smooth finish.
How to Make Chocolate-Covered Oreos
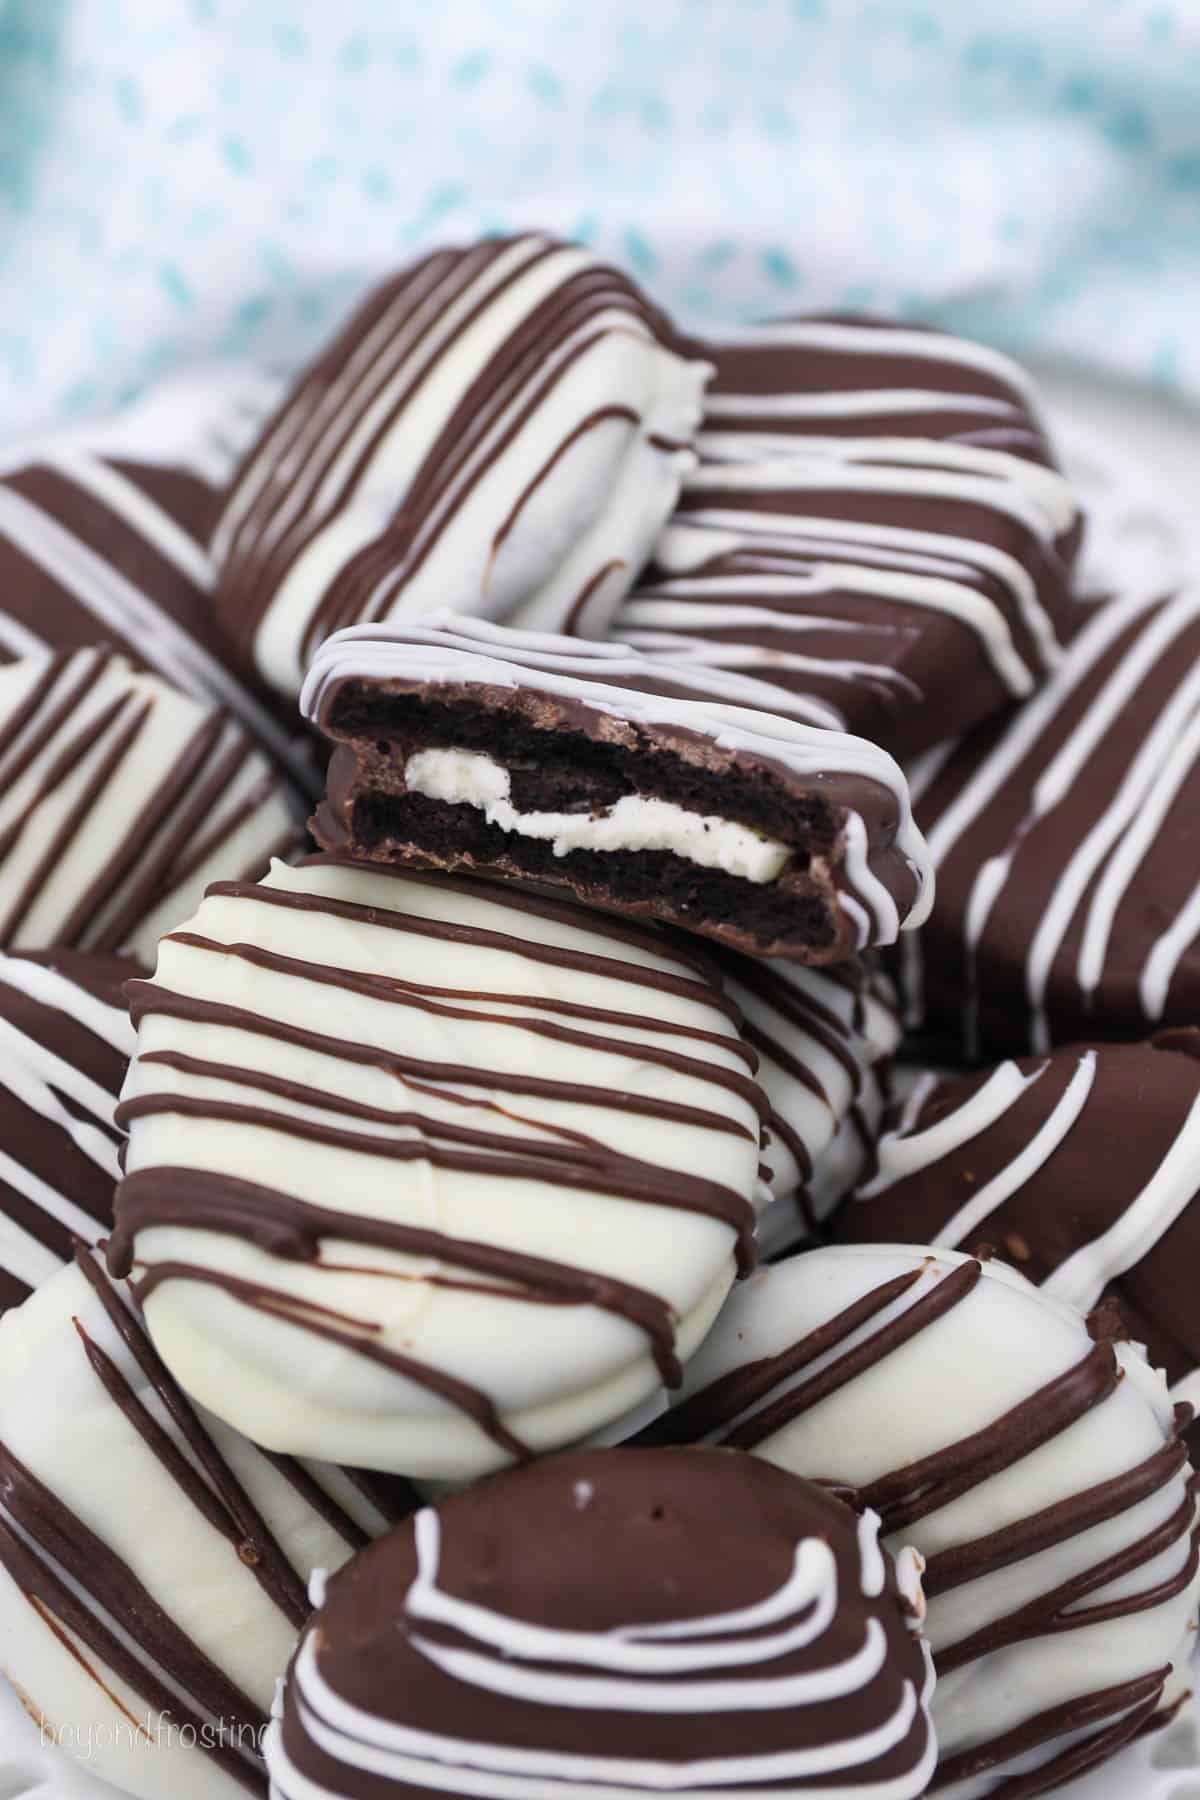
Making chocolate-covered Oreos is a cakewalk. You just have to melt the chocolate, dip the Oreos, let them set, and decorate away!
Melt Chocolate: In a microwave-safe bowl, melt the chocolate wafers at 50% power in 30-second intervals; stir between each interval and continue until the chocolate is melted. Reduce microwave time as needed so the chocolate does not burn.
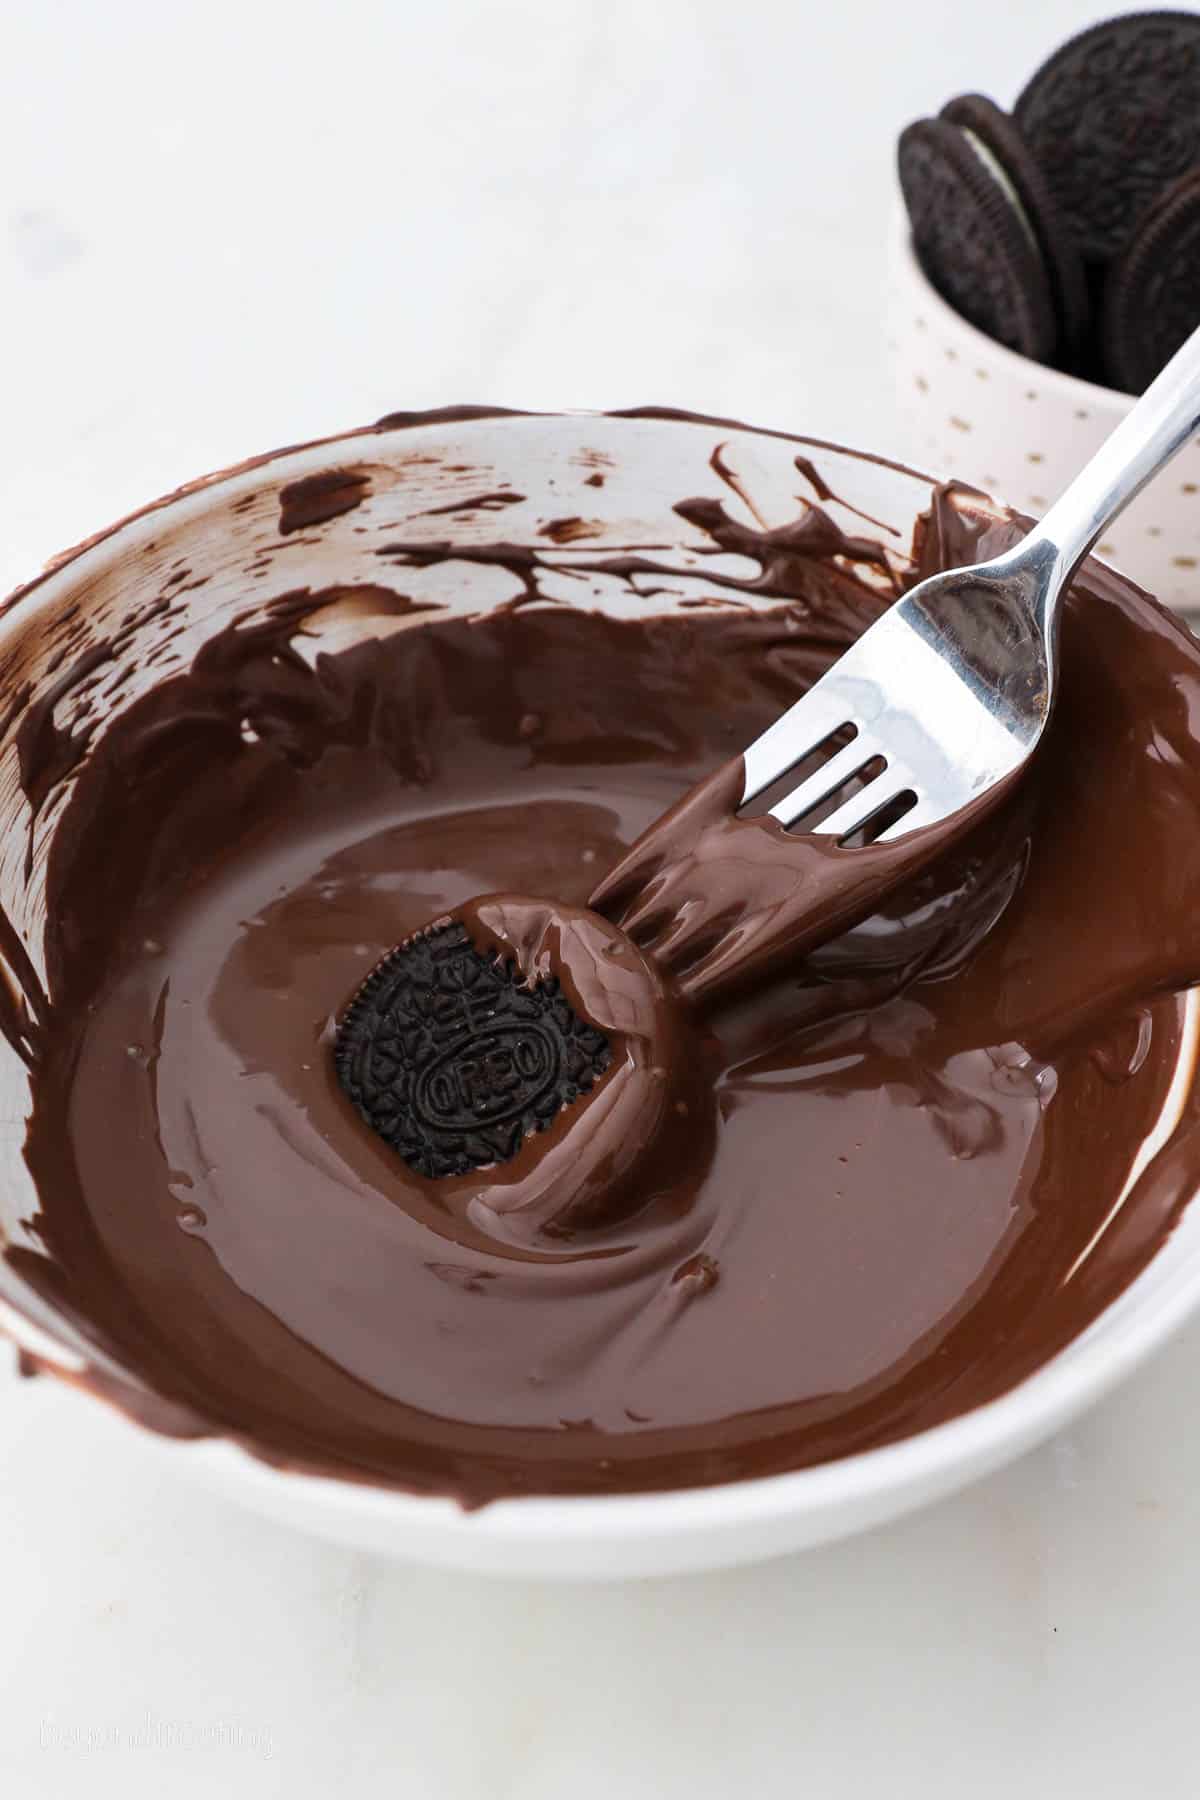
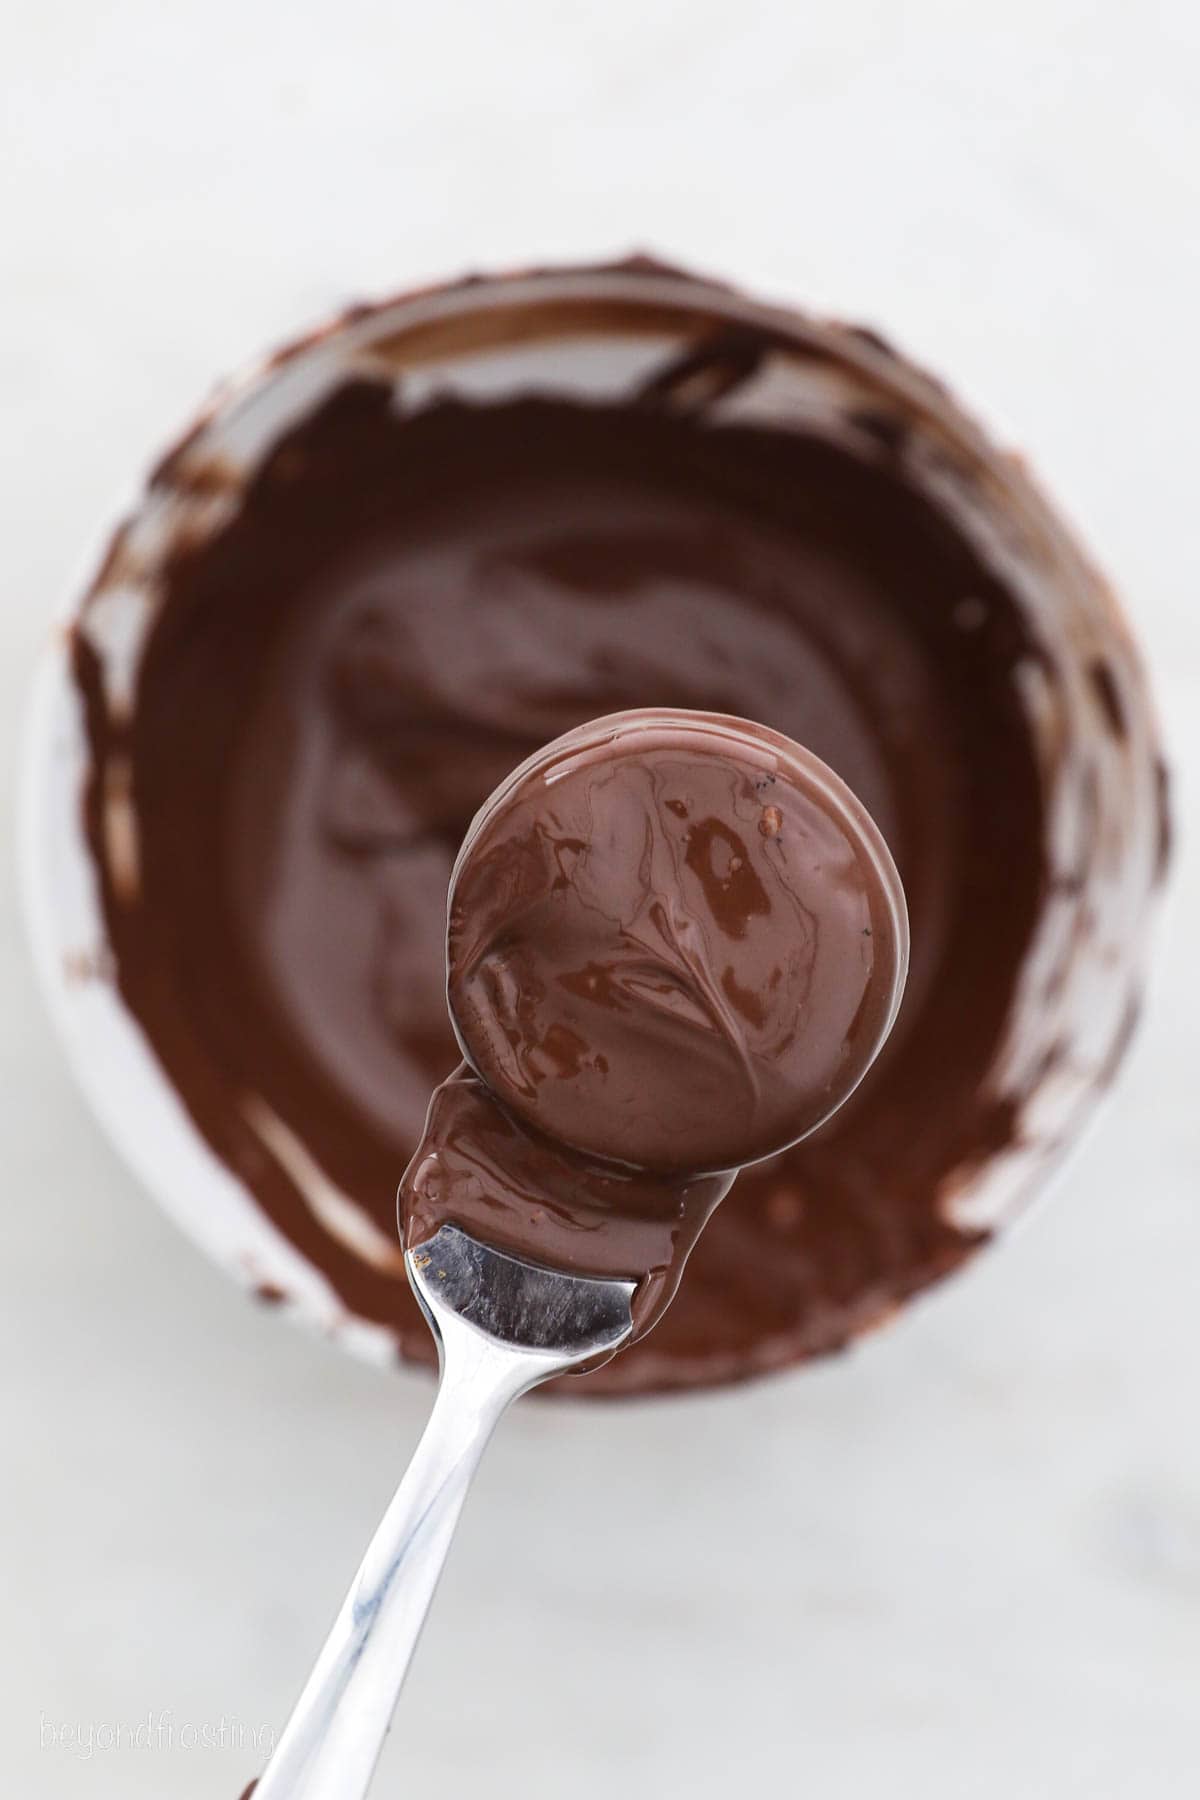
Dip Oreos: Place the Oreo in the bowl of chocolate and use a fork to flip the Oreo around until it’s completely covered. Use the fork to lift the Oreo out of the chocolate, tap the fork on the side of the bowl to remove excess chocolate, and scrape the bottom of the fork on the edge of the bowl to remove additional chocolate. Place on a piece of parchment paper or a silicone baking mat and repeat with the remaining Oreos.
Decorate: Chocolate wafers tend to set quickly, so if you’d like to add sprinkles or other toppings, then it’s best to do so right away. Or, you can add a chocolate drizzle and then add sprinkles to the drizzle.
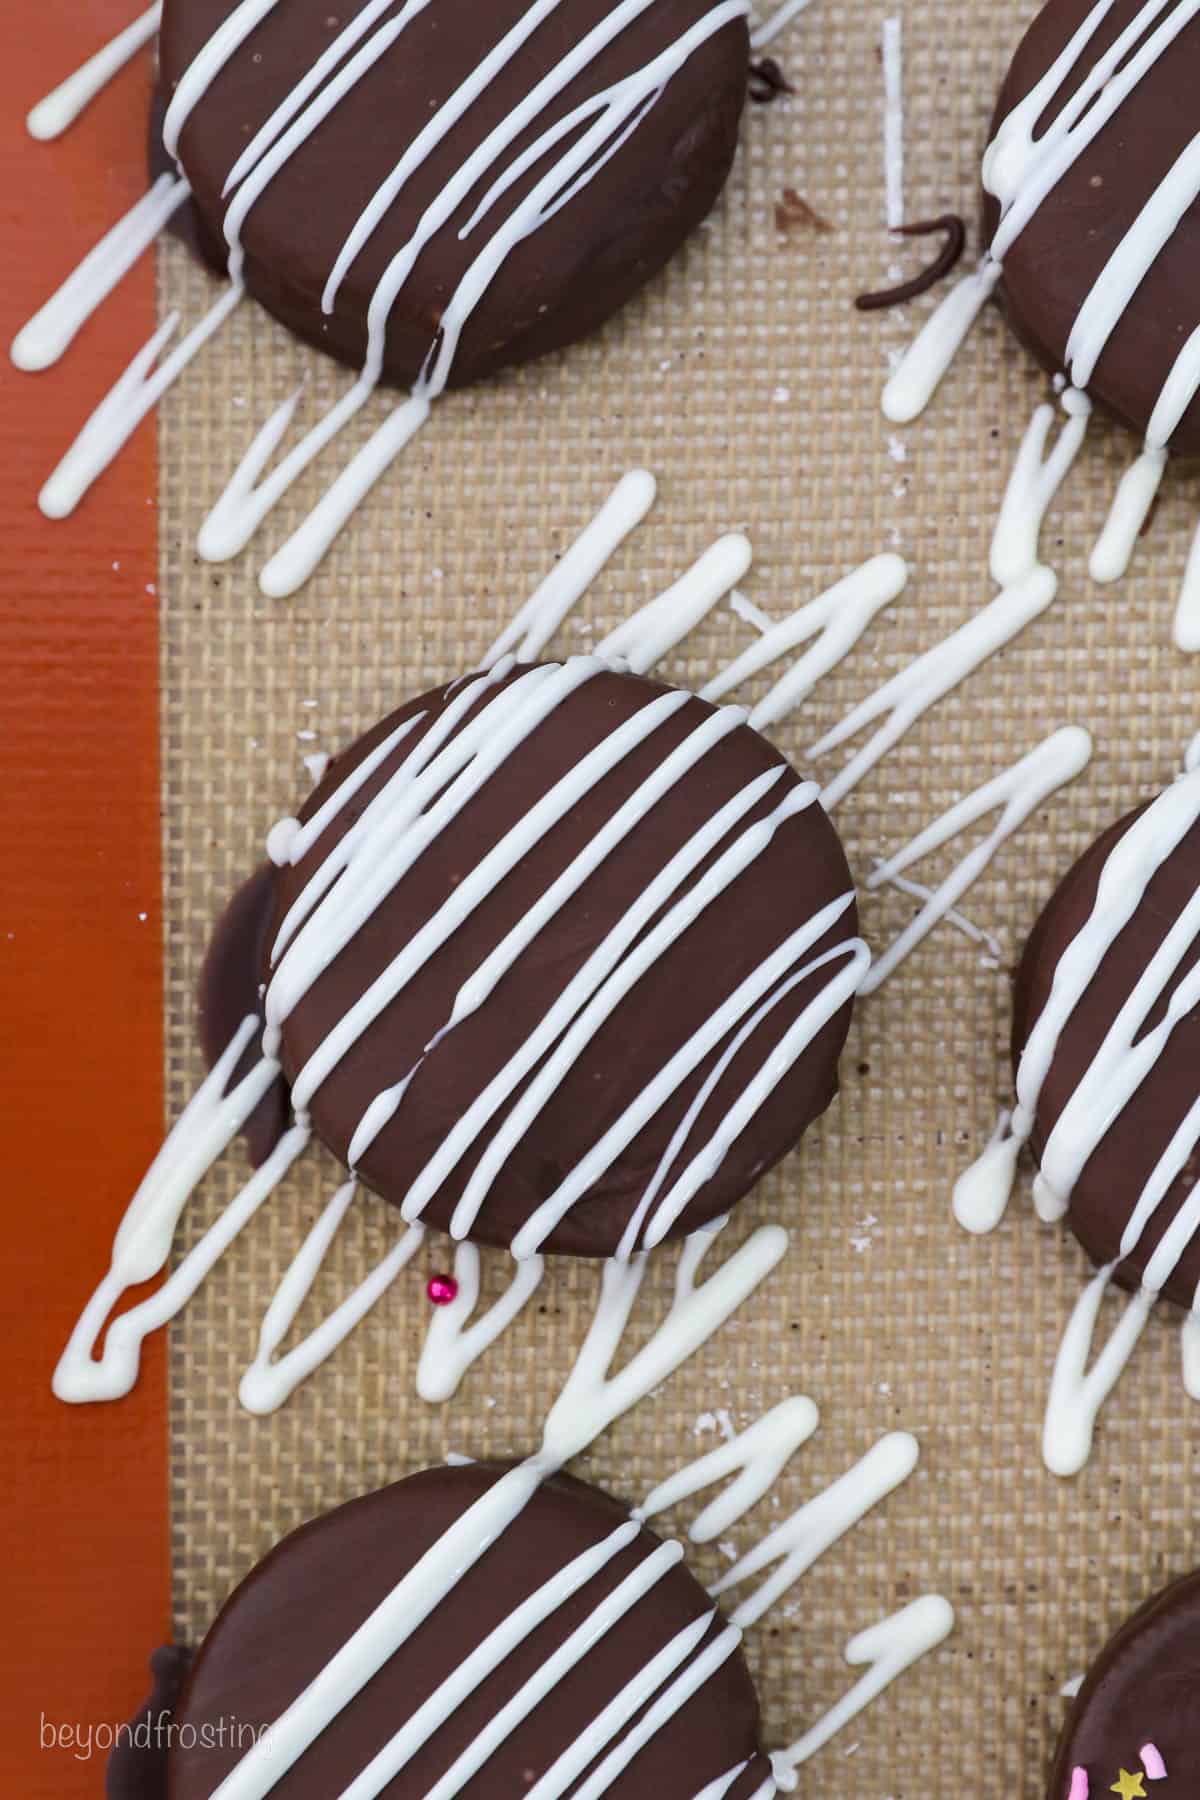
Drizzle with Chocolate: Wait until the chocolate has fully set, then apply the drizzle with leftover melted chocolate. Do this by filling a small piping bag or Ziploc bag with 2-3 tablespoons of melted chocolate and cutting off the tip/corner of the bag. Drizzle and allow to set.
Tips for Success
Even though these are simple to make, a few tips will ensure that you make the absolute best chocolate-covered Oreos:
- Mix Chocolate Consistently: When melting chocolate in the microwave, it’s important to take a lot of mixing breaks. Heat the chocolate in 30-second intervals, stirring between each one and reducing the duration of the intervals as needed to avoid burning the chocolate.
- Melting Pot Directions: I love using my melting pot whenever I’m working with chocolate. If you’re worried about melting your chocolate in the microwave, I recommend using the “melt” setting on a melting pot instead. It keeps the chocolate at the perfect temperature without burning it!
- Make a Double Boiler: If you don’t want to use a microwave or melting pot, you can also make a double boiler using a heat-safe bowl and a small pot of boiling water. Check out the “What if you don’t have a microwave?” section of my Chocolate Covered Strawberries post.
- How to Get the Perfect Drizzle: For the best look, drizzle the chocolate off the sides of the Oreo rather than stopping at the edges.
Oreo Decorating Ideas
From simple designs to holiday decorations, there are so many fun ways to dress up your chocolate-covered Oreos. Here are some ideas!
- Add Crushed Nuts: Try crushing up some nuts and sprinkling them over your Oreos before the chocolate sets. Delicious!
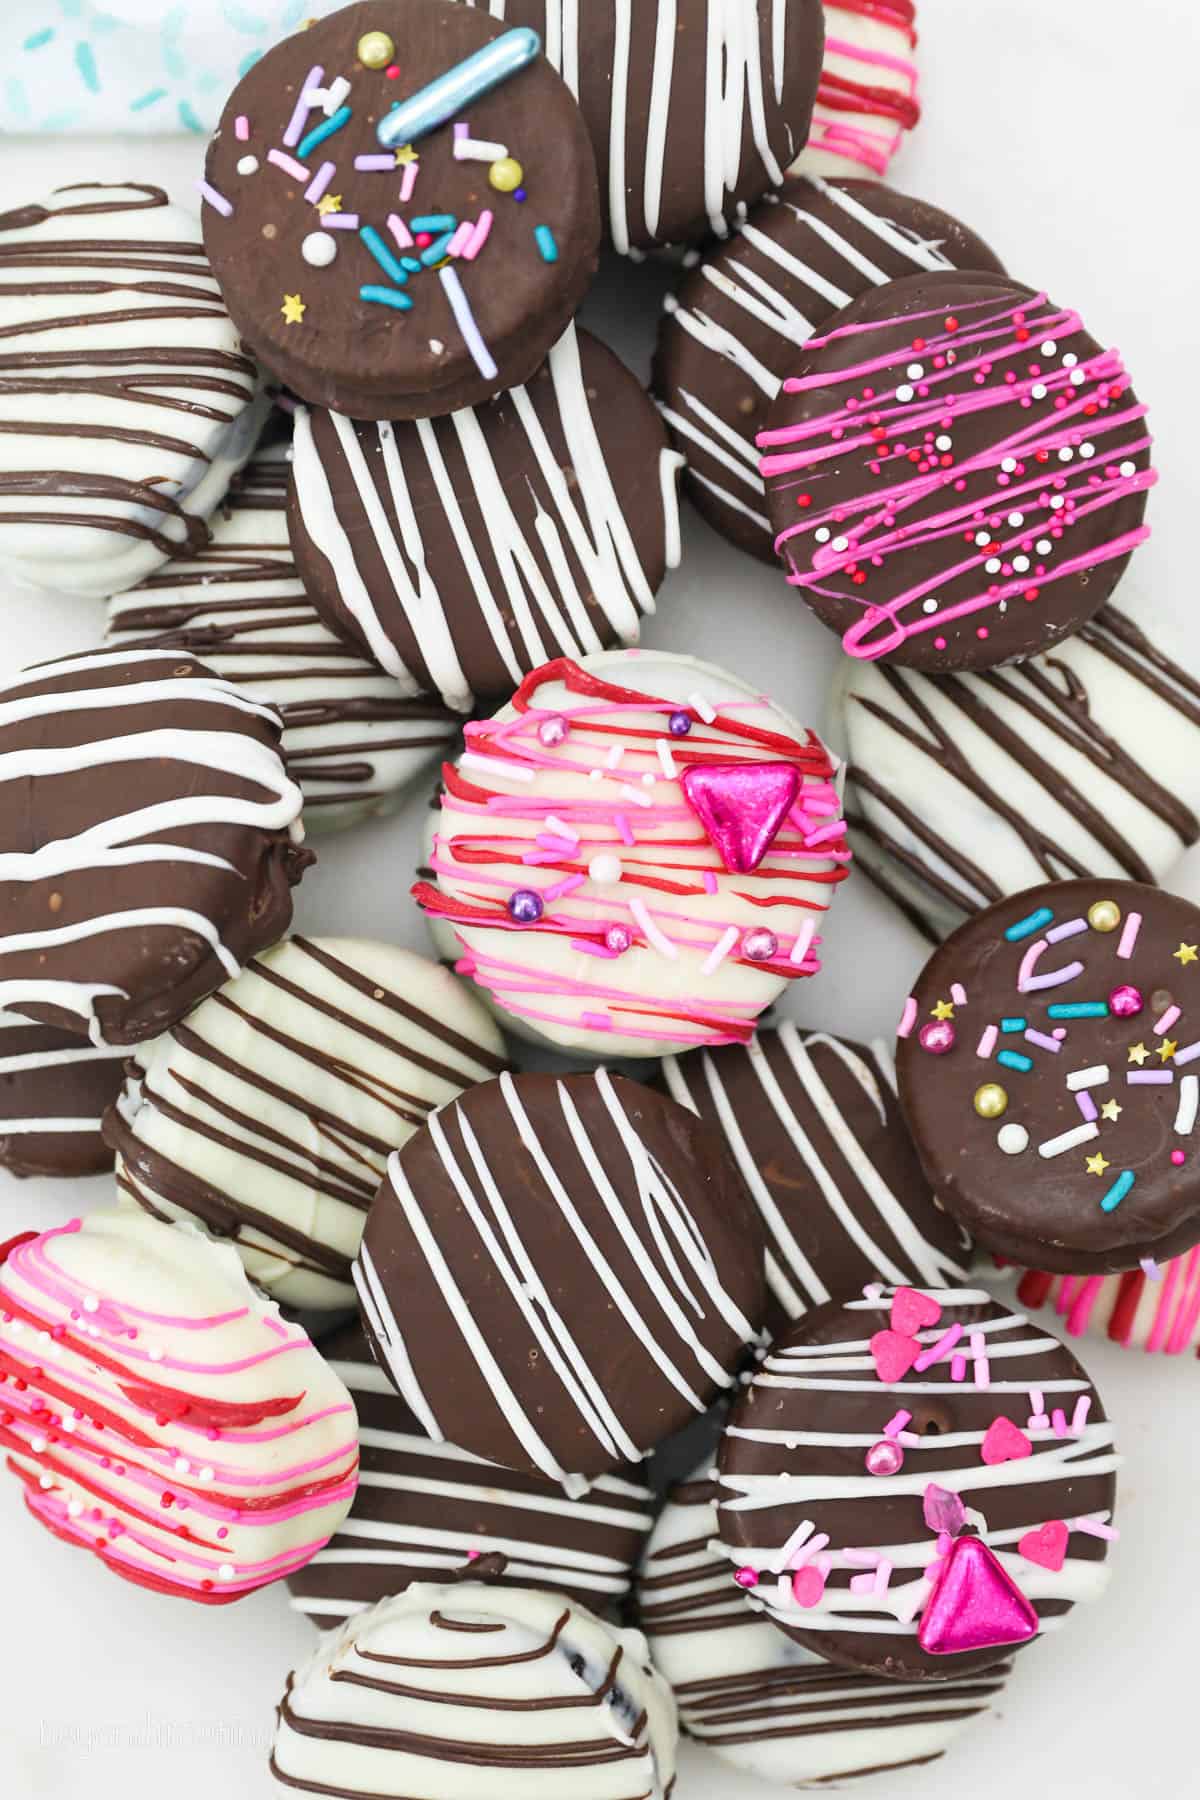
- Make them Festive: Turn them into holiday Oreos for either Valentine’s Day Decorating Ideas or Christmas. Homemade dipped Oreos make the perfect gift!
- Dye White Chocolate Drizzle: One of the great things about using white chocolate is the option to make it any color you’d like! Use candy oils for the best colors.
- Dip Halfway: As much as I love my Oreos being completely covered in chocolate, it’s also super cute to dip them partially, leaving about half of the Oreo showing.
Serving Suggestions
Chocolate-covered Oreos are so easy to incorporate into other desserts. The flavors go well with everything!
- Use as a Cake Topper: You have to try putting these Oreos on top of my Oreo Chocolate Cheesecake Cake. I couldn’t possibly think up a better dessert for cookies and cream lovers!
- Serve with Ice Cream: If you like chunks of yumminess in your ice cream, I recommend breaking up your chocolate-covered Oreos and adding them to the bowl with your favorite ice cream!
- Serve As Is! Let’s be real, chocolate covered Oreos are a deliciously decadent dessert on their own. Arrange these babies on a decorative plate and you’ll have a quality dessert platter.
How to Store Chocolate-Covered Oreos
You can store your chocolate-covered Oreos in an airtight container or resealable bag on the counter for up to 3 days. If you want them to last longer, keep them in the fridge instead. Refrigerated Oreos stay fresh for about 2 weeks.
Can I Freeze These?
You can freeze your chocolate-covered Oreos if you’d like, though they could get a little icy and then a little wet once they thaw. You can try and minimize this by tightly wrapping each cookie in saran wrap before placing them in a freezer-safe bag.
If you don’t mind this, go ahead and freeze the Oreos in an airtight container, placing parchment paper between each layer of cookies to avoid sticking. Thaw them in the fridge before enjoying them.
Print
Chocolate Covered Oreos
- Prep Time: 10 minutes
- Cook Time: 2 minutes
- Total Time: 12 minutes
- Yield: 36
- Category: Dessert
- Method: Microwave
- Cuisine: American
Description
Turn regular old Oreo cookies into an indulgent late-night treat with these Chocolate Covered Oreos! They’re so easy to make in under 15 minutes.
Ingredients
- 1 bag (14oz) Oreos (flavor of choice)
- 10 ounce (283g) chocolate wafers
- 10 ounces (283g) white chocolate wafers
- Garnishes (Sprinkles, etc)
Instructions
- In a microwave-safe bowl, melt the chocolate wafers at 50% power in 30 second intervals; stir between each interval and continue until the chocolate is melted. Reduce microwave time as needed so the chocolate does not burn.
- Place the Oreo in the bowl of chocolate and use a fork to flip the Oreo around until it’s completely covered. Use the fork to lift the Oreo out of the chocolate, tap the fork on the side of the bowl to remove excess chocolate and scrape the bottom of the fork on the edge of the bowl to remove additional chocolate. Place on a piece of parchment paper or a silicone baking mat and repeat with remaining Oreos.
- Chocolate wafers tend to set quickly, so if you’d like to add sprinkles or other toppings, then it’s best to do so right away. Or, you can add a chocolate drizzle and then add sprinkles to the drizzle.
- Wait until the chocolate has fully set, then apply the drizzle with leftover melted chocolate. Do this by filling a small piping bag or Ziploc bag with 2-3 tablespoons of melted chocolate and cut off the tip/corner of the bag. Drizzle and allow to set.
Filed Under:
More Chocolate Desserts to Try
If you’re a chocoholic like me, you have to check out some of my other indulgent dessert recipes!




Oh, yum! I have a friend who is absolutely obsessed with Oreos, and she would love these 😀