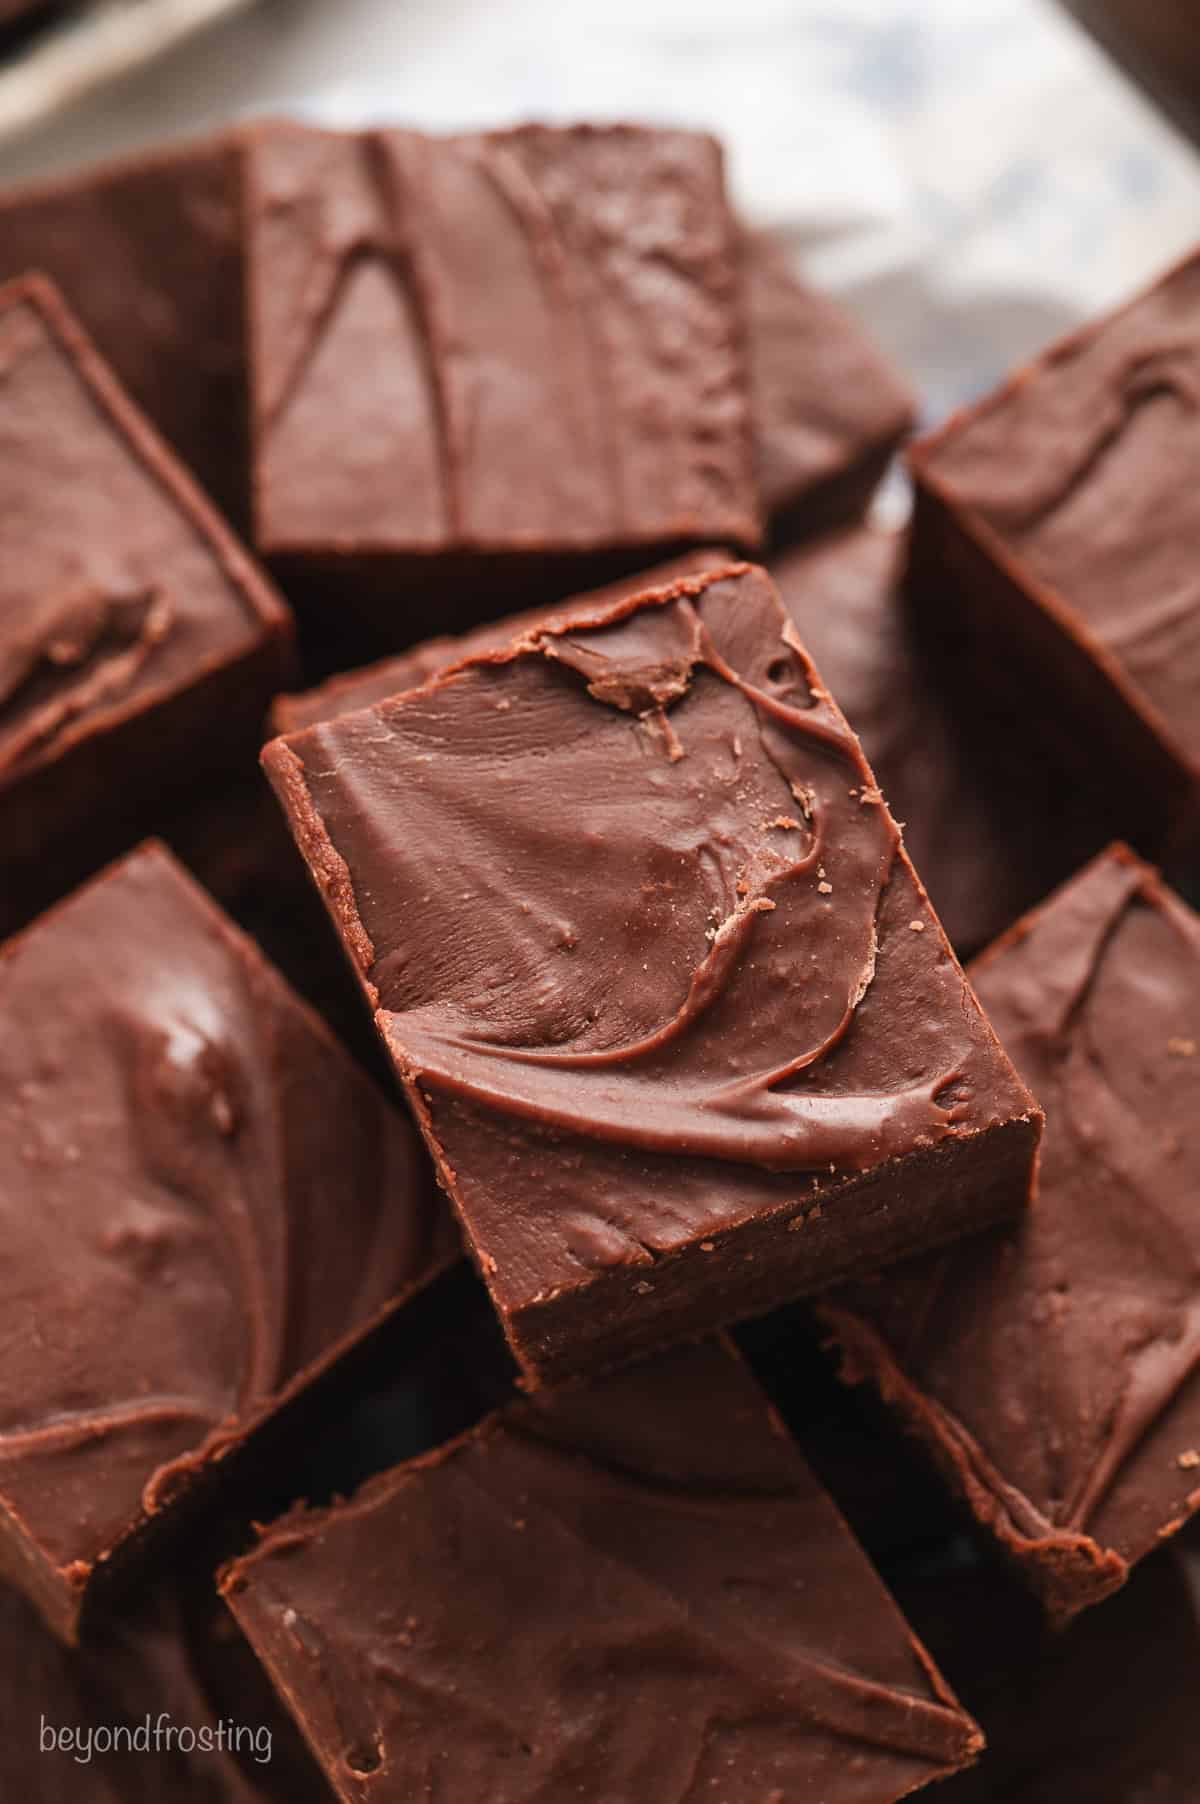
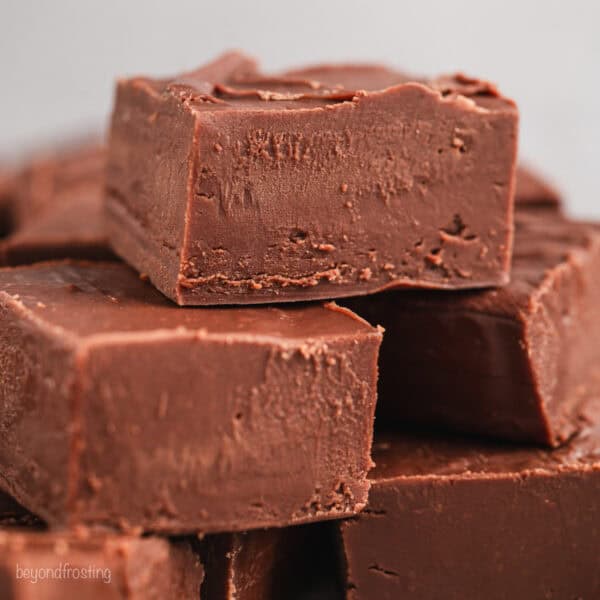
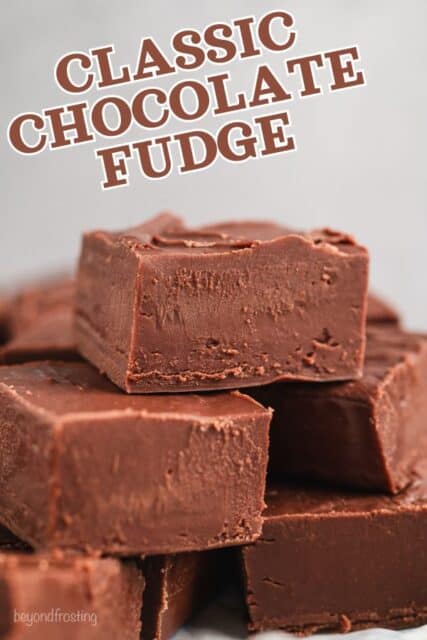
Make creamy and classic chocolate fudge with only 6 ingredients! This old-fashioned candy recipe is a holiday favorite packed with irresistibly fudgy flavor, and it’s ready in minutes on the stove.
Classic fudge recipes like this chocolate fudge and my best-ever peanut butter fudge are perfect for holiday dessert tables. You’ll also love these easy homemade chocolate truffles that you can make in the microwave.
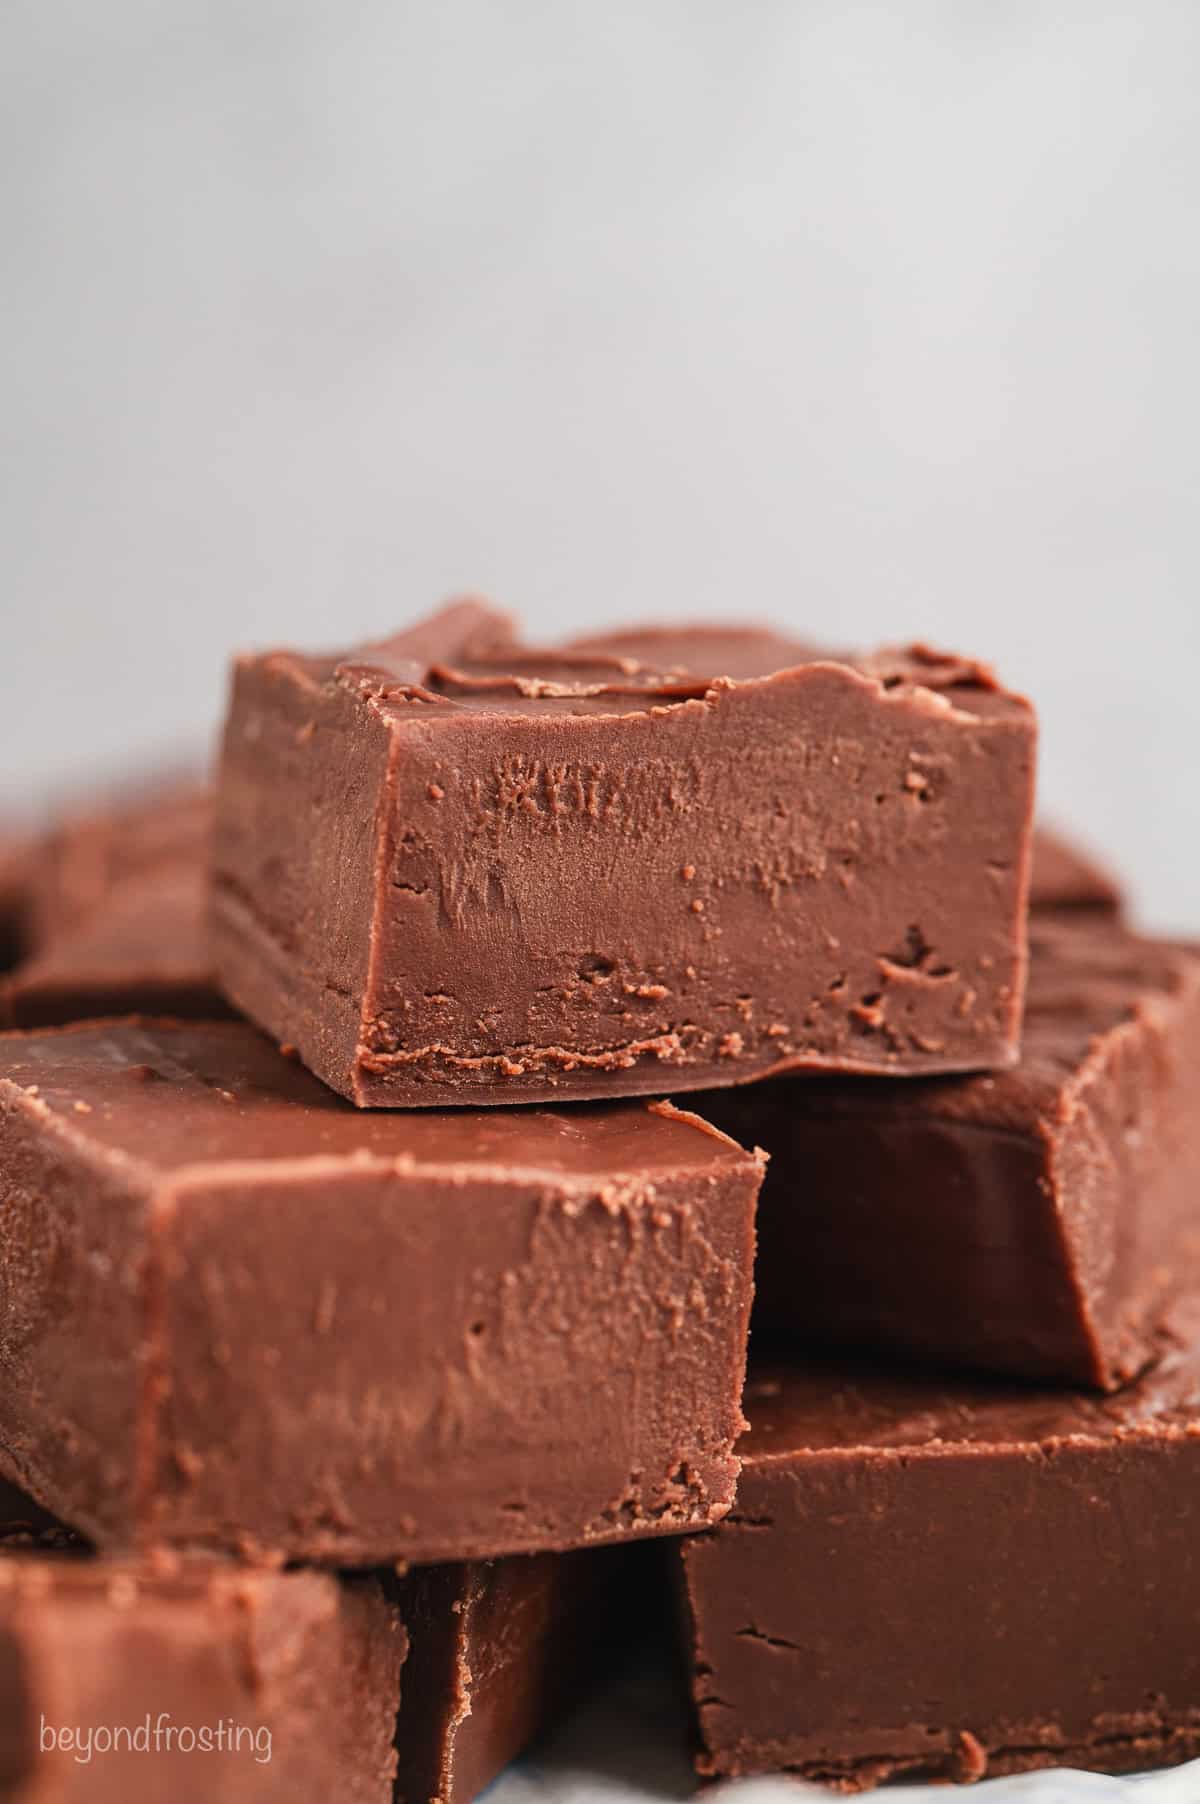
Old-Fashioned Chocolate Fudge Recipe
This is a tried-and-true, never-fail classic chocolate fudge recipe that I’ve been making for ages! It’s easy, and unlike similar recipes out there, you don’t even need to fuss with a candy thermometer to make it. If you follow the ingredients and recipe exactly, I can all but guarantee you’ll wind up with the best chocolate fudge every time.
Plus, once you’ve mastered the basics of fudge-making, you’ll find loads of ways to customize this treat with add-ins, toppings, flavors, and more. One bite, and you’ll see why my household has this fudge recipe on repeat.
3 Things I Love About It
- 15-minutes of work. This chocolate fudge recipe is extra decadent and quick to make on the stove. You’ll simply boil sugar with butter and evaporated milk, and then stir in chocolate chips. It takes a little time to set afterward, but that part is hands-free.
- Perfect for customizing. This recipe makes a great base for add-ins, from crunchy nuts to chewy marshmallows. I include some easy mix-in and variation ideas further in the post.
- Holiday-worthy. With the holiday season around the corner, there’s no better treat for gifting and snacking than a big batch of homemade chocolate fudge. It stores for weeks in the fridge, and even longer in the freezer.
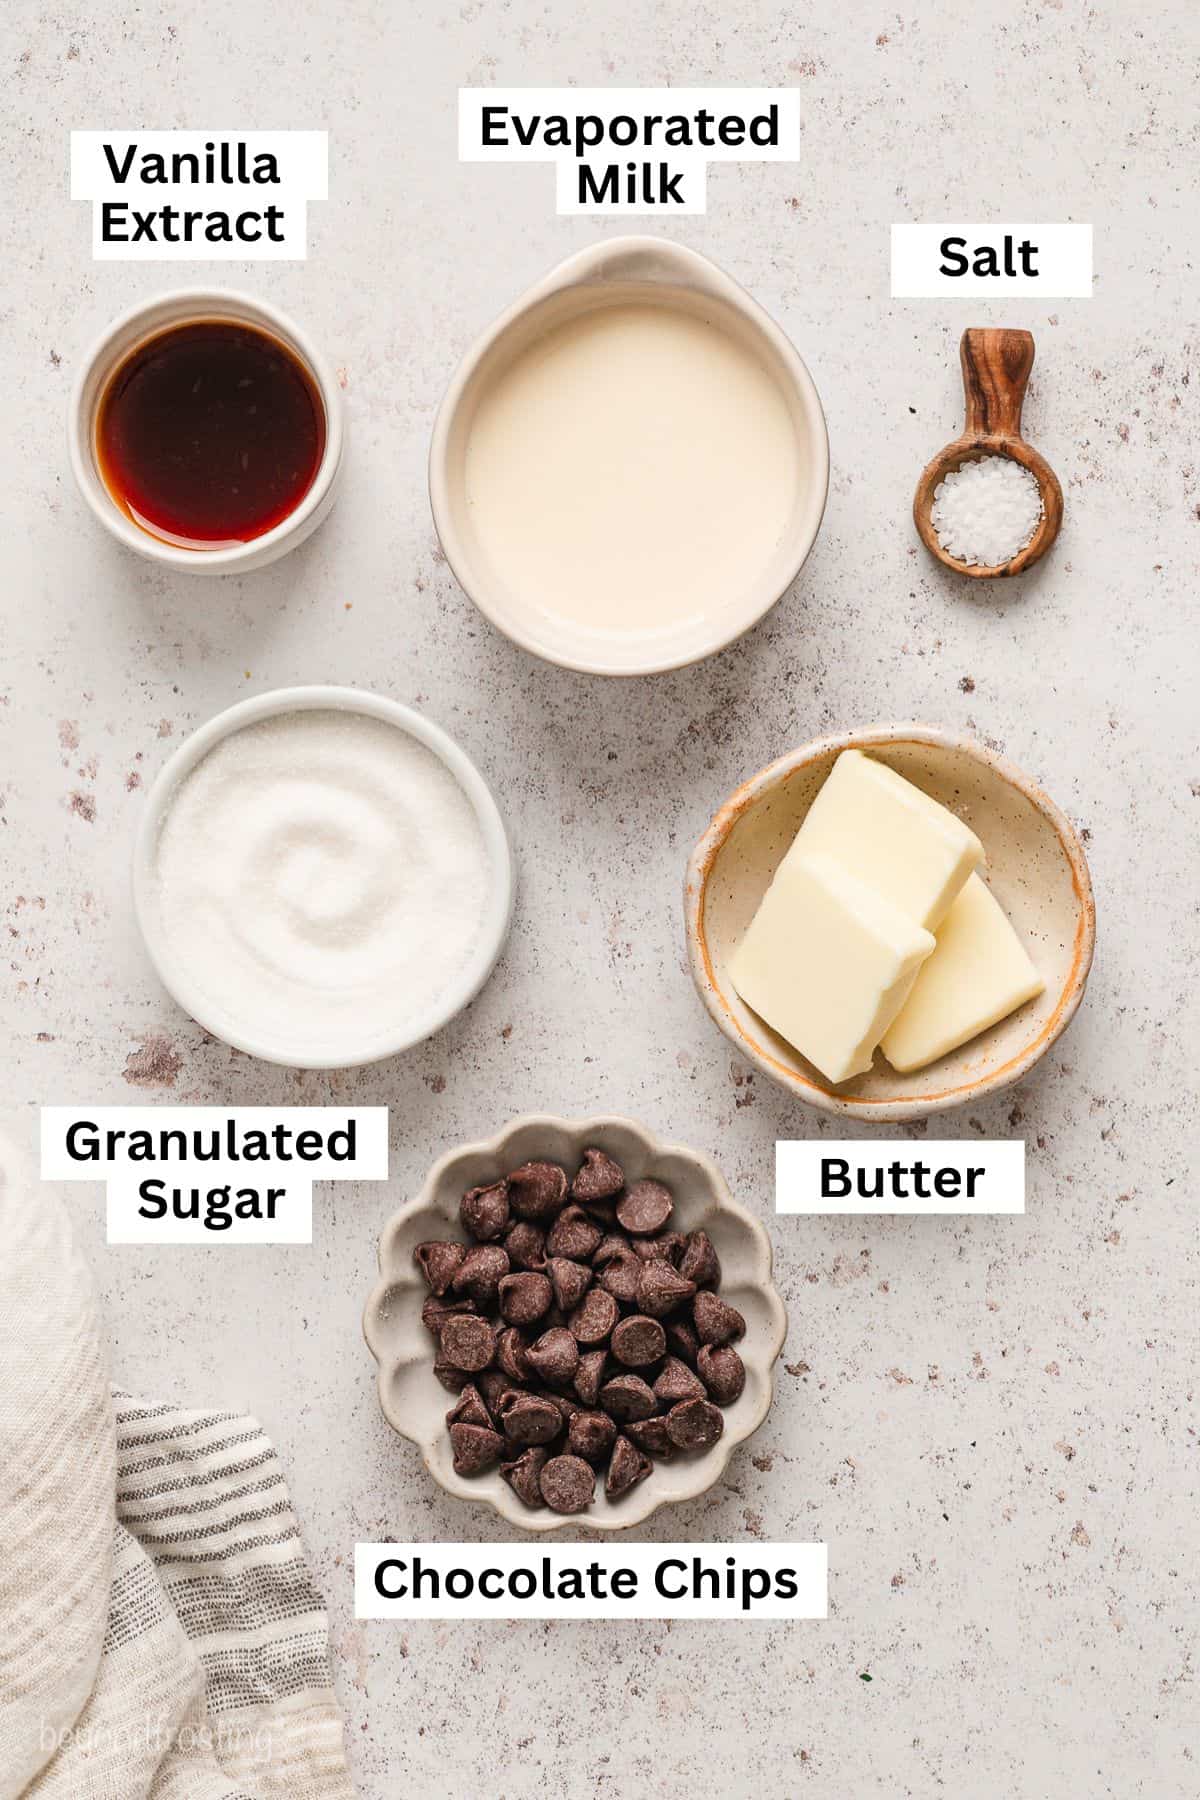
The 6 Ingredients You’ll Need
The main ingredients in traditional fudge are easy to find in most pantries and include chocolate chips, evaporated milk, butter, and sugar. Check out some quick notes on these important ingredients below. Scroll down to the recipe card for a printable list with the full recipe amounts.
- Sugar – This can be granulated sugar or light brown sugar.
- Evaporated Milk – I prefer making fudge with evaporated milk (which is unsweetened) over sweetened condensed milk. This lets the sweetness of the chocolate and sugar shine through without the fudge turning out cloying sweet.
- Butter & Salt – The recipe calls for salted butter and a little added salt. If you only have unsalted butter, consider adding extra salt to the recipe later on.
- Chocolate – I use semi-sweet chocolate chips. You can also make this recipe with high-quality chocolate bars instead (in this case, I’d use five 4-ounce chocolate bars). Be sure to chop the chocolate into fine pieces before you melt it.
- Vanilla – Real vanilla extract, or equal parts vanilla paste, is best in terms of flavor.
How to Make Chocolate Fudge
Fudge is made by heating sugar past its boiling point so that it hardens when it cools, creating that smooth, creamy, fudgy texture we know and love when combined with the chocolate. This is an easy stovetop process that anyone can master, even if you’ve never made candy before!
Follow the step-by-step with photos here, and scroll down to the recipe card for the printable directions.
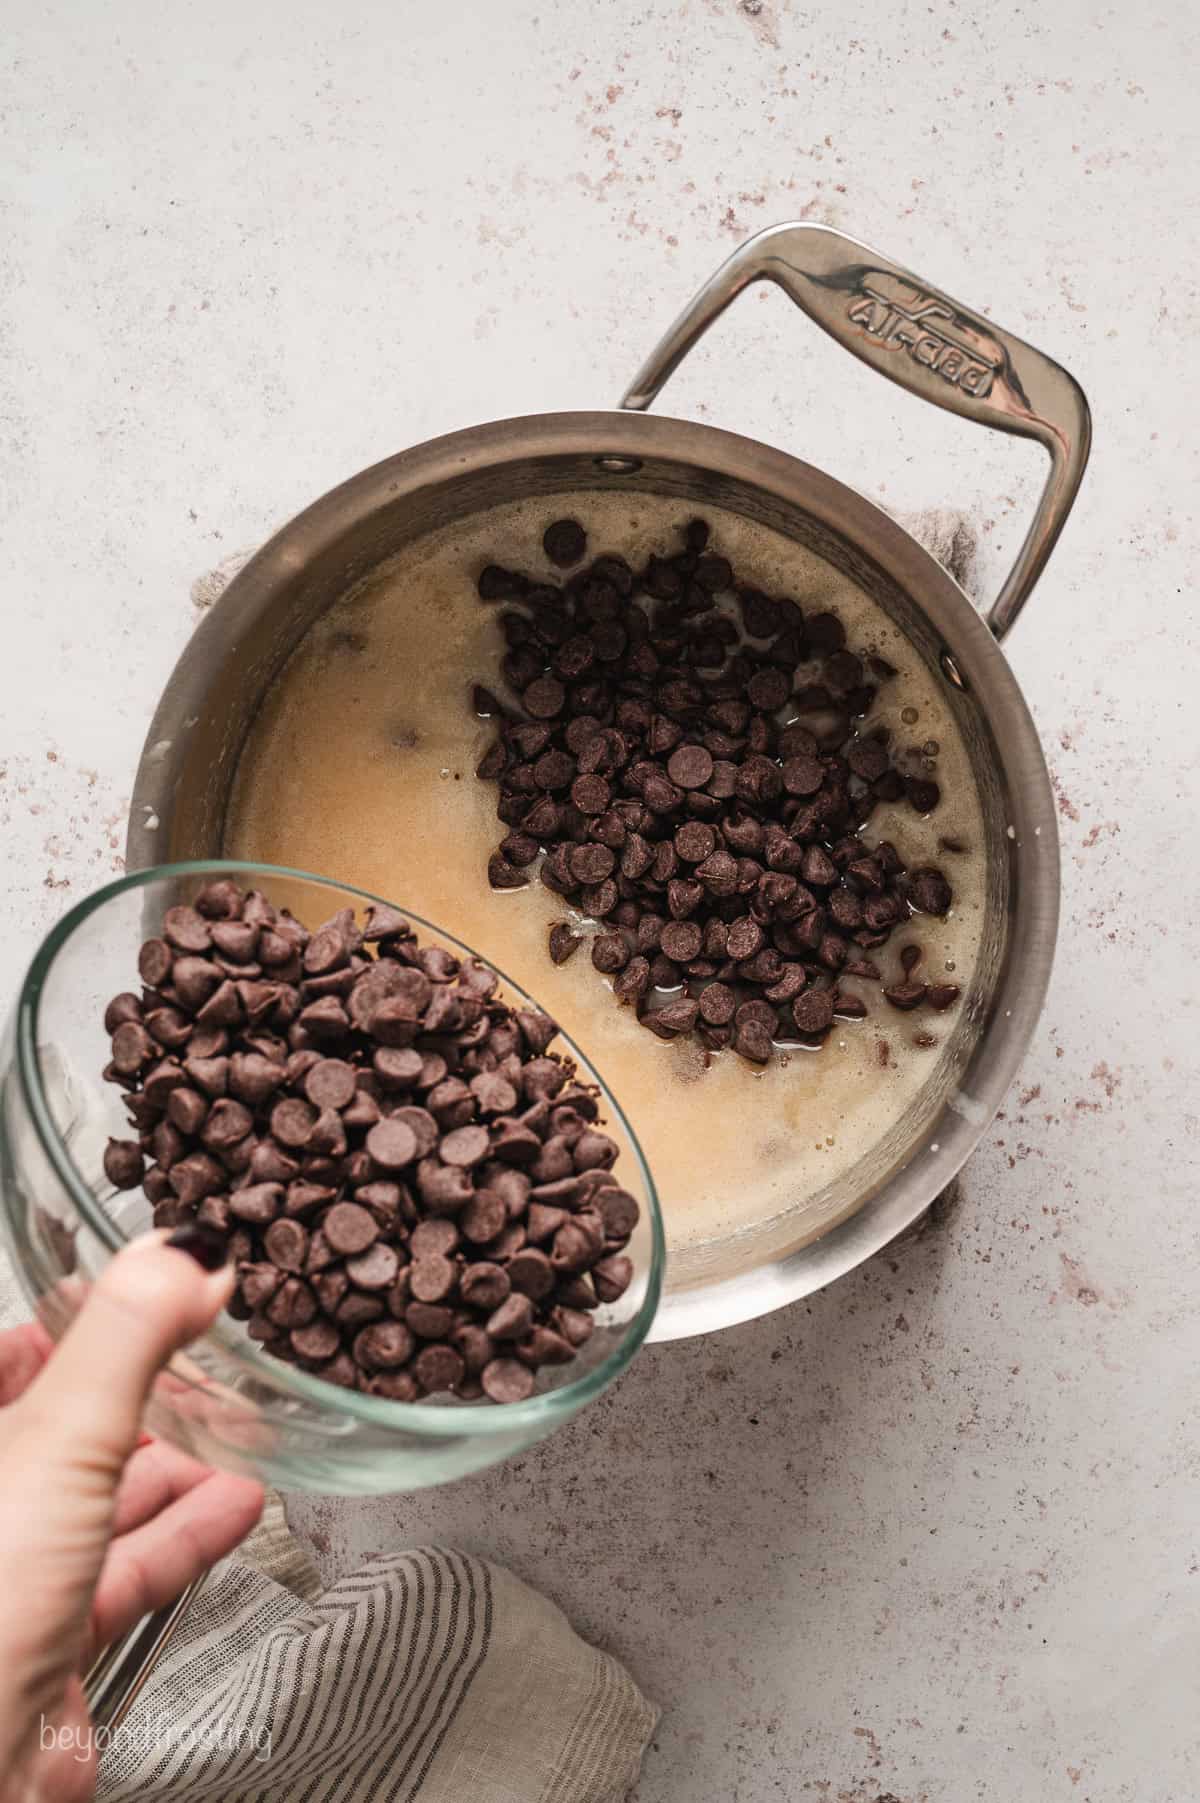
- Heat the ingredients. Start by bringing evaporated milk, butter, and sugar to a boil in a large, heavy-bottomed saucepan. Stir often, and once it’s boiling, set your timer for 4 minutes. Carry on cooking, stirring constantly.
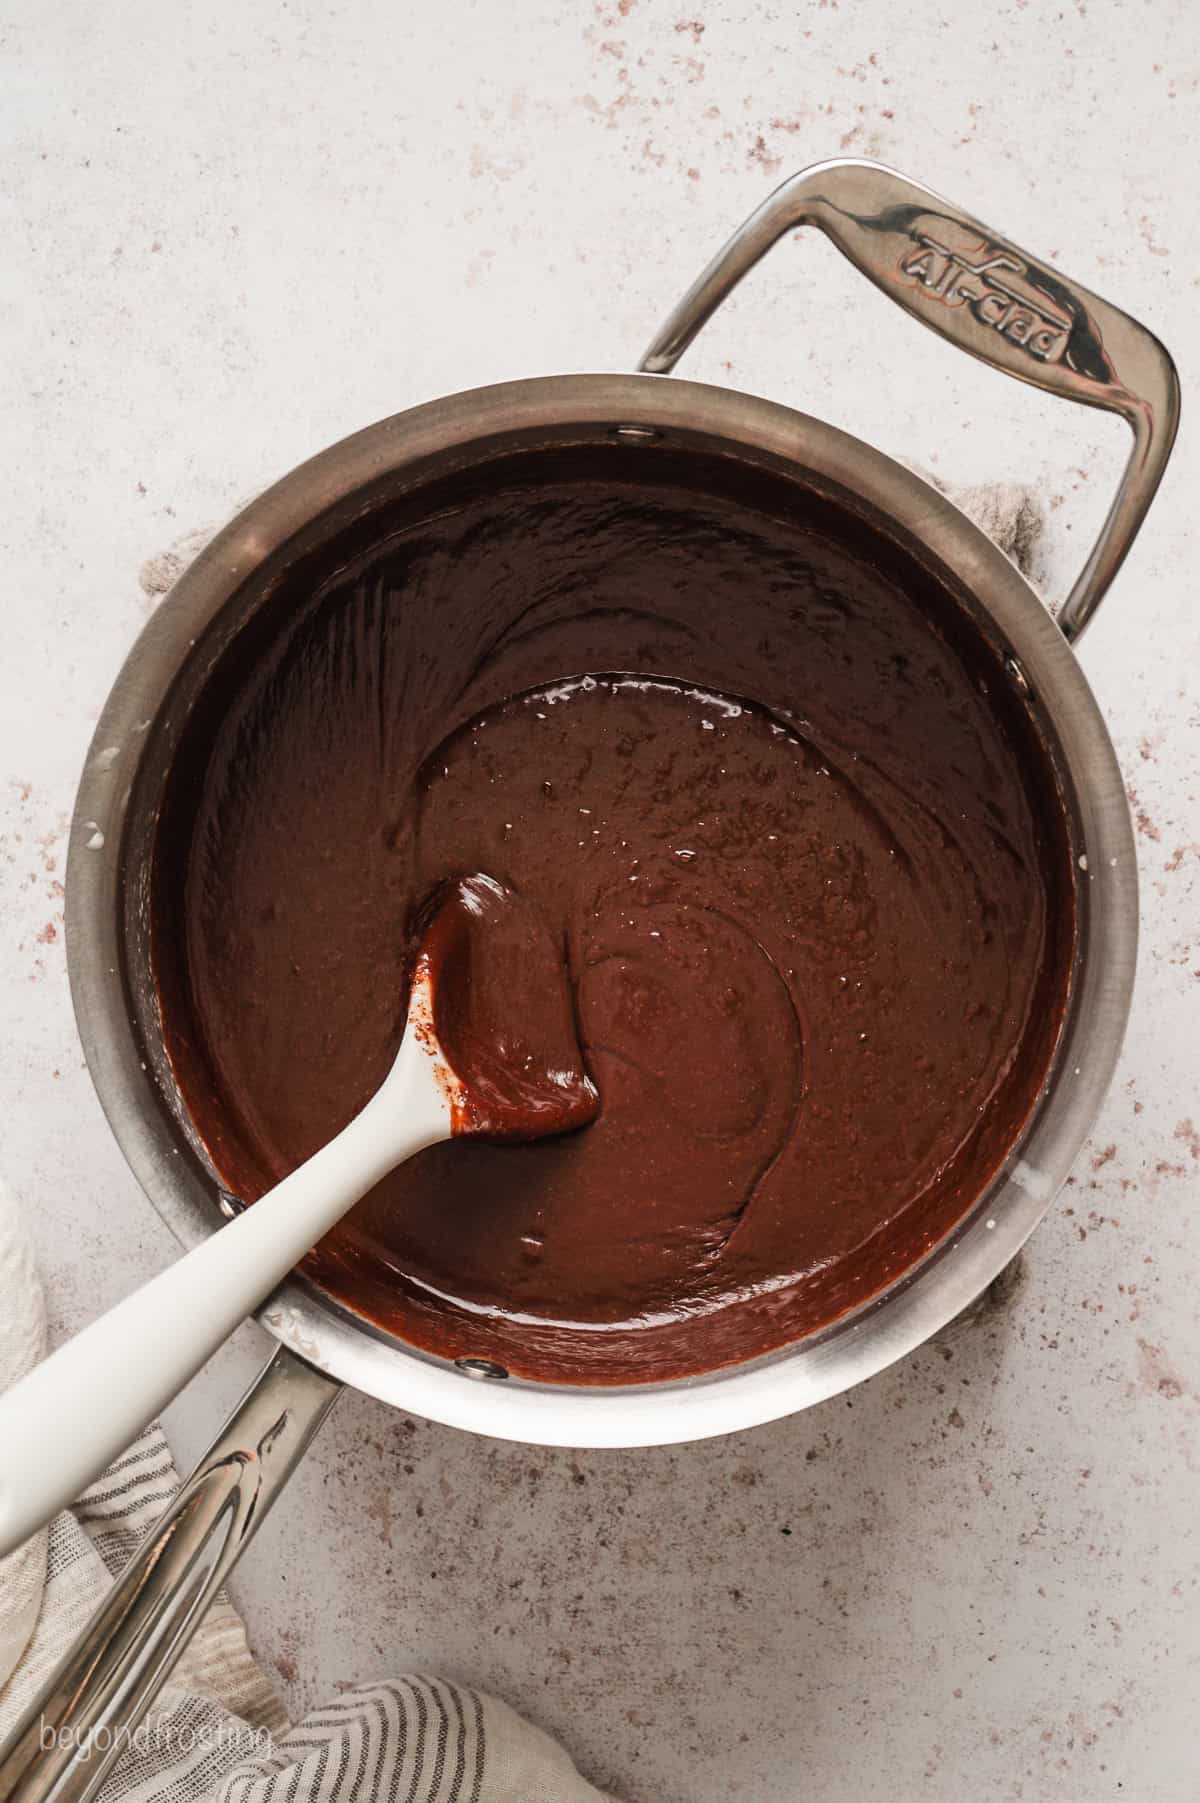
- Add chocolate chips. After 4 minutes are up, let the pan rest off the heat for a minute. Then, stir in the chocolate chips, salt and vanilla until that’s smooth and melted.
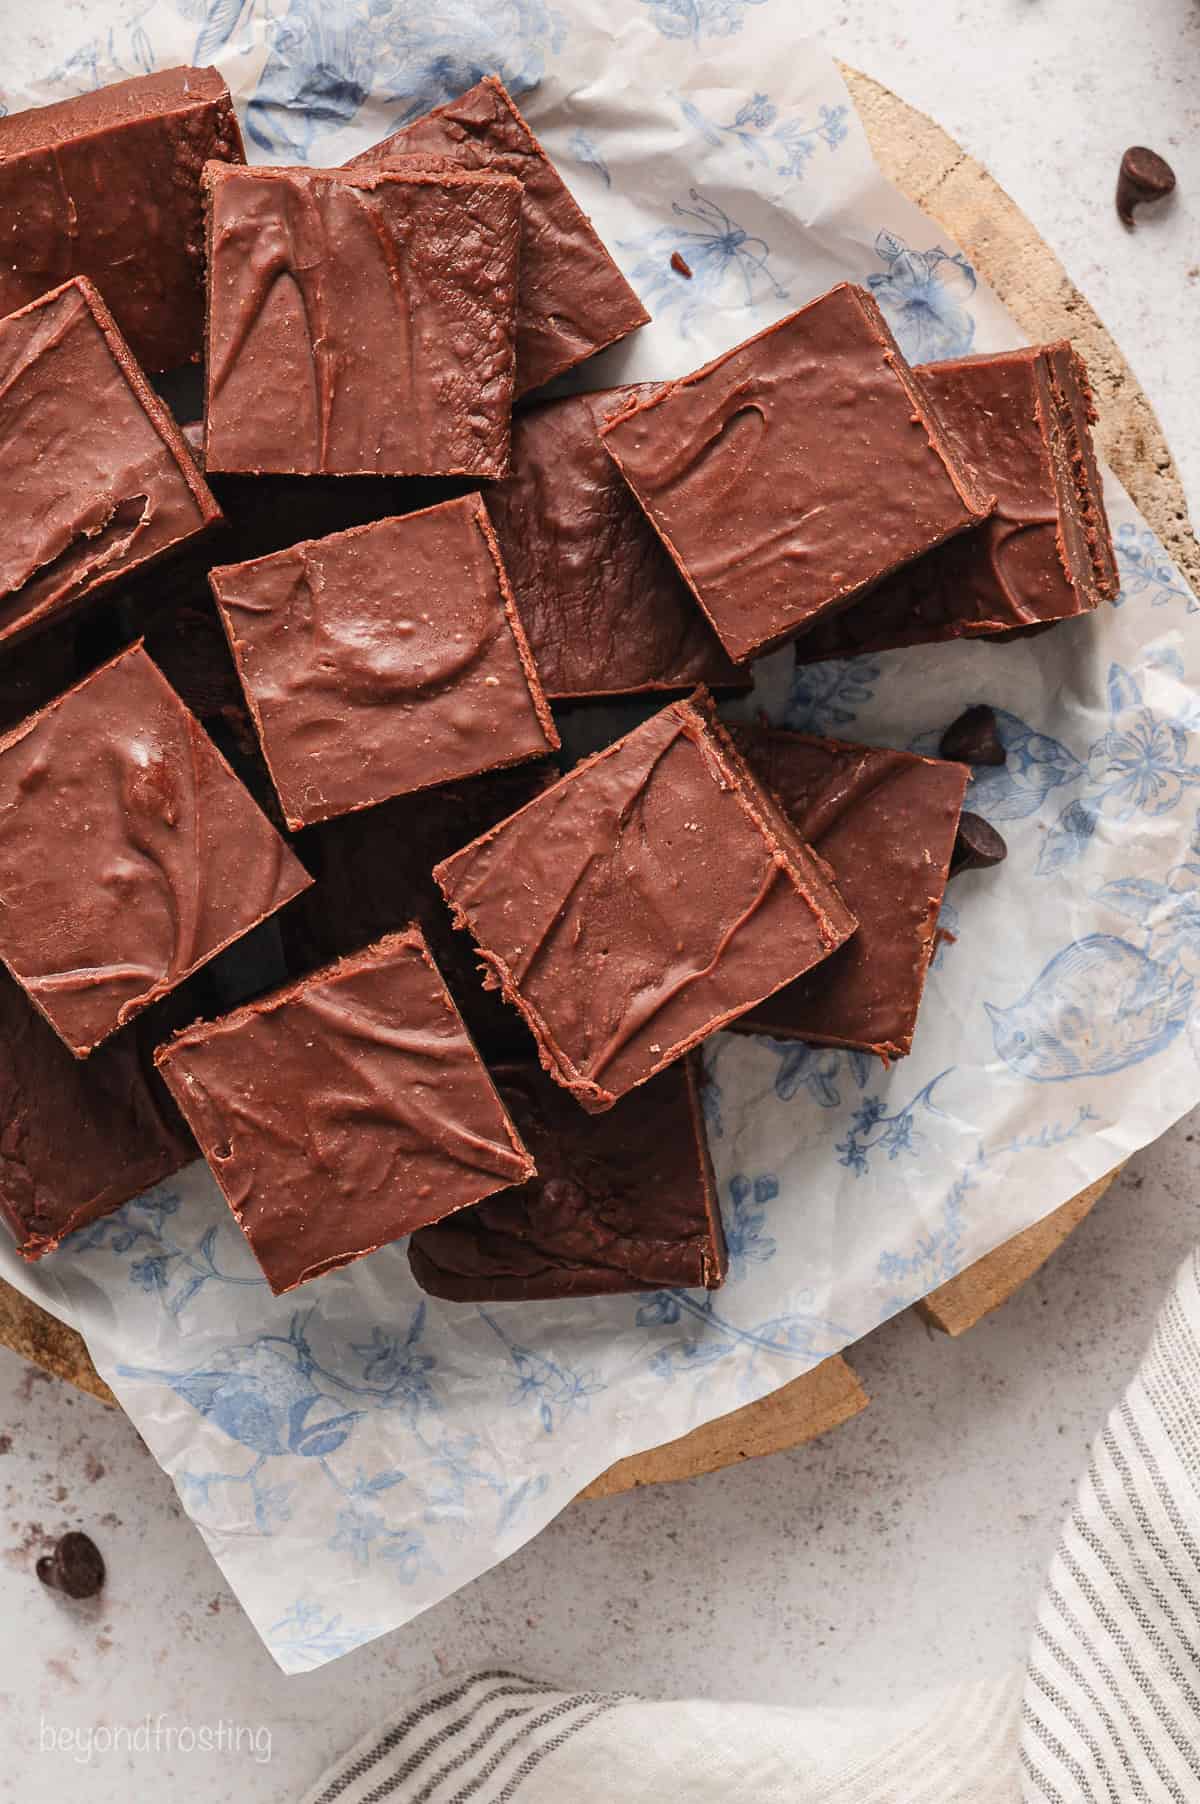
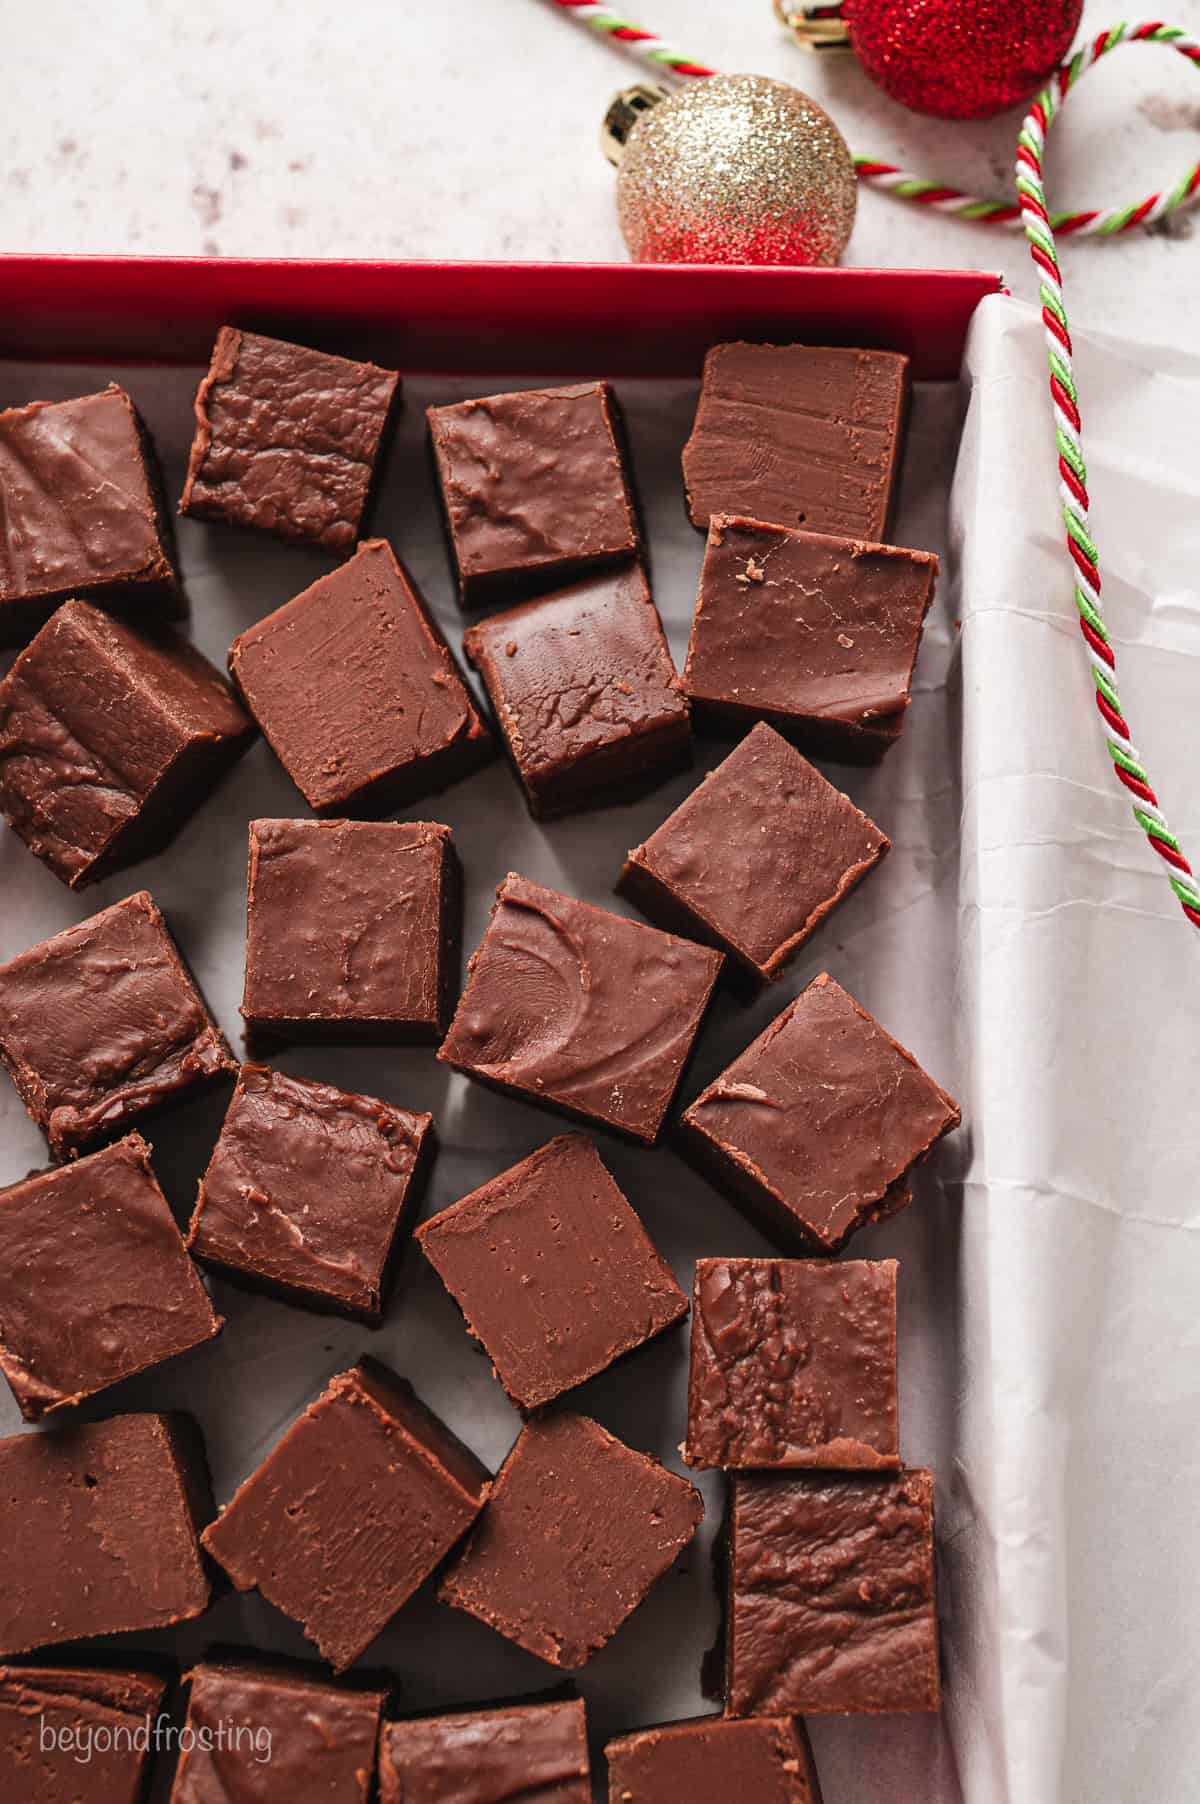
- Finish and cool. Afterward, pour the chocolate mixture into a greased square pan lined with parchment paper. Smooth it over with a spatula and then leave the fudge to set for 2-4 hours. Once it’s firm, it’s ready to slice into squares.
Fun Mix-Ins
Classic chocolate fudge is delicious as-is, but if you’d like, get creative with different mix-ins. Add up to 1 cup of chopped nuts, mini marshmallows, or crushed peppermint candies (like the Andes Peppermint Chips I use in my peppermint puppy chow). Try my peppermint patty fudge for another easy variation.
Replace some or all of the vanilla extract with peppermint extract, orange, or rum extract for a different flavor profile. Another option is to stir in fresh orange or lemon zest.
Julianne’s Recipe Tips
- Grease and line the pan. To make the fudge easy to remove after it’s set, I like to line the pan fully with parchment paper and grease it with cooking spray. I use a 9×9” pan for this recipe. You can use a 9×13” pan if you prefer, the finished squares will just be a bit smaller in this case.
- Dissolve the sugar. Grainy fudge is the result of sugar crystals forming during the cooking process. To avoid it, make sure that the sugar dissolves fully in the milk mixture before it comes to a full boil (you can even do this over low heat at first).
- Boil the fudge mixture for long enough. Make sure that the sugar mixture comes to a full, rolling boil before starting the timer. Not only does this ensure that the sugar is fully dissolved (see above) but it also is key to cooking the fudge long enough so that it reaches a firm, smooth consistency afterward. Undercooked fudge will be too soft.
- Don’t overmix. Do your best not to overwork the fudge once you’ve melted in the chocolate chips. Stirring the hot fudge too much can lead to crystallization.
- Different chocolate chips. Milk chocolate chips can be substituted for semi-sweet chocolate in this recipe. However, this makes the fudge sweeter, so I recommend reducing the sugar by no more than ¼ cup to balance the sweetness. Reducing the sugar more than that can compromise the texture of the fudge.
How to Store Fudge
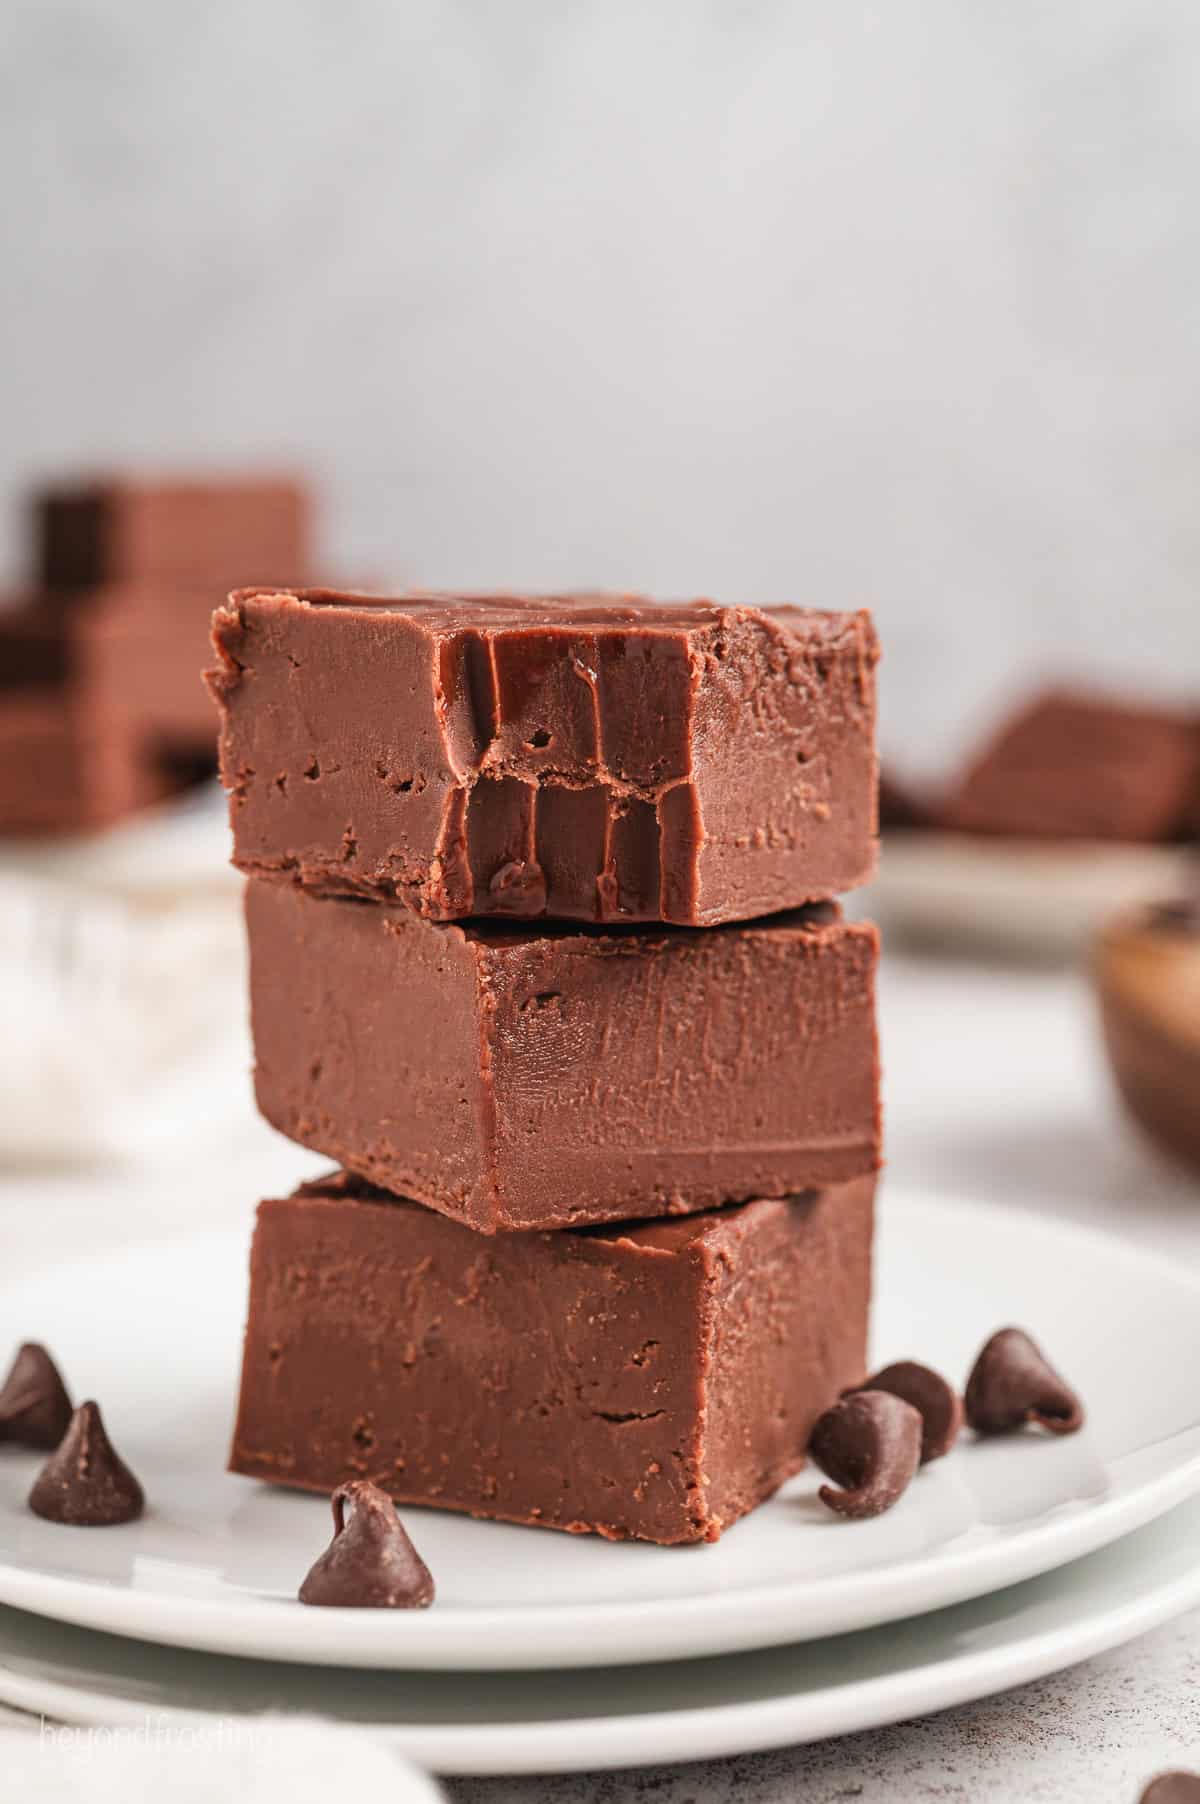
- Storing. After cutting the fudge into squares, store it airtight in a container or tightly wrapped. It’ll last at room temperature for up to 1 week, or up to 2 weeks in the refrigerator. If you’re stacking the fudge, place a piece of parchment paper between layers.
- Freezing. You can freeze chocolate fudge for up to 3 months in an airtight container or freezer bag. Again, place parchment paper between any layers, or you can wrap the squares individually. Thaw the fudge in the fridge before serving.
More Homemade Candy Recipes
Classic Chocolate Fudge
- Prep Time: 15 minutes
- Chilling Time: 4 hours
- Total Time: 4 hours 15 minutes
- Yield: 36-48 squares
- Category: Dessert
- Method: No-Bake
- Cuisine: American
Description
This easy chocolate fudge is a classic homemade candy recipe full of chocolate flavor! With just 6 ingredients, learn how to make chocolate fudge that’s firm, creamy, and irresistibly fudgy.
Ingredients
- 3 ½ cups (665g) granulated sugar
- 1 (12 oz) can evaporated milk
- 6 tablespoons (85g) salted butter
- ¼ teaspoon kosher salt
- 3 ½ cups (595g) semi-sweet chocolate chips
- 1 tablespoon (30ml) vanilla extract
Instructions
- Grease a 9×9 baking dish with nonstick spray and line with parchment paper up all sides of the pan. Set aside.
- In a large saucepan over medium-high heat bring the evaporated milk, butter, and sugar to a boil, stirring often to prevent scorching. Continue to boil and stir constantly for 4 minutes.
- Remove from heat and let stand for 1 minute. Add the chocolate chips, salt and vanilla extract, stirring vigorously to melt the chocolate. Stir until all the chips are melted and the mixture becomes smooth.
- Pour the mixture into the prepared pan, smooth with a silicone spatula, and let set until firm, about 2-4 hours. Remove from the pan and cut into small squares to serve.
Notes
- Storage: Leftover fudge can be stored tightly wrapped at room temperature for a week, in the fridge for up to 2 weeks, or in the freezer for up to 3 months. Just thaw before serving.
- Ensure the mixture comes to a hard rolling boil before starting the timer. This ensures the sugars are completely dissolved and the mixture is cooked enough to give you a perfectly smooth fudge consistency.
- You could use a 9×13 pan, but this will produce smaller squares.
- You can use high-quality chocolate bars (you’ll need five 4-ounce chocolate bars) in place of the chocolate chips in this recipe. Make sure the chocolate bars are chopped into fine pieces before being melted.
- Milk chocolate chips can be substituted, but will make the fudge sweeter, I recommend reducing the sugar by no more than ¼ cup if they want to balance the sweetness. Removing more sugar than that could compromise the texture of the fudge.
- Mix-ins: 1 cup of chopped nuts, crushed peppermint candies, or mini marshmallows make excellent add-ins.
Nutrition
- Serving Size: 1 pc
- Calories: 213
- Sugar: 32.6 g
- Sodium: 34.3 mg
- Fat: 8.3 g
- Carbohydrates: 35.1 g
- Fiber: 1.6 g
- Protein: 2.3 g
- Cholesterol: 5.1 mg





So delicious! Best fudge I’ve had!! Making for Christmas gifts! Thanks for the recipe!
Wow Valerie! Thank you so much!
That was so easy. And taste wonderful. I will be using your recipe from now on. Thank you 😊
Wow Trudy, thank you! That is amazing!