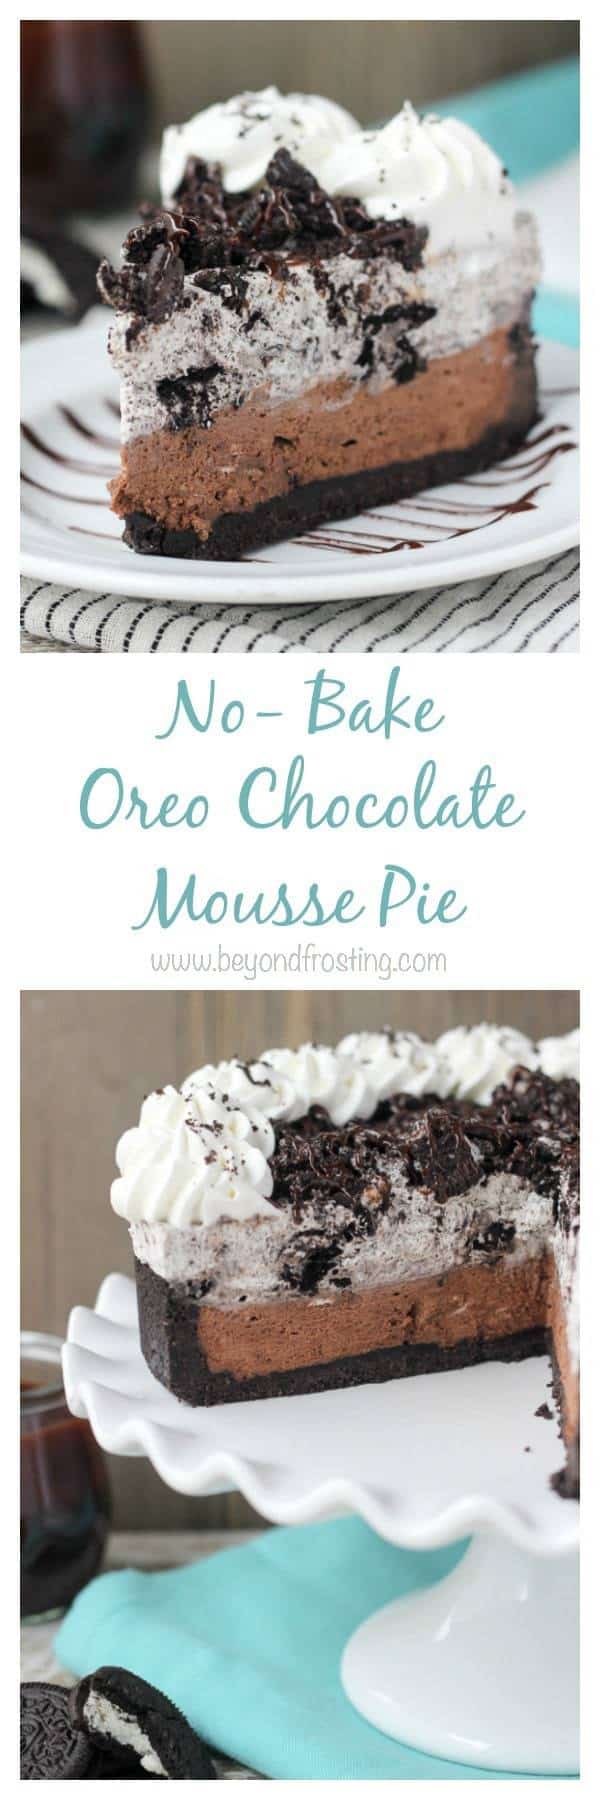
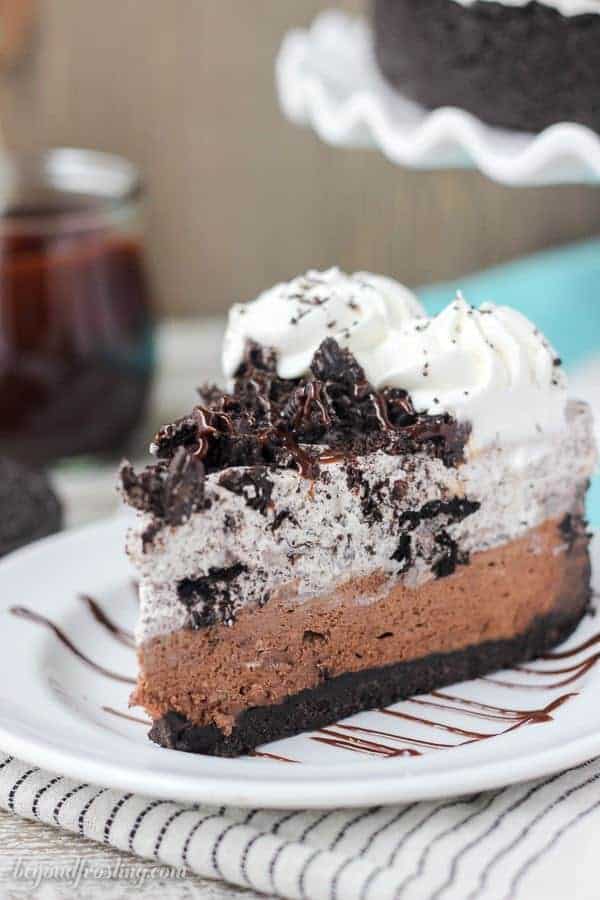
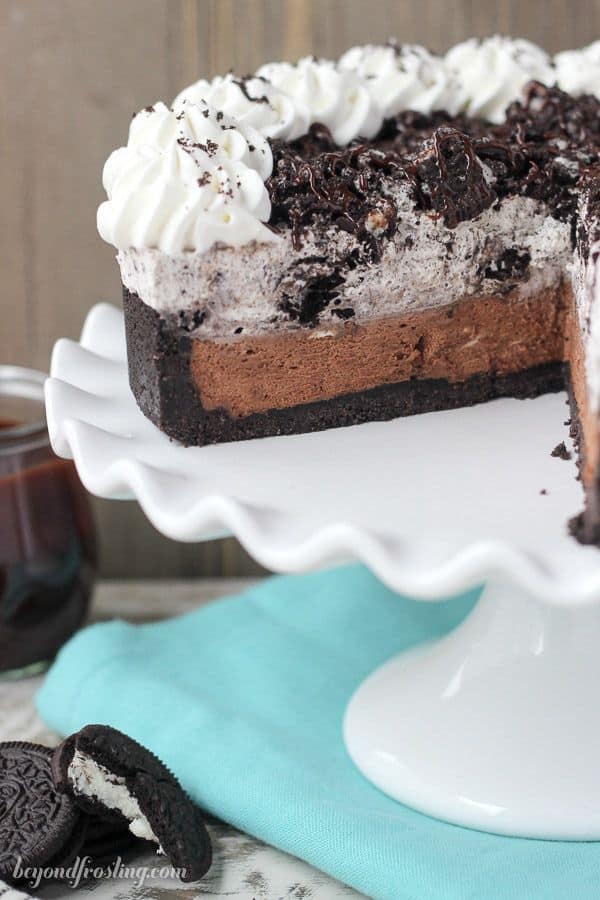
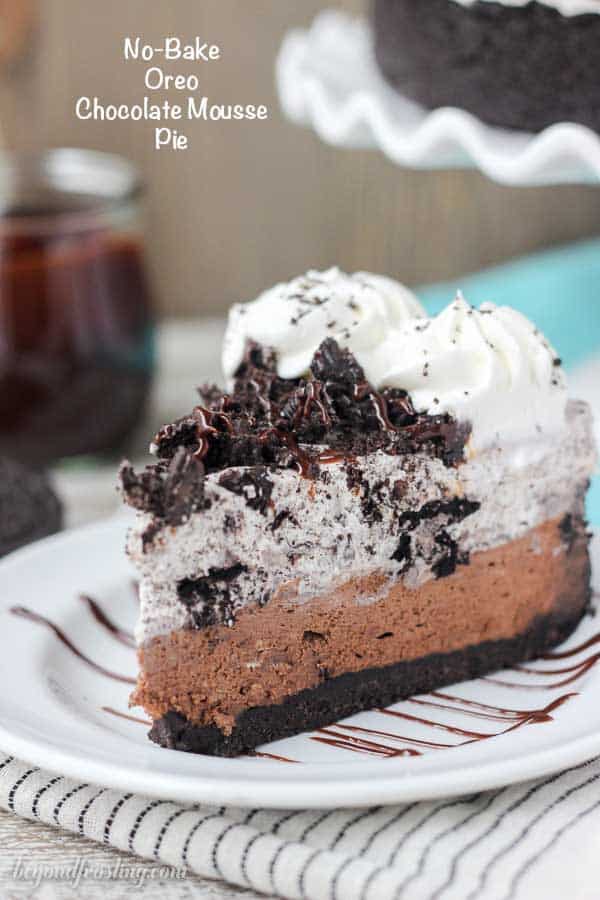
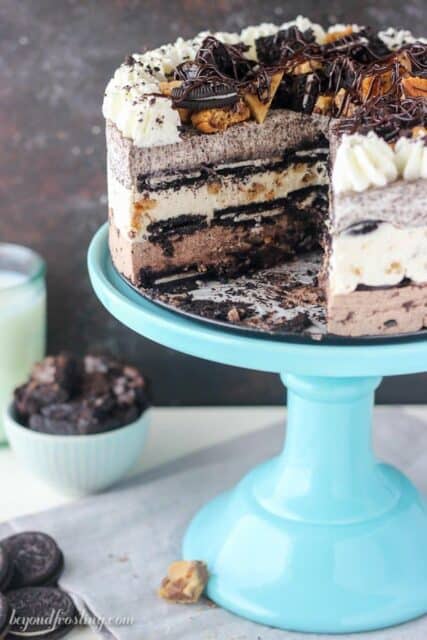
It’s all about the layers with this No-Bake Oreo Chocolate Mousse Pie. The thick Oreo crust is filled with a quick chocolate mousse, followed by a layer of easy Oreo mousse and topped off with more chocolate and whipped cream.
If you like this recipe, you’ll probably also love my chocolate cream pie!
Tomorrow is Pie (Pi) Day!! Math nerds everywhere love 3-14 but we dessert-loving humans use this day as an excuse to celebrate with actual pie.
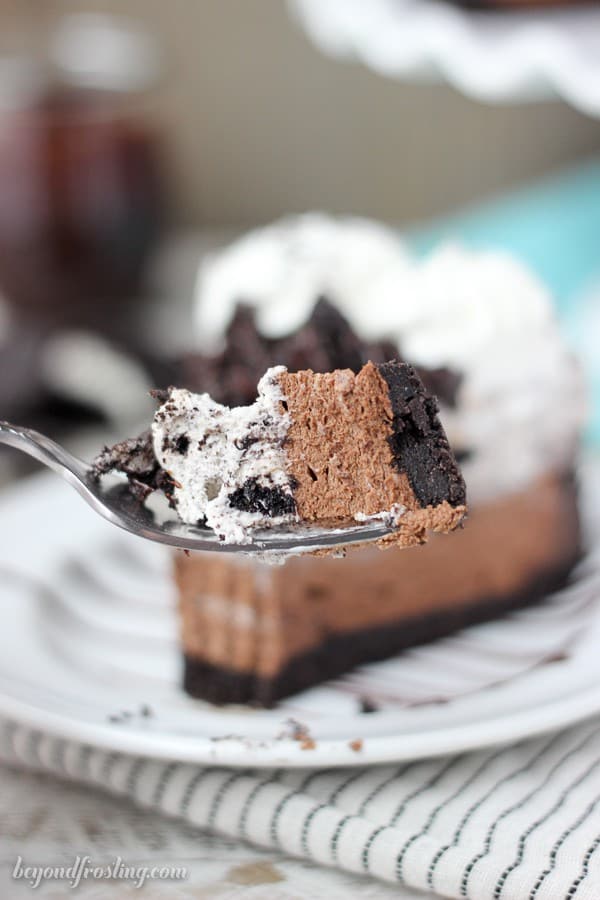
After my first bite of this Oreo Chocolate Mousse Pie, I knew I could crush the entire pie by myself. I didn’t even need a plate, I was just going straight in with a fork. This would be trouble, so I cut one slice for myself and one for my fiancé and put them in the fridge, and I gave away the other half of the pie.
When I picked him up from the airport, we got home at 11pm and the first thing I did was grab the pie out of the fridge because I had been telling him how amazing it was the entire week. Together we crushed the first slice then and there.
I asked him how he would describe this no-bake Oreo pie and he said, “Oreo-tastic”. I shouldn’t be surprised because anytime I’m making an Oreo dessert, he always wants in on the action as soon as my photoshoot is over.
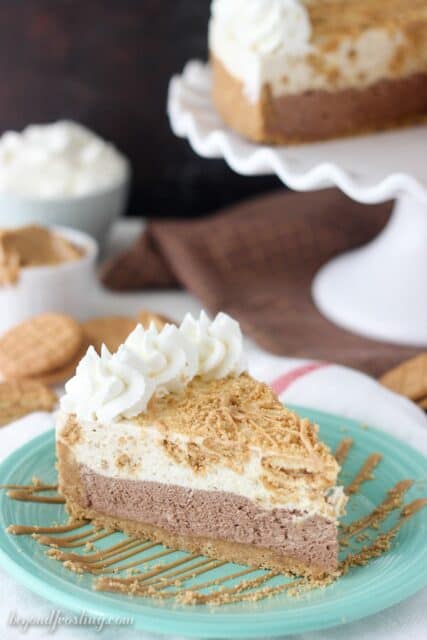
Several months ago I made a Nutter Butter Mousse Pie after being so completely obsessed with my No-Bake Brookie Icebox Cake. I felt like I needed a peanut butter version. I have no idea why it took me so long to come up with this Oreo version, but I can promise you there are more in the future.
Don’t be intimidated with the long list of ingredients or instructions. Most of them are repetitive for the different layers.
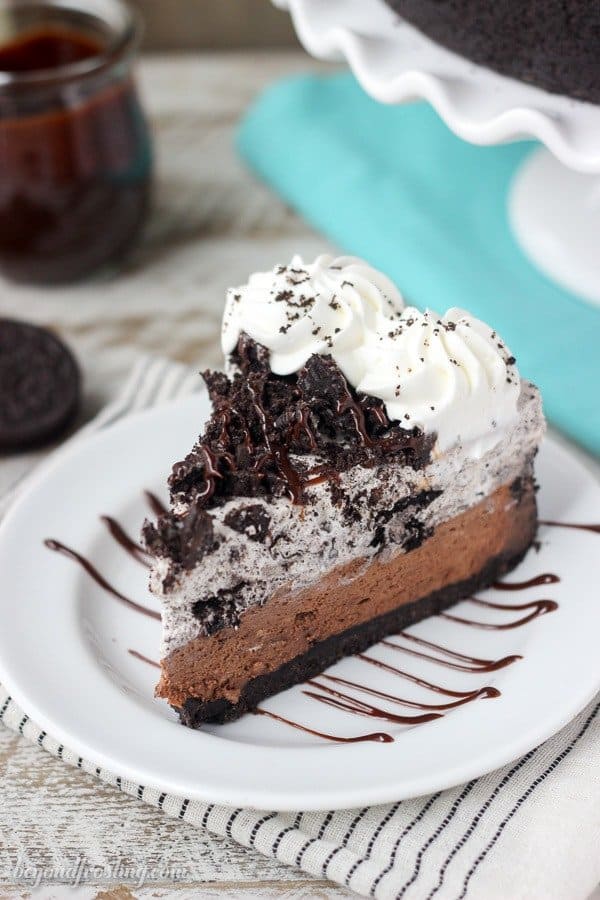
The bottom layer is an easy chocolate mousse made with melted dark chocolate, a touch of cream cheese and whipped cream. I always suggest using high quality chocolate for the best results. I prefer a dark chocolate baking bar such as Ghirardelli. You can find them in the baking aisle along side of the chocolate chips.
I also added some gelatin to help with the texture. Just sprinkle the powdered gelatin over cold water and wait a couple of minutes for it to solidify. Then microwave it for a few second until it turns back to a liquid and stir it into the melted chocolate.
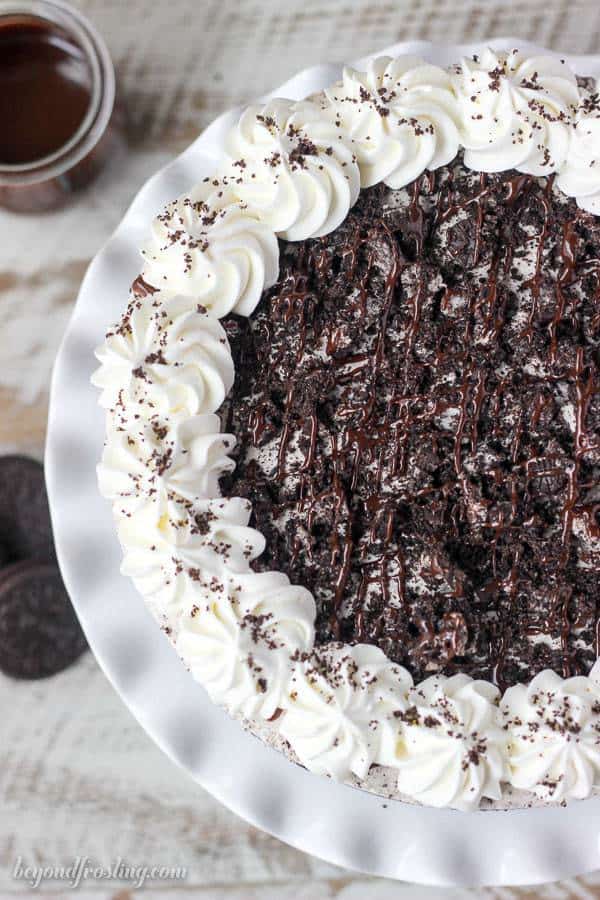
The top layer is an Oreo mousse, which is just stabilized whipped cream and crushed Oreos. The Oreos get nice and soft, almost cake-like in texture. Then I finished it off with more Oreos, hot fudge and some more whipped cream for garnish.

You guys, I can’t even tell you how amazing this no-bake pie is. It’s the perfect balance of chocolate without being overwhelming and dense. It’ extremely light in texture, so you’re not left with a pit in your stomach after scarfing down a whole slice. Not that I would know anything about that.
Follow Beyond Frosting:
Facebook | Twitter | Pinterest | Instagram
If you love no-bake recipes, be sure to check out my cookbook, No-Bake Treats!
Print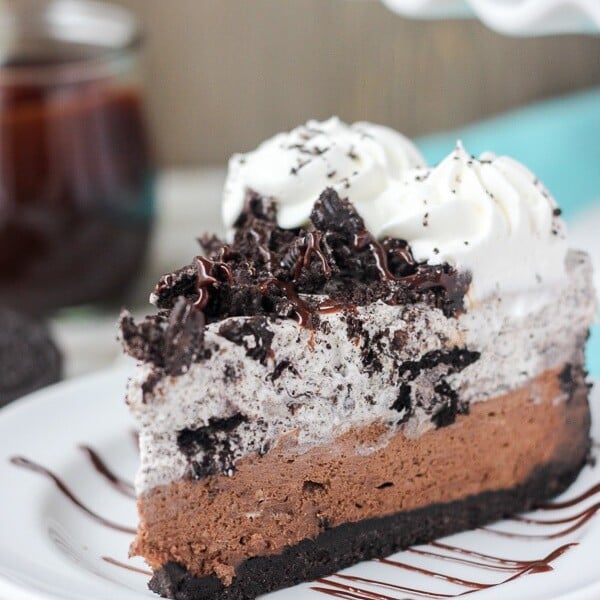
No-Bake Oreo Chocolate Mousse Pie
- Prep Time: 30 mins
- Cook Time: 4 hours
- Total Time: 4 hours 30 minutes
Description
It’s all about the layers with this No-Bake Oreo Chocolate Mousse Pie. The thick Oreo crust is filled with a quick chocolate mousse, followed by a layer of easy Oreo mousse and topped off with more chocolate and whipped cream.
Ingredients
- For the crust
- 2 pkgs Oreo Cookies (14.03 oz), divided
- 8 tablespoons unsalted butter
- For the chocolate layer
- 1 tablespoons cold water
- 1 teaspoon gelatin
- 5 ounces chocolate chips
- 1 cup plus 2 tablespoons heavy whipping cream, divided
- 3 tablespoons powdered sugar
- 4 ounces cream cheese, softened
- For the Oreo mousse layer
- 1 tablespoons cold water
- 1 teaspoon gelatin
- 1 ¼ cup heavy whipping cream
- ¼ cup powdered sugar
- 10 Oreo cookies
- For the topping
- ¾ cup heavy whipping cream
- 2 tablespoons powdered sugar
- 2 tablespoons hot fudge sauce
- 5 Oreo cookies
Instructions
- For the crust: Prepare a 9-inch springform pan by lightly greasing the edges of the pan with cooking spray, and then wiping gently with a paper towel.
- Grind one full package of Oreos cookies into a fine crumbs using a food processor or blender.
- In a small bowl, melt the butter in the microwave for 30 to 45 seconds. Pour the melted butter over the cookie crumbs and stir until the crumbs as well coated.
- Pour the crumbs into your springform pan and press firmly into the bottom and up on the sides to create a thick crust. Refrigerate the crust while you are preparing the filling.
- For the chocolate layer: Place the mixing bowl and whisk attachment in the freezer for 5 to 10 minutes to chill while you are preparing the next steps.
- Place 1 tablespoons of cold water in a small dish. Sprinkle the gelatin over the cold water, trying to spread the powder evenly. Allow the gelatin to turn to a solid (about 2-3 minutes)
- In a microwave-safe bowl, combine chocolate chips and 2 tablespoons of heavy whipping cream. Microwave in 30-second increments, stirring each time until the chocolate is melted.
- Next, melt the gelatin in the microwave for 5-8 seconds until it turns back to a liquid. Watch it closely!
- Stir the liquid gelatin into the melted chocolate and set it aside to cool.
- Prepare the whipping cream. Pour the heavy whipping cream into the chilled bowl and use an electric mixer to beat the heavy cream on medium-high speed until the cream gets bubbly. Slowly add the powdered sugar and continue beating on high speed until stiff peaks form. Set the whipped cream aside.
- Soften the unwrapped cream cheese in the microwave for 15 seconds. Change the mixer to the paddle attachment and beat the cream cheese until it’s completely smooth.
- Scrape down the sides of the bowl, and add the melted chocolate, beating until it’s completely mixed into the cream cheese, scraping down the bowl as needed.
- Lastly, fold in the prepared whipped cream and mix until all ingredients are combined. Pour the filling into the prepared crust, spread evenly and refrigerate.
- For the Oreo mousse layer: Wash and dry your mixing bowl. Place the mixing bowl and whisk attachment in the freezer for 5 to 10 minutes to chill while you are preparing the next steps.
- Place 1 tablespoons of cold water in a small dish. Sprinkle the gelatin over the cold water, trying to spread the powder evenly. Allow the gelatin to turn to a solid (about 2-3 minutes).
- Next, melt the solid gelatin in the microwave for 3-5 seconds until it turns back to a liquid. Watch it closely!
- Prepare the whipping cream. Pour the heavy whipping cream into the chilled bowl and use an electric mixer to beat the heavy cream on medium-high speed until the cream gets bubbly. Slowly add the powdered sugar and continue beating on high speed until peaks start to form.
- Slowly pour the liquid gelatin into the mixing bowl and continue mixing until stiff peaks form.
- In a large Ziploc bag, roughly chop and smash 10 Oreo cookies into small pieces/crumbs. Fold the smashed cookies into the prepared whipped cream. Pour the whipped cream over the chocolate layer and spread evenly.
- Refrigerate the pie for 3 to 4 hours until all layers are firm. When ready, remove the sides of the pan and prepare the toppings before serving.
- For the topping: Place the mixing bowl and whisk attachment in the freezer for 5 to 10 minutes to chill while you are preparing the next steps.
- Prepare the whipping cream. Pour the heavy whipping cream into the chilled bowl and use an electric mixer to beat the heavy cream on medium-high speed until the cream gets bubbly. Slowly add the powdered sugar and continue beating on high speed until stiff peaks form.
- Pipe the boarders of the pie with whipped cream using a large open star tip.
- Heat the hot fudge according to the instructions on the jar. Drizzle over the top of the pie.
- Smash the Oreos cookies and sprinkle them over the top of the pie. Slice and serve!
- This pie must stay refrigerated.
Filed Under:
You might also like:
Peanut Butter Chocolate Mousse pie


Hello, the gelatin clumped up in the Oreo mousse, even though it was a liquid when I had poured it into the whipped cream/mousse. I continued to beat the whipping cream after pouring gelatin in. Do you know why it formed into a solid and thus was clumpy? 🙁 Also, the gelatin didn’t turn into a solid in the chocolate mousse part. Other than that, the pie was excellent! Looking forward to your response. Thanks!
It might have been too hot when you poured it into the Oreo mousse? So when it hit the cold ingredients it seized up. With the chocolate mousse, you are mixing the gelatin into an already warm ingredient.
Hi there. Realistically, how many servings does this pie make? It seems pretty rich; therefore, could it serve 10 nice sized pieces? Thx.
Yes it sure can. 8 pc is a standard size but they can be cut smaller for sure
This was good but SO decadent. I could barely eat a slice.
Thank you for the feedback! I am glad you enjoyed this!
This really is such an awesome recipe that the whole family loves! Thank you so much ❤️❤️
Thank you Laurie!
When crushing Oreos for all part of this recipe, do you leave the filling inside or get rid of it ???
You do NOT need to discard the filling
I made this for my family’s dessert tonight, and it was delicious! I really love your no-bake desserts. I find that all of them are just perfectly sweet. So many icebox cakes and no-bake desserts tend to be overly sweet, but this was just perfect. I’m always looking for lots of no-bake desserts where I live, since we live in a hot, dry climate half of the year. Thanks for another great recipe!
Kristin- thank you for your kind words, seriously appreciated. I am a HUGE fan of no-bake desserts!
Can I freeze this pie
You sure can! Thaw in the fridge overnight. If possible, add the topping prior to serving for the best results.
I followed the recipe and it turned out awesome. It was so good.
Thank you! Glad to hear this!
Hey! This was delicious! I used one family sized pack of Oreos and instead of sprinkling Oreos on top I made a ganache. Thanks for the recipe.
Awesome Lisa! I am so glad you enjoyed!! I love this recipe too!
Hello, how can I adjust this to mini sized ones?
Love this! Thinking of making this for a friend’s birthday. Do you think a mirror glaze would be good on this instead of the whipped cream and Oreos? I’ve never really tasted a mirror glaze before so don’t know how it goes with stuff :p
Hi Tehreem, I’ve never worked with a mirror glaze before. This would be stable enough for you to pour a glaze over, but I would suggest to free for 30-60 minutes before hand for added stability.
Instruction is kind of confusing and please clarify “edges”. You grease “edges” ad then wipe gently with paper towel?
For the crust: Prepare a 9-inch springform pan by lightly greasing the edges of the pan with cooking spray, and then wiping gently with a paper towel.
Hi Hazel, by grease the edges, I mean the sides of the springform pan. You want to lightly coat the sides of the pan, but the reason for wiping it with a paper towel is so that there is no areas of concentrated grease.
Ingredients don’t match the directions?? 2 packages of Oreos for the crust, but only grinding 1 package in the directions. And, 12 Oreos for mousse layer needed, and directions say 10 cookies?
Hi Teresa, sorry for the confusion. I list 2 packages because you need 1 full package for the crust and a second package to pull from for the filling. I’ve added the word “divided” for future clarification. I would hate for someone to get home and realize they don’t have enough Oreos! I’ve corrected the ingredients to list 10 Oreos, although 10, or 12 or even more would be fine if you want a chunkier filling. I hope you enjoy!
This could very well become my new all time favorite! Real good!
OMG=OreoMyGoodness ~ I need to make this and share. Cuz who doesn’t need more friends, right? Happy Pi Day.