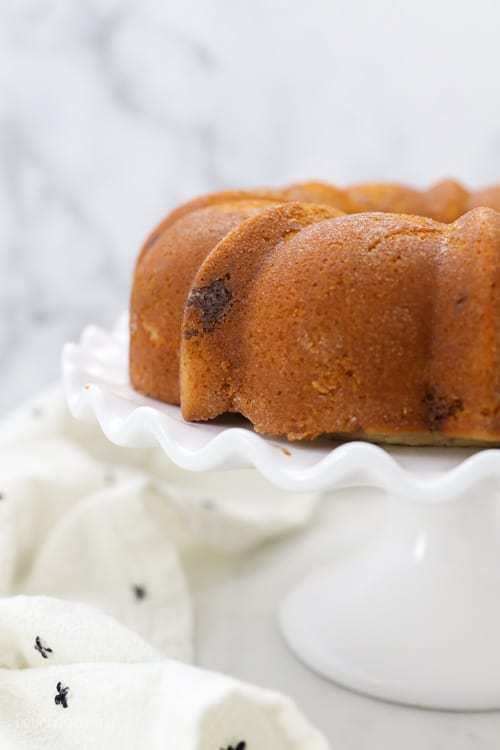
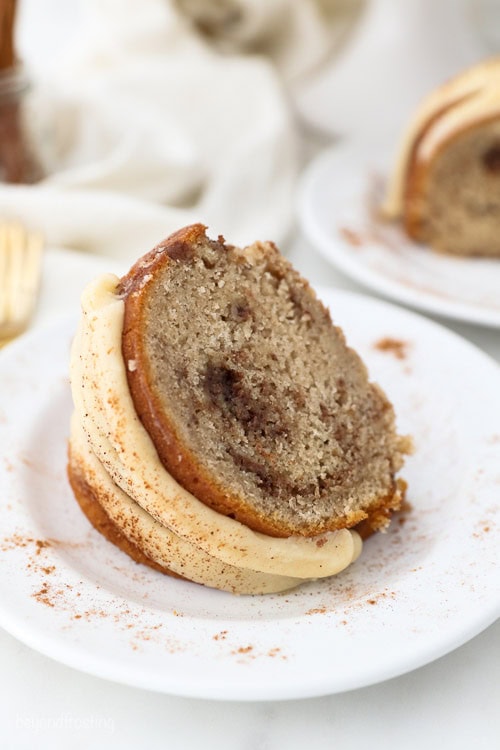
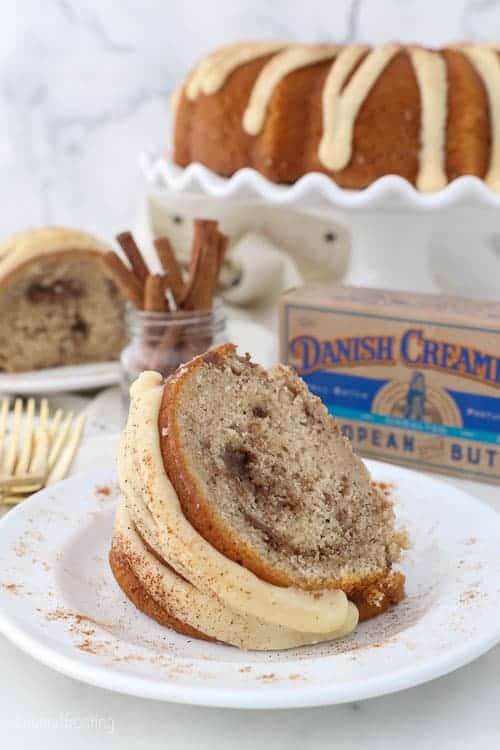
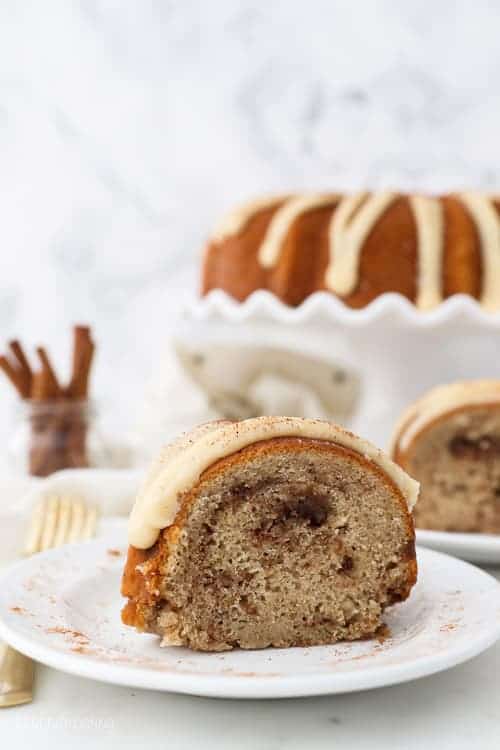
This Snickerdoodle Bundt Cake is a vanilla bundt cake layered with a brown sugar and cinnamon streusel and covered in a brown butter glaze infused with maple syrup. This bundt cake is bursting with flavor- you won’t be able to eat just one slice.
This post is sponsored by Danish Creamery, all thoughts and opinions are my own.
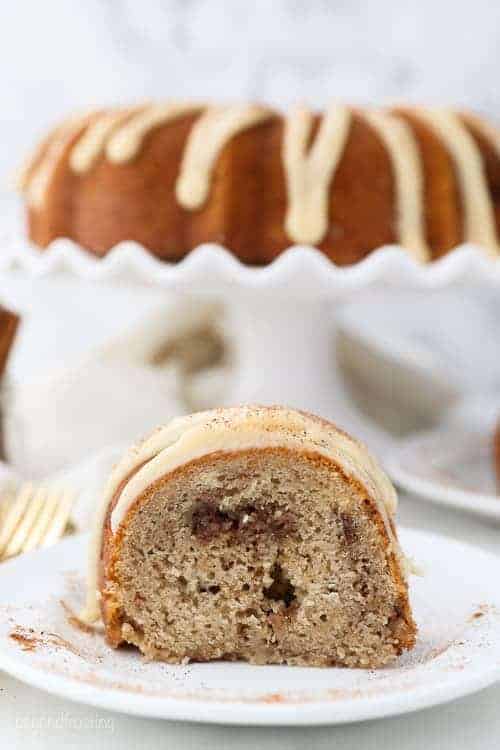
Words of the wise, never pass up a snickerdoodle. It’s one of THE BEST cookies there is. What’s even better, is when you can turn it into a Snickerdoodle cake.
That’s right, this Snickerdoodle Bundt Cake is an ode to one of my favorite cookies.
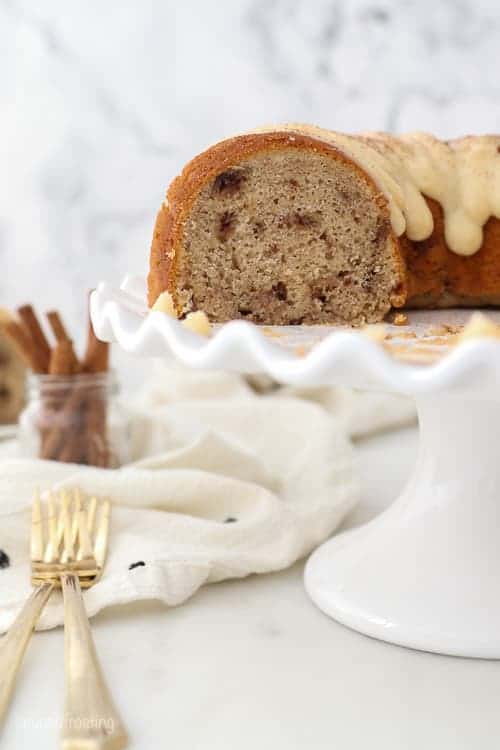
It starts with a fluffy vanilla cake, with a hint of cinnamon. Layered through the cake is a buttery, brown sugar and cinnamon streusel. To top it off, it’s finished with a brown butter glaze with a hint of maple syrup.
You guys, the first bite of this cake is like a DREAM.
I’m so excited to share this recipe with you, because I’ve been working so hard on expanding my collection of cakes and cupcakes, and I just love sharing recipes like this that are out of this world!
What’s different about this bundt cake than some of my other recipes? I’m actually using melted butter in the cake instead of oil.
I get questions all the time about substituting one for the other, and so I’ve been playing around with both variations.
I love using melted butter as opposed to softened butter because you don’t have to worry about creaming the butter and sugar together which, if not done properly, can make or break a cake. I don’t have to worry about that with melted butter.
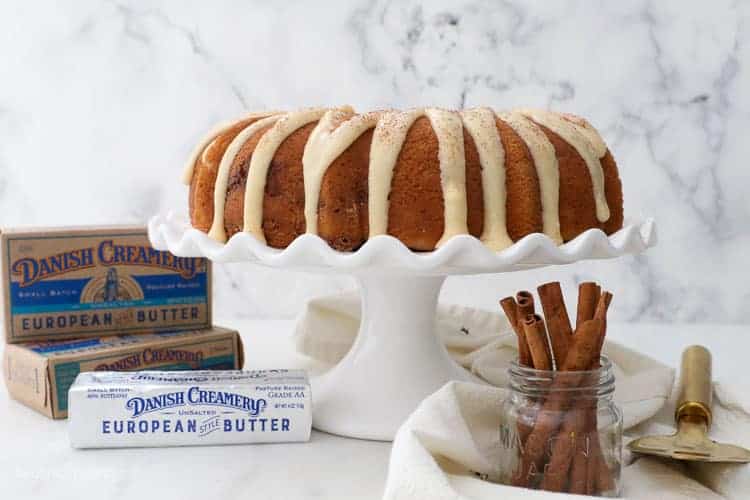
For this recipe, I’m using my favorite butter from Danish Creamery. It’s the European butter, which has been produced the same way since 1895. It’s churned in small batches and made from high-quality cream that comes from pasture raised cows.
I actually used both the salted and unsalted butter in this recipe, because I can’t get enough of the sea salted butter. Danish Creamery European Style butter contains 85% butter fat (which is higher than most European style butters). This means a deeper butter flavor, which is just what you want in this cake!
Now that I’ve professed my love for this Snickerdoodle Bundt cake, let me take you through the simple steps of actually making this cake.
How to Make this Snickerdoodle Cake
- Start by whipping the egg whites using the paddle attachment and whip until the eggs are foamy and have grown in volume. This is a key step to making this cake fluffy.
- Next add the sugar, melted butter and vanilla extract and beat until well combined, then add in the sour cream and incorporate.
- Combine all the dry ingredients in a separate bowl. Then alternate adding half of each of the dry ingredients and milk to the batter at a time. This allows you to slowly incorporate without over beating. Once the batter is ready, it’s time to prepare the streusel.
Quick and easy brown sugar streusel
- Simply combine the dry ingredients: brown sugar, flour and cinnamon with the melted butter and stir together until there’s no dry ingredients left. The streusel will start to pack or stick together.
- Then layer the streusel into the batter by pouring 1/3 of each into the bundt pan at a time and swirling with a knife. I’ve included this step in the video of the recipe for you.
How to make a brown butter glaze
This stuff is gold you guys. Browning the butter makes for a deeper, richer flavor as it releases a nutty amora. The milk solids turn a golden brown as the water in the butter boils off. It’s really easy to brown butter. Let me walk you through the steps. If you need a more in depth tutorial, I suggest you read through my tips for how to brown butter.
I call for salted butter for the glaze to help cut the sweetness. You can also use unsalted butter and add your own salt as needed.
First brown the butter
- Cut the butter into cubes. In a small saucepan, melt the butter over medium to medium-low heat. Don’t let the pan get too hot.
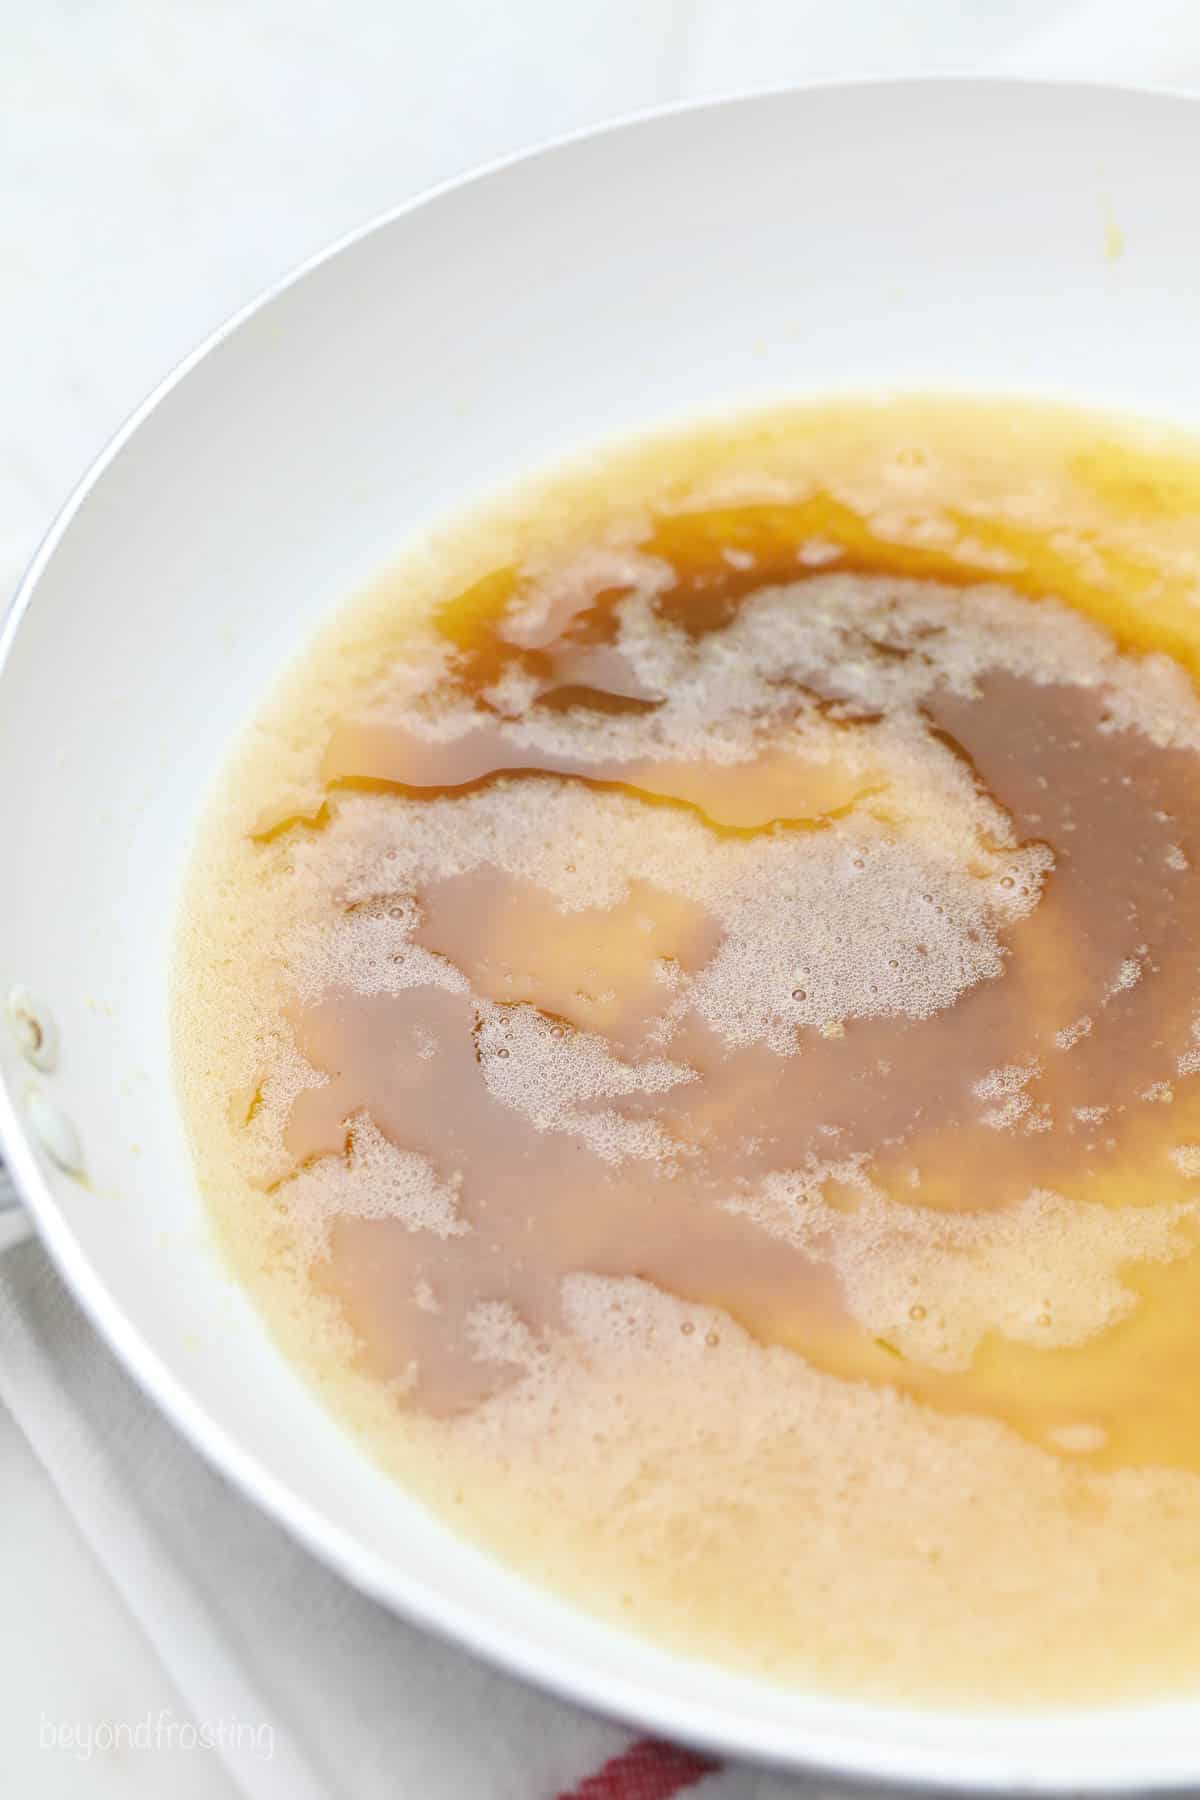
- Once it’s starts to boil and bubble, stir frequently and in a couple minutes, you’ll notice some brown specs in the bottom of the bowl.
- The bubbling will slow down and then the butter rapidly starts to turn an amber color and releases a nutty aroma. You can determine how much amber (or browning) you’d like, the darker the color, the richer the flavor.
- However, it can go from brown too burned rather quickly, so once the browning process starts, keep a really close eye on it and stir constantly.
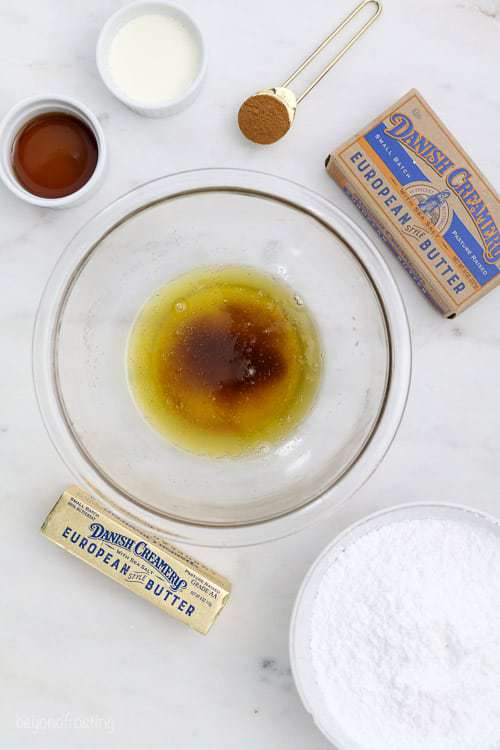
- Remove the butter from the heat, pour into a bowl and allow it to cool on the counter before making your glaze.
To make the brown butter glaze
- Once the browned butter has cooled to the touch, you can start.
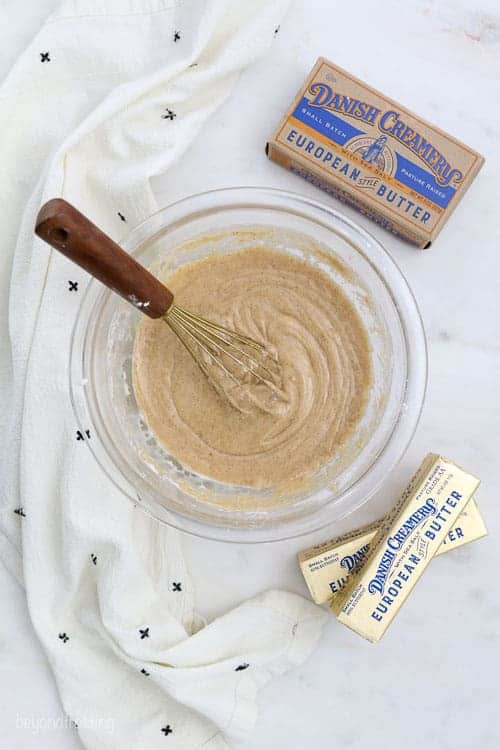
- Sift the powdered sugar so it’s easier to incorporate, and slowly start whisking in the powdered sugar, about ½ cup at a time, as well as the cinnamon.
- As the mixture starts to thicken, start alternating in the liquid ingredients: maple syrup and heavy whipping cream, a little bit at a time.
- The glaze should be thick but still run off the whisk. If you find it’s too thick, pop it in the microwave for 10-20 seconds at a time and restir until is reached your desired consistency.
- Adding additional milk or heavy cream will make the glaze even thinner, but you still want it to be thick enough that it will set once it’s been drizzled on the cake.
Helpful Tips for Baking Bundt Cakes
How do you know a Bundt Cake is done?
If you see any glossiness or giggling on the top of the cake, it’s not done. Check the areas in the center where it has separated or started to “break apart” a bit.
Always use a knife or toothpick and stick it into the center of the cake. If it comes out clean, the cake is done.
Sometimes the cake just needs another 1-2 minutes to fully finish, so I recommend watching to closely towards the end. You also might notice the edges of the cake will start to pull away from the sides.
How to prevent a bundt cake from sticking to the pan:
With any bundt pan, be sure to generously grease and flour the pan. This will ensure the cake easily releases from the pan. This is a really important step so the cake doesn’t stick to the pan. No one wants this to happen!
I prefer to use Crisco spread to grease my pan as opposed to cooking spray. Then dust it with flour. You should be able to see any spots you missed because the flour won’t stick.
Then I only allow my cake to cool for about 5 minutes in the pan, because I don’t want the outside edge of the cake to be too firm.
To turn the cake out of the pan, first run a knife around the outside and inside edges of the pan. Then flip it over onto a piece of parchment paper. If the cake is not releasing, tap the top of the pan a couple times instead of trying to shake it out. If it’s not releasing right away, don’t force it, or you risk the cake breaking.
You can also hold the cooling rack on top of the pan, invert it and give it a couple taps on the counter.
Now that I’ve shared all my tips with you, I hope you’ll give this recipe a try and let me know if you have any questions or tell me how much you loved it by leaving me a comment below.
This Snickerdoodle Bundt Cake is perfect for any occasion birthday, showers, holiday parties and more.
Visit Danish Creamery | Instagram | Facebook
Follow Beyond Frosting:
Facebook | Twitter | Pinterest | Instagram
Print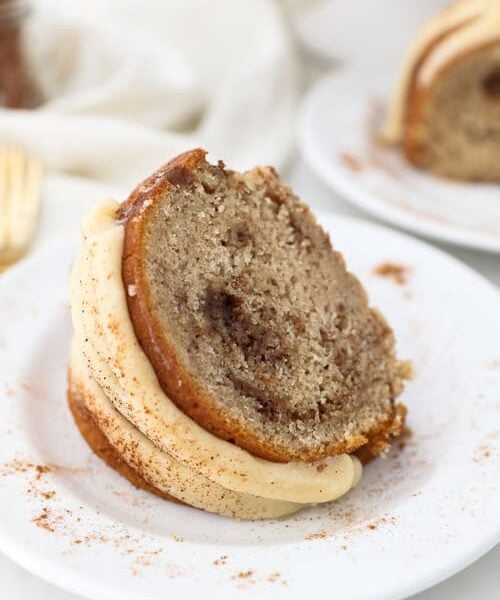
Snickerdoodle Bundt Cake
- Prep Time: 20 minutes
- Cook Time: 38 minutes
- Total Time: 58 minutes
- Yield: 12 slices
- Category: Cake
- Method: Baked
- Cuisine: American
Description
This Snickerdoodle Bundt Cake is a vanilla bundt cake layered with a brown sugar and cinnamon streusel and covered in a brown butter glaze infused with maple syrup. This bundt cake is bursting with flavor – you won’t be able to eat just one slice.
Ingredients
For the cake
- 4 large egg whites
- 1 ½ cups (285g) granulated sugar
- ½ cup (113g) Danish Creamery unsalted European butter, melted
- 1 ½ tablespoons (22ml) pure vanilla extract
- ¾ cup (177ml) light sour cream
- 2 ¼ cup (315g) all-purpose flour
- 2 teaspoons (7.5g) baking powder
- ½ teaspoon baking soda
- 1 teaspoon (2.5g) cinnamon
- 1 teaspoon (5g) salt
- 1 ¼ cup milk (296g) (I use nonfat)
For the streusel
- 1/3 cup (73g) light brown sugar, packed
- ¼ cup (35g) all-purpose flour
- 1 tablespoon (7.5g) cinnamon
- 3 tablespoons (43g) Danish Creamery unsalted European butter, melted
For the glaze
- ½ cup (113g) Danish Creamery Sea Salted European butter, browned
- 2 cups (260g) powdered sugar, sifted
- 1 teaspoon (2.5g) cinnamon
- 2 tablespoon (30ml) maple syrup
- 4–5 tablespoons (59-74ml) heavy whipping cream or milk
Instructions
For the cake:
- Preheat the oven to 350°F. Generously grease and flour the bundt pan.
- In a large mixing bowl, beat the egg whites for approximately 2 minutes until foamy.
- Next add the sugar, melted butter, and vanilla extract. Beat on medium speed until well incorporated. Scrape down the bowl as needed.
- Next mix in the sour cream and beat until well combined.
- In a separate bowl, combine the remaining dry ingredients: flour, baking powder, baking soda, cinnamon and salt. Add half the dry ingredients and half of the milk and mix just until the flour starts to incorporate.
- Finally add the remaining dry ingredients and milk and beat until all of the ingredients are well combined.
- Use a spatula to scrape down the sides of the bowl and stir the batter from the bottom to the top to ensure it’s well mixed.
- For the streusel: In a medium-sized bowl, combine the dry ingredients and then add the melted butter. Stir until there’s no dry crumbs and mixture is sticking together.
To assemble
- Pour the 1/3 of the batter in the prepared bundt pan and then sprinkle in 1/3 of the streusel and swirl together. Repeat 2 more times and bake at 350°F for 36-40 minutes, keeping a careful eye on the baking during the last few minutes.
- Test the cake for doneness by inserting a toothpick into the center of the cake. If the toothpick comes out clean, the cake is done.
- Remove from the oven and place on a cooling rack. After 5 minutes, run a knife around the outside edge of the cake and in the center to release it from the sides of the pan. Turn it out onto a plate or cooling rack. Allow to cool completely.
- For the glaze: To brown the butter, use a small saucepan, and cut the butter into pieces. Melt the butter over medium heat and allow it to boil and bubble.
- Once it’s starts boiling, stir it frequently and it will slowly start to turn an amber color and releases a nutty aroma. The bubbling will slow down as it starts to brown.
- Remove the butter from the heat and allow it to cool to the touch.
- Sift the powdered sugar and slowly start whisking in the powdered sugar and cinnamon into the butter, about ½ cup at a time.
- As the mixer thickens, start alternating in the liquid ingredients: maple syrup and heavy whipping cream slowly.
- The glaze should be thick but still run off the whisk. If you find it’s too thick, pop it in the microwave for 10-20 seconds and restir.
- Adding additional milk or heavy cream will make the glaze even thinner. Drizzle over the cooled cake and store in an airtight container.
Notes
- Baking times will vary depending on the type and size pan you use. Bake on a rack that is centered in the oven. I recommend using at least a 10 cup bundt pan
- To ensure the bundt cake doesn’t stick, generously grease and flour the pan. I prefer using Crisco spread, not baking spray.
- You cannot omit the sour cream. If you don’t have sour cream, you can use a nonfat Greek yogurt
- If you’re not familiar with how to brown butter, please see the noted in the blog post
- You can use unsalted butter in the glaze if you’d like and add a pinch of salt if it’s too sweet.
Nutrition
- Serving Size: 1 slice
- Calories: 512
- Sugar: 54.2g
- Sodium: 292.8mg
- Fat: 20.6g
- Saturated Fat: 12.7g
- Carbohydrates: 77.3g
- Fiber: 1.3g
- Protein: 6g
- Cholesterol: 53.8mg



This looks like an absolute winner and I’m going to try it as soon as our weather cools down a bit – it’s just been too hot to bake. My son’s favorite cookie was always snickerdoodle but he has had to go gluten free – can this recipe use a a cup for cup substitute and still be baked in a bundle pan? Should the bake time be increased?
I have not tested that specifically but I usually have success with a 1:1 GF replacement flour
Thank you for an amazing recipe. The cake turned out perfectly. It was very moist and also very light. My husband loved it. The glaze also was delicious. I don’t know why the other ladieks glaze separated. I let my brown butter cool to touch as your recipe clearly stated so perhaps she used it while still too warm. I did use, though, more than 5 tablespoons of cream (about double) and it came to a smooth, thick consistency while still thin enough to run down the sides. Again awesome recipe and as my husband said it is five stars and a keeper!
That is wonderful Maureen!! Thank you so much!
Hello! How do you think this will work using cake mix and adding all the other ingredients to it? I am going to use this as Christmas treats for friends and neighbors. I have a lot of cakes to do, so unwanted to see if there was a shortcut.
Hi Teresa- I don’t know exactly what you mean by adding all the other ingredients to the cake mix. If you are doing the cake mix using the ingredients on the box and then adding a streusel, that would work.
It’s 4:02am. My husband who is a night owl and is a sugar freak was not about to go to bed without a piece of cake (actually he already had two huge pieces.). The cake is so moist and delicious. My only problem is the glaze is waaaay too sweet and looks grainy and separated. I followed the recipe for the glaze exactly. I don’t know what happened. I’m an experienced baker and have a small baking business. I have never had icing or glaze separate on me. I will definitely make it again, but probably will not make a glaze for it. Do you have any idea what I could have done wrong.
Hi Ruth, thank you so your comment. I love the story about your husband LOL! Honestly not sure why the frosting would separate, I have not experienced that before, but may have something to do with temperature of ingredients?
Hi! My family loved this recipe and I was wondering if the recipe would work on a mini bundt pan
Thank you Sofia! I am so glad to hear this! I haven’t tried it, but I would imagine it could work
Thank you for this recipe. Snickerdoodle cookies are mine and my father’s favorite cookie so I will enjoy making this bundt cake for the holidays.
Happy Thanksgiving to you and your family.
Thank you Tracy! Enjoy!