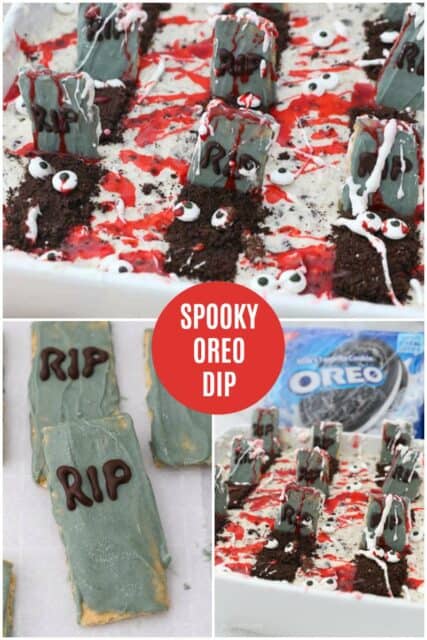
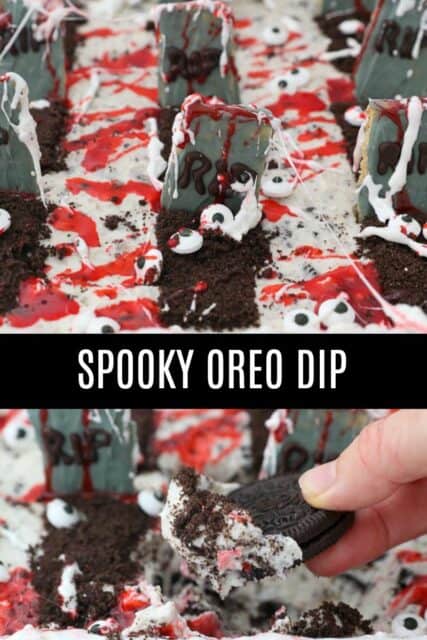
This Spooky OREO Cheesecake Dip is the perfect easy Halloween dessert. No-baking is required for this light and fluffy dip. Prepare it ahead of time and serve it with your favorite fruit or cookie or sweet cracker.
This post is sponsored by Mondelez, all opinions are my own.
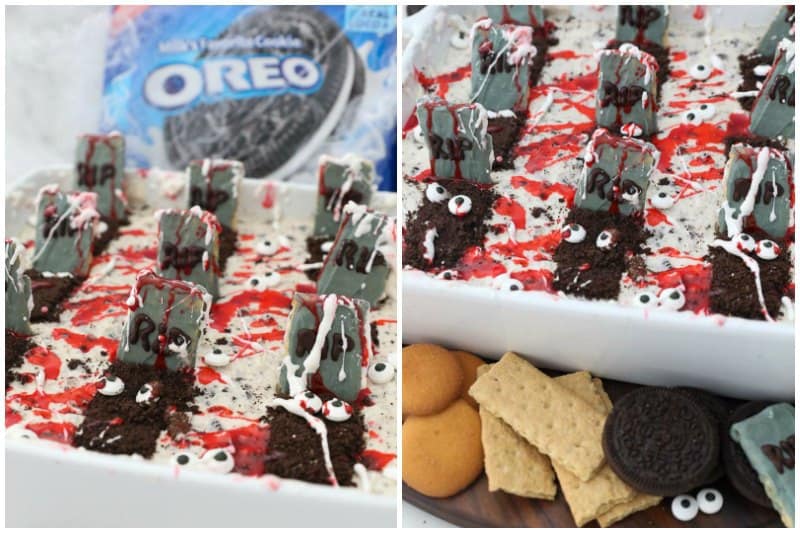
Easy Halloween OREO Dip Dessert
We’re OREO obsessed in this house, and this dip is heavenly. I definitely ate the leftovers with just a spoon. This reminds me of my favorite no-bake OREO cheesecake, but lighter and fluffier, and more like a mousse because I added marshmallow crème.
I’m a sucker for no-bake desserts because I can prepare them ahead of time, so there’s no last-minute stress. Plus, I am always going to bring a dessert to the party, so why not make something quick and easy?
I know sometimes it seems like there’s no time to put something like this together, but maybe I can help! For the last couple years, I’ve relied on my weekly online grocery pickup or delivery services. It’s such a time saver, and it helps me plan out what I need. This is especially important to me now that I a new mom and have very little time on my hands.
You can get everything needed for this dip from Walmart using online pickup or delivery right to your home. . Walmart is always my go-to for stocking my pantry with baking supplies because they have such a great selection of products. In additional to the ingredients needed for this dip, don’t forget to grab your Halloween supplies and décor.
Let me take you step by step through the process of creating this easy Halloween dessert.
Ingredients for OREO Dip
- Cream Cheese– I prefer full fat cream cheese for the best flavor
- Granulated Sugar
- Vanilla extract
- Heavy whipping cream- I like to make whipped cream, but you can also substitute Cool Whip instead
- Powdered Sugar
- Marshmallow Crème– Don’t skip this! Is make the dip so light and fluffy
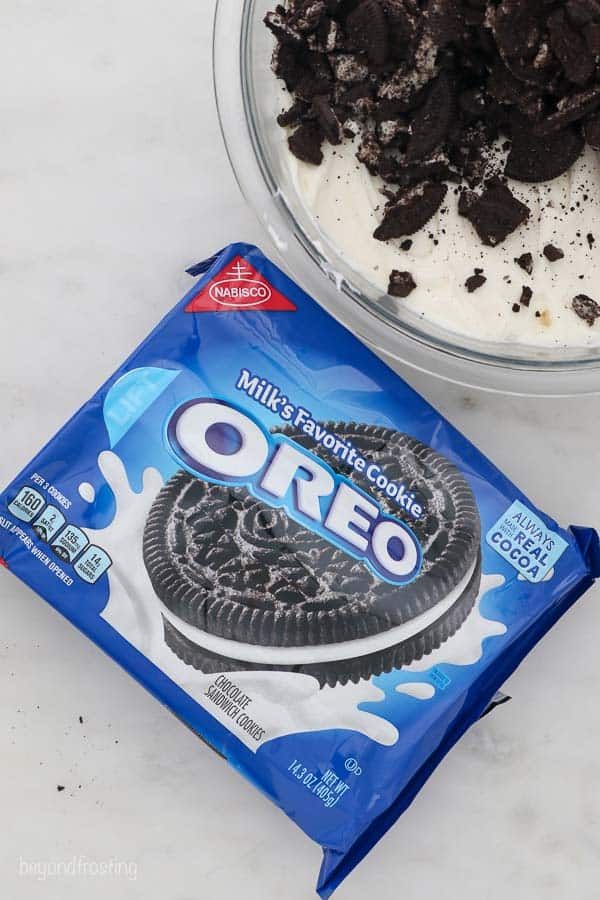
- OREO cookies- the best part!
How to make this dip
- Prepare a batch of whipped cream. I like to make homemade whipped cream with heavy cream and powdered sugar, but you can also replace this with a container of Cool Whip.
- Beat the cream cheese until it’s completely smooth then add the sugar and vanilla extract and beat until combined.
- Add the marshmallow crème and continue mixing until well combined.
- Fold in the prepared whipped cream and blend until smooth.
- Fold in the crushed OREO cookies and stir until combined.
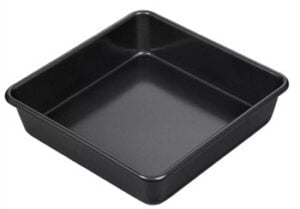
- Pour into prepared pan and refrigerate at least 1 hour.
Pan sizes: This dip make 5 ½ cups, it’s meant to serve a crowd. This is a 9-inch square pan, but you can use any size square or round pan. 8 to 10 inches in diameter is best.
Items needed to decorate this spooky Halloween dessert
- Honey Maid Graham Crackers- You need only 3 individual crackers but use the rest of the box to serve with the dip.
- White chocolate or white candy melts– I prefer using a white chocolate bar instead of chocolate chips because they melt down much smoother.
- Black food gel to dye the white chocolate
- Something to write with such as: chocolate, black candy melts, black decorating icing or a food writer pen to draw on the gravestones.
- Edible candy eyeballs
- Corn syrup
- Red food gel
- Large marshmallows (optional) to create the mummy look
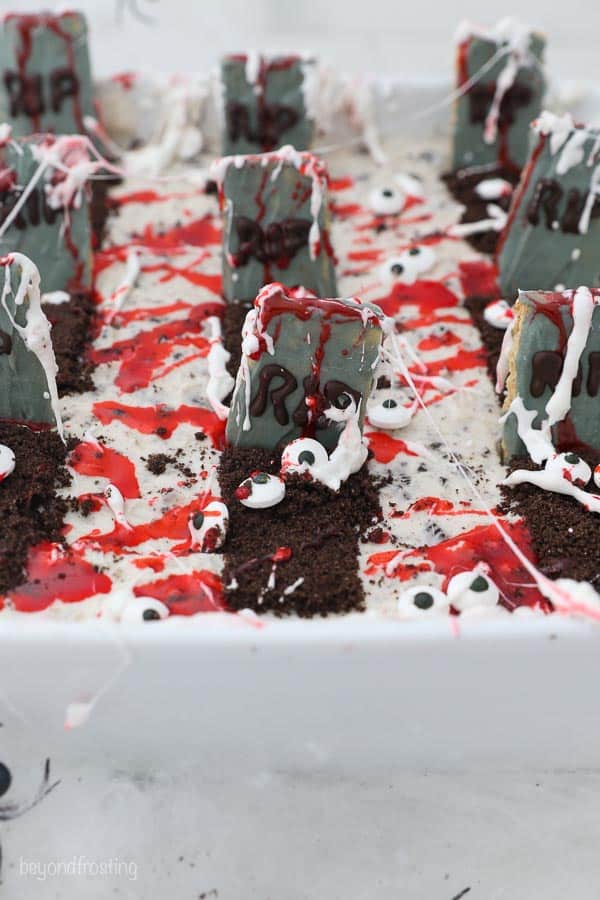
How to decorate the graveyard
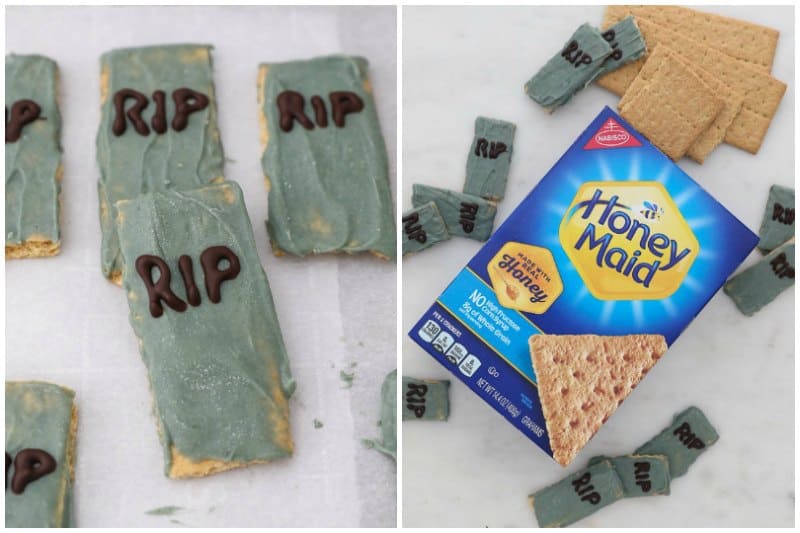
First prepare the gravestones: Gather a couple of graham crackers, white chocolate, black gel coloring and something to write on the gravestones. The graham crackers will eventually soften once you stick them in the dip. So, while you can prepare them ahead of time and store them in an airtight container you may want to wait to place them onto your dip until closer to the time you are serving.
- Use a serrated knife to cleanly slice the graham crackers.
- In a microwave-safe bowl, melt the white chocolate at 50% power in 30 second increments, stirring occasionally until the chocolate is melted and smooth. Add 1-2 drops of black food gel to dye and stir to combine until you reach your desired color.
- Dip one side of the graham crackers into the white chocolate and smooth it with a knife, tap off any excess chocolate. Place on a baking sheet lined with parchment paper. Allow the chocolate to set completely.
- To decorate the “RIP” you can use melted chocolate or black candy melts, black decorating icing or a food writer pen. You only need about one ounce, so I think melted chocolate works best because it’s what I have on hand. Melt it the same way you did the white chocolate and then use a small piping bag to write on each gravestone. It’s helps if you have a size 3 piping tip, but it’s not required. Allow the chocolate to set completely, refrigerating if necessary.
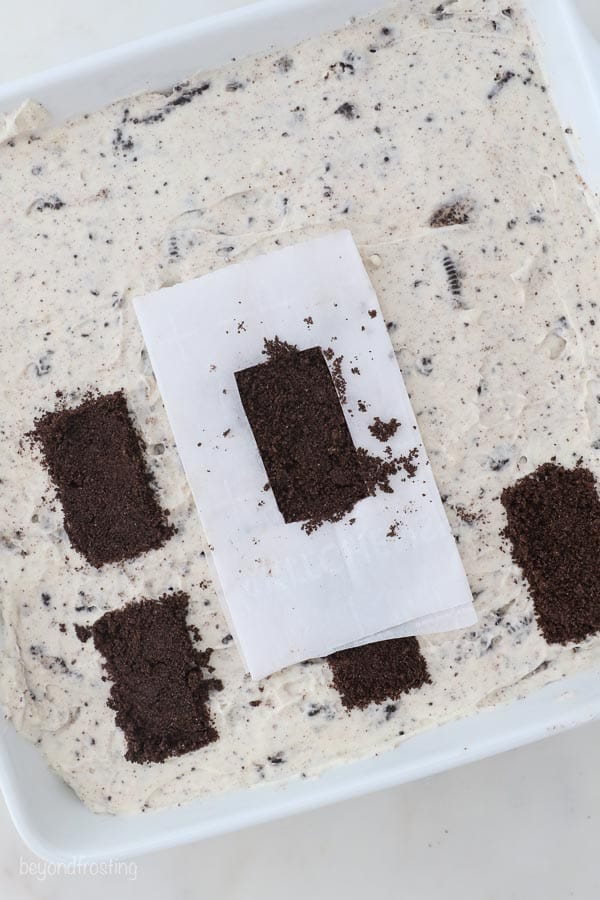
OREO gravesites: This is a fun way to use OREO cookies create a fresh gravesite.
- Using a food processor, grind 4-6 OREO cookies into find crumbs.
- Create a stencil using folded parchment paper with a hole cut out or a rectangular cookie cutter. Place the stencil on top of the OREO cookies dip and spoon some crumbs over the stencil, gently pat and then carefully remove the stencil.
- Place two edible candy eyeballs in each gravesite then place a prepared gravestone at the top of each one.
Easy edible blood: This is optional but a playful way to add to the spooky effect. It’s best to do this just prior to serving.
- Combine the corn syrup with a drop or two of red gel color and stir to combine until you reach the desired color.
- Slowly sprinkle in powdered sugar to thicken. It’s best if you can use a small sieve or something to sprinkle the powdered sugar to break up any large clumps. Drizzle over gravestones and dip.
Marshmallow mummies: This is also optional, but if you want to add some stringy, gooey marshmallow to make a mummy or spiderweb effect, it’s messy but fun!
- On a microwave-safe dish, place 4-6 large marshmallows and microwave for 10 second until marshmallow are puffy. Allow to cool to the touch.
- Use your fingers to pull apart and string the marshmallow over the dip. This can be tricky because you need to drape the marshmallow over the corner of the gravestones or along the edges of your dish to help string them out. It’s best to do this just prior to serving.
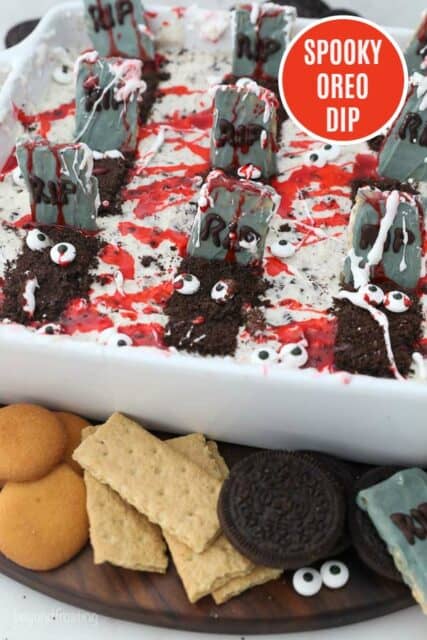
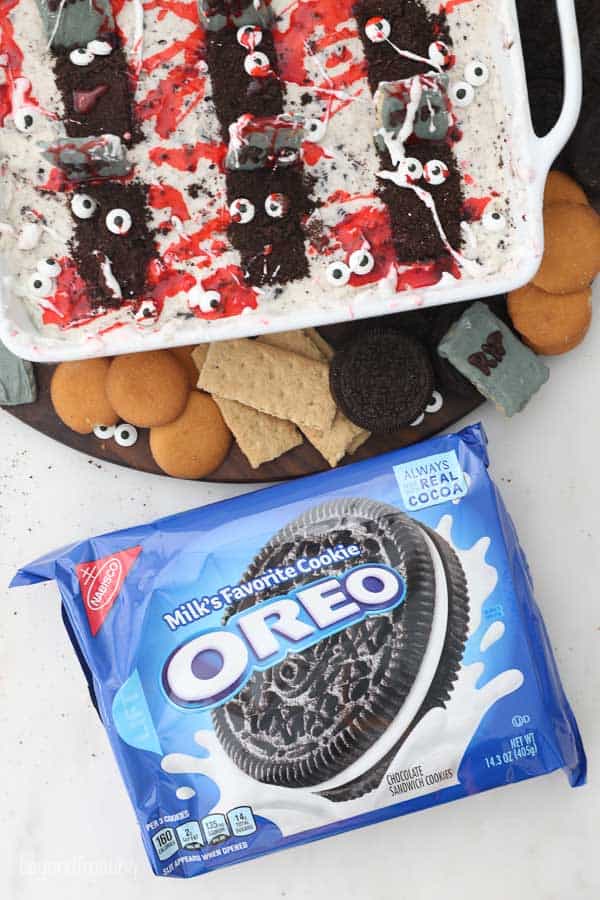
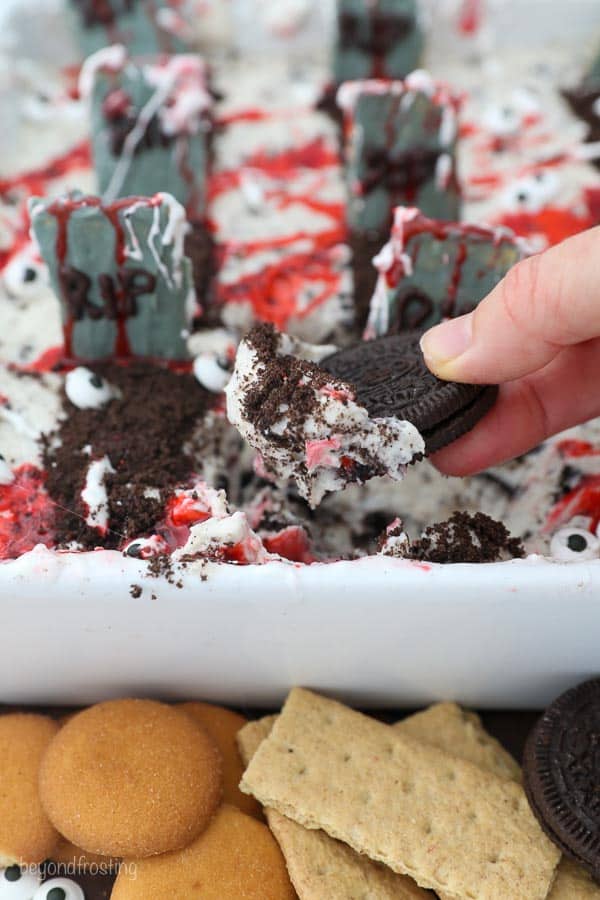
What to serve with OREO Dip
I love to create a dessert charcuterie. So, I buy a variety of sweet crackers like Nilla Wafers or graham cracker, or cookies (more OREO cookies are never a bad idea!). You can also serve this with fruit like strawberries.
How to store this dip
This dip must be refrigerated once prepared. Keep covered with tightly wrapped plastic wrap or in an airtight container.
Be sure to share your spooky dips with me!
Follow Beyond Frosting
Facebook | Twitter | Pinterest | Instagram
Print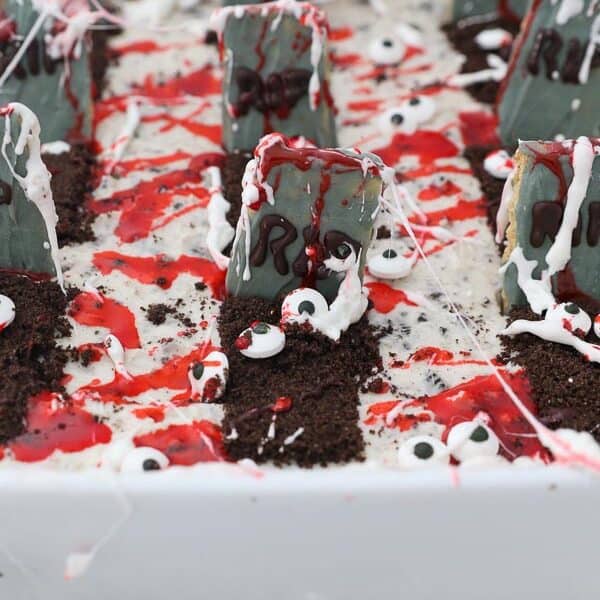
Spooky Oreo Dip
- Prep Time: 60 minutes
- Cook Time: 60 minutes
- Total Time: 2 hours
- Yield: 22 Servings (5 1/2 cups)
- Category: Dessert
- Method: No-Bake
- Cuisine: American
Description
This Spooky OREO Cheesecake Dip is the perfect easy Halloween dessert. No-baking is required for this light and fluffy dip. Prepare it ahead of time and serve it with your favorite fruit or cookie or sweet crackers.
Ingredients
- 1 cup (236ml) Heavy whipping cream
- ½ cup (65g) powdered Sugar
- 16 ounces (452g) full-fat cream cheese
- ½ cup (95g) granulated Sugar
- 2 teaspoons (10ml) pure vanilla extract
- 1 Jar (7ounces/198g) marshmallow Crème
- 1 package (14ounces/405g) OREO cookies
- 3 Honey Maid Graham Crackers
- 2 ounces white chocolate bar
- 1 ounce chocolate (optional, see notes)
- 2 tablespoons corn syrup
- ¼ teaspoon powdered sugar
- Black food gel coloring
- Red food gel coloring
- Edible candy eye
- 4-6 large marshmallows
- Cookies and crackers for dipping: Honey Maid Graham Crackers, Nilla Wafers, OREO cookies, Strawberries
Instructions
- Prepare a batch of whipped cream. Chill the bowl and whisk attachment in the freezer for 5-10 minutes. Pour the heavy whipping cream into the chilled bowl and use an electric mixer to beat the heavy cream on medium-high speed until the cream starts to thicken. Slowly add the powdered sugar and continue beating on high speed until stiff peaks form. Set the whipped cream aside.
- Beat the cream cheese using the paddle attachment until it’s completely smooth then add the sugar and vanilla extract and beat until combined.
- Add the remaining ingredients. First beat in the marshmallow crème and continue mixing until well combined then fold in the prepared whipped cream and blend until smooth. Roughly crush 24 OREO cookies in a large Ziploc bag then fold into the batter until combined.
- Spread the dip in a 9-inch square pan. Refrigerate for at least 1 hour.
Make the gravestones
- Use a serrated knife to cleanly slice the graham crackers.
- In a microwave-safe bowl, melt the white chocolate at 50% power in 30 second increments, stirring occasionally until the chocolate is melted and smooth. Add 1-2 drops of black food gel to dye and stir to combine until you reach your desired color.
- Dip one side of the graham crackers into the white chocolate and smooth it with a knife, tap off any excess chocolate. Place on a baking sheet lined with parchment paper. Allow the chocolate to set completely.
- Melt the chocolate in the same way you did the white chocolate and then use a small piping bag fitted with a size 3 round piping tip (optional) to write RIP on each gravestone. Allow the chocolate to set completely.
OREO gravesites:
- Using a food processor, grind 4-6 OREO cookies into find crumbs.
- Create a stencil using folded parchment paper with a hole cut out or a rectangular cookie cutter. Place the stencil on top of the OREO cookie dip and spoon some crumbs over the stencil, gently pat and then carefully remove the stencil.
- Place two edible candy eyeballs in each gravesite and then place a prepared gravestone at the top.
Decor (prepare just prior to serving)
- Edible blood: Combine the corn syrup with a drop or two of red gel color and stir to combine until you reach the desired color. Slowly sprinkle in powdered sugar to thicken. Drizzle over gravestones and dip.
- Marshmallow: On a microwave-safe dish, place 4-6 large marshmallows and microwave for 10 second until marshmallow are puffy. Allow to cool to the touch. Use your fingers to pull apart and string the marshmallow over the dip, draping on the gravestone.

Notes
- Storage and make ahead: This dip must be refrigerated once prepared. Keep covered with tightly wrapped plastic wrap or in an airtight container.
- Pan sizes: This dip make 5 ½ cups, it’s meant to serve a crowd. This is a 9-inch square pan, but you can use any size square or round pan. 8 to 10 inches in diameter is best.
- Homemade whipped cream can be substituted with 1 container (8 ounces) of Cool Whip if desired.
- Decorating tips: Prepare the gravestones ahead of time to allow the chocolate to set, but don’t place them into the dip until prior to serving as the graham crackers will soften once they come in contact with the dip. For the gravestones, a white chocolate bar works best, but candy melts would also work great. To add the RIP to the gravestones, you can use melted chocolate or candy melts, a food safe pen or black decorator icing. Do not add the candy eyeballs, edible blood or marshmallows until just prior to serving for best results.
Nutrition
- Serving Size: 1/4 cup
- Calories: 179
- Sugar: 13g
- Sodium: 85mg
- Fat: 11.5g
- Saturated Fat: 6.7g
- Carbohydrates: 17.7g
- Fiber: 0g
- Protein: 1.7g
- Cholesterol: 33mg
Filed Under:
Head to https://www.creepitrealhalloween.com/ for more ideas!