Coated in powdered sugar and filled with your favorite jam, these soft and chewy Thumbprint Cookies are a Christmas classic! They’re easy to make and can be customized with whatever flavors you’re craving.
Looking for more Christmas cookie recipes? Try these Peanut Butter Kiss Cookies or these Coconut Date Balls.
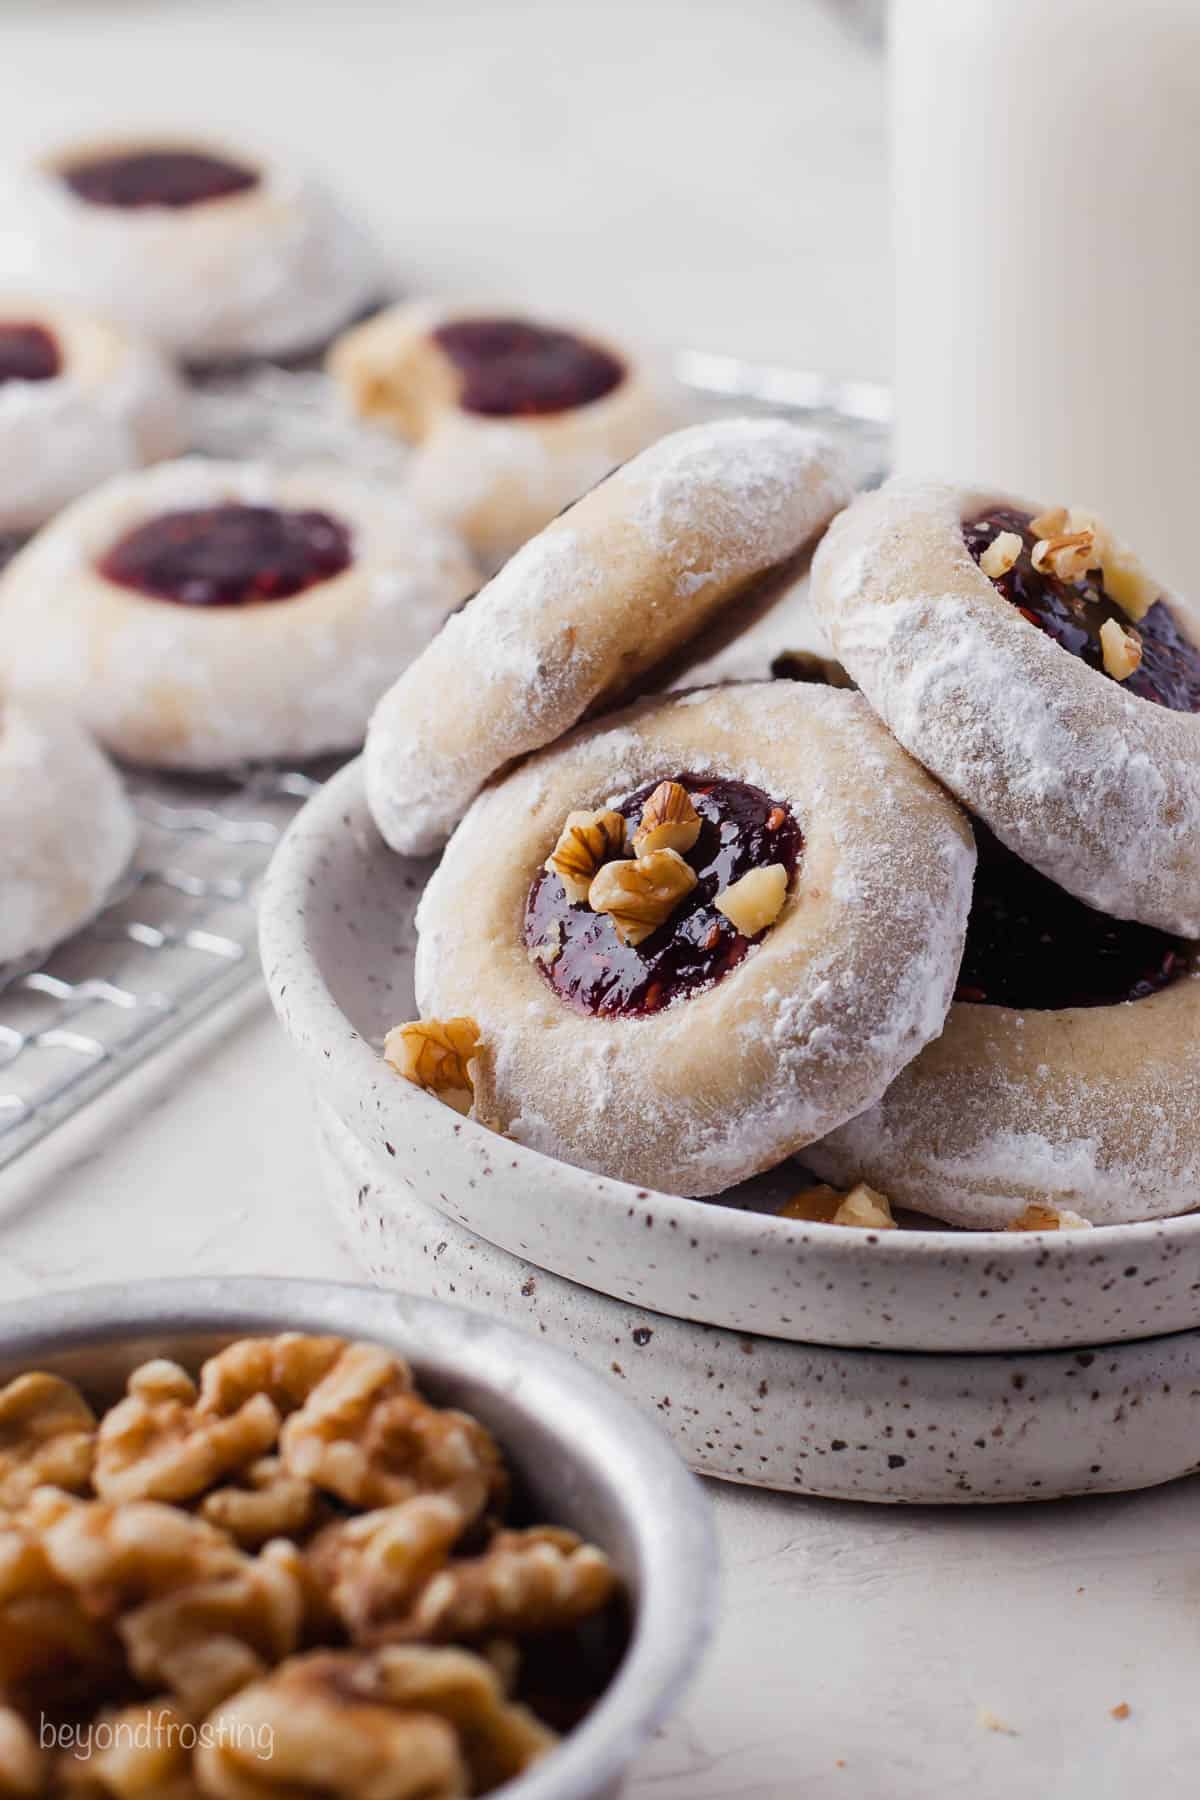
Easy Jam Filled Thumbprint Cookies with Nuts
These iconic jam-stuffed sugar cookies originated in Sweden around the 1800s, and today they’re a must-make across the world. Traditionally filled with raspberry jam, you can stuff them with any filling of your choice!
In Sweden, they’re known as hallongrotta, which translates to “raspberry cave.” English speakers fondly refer to them as thumbprint cookies, as the dough is pressed down with a thumb to make space for the jam.
For my take on the classic cookie, I added some finely chopped walnuts, and this makes them taste just like my favorite snowball cookies. You can choose whether you’d like to roll them in powdered sugar or leave them without. This recipe gives you the freedom to make your own ideal version of a thumbprint cookie
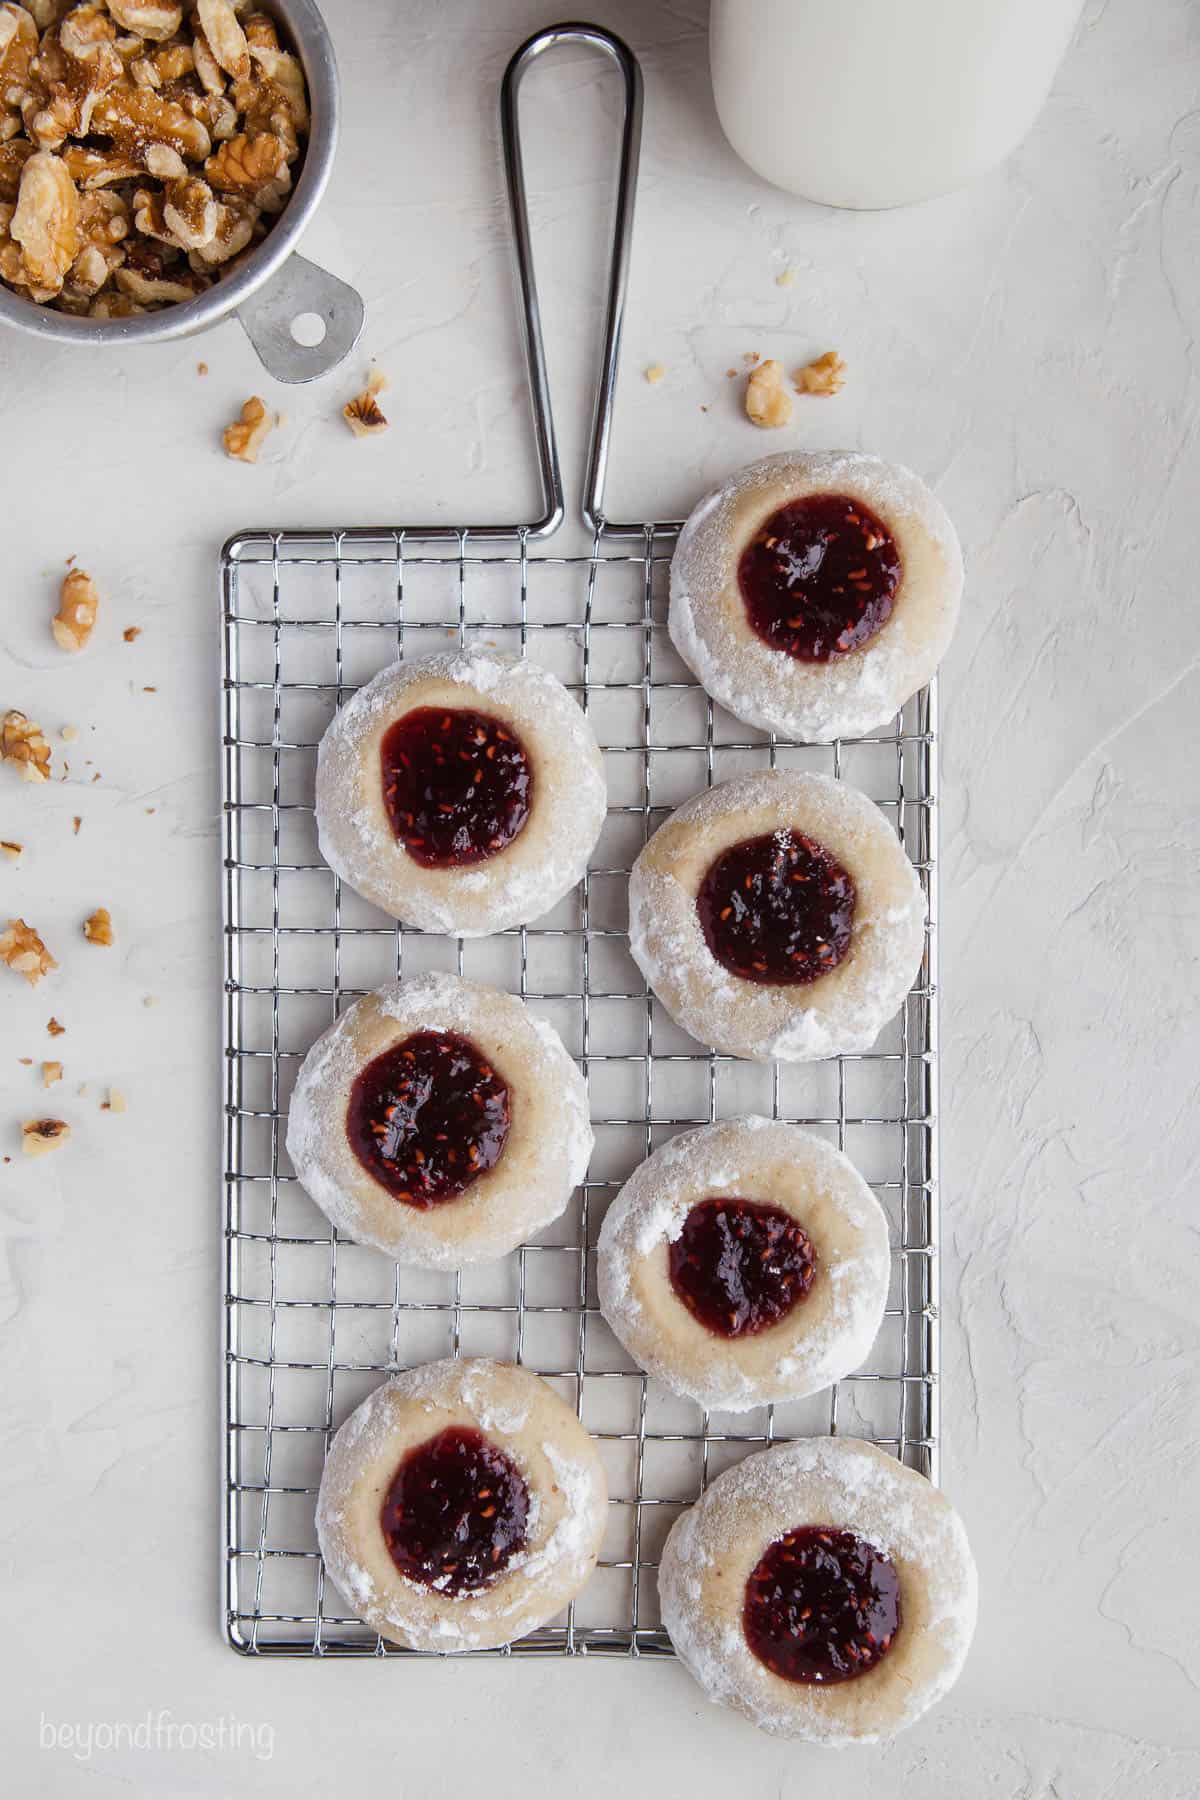
What You’ll Need
All the best homemade desserts come with a short and sweet ingredient checklist. These thumbprint cookies certainly fit the bill!
- Unsalted butter: Be sure it’s at room temperature.
- Granulated sugar
- Egg
- Pure vanilla extract
- All-Purpose flour
- Powdered sugar: You’ll need this to make the cookie dough and can also use some to coat the cookies before the jam is added.
- Baking powder
- Salt
- Finely ground walnuts: These add a lovely nutty flavor.
- Jam: Blackberry with raspberry jam is my personal go-to for thumbprint cookies.
Do You Fill Thumbprint Cookies Before or After Baking?
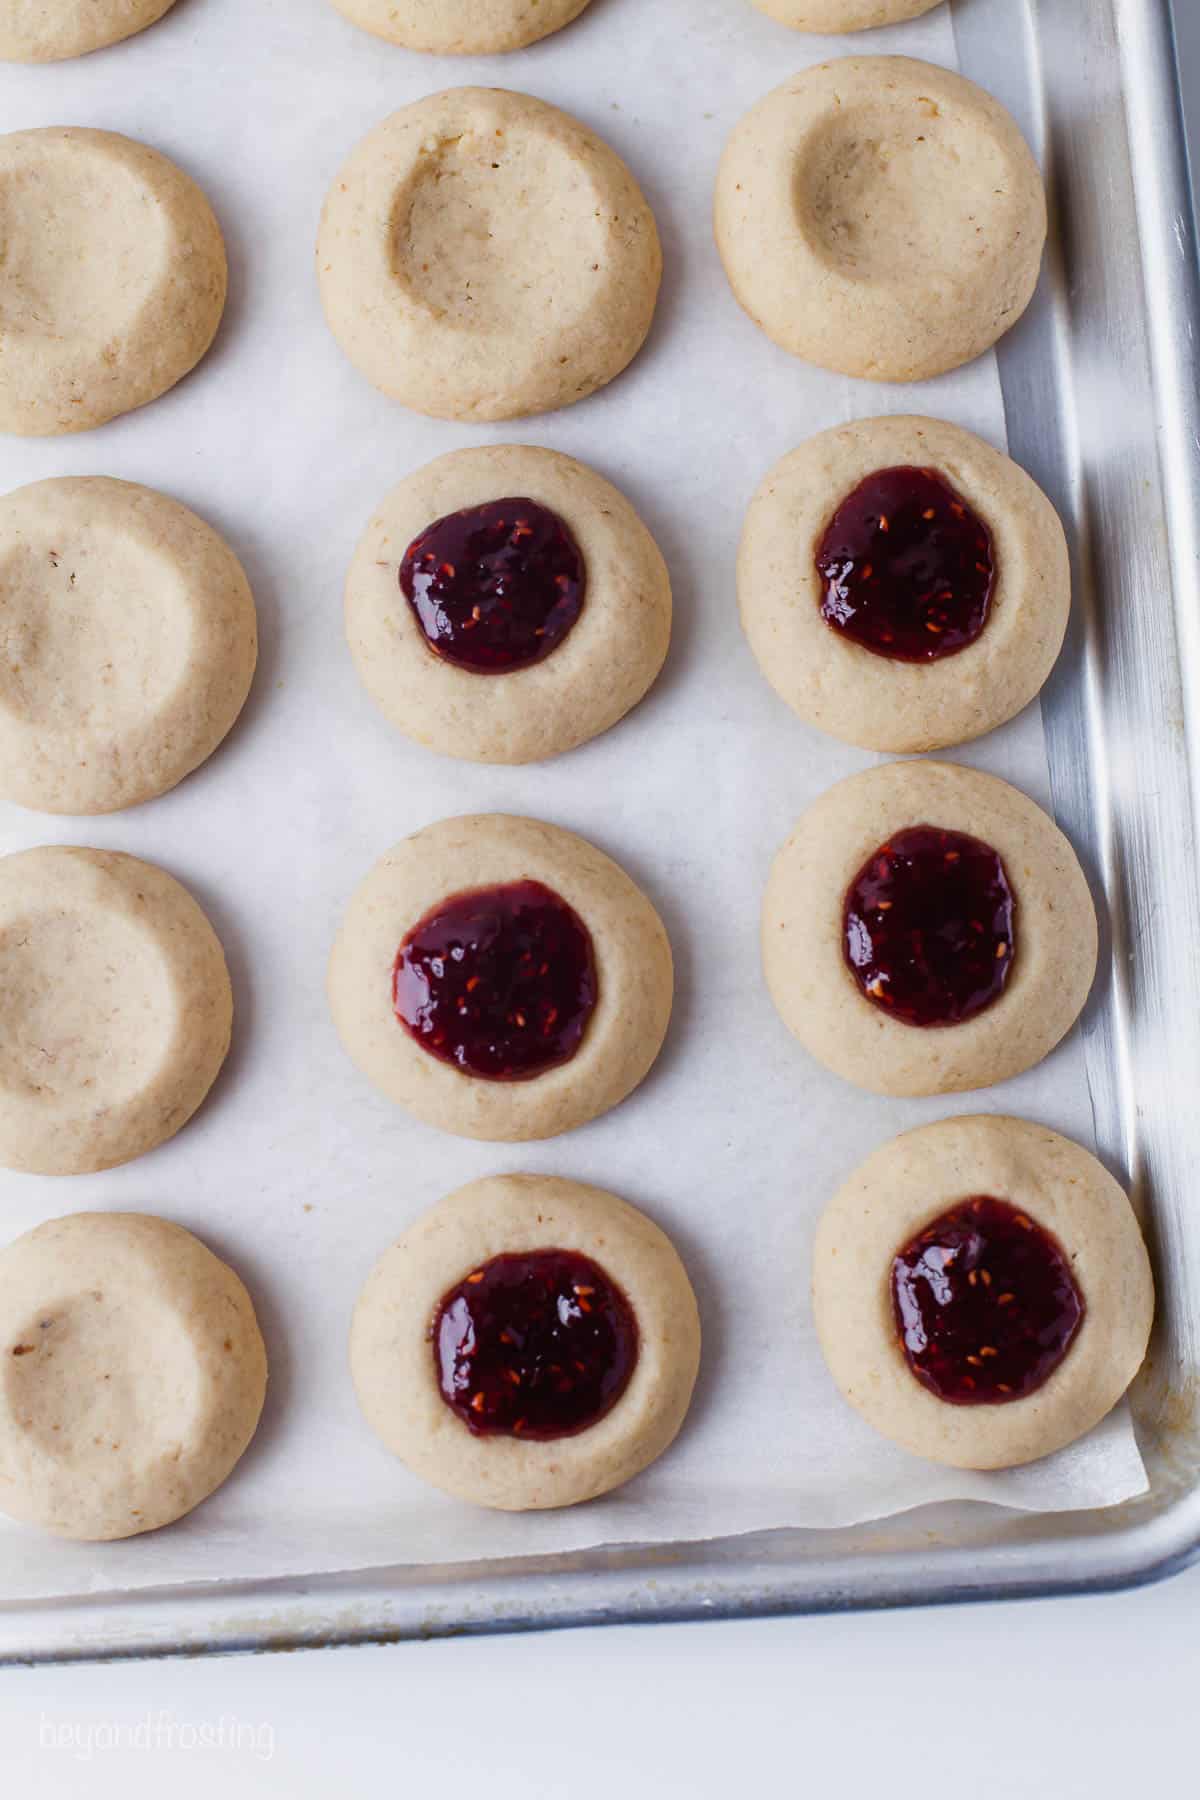
I recommend filling your cookies with jam after you bake them. This way, the jam won’t develop a film on top, which can happen when it’s exposed to significant heat. If you find that your thumbprints have become too shallow after the cookies are baked, simply press into them gently to reinforce the indent.

How to Make Jam Thumbprint Cookies
This cookie dough comes together in one bowl, which is always nice in terms of convenience and clean-up. Once they’re baked, you just have to spoon in the jam!
Prep for Baking: Preheat the oven to 350°F and line a baking sheet with parchment paper or a silicone baking mat. Use a food processor to grind the walnuts into a very fine crumb.
Cream Butter & Sugar: Combine the butter with the sugar in a stand mixer and beat on medium speed until well creamed together.
Add Egg & Vanilla: Add the egg and vanilla extract and beat until well combined.
Add Dry Ingredients: Add the remaining dry ingredients, including the ground walnuts, and beat until the dough forms.
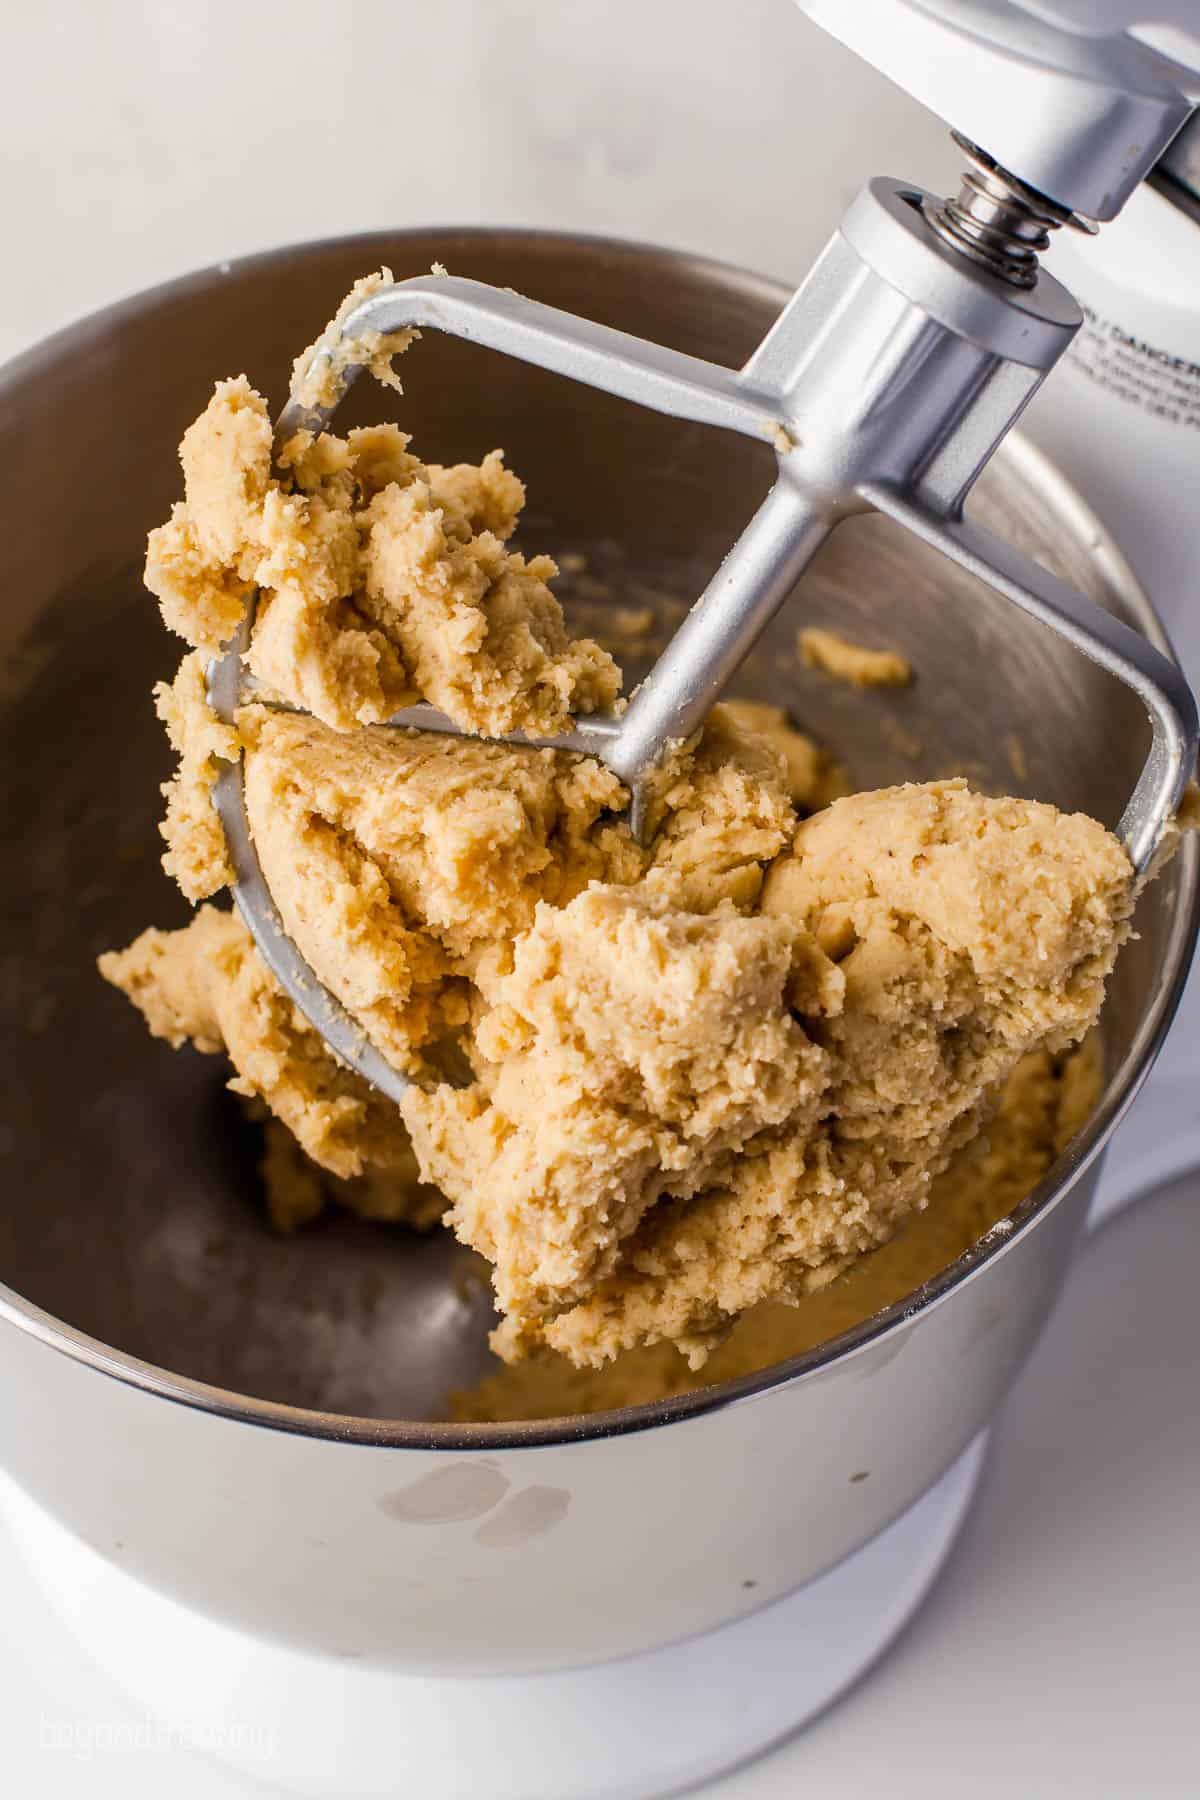
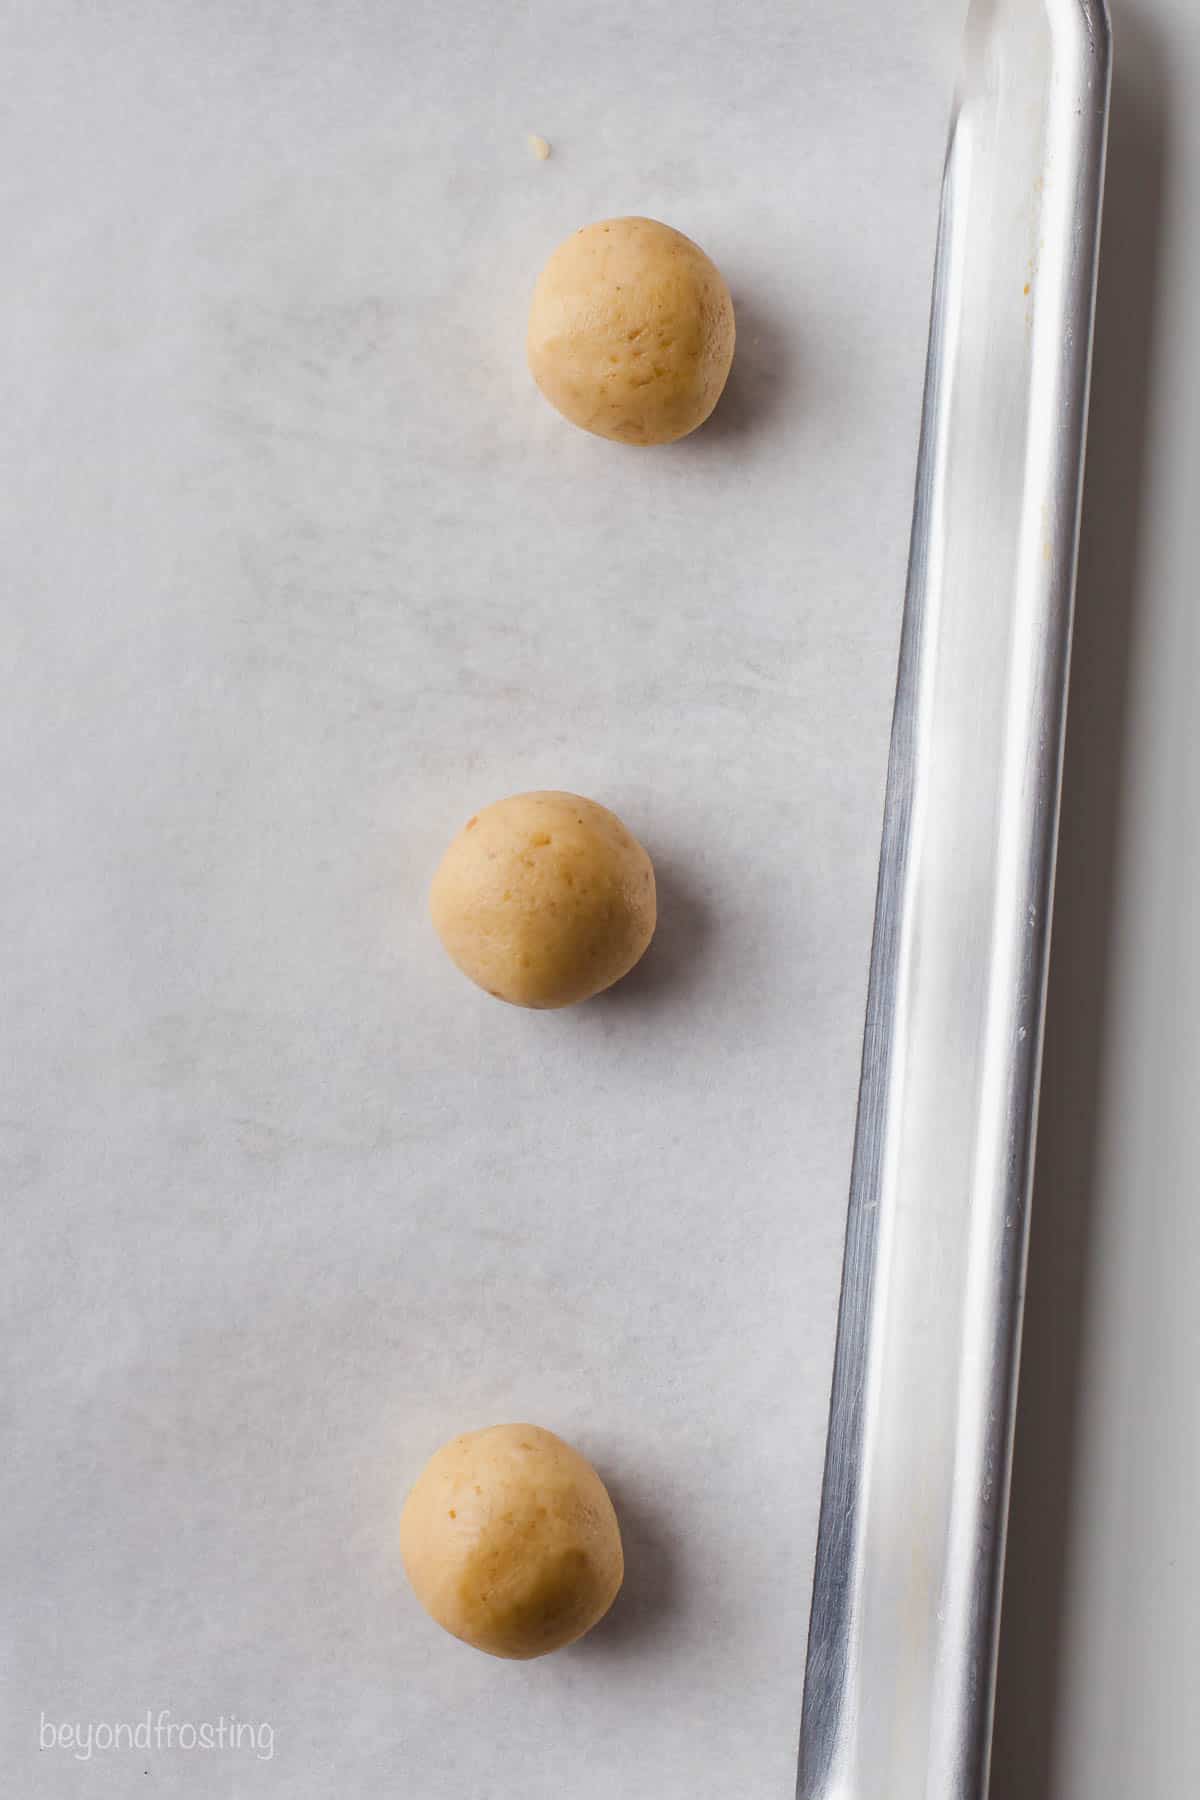
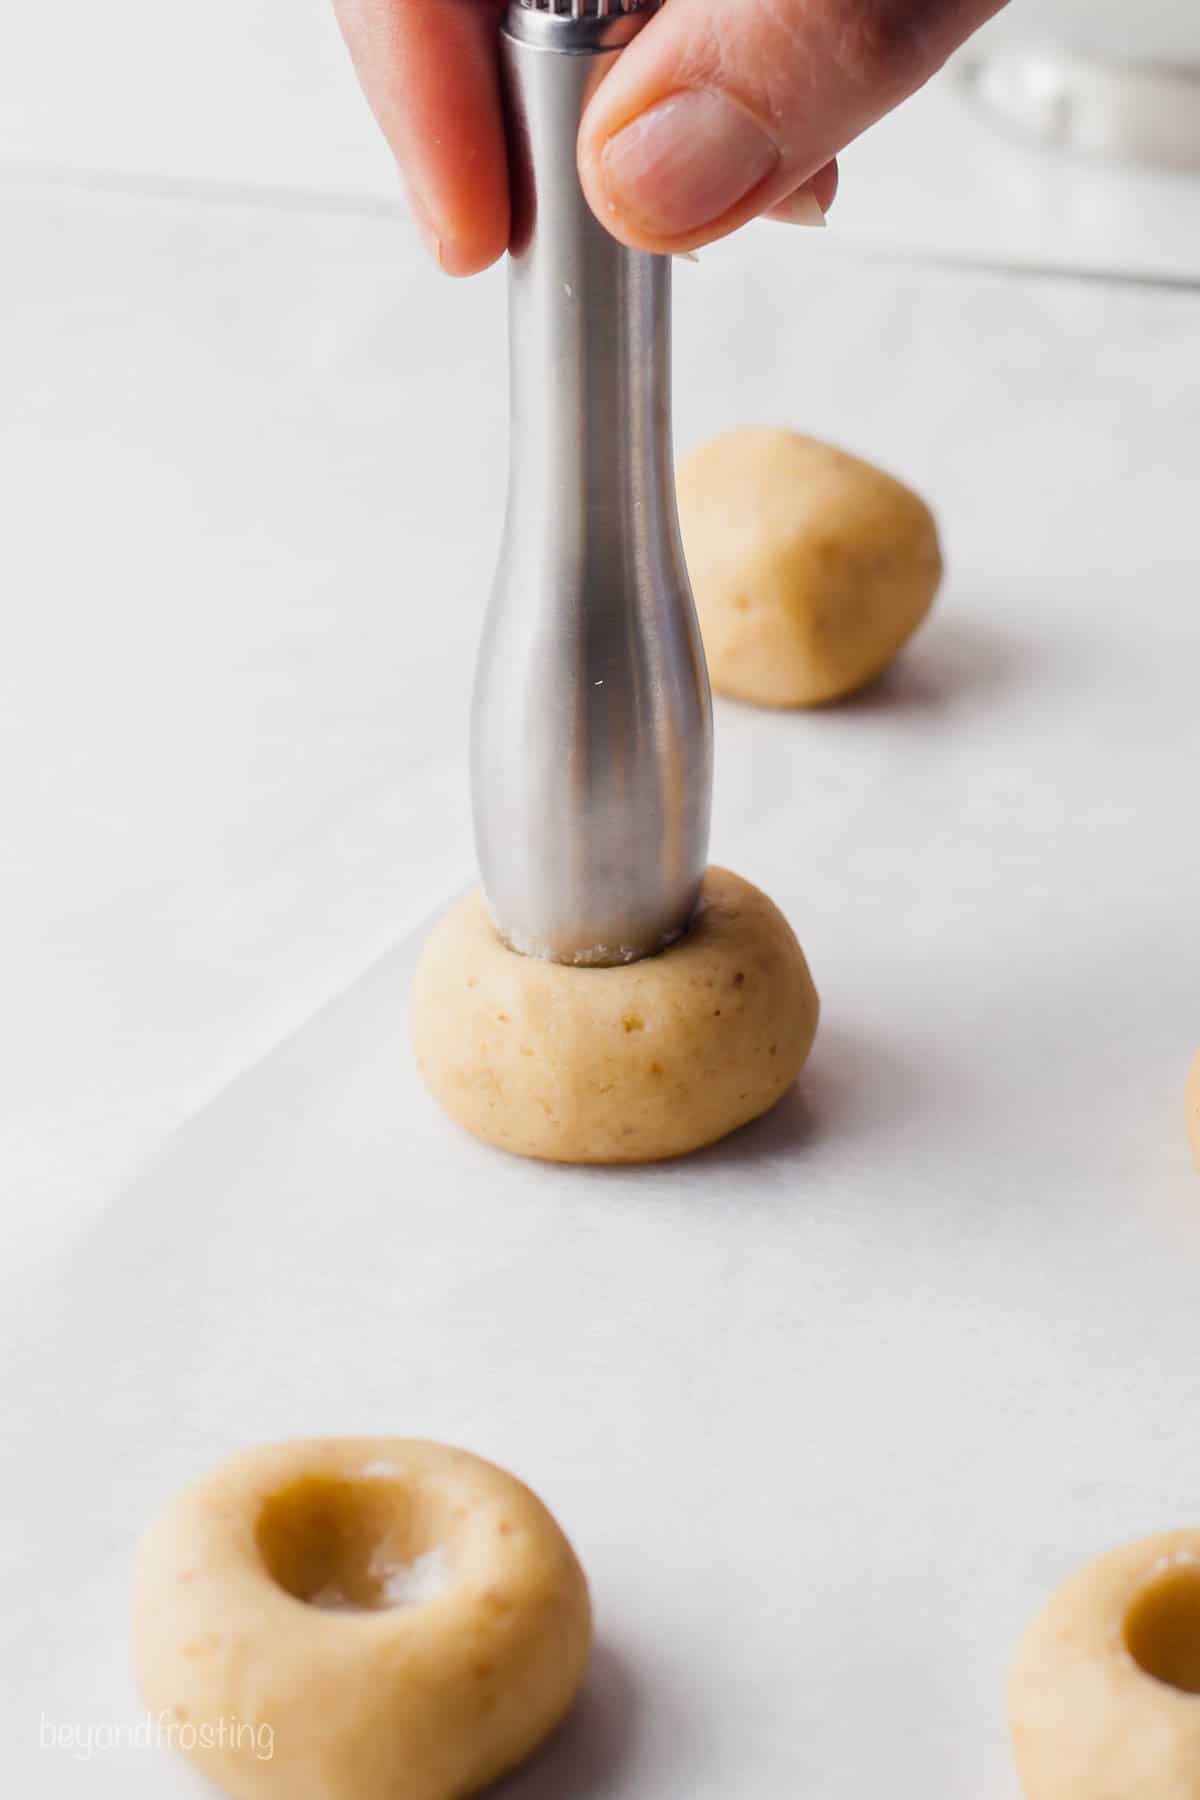
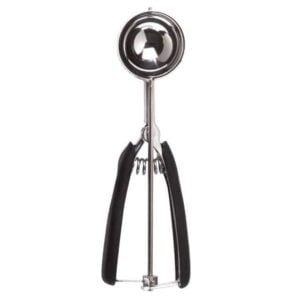
Form Cookies: Use a medium-sized (1 tablespoon) cookie scoop to portion out the dough, then use your hands to roll each scoop into a ball. Place each dough ball on the baking sheet and press into them to make a well using your thumb or a round kitchen tool.
Bake: Bake one tray at a time for 15-18 minutes, until the bottoms are lightly golden.
Let Cool: Remove the cookies from the oven and let them cool completely.
Add Jam: Either add a spoonful of jam or roll the cookies in powdered sugar and then add the jam.
Tips for Success
These cookies are straightforward and simple as can be. Regardless, I suggest checking out the following tips and tricks before you get going with the recipe.
- Measure the flour accurately: Since flour tends to pack into itself, it’s often over-measured. Using a food scale is the best way to get an accurate flour measurement. If you don’t have one, be sure to spoon the flour into your measuring cup rather than scooping it up directly. Once the measuring cup is overflowing with flour, use a butter knife to level it out.
- Finely ground nuts: In order to prevent the cookie dough from cracking when you press down in the middle, be sure the nuts are finely ground up. Any large chunks of nuts tend to make the edges of the cookies crack
- Bake in batches: I strongly recommend baking these cookies in batches. They should be placed on the center oven rack so that the tops and bottoms cook evenly.
- Let the cookies cool completely: Make sure your cookies have cooled down to room temperature before you roll them in sugar and/or add the jam. This keeps the filling from melting and getting messy.
Variation Ideas
Bring on the creativity! These easy thumbprint cookie variations are definitely worth a try.
- Nutella Filled Thumbprint Cookies: Nutella is all the rage these days, and it makes an amazing filling for these thumbprint cookies. You could also go with plain old melted chocolate!
- Almond Thumbprint Cookies: Instead of using ground walnuts for your cookie dough, try adding in ground almonds instead! You can also add some chopped and toasted almonds on top of the filling for extra nuttiness and a satisfying crunch.
- Salted Caramel Stuffed Thumbprint Cookies: Salted caramel stuffed into soft and chewy sugar cookies? Yes, please! I can’t think of a better way to satisfy my sweet and salty cravings.

What is the Shelf Life of Thumbprint Cookies?
You can either store your cookies at room temperature or in the refrigerator. They will stay fresh for up to 3 days on the counter and for up to 5 in the fridge. Whether you chill them or choose not to, you should keep them in an airtight container.
Can I Freeze These?
Yes, you can freeze your unfilled thumbprint cookies if you’d like. Place them in a freezer-safe container and store them for up to 3 months. Thaw out your cookies on the counter before filling and enjoying them. They should take about 2 hours to fully thaw.
Print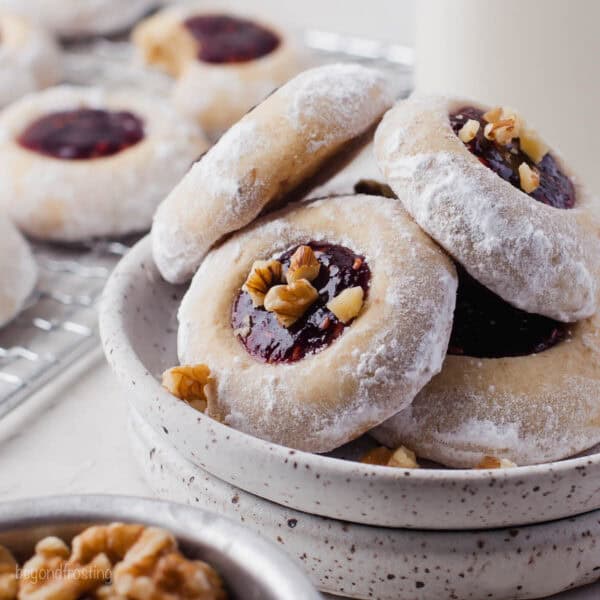
Thumbprint Cookies
- Prep Time: 30 minutes
- Cook Time: 15 minutes
- Total Time: 45 minutes
- Yield: 32
- Category: Dessert
- Method: Oven
- Cuisine: American
Description
Coated in powdered sugar and filled with your favorite jam, these soft and chewy Thumbprint Cookies are a Christmas classic! They’re easy to make and can be customized with whatever flavors you’re craving.
Ingredients
- 13 tablespoons (184g) unsalted butter- at room temperature
- ¼ cup (48g) granulated sugar
- 1 large egg
- 1 teaspoon (5ml) pure vanilla extract
- 2 ½ cups (350g) all-purpose flour
- ½ cup (65g) powdered sugar
- ½ teaspoon baking powder
- ¼ teaspoon salt
- ¾ cup (87g) ground walnuts
- ½ cup jam flavor of your choice (I recommend blackberry with raspberry jam)
- ½ cup (65g) powdered sugar (optional)
Instructions
- Preheat the oven to 350°F and line a baking sheet with parchment paper or a silicone baking mat.
- In a stand mixer, combine the butter with the sugar and beat on medium speed until well creamed together.
- Next, add the egg and vanilla extract and beat until well combined.
- Then add the remaining dry ingredients, including the nuts, and beat until the dough forms.
- Use a medium cookie scoop (1 tablespoon size), to portion out the dough, then use your hands and roll each one into a ball. Place the cookie on the baking sheet and press into the cookie to make a well using either your thumb or a round kitchen tool.
- Bake one tray at a time for 15 to 18 minutes, until the bottom is lightly golden. Remove from oven and let them cool completely.
- Either add a spoonful of jam or roll them in powdered sugar and then add the jam.
Notes
- Finely ground nuts: In order to prevent the cookie dough from cracking when you press down in the middle, be sure the nuts are finely ground up. Any large chunks of nuts tend to make the edges of the cookies crack. If you do find the edges have cracked, simply reroll them.
- To Store: Place cookies in an airtight container at room temperature or chilled. They’ll stay fresh for up to 3 days on the counter and for up to 5 in the fridge.
- To Freeze: Freeze unfilled cookies in a freezer-safe container for up to 3 months. Thaw on the counter before filling and enjoying.
Nutrition
- Serving Size: 1
- Calories: 125
- Sugar: 5.9 g
- Sodium: 23.1 mg
- Fat: 6.7 g
- Carbohydrates: 14.8 g
- Fiber: 0.5 g
- Protein: 1.7 g
- Cholesterol: 18.2 mg
More Holiday Cookie Recipes
I have too many festive cookie recipes to count, and they’re all delectable. The treats below are some of my top favorites!




These were okay, but absolutely NOT soft and chewy.