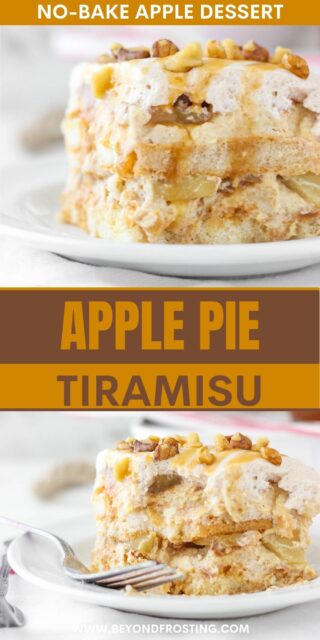
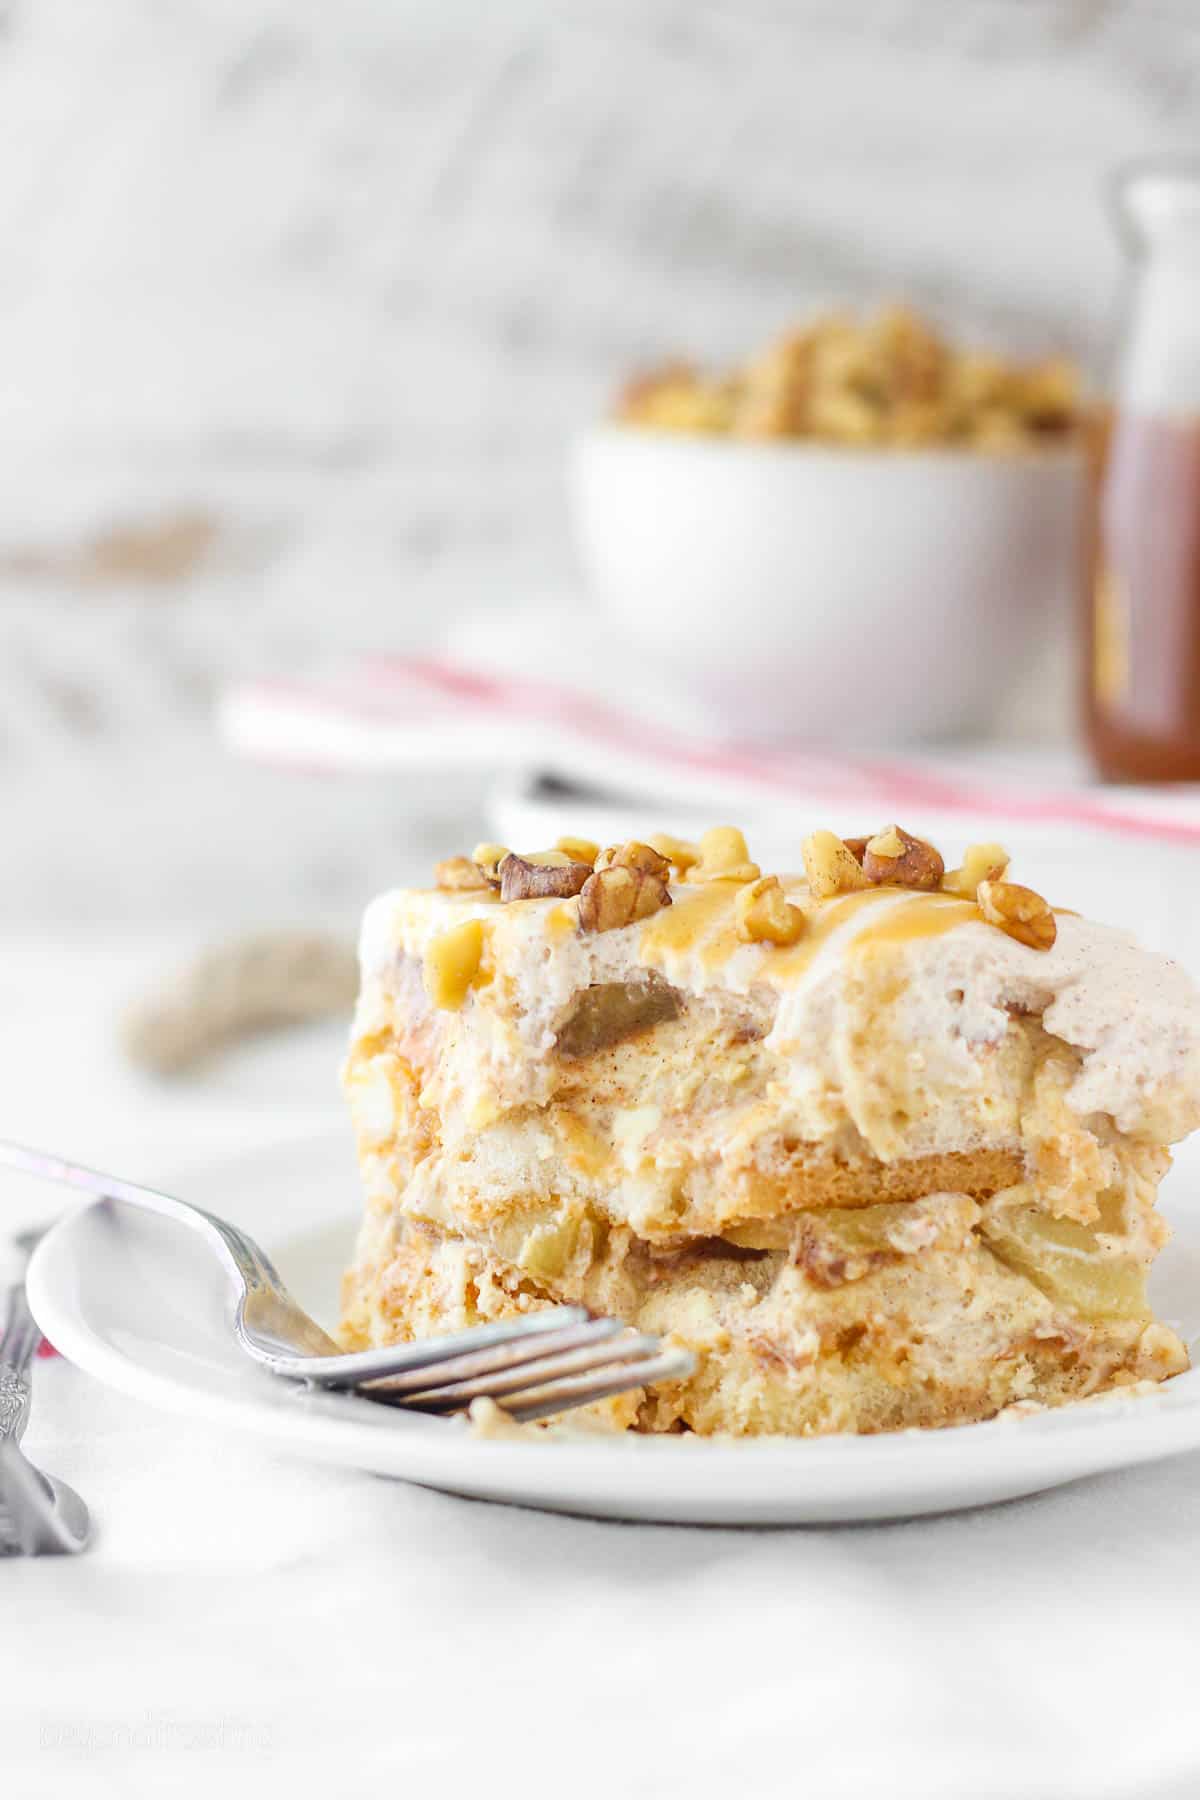
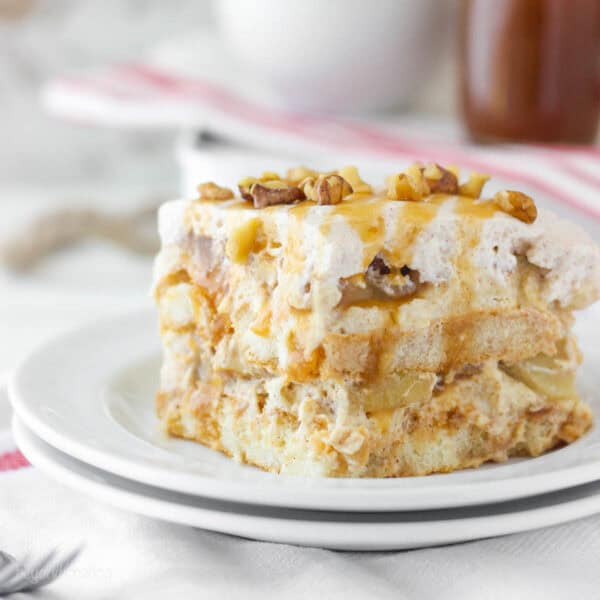
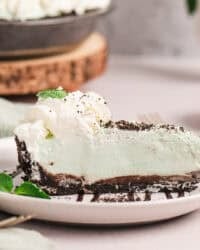
This Apple Pie Tiramisu is layered with bourbon-soaked ladyfingers, cinnamon spiced mousse, and apple pie filling. You’ll love this no-bake apple dessert, it’s perfect for fall.
Easy Apple Dessert Recipe
Calling all apple lovers!
When it comes to apple desserts, it’s really hard for me to pick a favorite. And while my Apple Pie Lasagna is a front runner, this Apple Pie Tiramisu may just surpass it.
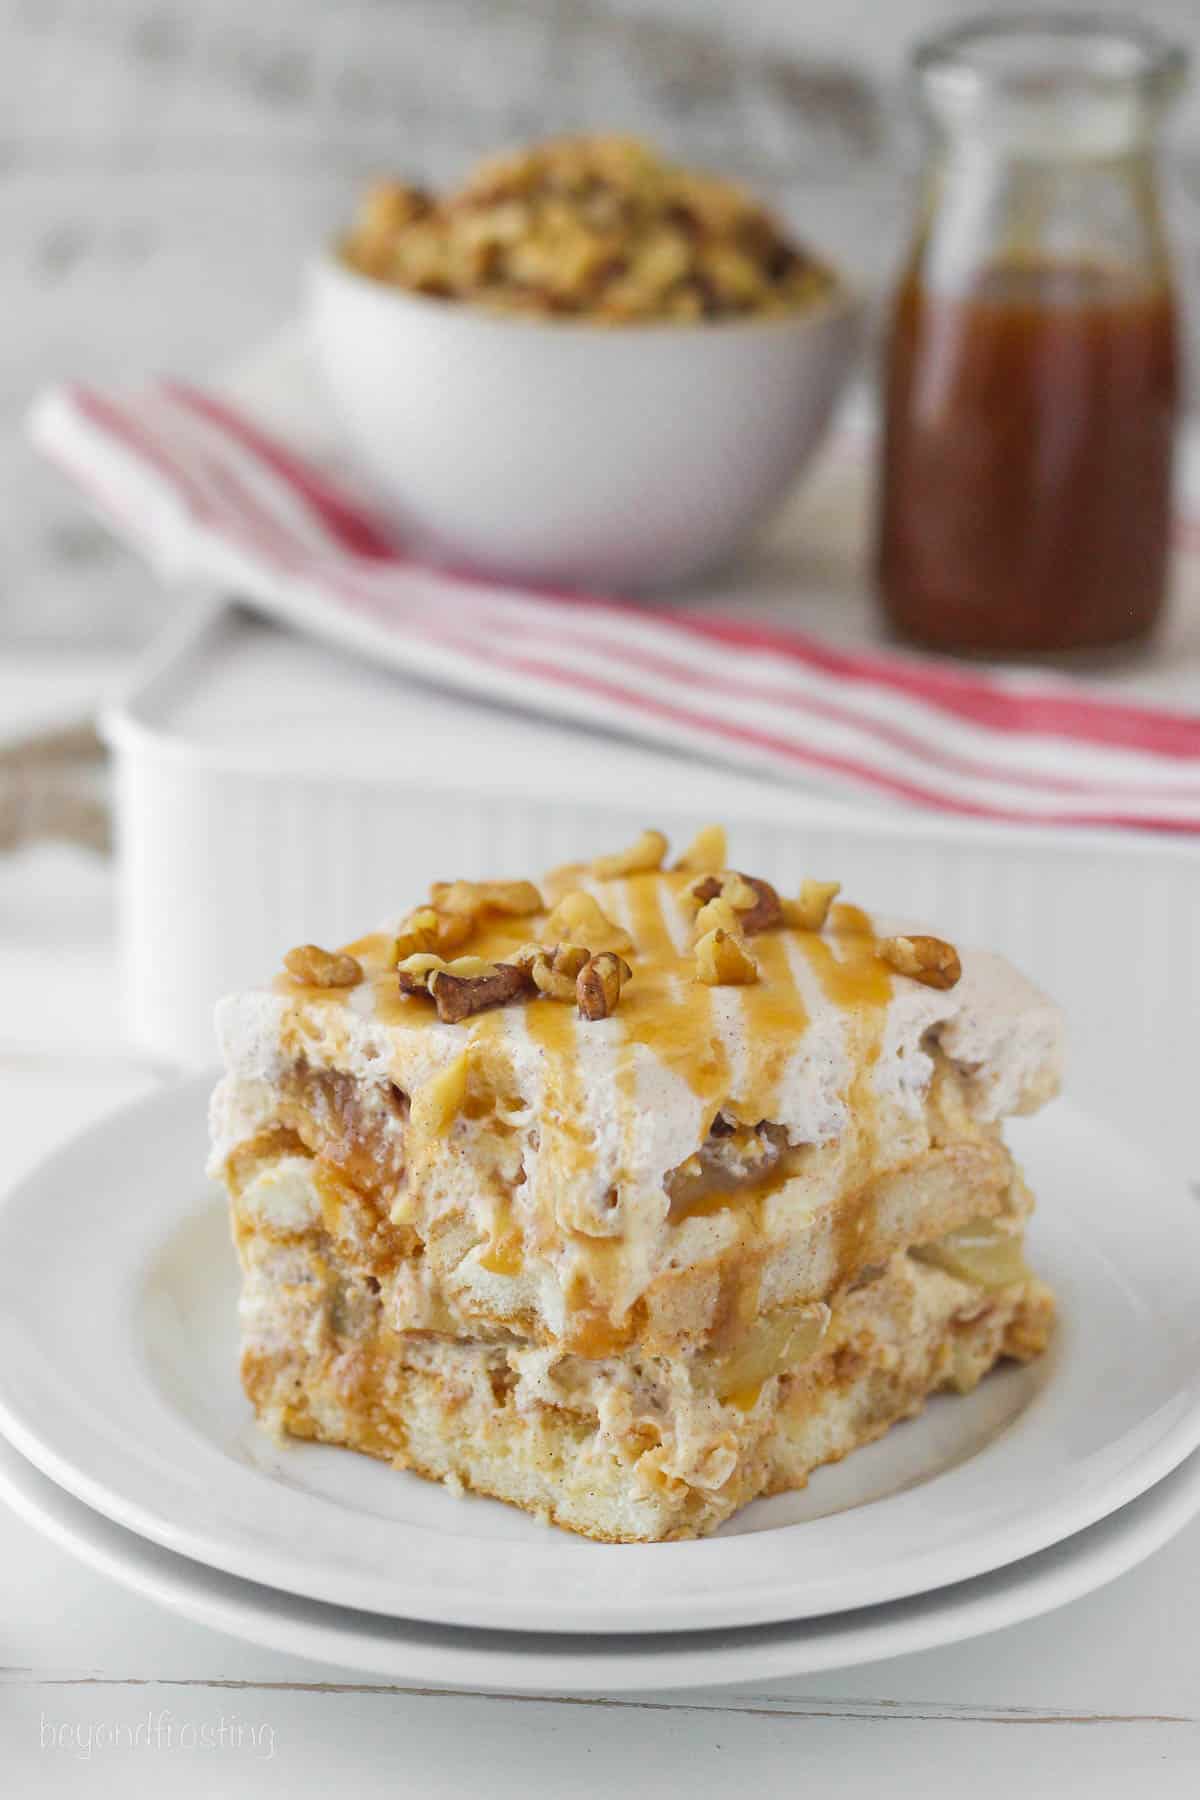
This decadent dessert is made up of layers of bourbon-soaked ladyfingers, homemade apple pie filling, cinnamon spiced mousse, and a whipped cream topping.
Does it get any better than that?
What is Apple Tiramisu Made Of?
This Apple Dessert Recipe looks and tastes a whole lot more complicated than it actually is. Here are a few notes to keep in mind as you gather your ingredients!
- Apples – I love to use Granny Smith apples because their tart flavor offsets the richness of the dessert perfectly. You can also use a combination of Granny Smith and Gala, Honeycrisp, Fuji, or Macintosh.
- Lady Fingers- you’ll want to use the firm, crunchy ladyfingers which will soften once they’re soaked in the liquid.
- Mascarpone or Cream Cheese – if you can’t find mascarpone, cream cheese is also a great option.
- Bourbon – any dark rum, brandy, or wine will work too. You can make this alcohol-free by just omitting the bourbon.
- Maple syrup, Cinnamon, and Brown Sugar- This is the dynamic trio that gives this dessert the best flavor. The recipe also calls for apple pie spice.
- Instant Vanilla Pudding- this is for the filling of the mousse.
What Can I Substitute for Mascarpone Cheese?
While mascarpone cheese is a classic for tiramisu, you can easily sub it out for cream cheese if that’s what you have available to you. It will still be delicious!
How to Make Apple Tiramisu
This delicious apple dessert is totally no-bake! Just assemble, chill, and serve!
- Make the apple filling: Slice the apples into small pieces and squeeze lemon juice over the top. Stir to combine, then mix with brown sugar, flour, maple syrup, and cinnamon. Transfer to a saucepan and cook until soft, adding water as needed. Cool completely.
- Make the pudding: In a bowl, combine vanilla pudding, cinnamon, and apple pie spice. Add whisk until the pudding mix is dissolved, then chill in the fridge until it’s set.
- Prep the whipped cream: Chill a mixing bowl and whisk attachment in the freezer for best results. Beat the heavy cream in the cold bowl until it reaches soft peaks, then add in powdered sugar and continue beating until stiff peaks form. Set that aside for later.
- Make the mousse: In a bowl, beat the cream cheese until smooth and free of lumps. Slowly add the pudding until combined, then mix in half of the whipped cream and stir until all the ingredients are combined.
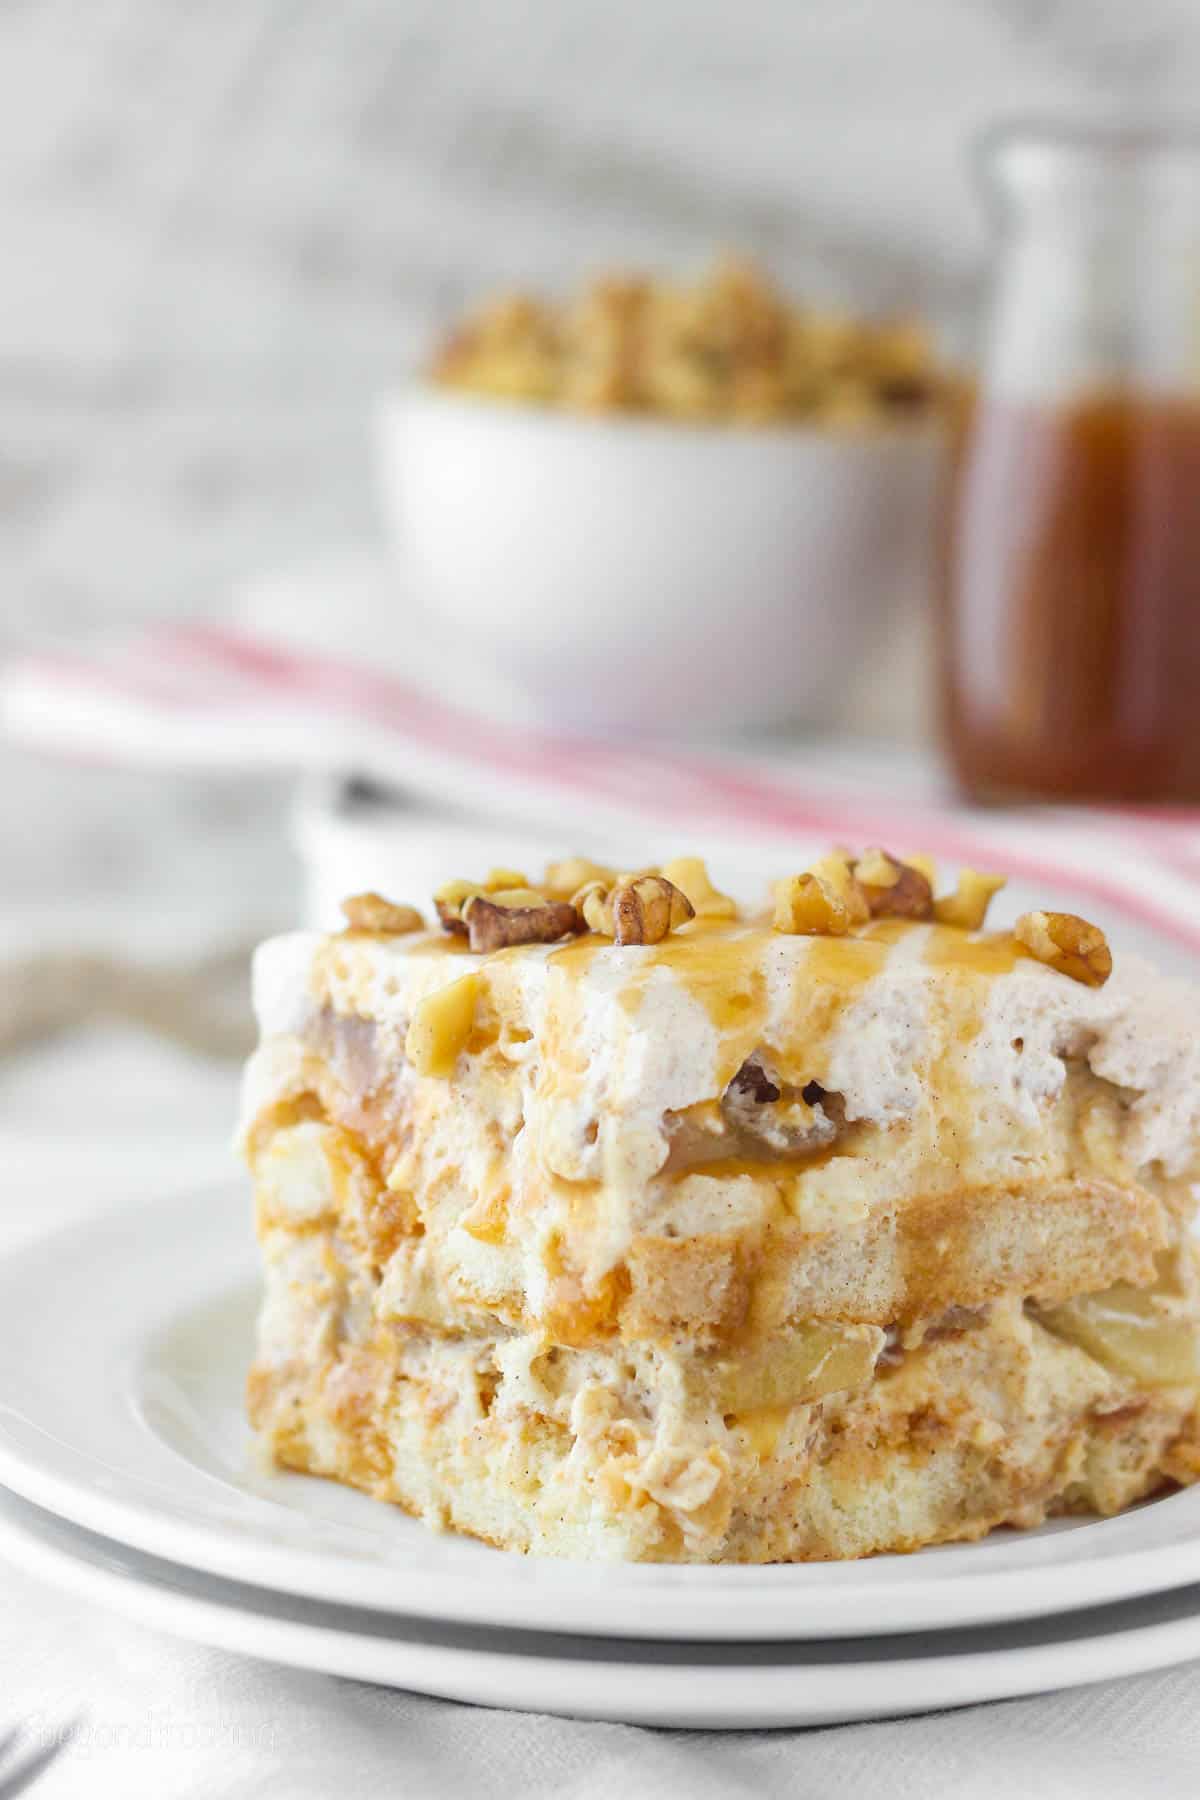
- Assemble the tiramisu: Layer a 9-inch baking dish with parchment paper. In a bowl, mix together milk and bourbon, then dip each ladyfinger into the liquid. Lay the ladyfingers on the bottom of the pan, then drizzle with caramel sauce. Next, layer on half of the mousse and 1 1/4 cups of apple pie filling. Repeat all of the layers again, then top with the remaining whipped cream
- Chill and serve: Chill for at least 1 hour in the refridfgerator. Right before serving, drizzle extra caramel on top and sprinkle with walnuts or toffee.
Recipe Tips and Notes
- Cut the apples similar in size. Slice the apples similar in size so they cook evenly. I prefer them to be about the size of a dime.
- Dip the ladyfingers quickly. Ladyfingers soak liquid up really fast, so dunk them quickly, then pull them out. We don’t want them to get too soggy and fall apart before you line them in the pan.
- Cut the ladyfingers. If needed, I recommend cutting the ladyfingers to completely cover the bottom of the pan.
- Alcohol substitutions: You can swap the bourbon out for any dark rum, brandy, or even wine. You can also leave the alcohol out entirely if preferred.
Does Tiramisu Need to Be Refrigerated?
Yes! Tiramisu will last for 2-3 days in the fridge.
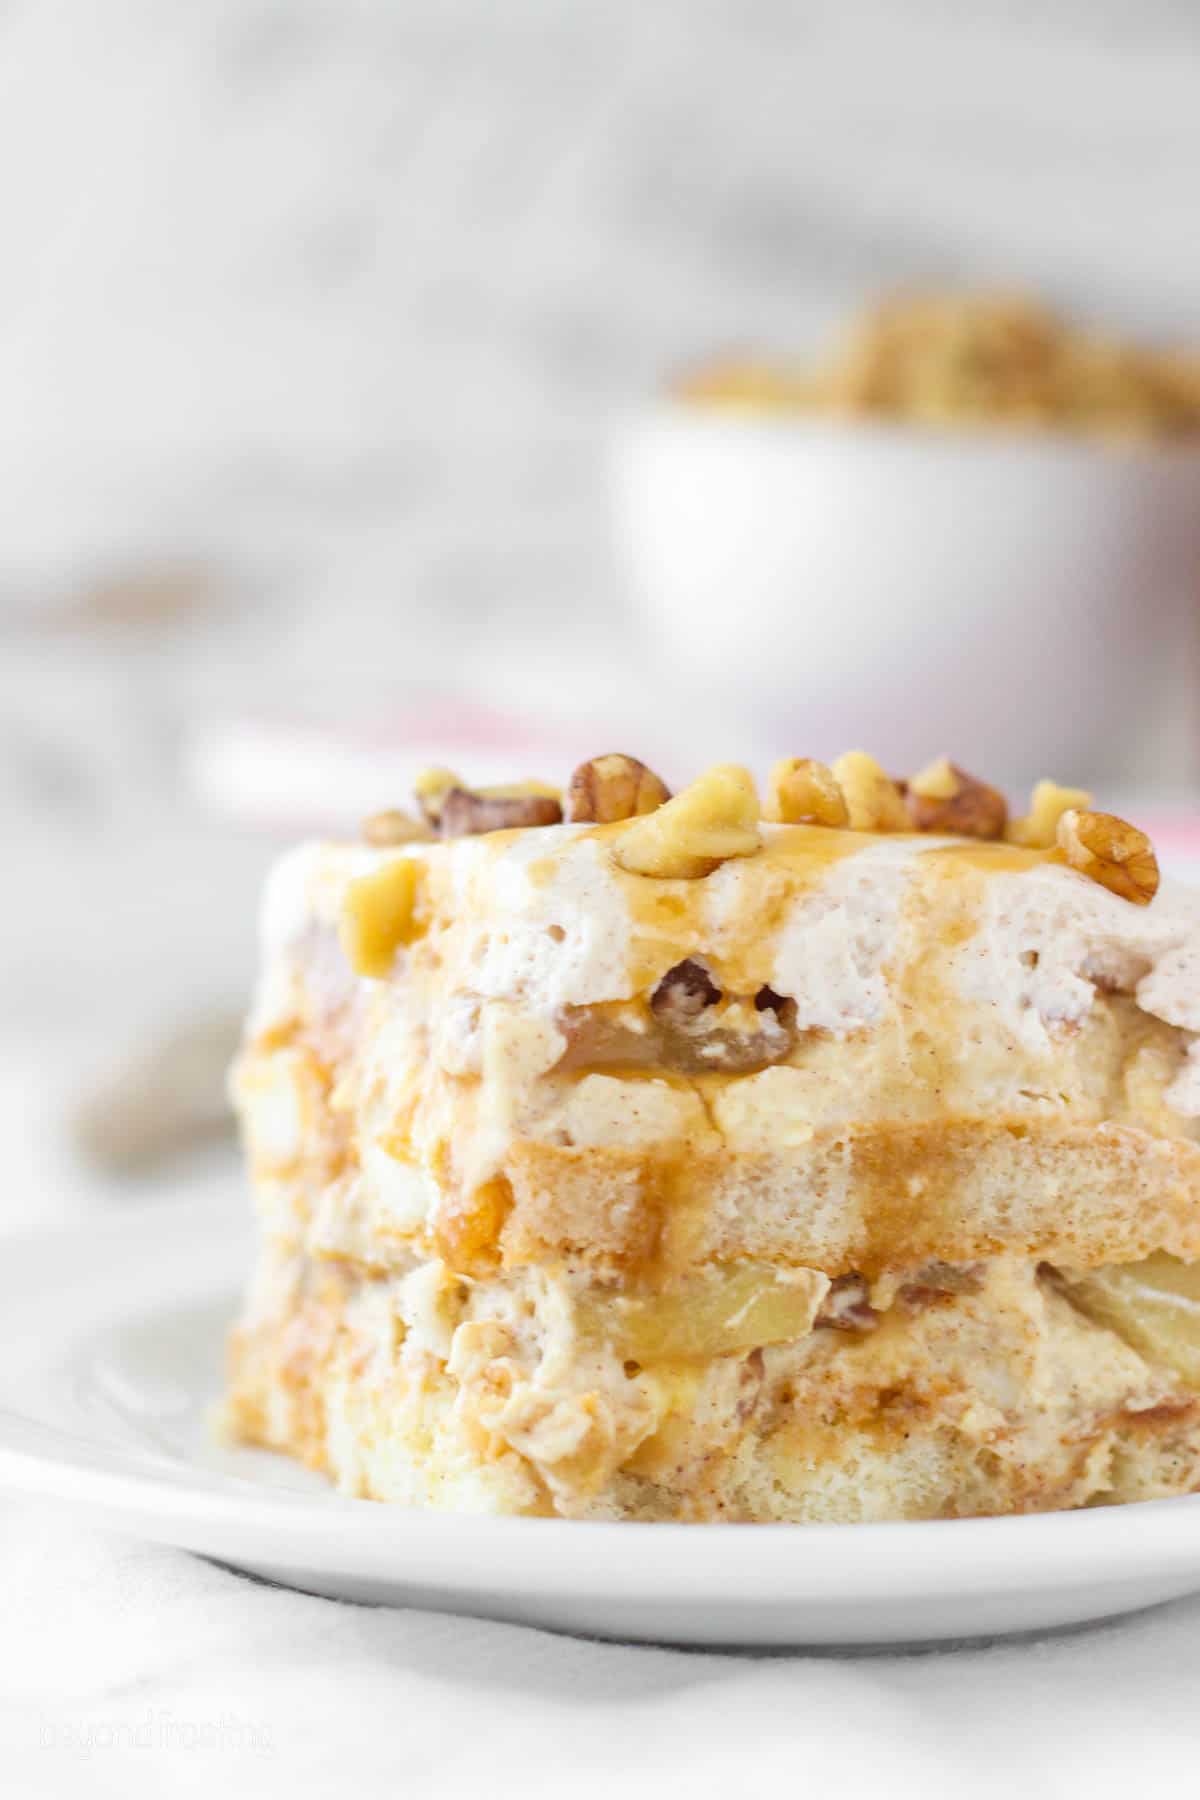
And the good news is it gets even better as it sits! The ladyfingers soften up even more and take on a cake-like texture while all of the flavors meld together.
More Apple Recipes You’ll Love
Apple Pie Tiramisu
- Prep Time: 45 minutes
- Chill Time: 1 hour
- Cook Time: 15 minute
- Total Time: 2 hours
- Yield: 9-12 slices
- Category: Dessert
- Method: No-Bake
- Cuisine: American
Description
This Apple Pie Tiramisu is layered with bourbon-soaked ladyfingers, spiced mousse, apple pie spiced whip, and apple pie filling.
Ingredients
For the Apple Filling
- 3 Medium granny smith apples, finely diced
- Juice from 1/2 fresh lemon
- 2 tablespoons Pure maple syrup
- 2 tablespoons Light brown sugar
- 1 tablespoon All-purpose flour
- 1 teaspoon Ground cinnamon
For the Mousse:
- 1 pkg (3.4oz) Instant vanilla pudding
- 1 teaspoon Ground cinnamon
- 1 teaspoon Apple pie spice
- 1 ¾ Cups Milk
- 1 ¼ Cups Heavy whipping cream
- ¾ cup Powdered sugar
- 8 oz Cream cheese or mascarpone cheese at room temperature
For the Tiramisu
- 4 tablespoons Milk
- 4 tablespoons Bourbon
- 2 pkg (7oz) Ladyfingers
- 1/4 cup Caramel sauce
- Walnuts for garnish (optional)
Instructions
For the Apple Filling
- Dice apples into small pieces, about the size of a dime and squeeze half a lemon over top and stir to combine. Add the brown sugar, flour, maple syrup and cinnamon over top of apples. Stir to mix ingredients.
- Heat apples on the stove over medium heat for 15-20 minutes until soft. Stir occasionally and add 1-2 teaspoons of water if the mixture sticks to the pan. Cook until the apples are soft. Cool completely.
For the Mousse:
- In a medium-sized bowl, combine vanilla pudding with cinnamon and 1 teaspoon apple pie spice, whisk together. Add milk and whisk until pudding mix is dissolved. Refrigerate 10-15 minutes until firm.
- Prepare the whipped cream. Pour the heavy whipping cream into the chilled bowl and use an electric mixer to beat the heavy cream on high speed until stiff peaks form. Add the powdered sugar and continue beating on high speed until stiff peaks form. Set the whipped cream aside.
- Best the cream cheese on medium-high speed for 2-3 minutes, scraping down the bowl occasionally. Slowly add the pudding to the cream cheese, and beat together to eliminate any lumps in the cream cheese. Scrape the bowl occasionally. Next, add half the whipped cream and gently mix until well combined.
To Assemble
- Layer the bottom of a 9x9x2 inch pan with parchment paper. In a shallow bowl, combine milk and bourbon and mix together. Dip each ladyfinger in the liquid and align them on the bottom of the pan. Drizzle with caramel sauce. Cut the ladyfingers to fit if necessary.
- Layer half the mousse on top of the lady fingers and spread evenly. Add 1 ¼ cups of apple pie filling and spread across the mousse, gently pressing it in.
- Repeat the above steps, dipping lady fingers in liquid to create the third layer and drizzle with caramel. Spread remaining mousse and apple pie filling. Top the tiramisu with remaining whipped cream.
- Chill for at least 1 hour. Right before serving, drizzle with the remaining caramel and sprinkle with walnuts or toffee.
Notes
- Ladyfingers: Be sure to by the crunchy ladyfingers, not soft ones. I find mine at Whole Foods.
- Storing: Tiramisu will last for 2-3 days in the fridge. You can prepare up to 24 hours in advance.
- Alcohol-free: To make this dessert alcohol-free, replace the bourbon with milk.
Nutrition
- Serving Size: 1 slice
- Calories: 416
- Sugar: 43.3 g
- Sodium: 276.9 mg
- Fat: 16.8 g
- Carbohydrates: 58.8 g
- Fiber: 2.6 g
- Protein: 5.8 g
- Cholesterol: 75.7 mg


This looks amazing. I just have 2 questions. 1. How long in advance can I make this? 2. What would you suggest instead of bourbon?
Hi Crista, you can make this up to 2 days in advance. For an alcohol-free option, try it with Apple cider or just skip it altogether and double the milk. Or try a spiced rum
When you layer the tiramisu, is there a layer of soaked lady fingers and caramel under the whipped cream on the top, or is the whipped cream spread over the apple mixture from the 2nd level?
Here are the layers in order: ladyfingers & caramel, mousse & apple filling, ladyfingers &caramel, mousse & apple filling, and then whipped cream on top
Can’t wait to make this. Do you think Calvados can be used instead of Bourbon?
I’ve never had Calvados but I think it would be fine!
I made this last night for a “different” Thanksgiving dessert. Of course I had to sample it before tomorrow! It is absolutely delicious. The mousse has the perfect texture and the perfect hint of apple pie flavor. The lady fingers are decadent. My one and only critique is that I needed more apple pie filling! I used 4 large apples cut into small pieces and it was only enough for one layer (and a little bit of the second layer) I ended up using 3 more apples. No big deal at all, though! This is one DELICIOUS, different, and amazing dessert! Thanks so much for sharing it!!
This looks so good! I want to make 2, on for the family and one to keep all to myself!
This looks just amazing. I love all things tiramisu and totally agree–fresh ladyfingers are the only way to go!
Delicious! I need to make this for my husband… Yum!
Oh my gosh, this looks absolutely amazing! What a brilliant idea for a fun spin on Tiramisu! So perfect for fall too!
Love this fall twist on a delicious stand by!
My mom and I were just playing a game to name the most apple treats. Looks like I have a new one to contribute 😉 This looks so scrumptious!
You had me at bourbon soaked ladyfingers. Then you said apples and cream and mascarpone and I about died! 🙂
Love this and all the other fall lasagnas/shortcakes etc listed at the bottom
You have no idea how badly I want a slice of this tiramisu right now! Wowza!
Pretty much pure genius, Julianne! Adding apple pie filling to tiramisu is the bee’s knees!