Easy DIY Snowman Cupcakes make adorable centerpieces for your holiday table! Plus, feel free to get creative and change the colors or flavors.
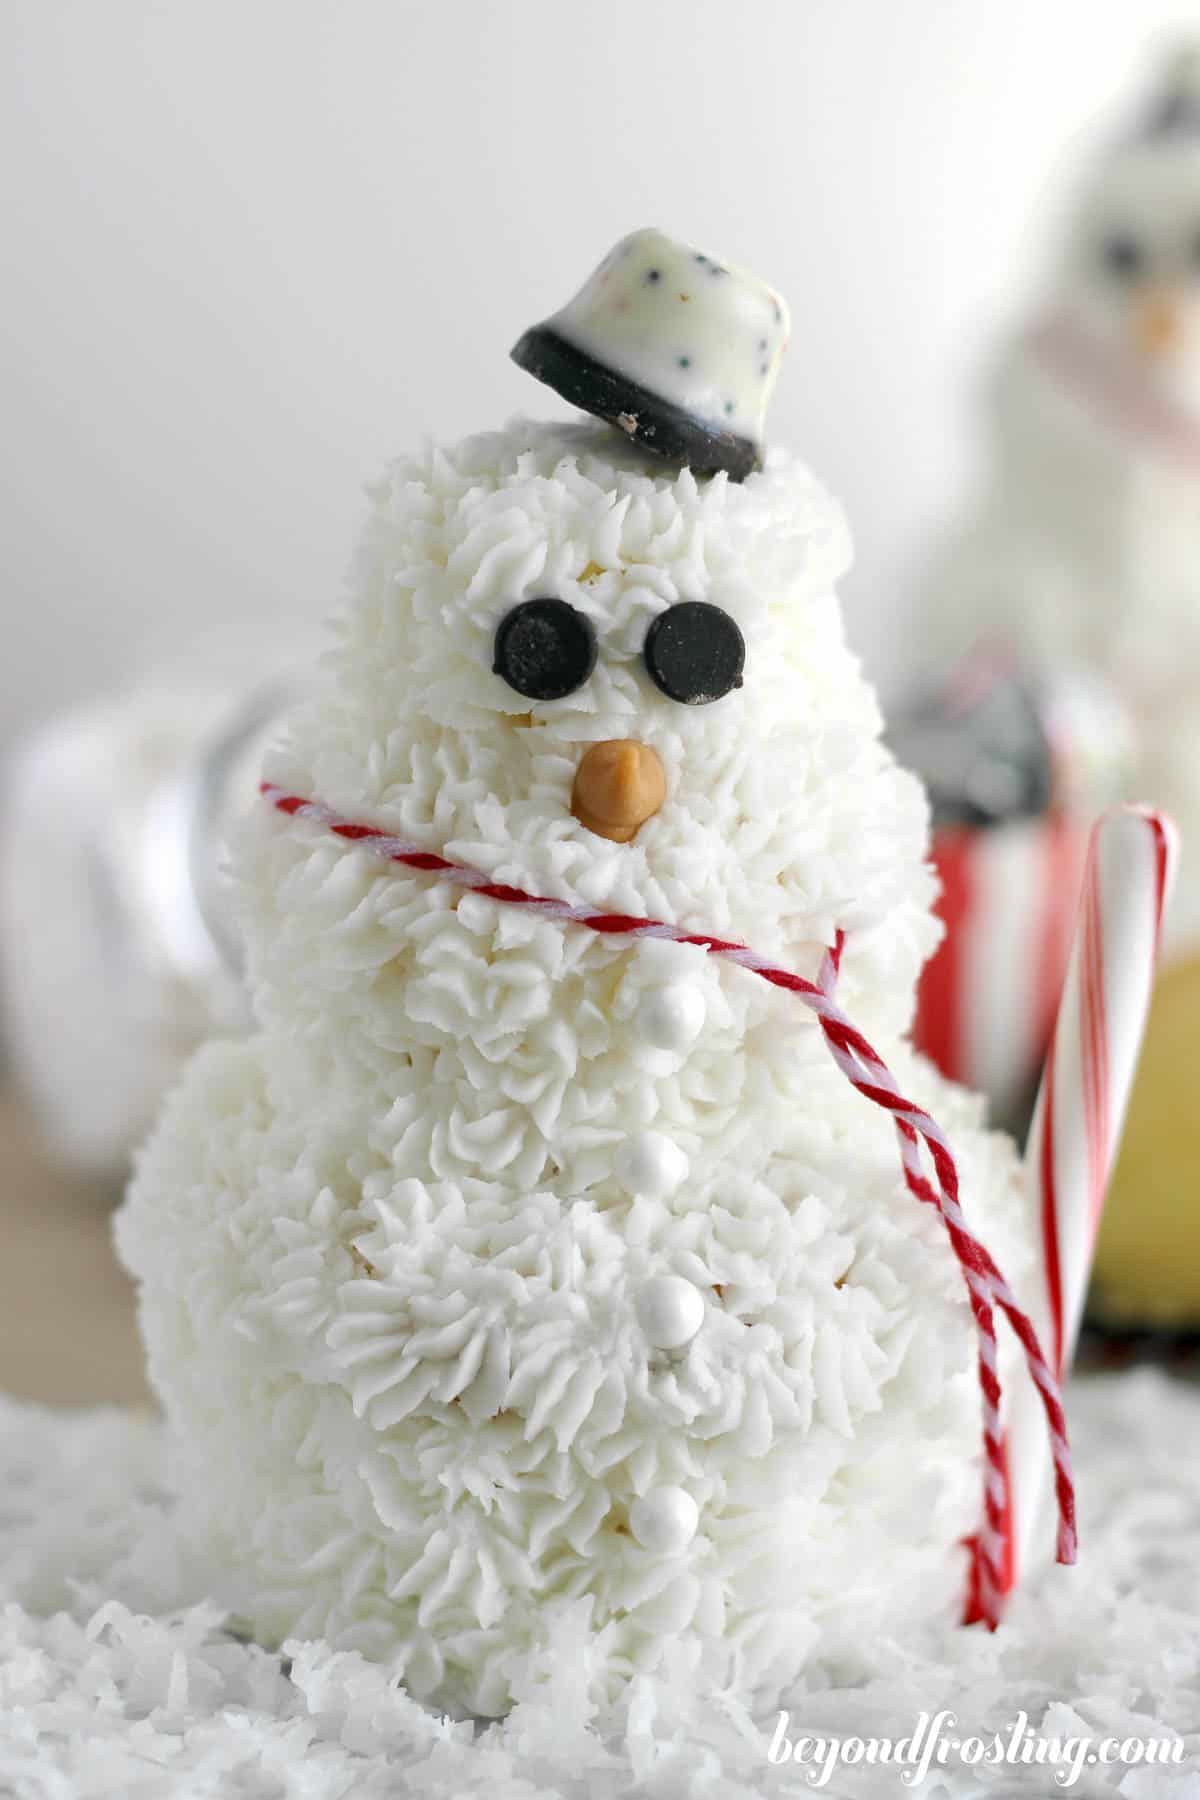
Snowman Cupcakes Make a Great Holiday Centerpiece
Sigh, vacation is over and back to work tomorrow. I think I need a day of vacation to recover from my vacation. We had so much fun in Colorado! We skied for seven days, ate tons of food and tried to catch up on a little sleep! Good news is, Christmas is just a couple short weeks away!
Well I guess that could be good or bad. It seems like this year has just flown by and I am sure December will be no different. This is my favorite type of year because people seem to be so joyful. I love everything about the holidays: baking, spending time with family, decorating the house and giving to others!
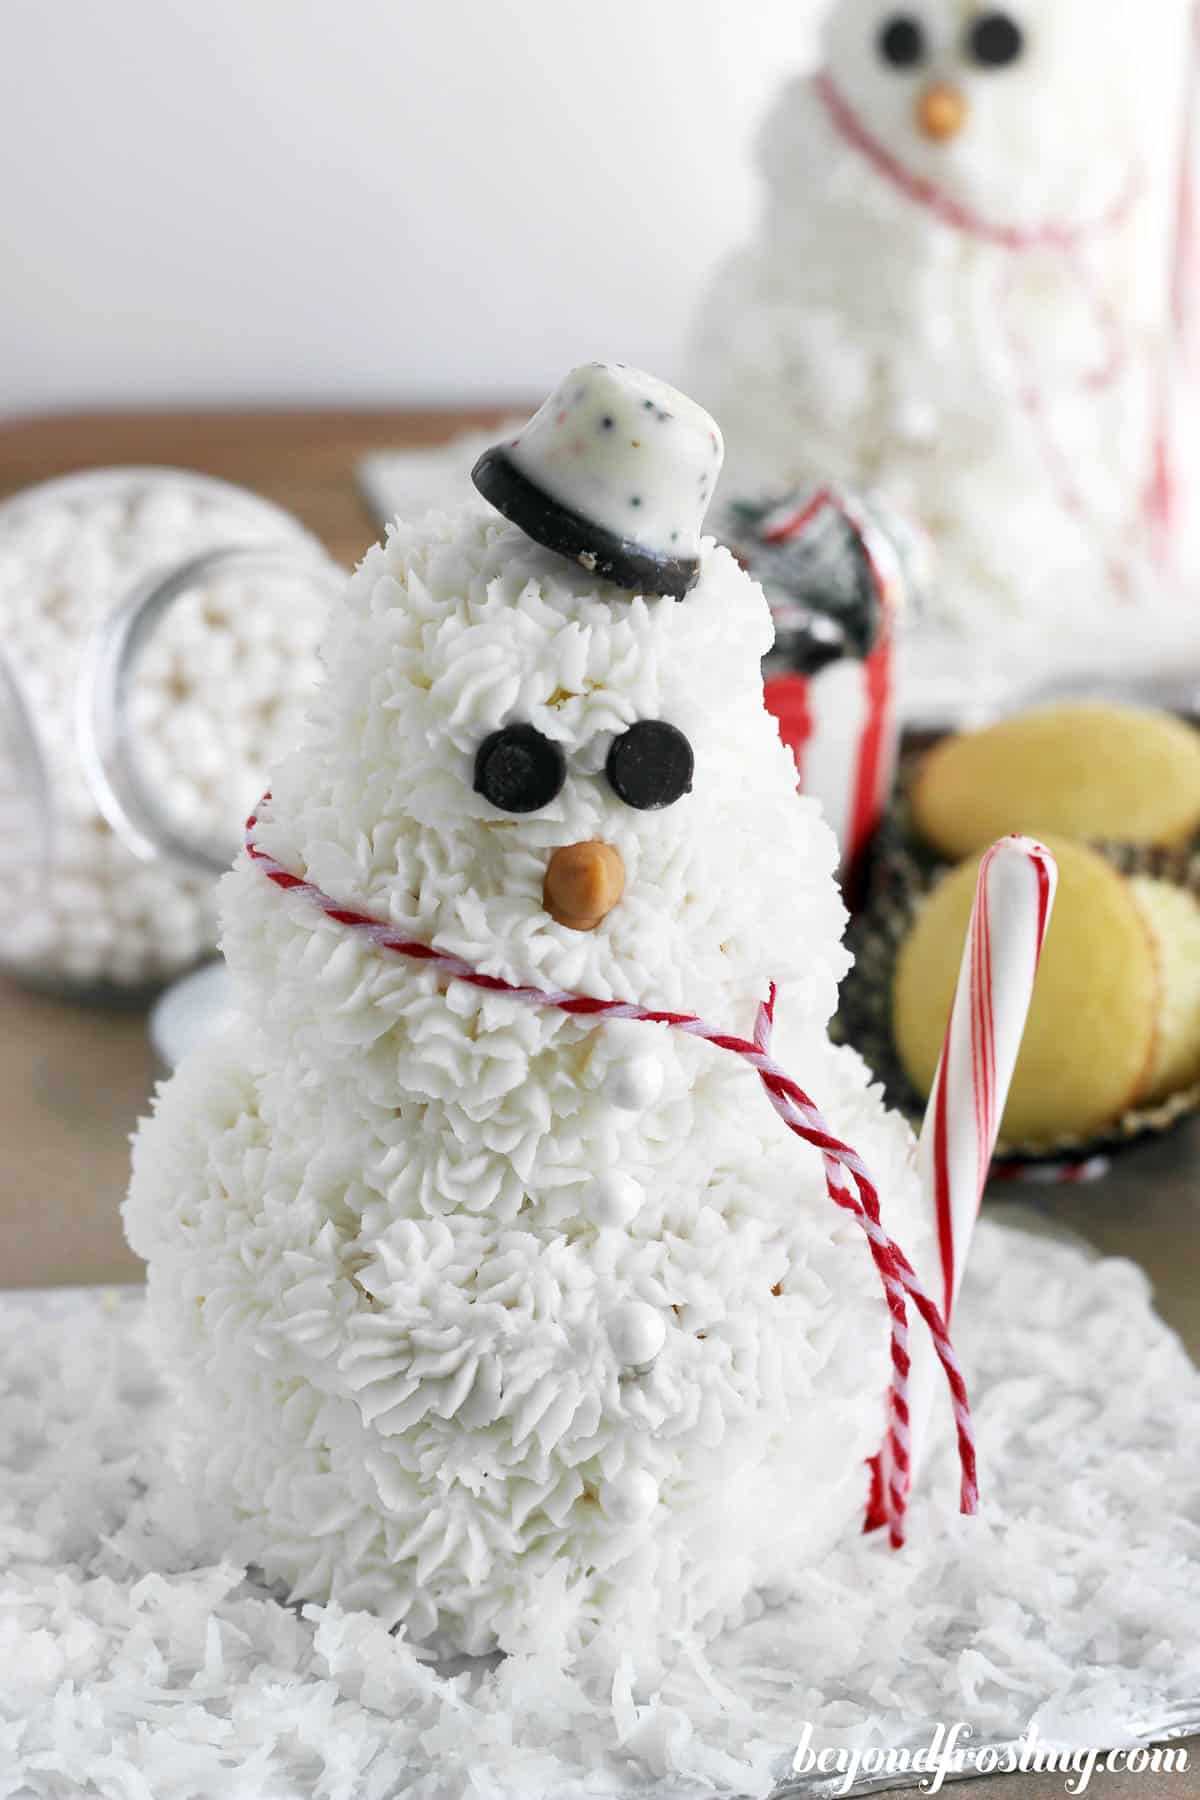
Another thing I love is seeing all the creative desserts that my fellow bloggers come up with! Snowman, reindeers, Santa’s, you name it! I have had this idea in my head for quite some time. I love cupcakes because they are so versatile. Whether or not it is a different frosting flavor, a different piping tip or a few sprinkles, cupcakes are so beautiful. I decided to take 3 different size cupcakes and build them into a snowman! These are more for decoration than they are for eating, but they certainly can be consumed. I think these would just make the cutest centerpieces for your holiday table. They are actually fairy easy to put together, it just takes a little bit of time to pipe the frosting. Follow along on the tutorial below!
Tools You’ll Need
- Stiff cardboard pieces
- Tin Foil
- Scissors
- Rubber bands
- Large serrated knife
- Butter knife
- Extra long toothpicks (skewers)
- Red string
- Piping bags
- Wilton 21 tip
- A turntable is helpful if you have it
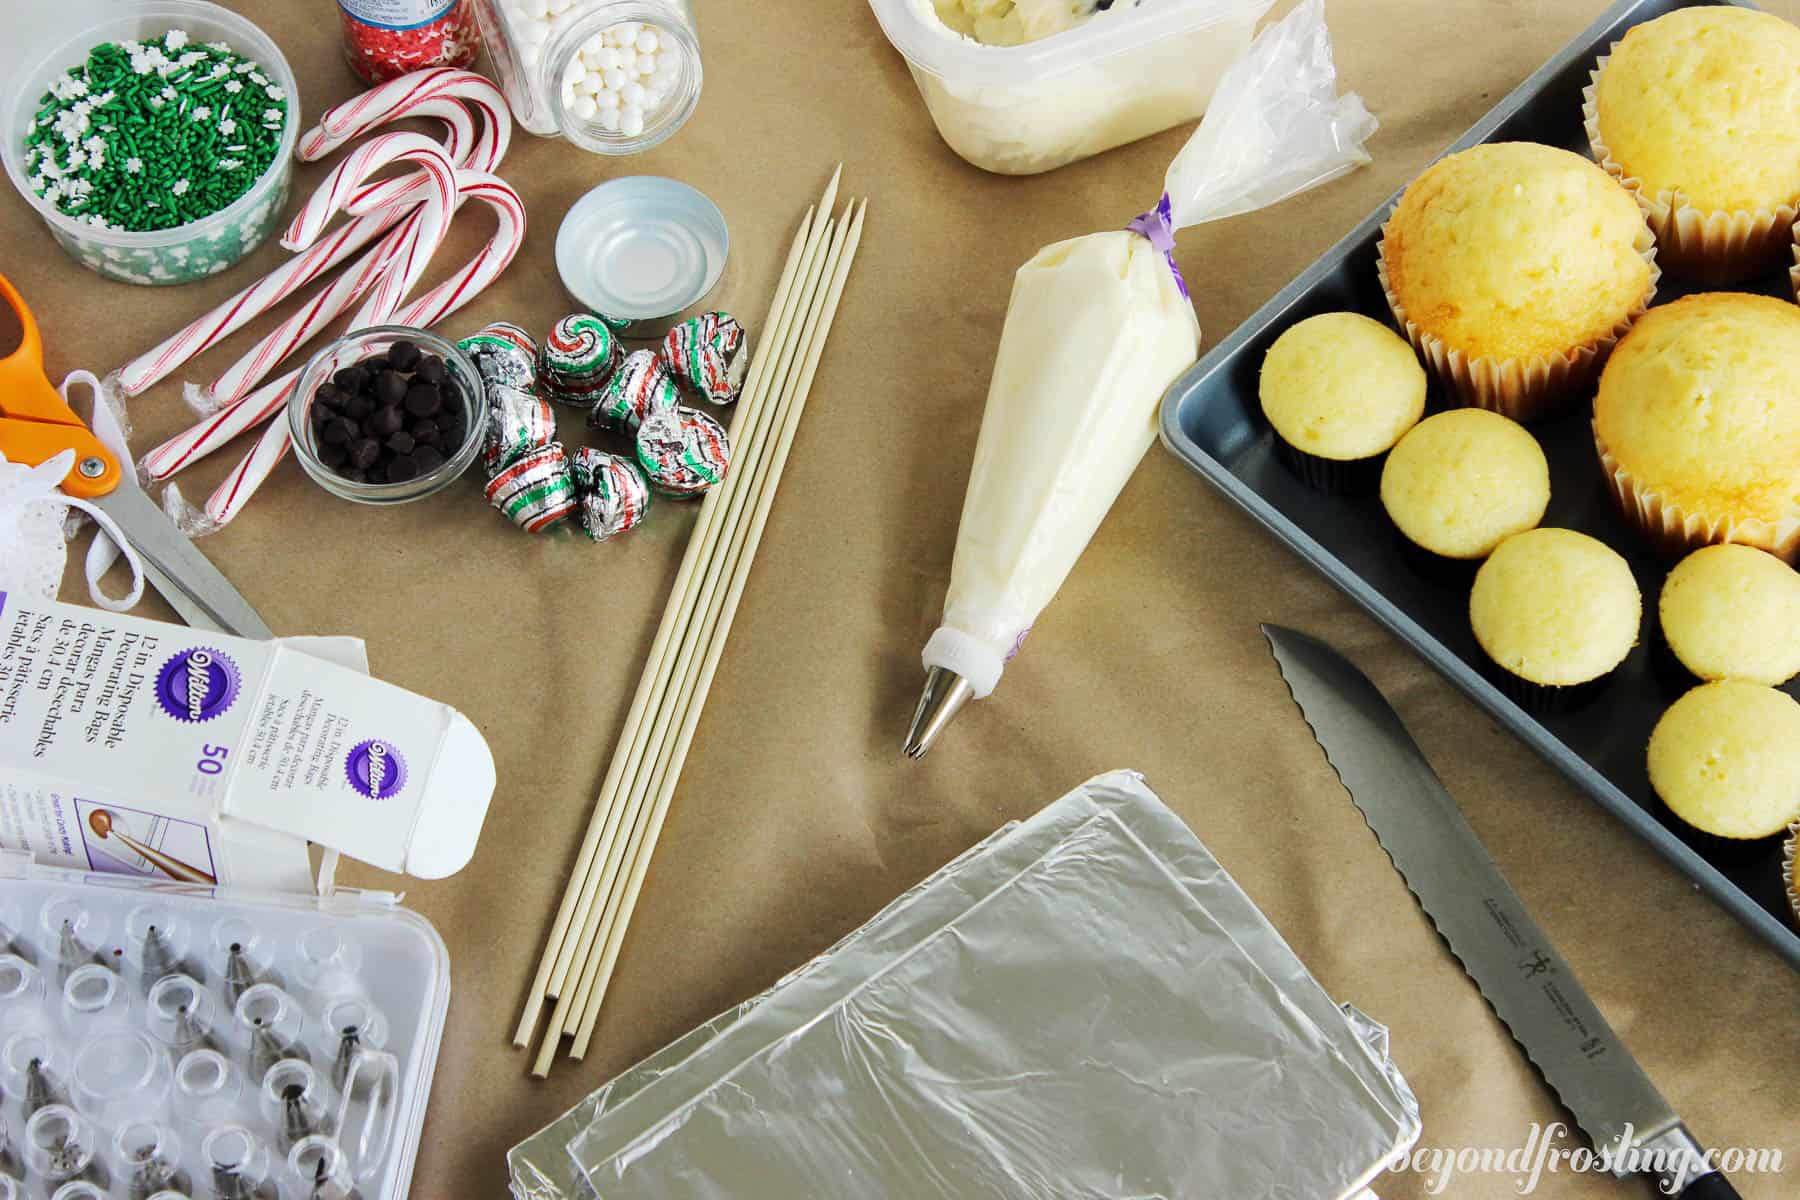
Cupcake Decorating Ingredients
- A batch of Cupcakes (see below)
- A batch of decorator’s buttercream (see below)
- Shredded Coconut
- Sprinkles
- Chocolate chips
- Butterscotch chips – for the nose
- Candy Canes
- Other items for decorating
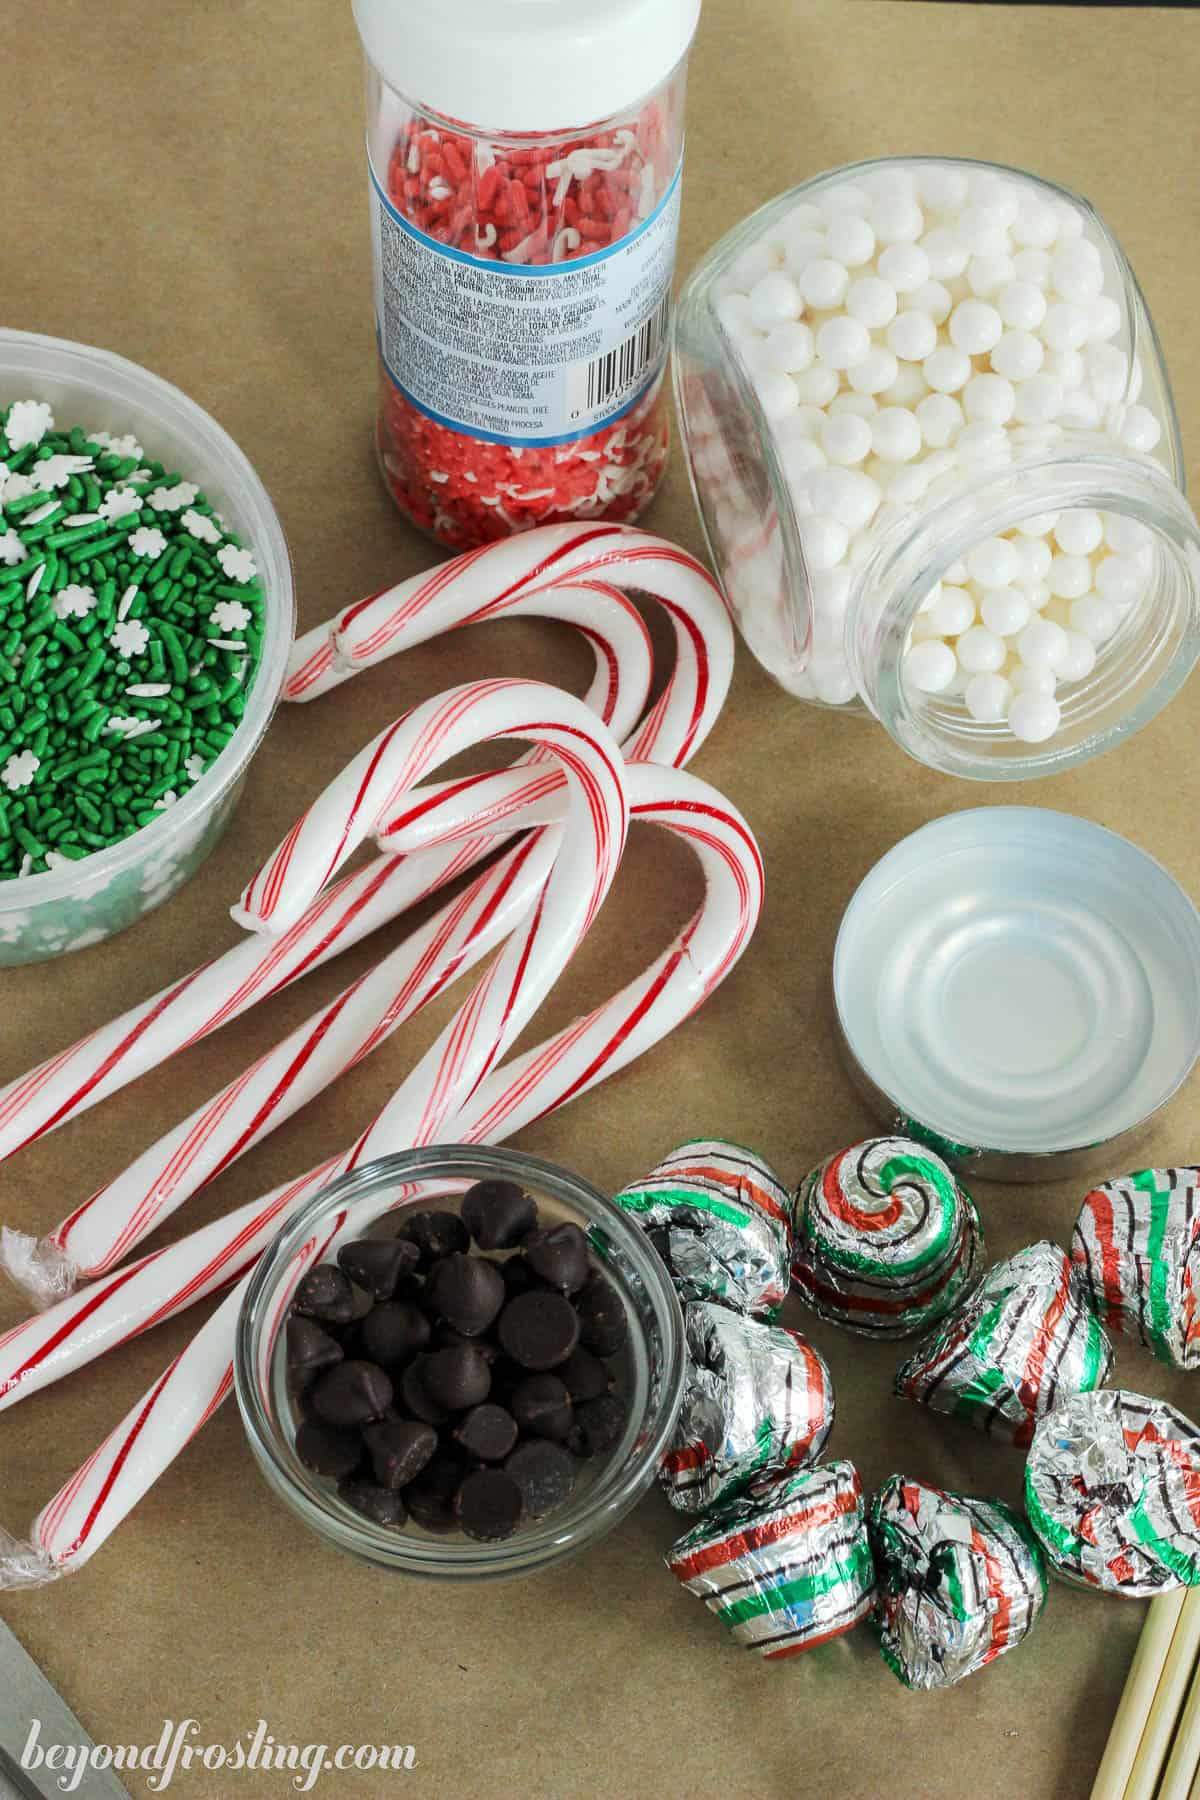
Step 1: Prepare The Cupcakes
I suggest you use a vanilla or yellow cake cupcake recipe so it doesn’t show through as much under the frosting. Prepare a box mix by adding ingredients as labeled on the box. Preheat your oven to 350°. You will need 3 sizes of cupcake pans: mini, regular and jumbo plus the liners for each. One box recipe makes enough cupcakes to make 5 snowmen. Divide your batter up as follows and follow baking instructions for each size.
- Jumbo cupcakes- ½ cup of batter each, 5 cupcakes. Bake for 18-22 minutes.
- Regular cupcakes- 3 tbsp of batter each (2/3 full), 6 cupcakes. Bake for 12-15 minutes.
- Mini cupcakes- 1 tbsp of batter each (3/4 full), 7 cupcakes. Bake for 9-12 minutes.
Check your cupcakes for doneness by inserting a toothpick in the middle. If the toothpick comes out clean, your cupcakes are done. Allow cupcakes to cool completely. For more information about baking in different size cupcake pans, you can see my tips here.
Step 2: Prepare The frosting
I used the Wilton Decorator buttercream which is a Crisco based frosting with a little bit of meringue powder for the frosting. This frosting will actually hold for a couple days because there is very little dairy product in the recipe. The meringue powder helps keep a stiff consistency and helps the frosting dry quicker.
Click here for the decorator’s buttercream recipe. These are the alterations I made to this recipe: 2 tsp vanilla extract, 4 tablespoon of milk and omit the salt.
The meringue powder can be purchased at your local craft store, but it is not necessary for the recipe. You can add additional milk to thin out the frosting, but note that you do want a pretty stiff frosting for this recipe.
Please note that I did try to make with a traditional vanilla buttercream using butter instead of Crisco as the base, but it was not stiff enough and I noticed the buttercream started to melt. I do not recommend using a butter based frosting.
Step 3: Build The Structure
- Start by making your based. Cut out thick cardboard squares and wrap in tin foil.
- Take one of each cupcake, large, medium and mini. Cut the dome off each one so there is a flat surface on top. Remove the liner from each cupcake.
- Put a dollop of frosting on the base to help “glue” the cupcake to the base. Start with the largest cupcake on the bottom. Put a dollop of frosting on top for the next layer.
- Place the medium size cupcake on top of the large one. Put a dollop of frosting on top for the next layer.
- Place the mini cupcake, upside down so that the bottom of the cupcake is actually the top of the head.
- Take an extra large toothpick (skewer) and measure the height of your cupcakes, trim the skewer down so that it goes all the way through the cupcakes without poking out the top.
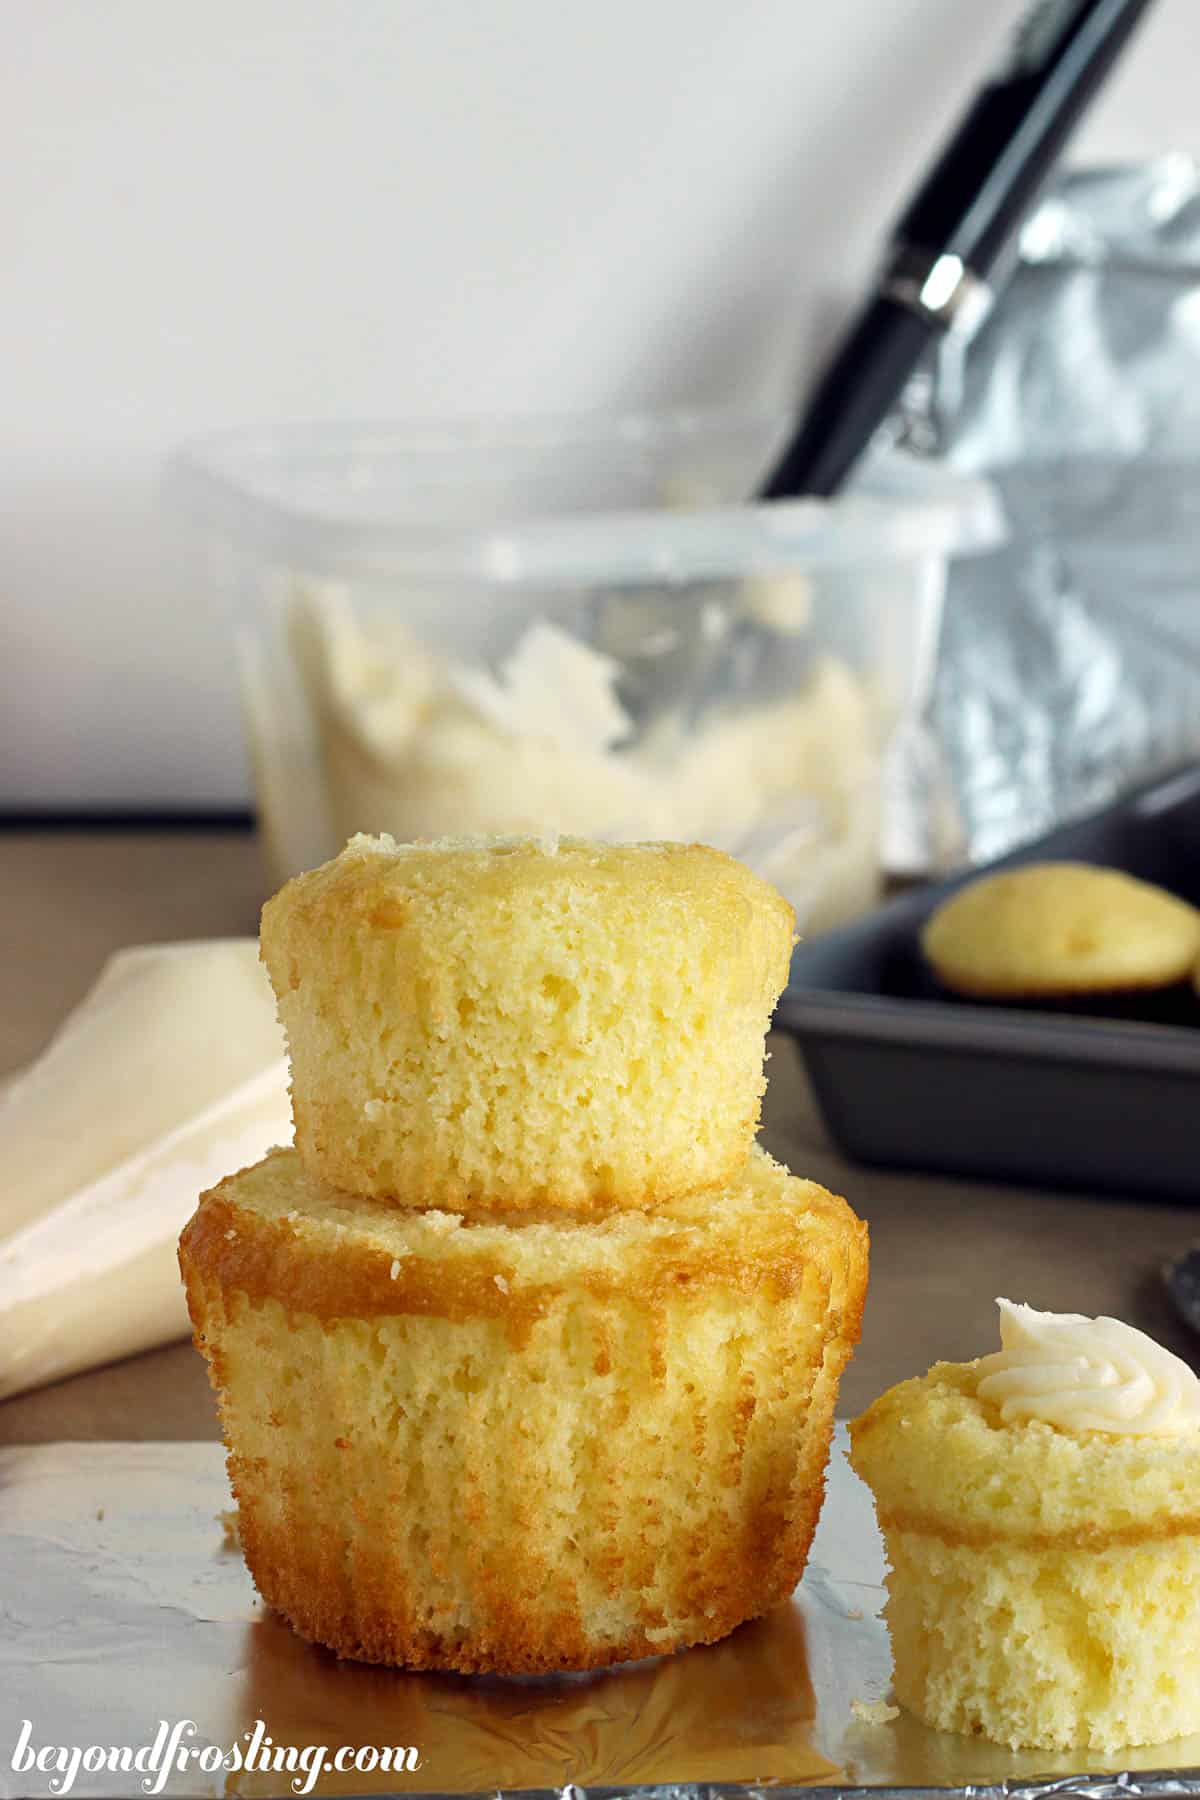
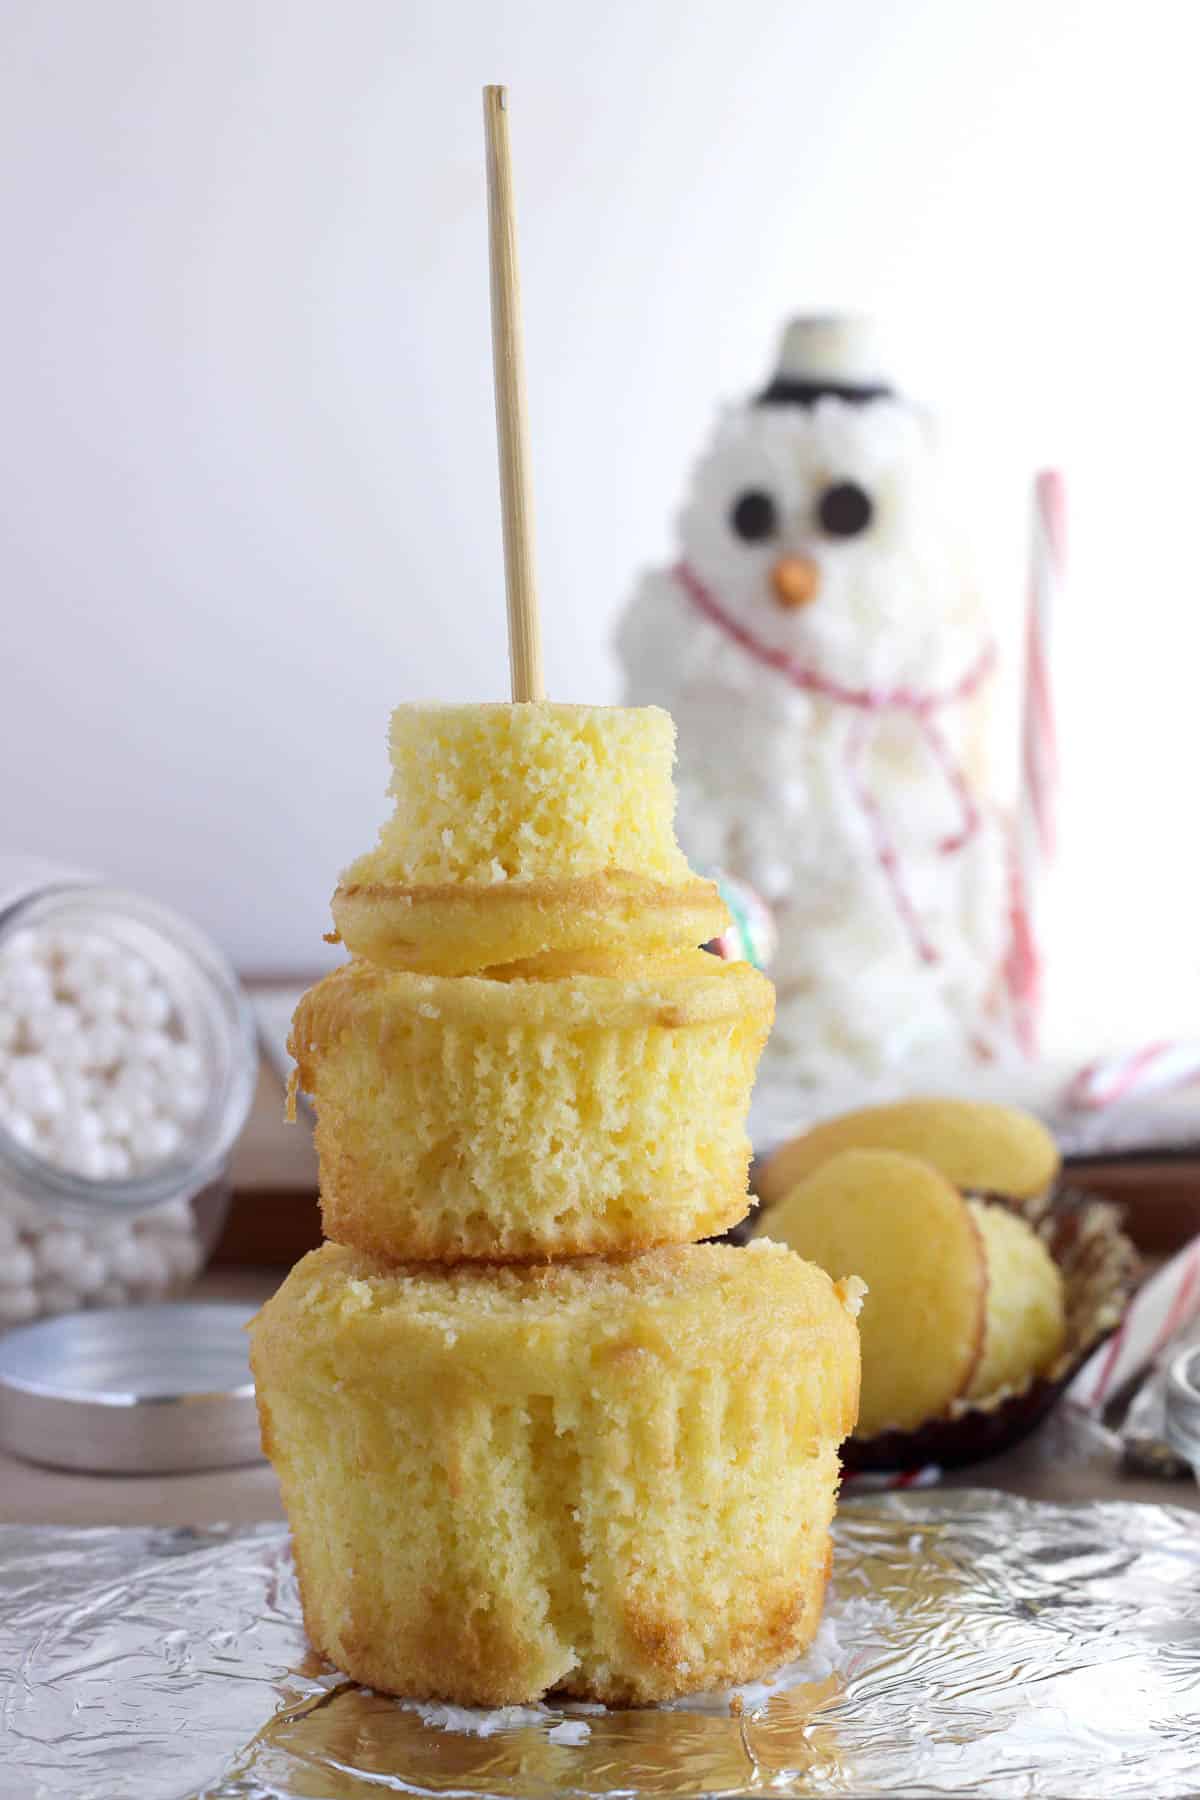
Step 4: Pipe The Cupcakes
For this project, I used a large piping bag with a Wilton 21 tip. If you don’t have a 21 tip, you can use an 18 or larger. Any type of star tip will work. I tied off the end of my piping bag with a rubber band to help keep it closed and just slid the rubber band down the bag as I used the frosting.
It is best to pipe from the base up- starting around the bottom edge. Pipe the stars close together to avoid any holes. Point the piping bag at a 90 degree angle, squeeze gently and pull away to create the star. Pipe all the way up the cupcake.
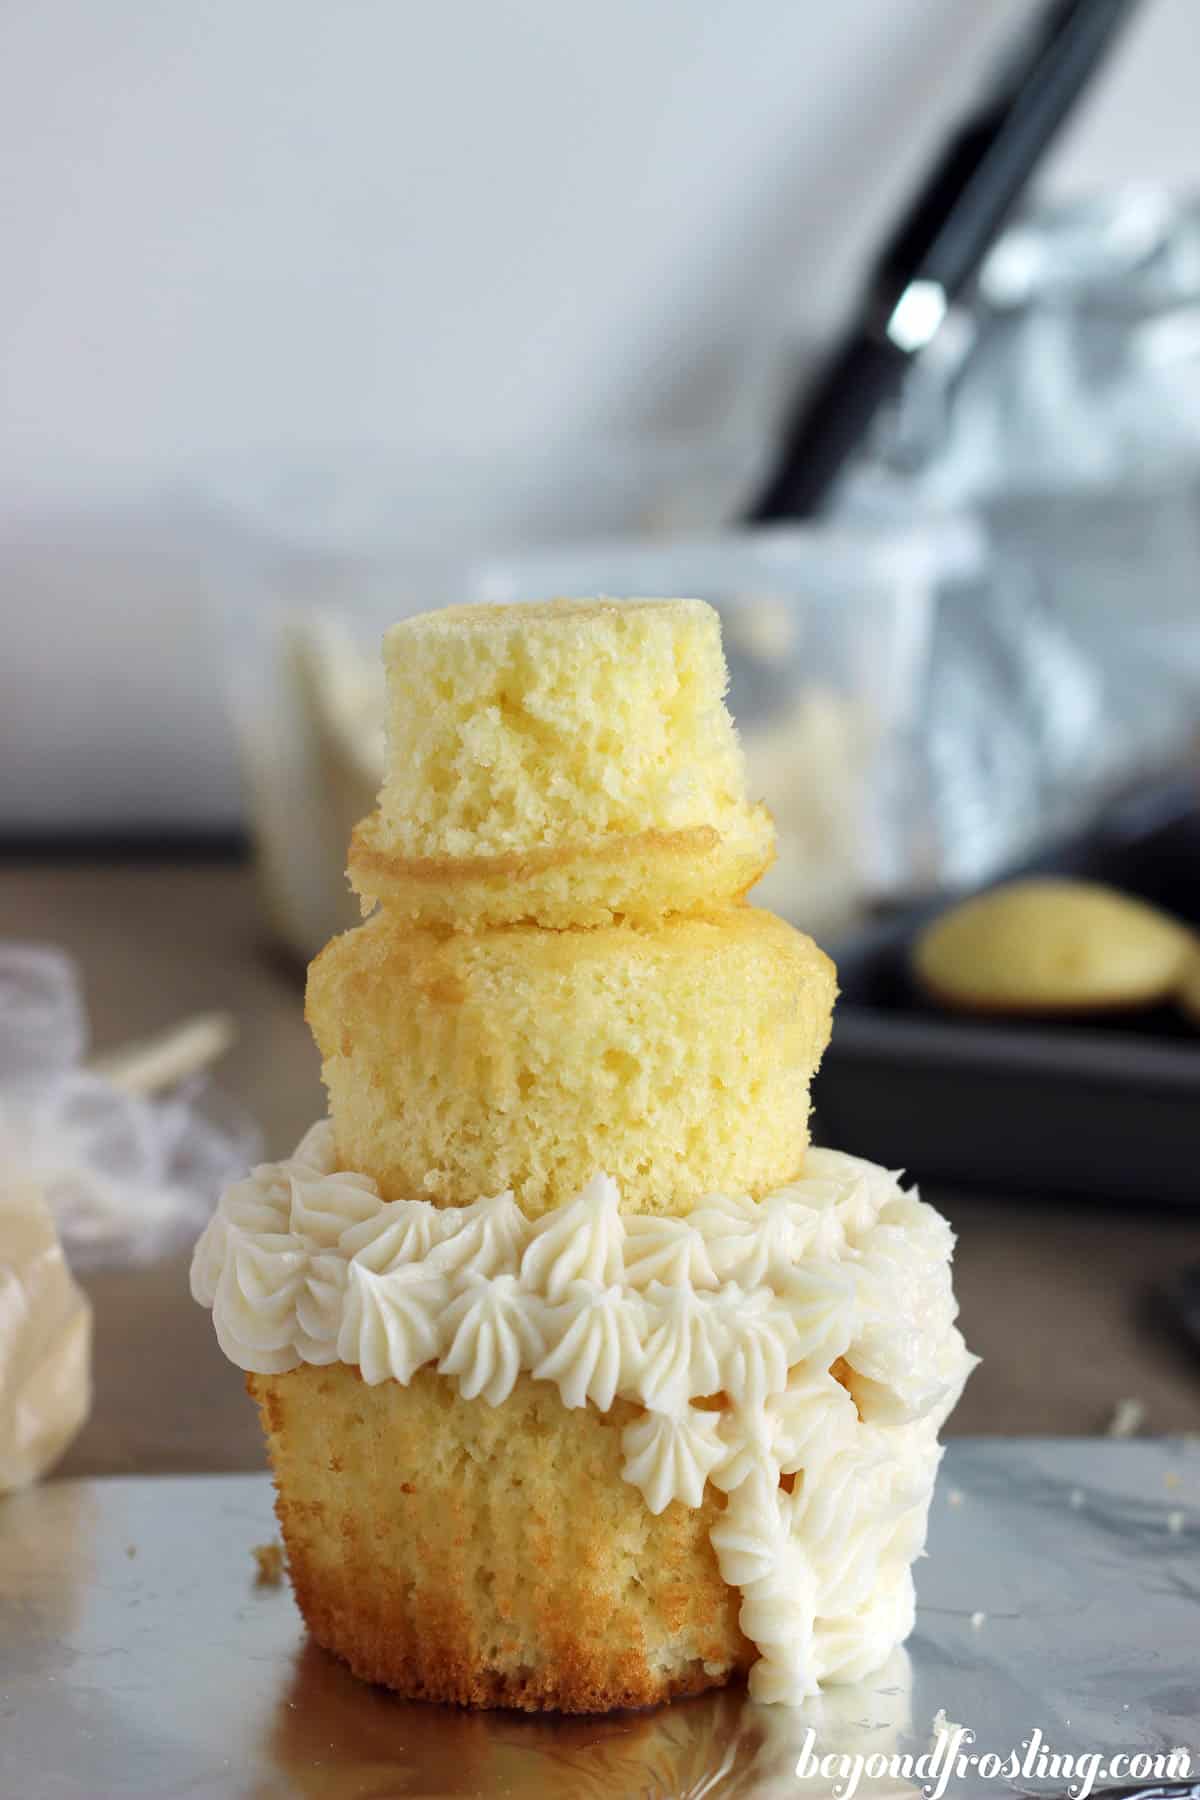
Step 5: Decorate The Snowman
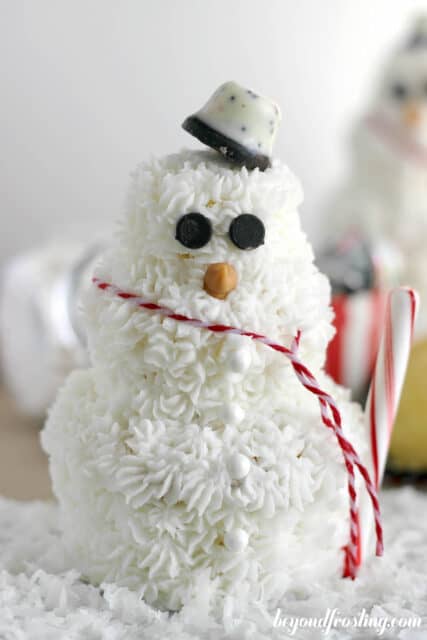
This is the fun part! You can use whatever you have laying around your house, but here is what I used to decorate. I spread a little bit of frosting around the base and covered it in shredded coconut.For the hat, I used some Peppermint Bells. For the eyes, I used chocolate chips with the point pushed into the cupcakes. For the nose, I used a butterscotch chip with the flat back pushed into the face. For the scarf I used a red piece of baking twine. For the buttons, I used some large decorating pearls. And then I put the bottom of a candy cane at his side. You can really use anything you want to decorate these snowman! Let you kids get creative, maybe even dye some buttercream in a different color to use to pipe on the buttons or the eyes. If you are not eating them, they will last 3-5 days.

This is just the most adorable sweet ever – I am in love with this! 🙂 Thank you SO much for joining us and sharing at Best of the Weekend!! You made a snowman lover very happy with this cutie! Pinning and sharing – have a merry and happy Monday and a wonderful week!
Thank you Cindy!
This is awesome! Im all for three cupcakes in one! And they are so cute!
Thanks for sharing at the Life of the Party! Im going to feature this tomorrow in an “Easy Homemade Christmas Desserts” roundup!
Thanks Kelley!
Wow, i’m so glad I found this. Super fun and creative. Can’t wait to try this out!
Hi Jessica!Thank you for stopping by!
He’s absolutely adorable! My name is Katie and I host Fall Into the Holidays, now open. All entries get pinned. I would love to have you link up!
Hi Katie! Thank you!
I love this snowman so much! You have great timing…we are featuring snowmen this Sunday at our Inspiration Monday party! So happy you linked up. Hope to see you there-Julie redheadcandecorate.com
Adorable and festive! Thanks for sharing.
Thank you!
These are so so cute!! And so creative. Fun and festive for the holidays. I really love these!
Thank you Beth!
3 cupcakes in 1?!!!! YES PLEASE! These are so cute!
Hi Tahny! Thank you! I hope you had a great Thanksgiving!
I love, love, love, Frosty !!!!!!!