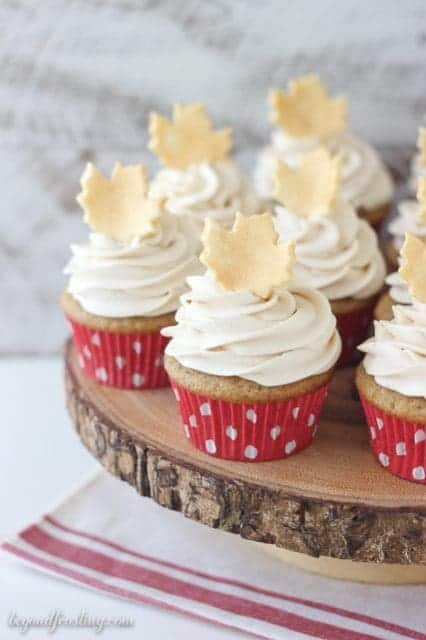
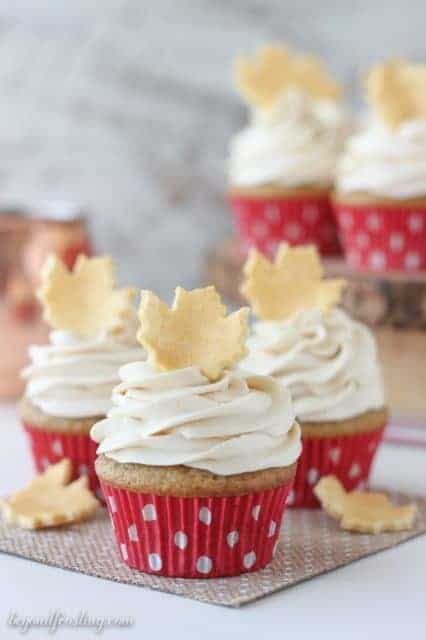
This Gold Fondant Leaf Cupcake Toppers are the perfect way to impress your friends with this homemade garnish.
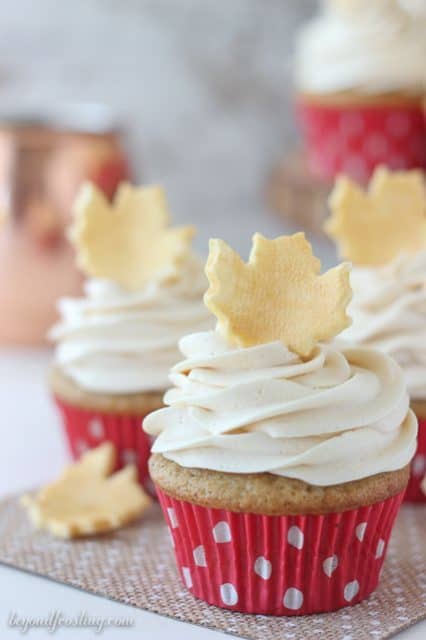
I’ve got a little something different to share with you today! Sometimes cupcakes need a little pizzazz, and recently I’ve been a huge fan of all things gold. These Fondant Leaf Cupcake Toppers are quite easy, you just needs a few tools and a little bit of time. Stay tuned on Friday, I will be sharing the cupcake recipe!
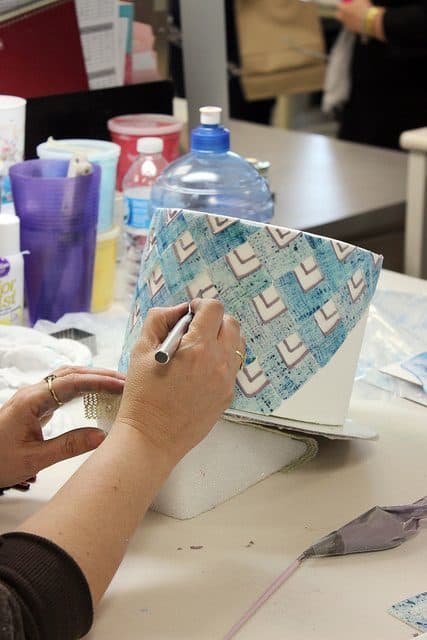
I first saw this burlap fondant roller when I visited the Wilton Headquarters back in April for the Sweet Up event. They were working on this Denim Chevron Cake in the top secret decorating room. I knew I wanted to try something with this technique for a cupcake topper. Fall seemed like the perfect time to try it out.
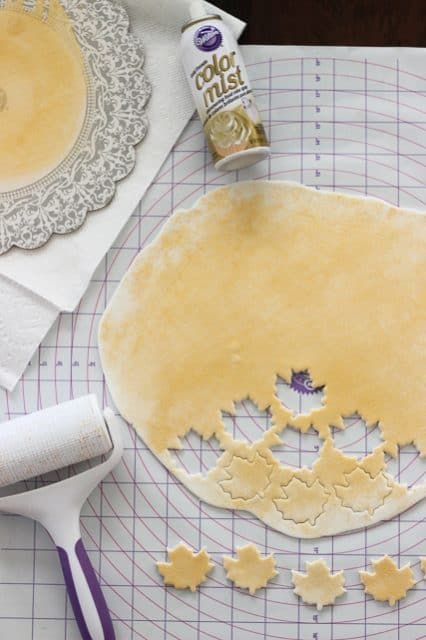
When working with fondant, it is important that you have the right tools. I happen to own a fondant mat, which I purchased years ago during my Wilton Decorating classes, and I also have a fondant rolling pin. This is really helpful because I know the rolling pin is grease free. I only use it for fondant and keep it tucked away with my other tools. If you don’t have a mat, a large piece of parchment paper will work as well.
While I have tried to make my own fondant, I much prefer the Wilton Decorator’s Fondant. It is soft like play dough and easy to work with. You can easily add color to it using the gel colors, but it also comes in a variety of colors.
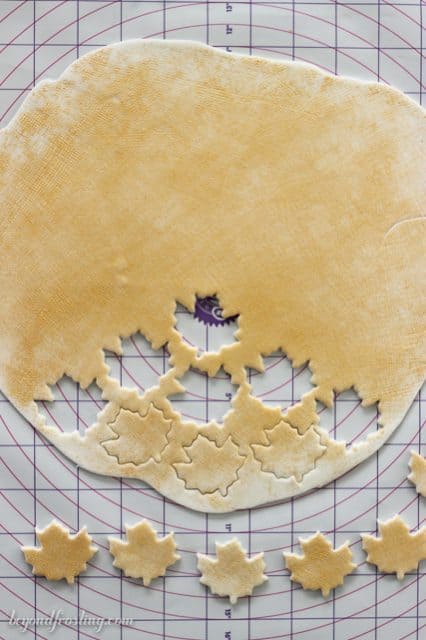
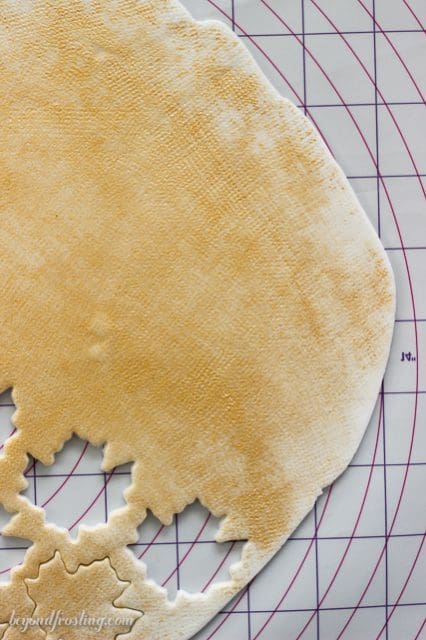
First, you should roll out your fondant about 1/8-1/4” thick. I like it to be a bit on the thicker size. Once you have your desired thickness, use the fondant roller to apply your pattern. Using the burlap fondant roller is optional. You do have to buy the head unit and the burlap attachment, but I think it adds a nice texture to the leaves that you would not get otherwise. I went over my fondant with several passes of the burlap roller and applied a little bit of pressure to be sure the pattern was transferring onto the fondant.
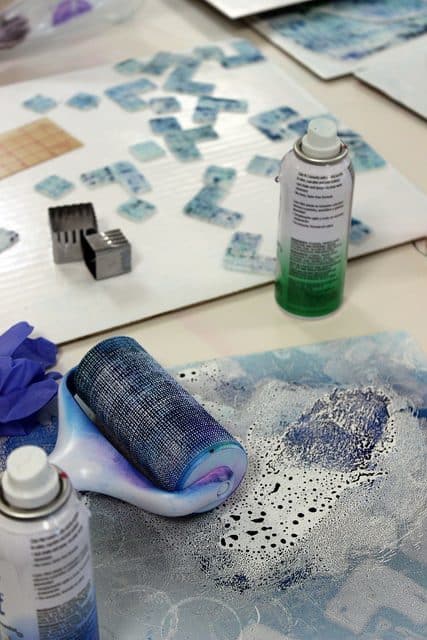
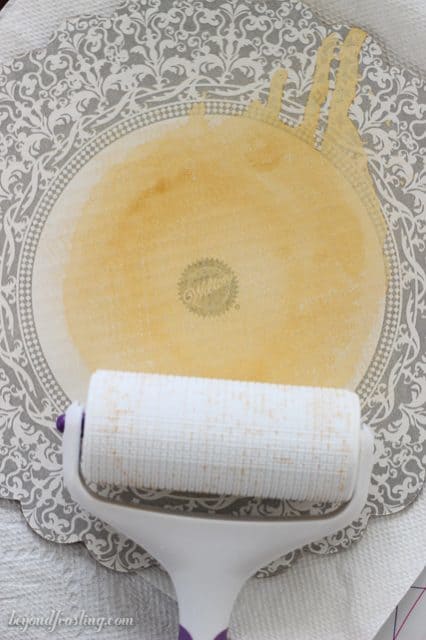
To add color, I first chose the Gold Mist Spray. I did so by spraying the mist on a cake board and then rolling the burlap roller over the spray. I also tried spraying the roller directly, but it seemed a bit messy for me. You could also spray the fondant, but be careful not to over spray, leaving a puddle in the middle of the fondant.
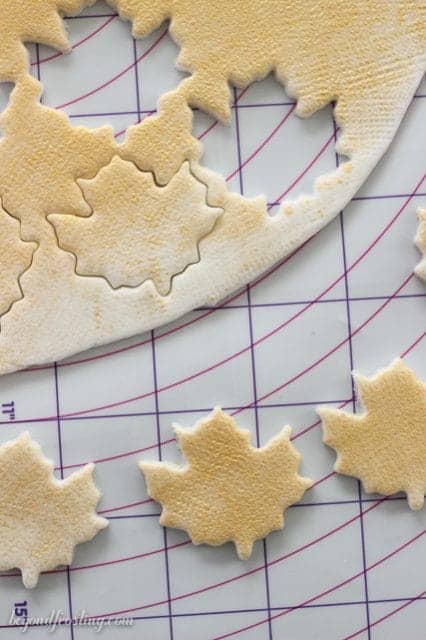
I then used a leaf shaped cookie cutter to cut the shapes out. You want to be sure to cut all the way through the fondant. You should use a round tipped object to help “punch” the leaves out of the cookie cutter if it sticks, although you shouldn’t actually punch it as it will leave a big hole in your leaf! Just a little tap to help nudge it out is all you need.
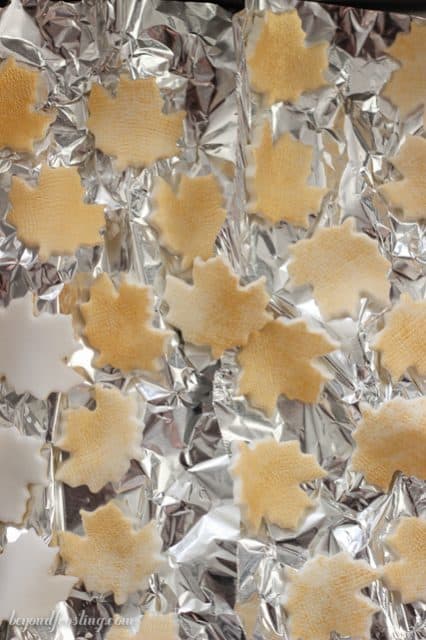
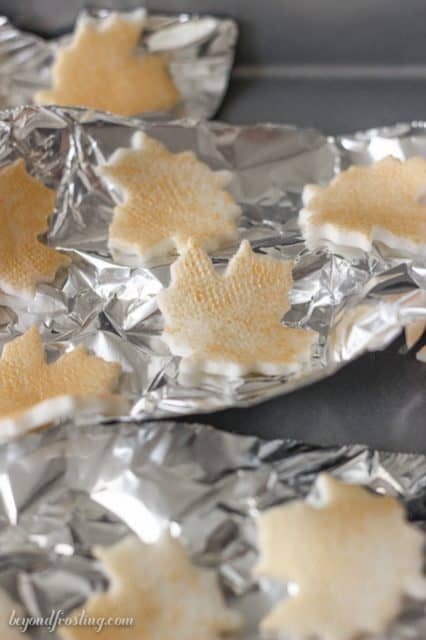
To help shape my leaves, I placed them on tin foil on a baking sheet and laid the leaves out in different shapes using the foil to help form them. This adds a bit of dimension to the leaves themselves. Tin foil is great for this because it is pliable and holds a good shape. Simply let them dry in your pan. I usually prepare my toppers a day in advance.
The last step is optional, and should be done after your fondant has dried. I added some gold pearl dust to these leaves because I wanted a little extra shimmer. The pearl dust is mixed with either lemon extract or vodka (approximately one teaspoon). I did not have either on hand at first so I tried using almond extract, but found it did not adhere as well. I prefer to use vodka. You will also need a clean paint brush. I have a set of paint brushes I only use for fondant and gum paste flowers, nothing fancy.
Combine the pearl dust with a teaspoon of vodka and blend with your paint brush. You will notice that if you do not use enough pearl dust, the vodka will be very thin and thus, your color will not be as shiny. I always prefer to wear gloves because your fingers WILL get painted gold. I like to paint the white edges of my leaves and do a quick pass over the face of the leaves as well. Allow the leaves to dry before placing them on the cupcake.
You could try this with any sort of cookie cutter! You can skip the step with the gold mist, and just use pearl dust to color your leaves as well. I’ve included some helpful tools below.
Wilton Roll And Cut Mat, Wilton Pattern Embosser Set,
Wilton Fondant 9 Inch Rolling Pin,
Wilton Pattern Embosser-Fabric, Wilton Gold Color Mist,
Gold Pearl Dust, Wilton Harvest 6 Piece Mini Metal Cookie Cutter Set
Wilton Decorator Preferred Fondant
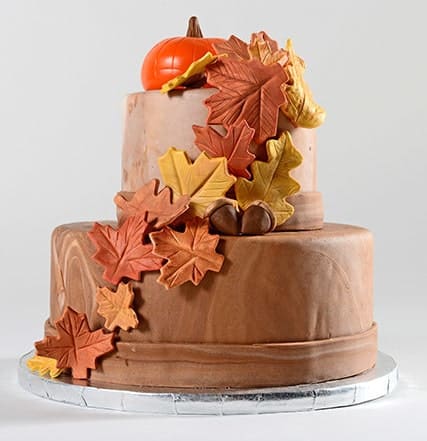
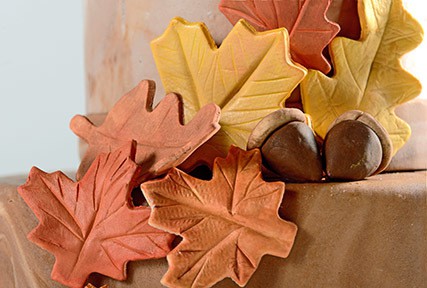
Years ago, I made this display cake for a fall themed party. I loved using different colors of pearl dust. The pumpkin on top is also made of fondant!
This post is sponsored by Wilton. All options are my own. As a Wilton Sweet Treat Team Member, I am compensated for my time to create these recipes. I chose to work only with brands I love.
Keep up with all the happenings. Follow Beyond Frosting:
Facebook | Twitter | Pinterest | Instagram
Visit Beyond Frosting’s profile on Pinterest.
This post does contain affiliate links. That means if you purchase something from this post, I earn a small commission. The money earned from affiliate links helps support the cost of running this blog. Thanks for your support!

These are so cute! I will definitely be using them soon!
These cupcakes are so cute and I love the fondant leaves. You make working with fondant look so easy!
I have never worked with fondant, but after seeing this, I need to as these leaves are to cute and decorative!!
These are beautiful and make these cupcakes look even prettier! Perfect!
You are so crazy talented! I love how these turned out and they are the PERFECT cupcake topper!
Woah these toppers are super impressive! I can imagine them to be perfect for a wedding cake or engagement. Beautiful!
These are so cute! I love them for fall and the burlap roller adds a great texture to the fondant! Pinned!
Aw thank you! I am so obsessed with that roller!
I have never worked with fondant. You have mad skills! They’re beautiful.
Oh Kathy, it is so much easier to make cupcake toppers than to wrap a cake LOL. But don’t be afraid of it!
That cake is gorgeous! And fondant has always scared me but your tutorial makes this looks totally doable. I’ll definitely give fondant another try because I’d love to make little toppers like those leaves. So pretty and classy looking!
Oh thank you Erin! You just need a few simple tools but working with fondant is really quite easy.
Oh these are so so fantastic!!!! In love!!!