

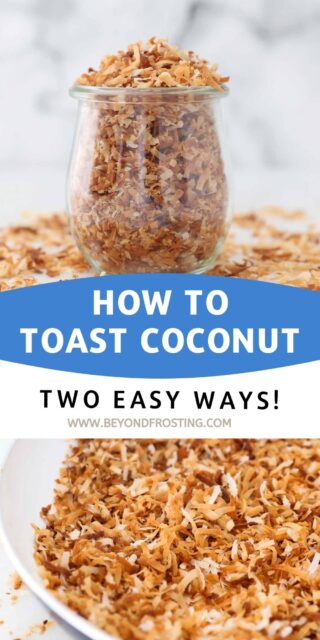
Level up your baked goods and desserts with toasted coconut! Learn how to toast coconut in 5 minutes using either the oven or the stovetop. Nutty toasted coconut flakes can be baked into cakes, stirred into fillings and frostings, or sprinkled on top of cupcakes, pies, yogurt, and more.
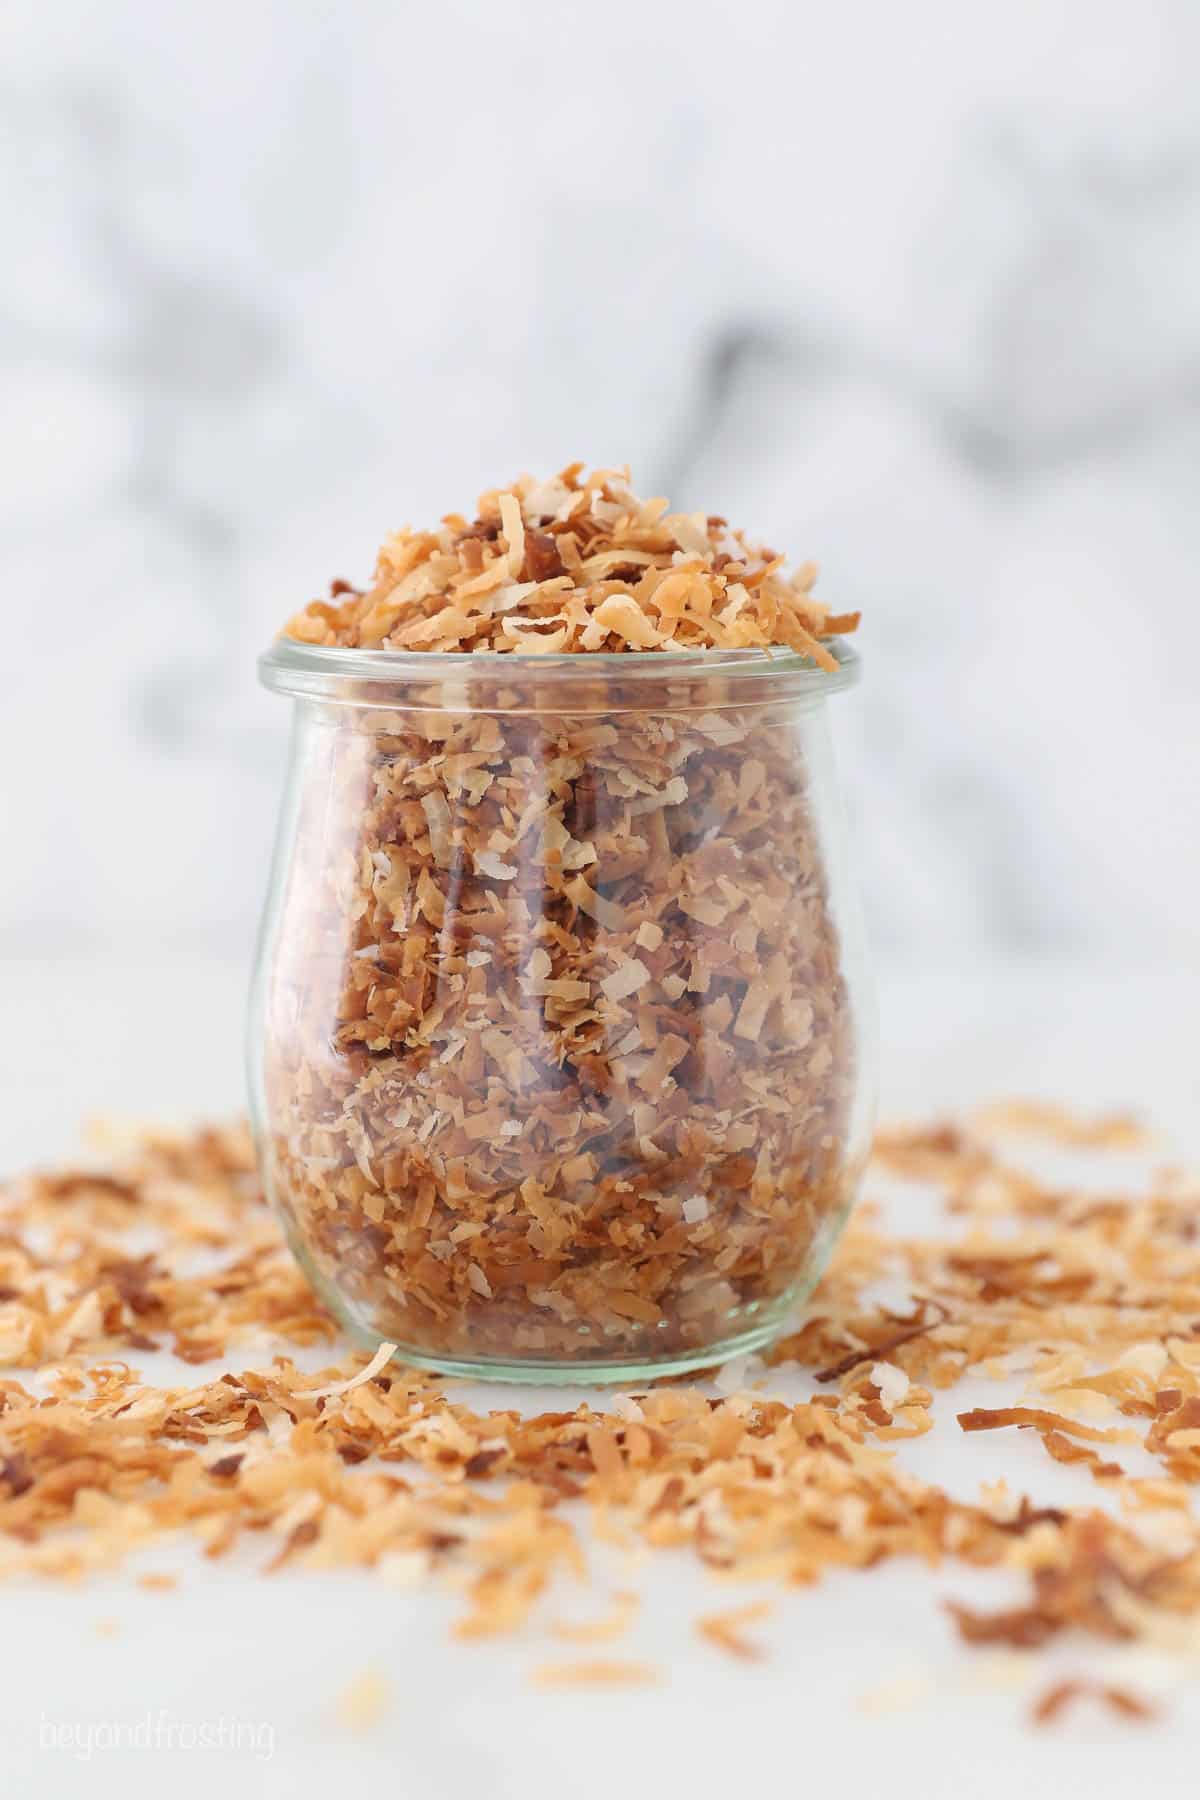
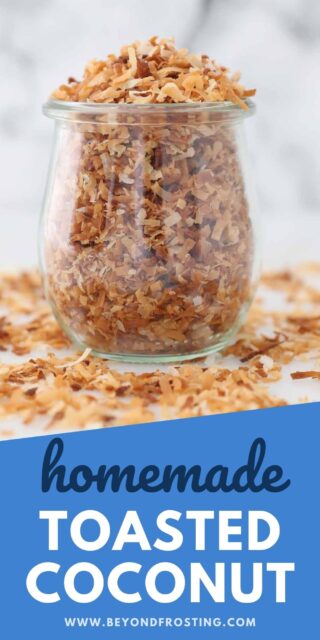
Ever wondered how to make toasted coconut to add to your desserts? While you can buy a bag at the store, I prefer to make mine at home. It takes minutes and you don’t need anything except the shredded coconut.
Homemade toasted coconut can be made in two ways: On the stovetop or in the oven. Using the stovetop is perfect if you don’t already have the oven turned on, while the oven is great for toasting larger amounts. I’ll show you how easy it is to do both!
Straight of the bag, coconut is a little sticky and sweet. Toasting dries out the coconut a little, giving it a nuttier, deeper flavor. It’s super quick and easy, and you can use toasted coconut in desserts like my coconut custard cake, coconut cupcakes, and toasted coconut cookies. If you’re not doing this yet, it’s time to start!
Why Toast Coconut?
- It brings out the flavor. Like toasting almonds or making brown butter, toasting brings out a rich, nutty flavor in the coconut, making it that much more irresistible to add to desserts and recipes.
- It’s easy to do. Whether you toast coconut in the oven or on the stovetop, it takes minutes. Even beginner cooks can have either method in their back pocket. It applies to nuts and sesame seeds, too!
- Store it for later. Once toasted, coconut flakes can be returned to the pantry in an airtight container for a couple of weeks. Use them as a topping or add-in for cookies, pancakes, date balls, and more.
Sweetened vs. Unsweetened Coconut
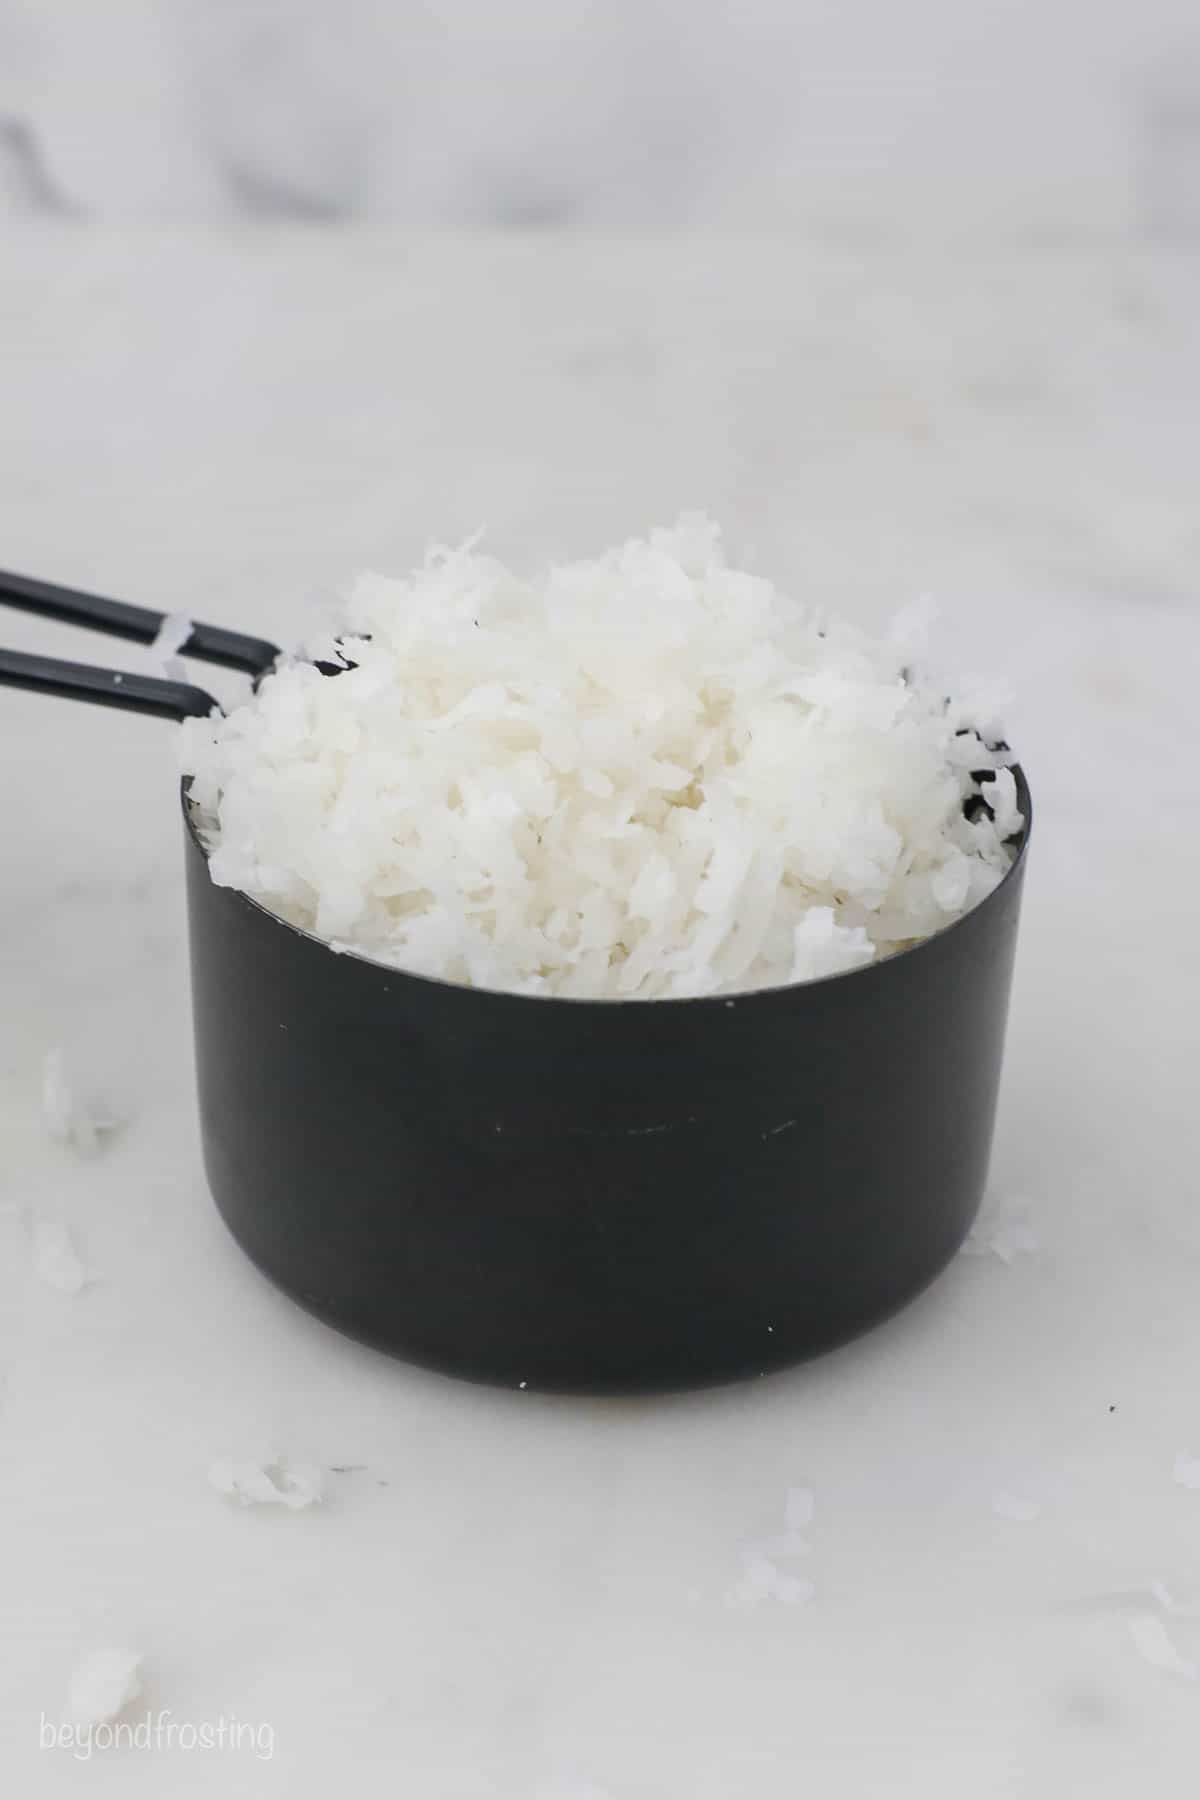
You can toast both sweetened and unsweetened coconut flakes using these techniques. Which one you use is completely up to you. If I’m not sure what I need it for, I usually go with unsweetened but toasted sweetened coconut flakes do have a nice, rich flavor.
Note that sweetened flaked coconut will take a few more minutes to toast than unsweetened and that it can also burn easily. Be sure to keep a close eye on it.
How to Toast Coconut Two Ways
Below are my two favorite methods for making toasted coconut: The stovetop and the oven!
On the Stovetop
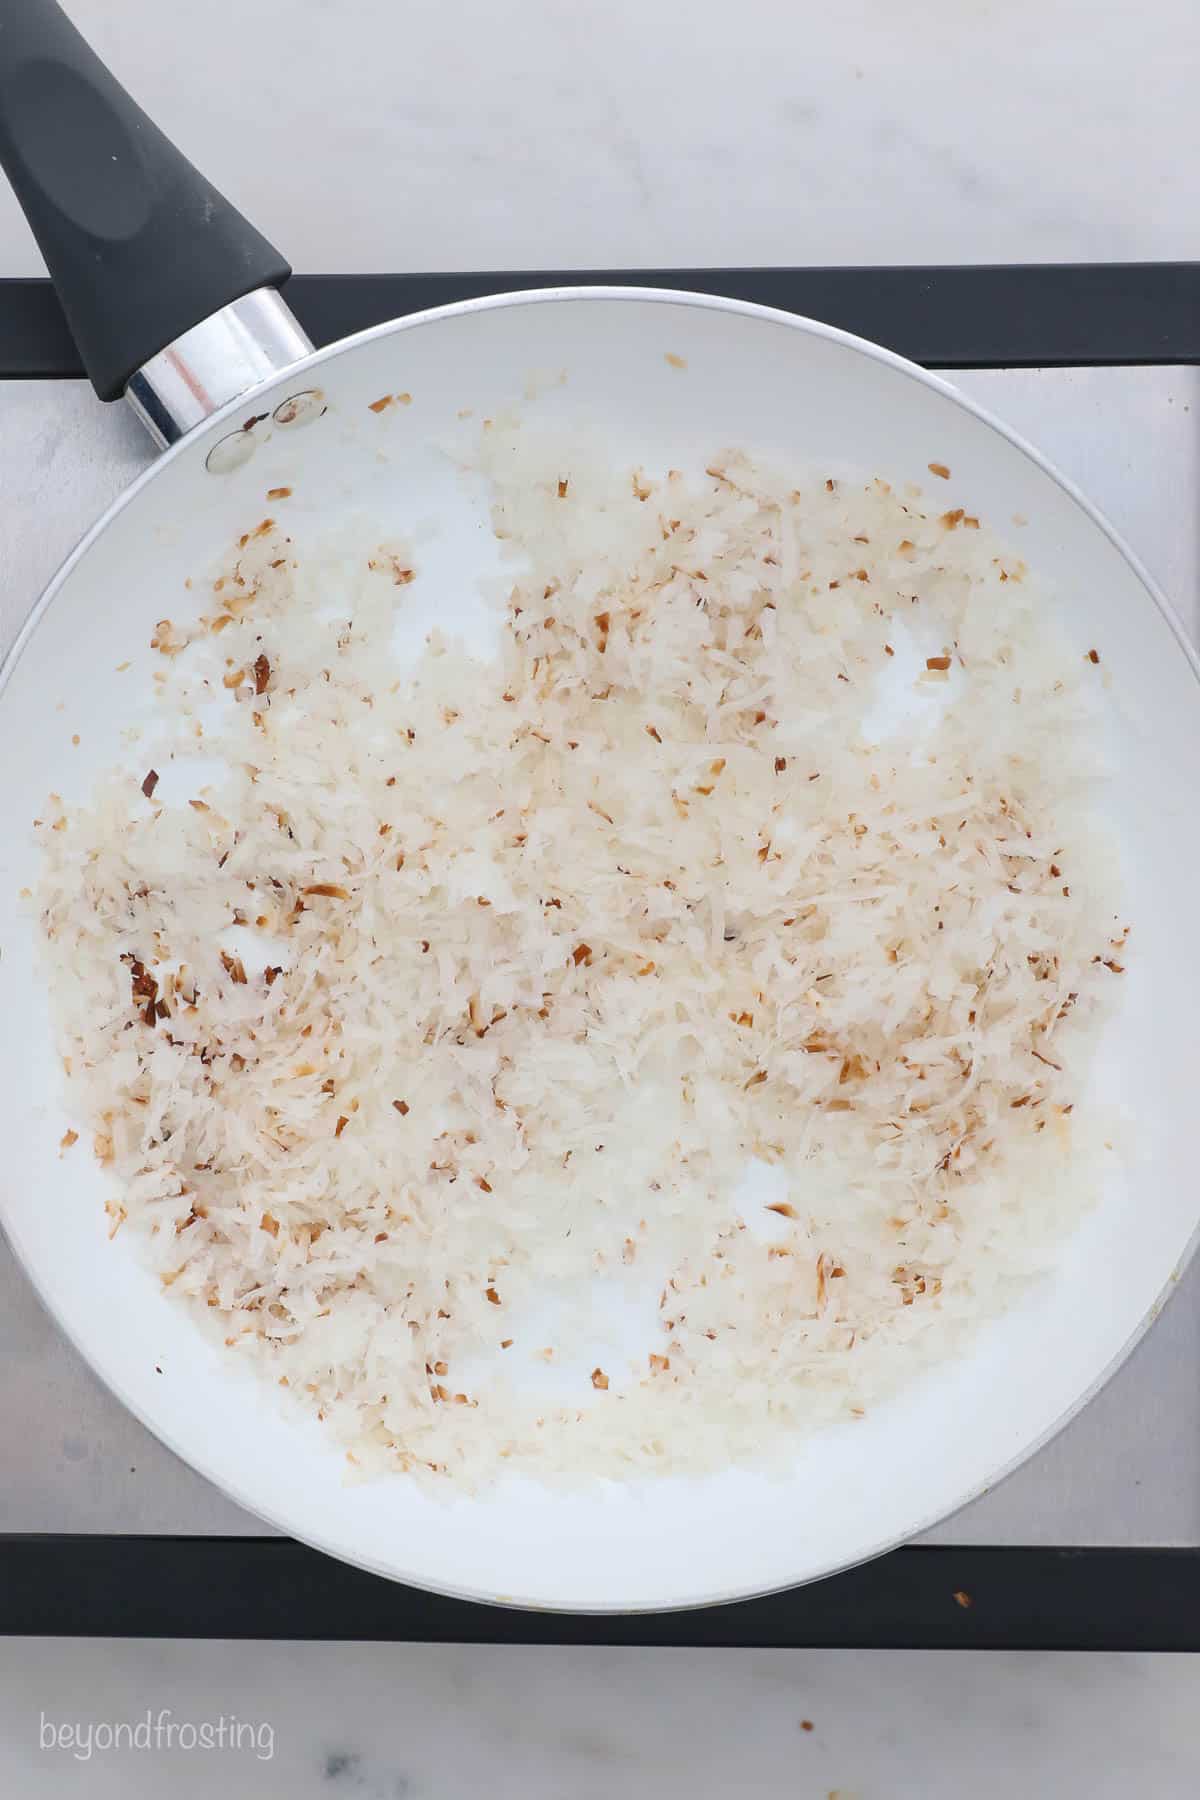
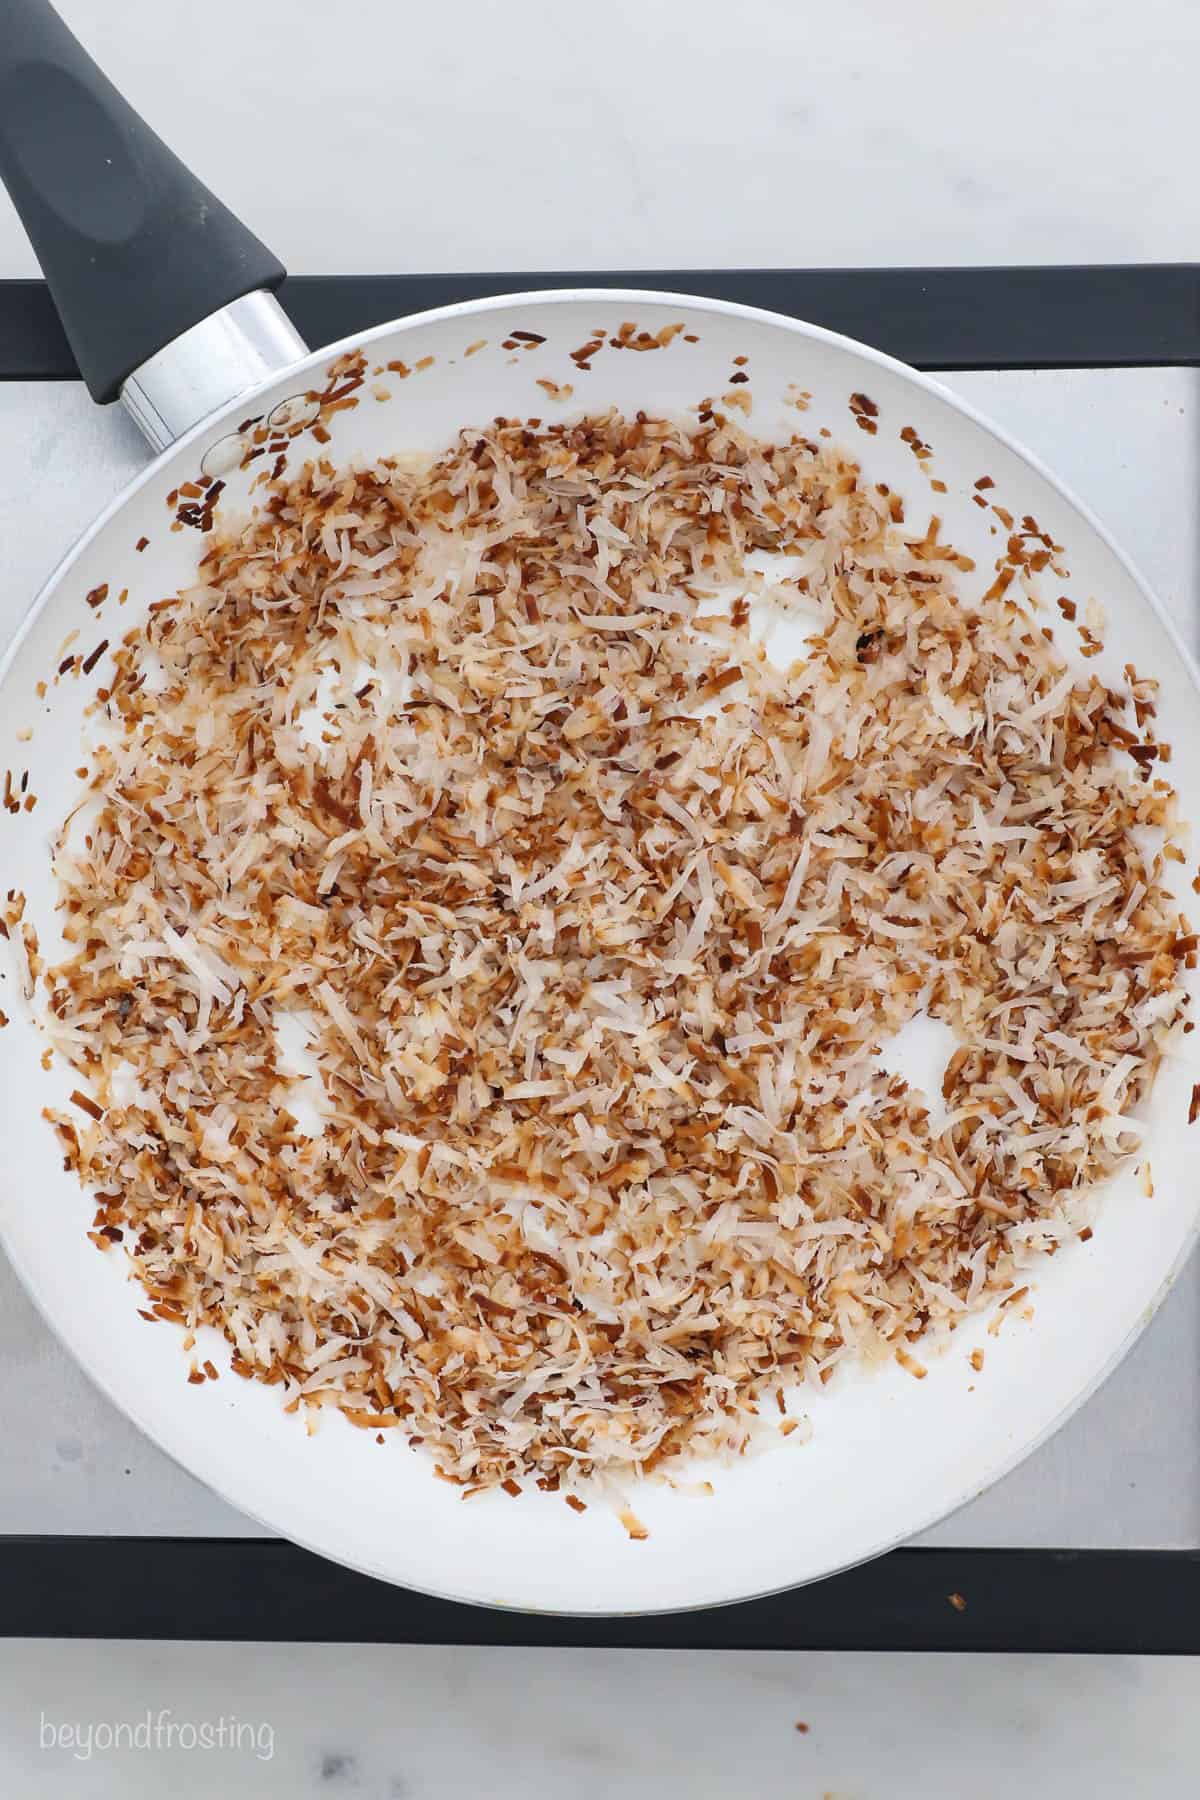
This is the quickest and easiest way to toast coconut. Using a pan allows you to have more control over the process. It takes 5-7 minutes depending on how high you have the heat. However, low and slow is best. Coconut can go from perfectly browned and toasty to burnt very quickly.
- Heat coconut in a skillet. Heat coconut over medium-low to medium heat. Once it begins to turn brown, stir frequently. Cook until it reaches the desired color.
- Cool. Transfer to a plate to prevent further cooking. Cool completely.
In the Oven
Usually, I toast my coconut in the oven when I am already baking something else. I don’t love to heat up my oven if I don’t have to. But this is the best technique if you need to toast a larger amount.
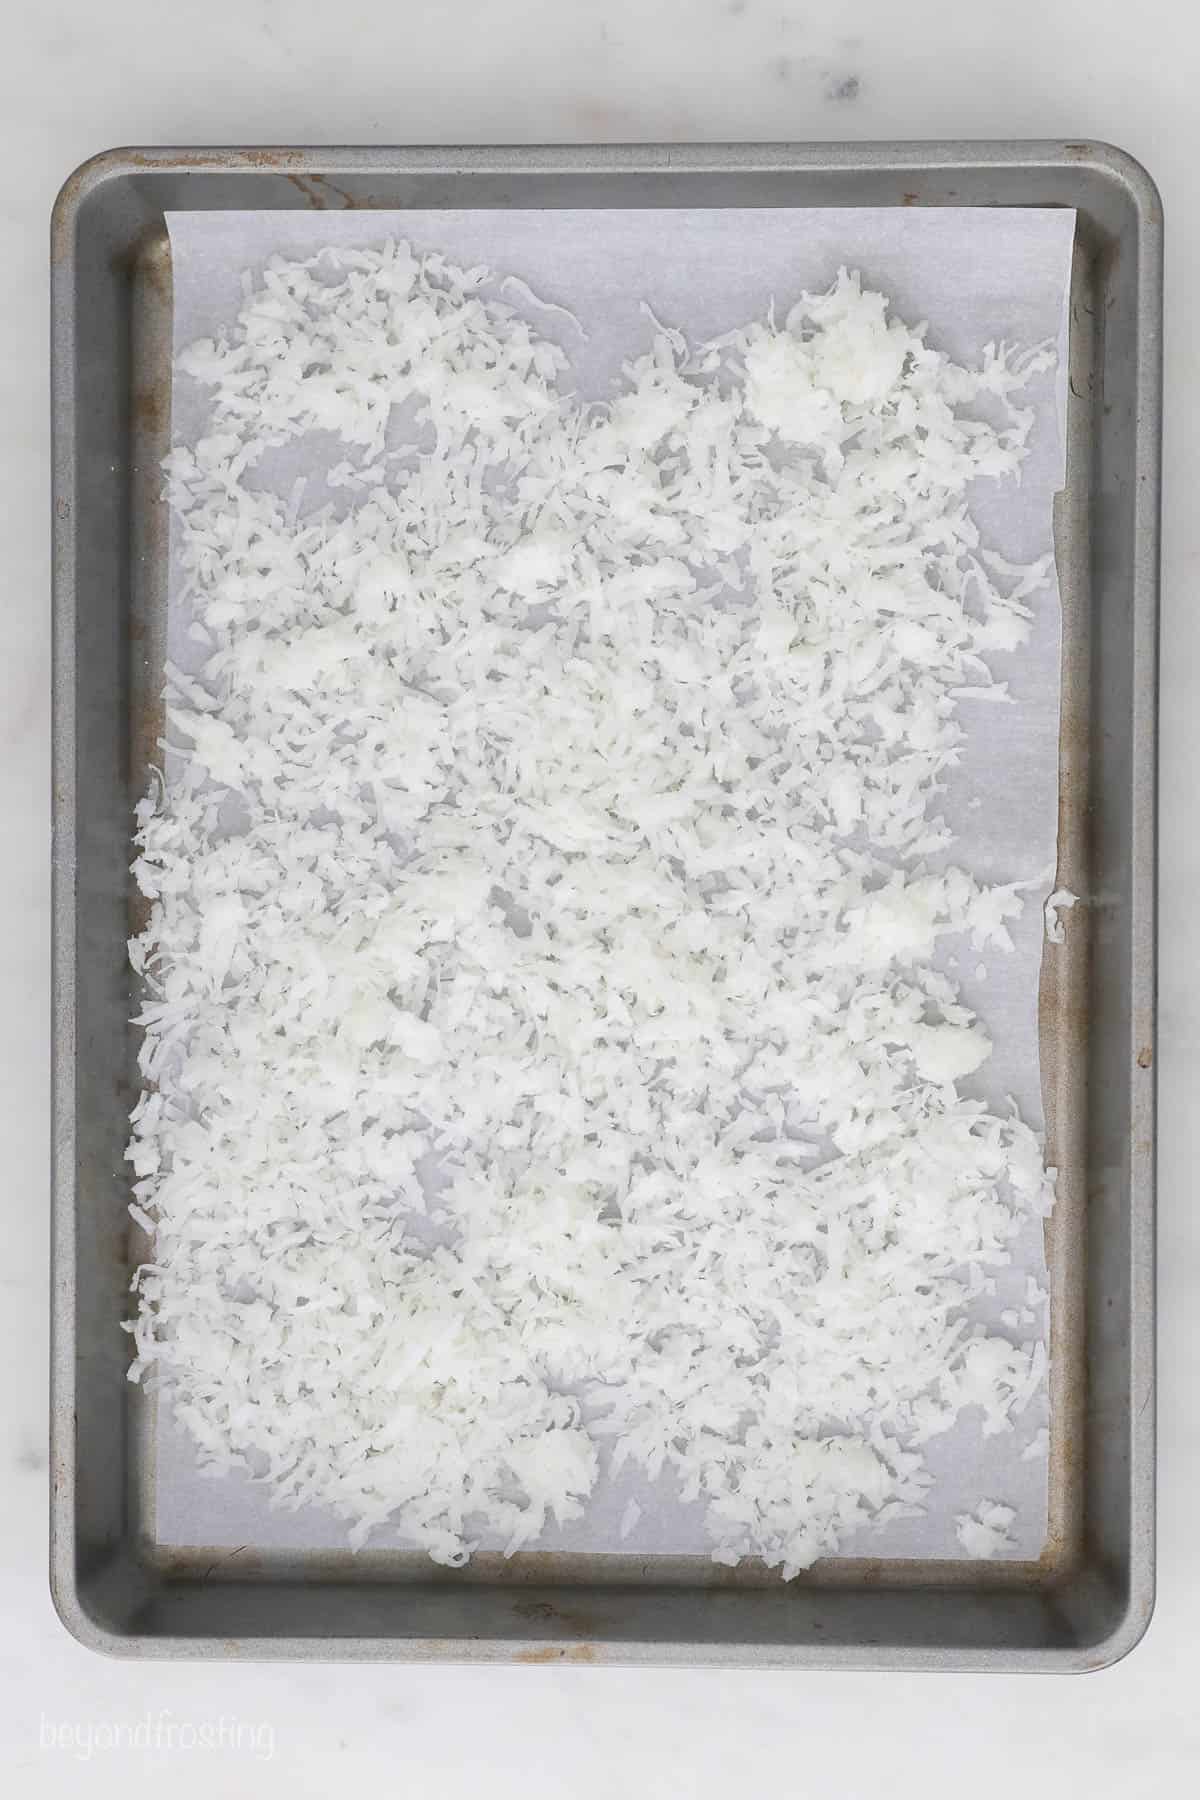
- Spread coconut on a baking sheet. Preheat the oven and line a baking sheet with parchment paper or a silicone baking mat. Spread the coconut in an even layer.
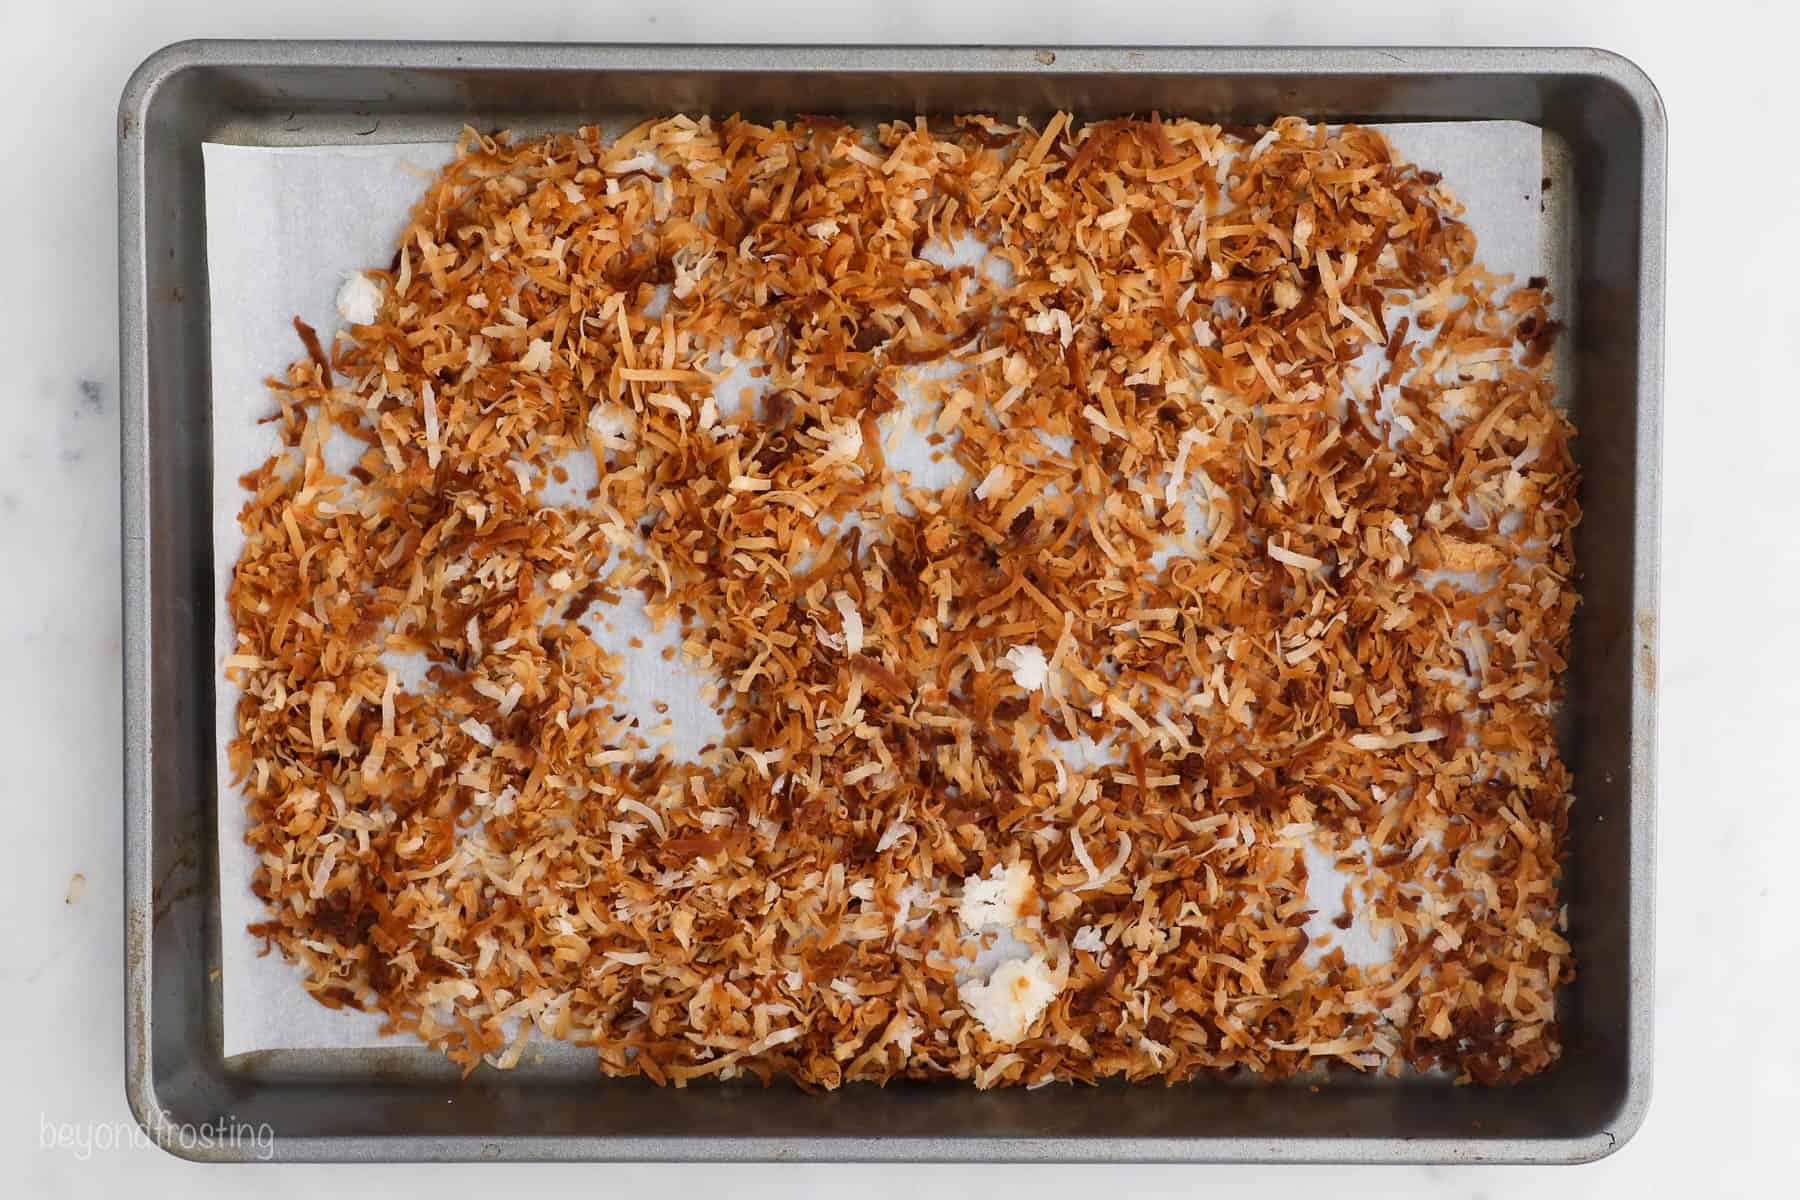
- Bake. Bake for 5 to 10 minutes. Turn with a spatula to prevent burning and keep a close eye on it.
- Cool completely. Transfer to a plate and allow to cool completely.
Toasting Tip: Stir Frequently!
Whichever technique you use, be sure to watch your coconut carefully and stir frequently. This will help it brown evenly on all sides, versus burning on one.
Ways to Use Toasted Coconut
Here are a few of my favorite ways to use toasted coconut in recipes.
- Bring deeper flavor to a coconut cream pie or coconut custard pie.
- Add it to a batch of oatmeal cookies.
- Add it to Swiss meringue frosting to decorate a lemon coconut cake.
- Use it as a layer in 7-layer magic bars.
- It’s perfect for topping cakes, pies, and cupcakes.
- In the filling for German chocolate pie.
- Add it to oatmeal or yogurt.
- Stirred into homemade granola.
- On top of pancakes, French toast, or cinnamon rolls.
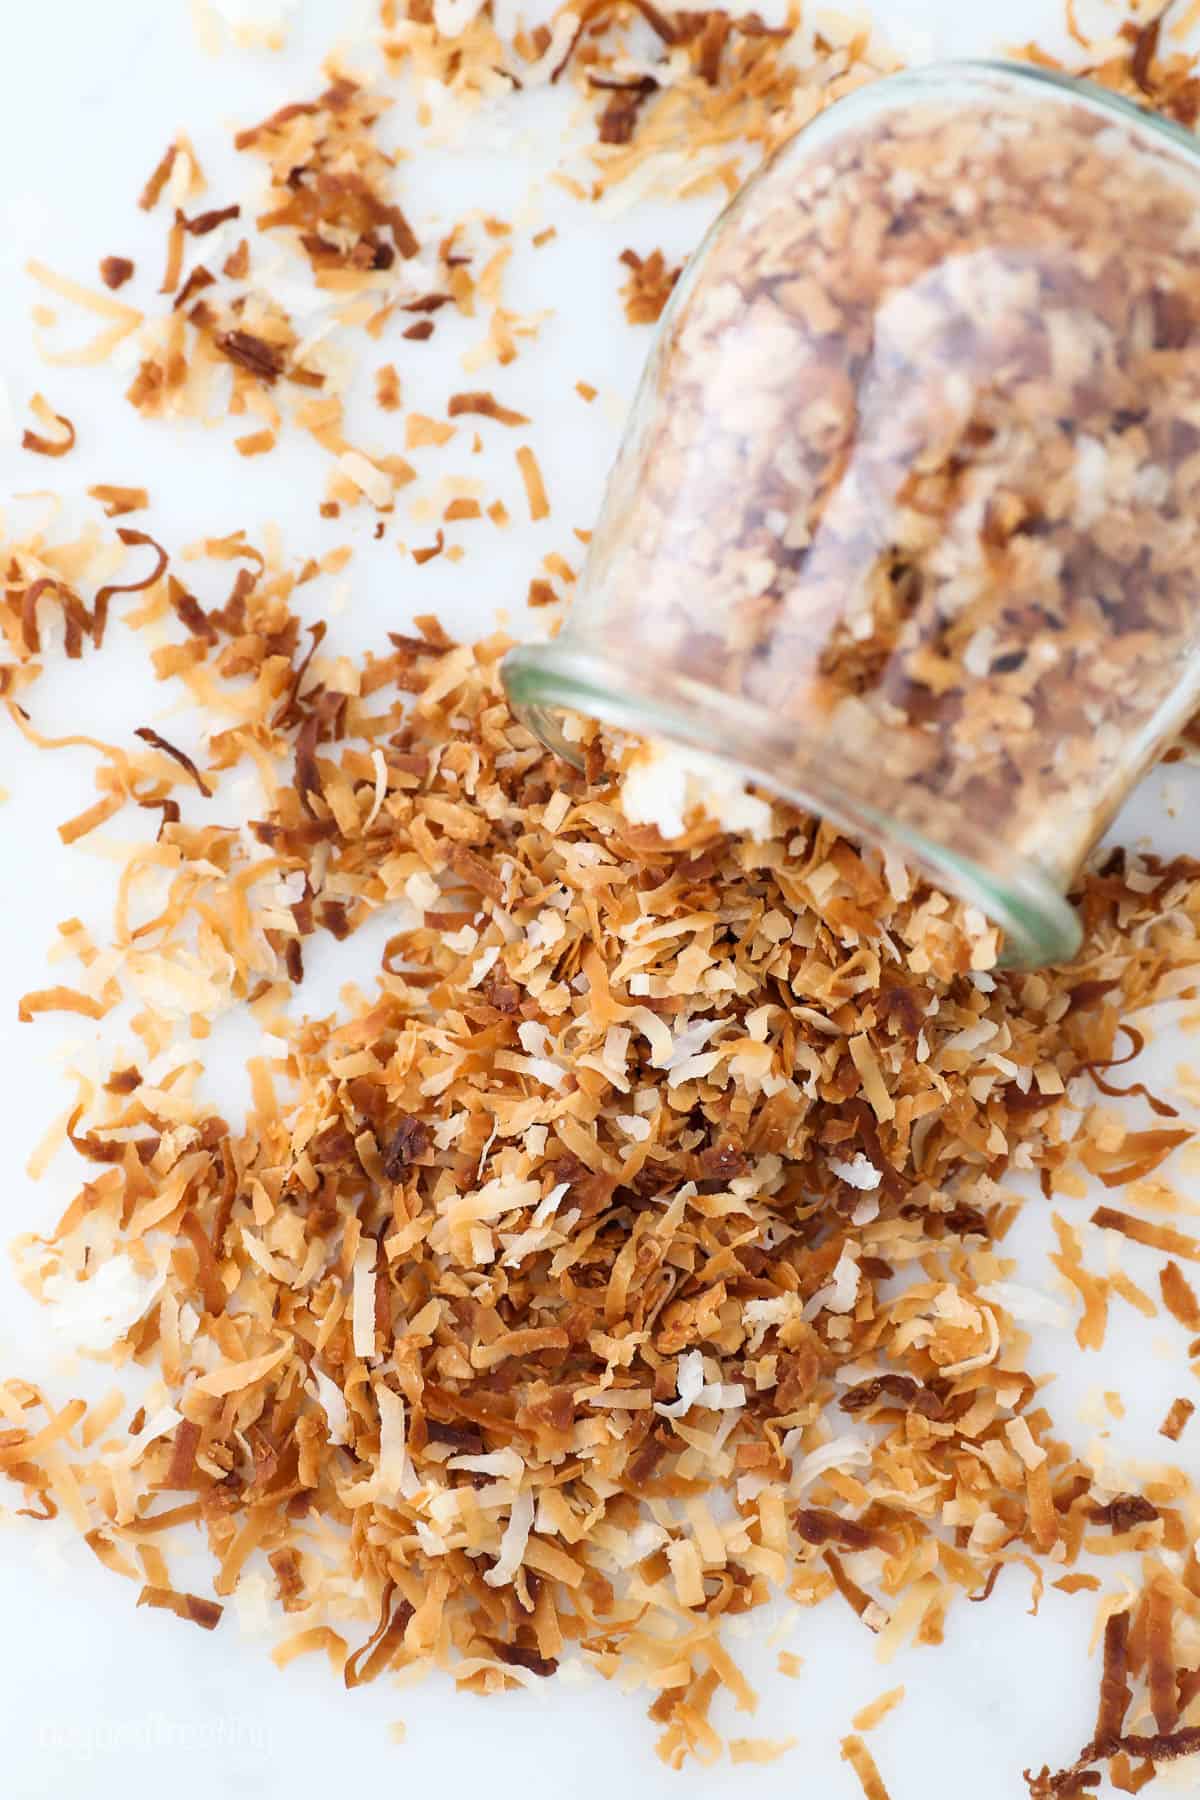
Storage
One of the great things about homemade toasted coconut is that it will last for weeks. Once it has cooled completely, just transfer it to an airtight container and keep it in the pantry or another cool place out of direct sunlight. Then you’ll have it on hand for weeks to come, whenever you need it.
More Helpful How-Tos
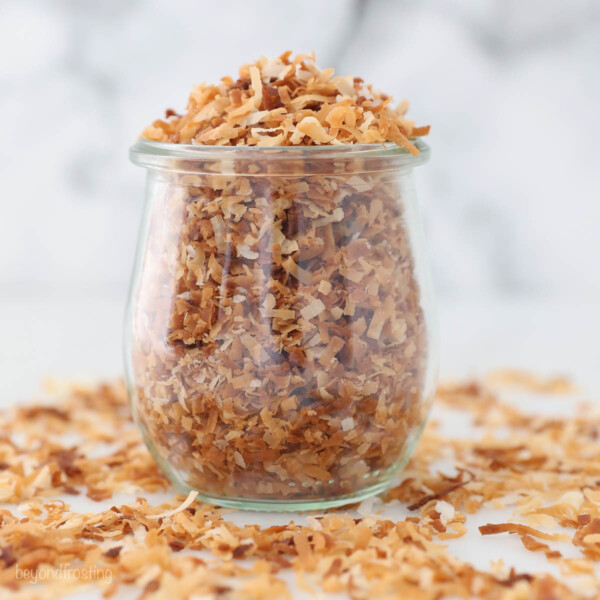
How to Toast Coconut
- Prep Time: 5 minutes
- Cook Time: 5 minutes
- Total Time: 10 minutes
- Yield: 1 cup
- Category: Side Dish
- Method: Stovetop
- Cuisine: American
Description
Learn how to toast coconut in 5 minutes in the oven or on the stovetop! Store it in the pantry and use rich, nutty toasted coconut on your favorite coconut desserts, including pies, cakes, cupcakes, and more.
Ingredients
- 1–2 cups sweetened or unsweetened shredded coconut
Instructions
On the Stovetop:
- Place coconut in a skillet over medium-low to medium heat.
- Once the coconut starts to turn brown, stir frequently to prevent burning. Continue cooking until it reaches the desired color.
- Transfer the coconut to a plate to prevent it from further cooking. Cool completely.
In the Oven:
- Preheat the oven to 350°F.
- Line a baking sheet with parchment paper or a silicone baking mat. Spread the coconut thinly on the baking sheet.
- Bake for 5-10 minutes until it reaches the desired color. Turn the coconut with a spatula once it starts to cook to prevent burning. Keep a close eye on it because it can burn quickly once it starts to toast.
- Transfer the coconut to a plate to prevent it from further cooking. Cool completely.
Notes
- Store in an airtight container for up to 2 weeks
Nutrition
- Serving Size: 1/4 cup
- Calories: 116
- Sugar: 10g
- Sodium: 60mg
- Fat: 8g
- Carbohydrates: 11g
- Fiber: 1g
- Protein: 0g
- Cholesterol: 0mg