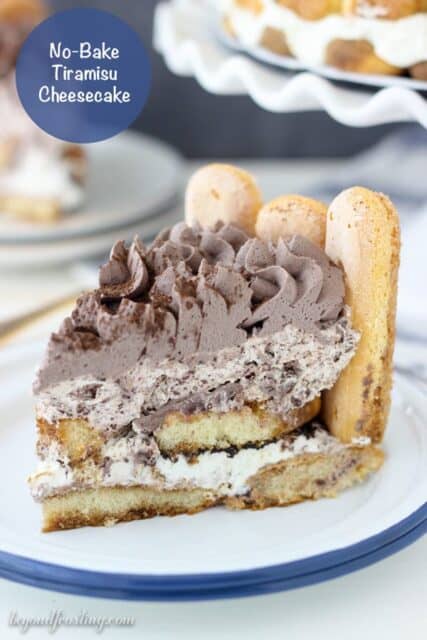
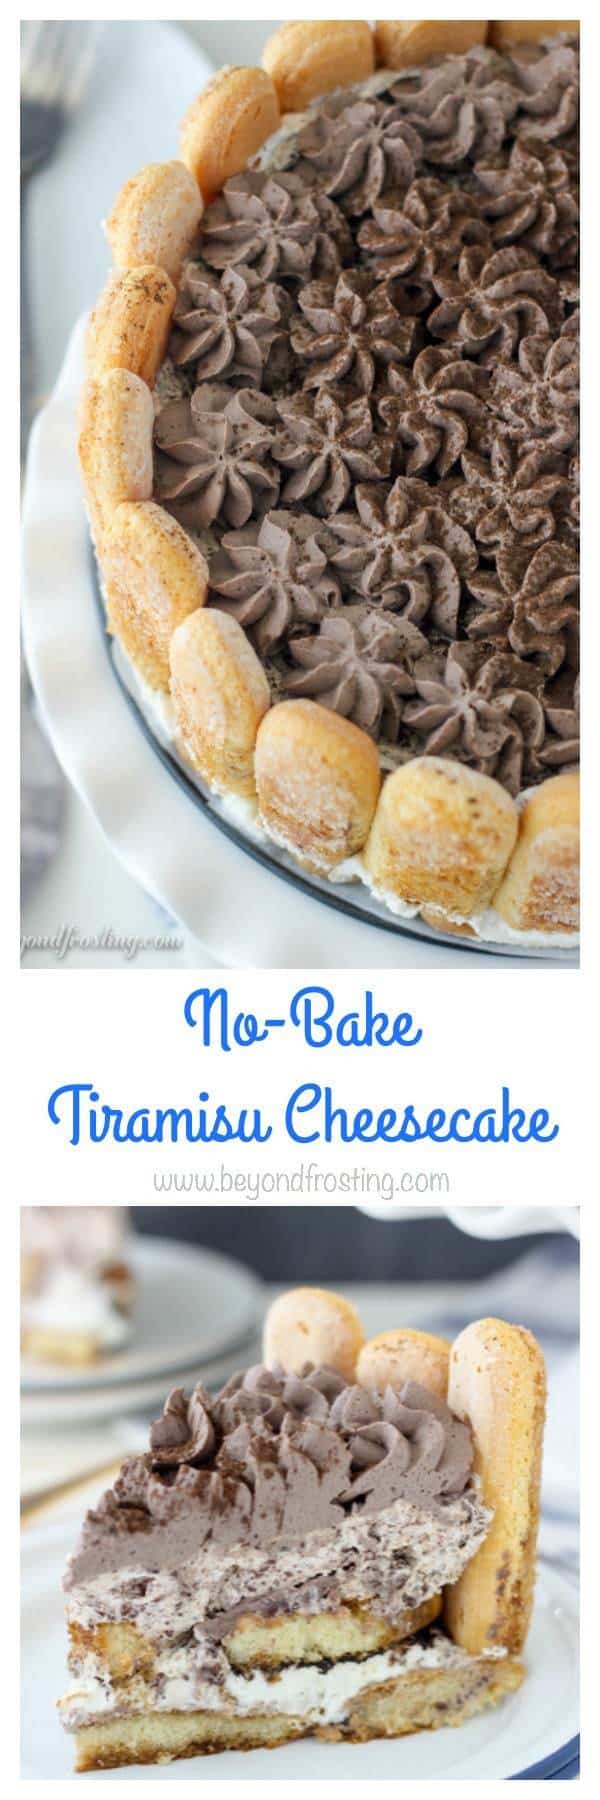
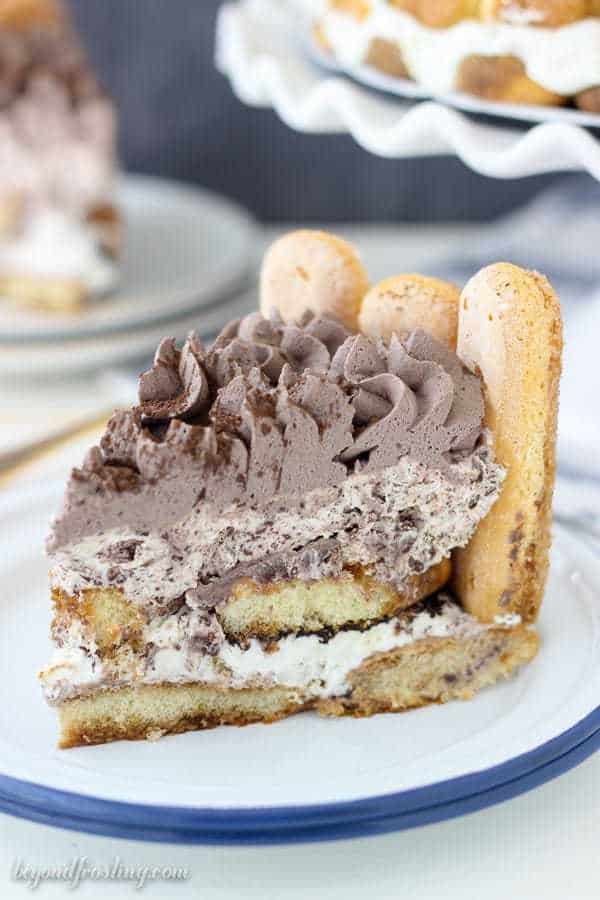
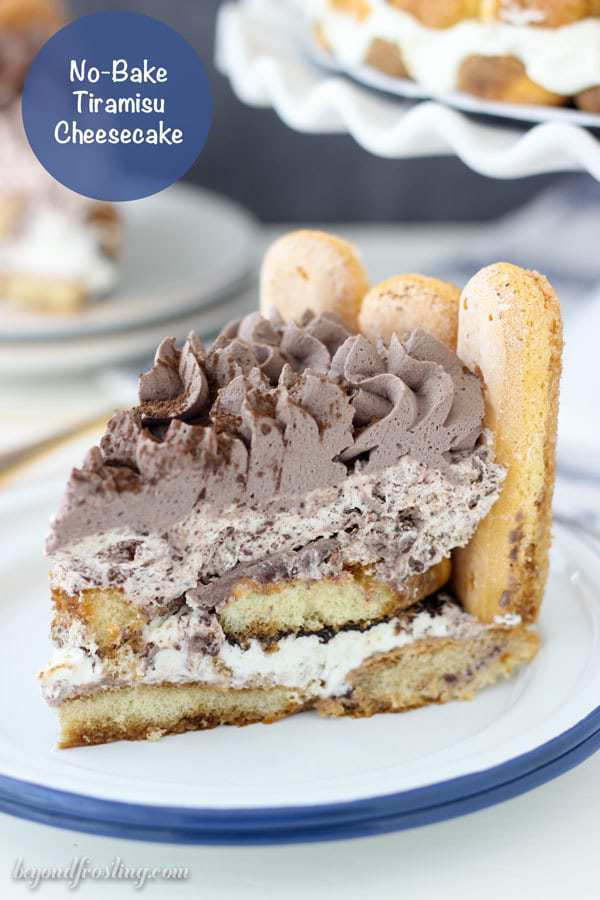
A fun twist on a classic dessert, this No-Bake Tiramisu Cheesecake is layers of espresso and Kahlua soaked ladyfingers with a mascarpone mousse filled with chocolate covered espresso beans. It’s topped with a chocolate whipped cream.
Oh my gosh, how I just LOVE Tiramisu, and I never knew what I was missing out on until a year or two ago. It wasn’t always a first choice in the pastry case when you have all those desserts staring back at you. Now I love to try different versions of the tiramisu at various restaurants that I go to. Well let’s face it, I always want to try dessert. I have seen so many fun versions of tiramisu.
Since there less than a month left until the release of my cookbook, I’m loading up on all types of no-bake desserts to share with you. Plus it’s hotter than heck these days. By the way, I hope you guys don’t get sick of me talking about my cookbook. I’m seriously so excited to share it with you. Later this week I’ll be sharing a recap of my recent trip to QVC.
Okay, so No-Bake Tiramisu Cheesecake, I’ve seen different versions of this dessert and I wanted to put my own spin on it as well.
For the crust, I used ladyfingers that are brushed with a combination of strong brewed espresso and Kahlua, pretty typical. You’ll need to cut the ladyfingers to fit in the pan. I suggest to layout as many whole pieces as you can before cutting the smaller pieces.
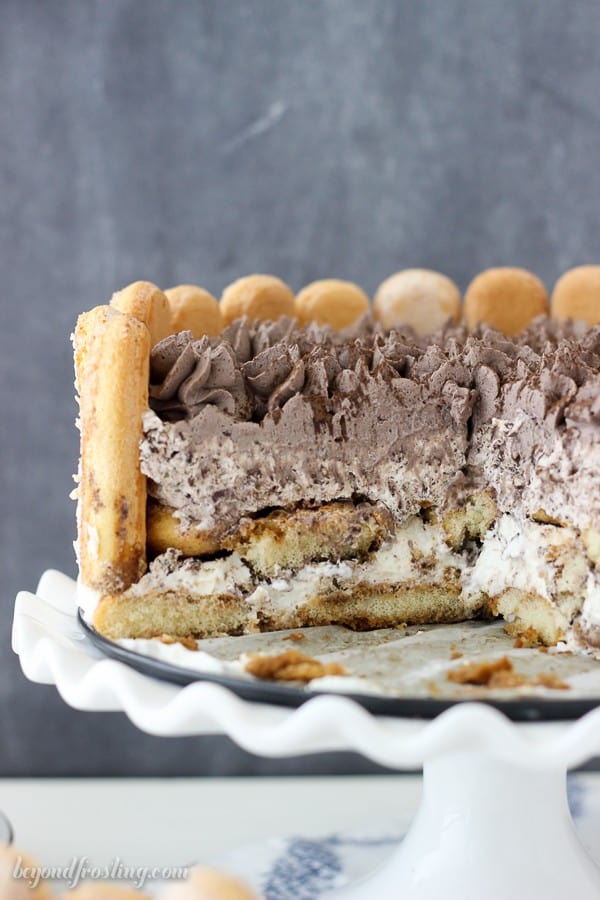
Lay the bottom layer of ladyfingers before you place them along the edge of the pan. In fact, I put down a layer of mousse before I added the ladyfingers on the side.
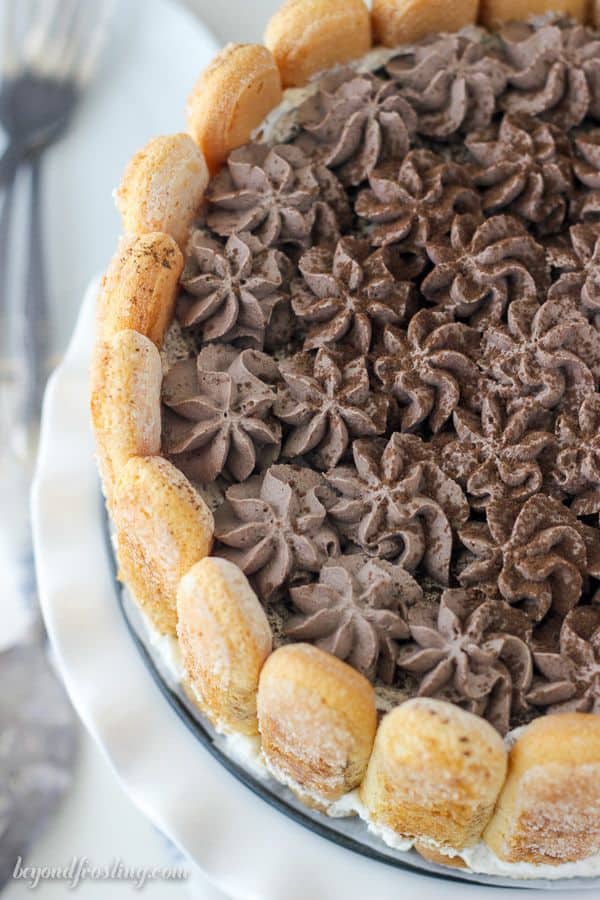
It will take a bit of finesse to get the ladyfingers to stand up on the sides of the pan. To help with this, I cut the bottom edge off so it was flat. Oh, and don’t forget to line the pan with parchment paper.
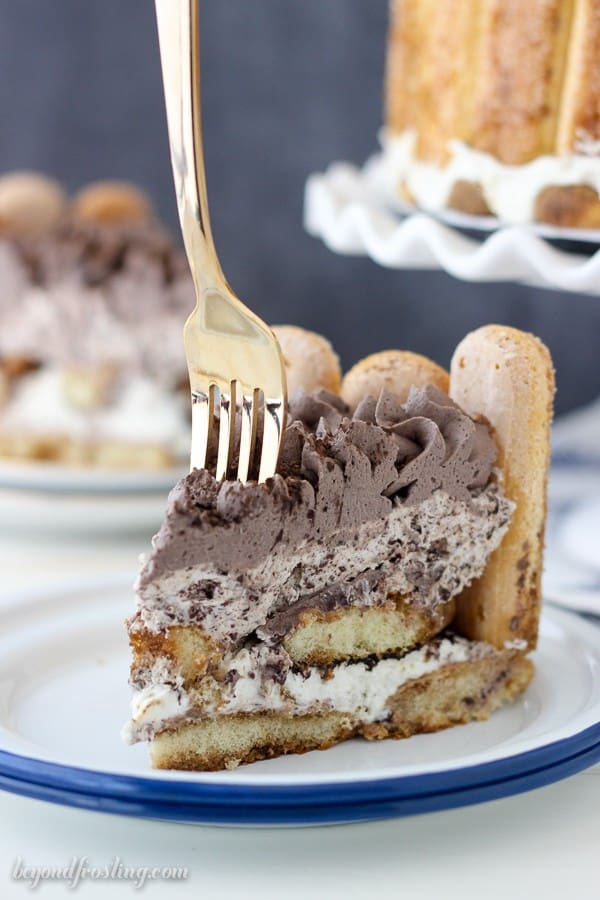
Then comes the filling. Traditional tiramisu contains egg yolks, but I prefer to make an eggless version which is basically a mascarpone whipped cream. It creates a more light and airy effect. And because I don’t like things to be to boring, I added some chopped pieces of chocolate covered espresso beans.
These little bits & pieces add that pop of flavor & bam, it wakes you right up! Since you don’t need much of the chocolate covered espresso beans, I try to find them cheaper at a store like Trader Joe’s or a bulk bin at a Whole Foods or something like that. I use a small nut grinder or a rolling pin to smash the beans into little pieces.
For the topping, I decided on a chocolate whipped cream because, hello, there isn’t enough chocolate in this dessert. I use a simple star tip to pipe the decorative top of this cheesecake and then dust it with cocoa powder.
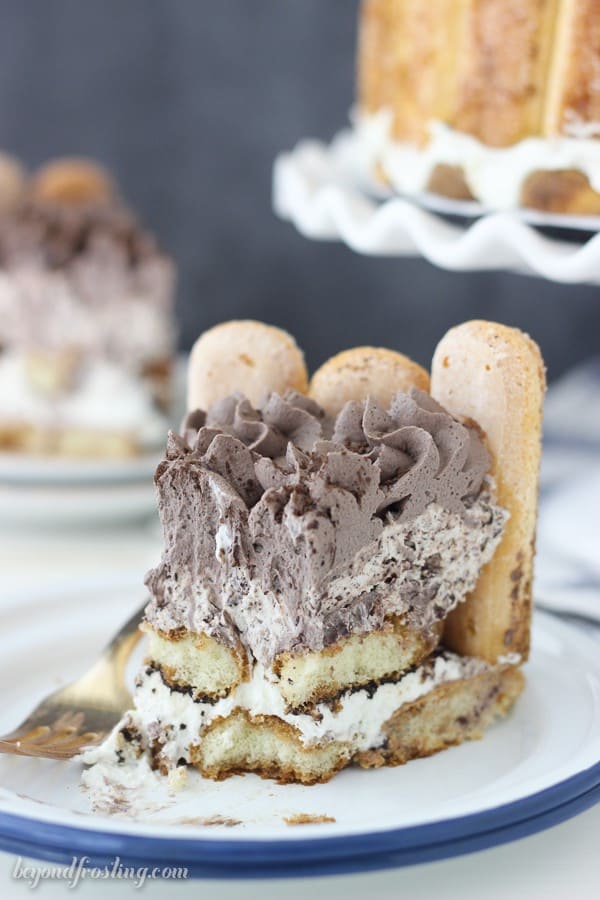
The longer you let this in the fridge, the better it becomes because all the flavors have time to soak together and the lady fingers get nice and soft. To cut into this dessert, a serrated knife works very well because the lady fingers tend to shift around a little bit. Don’t worry though, you don’t need a pretty slice to enjoy this cheesecake.
Don’t be intimated by this dessert. Slow down and read through the instructions before you start. Now go grab your springform pan and let’s get to work!
If you love no-bake recipes, be sure to check out my cookbook, No-Bake Treats!
Facebook | Twitter | Pinterest | Instagram
Print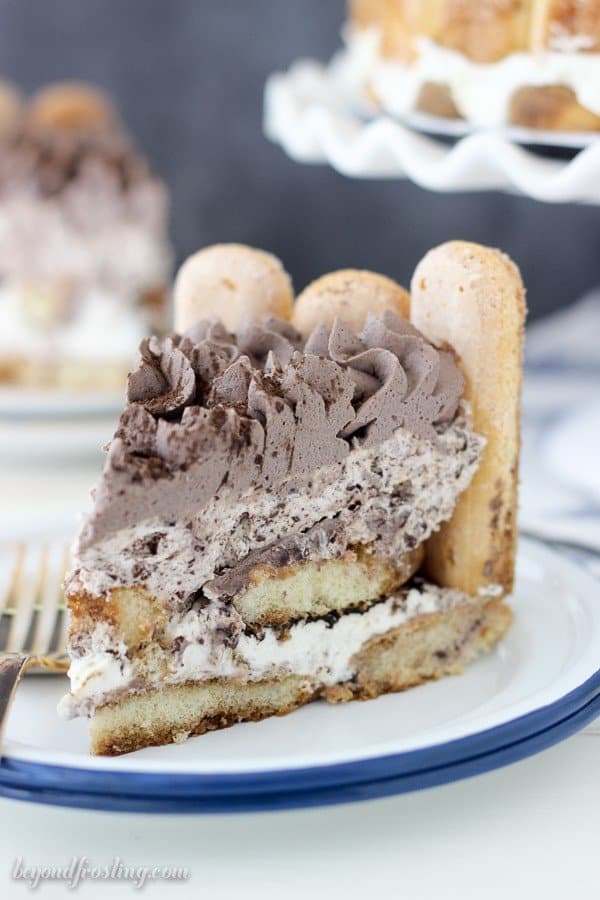
Tiramisu Cheesecake
- Prep Time: 20 mins
- Total Time: 20 minutes
- Yield: 8-10 slices
- Category: Dessert
- Method: Refrigerator
- Cuisine: American
Description
This tiramisu cheesecake is a fun twist on the Italian no-bake dessert, with layers of espresso-soaked ladyfingers and mascarpone filling speckled with crushed chocolate-coated espresso beans.
Ingredients
- 8 ounces mascarpone cheese
- 1 ½ cups heavy whipping cream
- ½ cup powdered sugar
- ½ cup chocolate covered espresso beans, chopped
- ½ cup boiling water
- 2 teaspoons espresso powder
- 2 tablespoons Kahlua
- 2 packages ladyfingers (7oz ea)
- 2 tablespoons cocoa powder
- For the topping
- 1 cup heavy whipping cream
- ½ cup powdered sugar
- 2 tablespoon cocoa powder
Instructions
- Prepare the filling by whipping the mascarpone cheese for 30 seconds on medium speed and then slowly add the heavy whipping cream and scrape down the bowl until it is a liquid consistency. Increase mixing speed to medium-high and continuing to add heavy whipped cream.
- Once soft peaks start to form, add powdered sugar and increase speed to high. Beat until stiff peaks form. Set aside.
- Chop the chocolate covered espresso beans using a nut grinder or by smashing he beans with a strong object such as a rolling pin until they are small pieces. Mix into the mascarpone filling.
- Prepare the syrup for the ladyfingers by combining boiling water with espresso powder and whisk until the powder is dissolved. Add Kahlua and whisk to combine. Allow the mixture to cool to the touch, refrigerate if necessary.
- Line the bottom of a 9-inch springform pan with parchment paper.
- Dip each side of the lady fingers in the coffee mixture. Line the bottom of the pan with as many whole ladyfingers as possible and then cut the remaining pieces to fit.
- Take half of the mascarpone filling and spread over the bottom layer of the ladyfingers.
- For the sidewalls, brush only one of the ladyfingers with the espresso mixture using a soft pastry brush and place that side towards the inside of the cake, pressing into the mascarpone filling.
- Dust the filing with cocoa powder.
- Make a second layer of ladyfingers, dipping each side in the espresso, and laying out as many whole ladyfingers as possible. Cut the remaining pieces to fit.
- Spread the remaining filling over top of the ladyfingers.
- For the topping:
- Put your mixing bowl and wire whisk in the freezer for 10 to 15 minutes until it is completely cold. Beat the heavy cream on medium-high speed for several minutes until it starts to thicken. Add the powdered sugar and cocoa powder and continue beating until stiff peaks form. Use a large open star tip (such as Ateco 846) and pipe rosettes over top of the cake. Dust the whipped cream with cocoa powder.
- Refrigerate this cake for at least 3 hours before serving, the longer the better.
Filed Under:
You might also like:
Fun Tiramisu recipes from my friends:


This cake looks gorgeous! I love all the layers. I do have to say the name seems a little misleading; it’s as no-bake and as cheese-cakey as any tiramisu.
My family will love this Tiramisu! I love all of your no-bake desserts; looking forward to your cookbook!
Tiramisu is my husband’s favourite dessert! I have to try making this for him – he will love it!!
seriously wishing I had a slice fro breakfast!!