
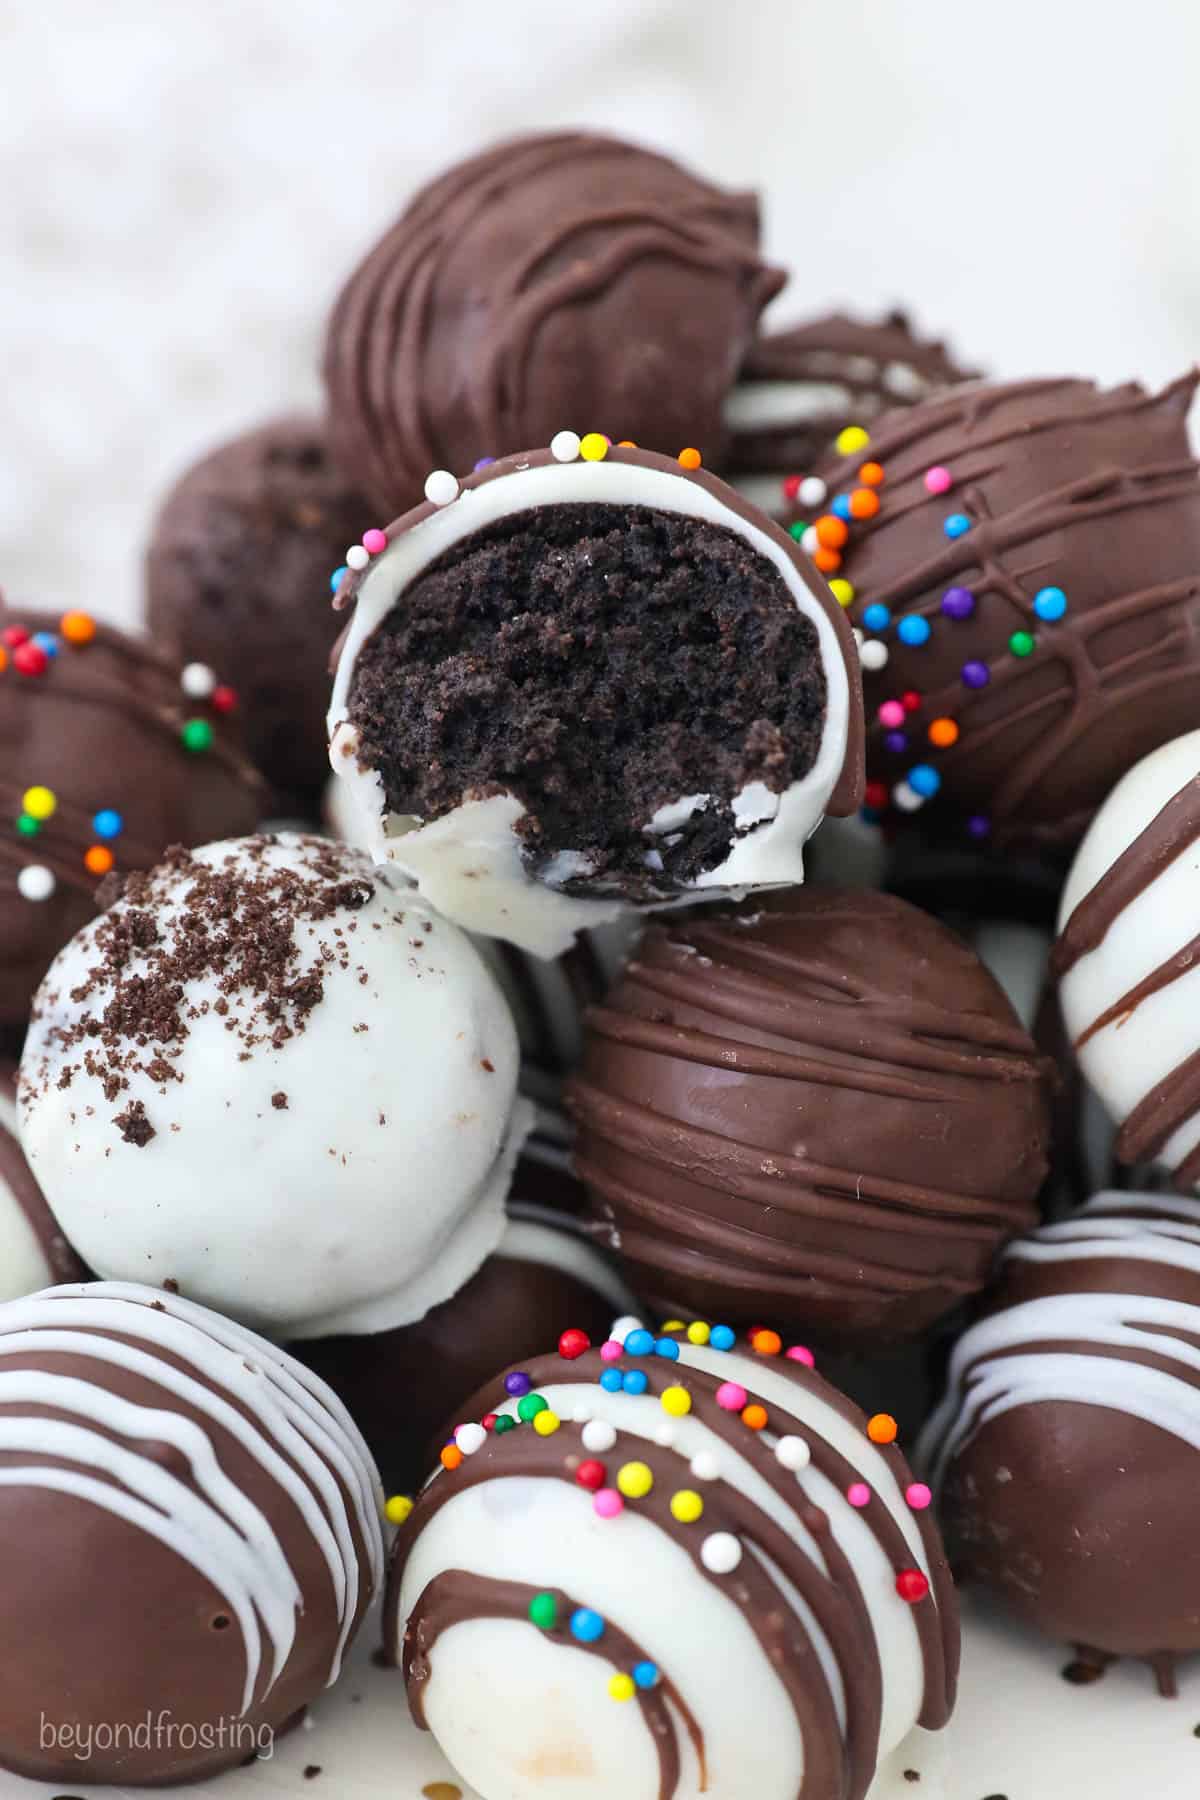
These Oreo truffles are rich, fudgy, and addictive. With just 5 ingredients, they come together fast. No baking required! Each bite is packed with chocolatey Oreo goodness and coated in a smooth chocolate shell. They’re perfect for stashing in the fridge for whenever the craving hits.
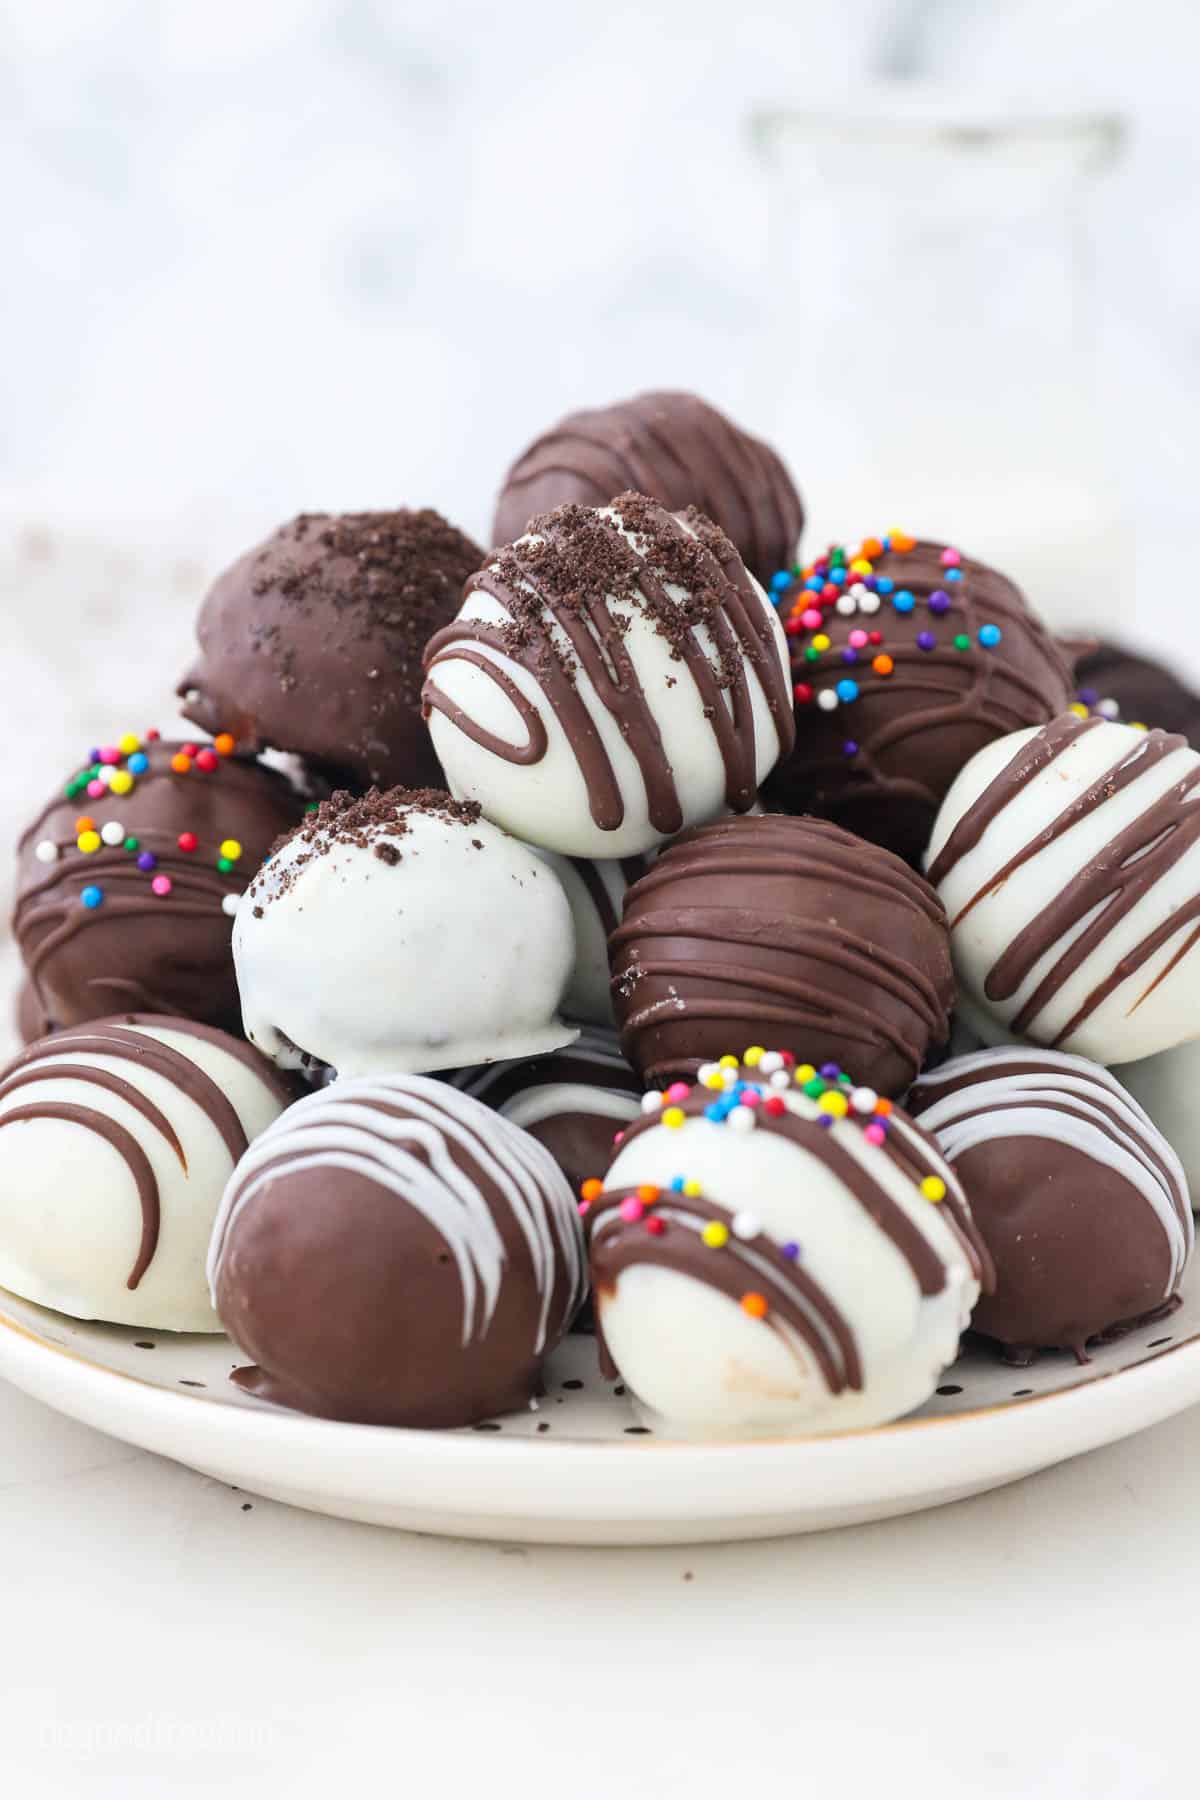
These no-bake Oreo truffles are rich, chocolatey, and completely crave-worthy. The filling is a mix of crushed Oreos and cream cheese, so it’s smooth, sweet, and just a little tangy. They’re like the best parts of a cookie and cheesecake in one bite. Each truffle gets coated in melted Ghirardelli chocolate and finished with a drizzle for that perfect mix of crunch and creaminess. They’re super easy to make, but taste like something straight out of a fancy chocolate shop, which makes them perfect for parties, holidays, or anytime you need a no-fuss treat that everyone loves.
Featured Reader Comment
I made these with my granddaughter & they were delicious!
What Makes These Oreo Truffles So Ridiculously Good
- Just four ingredients. Yep, that’s it. Oreos, cream cheese, chocolate, and whatever you want to drizzle or sprinkle on top.
- No oven, no fuss. These are no-bake, which means less time waiting and more time snacking.
- That chocolate shell is everything. I dip mine in Ghirardelli chocolate so each bite has that perfect snap before you hit the creamy center.
- Great for gifting (if you don’t eat them first). They look fancy, keep well in the fridge, and always disappear fast.
How to Make Oreo Truffles
These simple treats are super easy to make:
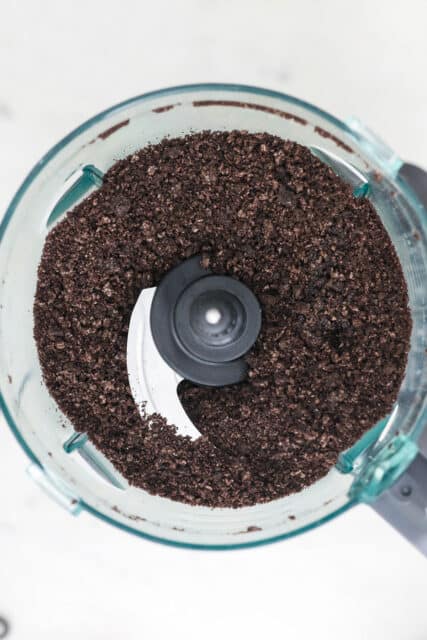
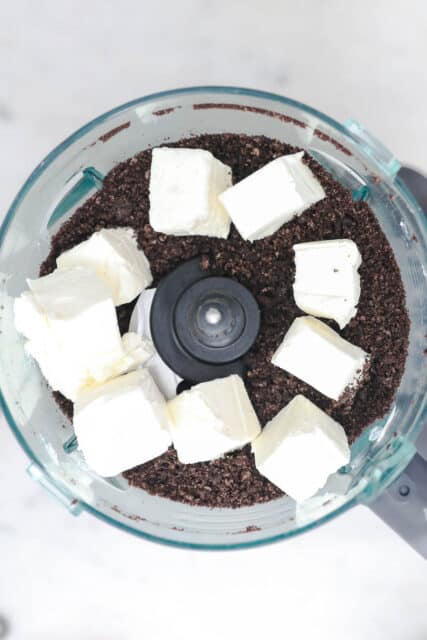
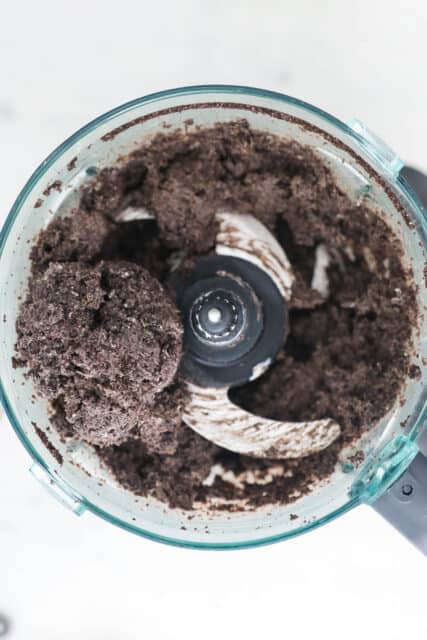
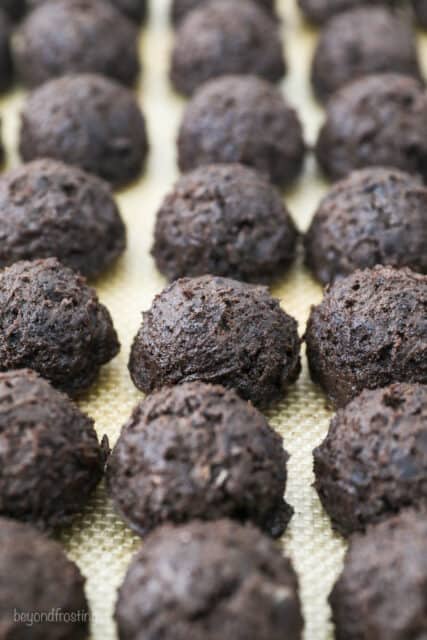
- Make the Oreo filling. First, prepare a baking sheet by lining it with parchment paper. Once that’s done, use either a food processor or blender to grind the cookies. When the cookies have become a fine crumb, add the cream cheese and vanilla and blend completely.
- Shape and chill the truffles. Once the batter is finished, use a cookie scoop to scoop the Oreo mixture and place onto the baking sheet. Then chill either in the refrigerator for 30 minutes or freezer for 15 minutes. Once chilled, remove the truffles and roll them between your hands to form a ball.
- Melt the chocolate. I recommend melting the chocolate wafers in 30-second periods at 50% power in the microwave, this helps to prevent the chocolate from burning. You’ll want to stir frequently, every 30 seconds, and continue this process until the chocolate is melted.
- Coat the truffles. I recommend working with only 6 truffles at a time while keeping the rest of the balls in the refrigerator until ready so they don’t get too soft.
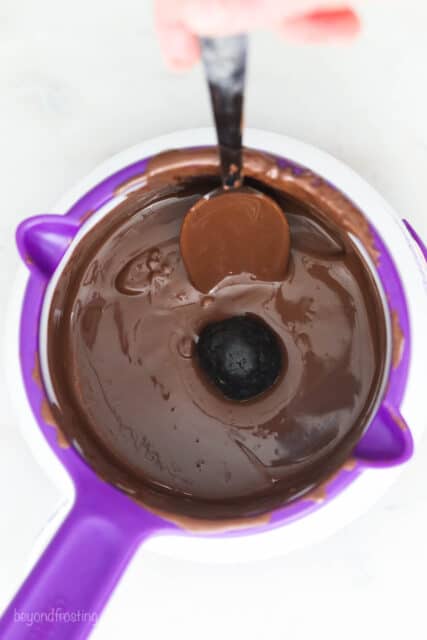
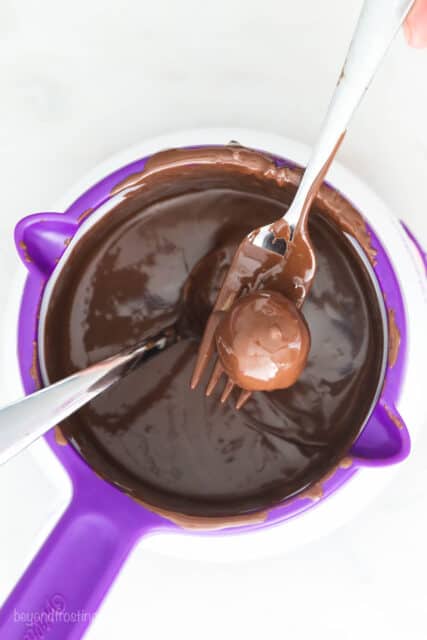
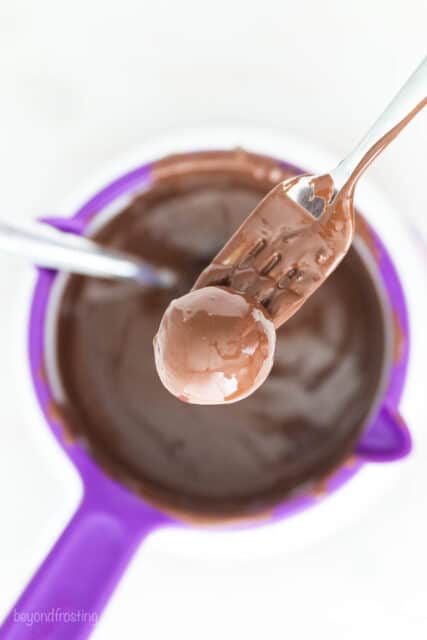
- Completely cover the truffles in chocolate. One at a time, by using a spoon to dip them in the mixture. Then, use a fork to remove each truffle from the mixture and tap it on the side of the bowl to remove any extra chocolate. Place the coated truffle back on the baking sheet.
- Decorate! If you want to add toppings or sprinkles, make sure to do that before the chocolate sets. If all you want to do is add another chocolate drizzle, wait to do so until after the chocolate has set completely.
Tips for Making Oreo Truffles
- Stick with regular Oreos. You can play around with different flavors, but skip the Double Stuf. There’s too much filling and it can mess with the texture.
- Work in small batches. Only take out about 6 truffles at a time to dip. If they sit out too long, they get too soft and hard to coat cleanly.
- Double dip white chocolate if needed. White chocolate goes on thinner and can look streaky against the dark Oreo filling. If you want a cleaner finish, plan to dip them twice. Just melt a second batch of candy melts after the first round since the coating can pick up crumbs.
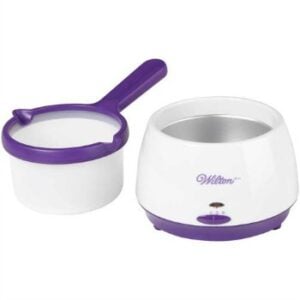
- Use a melting pot if you have one. It keeps the chocolate at the right temperature and helps prevent scorching, especially when you’re working with a bigger batch.
- Choose the right chocolate. I love using Ghirardelli melting wafers or almond bark. They melt smooth and set up with that perfect snap. Wilton melts work great for adding color, but they don’t have that true chocolate flavor.
Decorating Ideas
Feel free to make these truffles your own by experimenting with decorations. Here are a few decorating ideas to get you started:
- Drizzle with a different type of chocolate: I coated half of my truffles in white chocolate and the other half in dark. Whichever chocolate I didn’t coat each truffle in I used to drizzle on top.
- Add color for a seasonal look: You can color these truffles by using colored candy melts, like a red or green drizzle for Christmas
- Try new toppings: Try rolling these truffles in different toppings before allowing them to set. You could use coconut, sprinkles, or crushed nuts. The possibilities are endless!
How to Store Leftovers
- Store in the fridge: Since these Oreo truffles are made with cream cheese, they shouldn’t be left at room temperature for more than 2 hours. Once the chocolate has hardened, just place them in an airtight container, lining each layer with parchment paper to prevent sticking. Then store them in the refrigerator for up to 2 weeks.
- Can I freeze them? Yes, you can freeze Oreo Truffles! First, make sure that the chocolate has completely set. Once the truffles are ready, place them in a freezer-safe container, lining each layer with parchment paper to prevent sticking. These chocolates can be frozen for up to 3 months. When you’re ready to serve them, allow the chocolates to thaw in the fridge overnight.

Oreo Truffles
- Prep Time: 60 minutes
- Total Time: 1 hour
- Yield: 36 truffles
- Category: Dessert
- Method: No-Bake
- Cuisine: American
Description
Homemade Oreo Truffles are the perfect balance of sweet, rich, and fudgy. Made with just 5 ingredients, these no-bake treats are simple and easy to make!
Ingredients
- 1 package (14.3oz) Oreos
- 8 ounces (226g) Full-fat cream cheese
- 1 teaspoon (5ml) Pure vanilla extract
- 10 ounces (283g) Ghirardelli dark chocolate melts
- 10 ounces (28g) Ghirardelli white chocolate melts
Instructions
For the Oreo Filling:
- Line a baking sheet with parchment paper.
- Grind the cookies into a fine crumb using a food processor or blender. Then add the cream cheese and vanilla extract and blend until completely incorporated.
- To scoop the truffles, use a medium size cookie scoop (about 1 tablespoon). Scoop one at a time and place on the baking sheet. Refrigerate for 30 minutes or freeze for 15 minutes.
- Remove from the refrigerator and roll them between your hands to form a ball. Then place back in the refrigerator.
For the Chocolate Coating:
- In a microwave-safe bowl, melt the chocolate wafers at 50% power in 30-second intervals; stir after each interval and continue until the chocolate is melted. Reduce microwave time as needed so the chocolate does not burn.
- Use a spoon to dip the truffle in the chocolate, covering it completely. Then lift out of the chocolate with a fork and tap the fork on the side of the bowl to remove excess chocolate. Place bake on the baking sheet and allow the chocolate to set completely.
- To add toppings, do so before the chocolate sets. To add an additional chocolate drizzle, do so after the chocolate coating has set.
Notes
- When dipping the truffles, I recommend working in small batches (6 at a time) and keep the remaining Oreo balls in the refrigerator until ready to prevent the Oreo balls from getting too soft.
- You do not need to remove the cream filling from the Oreos.
Nutrition
- Serving Size: 1 Truffle
- Calories: 69
- Sugar: 5.4 g
- Sodium: 25.9 mg
- Fat: 4.7 g
- Carbohydrates: 6.6 g
- Fiber: 0.6 g
- Protein: 1 g
- Cholesterol: 6.4 mg
Filed Under:
More No Bake Treats
If you liked these truffles, here are some more easy desserts that I think you’ll enjoy:


I made these with my granddaughter & they were delicious! Thank you
Yeah! Thank you so much Lyn!