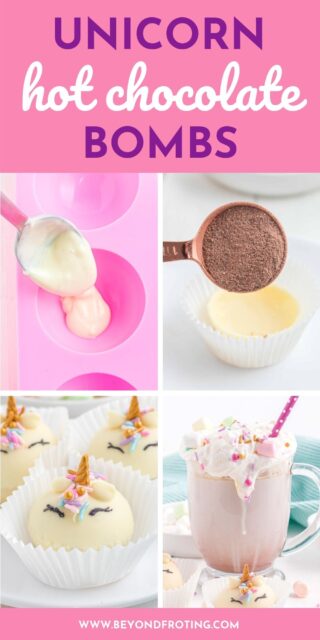
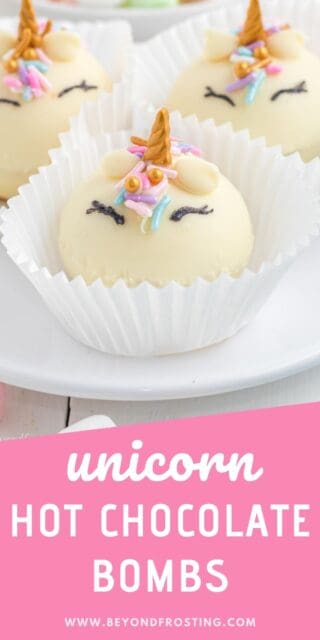
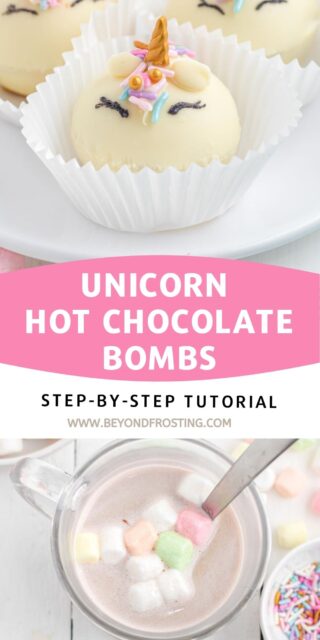
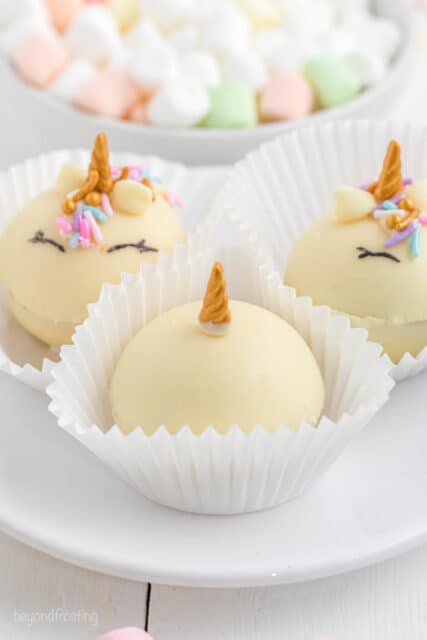
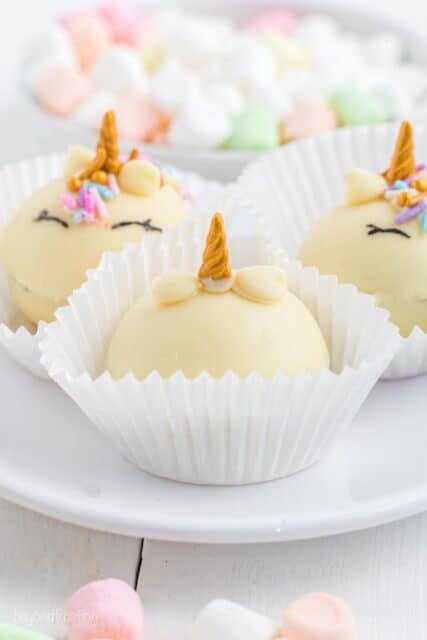
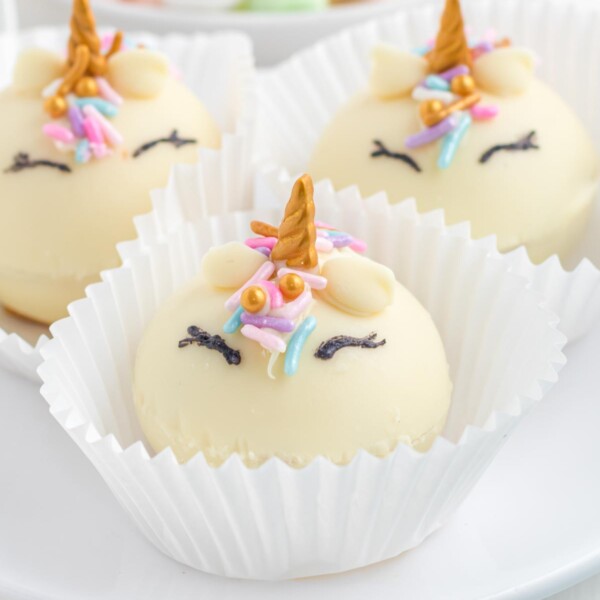
These widely popular hot chocolate bombs are decorated like Unicorns for a fun and colorful twist. See just how easy they are to make! Inside they’re filled with hot cocoa mix and mini marshmallows.
If you love Unicorn desserts, you’ll love my unicorn cupcakes too!
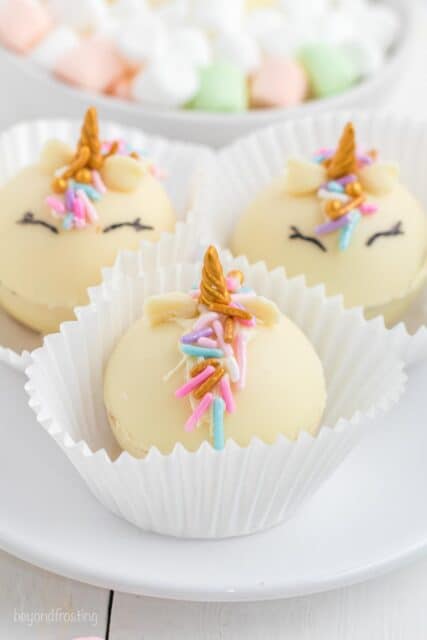
Easy Unicorn Dessert Idea
If you’re like me, you might be looking at these photos and thinking, I could never do this! But trust me, you can! My secret weapon is the Unicorn sprinkle mix (link below in the ingredient section). They have the unicorn horns included in the sprinkle mix. How easy is that? I’ll show you step-by-step how to decorate these.
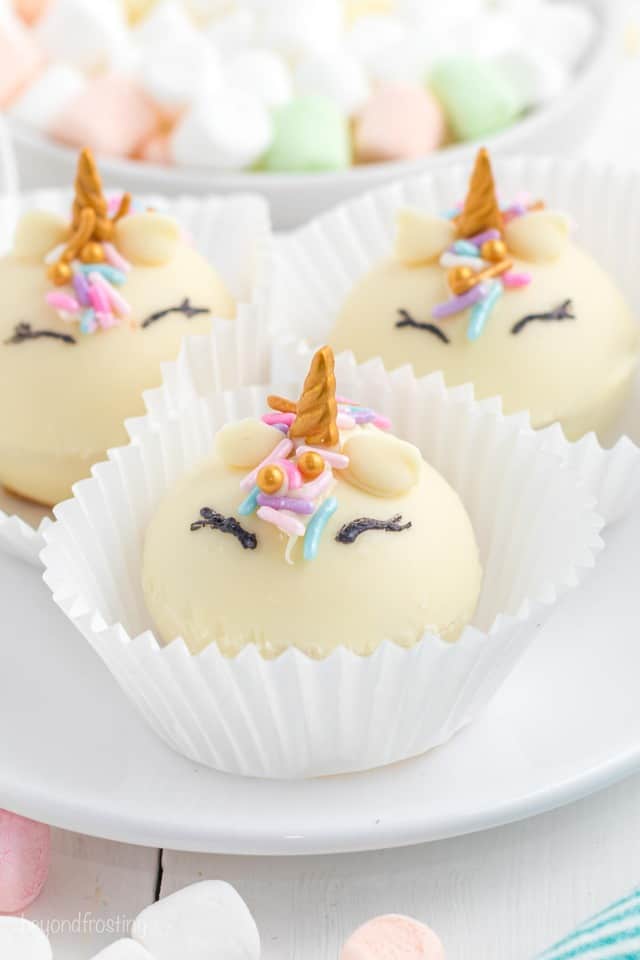
I just can’t resist how colorful and cute they are. These would be perfect for a Unicorn themed birthday party, especially as party favors or served with the cake. Dress them up with a cellophane bag and some colorful ribbon.
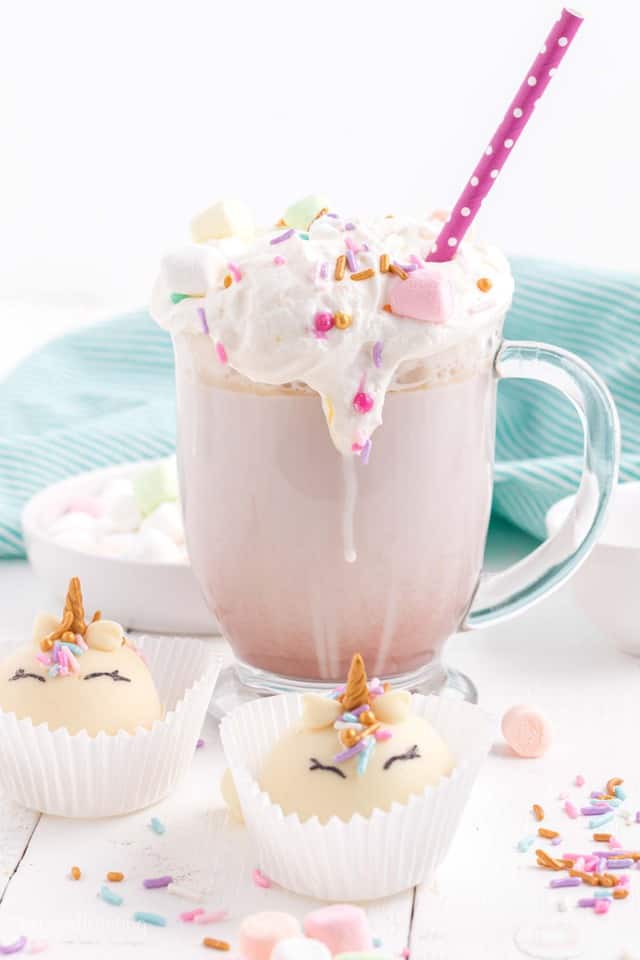
How to Serve the Hot Chocolate
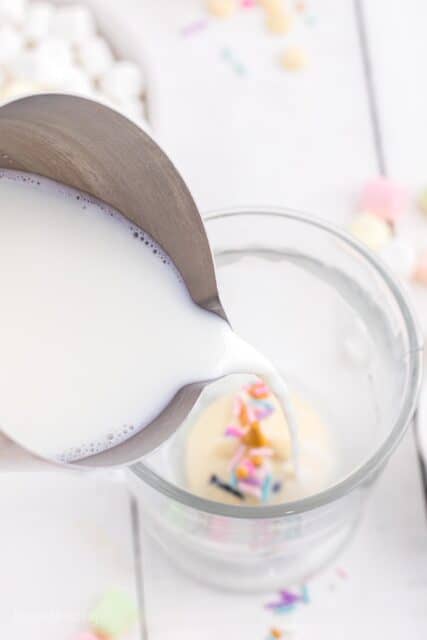
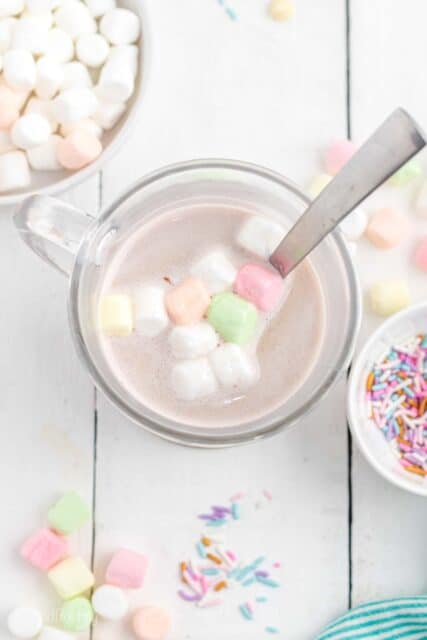
Who wouldn’t love a glass of unicorn hot chocolate? Extra sprinkles for me please. Heat up a glass of milk and drop a bomb into the bottom of a mug, then pour the warm milk over top. As the chocolate starts to melt, stir it all together until the hot chocolate powder is dissolved. Top with a batch of homemade whipped cream and more sprinkles.
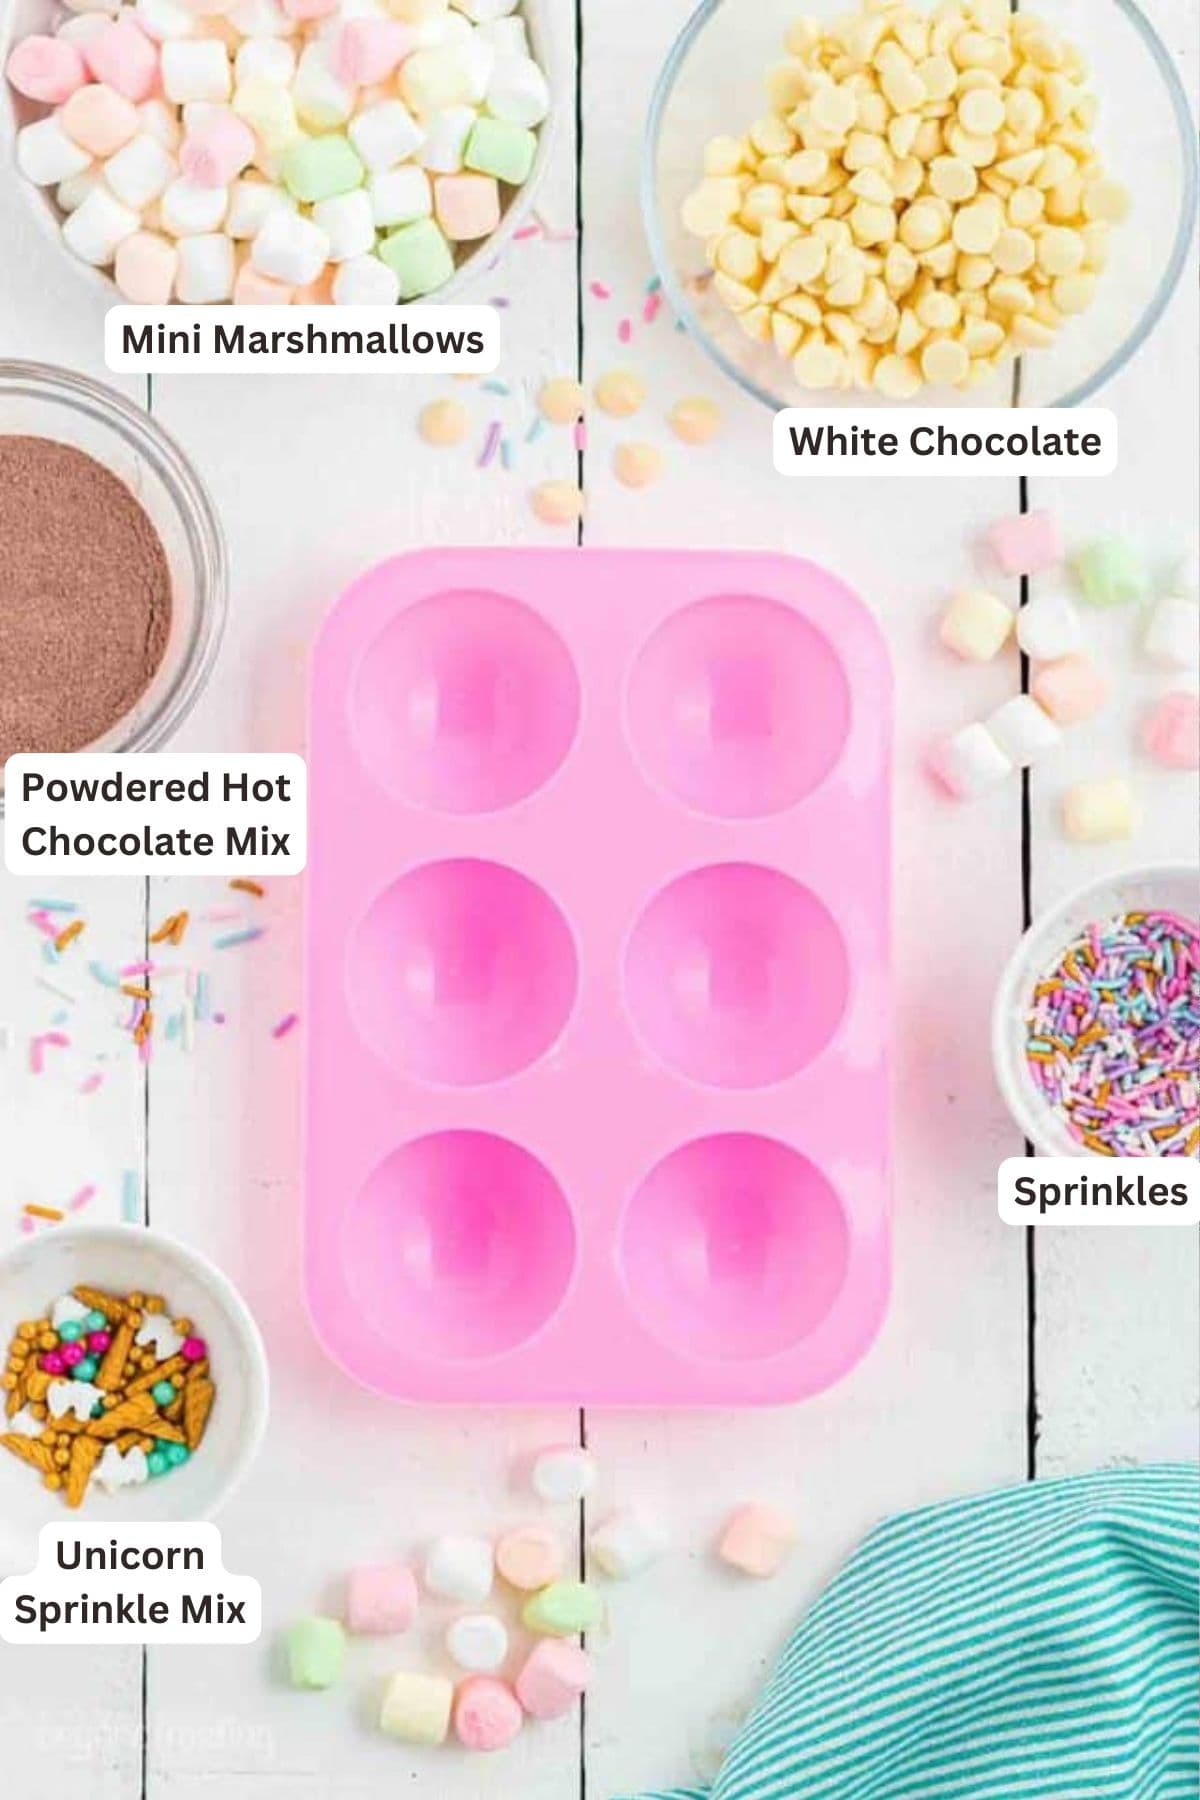
Ingredients & Tools
- White chocolate bar (milk or dark chocolate also work)- see my detailed tips below for working with white chocolate.
- Powdered hot chocolate mix
- Mini Marshmallows
- White chocolate chips – for the Unicorn ears
- Unicorn Sprinkle Mix you can probably find these at Michaels, Walmart or another craft store as well
- Black food gel – to decorate the eyes
- Silicone mold
- Toothpicks
- Cupcake wrappers
- Food safe gloves for easy handling (optional)
Tips for working with white chocolate
White chocolate can be a little trickier to work with than milk or dark chocolate. For these, I would recommend using chocolate bars or melting wafers (such as Ghirardelli), but I would stay away from candy melts as they’re thicker and don’t taste the same as real chocolate. It’s important that you follow the instructions for microwaving the chocolate at 50% power so it doesn’t burn.
White chocolate also tends to be much thicker than milk or dark chocolate no matter what type you use. It’s also less opaque, so if you find that the chocolate looks too thin once it’s poured in the mold, you may need two coats of chocolate.
While you can use chocolate chips, they will be a little thicker and take a little longer to set. Chocolate chips have added ingredients so they do not melt down as smoothly and can have more of a waxy finish. So if you are going to choose chocolate chips, you might consider adding a little vegetable or coconut oil to help thin it out.
How to Make the Chocolate Shells
If you’d like a more in depth tutorial for how to make hot chocolate bombs, you can take a look at this tutorial.
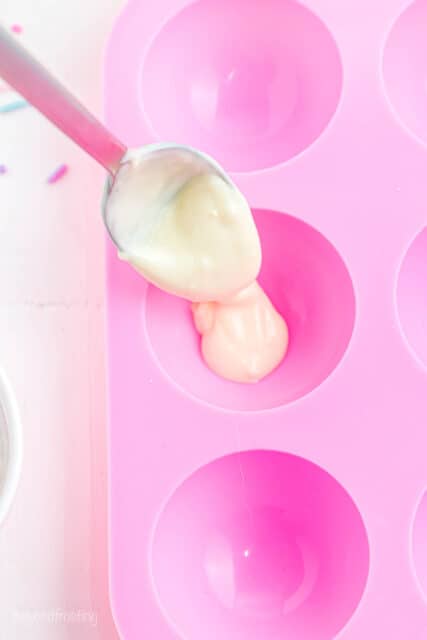
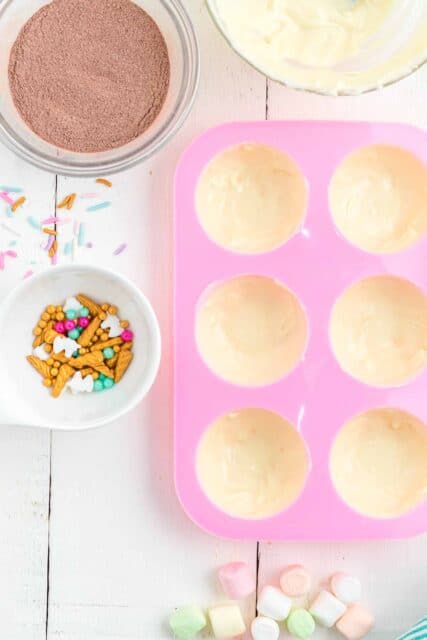
Melt the chocolate & coat the molds: It’s important to slowly heat the chocolate so it doesn’t burn or seize so melt the chocolate at 50% power in 20 second increments. Stirring each time until melted and smooth. Wipe your mold clean prior to using. Put a spoonful of melted chocolate in each cavity and swirl it around to coat the outside. Refrigerate for 10-15 minutes until set.
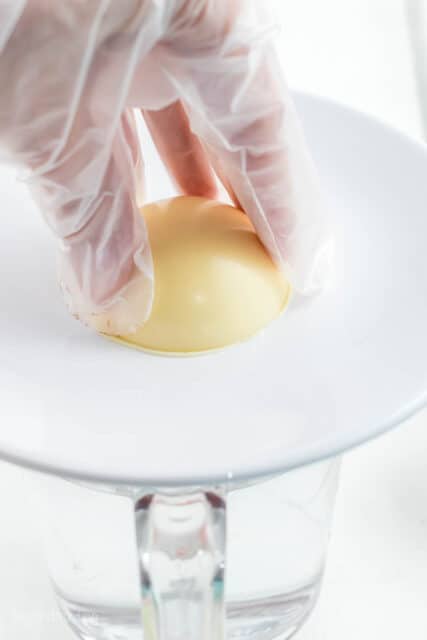
Remove and Melt the edges: Be sure to allow the chocolate in the mold to set completely prior to removing them. Place a plate overtop of the measuring cup filled with about ¾ cups of boiling water. The plate will get warm enough to melt the edges of the chocolate sphere enough do that they can be sealed together. Another option is to use a warmed skillet. Gently press the chocolate shell against the heated plate just until the edges are soft. Quickly flip over the shell and place it in the cupcake wrapper.
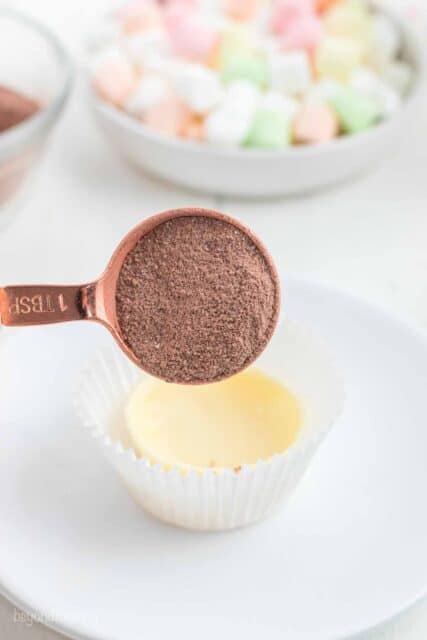
Fill & Seal: Fill the shell with 1 tablespoon of hot chocolate mix and a couple of mini marshmallows. Careful not to over stuff, as it will be difficult to seal. Repeat the above step to melt the edges of the chocolate and then gently press the two shells together. Refrigerate for 10-15 minutes to set.
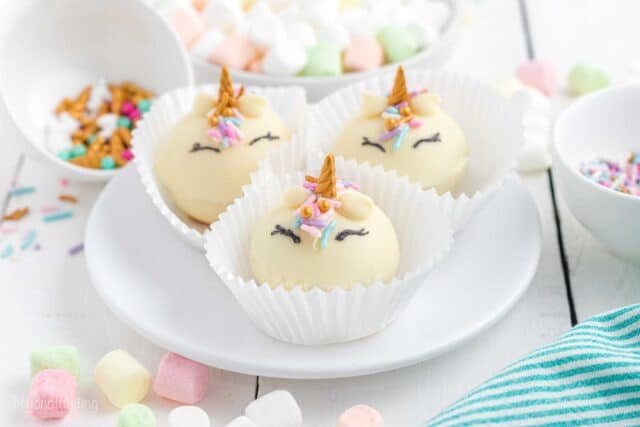
How to Decorate Unicorn Hot Chocolate Bombs
Melt additional chocolate: Melt 2 ounces of chocolate in the microwave (don’t forget melt at 50% power!).
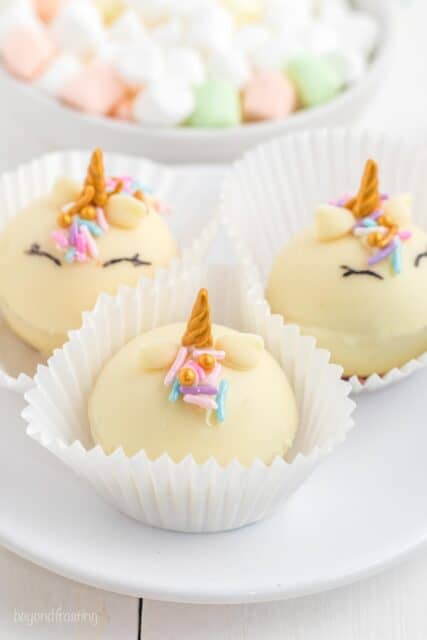
Add the unicorn Horn: Separate the unicorn horn from the sprinkle mix. Dip the end of unicorn horn sprinkle in melted chocolate and position on the top center of the head.
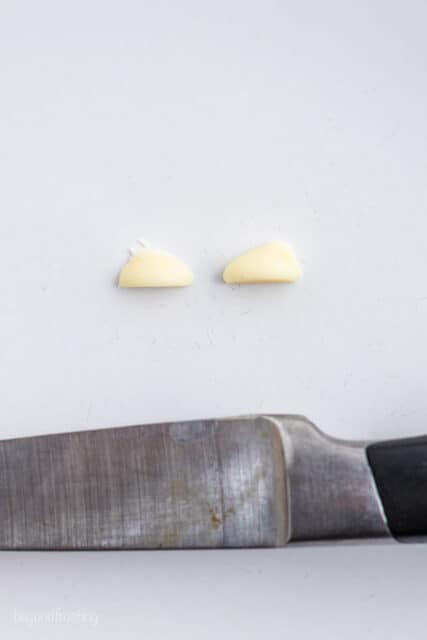
Unicorn Ears: Using a sharp knife, cut a chocolate chip in half to form 2 ears. Drop a little bit of melted white chocolate on the bottom of the chocolate chip and attach ears on either side of the horn.
Sprinkle Mane: To make the sprinkle mane, dip a toothpick in white chocolate and paint a triangle pointing down on the unicorn head. Immediately cover with sprinkles. Repeat on the backside of the head. You can use a piping bag or angled spatula for this.
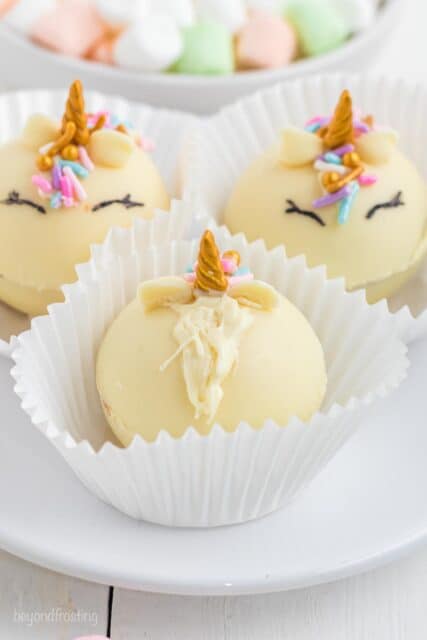
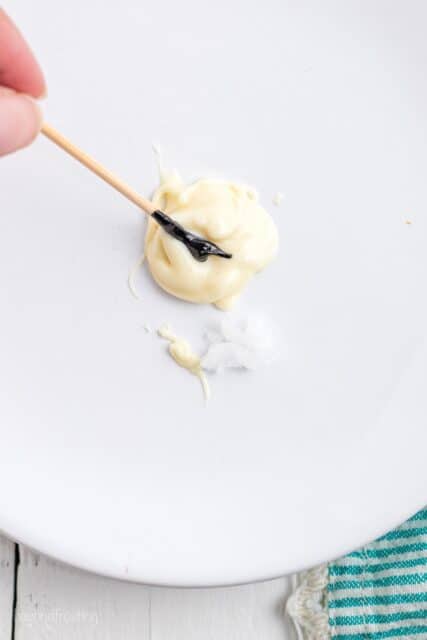
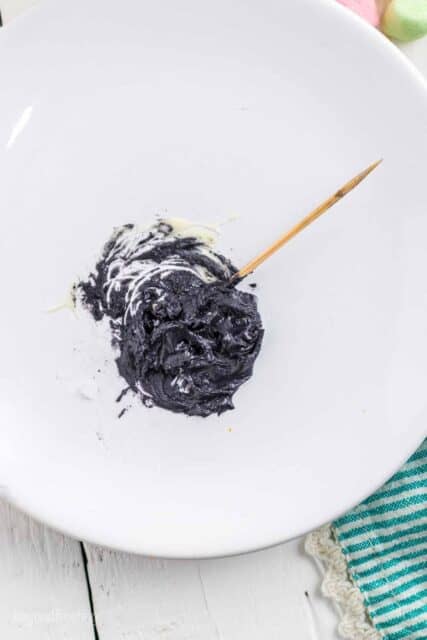
For the eyes: Mix approximately 2 teaspoons of melted white chocolate with tiny drop black food coloring and blend until well combined. To add small amounts of the black gel, I recommend putting a drop on your plate and then mixing it in with a toothpick. To draw the eyes, use a toothpick.
Let them set: Allow them sit until the white chocolate has completely set.
How to Store These
Store Hot Chocolate Bombs in a cool dry place until ready to use. They can be kept in an airtight container for one week. These also make great gifts! Package them up in cellophane bags with a cute ribbon.
Unicorn Chocolate Bombs
- Prep Time: 30 minutes
- Chill time: 20 minutes
- Total Time: 50 minutes
- Yield: 6 servings
- Category: Dessert
- Method: Microwave
- Cuisine: American
Description
These widely popular hot chocolate bombs are decorated like Unicorns for a fun and colorful twist. See just how easy they are to make! Inside they’re filled with hot cocoa mix and mini marshmallows.
Ingredients
Chocolate Shells
- 10-ounce (283g) white chocolate bar or 1 bag Ghirardelli melts (reserve 2 ounces of decoration)
- 6 tablespoons powdered hot chocolate mix
- Mini Marshmallows
Decorations
- White chocolate chips
- Unicorn Sprinkle Mix
- Black food gel
Instructions
Chocolate Shells
- In a microwave-safe bowl, melt 4 ounces of chocolate at 50% power in 20 second increments. Stirring each time until melted and smooth.
- Coat the cavities of the mold one at time. Put a spoonful of melted chocolate in each cavity and swirl it around to coat the outside. If it’s thin, add additional chocolate then refrigerate for 10-15 minutes. (note this could take longer depending on thickness). Melt additional chocolate if needed.
- Boil about ¾ cups of water either on the stovetop or in the microwave. Place a plate overtop of the measuring cup to warm the plate.
- Remove the chocolate shells from the mold. Press the one shell on your heated plate briefly to heat the edges. Quickly flip over the shell and place it in the cupcake wrapper.
- Fill the shell with 1 tablespoon of Hot Chocolate mix and a couple of mini marshmallows. Do not over stuff.
- Repeat step 4 and gently press the two shells together, being careful not to press too hard so you don’t crack your bottom shell. Refrigerate for 10-15 minutes to set.
To decorate:
- Melt 2 ounces of chocolate in the microwave as indicated above.
- Unicorn Horn: Separate the unicorn horn from the sprinkle mix. Dip a unicorn horn in melted chocolate and position on the top center of the head.
- Unicorn Ears: Using a sharp knife, cut a chocolate chip in half to form 2 ears. Drop a little bit of melted white chocolate on the bottom of the chocolate chip and attach ears on either side of the horn.
- Sprinkle Mane: To make the sprinkle mane, dip a toothpick in white chocolate and paint a triangle pointing down on the unicorn head. Immediately cover with sprinkles. Repeat on the backside of the head.
- For the eyes: Mix approximately 2 teaspoons of melted white chocolate with tiny drop black food coloring and blend until well combined. To add small amounts of the black gel, I recommend putting a drop on your plate and then mixing it in with a toothpick. To draw the eyes, use a toothpick.
- Allow the hot chocolate bombs to sit until all the melted chocolate has set. Serve or package as a gift.
To serve:
- Place a chocolate bomb in the bottom of a mug. Heat milk in the microwave until desired consistency, pour warm milk over the chocolate bomb. Stir until combined. Serve with whipped cream. Top with leftover sprinkles.
Notes
- Here’s the silicone mold I used. It makes 2″ size bombs.
- If the white chocolate is too thick: Add melted coconut oil or vegetable oil 1 teaspoon at a time and stir until desired consistency.
- How to store: Store in a cool dry place until ready to use. They can be kept in an airtight container for 1 week
- Doubling this recipe: This recipe makes 6 hot chocolate bombs, because you need two halves and the mold has 6 cavities, so you can make three at a time. If you would like to make more, I recommend making them one batch at a time rather than doubling the chocolate as you will have to continue melting the chocolate and eventually it can discolor.
- Types of chocolate to use: You can use milk, white or dark chocolate. High quality chocolate bars are best. Chocolate chips can be used, but they do not melt down as smoothly and can produce a different finish.
- Additional tip for sealing: If you find the method with the heated plate is not warm enough to remelt the edge of the chocolate sphere, try warming a skillet on the stovetop.
Nutrition
- Serving Size: 1
- Calories: 253
- Sugar: 24g
- Sodium: 69mg
- Fat: 13g
- Carbohydrates: 31g
- Fiber: 2.8g
- Protein: 2.4g
- Cholesterol: 1.9mg