

This Homemade all butter Gluten-Free Pie Crust bakes up so soft yet has distinct flaky layers and with a buttery finish. It’s super easy to make and doesn’t require any crazy ingredients.
Looking for a regular pie crust? Try this easy homemade pie crust.
Flaky Gluten Free Pie Crust
Testing pie crust recipes is a difficult job, but someone has to do it! Most crust recipes only require a few basic ingredients. However, with the addition of just a couple more pantry staples, you have yourself an amazing pie crust that you would never even guess is gluten-free.
The thing I love about this is the buttery flavor and flaky texture of the crust. No dry and brittle crusts here! Plus, you can easily make it in advance and store it in the fridge or freezer for later.
The BEST gluten free pie crust!! I’ve been gluten free for 6 years and have tried so many homemade pie crust recipes and have never had any luck. Either it’s so crumbly you can’t roll it out or it tastes completely like flour. This one was amazing! And it was honestly so easy to make and work with. – Ashley
What Makes this Crust the Best?
After testing 9 different variations of this recipe, I can attest this is the best gluten-free pie crust. The process was long but super rewarding, and I learned a lot about the combination of ingredients and gluten-free all-purpose flours.
I’ve never been someone who is good at making a pretty pie. This is usually because the crust recipes I’ve used fall apart when I put them in the pan, or they come out to dry and brittle. So, it was especially important to me that this recipe met all my criteria.
- Simple ingredients
- It is easy to work with and won’t fall apart of you
- Tastes amazing (you’d never guess it was gluten-free)
- Bakes up soft and buttery but still has the distinct flakey layers you want in a pie crust
- It works with all types of fillings and can be blind baked for custard or pudding pies
Recipe Ingredients

- Unsalted Butter: It should be cold and straight from the fridge.
- Measure for Measure Gluten-Free Flour: Be sure it includes xanthan gum.
- Salt: For flavor. You may want to skip this if you are using salted butter.
- Sugar: Just a touch of sugar enhances the flavor, but don’t worry it won’t be sweet.
- Egg: To bind everything together. This is a game-changer.
- Distilled White Vinegar: Vinegar helps protect the dough against overworking, but you can use water instead if preferred.
- Water: It should be ice-cold
Choosing the right gluten-free flour
You need to be sure to use a measure for measure gluten-free flour that includes xanthan gum. This means that the flour is a one-for-one replacement with standard all-purpose flour. I tested this crust with several different brands of flour. My recommendations are King Arthur Flour or Bobs Red Mill.
Buying gluten-free flour from a company that specializes in a variety of flours makes all the difference when it comes to taste and texture. Store brands and flours from other companies that make cake mixes are not the same quality.
How to Make Gluten-Free Pie Crust
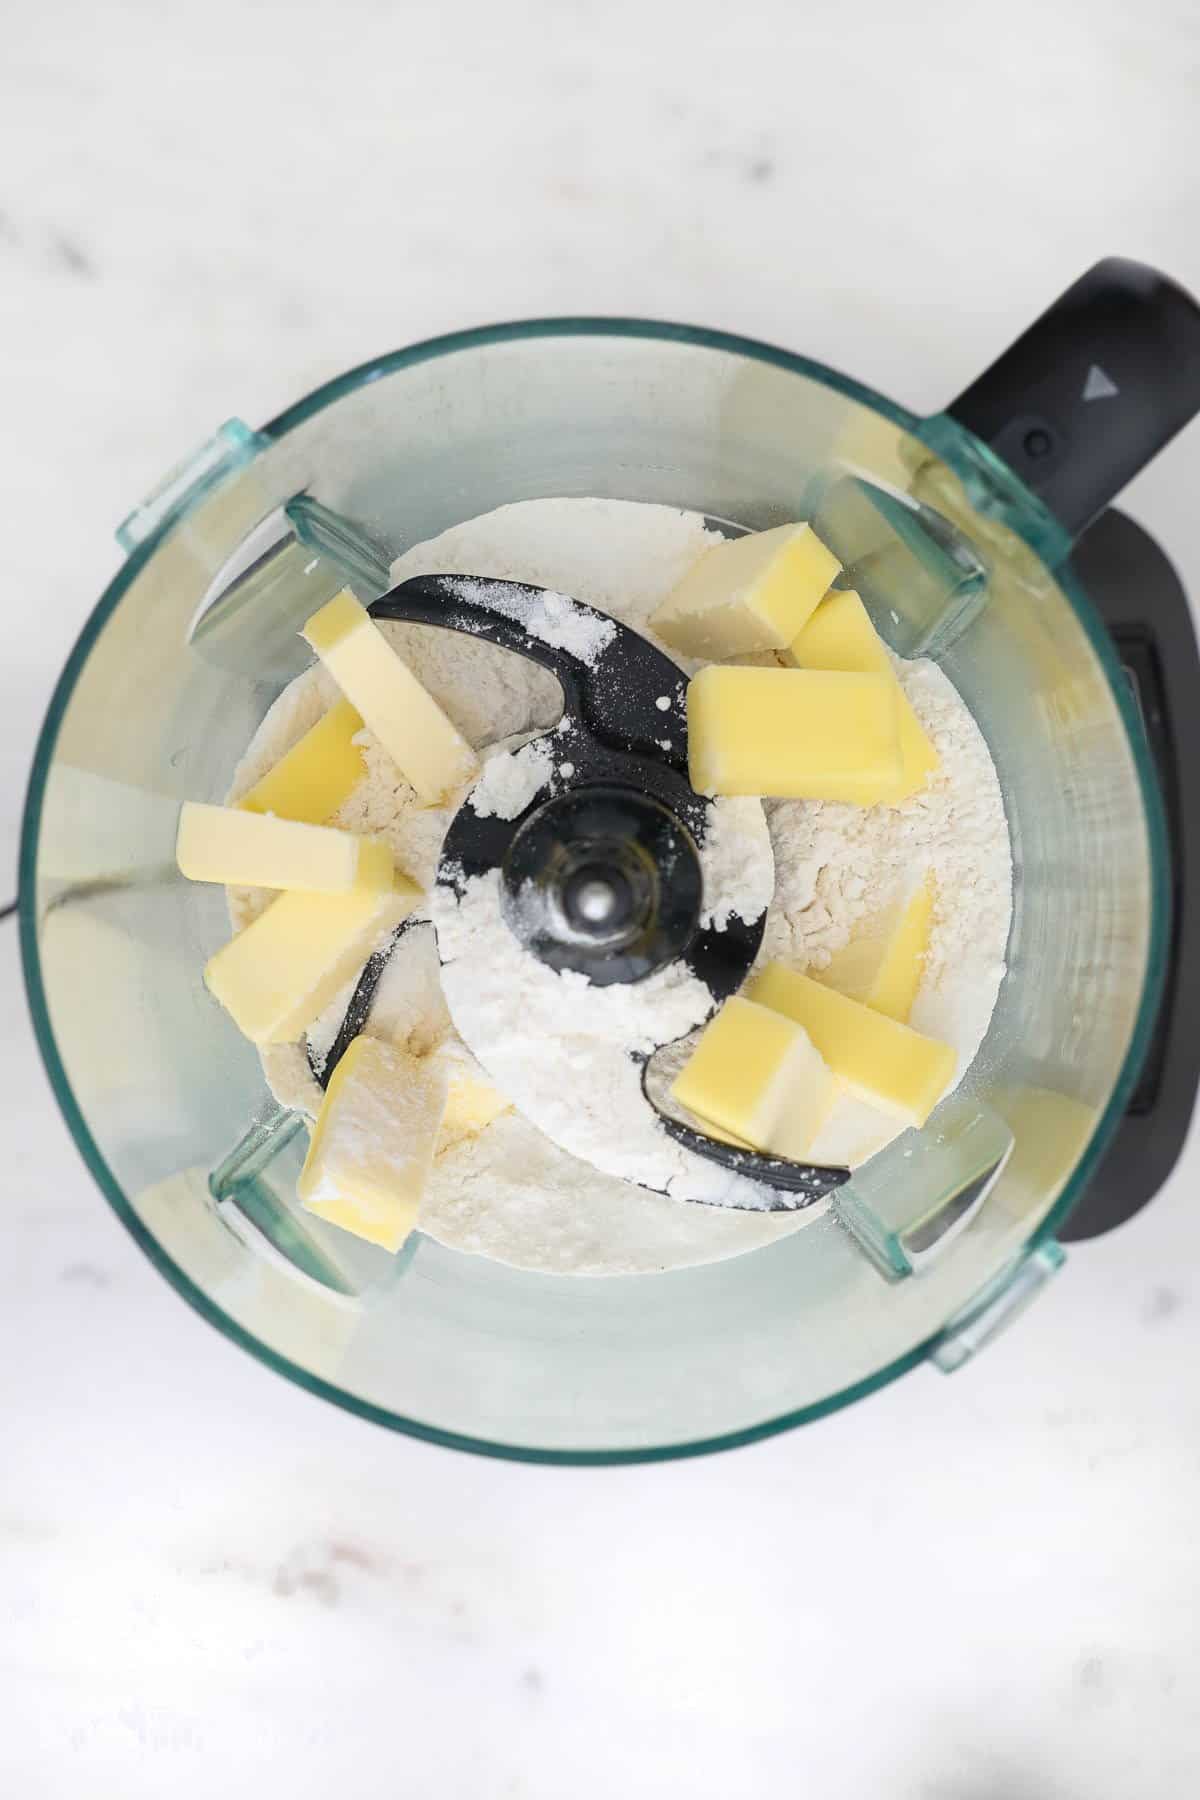
Prep butter: Cut the butter into cubes, about ½ inch thick.
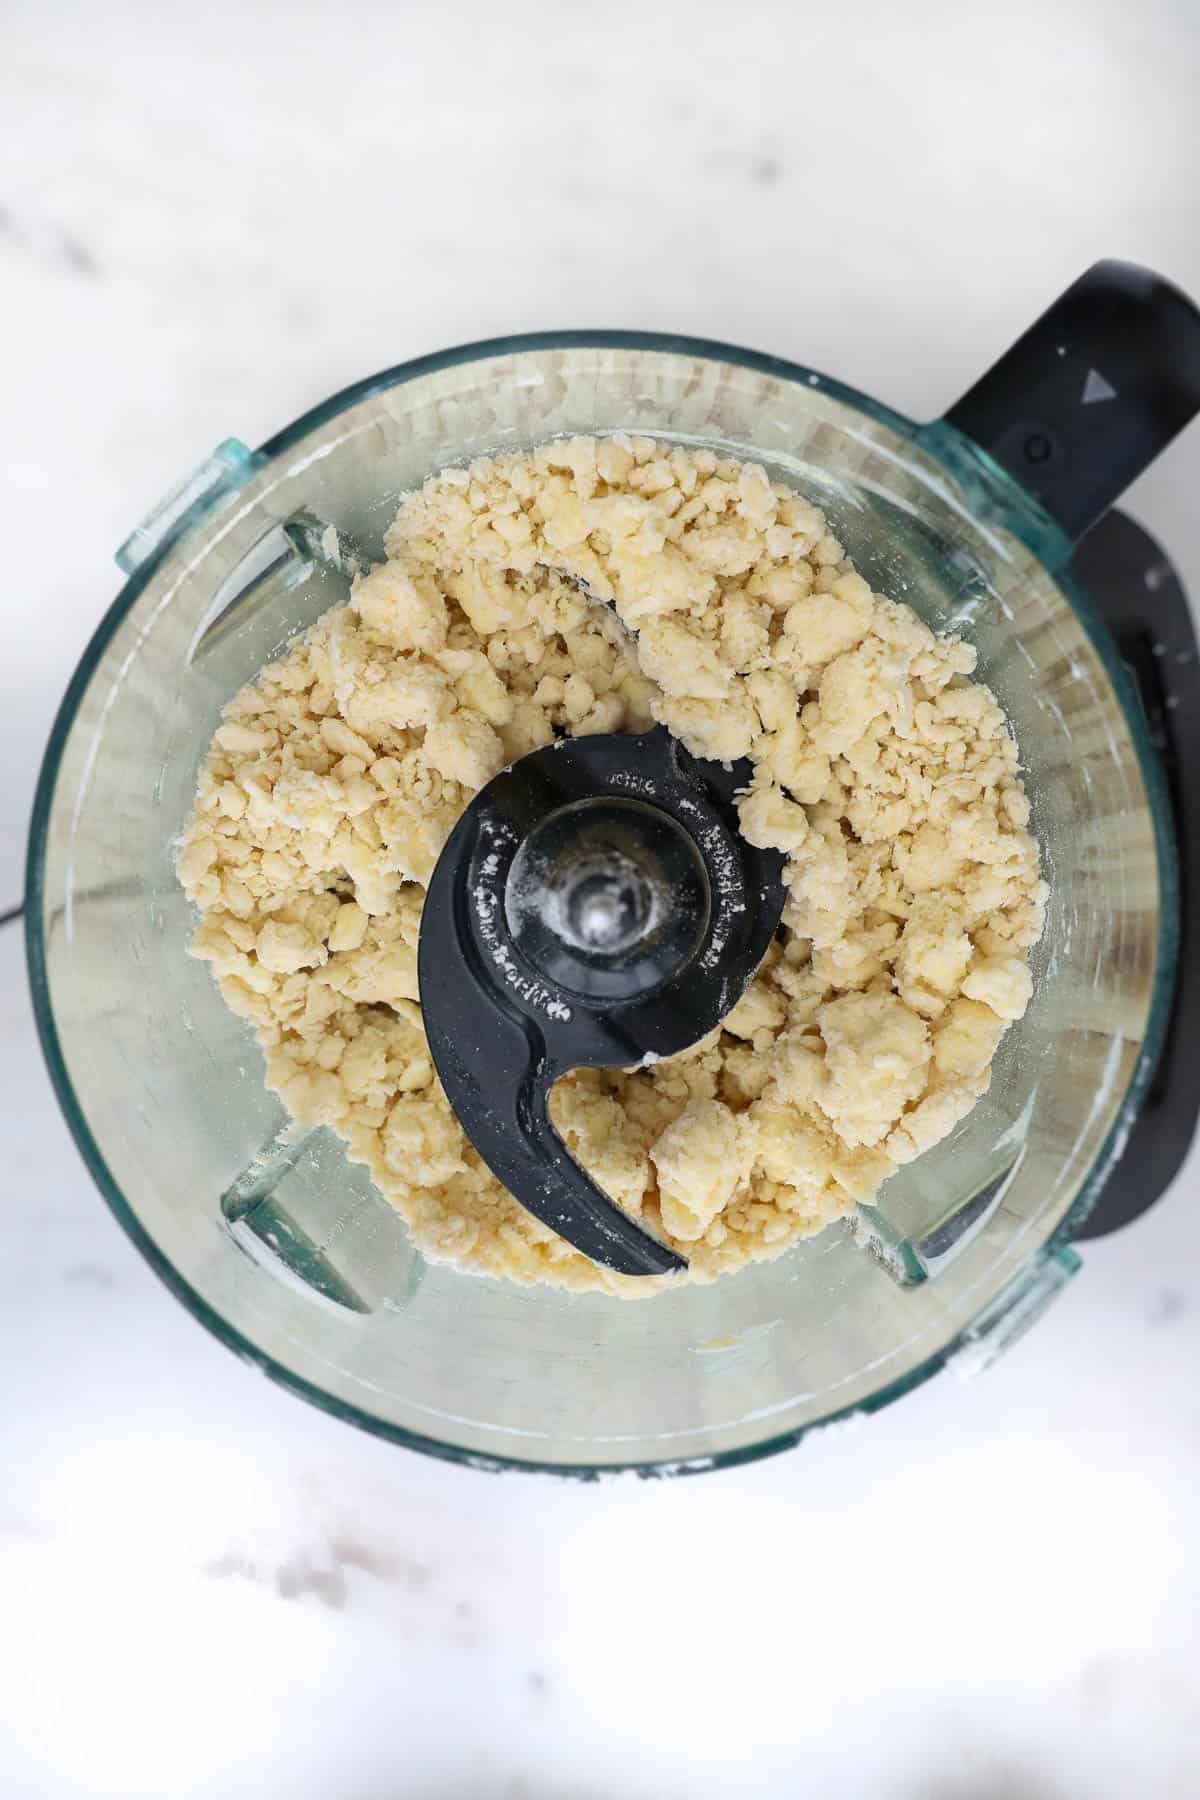
Combine butter with dry ingredients: Using a food processor, combine the dry ingredients and pulse to combine. Then add the butter. Pulse several times until the mixture is crumbly, but still has large chunks of butter.
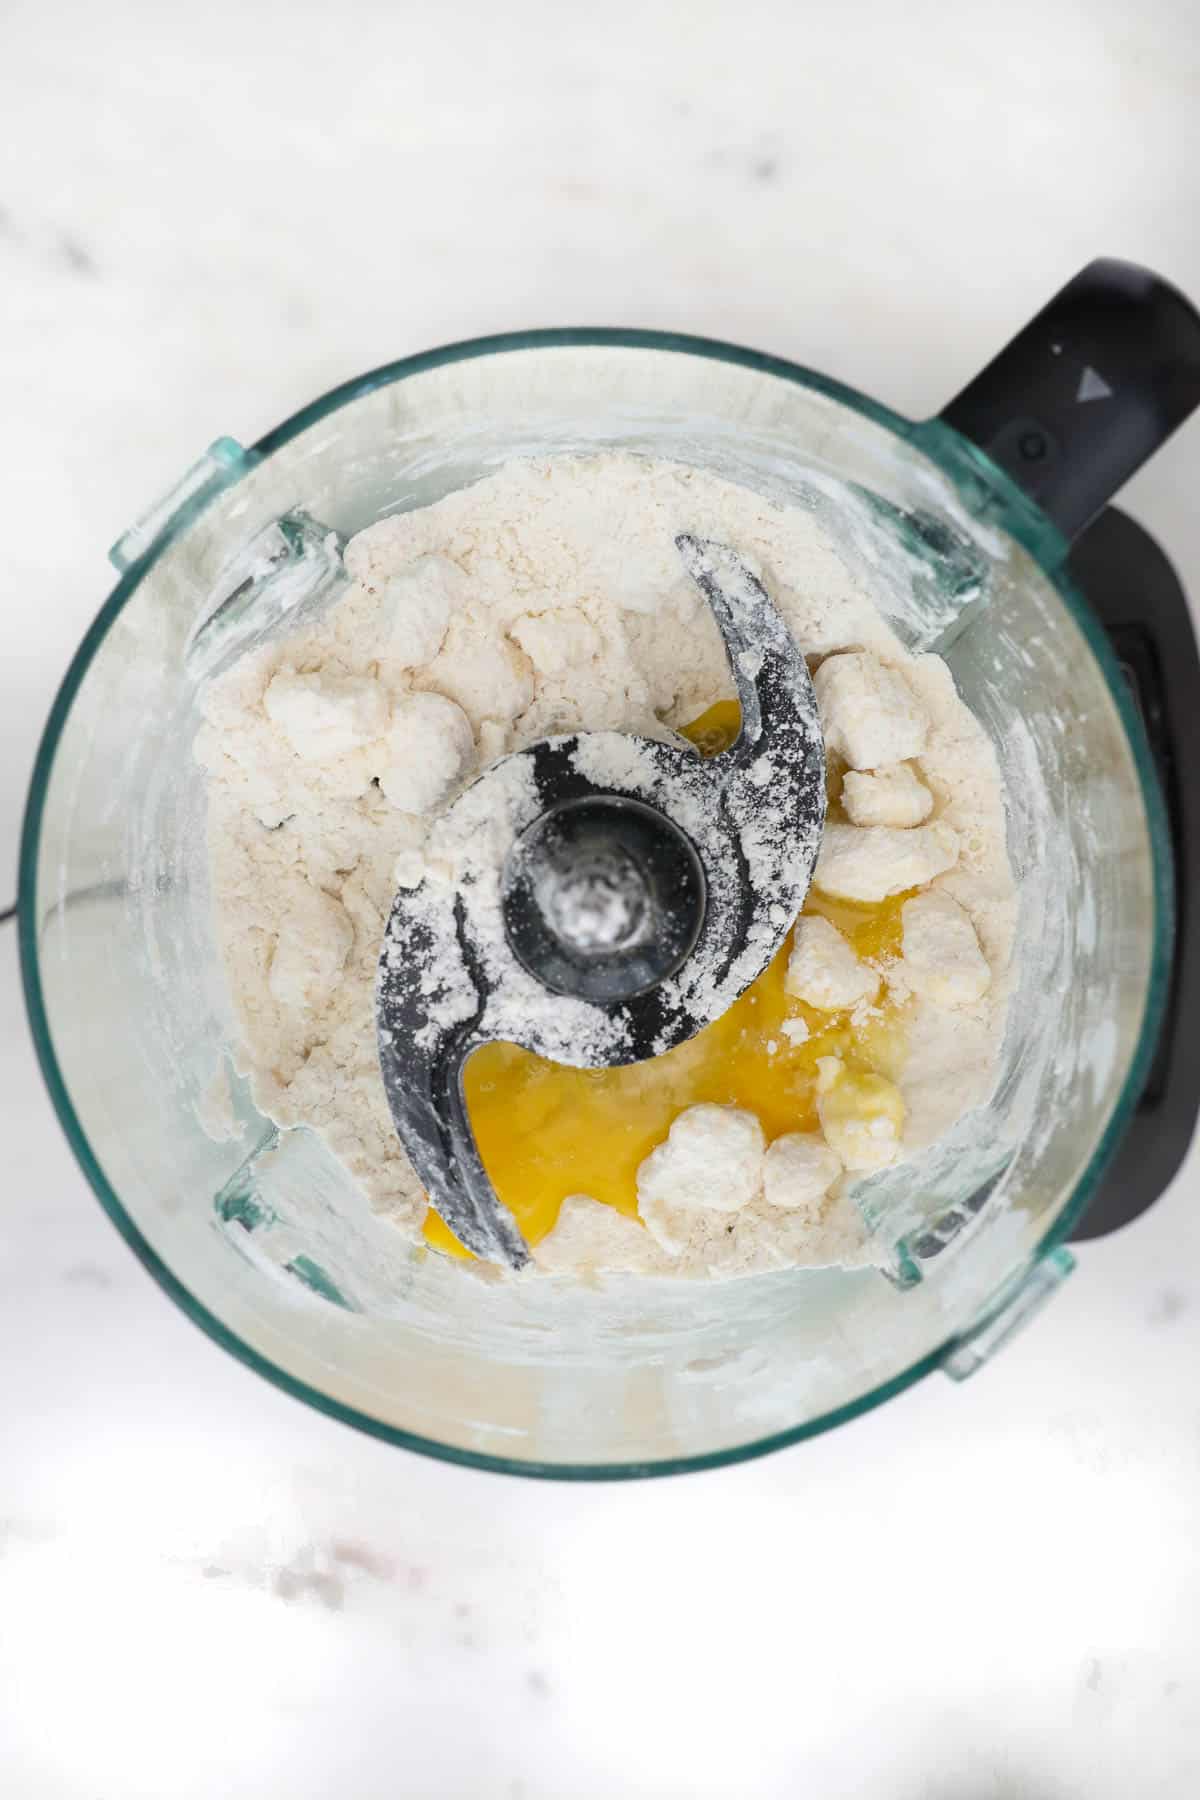
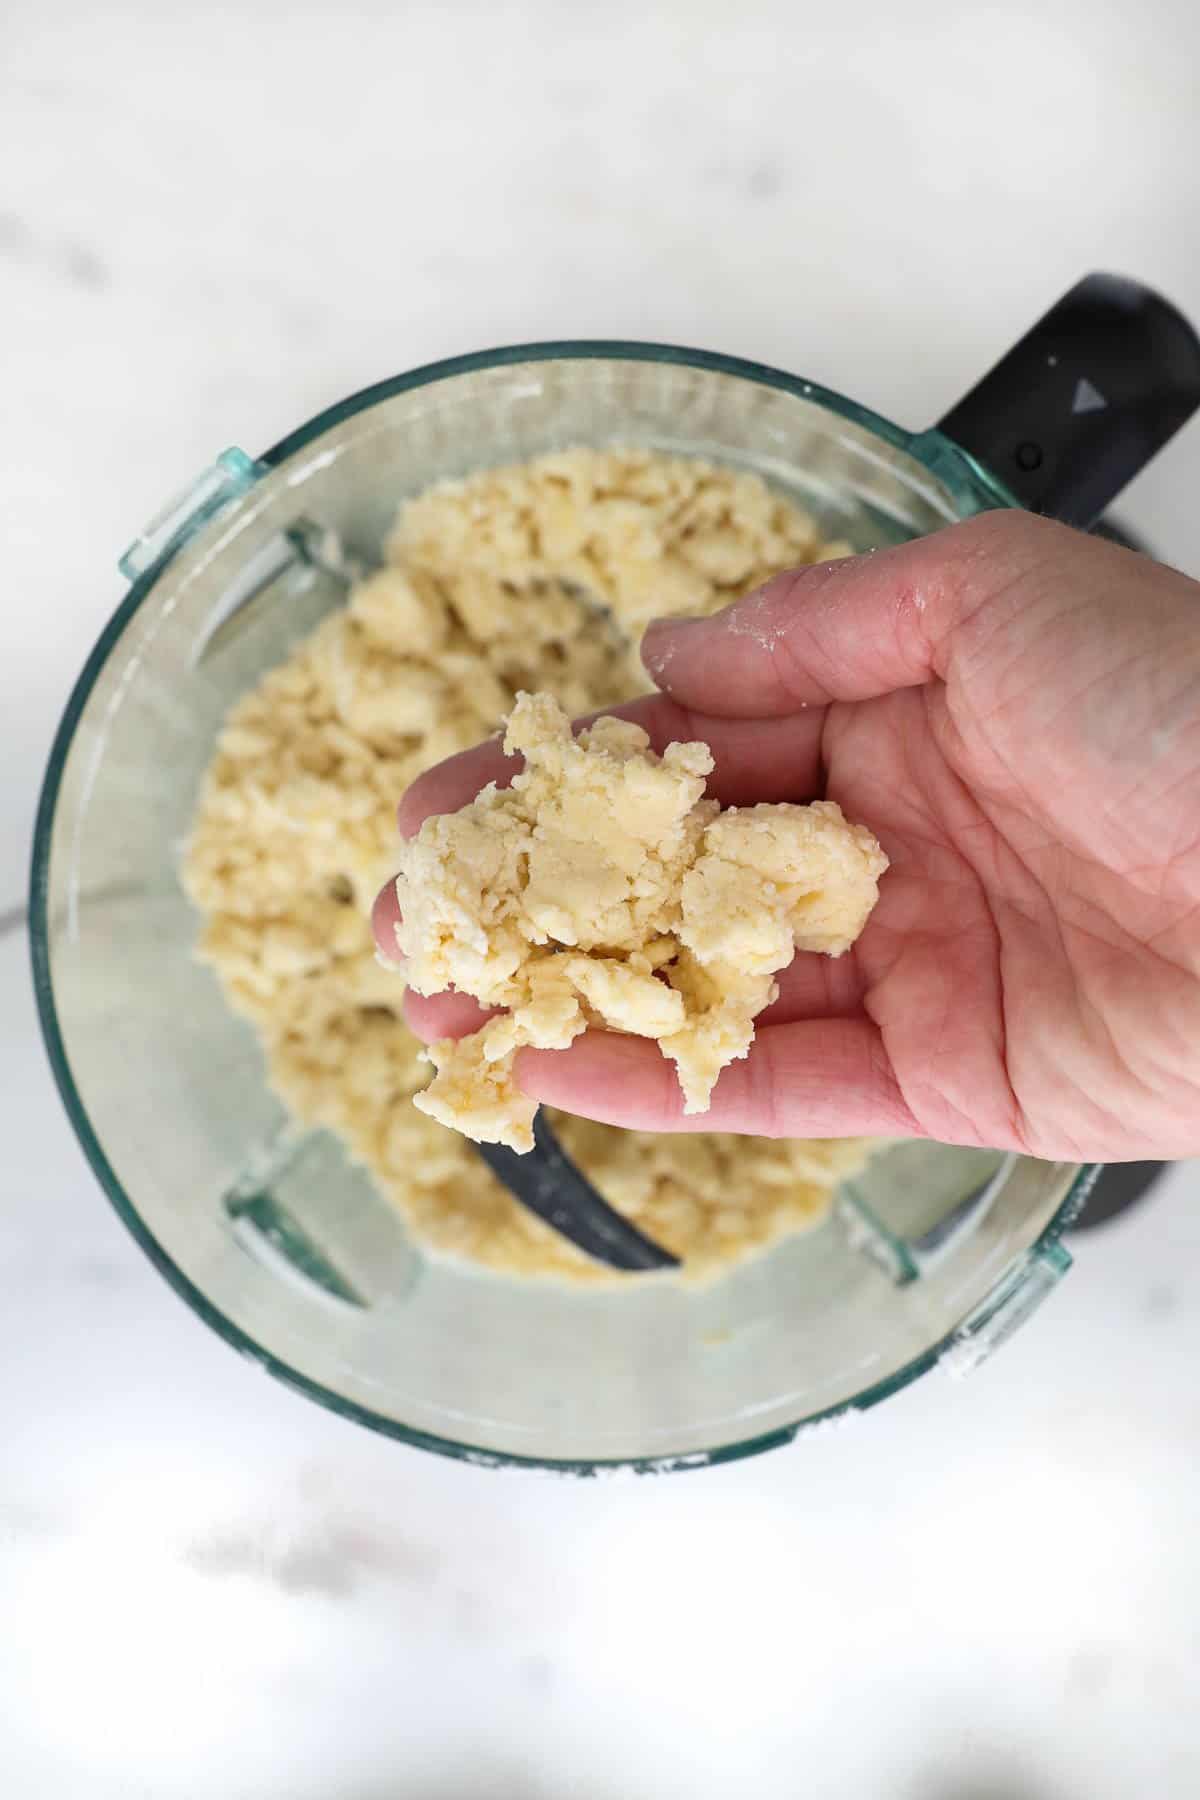
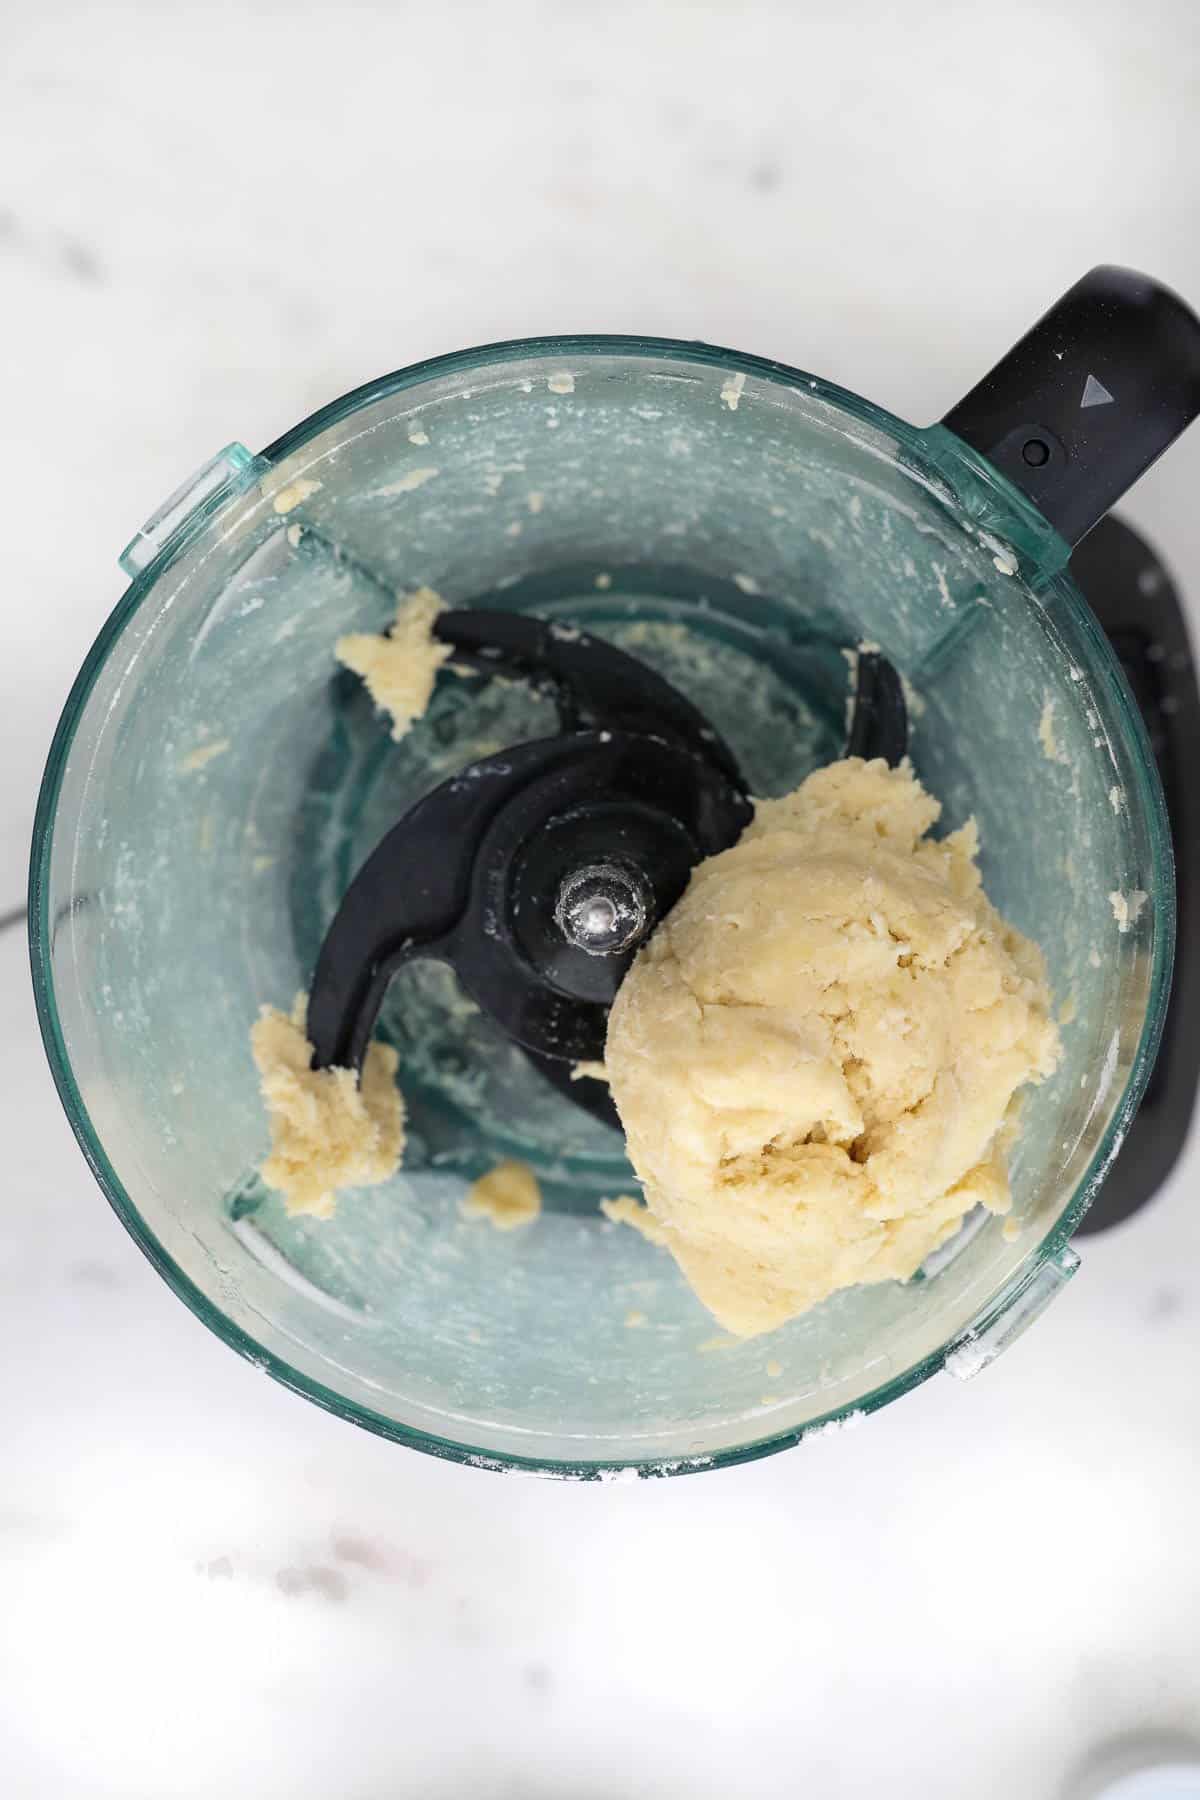
Add wet ingredients: Next, add the egg and vinegar. Pulse until the mixture is combined, the dough will still be crumbly. Add water, 1 tablespoon at a time as needed. Pulse until the dough comes together into a ball. Don’t rush to add more water, sometimes it just needs a few more turns in the food processor to come together.
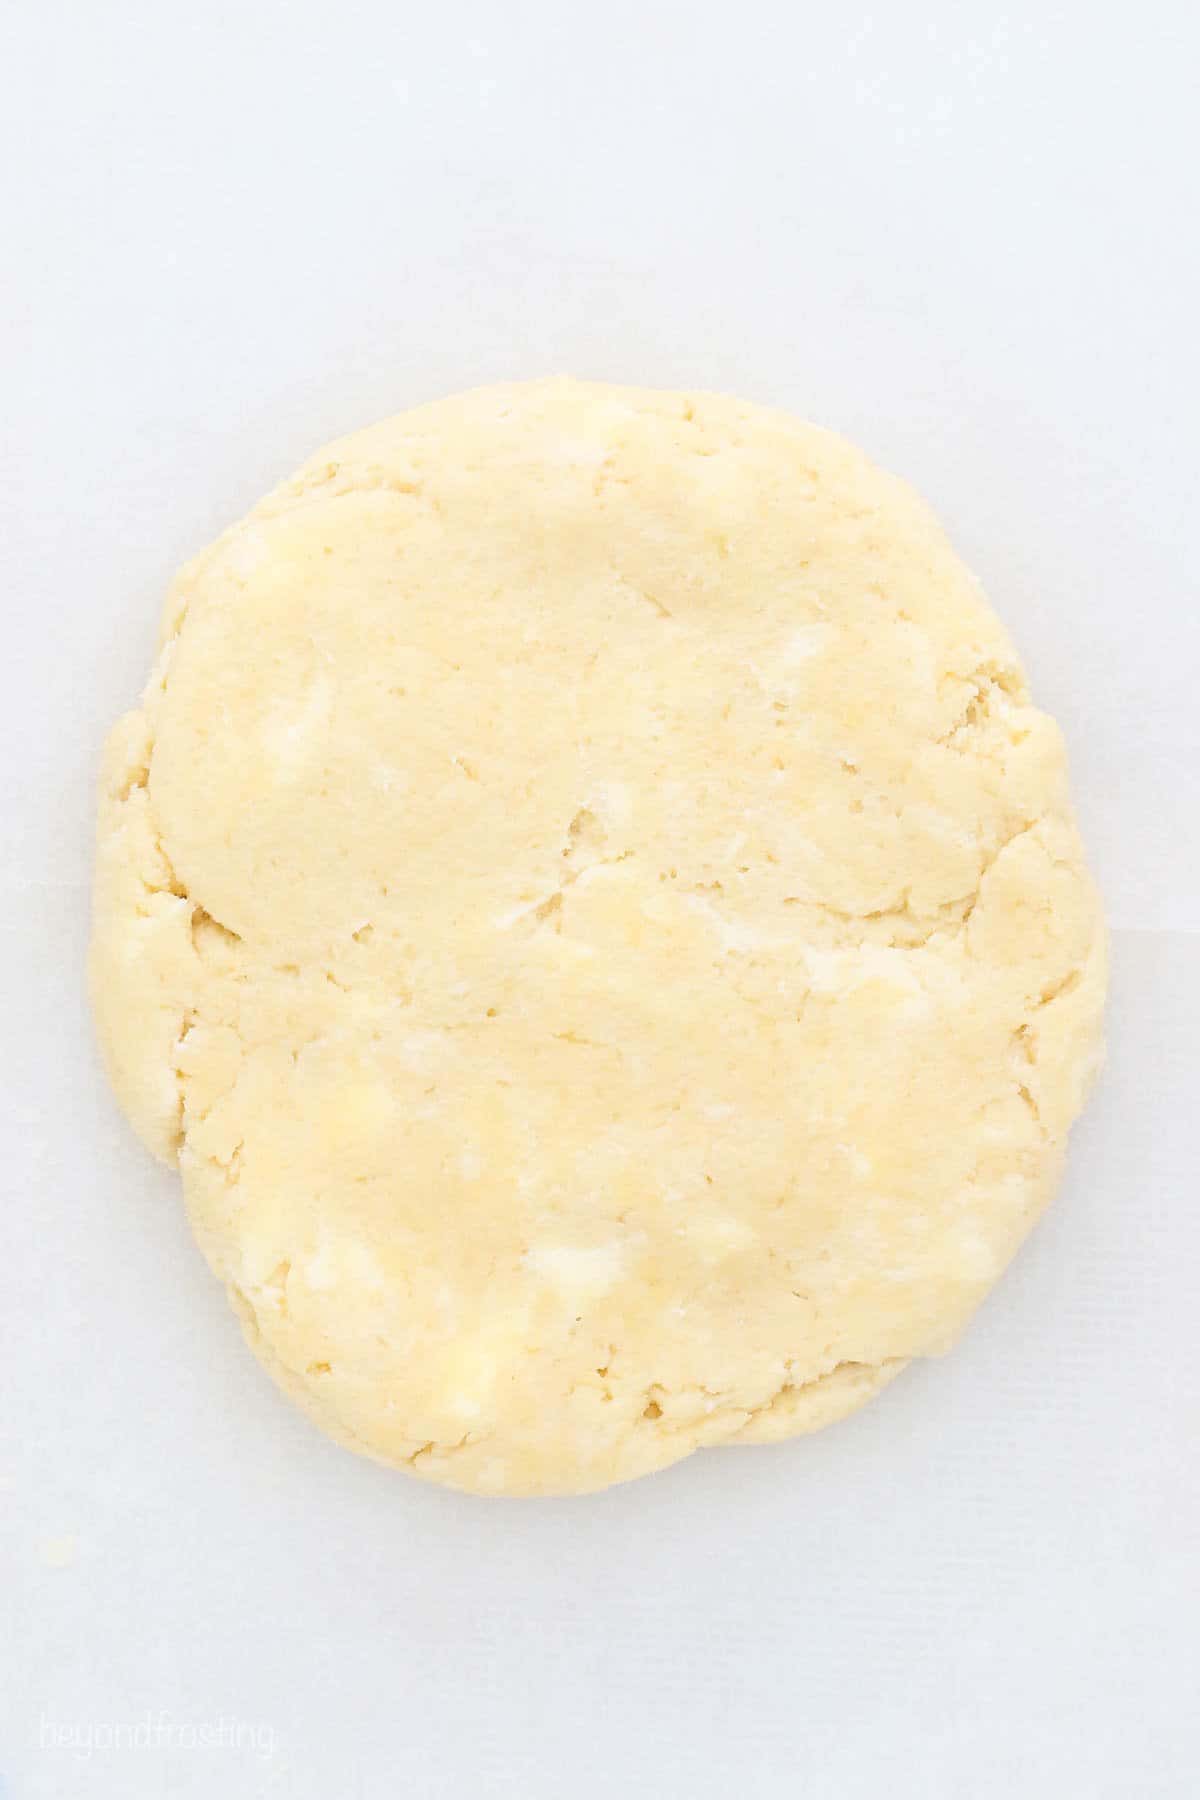
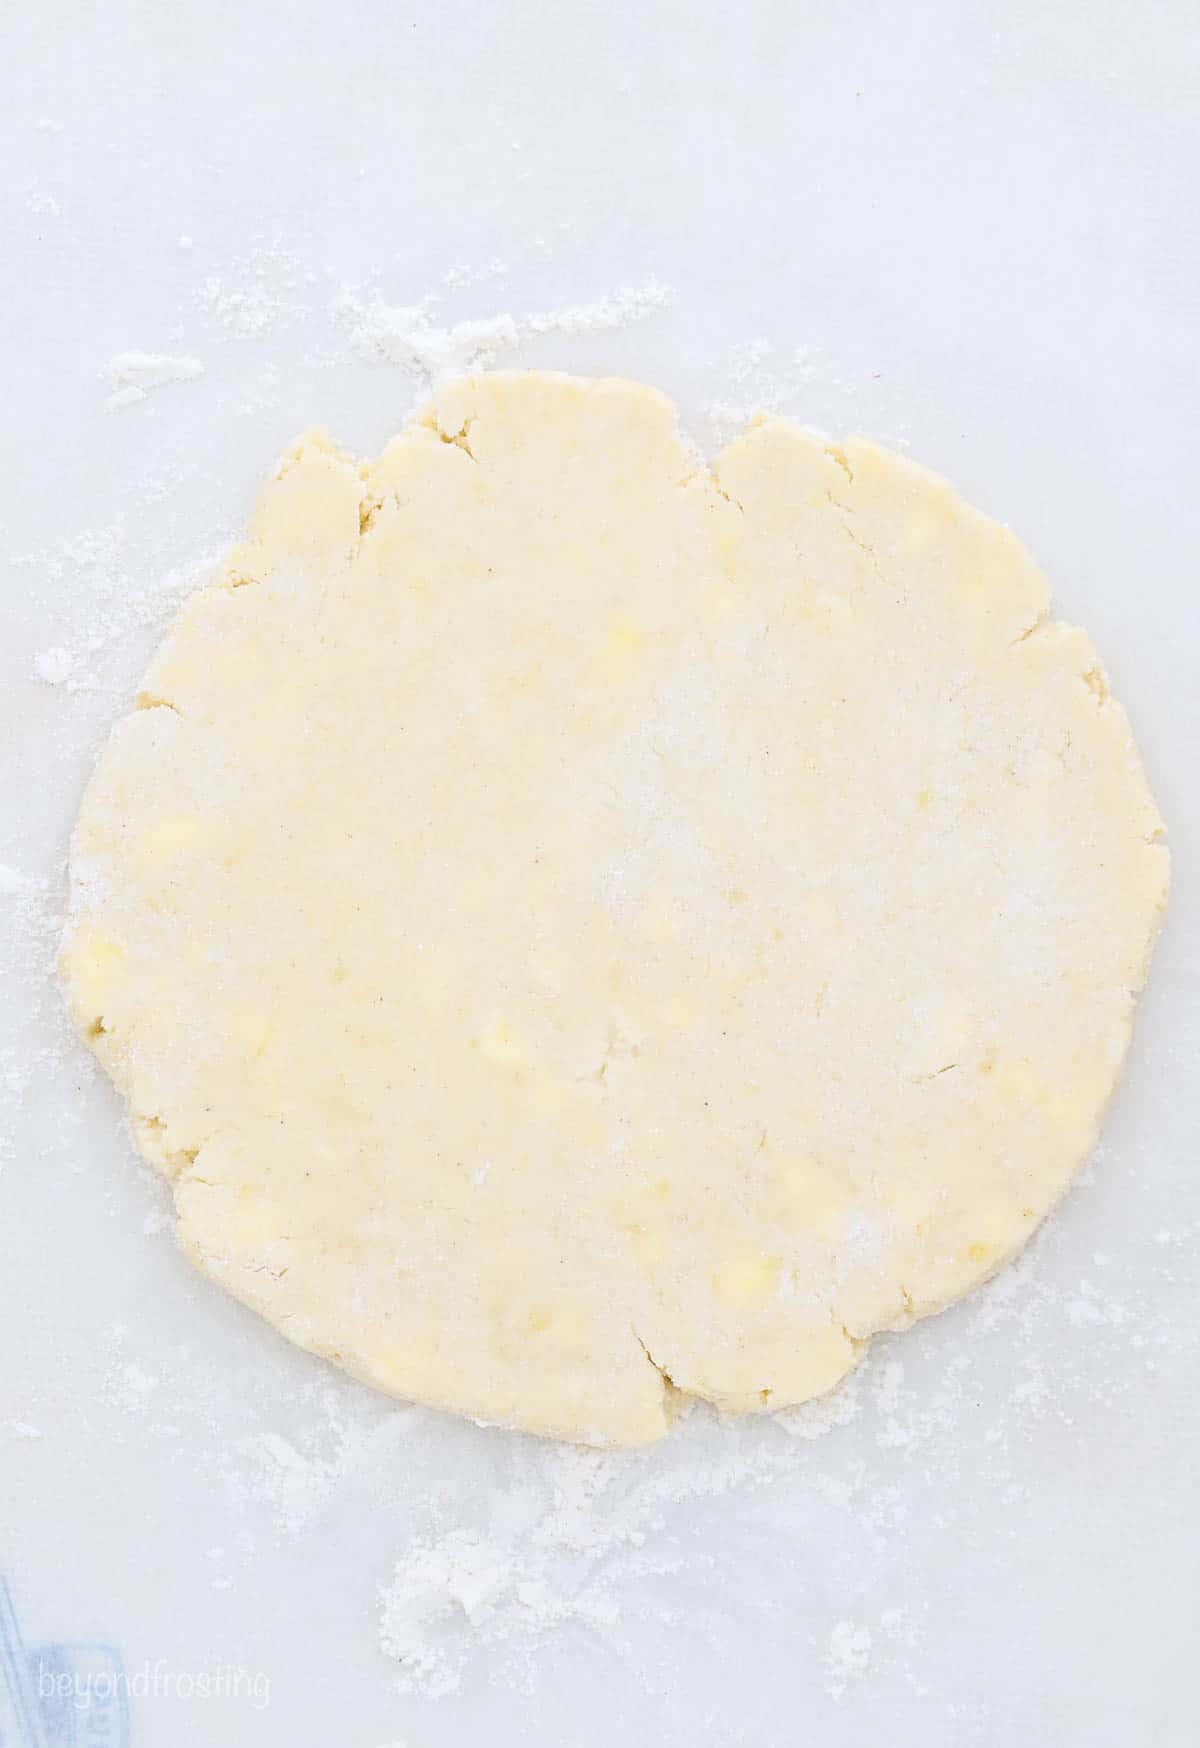
Prep dough: Turn the dough out onto a surface lightly dusted with flour. Press the dough into a ball then flatten it into a disc, about 5 inches wide. Wrap in plastic wrap and refrigerate for a minimum of 60 minutes.
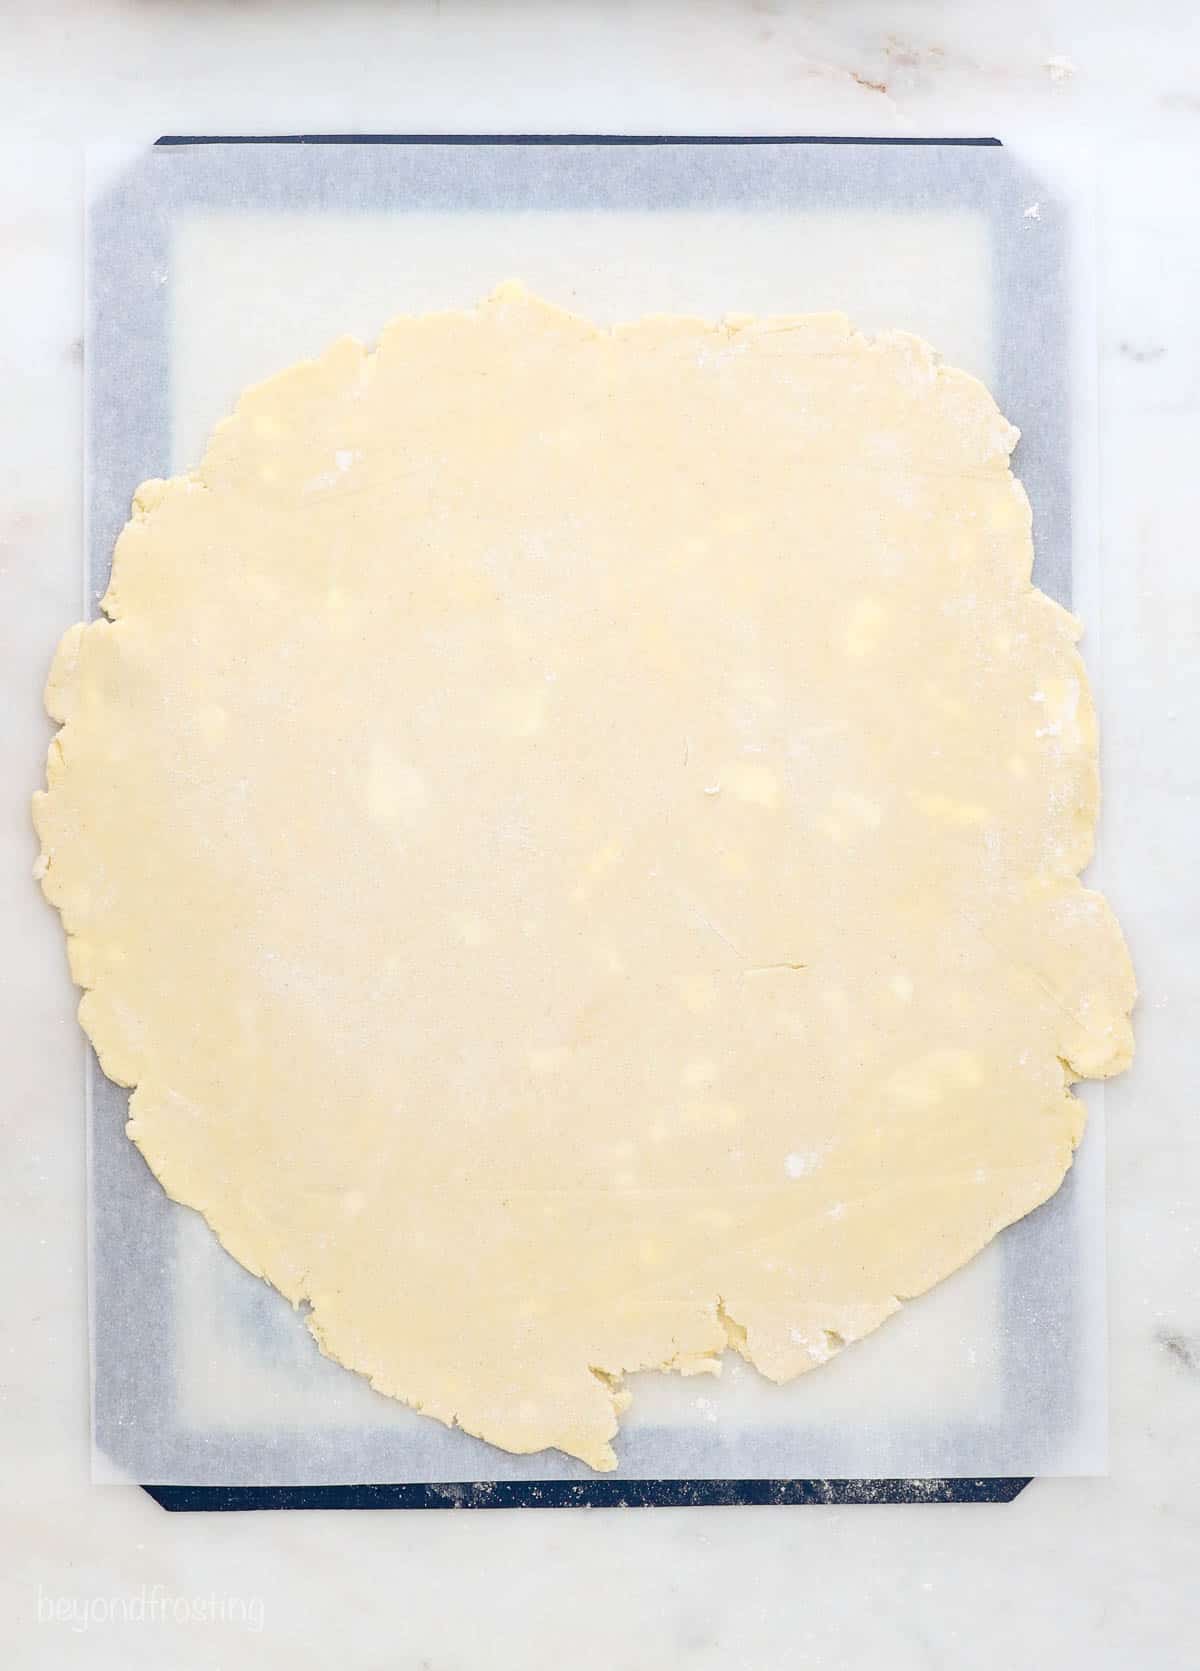
Roll it out: Roll the dough onto a lightly floured surface, rolling from the center to the edges, and rotate occasionally. Roll it out so it’s about 11” in diameter, leaving you at least 1 inch on each side of the pie plate.
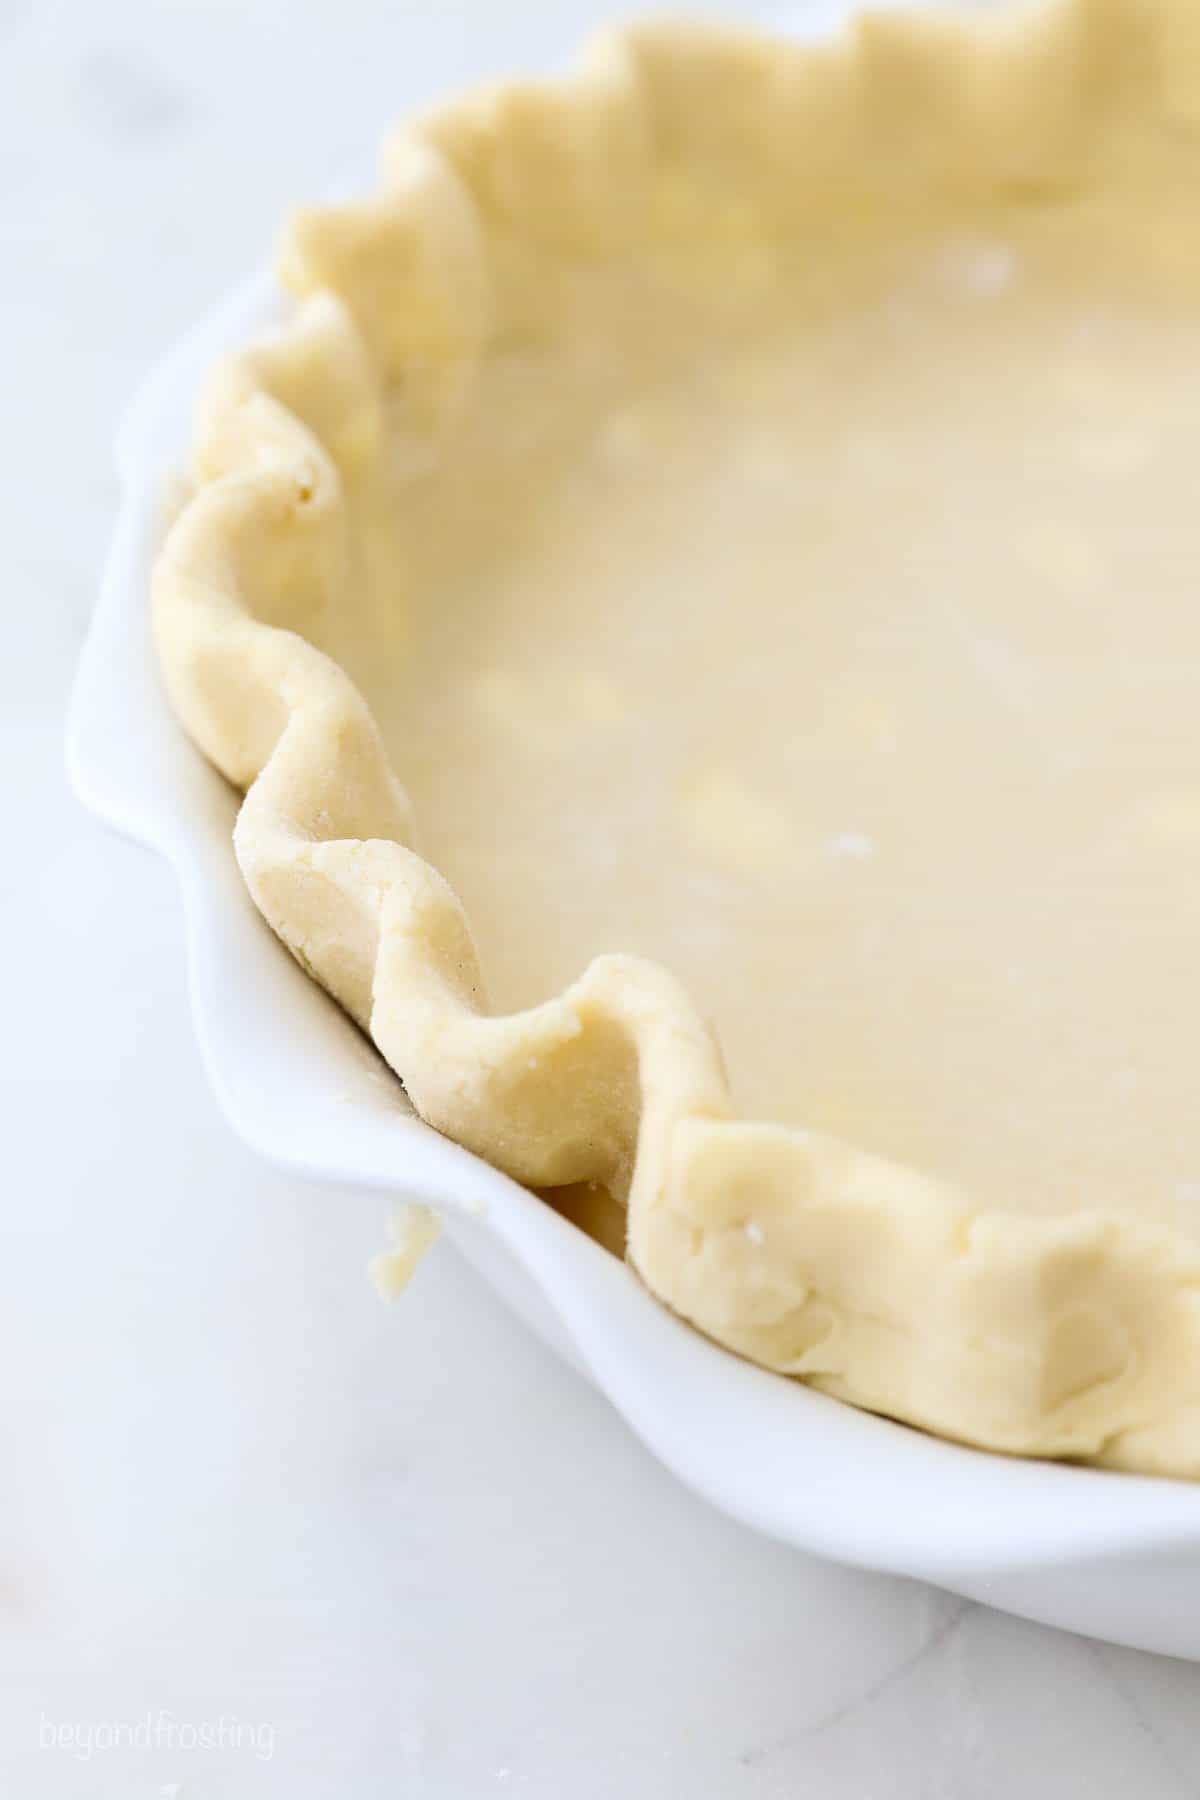
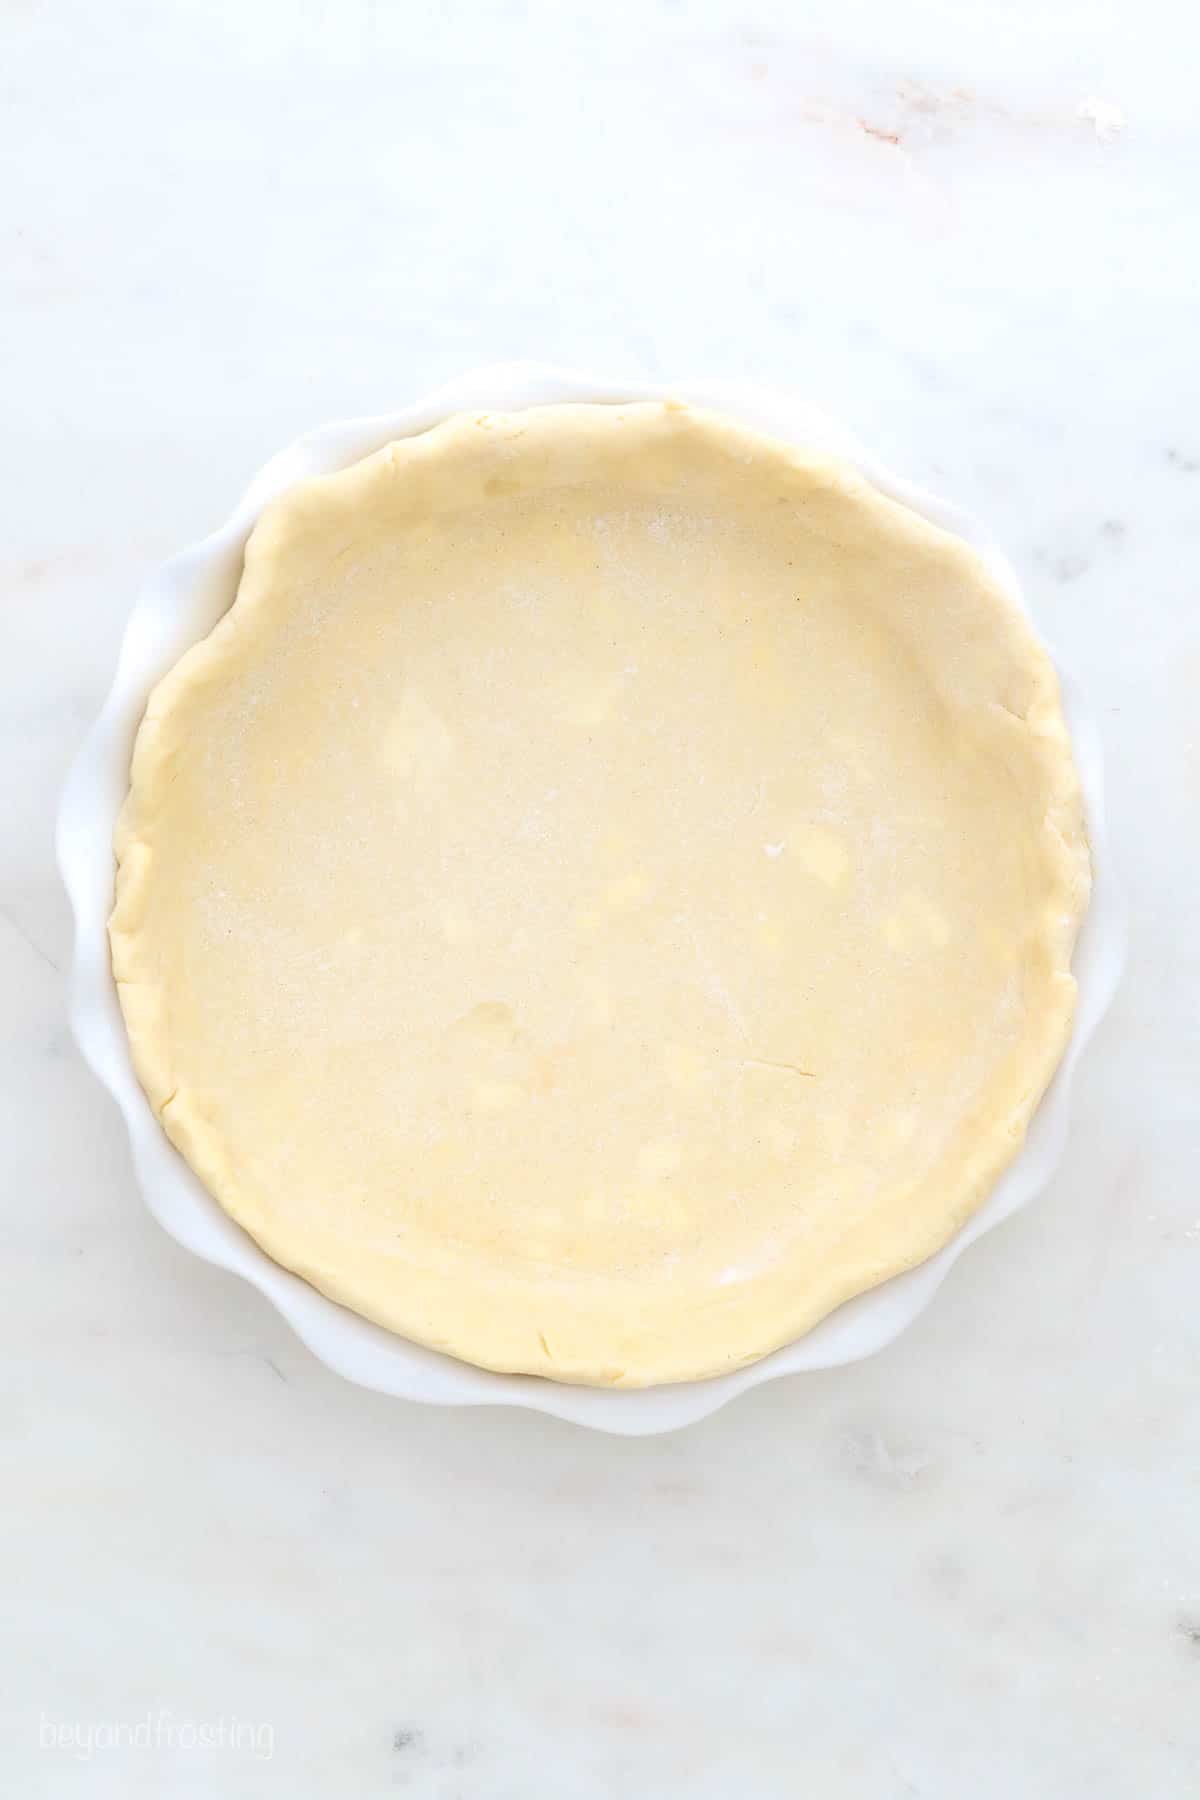
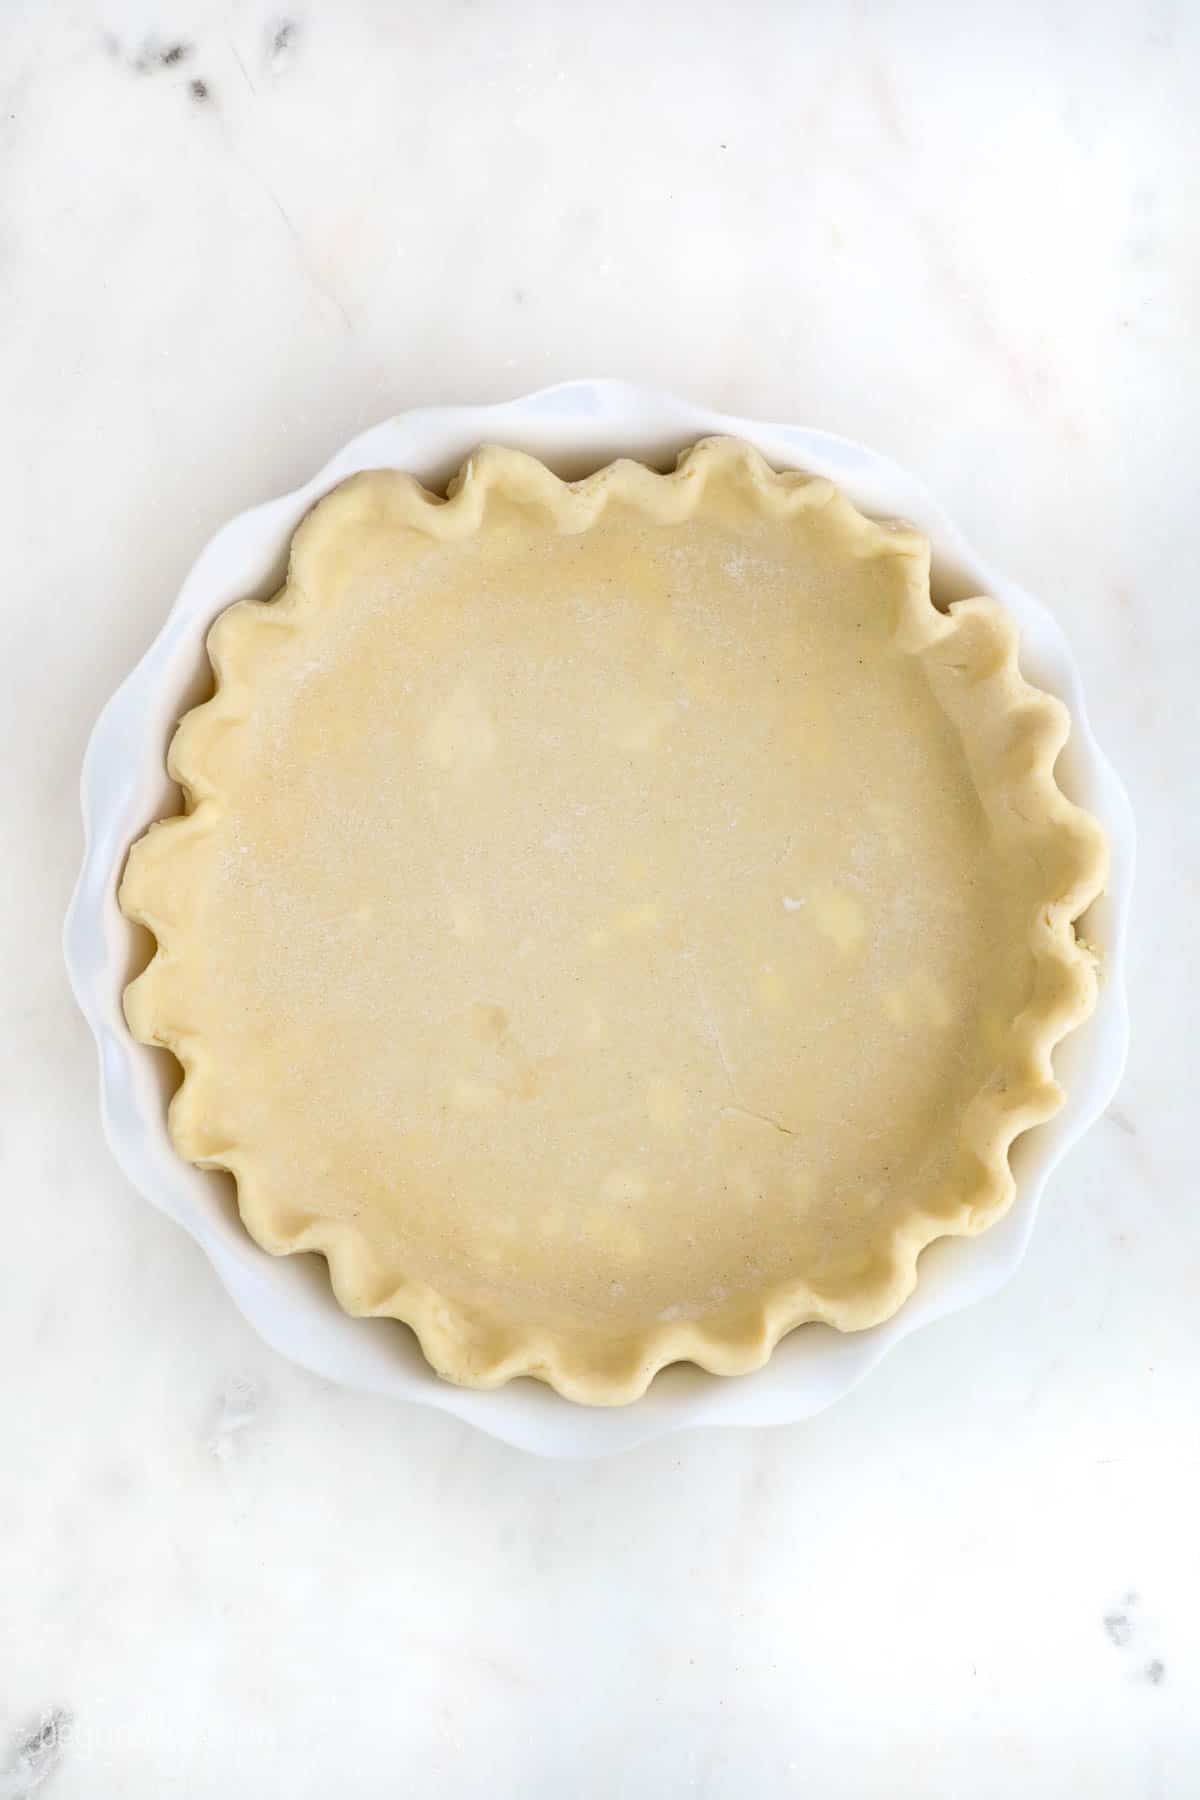
Grab a pie plate: Place the dough in a 9-inch pie plate, and fold under the excess edges, then crimp the edges. Refrigerate the dough while you’re preparing the filling.
Recipe Tips
- Roll and rotate: Always roll the pie crust from the middle out to the edges and rotate your crust in the same direction as your roll it out. This helps to ensure an even thickness. I like to use parchment paper to keep it from sticking and a silicone baking mat underneath to keep it from sliding.
- Press the edges together: As you roll out the pie crust, press the edges back towards to middle to prevent them from spreading and cracking too much.
- What to do if the crust cracks: If the crust is too cold when you are rolling it out, you might see it start to crack towards the middle. That’s okay. Simply knead the crust back together and reroll. Re-kneading in your hands is enough to warm it up and you won’t have to worry about it being too sticky when rolling it out.
- Transferring to the pie plate: This crust is stable enough that you can pick it up and place it in the pan without worrying about it tearing. I also like to roll it up with my rolling pin and transfer it to the pie plate as well.
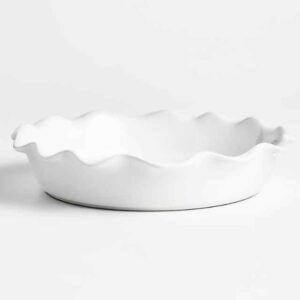
This ruffled-edge 9-inch pie plate is my favorite dish. It’s simple yet elegant with a fluted edge.
These handy pie weights can be used when blind baking a crust to help the pie maintain it’s shape while par-baking. These are natural food-safe ceramic stoneware and heat safe up to 480 F.
Ways to Use this Crust
I have so many pie recipes that I love, and this crust could be used interchangeably with just about any recipes on my site, but here are a few favorites.
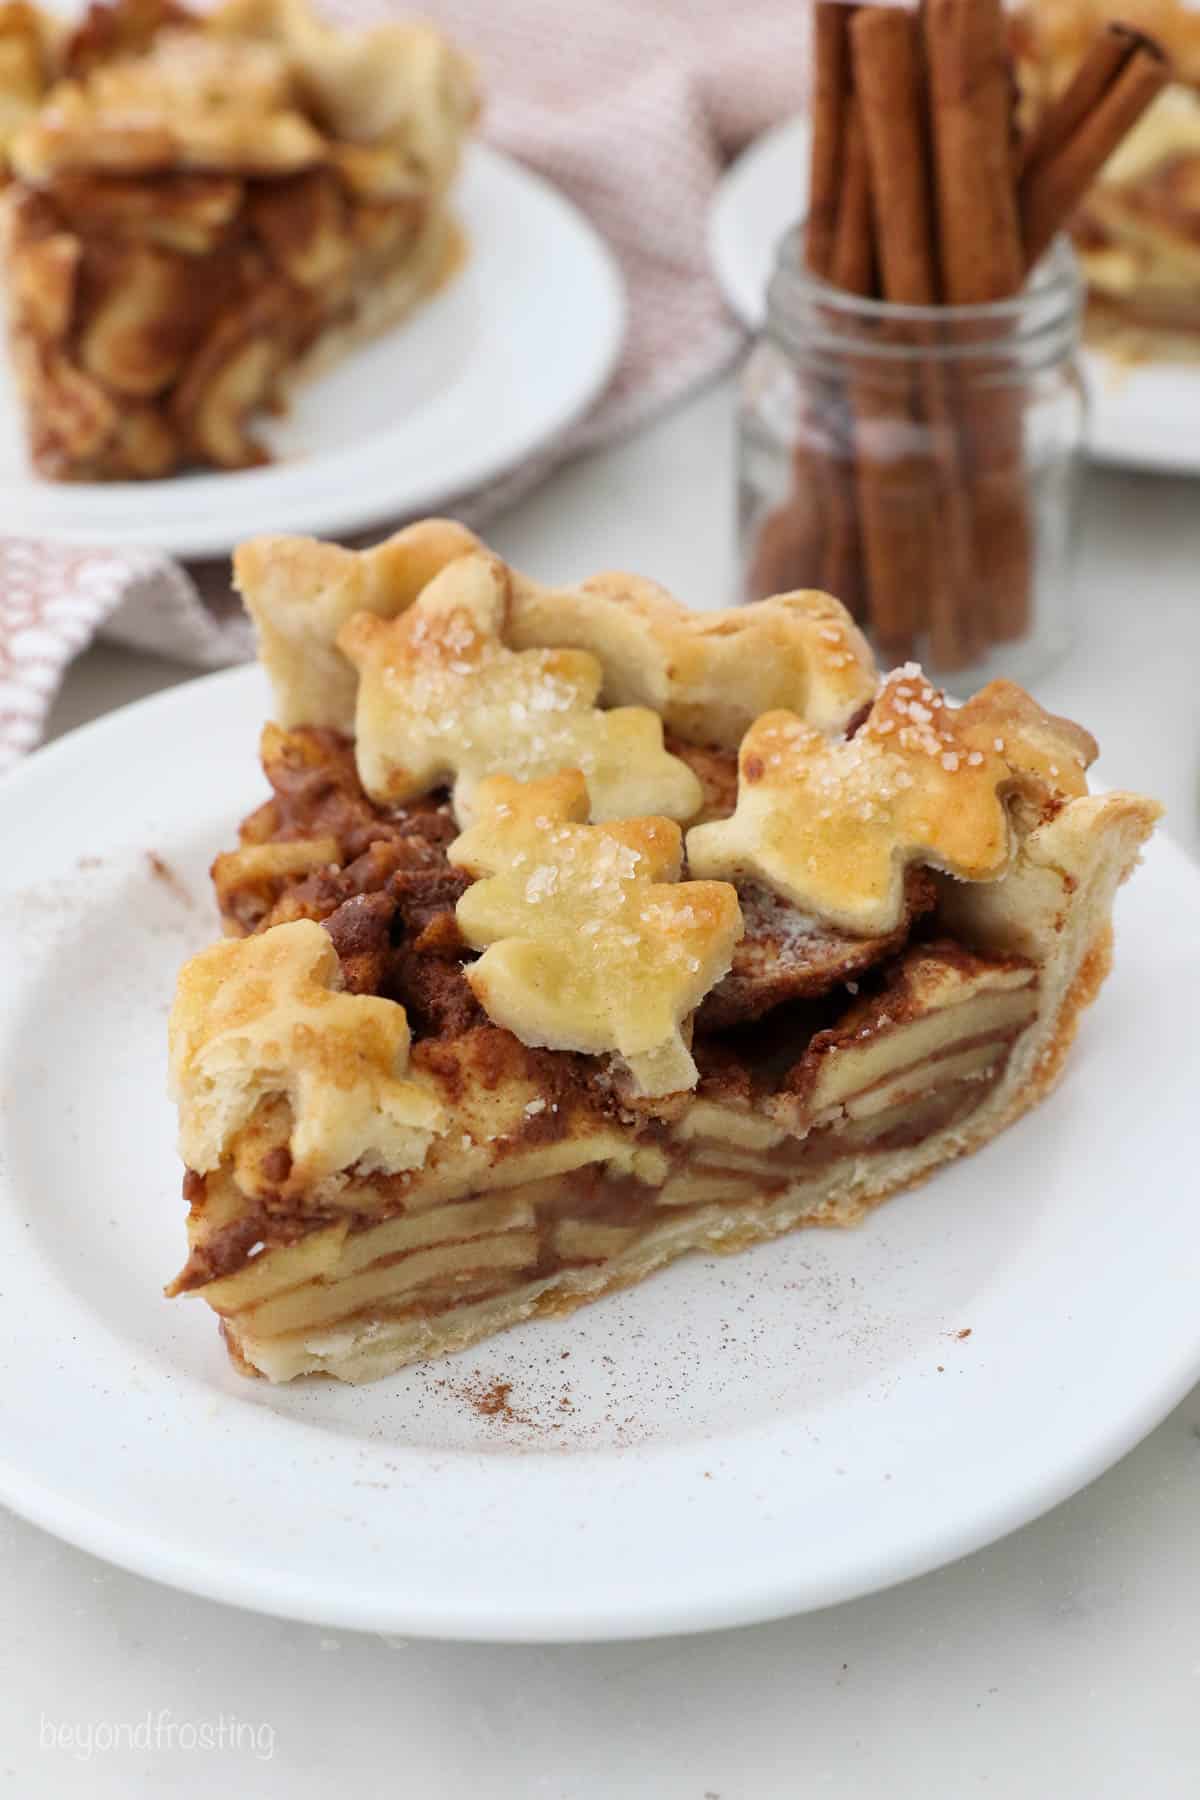
- Pair it with fruit: This is perfect for classic holiday staples like apple pie or this easy blueberry pie with a crumble topping.
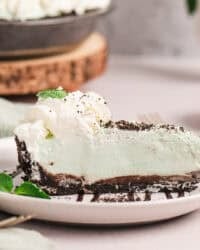
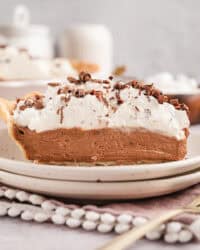
- Blind bake it: This crust is stable enough to be blind baked, so you can use it to make a coconut cream pie, or my favorite chocolate pie as well.
- Make them bite-sized: These Mini Apple Pies or Blueberry Pie are baked in a muffin tin, can made completely gluten-free.
Making the Crust in Advance
Pie crust is a perfect thing to make ahead of time, so it’s ready to go when you are ready to bake. This will keep for up to one week in the refrigerator or up to two months in the freezer. I love to make a few crusts at a time since I already have the equipment out.
Double wrap the crust in plastic wrap, be sure it’s tight and all sides are covered before storing in the refrigerator. See below for tips to freeze it.
How to Freeze a Pie Crust
Keeping a few pie crusts in the freezer is the key to saving time when it comes to making pies, especially around the holiday season. To freeze this pie crust, tightly wrap the crust twice with plastic wrap, ensuring to cover all the edges. Then I like to place it in a freezer-safe plastic bag and I use a sharpie and write the date on it as well. It should keep for 1-2 months in the freezer.
Place the refrigerator for a few hours to thaw. Remember the crust should still be cold when you roll it out.
Print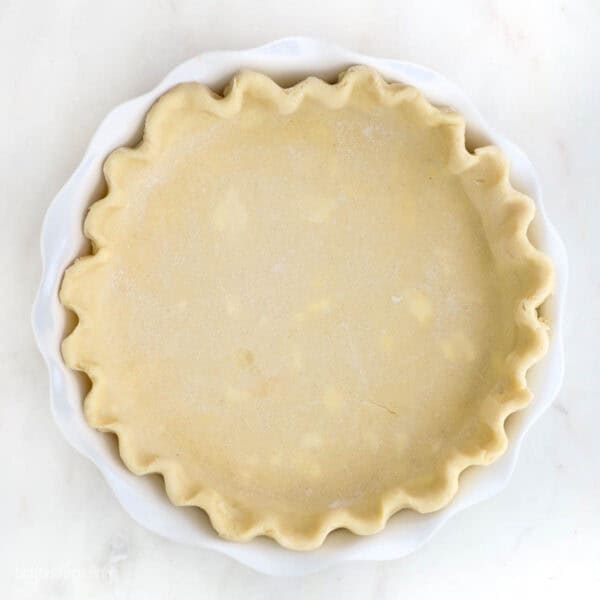
Gluten-Free Pie Crust
- Prep Time: 3 hours
- Total Time: 3 hours
- Yield: 8
- Category: Dessert
- Method: Oven
- Cuisine: American
Description
This Homemade all butter Gluten-Free Pie Crust bakes up so soft yet has distinct flaky layers and with a buttery finish.
Ingredients
- 1/2 cup (113g) unsalted butter, cold
- 1 1/2 cups measure for measure gluten-free flour
- 1/4 teaspoon salt
- 1 teaspoon granulated sugar
- 1 large egg
- 1 tablespoon (15ml) vinegar
- 2 tablespoons (30ml) water
Instructions
- Cut the cold butter into 1/2-inch thick cubes. It should be straight from the fridge.
- Combine the flour, sugar, salt and butter in a food processor. Pulse several times until the mixture is crumbly, but still has large chunks of butter.
- Add the egg and vinegar. Pulse until combined, the dough will still be crumbly. Start adding the water 1 tablespoons at a time as needed. Pulse until the dough starts to hold together. Give it a minute before adding more water, sometimes the dough will come together without needing additional water.
- Turn the dough out onto the counter. Press it into a ball, then flatten it into a disc about 5 inches wide. Wrap it in plastic wrap and refrigerate it for a minimum of 60 minutes.
- Roll the dough onto a lightly floured surface, rolling from the center to the edges and rotating occasionally. Roll it out so it’s about 11” in diameter, leaving you at least 1 inch on each side of the pie plate.
- Place the dough into a 9-inch pie plate and fold under the excess edges, then crimp the edges. Refrigerate the dough while you prepare your pie filling.


Notes
- Make one 9-inch pie crust
- To freeze: Tightly wrap the crust twice with plastic wrap, ensuring to cover all the edges. Then I like to place it in a freezer-safe plastic bag and I use a sharpie and write the date on it as well. It should keep for 1-2 months in the freezer. Place the refrigerator for a few hours to thaw. Remember the crust should still be cold when you roll it out.
- Recommended gluten-free flours: Be sure the flour is a 1:1 cup replacement with all-purpose flour and that it includes xanthan gum. I recommend King Arthur Flour or Bob’s Red Mill.
- To blind bake: Line the crust with parchment paper and pie weights (or uncooked rice or beans), filling it to the top edge. For a partially baked crust, bake at 375°F for 10-12 minutes. Remove the parchment paper and pie weights. Poke the bottom with a fork and bake for another 8 minutes or so. Use a pie shielf to prevent the edges from browning too much.


First time making GF pie crust. Made a cherry pie for my grandson’s girlfriend for Easter brunch. This is the perfect crust-so flavorful and easy to make. DELICIOUS! Never used the food processor for pie crust, but this will be the only way going forward. Thanks again, Julianne, for your expertise and another out of this world recipe.
Oh yeah Cathy! Thank you so much. I am so happy to know this worked out so well for you.
Love this crust! How long do you recommend baking for something like a pumpkin pie before adding the filling?
I’ve tried soo many gf pie crusts and none of come close to this one!
It should be the same par-baking time as a regular crust
The BEST gluten free pie crust!!
I’ve been gluten free for 6 years and have tried so many homemade pie crust recipes and have never had any luck. Either it’s so crumbly you can’t roll it out or it tastes completely like flour. This one was amazing! And it was honestly so easy to make and work with. This will be my go to pie crust recipe!!
Oh I LOVE that Ashley, I am glad you finally one a recipe that works!
Hi, after you make the gluten-free pastry, do you proceed as usual with your pie recipe? I have started using my convection oven function for baking pies. Would this also work better for gluten-free pie crust or should I use the regular oven setting?
Hi Ellenm yes the pie crust would be filled and baked as normal. I have never used a convection oven, so as far as the settings and bake times go, I don’t have any input to offer
Do you recommend par baking the pie crust for a pumpkin pie filling? Or is it ok to just fill the pie crust while it’s still uncooked and bake with the filling? Just making sure the crust won’t stay raw or get soggy.
Yes, definitely a partially baked crust for any custard pie
Your so amazing!! I love all your posts!!! I’m so excited to try this crust out. I’ve been looking for good quality flour and one that will be good for all recipes. I’ll be checking for more of your GF/ lactose free recipes. Thank you again. 😊 🌹🌹🌹
Thank you Claudia. I only have a few gluten-free recipes at the moment, but I am happy you found this pie crust!
Can I use this gluten free homemade crust for a pecan pie?
I don’t see why not
Hi there unfortunately I am not familiar with the flour. Sorry!
No worries. I just went out and bought it. I’m going to be using it elsewhere, so I just did it. The way it turned out – it probably wouldn’t have worked the same without the xantham gum.
Sorry I couldn’t be more help!