This No-Bake Raspberry Mousse Cake is a double layer mousse cake. The dark chocolate mousse on the bottom is rich with an intense chocolate flavor using melted chocolate and Dutch processed cocoa powder. It’s topped with a delicate raspberry mousse filled with fresh raspberries. These no-bake desserts are the perfect dessert to prepare ahead of time whether it’s a hot summer day or before a big holiday party.
This post is sponsored by Rodelle. All opinions are my own.
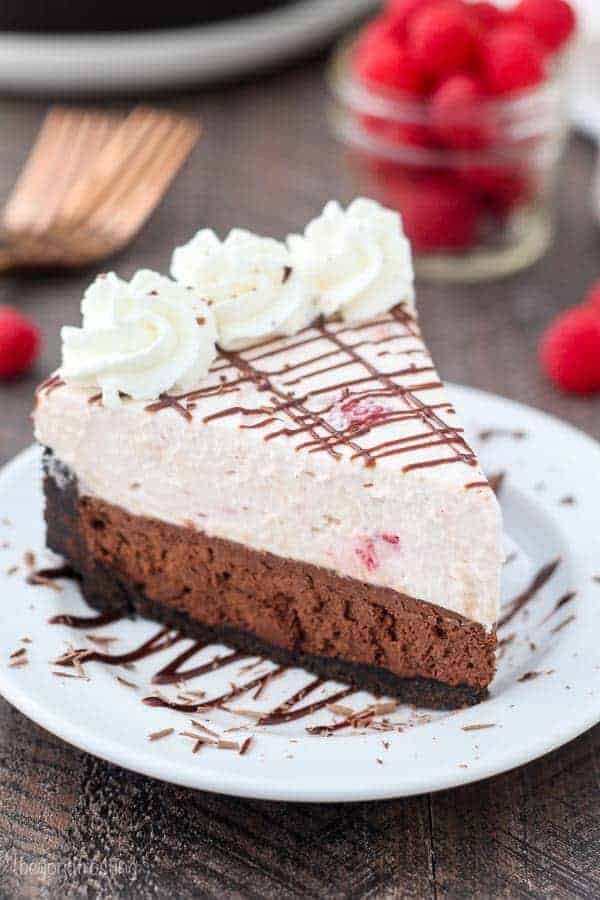
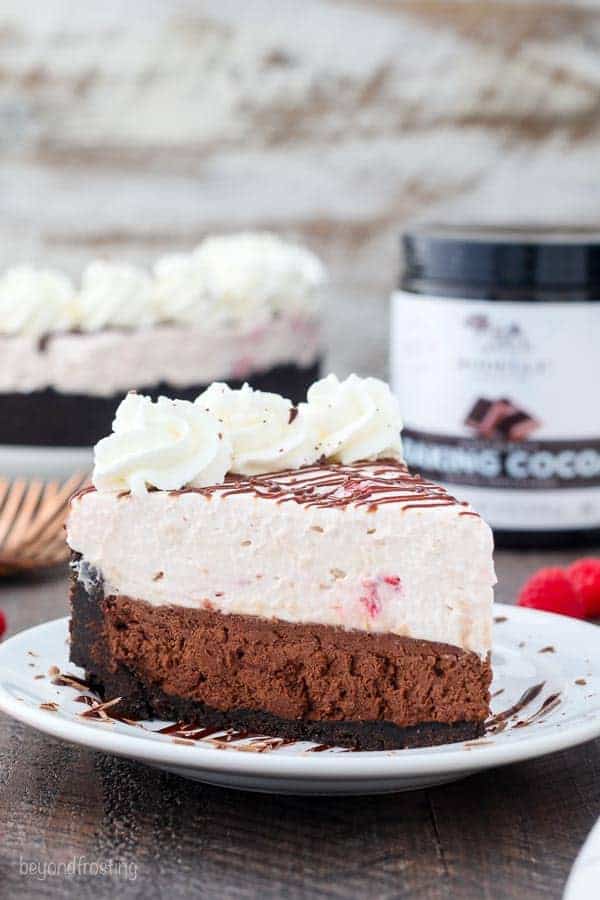
Please tell me I’m not the only one swooning over this No-Bake Raspberry Chocolate Mousse Cake.
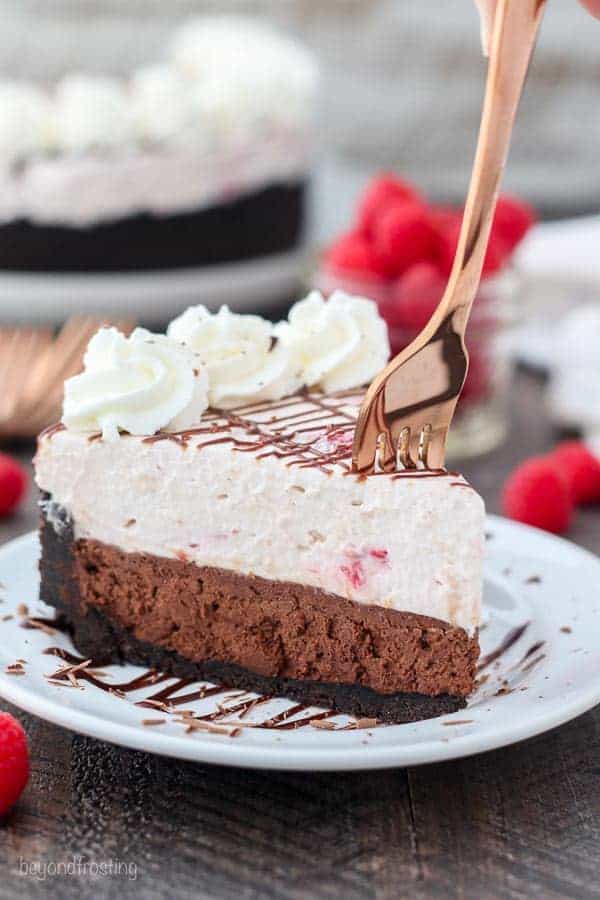
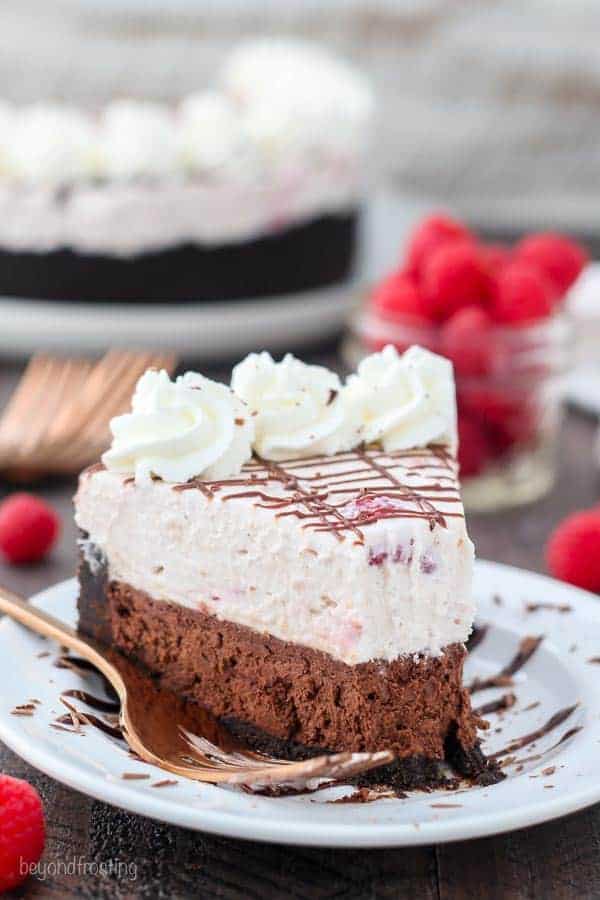
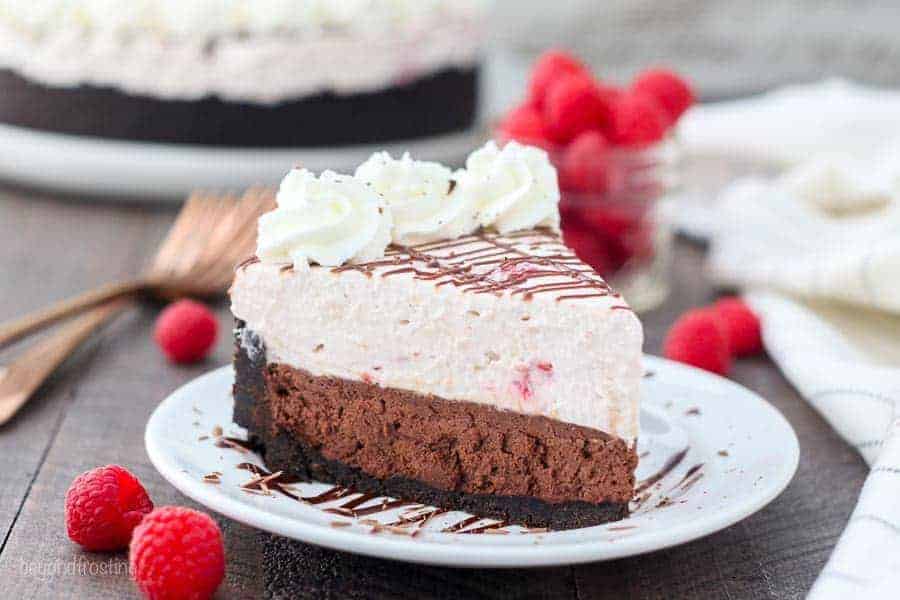
The thick Oreo crust is filled with layers of rich chocolate mousse topped with a delicate raspberry mousse and whipped cream on top. Isn’t it beautiful?
The chocolate mousse consists of melted dark chocolate, cocoa powder, cream cheese and a chocolate whipped cream. It’s so dreamy. While the raspberry mousse is made with fresh raspberry puree, white chocolate, cream cheese and whipped cream.
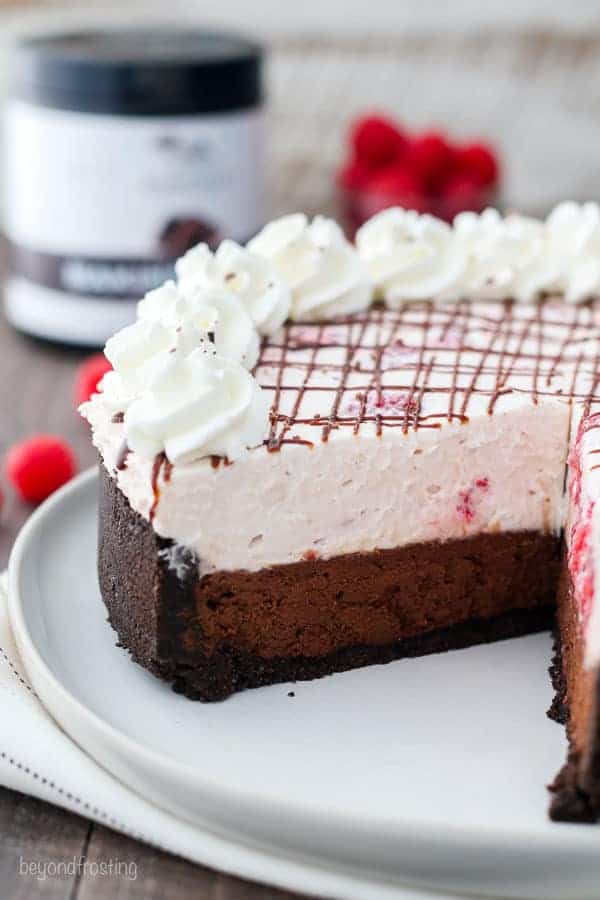
I LOVE these no-bake mousse cakes, they work so well with milk, dark and white chocolate thus I’ve made lots of flavor combinations of these mousse cake.
Today I’m upping the richness and chocolate flavors by adding some Rodelle Gourmet Baking Cocoa to the chocolate mousse. I love the way it enhances the mousse, adding a bit more depth of flavor.
It’s no wonder it intensifies the flavor, this cocoa powder has one of the highest levels of cocoa butter on the market. It’s also a Dutch processed cocoa powder. A Dutch processed cocoa powder is less acidic than natural cocoa powder. This is more of a factor when it comes to baked goods because it relies on baking soda for its acidity.
They also offer an organic cocoa powder, which is one of the only alkalized, organize cocoa powders on the market.
One of my favorite ways to use Rodelle Baking Cocoa is in my Moist Chocolate Cake Recipe. See the specific notes about using Dutch processed cocoa powder for the recipe. I go through a lot of cocoa powder in my kitchen.
Okay so back to this No-Bake Raspberry Mousse Cake.
You all know I have a soft spot for no-bake desserts. During busy times of the year (or not), I love that I can prepare these desserts ahead of time.
It might seem like there’s a lot of steps here, but each layer is somewhat repetitive, and I’ve worked out a good flow to it that involves only washing my dishes once in the middle and again when I’m done.
Once the crust is prepared, I start on the filling. First, I make the whipped cream, and then set it aside. Then I melt the chocolate, so it has time to cool. While that is cooling, I prepare the other parts of the filling.
You’ll notice that each layer calls for gelatin. Don’t be intimidated by this, it’s super easy.
Place the cold water in a shallow dish or cup (one that’s microwave-safe) and then sprinkle the powdered gelatin over top. The gelatin will turn from a liquid to a solid. Once this happens, throw it in the microwave for 10 seconds and it turns back into liquid. Allow that to cool and then you’ll be adding it into your whipped cream.
The gelatin is a stabilizer for the mousse. It also helps maintain the light and airy texture in the mousse, so I don’t recommend trying to eliminate it, especially for the raspberry mousse.
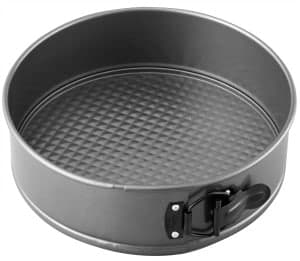
For this recipe, I recommend using a springform pan, so you can easily remove the sides of the pan. However, you could make this in a 9-inch square pan, as long as it’s at least 3-inches high.
I also recommend using a cake collar or parchment paper on the edges to make it easier for the sides of the pan to release.
My last tip for you is to be sure to plan a little bit of time for this dessert to set in the refrigerator prior to serving. They’re great desserts because they can be prepared ahead of time, but you do need to plan accordingly.
Lucky for me, my pantry is stocked with plenty of Rodelle vanilla and cocoa powder for all the holiday baking I have left to do.
Connect with Rodelle:
Products | Facebook | Instagram | Twitter
Print
No-Bake Raspberry Chocolate Mousse Cake
- Prep Time: 30 minutes (plus 4 hours cooling time)
- Total Time: 30 minutes
- Yield: 10 slices
- Category: Cake
- Method: No-Bake
- Cuisine: American
Description
This No-Bake Raspberry Mousse Cake is a thick Oreo crust, layers of rich chocolate mousse topped with a delicate raspberry mousse and whipped cream on top
Ingredients
For the crust
- 1 package (14oz) Oreos
- 8 tablespoons unsalted butter
For the chocolate mousse
- 1 tablespoon water
- 1 teaspoon gelatin
- 1 cup + 2 tablespoons heavy whipping cream, divided
- 2 tablespoons powdered sugar
- 3 tablespoons Rodelle baking cocoa, divided
- 4 ounces dark chocolate
- 8 ounces cream cheese
- ¼ cup granulated sugar
- 1 teaspoon Rodelle vanilla extract
For the raspberry mousse
- 1 ½ tablespoons water
- 1 ½ teaspoons gelatin
- 1 cup + 2 tablespoons heavy whipping cream, divided
- ¼ cup powdered sugar
- 1 cup (heaping) fresh raspberries, rinsed and dried
- 4 ounces white chocolate
- 8 ounces cream cheese
- ¼ cup granulated sugar
For the topping
- ¾ cup heavy whipping cream
- 3 tablespoons powdered sugar
- Hot fudge sauce for drizzle
Instructions
- For the crust: Prepare a 9-inch springform pan by lightly greasing the edges of the pan with cooking spray, and then wiping gently with a paper towel, or line with parchment paper or a cake collar (affiliate link).
- Grind one package of cookies into fine crumbs using a food processor or blender.
- In a small bowl, melt the butter in the microwave for 30 to 45 seconds. Pour the melted butter over the cookie crumbs and stir until the crumbs are well coated.
- Pour the crumbs into your springform pan and press firmly into the bottom and up on the sides to create a thick crust. Refrigerate or freeze the crust while you are preparing the filling.
- For chocolate mousse: Place the mixing bowl and whisk attachment in the freezer for 5 to 10 minutes to chill while you are preparing the next steps.
- Place 1 tablespoon of cold water in a small dish. Sprinkle the powdered gelatin over the water, spreading evenly. Allow the gelatin to turn to a solid (about 2-3 minutes).
- Next, melt the gelatin in the microwave for 8-10 seconds until it turns back to a liquid. Watch it closely!
- Pour 1 cup of heavy whipping cream into the chilled bowl and use an electric mixer to beat the heavy cream on medium-high speed until the cream starts to thicken.
- Slowly add the powdered sugar, 1 tablespoon cocoa powder and liquid gelatin and continue beating on high speed until stiff peaks form. Set the whipped cream aside.
- In a microwave-safe bowl, microwave the dark chocolate with 2 tablespoons heavy whipping cream. Microwave each one at 50% power in 30-second increments, stirring each time until the chocolate is melted. Set aside to cool.
- Beat the cream cheese together with the granulated sugar, 2 tablespoons cocoa powder and vanilla extract. Beat until well combined and the cream cheese is light and fluffy. Then beat the melted chocolate into the cream cheese mixture.
- Once combined, fold in the prepared chocolate whipped cream. Stir until completely mixed. Spread the chocolate mousse into the prepared crust.
- For the raspberry mousse: Place your mixing bowl in the freezer to chill for 5 minutes. Prepare another batch of gelatin as instructed above. The gelatin should turn to a solid, and then microwave it to turn back to a liquid consistency.
- Prepare another batch of whipped cream as instructed above with 1 cup heavy whipping cream, ¼ cup powdered sugar and liquid gelatin. Beat until stiff peaks form. Set aside
- In your food processor, puree a heaping ½ cup the raspberries and strain through a fine sieve to remove the seeds. You should end up with a little less than ¼ cup of raspberry puree. Set aside.
- In a microwave-safe bowl, microwave the white chocolate with 2 tablespoons heavy whipping cream. Microwave each one at 50% power in 30-second increments, stirring each time until the chocolate is melted. Set aside to cool.
- Beat the cream cheese together with the granulated sugar until well combined. Then add the raspberry puree and beat until well mixed, scraping down the bowl and needed.
- Next add the cooled white chocolate until well combined. Finally, fold in the prepared whipped cream. Chop the remaining raspberries in half and fold into the mousse. Spread the raspberry mousse over top of the chocolate mousse.
- Refrigerate for 3-4 hours. Prepare the topping prior to serving by preparing another batch of whipped cream as instructed about (without gelatin) and use a large open star piping tip to decorate the borders of the cake. Drizzle with hot fudge if desired. Keep refrigerated.
Filed Under:
You might also like:
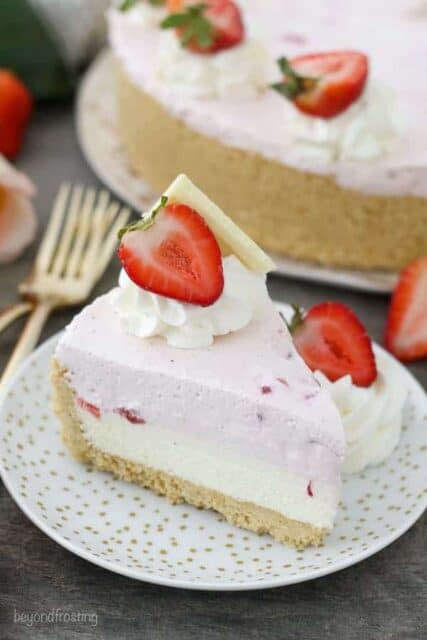
No-Bake Strawberry Mousse Cake




your recipes are awesome I like all recipe and try at home.
Thank you!
I am confused. I still have 1/2 cup of raspberries left over. Why do you need a cup of raspberries when you only use 1/2 cup of them? Am I missing something?
Hi Sheri, 1/2 a cup of raspberries pureed for the mouse (step 15). The other half cup is chopped in half and mixed into the mousse (step 18). I hope you enjoy!
I made a few revisions so it was sugar free. Outstanding!
Awesome Susan!! Thanks for sharing! I am so glad you enjoyed it!
What changes did you make, please share. Thanks