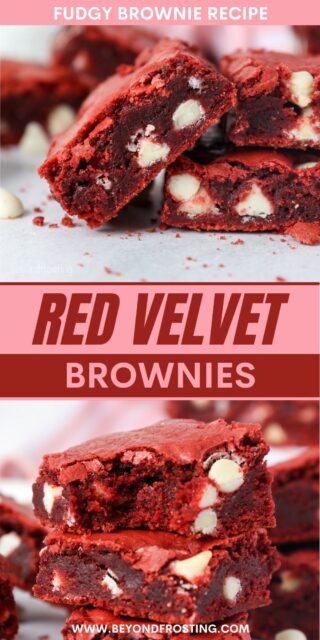
Red velvet brownies are chewy, fudgy homemade brownies with a bright red crumb and shiny, crackly tops. Loaded with white chocolate chips, they’re an irresistible treat that’s so easy to make!

Easy Red Velvet Brownies
Is it love that’s in the air, or is it just the smell of these red velvet brownies baking? These are chewy, rich, and fudgy red velvet brownies with a gorgeous deep red color and shiny, crackly tops. Packed full of creamy white chocolate, they’re simply perfection! Whether it’s Valentine’s Day or the holidays, the brownies are a festive red velvet treat you’ll want to make again and again.
Why You’ll Love This Red Velvet Brownies Recipe
- Classic red velvet taste. Just like my favorite red velvet cake and red velvet cupcakes, these brownies have a touch of cocoa powder and tangy buttermilk for that signature red velvet flavor.
- Easy to make. You need only a handful of simple pantry ingredients to make a batch of decadent chewy red brownies. The batter comes together in a snap.
- Crackly tops. These red velvet brownies have a chewy texture that’s totally irresistible (just like the cocoa powder brownies that inspired this recipe). If you’ve ever wondered how to bake brownies with that paper-thin, flakey crust on top, this recipe is right up your alley.
- Perfect for the holidays. Red velvet brownies make the perfect romantic dessert on Valentine’s Day, and they’re just as great to make for Christmas with their bright red crumb. Or, turn any day into an occasion with a pan full of brownies!

Ingredient Notes
Check out my notes on the important ingredients before we dive into these fudgy red velvet brownies. Scroll down to the recipe card for a printable ingredients list with amounts.
- Oil – Vegetable oil or canola oil works best here. Using oil instead of butter is my #1 trick for tender brownies that stay soft for days.
- Buttermilk – I trade out regular milk for buttermilk in these red velvet brownies. Not only is it key in terms of flavor, but the acidity helps to kickstart the chemical reaction with the other ingredients.
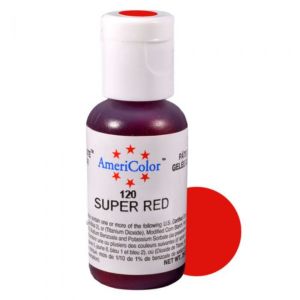
- Red Food Coloring – Gel colors work best as they’re more concentrated than liquid-based food coloring. I recommend using something like Super Red from Americolor.
- Cocoa Powder – Make sure to use natural unsweetened cocoa powder, not Dutch-processed cocoa powder. More on this below.
- White Chocolate Chips – Optional, but 100% recommended for some melty pockets of creamy chocolate goodness throughout. Feel free to swap out the white chocolate chips for any flavor of chocolate chips.
- Baking soda and Baking powder- Typically you don’t see leavening agents in brownies, but I found that using a combination of both helps create a fudgy brownie that isn’t too dense and flat.
What If I Don’t Have Buttermilk?
If you don’t have any buttermilk on hand, never fear. It’s easy to make a homemade buttermilk substitute by adding 1 teaspoon of white vinegar (or lemon juice) to the milk needed for this recipe. Let the mixture sit for 5 minutes, stir, and then use it in the recipe as directed. Easy peasy!
What Makes Red Velvet Red?
Traditionally, acidic ingredients like baking soda, vinegar, and buttermilk would react with the natural cocoa powder in red velvet cake recipes, giving the cakes a reddish tint. This is why it’s important to use natural unsweetened cocoa powder, which isn’t Dutch-processed (learn more about the different kinds of cocoa powder).

How to Make Red Velvet Brownies
This is such a quick and easy brownie recipe, with only a few short steps from start to finish. Refer to the recipe card for printable recipe directions.
- Mix the wet ingredients. First, combine sugar with oil, buttermilk, vanilla and vinegar and mix until it’s combined. Next, you’ll add the egg and beat the batter for about 30 seconds. Squeeze in a few drops of red food coloring and mix that in as well. Your mixture may seem very bright, but once the dry ingredients are added, it will darken.
- Add the dry ingredients. Combine the dry ingredients separately, and then add them to the red batter. Fold in the chocolate chips by hand.


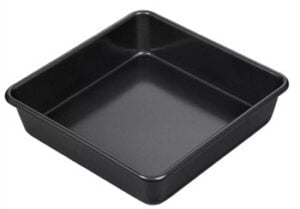
- Fill the pan. Pour the batter into a greased and lined 8×8” baking pan. Sprinkle over extra chocolate chips so that they sit on top.
- Bake. Finally, bake your brownies at 350ºF for 25-30 minutes. Make sure to let them cool to room temperature before you cut them.


Recipe Tips and Variations
These are my final tips for the very best red velvet brownies:
- Don’t overbeat the batter. Do your best to not overmix the brownie batter once the egg has been added. In some recipes, thoroughly beating the egg is what gives brownies a flakey top. And while your tops will still be crackly, since this recipe uses baking soda, overbeating the egg will cause the brownies to rise and sink in the oven.
- Line the pan. Grease and line the baking pan with parchment paper so that these brownies are easier to remove from the pan.
- For clean-cut brownies, wipe the knife clean in between slices.
- Make a bigger batch. Double the recipe and bake your brownies in a 9×13″ pan instead of an 8×8″ pan.
- Add frosting. There’s really only one excuse to cover those perfectly paper-thin, crackly edges, and that’s a swirl of cream cheese frosting or a chocolate ganache on top, you could even make a white chocolate ganache.

Frequently Asked Questions
Red velvet has chocolate undertones thanks to the cocoa powder, but it’s less chocolatey than a traditional chocolate cake. The flavor is subtle with a hint of tang from the buttermilk.
Fudgy brownies have less flour and more fat than cakey brownies. In this case, we use oil and buttermilk to achieve that chewy, fudgy texture.
Melted butter can be substituted for oil if you prefer. However, I find that these brownies turn out a bit dry when they’re made with butter instead of oil.
Pulling the brownies from the oven too soon, even if it’s by a couple of minutes, can cause them to sink in the middle. This is also caused by overmixing the batter. If the brownies look like they’re finished baking, make sure to test the centers with a toothpick. The toothpick should come out damp, but not too wet or gooey.

How to Store Brownies
- To Store. These brownies can be stored on the countertop for up to 3 days, or in the fridge for up to 5 days. Be sure to store the brownies in an airtight container. Use parchment paper to separate any layers.
- Freeze. Wrap the brownies individually in plastic wrap, then add them to a freezer bag and freeze them for up to 2 months. Thaw the brownies at room temperature before serving.
More Red Velvet Recipes
Print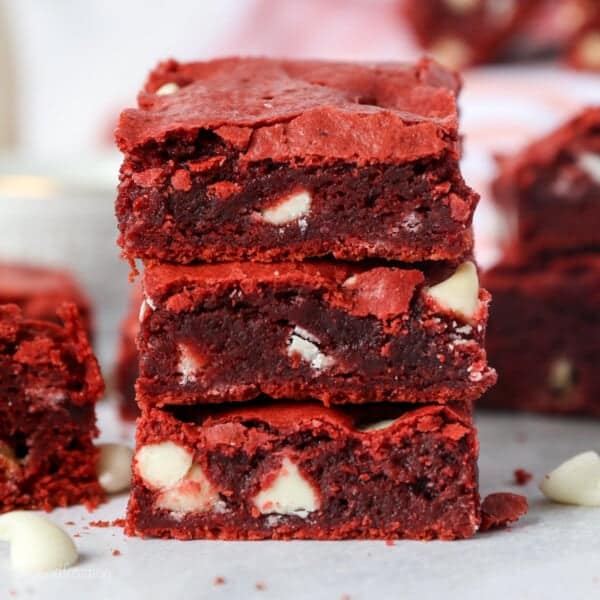
Red Velvet Brownies
- Prep Time: 15 minutes
- Cook Time: 25 minutes
- Total Time: 40 minutes
- Yield: 9-12 brownies
- Category: Brownies
- Method: Oven
- Cuisine: American
Description
Red velvet brownies are chewy, fudgy brownies with a beautiful red crumb and shiny, crackly tops. Loaded with white chocolate chips, they’re simple to make and so festive!
Ingredients
- 1 ¼ cups (238g) Granulated sugar
- 1/3 cup (78ml) Vegetable oil
- ¼ cup (59ml) Buttermilk
- 2 teaspoons (10ml) Pure vanilla extract
- 1 teaspoon (5ml) Distilled white vinegar
- 1 large egg
- ½ –1 teaspoon Red gel color
- 1 ½ cups + 2 tablespoons (195g) All-purpose flour
- 3 tablespoons (15g) Natural unsweetened cocoa powder
- ¼ teaspoon Baking soda
- ¼ teaspoon Baking powder
- ½ teaspoon Salt
- ¾ cups (168g) White chocolate chips
Instructions
- Preheat the oven to 350°F. Generously grease an 8-inch baking pan and line it with parchment paper.
- In a medium-sized mixing bowl, combine the granulated sugar with the liquid ingredients and beat together until well combined.
- Next, add the egg and beat just until combined, about 30 seconds or so. Add the red gel color and mix just until combined.
- Combine the dry ingredients in a separate bowl and stir to combine. Add the dry ingredients to the batter and mix just until combined. Fold in the chocolate chips with a spatula.
- Spread the batter evenly in the prepared pan and sprinkle another handful of chocolate chips over top. Bake at 350°F for 25-30 minutes. A toothpick inserted into the center will be damp but not gooey or wet. Remove from the oven and allow to cool before cutting.
Notes
- Store in an airtight container on the countertop for up to 3 days, or in the fridge for up to 5 days. Use parchment paper to separate any layers.
- To Freeze. Wrap the brownies individually in plastic wrap, then add them to a freezer bag and freeze them for up to 2 months. Thaw the brownies at room temperature before serving.
- Substitute white chocolate chips for any other variety or even chopped chocolate.
- If you don’t have any buttermilk on hand, never fear. It’s easy to make a homemade buttermilk substitute by adding 1 teaspoon of white vinegar (or lemon juice) to the milk needed for this recipe
Nutrition
- Serving Size: 1
- Calories: 349
- Sugar: 36.6 g
- Sodium: 193.4 mg
- Fat: 13.8 g
- Carbohydrates: 53.7 g
- Fiber: 1.3 g
- Protein: 4.3 g
- Cholesterol: 24.4 mg


Just wondering, would we be able to do a cheesecake swirl with this recipie instead of the white cjocolate peices? And if so would there be an ajustment to the base recipie?😇
Hi Trish, I have not tested a cheesecake swirl with this brownie base, so there’s no direct answer to your question. Sorry!
Just wondering why the vinegar is in the ingredients list but missing from the method? It doesn’t say optional so I’m assuming it’s intended to be used in addition to the buttermilk.
Yes, I just edited it to clarify. Thank you.
OMG! It’s the first time i tried this recipe and it’s soooooo good!!! 5/5 to this recipe! Gonna give it a 2 thumbs up!!! Thank you so much julianne!!☺️❤️
That’s wonderful Mark, thank you so much!