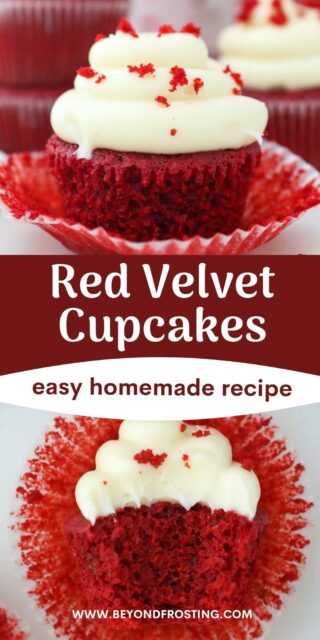
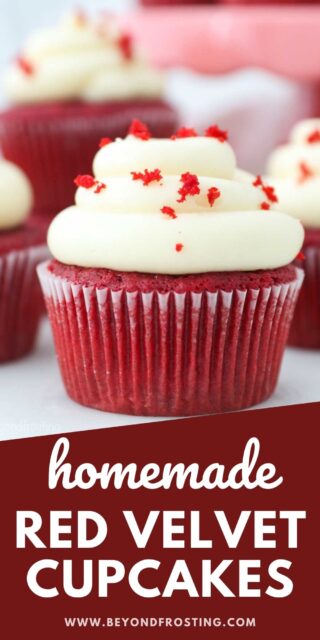
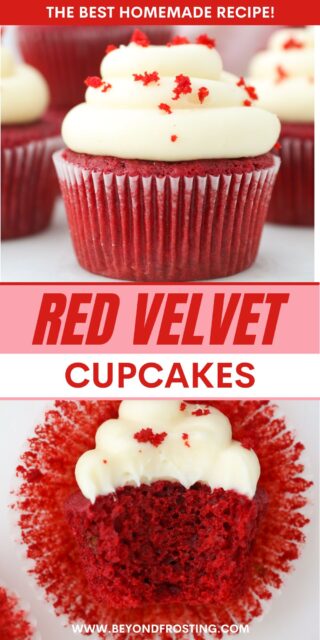
These homemade red velvet cupcakes are light, fluffy, and moist, topped with the best cream cheese frosting! This is a classic, show-stopping cupcake recipe that you can make with simple ingredients.
This post is sponsored by ADA Mideast. All opinions are my own.
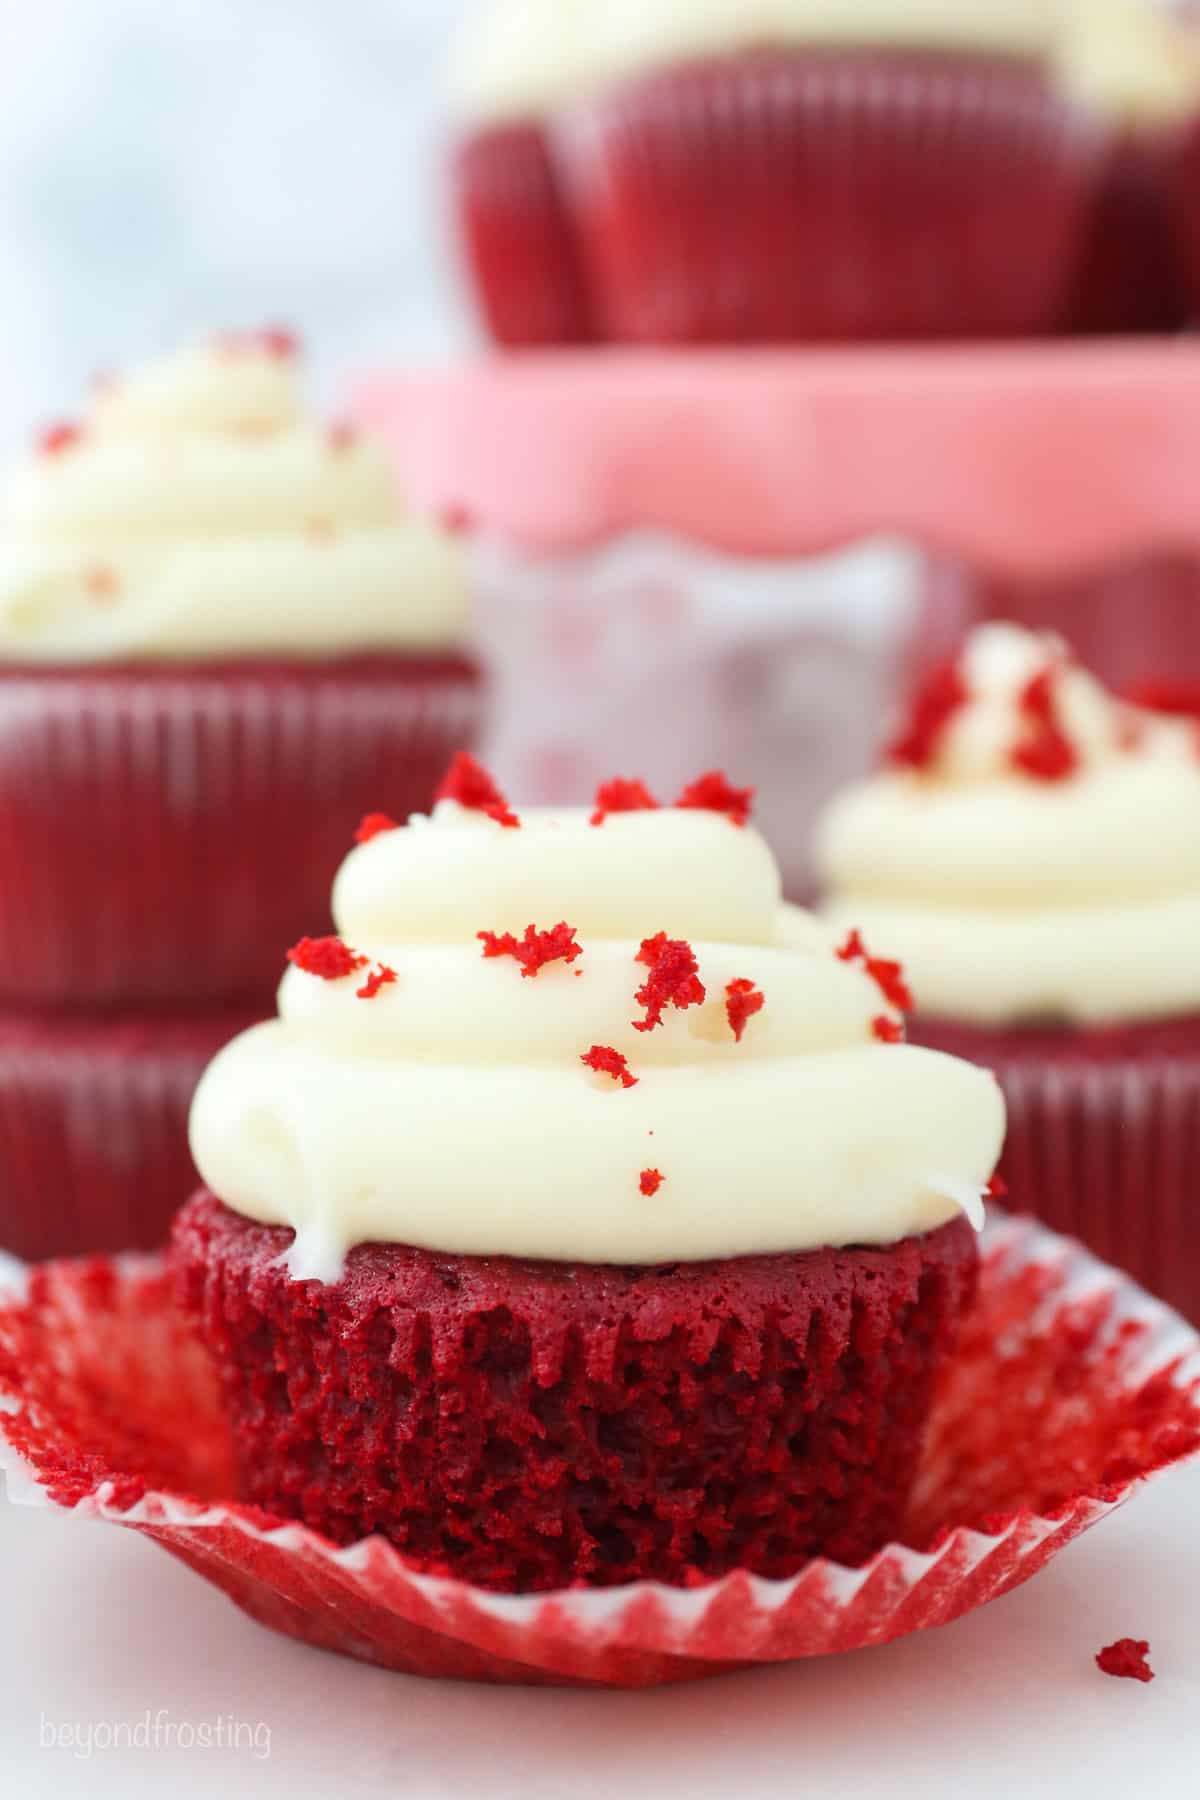
Red Velvet Cupcakes With Cream Cheese Frosting
These fluffy and moist red velvet cupcakes are completely homemade, topped with sweet little clouds of tangy cream cheese frosting.
The classic red velvet cake batter is quick to make with easy ingredients, including buttermilk, vinegar, and cocoa powder. Meanwhile, the frosting uses heavy cream and cream cheese. The result? Luscious red velvet cupcakes that you’ll want to make again and again.
I love baking with the freshest dairy when I can. June is National Dairy Month, and I’ll be celebrating with my friends at the American Dairy Association Mideast. Years ago, I traveled to Ohio to learn all about dairy farming, keeping cows healthy, and all the hard work that goes into producing my favorite dairy products. In Ohio and West Virginia, there are 1,800 dairy farms that produce about 639 million gallons of milk each year.
Dairy is an essential part of baking. Common ingredients I always have on hand besides milk are cream cheese, heavy whipping cream, butter, and sour cream. Did you know that milk makes it from Ohio and West Virginia dairy farms to your fridge in just 48 hours?
This recipe contains a few of my favorite ingredients, which you can read more about below. Let’s bake some cupcakes!
Why You’ll Love This Red Velvet Cupcakes Recipe
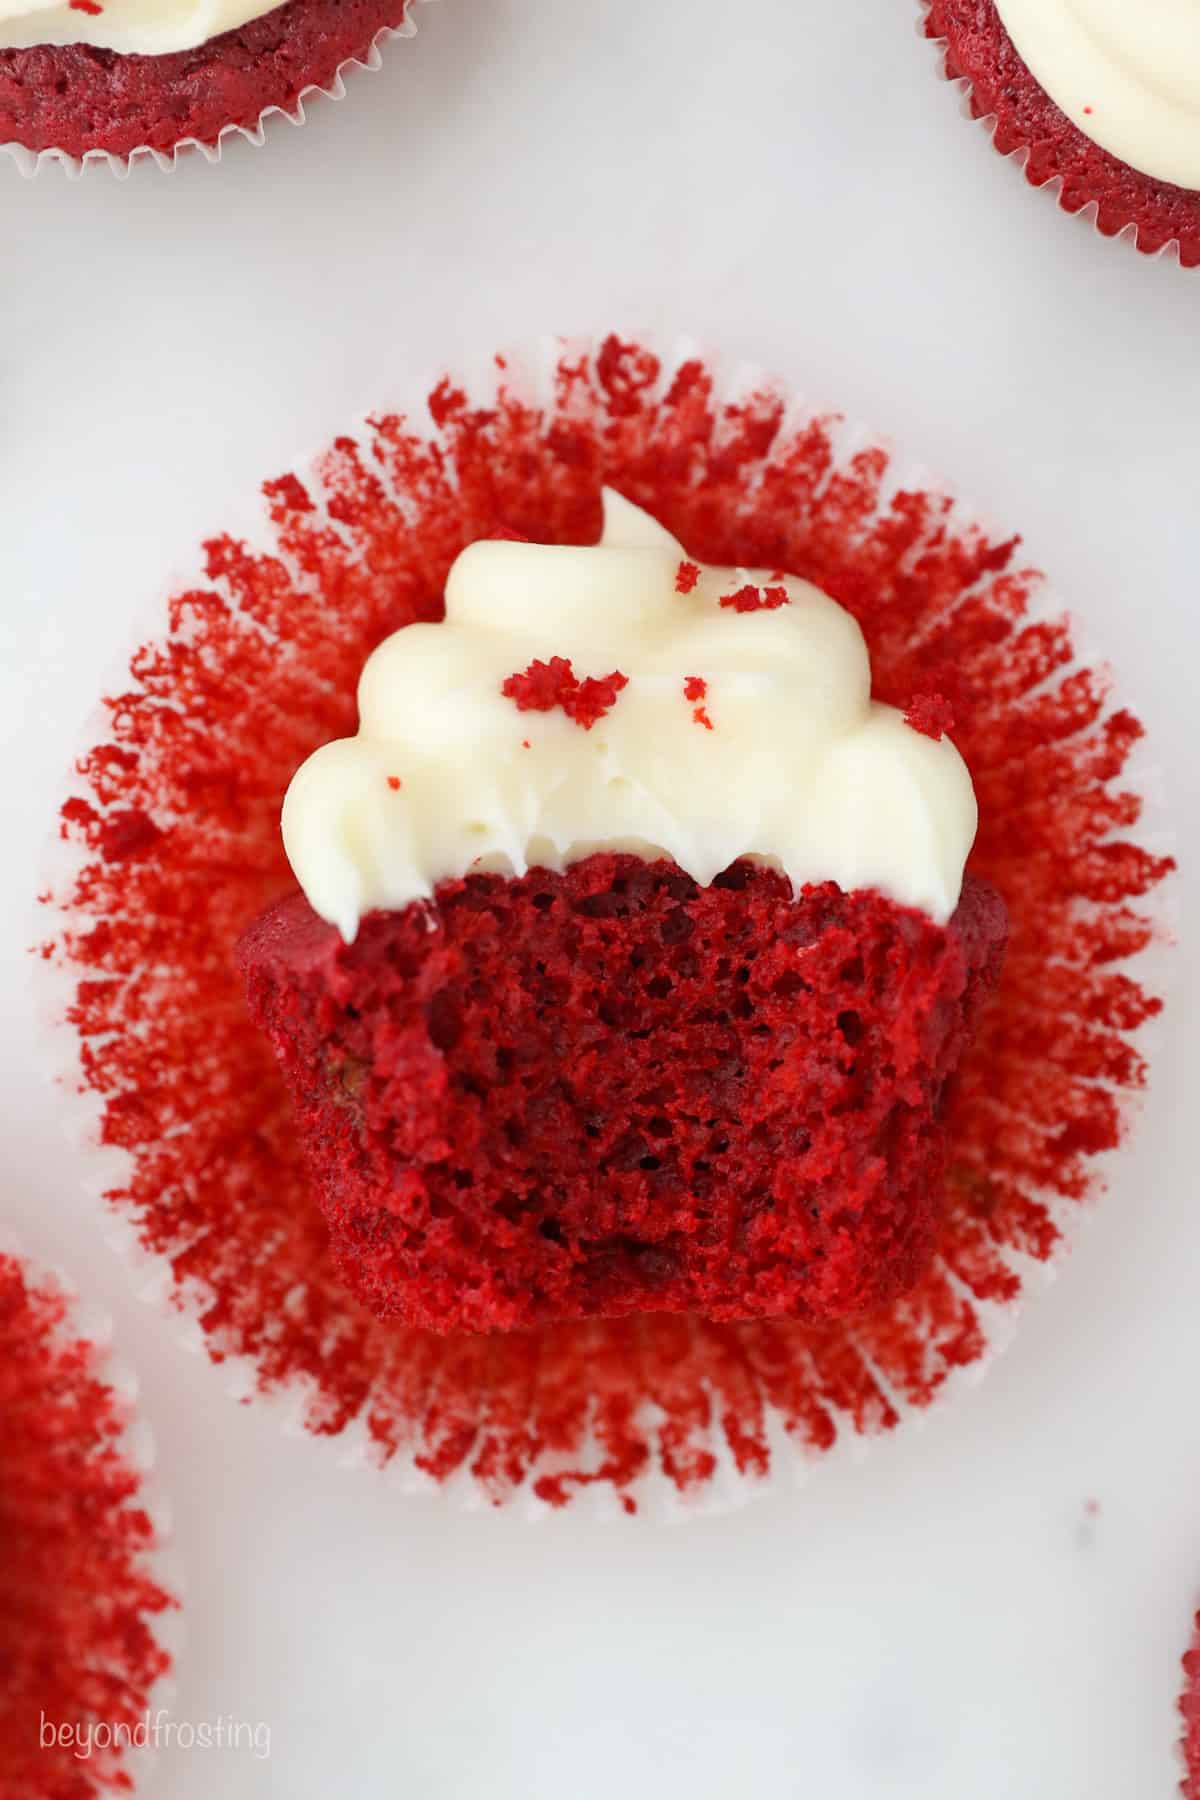
- Soft, moist texture. It doesn’t get better than a melt-in-your-mouth, pillow-soft cupcake frosted with a thick swirl of cream cheese frosting.
- Gorgeous red color. A touch of gel food dye takes your traditional red velvet cupcake crumb and makes it POP! This recipe turns out fluffy cupcakes with the most gorgeous scarlet red color.
- The best cream cheese frosting. While the cupcakes themselves are pretty fabulous, the cream cheese frosting is hands-down my favorite part about this recipe. Smooth, tangy, creamy, and perfectly pipeable, it’s totally irresistible. I use it on so many recipes, from these red velvet cupcakes to my carrot cake cupcakes, and more.
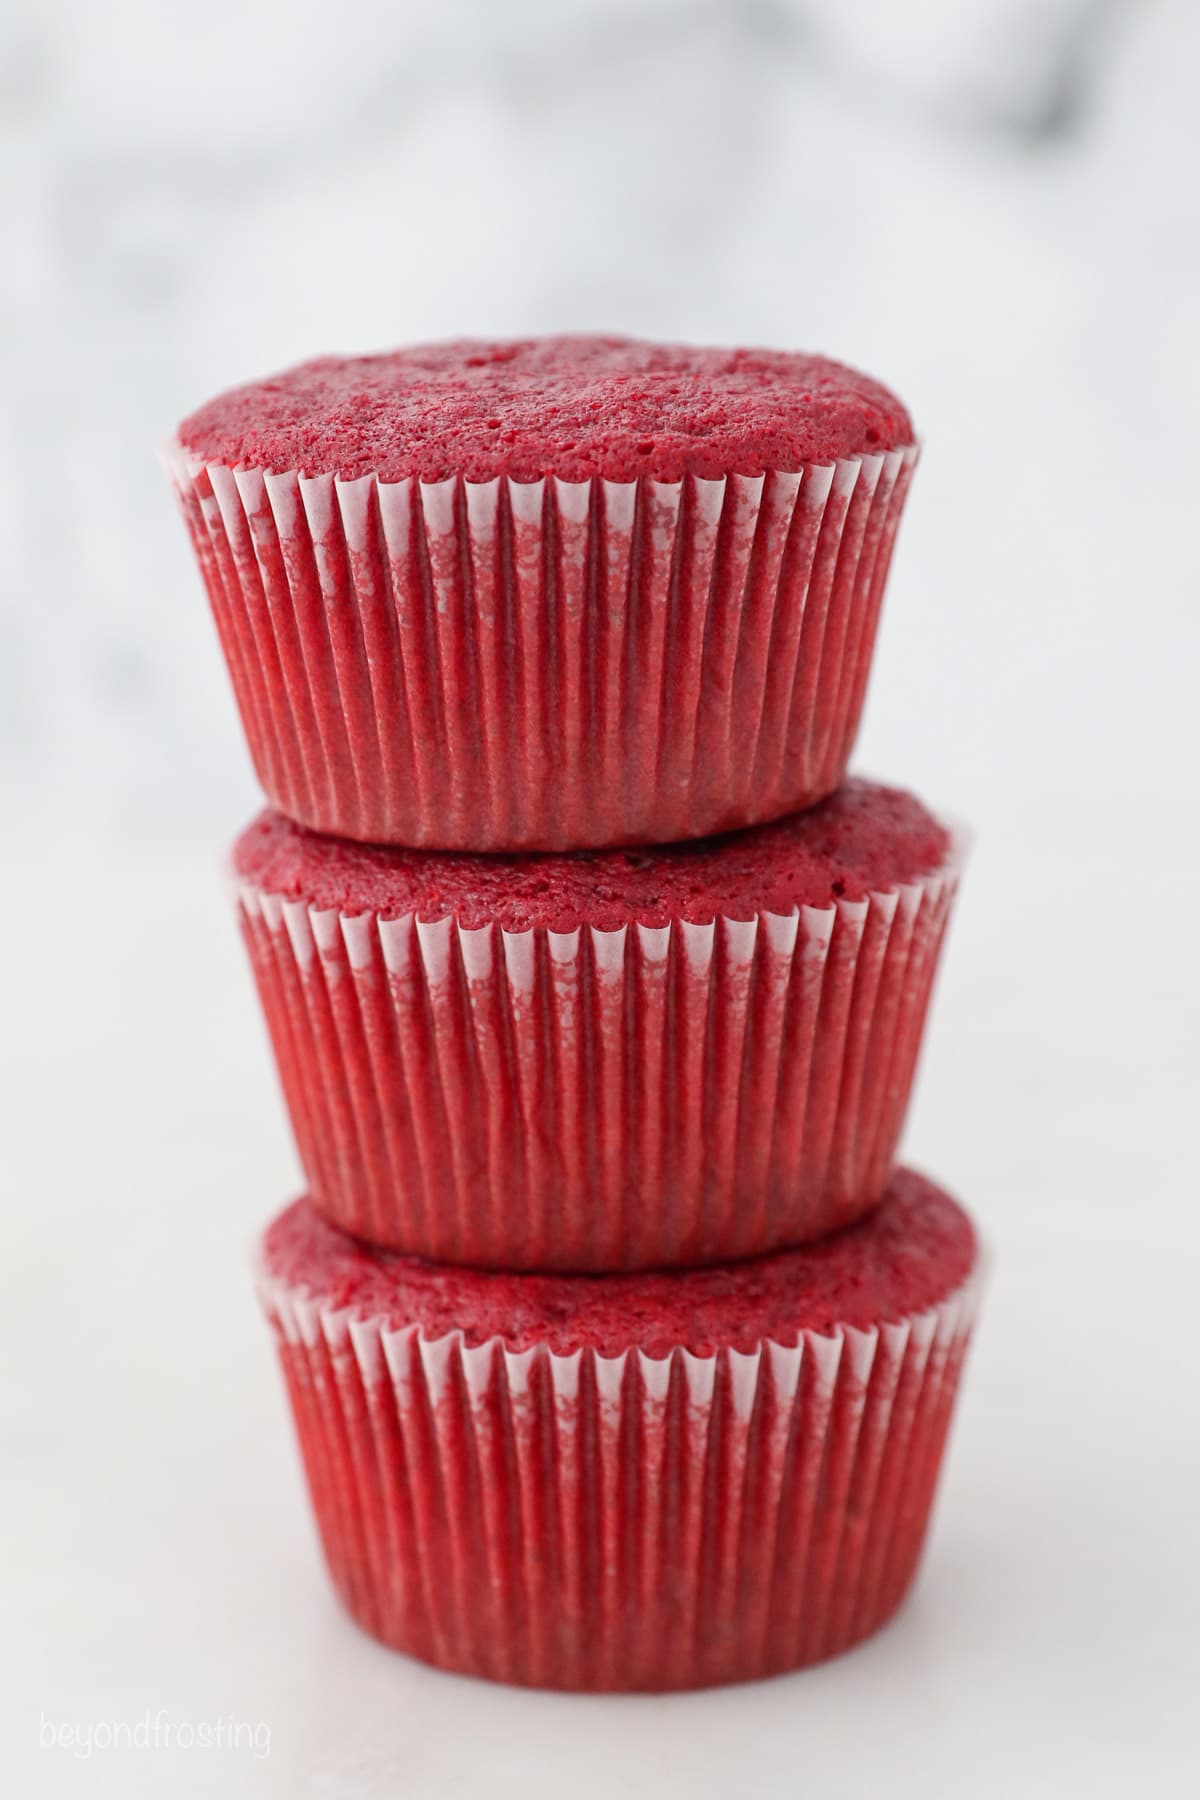
What Is Red Velvet?
Red velvet cake is a classic dessert. Traditionally, red velvet cakes got their signature red hue from a chemical reaction between two key ingredients: natural (non-dutched) cocoa powder, and something acidic, like vinegar and buttermilk. Without getting too sciencey about it, the acid brings out the red anthocyanin found in the cocoa, which gives the cake crumb a naturally reddish tint.
While traditional red velvet cakes rely on this chemical reaction alone, some red velvet cakes, like the one we’re making today, make use of red food coloring to brighten the color.
What Does It Taste Like?
Despite the small amount of vinegar in these red velvet cupcakes, you can rest easy knowing that they don’t taste like vinegar! Cocoa powder gives red velvet cakes a touch of chocolatey flavor, but it’s more subtle than a chocolate cake. I’ve always found that the taste of these cupcakes falls somewhere between vanilla cupcakes and chocolate cupcakes, with a hint of tanginess from the buttermilk.
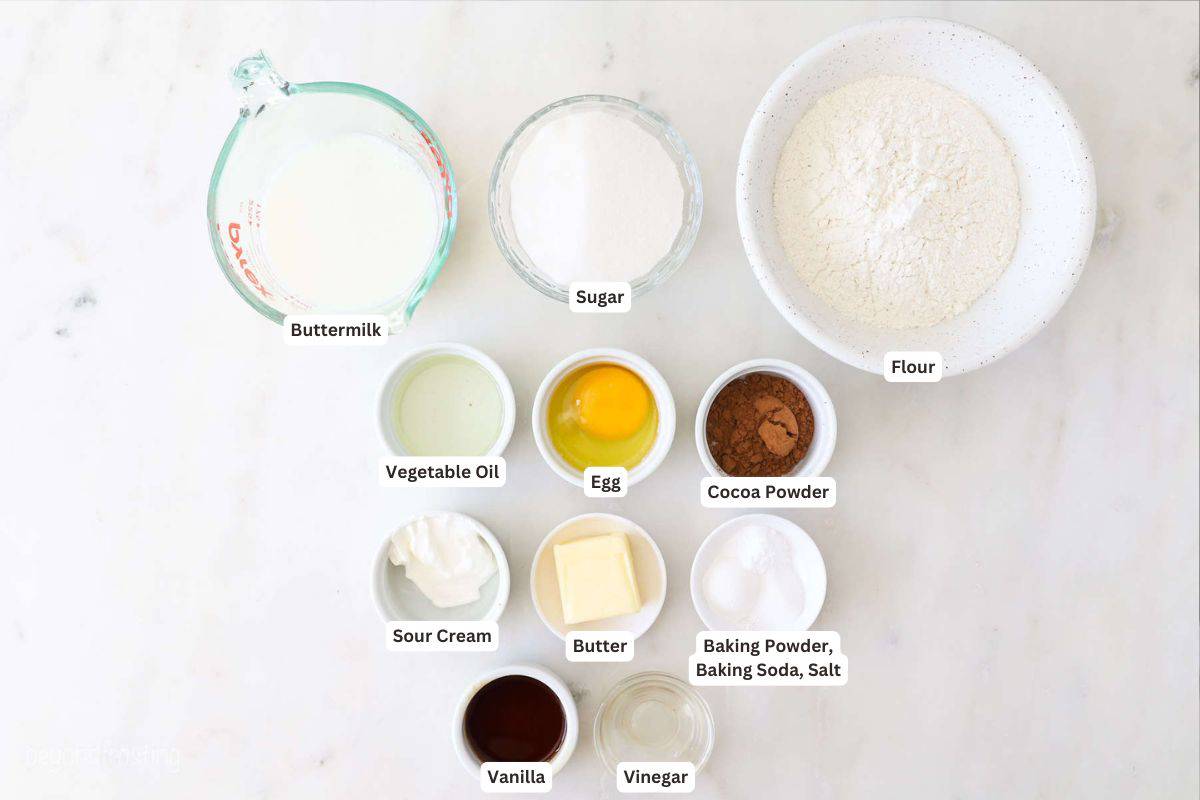
Ingredient Notes
Wondering what goes into these red velvet cupcakes? I’ve included some helpful notes on the important ingredients here. Be sure to scroll down to the recipe card with the full list of ingredients, amounts, and recipe instructions.
- Oil – Replacing some of the butter with vegetable oil (or canola oil) creates a super-moist cake that stays soft for days.
- Sour Cream – It might not be traditional, but I add a touch of sour cream to keep the cupcakes nice and moist.
- Vinegar – You won’t taste the vinegar in these cupcakes, and it’s necessary to kickstart the reaction with the baking soda and cocoa powder.
- Cocoa Powder – You’ll want to use natural cocoa powder for red velvet cakes and cupcakes, as it reacts best with the acidic ingredients. Check out my guide on natural vs. Dutched processed cocoa powder to learn the difference, and see the section below for details.
- Buttermilk – The acidity in buttermilk brings a subtle tanginess to red velvet cake and also contributes to the chemical reaction between the ingredients. If you don’t have buttermilk, it’s easy to make a homemade version using lemon juice or vinegar.
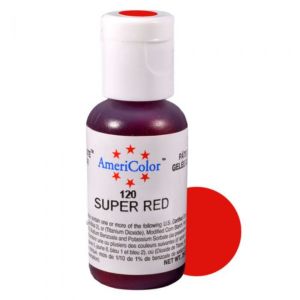
- Red Food Coloring – I use the Super Red gel color from AmeriColor. Gel colors work best as they’re more concentrated, and won’t water down the cake batter.
What’s the Best Cocoa to Use for Red Velvet Cake?
As mentioned, the best cocoa for red velvet cupcakes is natural cocoa powder. Natural cocoa powder has a lighter color yet more chocolatey flavor than other varieties, like Dutch-processed cocoa powder. It’s also more likely to react with the acid in the vinegar and buttermilk, for a perfect red velvet cake that’s moist, red-tinted, and tender.
How to Make Red Velvet Cupcakes
You only need two bowls to make this easy red velvet cupcake recipe. It’s as easy as mixing the wet and dry ingredients separately, and then combining them to make the rich, red-colored batter:
- Mix the wet ingredients. First, cream together oil, butter, egg, and vanilla with granulated sugar. Next, you’ll mix in the sour cream, vinegar, buttermilk, and a few drops of red food coloring.
- Add the dry ingredients. Sift the dry ingredients into a separate bowl, and then slowly beat them into the wet batter.
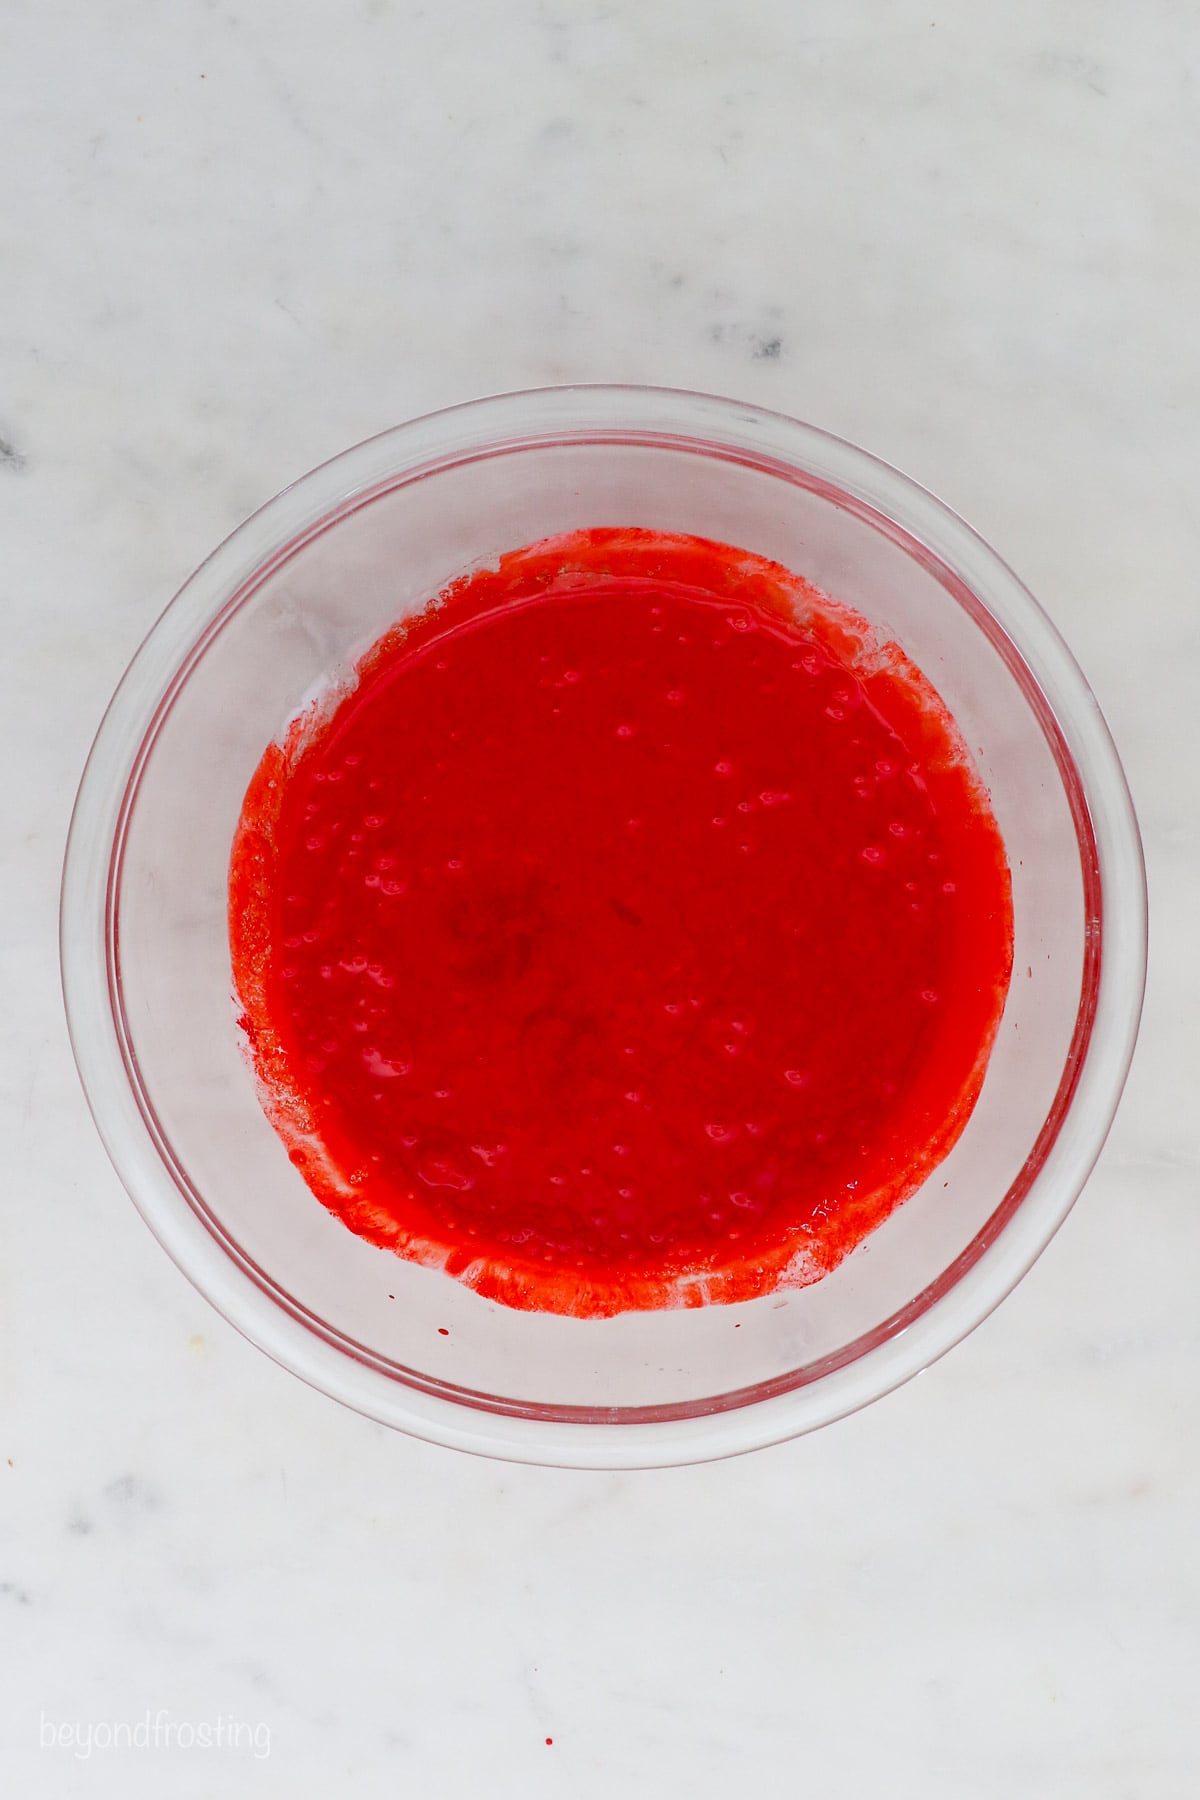
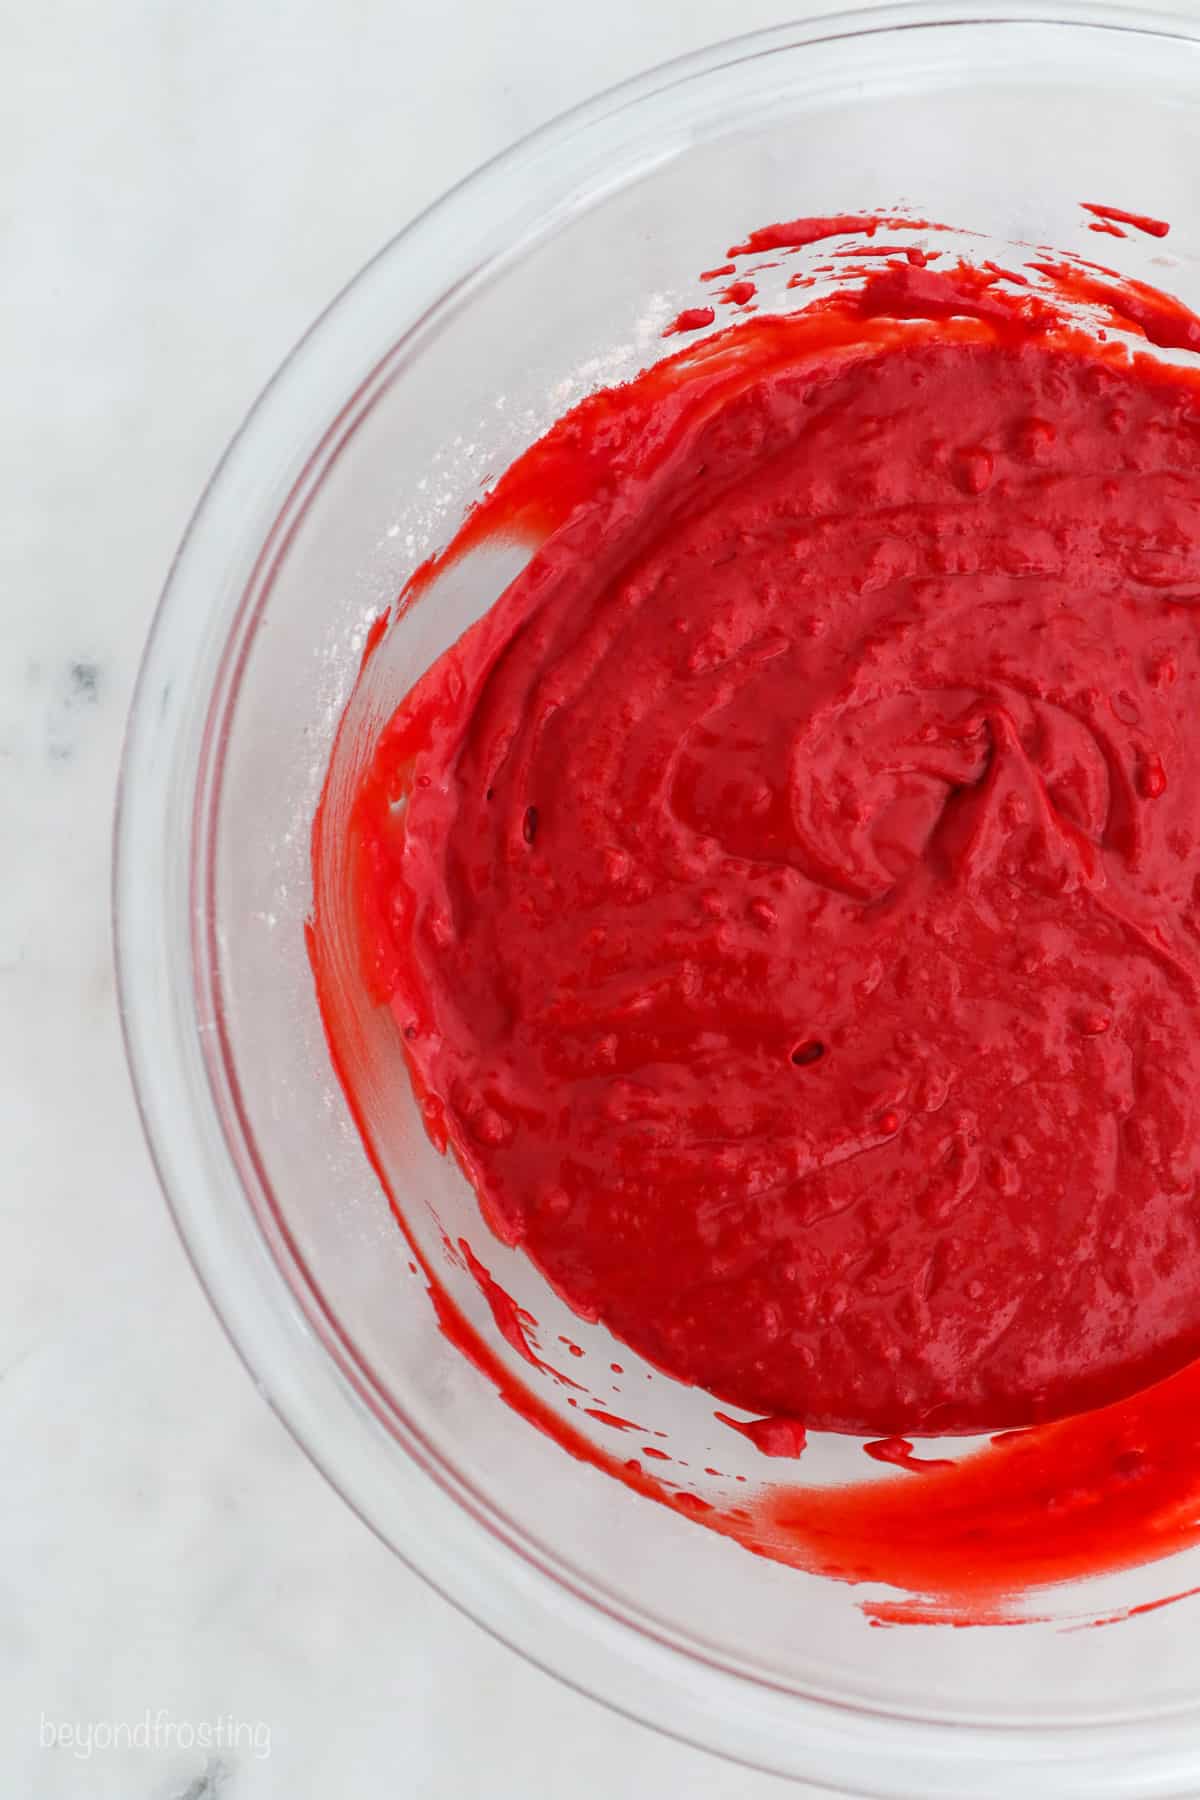
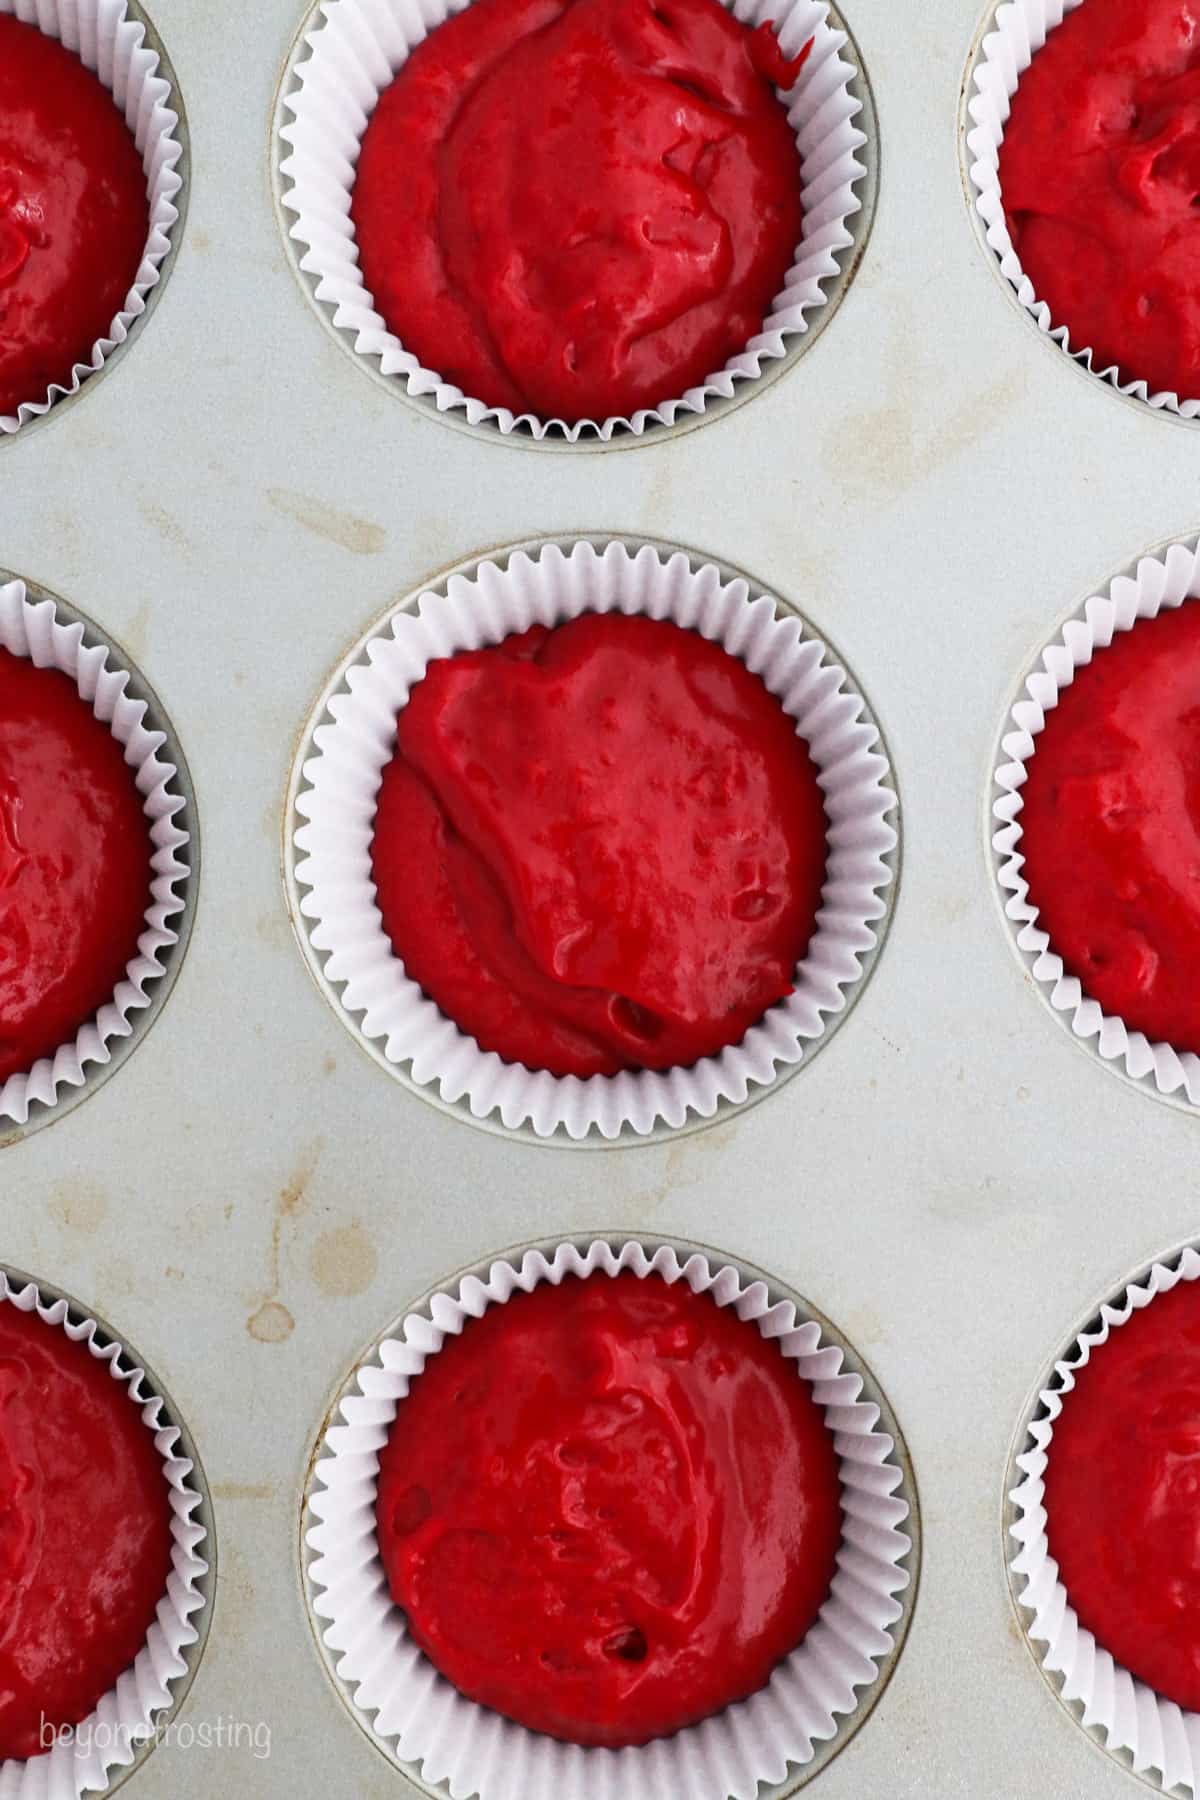
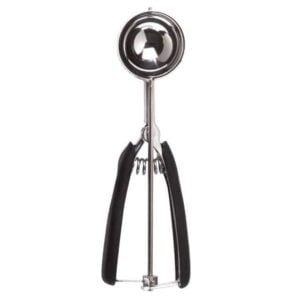
- Fill the cupcake pan. Divide the batter between the wells of a lined cupcake pan, about ⅔ of the way full. A large cookie scoop works well to keep the portions even.
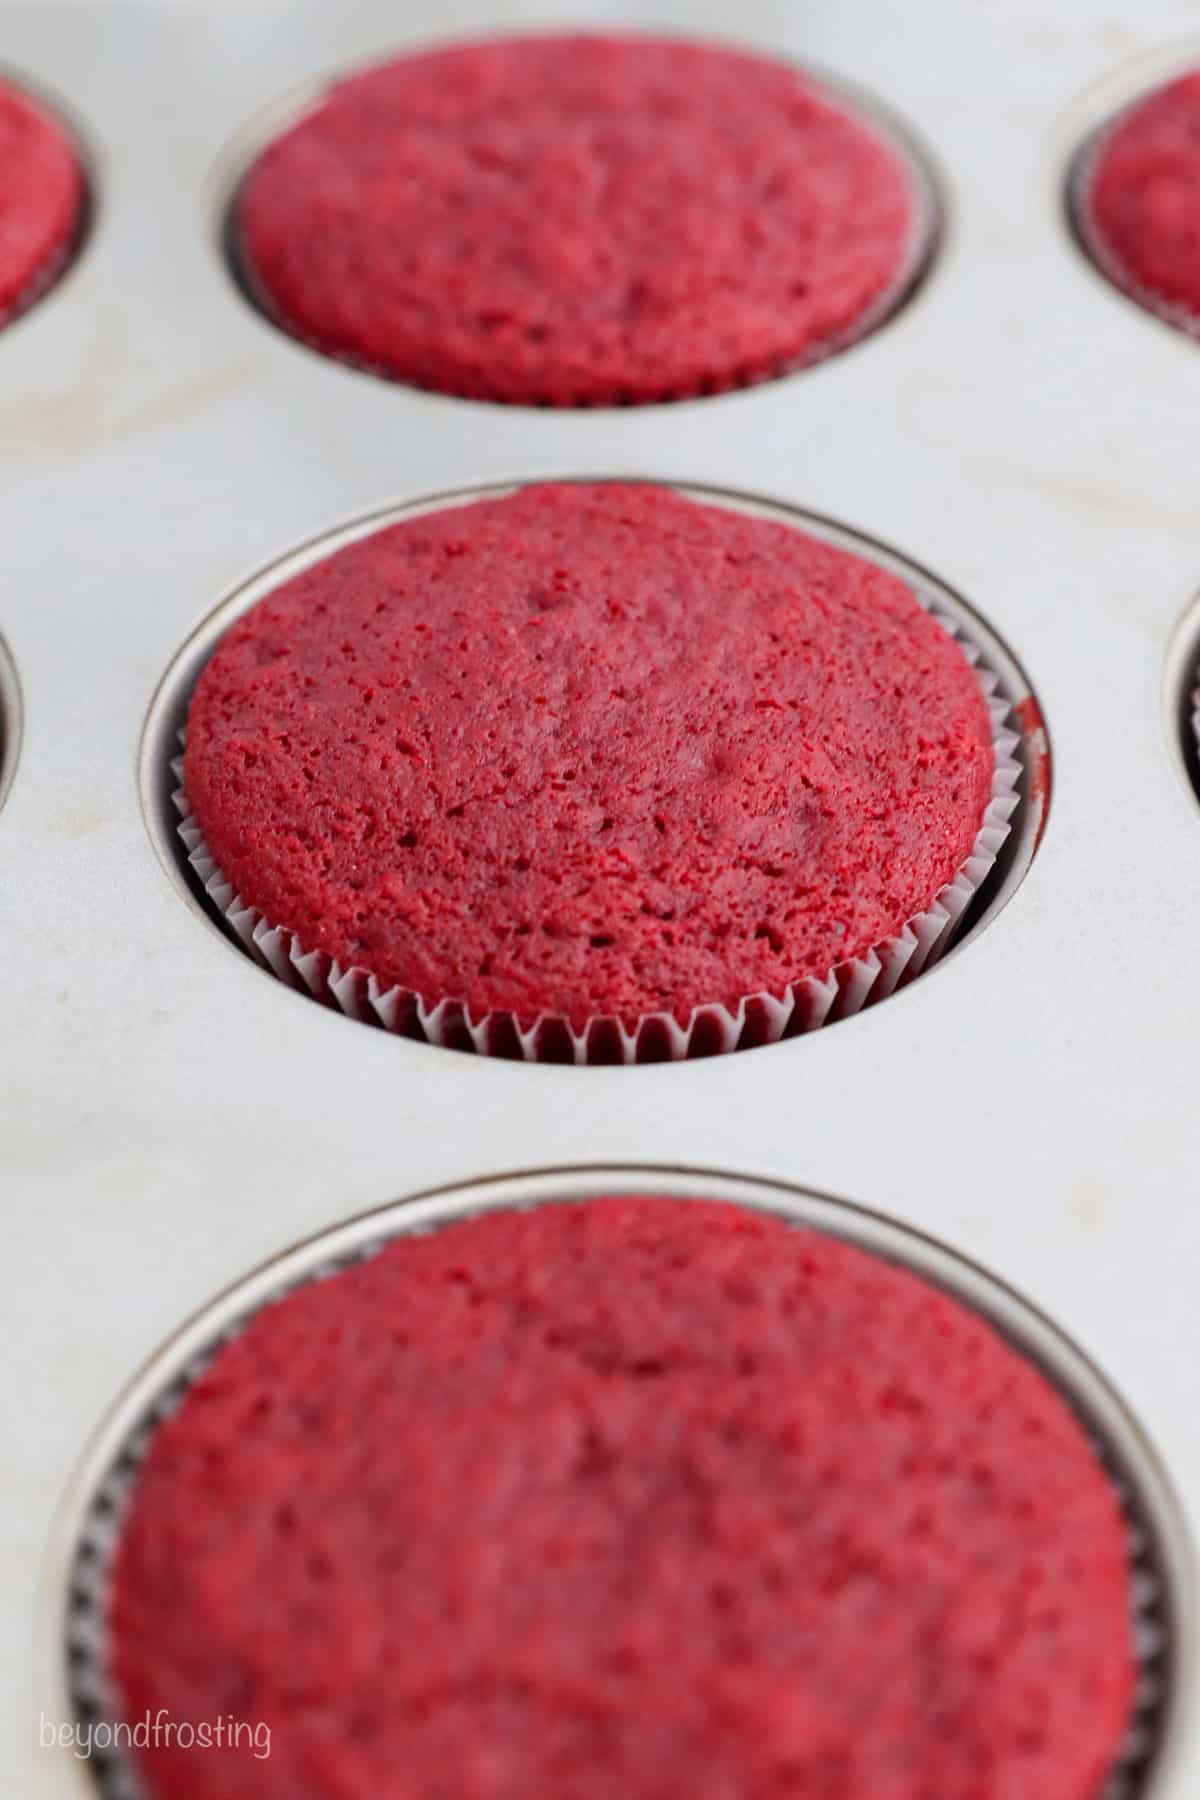
- Bake. Bake your red velvet cupcakes at 350ºF for 14-16 minutes, and then let them cool completely to room temperature before frosting.
Frosting Your Cupcakes
When your cupcakes are cool, it’s time to top them with frosting! My cream cheese frosting recipe calls for cold ingredients. This ensures a stable, pipeable frosting that isn’t too soft. Here’s how to prep and frost these red velvet cupcakes:
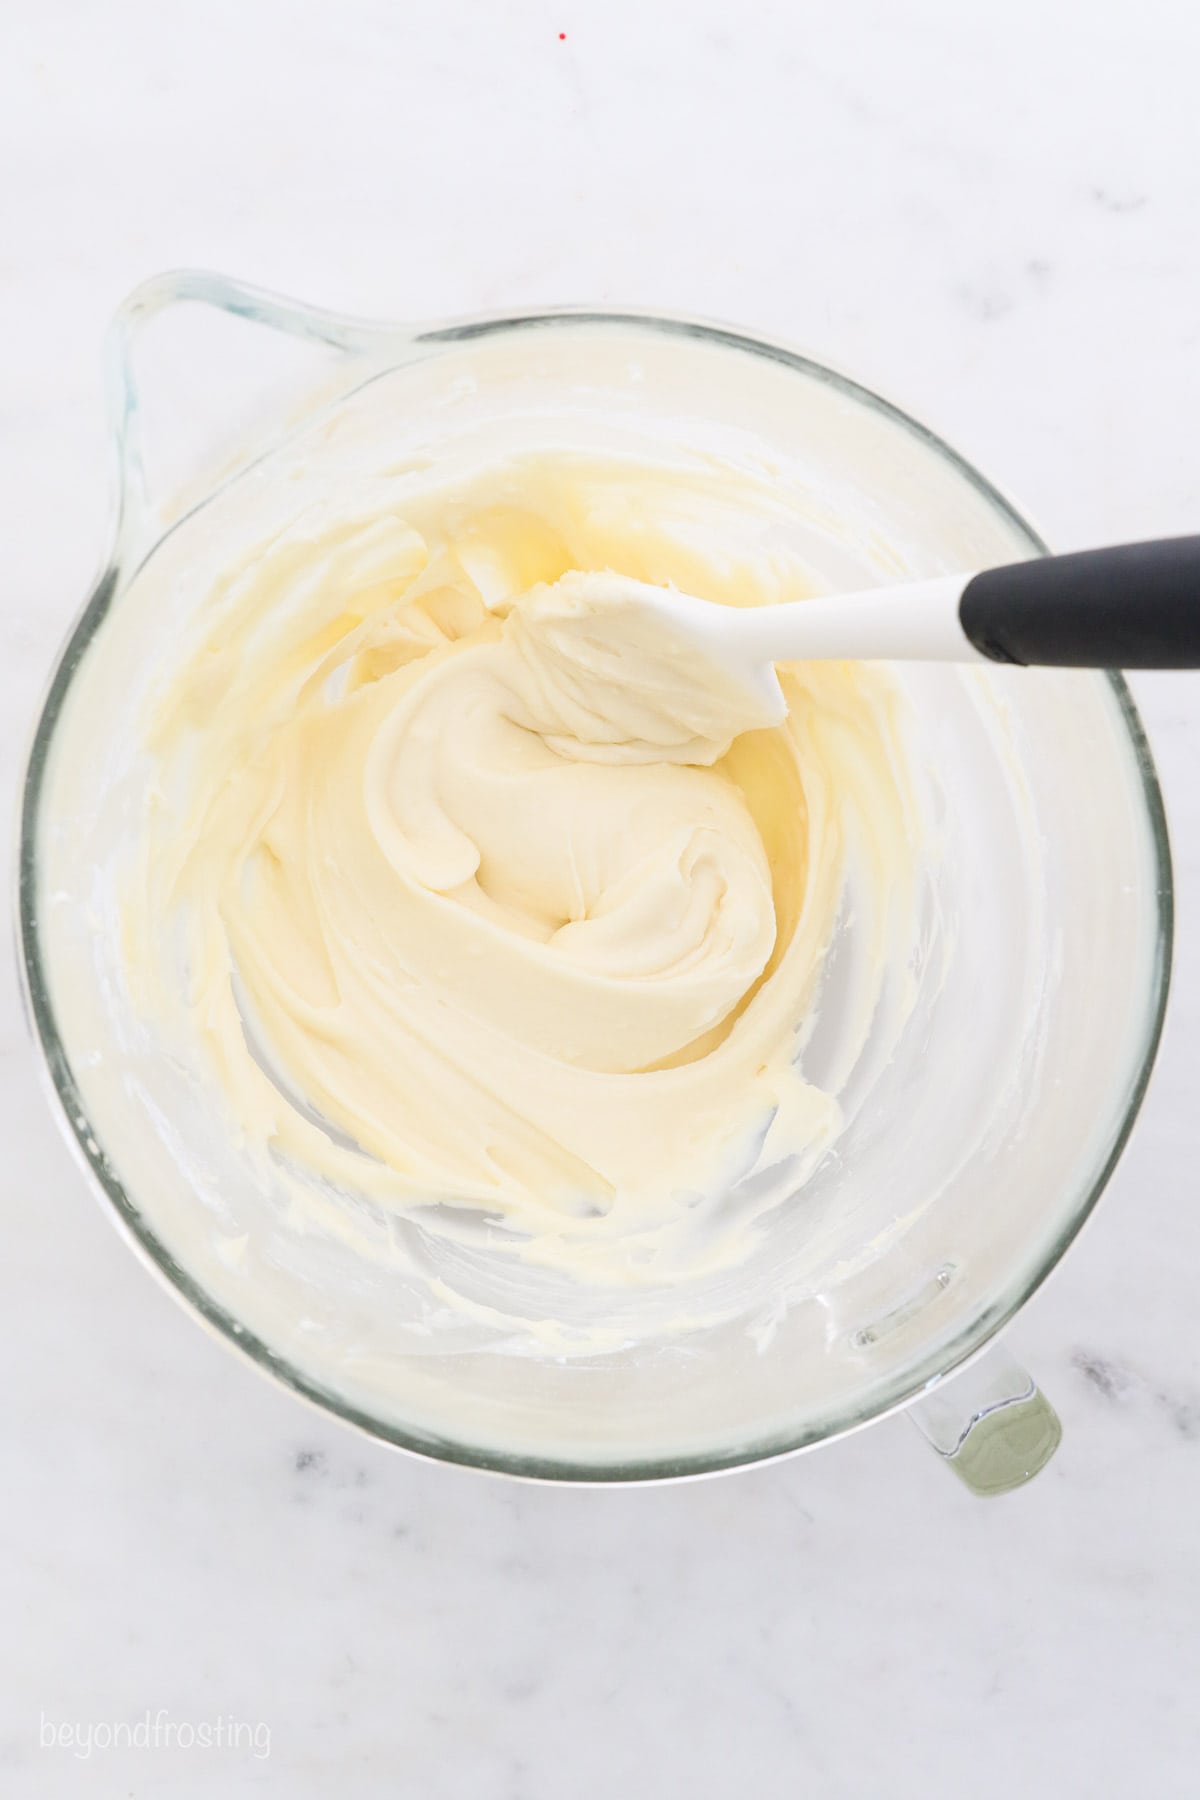
- Make the frosting. Start by beating cold butter to get it nice and fluffy, then add the cream cheese, beating until the two are well combined. Once the mixture is lump-free, gradually add powdered sugar, alternating with the vanilla and heavy cream, and beat until the frosting is super smooth.
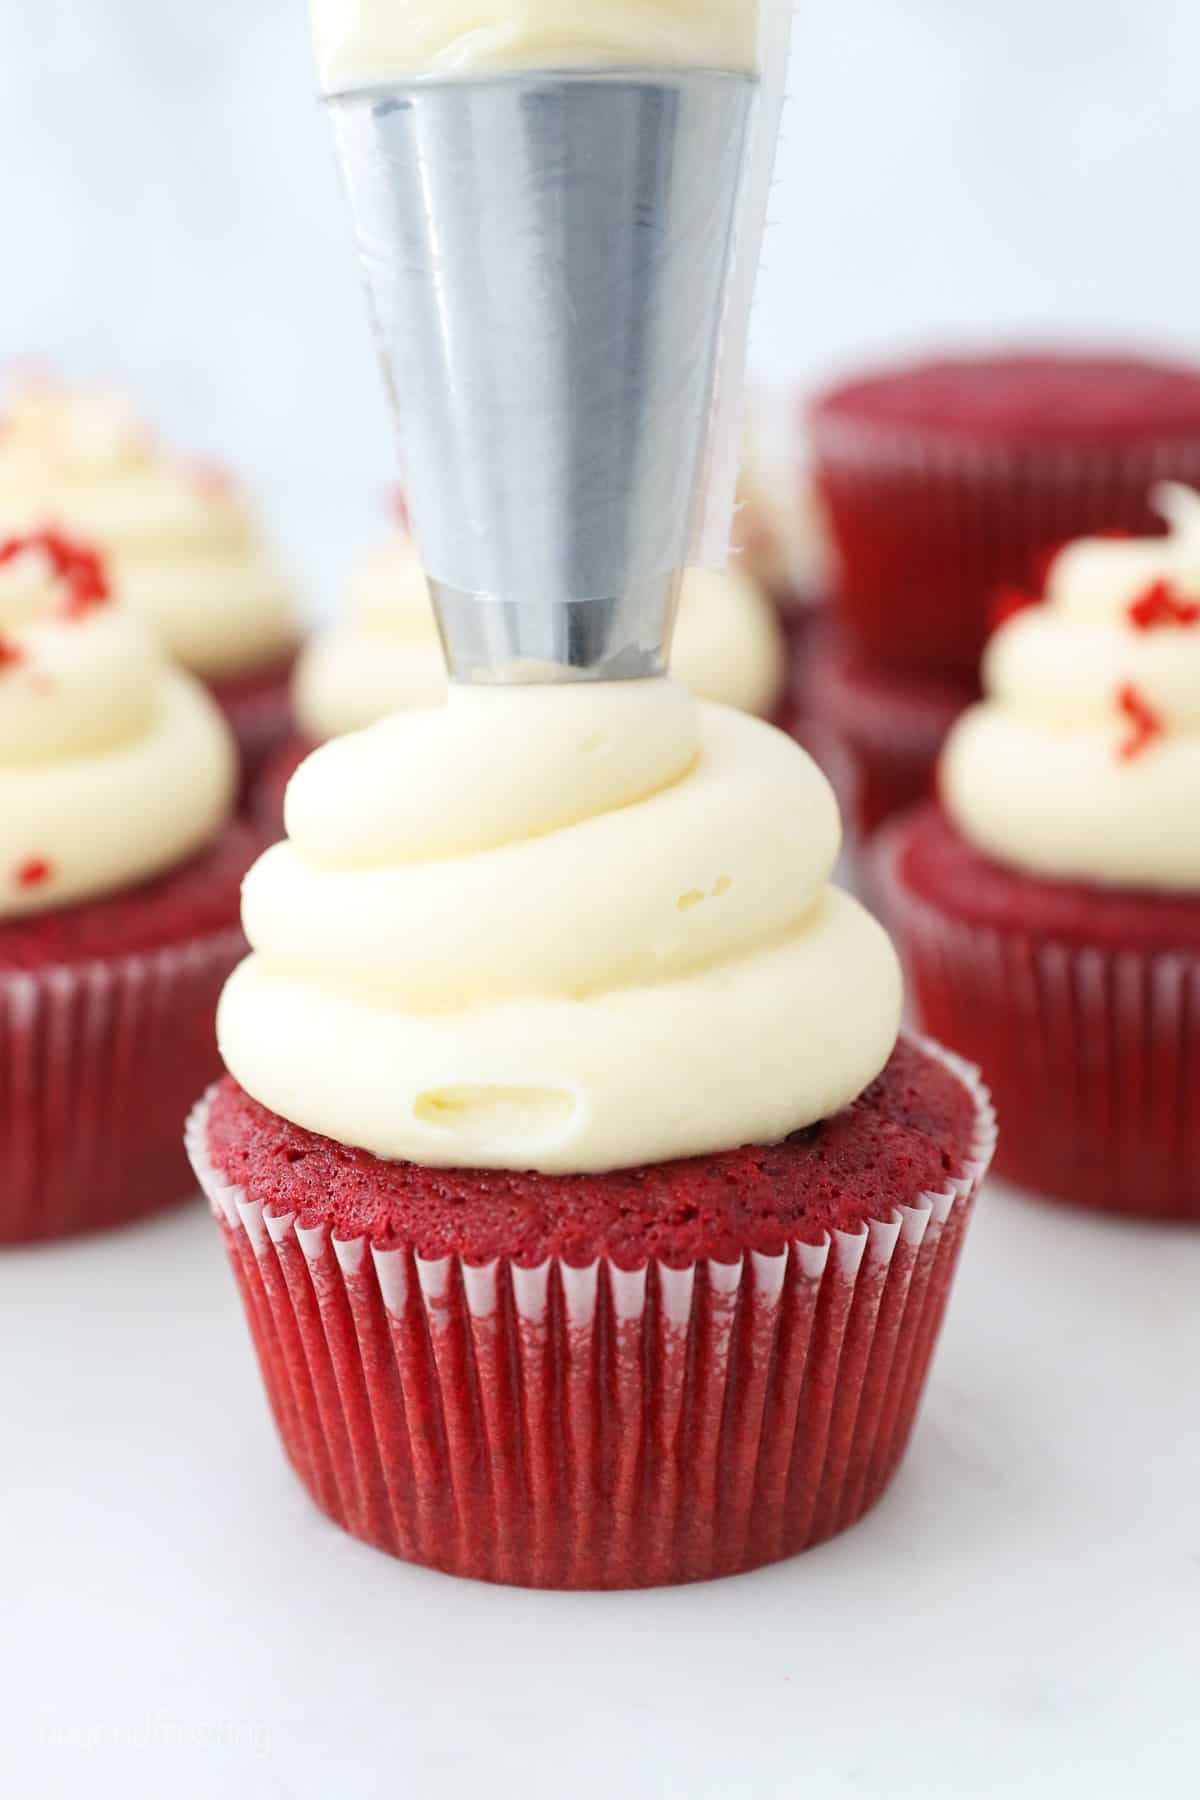
- Frost the cupcakes. I recommend using a large open round piping tip to pipe generous swirls of cream cheese frosting over the top of each cupcake. Alternatively, spread the frosting over the cupcakes using an offset spatula or a knife. See my in-depth tutorial on how to decorate cupcakes and the section below for more easy frosting and decorating tips.
Recipe Tips
I can’t wait for you to give these red velvet beauties a go! These are some of the tips I picked up while testing out this cupcake recipe:
- Sift the dry ingredients. Be sure to sift the cocoa powder and flour through a fine-mesh sieve to remove any lumps.
- Use gel colors. I recommend using concentrated gel food dyes from Wilton, Chefmaster, or AmeriColor (linked above and in the recipe card) when coloring cakes and cupcakes. Gel dyes produce vibrant colors, and a little goes a long way. Start with 1 teaspoon, and add more if needed.
- To test these cupcakes for doneness, stick a toothpick into the center of a baked cupcake. If the toothpick comes out clean or with a few crumbs attached, the cupcakes are done!
- Use full-fat ingredients in the frosting. The key to any rich and creamy homemade frosting is full-fat ingredients. In this case, make sure to use full-fat cream cheese and heavy whipping cream in your cream cheese frosting. In a pinch, you can replace the heavy cream with whole milk.
- Double the recipe. This recipe makes enough batter and frosting for 12 generously-frosted red velvet cupcakes. If needed, double the recipe for a larger batch.
Decorating Ideas and Variations
There are so many ways to add a personal touch to these homemade cupcakes! Try these variation ideas and easy decorating tips:
- Piping. If you’re new to frosting and decorating cupcakes, I have tutorials on how to use a piping bag and how to use piping tips with lots of helpful information.
- Chocolate ganache. Make a red velvet variation of chocolate ganache filled cupcakes using a 1:1 ratio of homemade chocolate ganache.
- Cheesecake. Try this recipe for red velvet cheesecake filled cupcakes for a fun twist that’s perfect for Valentine’s Day.
- Different frosting. These cupcakes would be delicious topped with mascarpone whipped cream. Or, if cream cheese frosting isn’t your thing, go ahead and frost these red velvet cupcakes with creamy vanilla frosting or a light and fluffy Swiss meringue buttercream.
- Sprinkles. Add your choice of rainbow sprinkles, like jimmies or nonpareils, for a festive look.
- More garnishes. Top your frosted cupcakes with white or dark chocolate shavings or mini chocolate chip.
- Gluten-free. My gluten-free red velvet cake recipe is easy to adapt to make cupcakes instead.
Can I Make These Cupcakes Ahead of Time?
Yes! If you’d like to prepare these red velvet cupcakes ahead of time, bake the cupcakes as directed and leave them unfrosted. Instead, let the cupcakes cool and then store them airtight at room temperature up to 1-2 days in advance of frosting them.
You can also prepare the frosting ahead and keep it refrigerated in an airtight container. Remove the frosting from the fridge about an hour before you want to frost the cupcakes so that it can soften.
How to Store Frosted Cupcakes
- To Store. Whenever possible, keep frosted cupcakes stored airtight at room temperature for up to 1-2 days. After this, or if you live somewhere particularly warm, consider refrigerating them instead. I still recommend taking the cupcakes out of the fridge before serving, since they’re best enjoyed at room temperature.
- Freeze. Baked cupcakes can be stored in an airtight container in the freezer for up to 1 month. Thaw to room temperature and then prepare the frosting to decorate. I don’t recommend freezing cupcakes once they’ve been frosted.
More Cupcake Recipes
For more information about dairy nutrition, to find delicious new recipes, and to meet Ohio and West Virginia dairy farmers, visit Drink-Milk.com, and follow the American Dairy Association Mideast on Facebook, Twitter, Instagram, and Pinterest.
Red Velvet Cupcakes
- Prep Time: 30 minutes
- Cook Time: 15 minutes
- Total Time: 45 minutes
- Yield: 12 cupcakes
- Category: Cupcakes
- Method: Oven
- Cuisine: American
Description
These homemade red velvet cupcakes are light, fluffy, and moist, topped with the best cream cheese frosting!
Ingredients
For the Cupcakes
- 3 tablespoons (45 ml) vegetable oil
- 2 tablespoons (28g) unsalted butter, melted
- 1 large egg
- 1 tablespoon (15ml) pure vanilla extract
- ¾ cups (143g) granulated sugar
- 2 tablespoons (30ml) sour cream
- 1 teaspoon (5ml) vinegar
- 1 cup (140g) sifted all-purpose flour
- 2 teaspoons sifted cocoa powder
- 1 teaspoon baking powder
- ½ teaspoon baking soda
- ½ teaspoon salt
- 2/3 cup (158ml) buttermilk
- 2 teaspoons Super Red gel color
For the Frosting
- ½ cup (113g) unsalted butter, cold
- 8 ounces (226g) full-fat cream cheese, cold
- 3 ½ cups (455g) powdered sugar
- 2 teaspoons (10ml) pure vanilla extract
- 1 tablespoon (15ml) heavy whipping cream (or milk)
Instructions
For the Cupcakes
- Preheat the oven to 350°F. Line a cupcake pan with cupcake liners.
- In a large mixing bowl, combine the vegetable oil, butter, egg, and vanilla extract. Beat on medium speed until well incorporated. Next add the sugar and beat until well combined. Scrape down the bowl as needed.
- Next mix add the sour cream, vinegar, buttermilk, and red gel color and beat until well combined.
- In a separate bowl, combine the remaining dry ingredients and add to the batter, beating until well combined. Use a spatula to scrape down the sides of the bowl and stir the batter from the bottom to the top to ensure it’s well mixed.
- Using a large cookie scoop, divide the batter evenly, filling each liner 2/3 full. Bake at 350°F for 14-16 minutes. Test the cupcakes for doneness by inserting a toothpick into the center of the cupcake. If the toothpick comes out clean, the cupcakes are done. Cool Completely.
For the Frosting
- Cut the butter into 1-inch blocks. Beat the butter for 2-3 minutes until it is light and fluffy.
- Then add the cream cheese and cream together for 2-3 minutes until they are fluffy and free of lumps, scape down the bowl occasionally.
- Slowly add confectionary sugar 1 cup at a time and alternating adding the vanilla extract and heavy cream. Beat on low speed until the powdered sugar has combined then increase speed to medium-high and beat for 1-2 minutes. Repeat until all the powdered sugar has been added and beat until the frosting is completely smooth.
- Frost the cooled cupcakes with a large open round piping tip.
Nutrition
- Serving Size: 1 cupcake
- Calories: 420
- Sugar: 47.7g
- Fat: 20.5g
- Carbohydrates: 57g
- Fiber: .4g
- Protein: 3.1g
- Cholesterol: 61mg

This recipe was absolutely amazing my family enjoyed it so much and it was my first time making it ! The icing was so delicious and it worked, it’s usually a learning curve to make some butter icing but that was so easy and quick to make so delicious I’m making it again for the birthdays !
Oh I love to hear that, thank you so much!
Una receta perfecta! Felicitaciones 🎈
I made this cupcakes for my niece’s 21st birthday party and they were a hit! I topped them with the mascarpone whipped cream. One of my nephews said these were the best red velvet cupcakes he has ever had. I will definitely make them again! Thank you for sharing your wonderful recipes!!
I love that so much Sandy, thank you!
Wow these cupcakes look absolutely amazing! I just have a question, how long can I keep the frosted cupcakes at room temperature? Or how can I store them? Because I’m afraid that if I keep them in the refrigerator the cupcake will be dry or not as moist and fresh as it should be… What do you recommend?
Hi Miriam, this information is in the blog post. I recommend 1-2 days at room temperature if the house is cool and not humid. Otherwise you can refrigerate them in an airtight container, and take them about about a half hour before serving.
This is absolutely some of the best red velvet cupcakes ever. They were moist and delicious. My fiancé definitely approved these cupcakes.
I am so excited to hear that Tori! Thank you!
Hi I love the recipe for the red velvet cupcakes, they’re delicious! I don’t use the frosting but the cupcakes are super moist and yummy!
Thank you so much for sharing!
The best cake hands down! How would I go about making this in a 9×5 loaf pan?
I have not specifically baked in a 9×5 pan but you may want to add some baking powder for rise
The cupcakes are delicious but every time I do them there is an indentation in the middle. How do I prevent this?
Hi Fran, if they have the indent, that means the centers are not fully cooked and they’re deflating. Try cooking for a minute or two longer, and use a the toothpick test to make sure they’re baked all the way through
The best I’ve tried!!
That’s wonderful Jerri! Thank you so much!
Hello! Can this recipe be divided in half for a smaller batch?
To make only 6? You could certainly try.
I’ve never made red velvet cupcakes before and decide to try your recipe. It turn out great. Absolutely light and fluffy. Everyone loved it and needles too say they didn’t last long. 😊
Hi Natalie, I am so so happy to hear that! Thank you for sharing!
These are great! Truly moist and flavorful enough. Ditched my old red velvet recipe and now use this.
That’s wonderful Candance!! Thank you so much for sharing!
I have a question every time I bake cupcakes they come out completely flat I’m trying to figure out if this red velvet recipe can bake up with that little cupcake dome.
Hi Lisa, mine don’t rise much either. You can try adding another 1/2 teaspoon of baking powder, or filling the liners more, which reduced the overall yield of the recipe.
I made these today and all I can say is wow thanks so very much for sharing this recipe and all your others they are amazing.
That’s amazing! Thank you so much Sharon, that means so much to me and I am so happy you enjoyed it!
To achieve the dome, refrigerate your batter for a little bit! Maybe 10 minutes. Mine dome every time!
Thank you I will have to try this!
Hi,
I’ve noticed the recipe asks for 3tablespoons oil but then it says 30ml, I am a bit confused now, 3tablespoons =45ml
Can you please advise what’s the correct amount of oil needed
Thanks for clarifying. It’s 3 tablespoons, 45ml. Updating it now!
I absolutely love Beyond Frosting recipes. A friend asked me to make a red velvet cake for her so I knew I had to use a Beyond Frosting recipe. I made a 2 layer 8 inch cake. I made two batches of the batter and it was a perfect amount. I only used one batch of the icing and it was perfect.
Thank you so much, Nicole! I am beyond excited to hear that!
First time making red velvet from scratch and these didn’t disappoint!! Super moist and tasty!
That is amazing Rhonda! Thank you so much for sharing, I worked so hard on this recipe to make sure it was the best!
Can I use baking cocoa instead of unsweetened cocoa powder?
If it’s a cocoa powder intended for baking, I suppose it should be fine, I am not familiar with the product
Best cream cheese frosting EVER
Yaaas! Thank you Josie!
Can this recipe be used for a cake as well?
Yep! It should work just fine
Hello, can this recipe be used to bake a regular cake?
Hi Kimberly, yes you should able to make a 9×13 inch cake