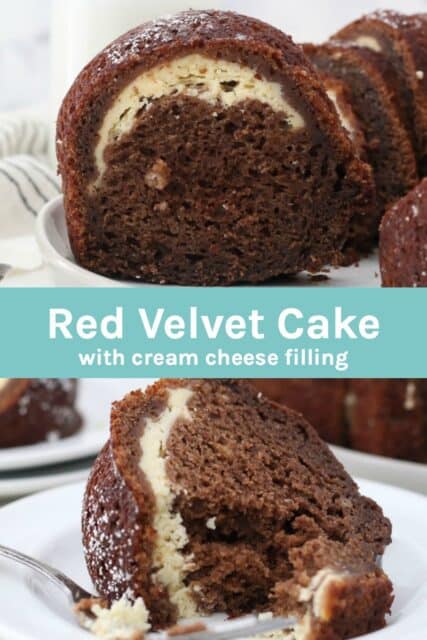
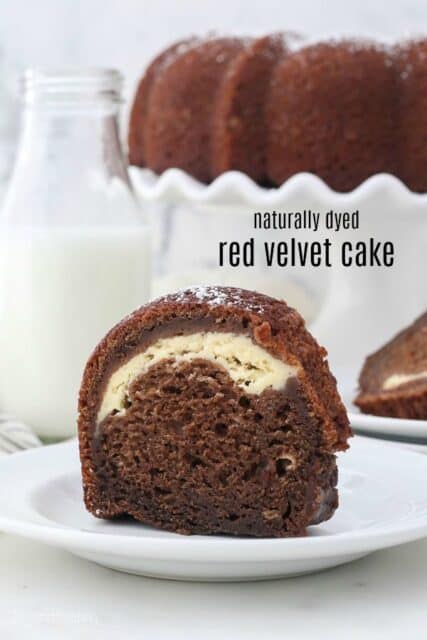
Are you looking for a Red Velvet Cake without artificial food coloring? This homemade Red Velvet cake is naturally dyed with red beets and it’s very easy to make. It’s a moist bundt cake with a hint of cocoa and a cream cheese filling. It can also easily be made as a gluten-free red velvet cake.
This post is sponsored by Aunt Nellie’s Beets. All opinions are my own.
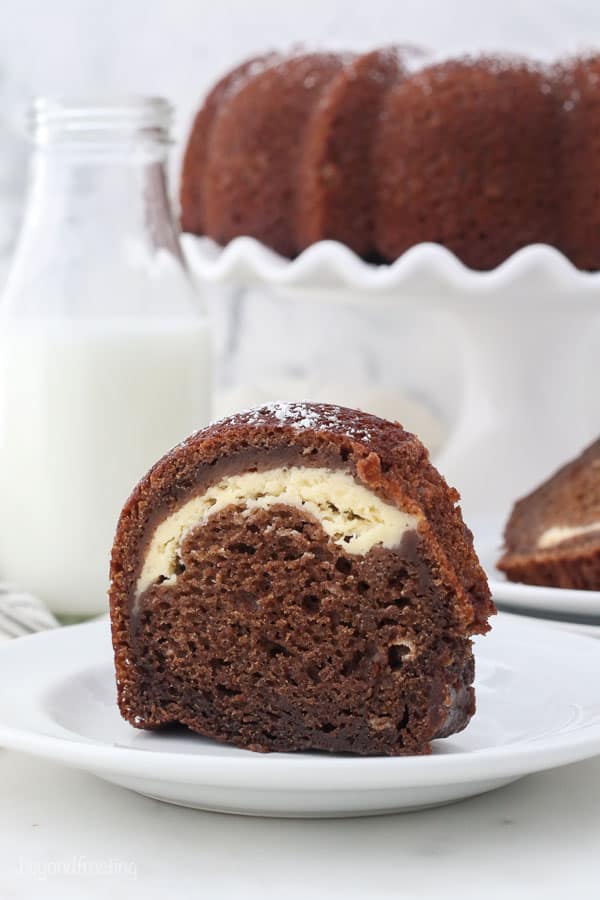
Red Velet Cake with Beets
Do you love Red Velvet Cake? It’s seems to be a flavor that is in its own category as it’s not vanilla and it’s not chocolate.
This is my first time making a red velvet cake from scratch. I challenged myself to make it without using artificial food coloring. Instead, I used beets to make a naturally dyed cake.
It was outside my comfort zone, but the end results are amazing, and I can’t wait to share more with you. I hope it will inspire you to try something new and different, and you’ll be just as proud as I am.
I’ve partnered with Aunt Nellie’s to celebrate the third annual Beet Week. I, along with a few of my blogging friends are sharing creative recipes featuring beets.
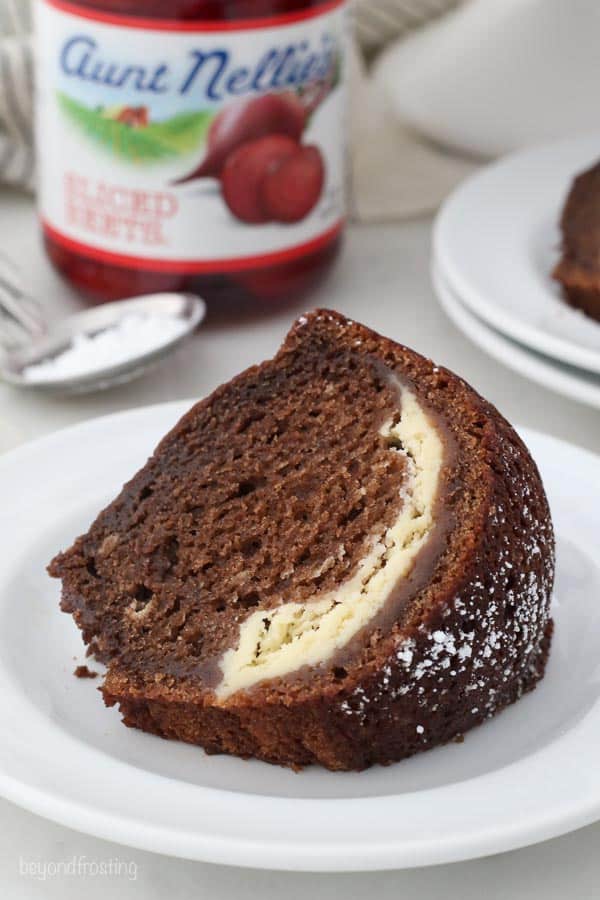
I had no idea beets would be such a great substitute for food coloring. Plus, it makes this cake incredibly moist whether you make it with regular or gluten-free flour, it’s the perfect texture. My friends who tried this cake told me that would never have guessed that it’s made with beets!
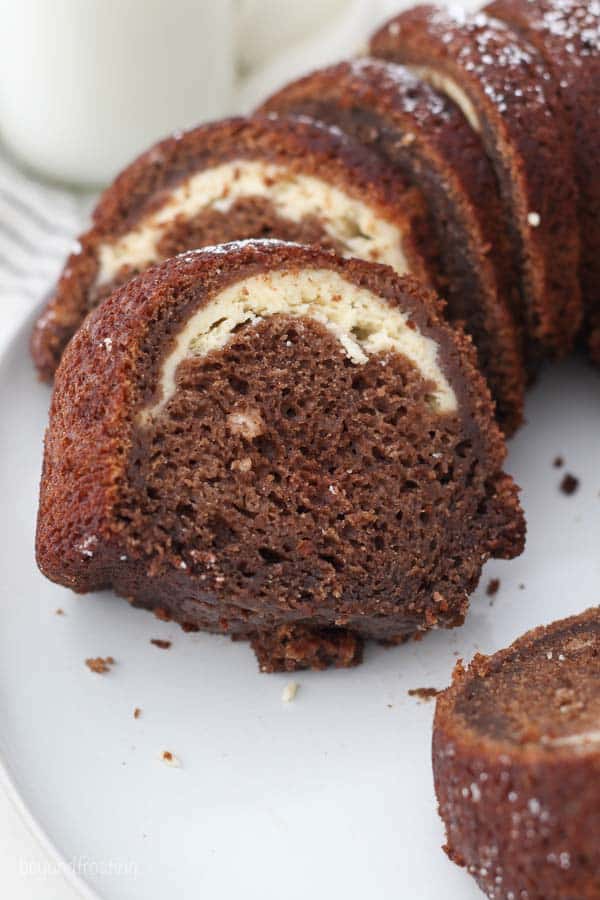
In addition to being naturally dyed, this Red Velvet Bundt Cake has an easy cream cheese filling adding a little more tang, texture and flavor to this cake.
You know I love to share my process behind recipe development, so let’s dive in a little further.
Behind the Recipe Testing For This Cake
Every recipe has a starting place. For this cake, I started with my Chocolate Bundt Cake. I made alterations to the ratios of flour and cocoa powder and swapped out the sour cream for pureed beets. Instead of using coffee, I used a combination of buttermilk and warm water.
I shocked myself when I tried the first test batch. It was so incredibly moist yet not overly dense which I attribute to the beets. The texture of the cake was spot on.
To be honest with you, beets are not a common ingredient in my household, so when I set up to create this cake recipe, it was intimidating. I imagine you might feel the same way.
However, you guys, this was SUCH an easy ingredient to work with. I used Aunt Nellie’s Sliced Beets, which can be found in the jar or canned vegetable aisle.
I strained and pureed the beets prior to adding into the cake. This saves you the step of having to worry about cooking fresh beets plus all the peeling, cooking, pickling is done for you, without sacrificing flavor
This recipe can also easily be made as a gluten-free red velvet cake, and I’ve included more notes about that below.
How to Make a Naturally Dyed Red Velvet Cake with Beets
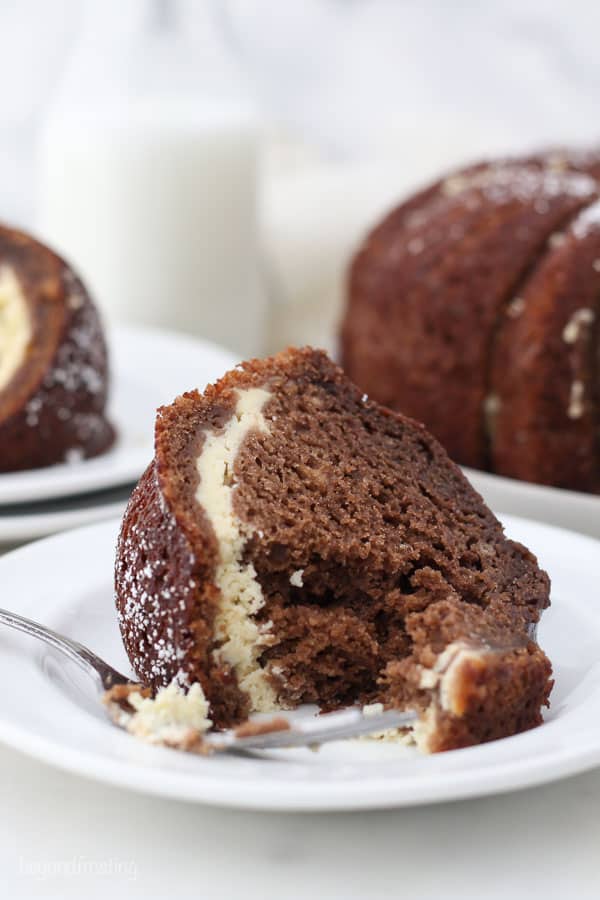
Most red velvet cakes using artificial red food coloring to achieve that bright red color, but the amount of dye needed can be significant.
Instead, using beets for this cake allows you to achieve a more subtle, natural deep red color without using any artificial dyes.
Your best bet is to use jarred beets, as previously mentioned, you won’t have to worry about cooking fresh beets. Aunt Nellie’s beets are picked and packed at peak ripeness, so you know you’re getting a quality product.
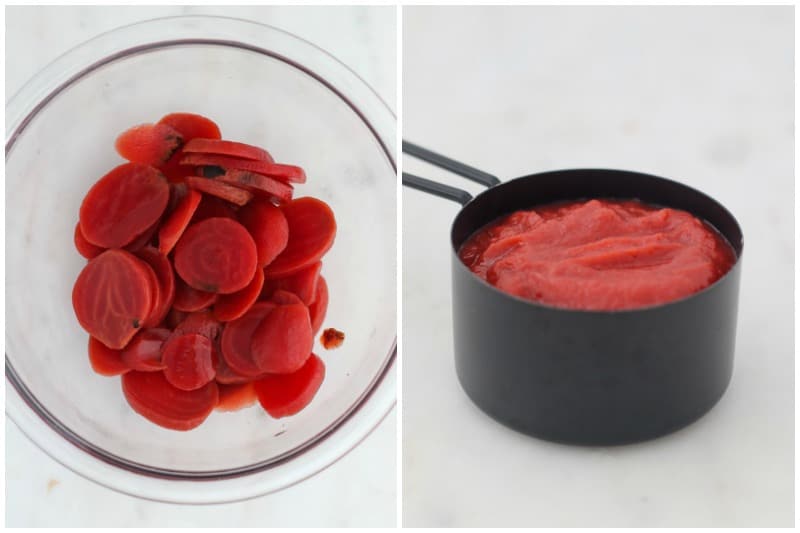
First strain the juice from the jar of beets through a mesh strainer, then puree the beets. The pureed beets are added to the cake batter prior to adding the dry ingredients.
Three Key Ingredients For This Cake
Describing the taste of a red velvet cake is hard to explain as it’s not vanilla or chocolate. It’s got a hint of an acidic or sour flavor with a chocolate finish.
This is achieved with a combination of three ingredients.
- Natural Cocoa powder– in my research, natural cocoa powder was the best option as it reacts with the other acidic ingredients. Just a hint of cocoa powder is needed to achieve the chocolate flavor.
- Buttermilk– used for acidity and adds a subtle tang. If you need a substitute for buttermilk, use 1 tablespoon of lemon juice or vinegar and then add enough milk to make 1 cup. Allow to sit for 5-10 minutes until it appears curdled and then stir prior to adding the batter.
- Vinegar– white distilled vinegar gives an extra boost for the baking soda to do what it needs to do
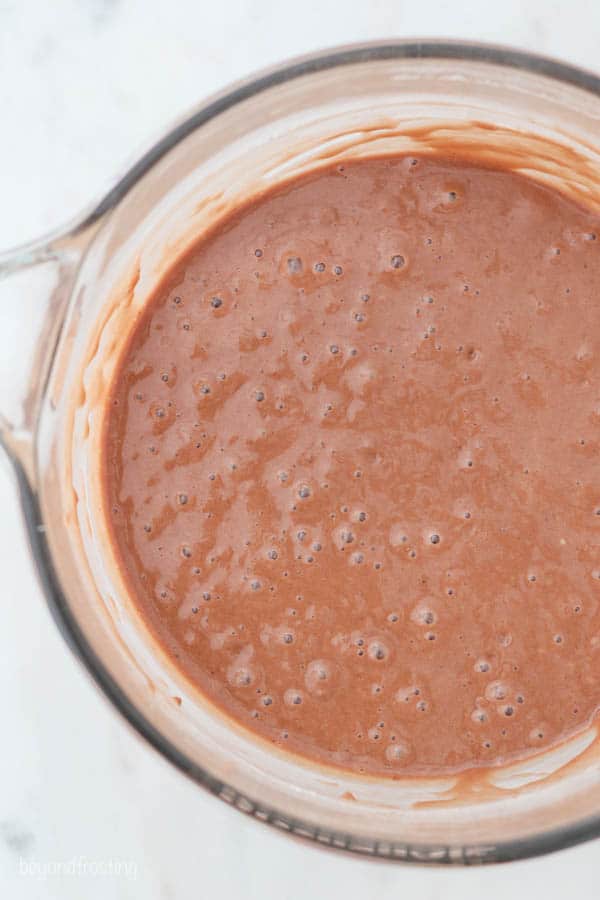
Easy Cream Cheese Filling
The cream cheese filling adds a little something special to this cake, also a little more tang and texture. Plus, red velvet cake goes hand in hand with cream cheese.
The key to making a smooth cream cheese filling is to start with softened cream cheese. If I forget to take it out of the fridge in advance, then I will pop it in the microwave for 15-20 seconds.
- First beat the cream cheese to ensure its smooth and then add the sugar and continue beating until well combined.
- Next add the egg and vanilla extract and beat until the mixture is completely smooth.
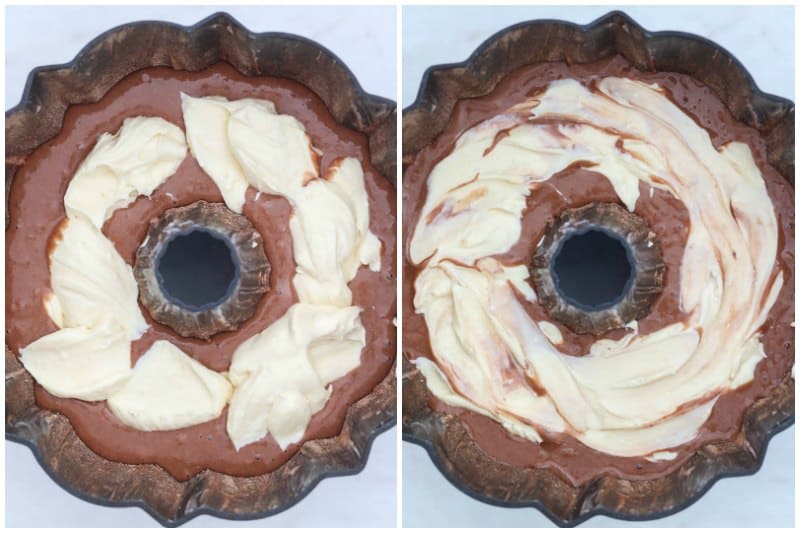
- Pour half of the cake batter into the prepared pan. Then spoon in the filling and swirl with a knife. Pour the remaining batter on top.
How to Make this Cake Gluten-Free
I try my best to offer options when it comes to baking. This recipe has been tested using a one-for-one measure gluten-free flour replacement. My preferred brand to use King Arthur Flour.
When searching for a gluten-free flour, be sure to find one that includes xanthan gum. Then you simply need to swap out the flour using a one-for-one ratio with no additional alterations or substitutes.
How to Prepare the Bundt Pan
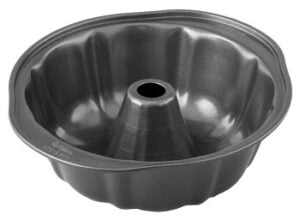
You’ll need a bundt pan that is at least 10-cup size. The key to making sure your bundt cake does not stick is to first generously grease it, I recommend using shortening and be sure to get it in all the crevices! Then make a mixture of half flour and half cocoa powder to coat the shortening.
The type and size of your bundt cake can cause the baking time to vary accordingly. I suggest setting a timer for 35-40 minutes and then carefully watching it after that.
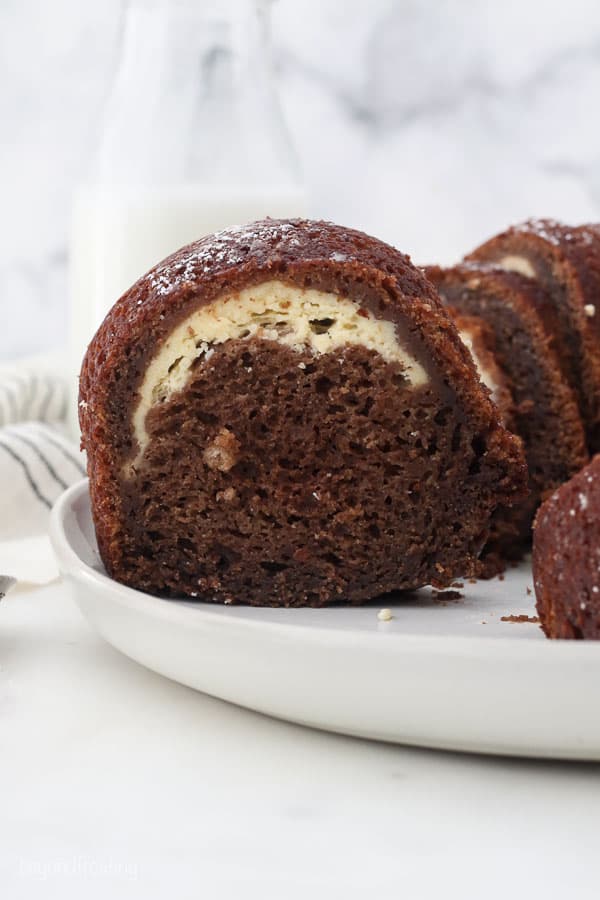
I hope you’ll get yourself out of your baking comfort zone and give this Red Velvet Bundt Cake a try! It’s a fairly simple and straightforward cake to make, you could even omit the cream cheese filling you want to simplify it even more. Otherwise, feel free to top it off with a vanilla or cream cheese glaze.
Follow Aunt Nellie’s
Facebook | Instagram | Twitter | Pinterest
Follow Beyond Frosting
Facebook | Twitter | Pinterest | Instagram
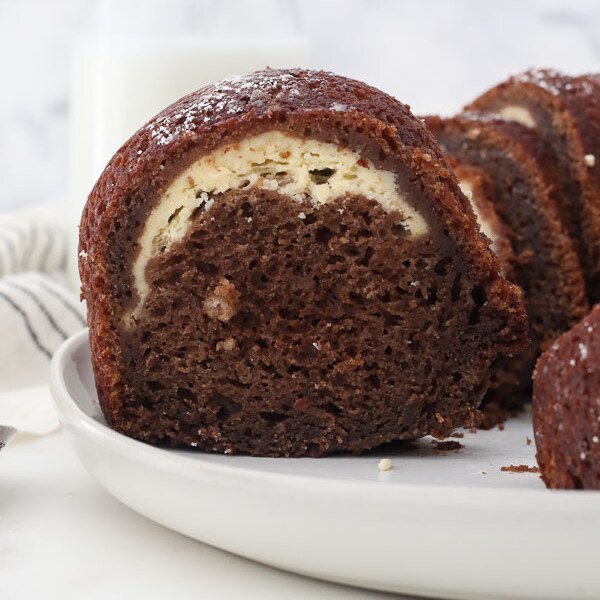
Red Velvet Bundt Cake
- Prep Time: 20 minutes
- Cook Time: 40 minutes
- Total Time: 1 hour
- Yield: 12 Slices
- Category: Cake
- Method: Baked
- Cuisine: American
Description
This homemade Red Velvet cake is naturally dyed with red beets and it’s very easy to make. It’s a moist bundt cake with a hint of cocoa and a cream cheese filling.
Ingredients
For the cake
- 1 ¾ cups (333g) granulated sugar
- ½ cup (118ml) vegetable oil
- 3 large eggs
- 1 tablespoon (15ml) pure vanilla extract
- 1 tablespoon (15ml) distilled white vinegar
- 1 jar (15oz) Aunt Nellie’s Sliced Beets , pureed (about a heaping ¾ cup)
- 2 ½ cups (350g) all-purpose flour (or 1:1 GF all-purpose flour substitute, see notes)
- ¼ cup (28g) natural unsweetened cocoa powder, plus extra for the pan
- 2 teaspoons (7.5g) baking powder
- 1 teaspoon (4.2g) baking soda
- 1 teaspoon (5g) salt
- 1 cup (236ml) buttermilk
- 2/3 cup (158ml) hot water
For the filling
- 8 ounces full fat cream cheese
- 1 large egg
- 1/3 cup (63g) granulated sugar
- 1 teaspoon (5ml) pure vanilla extract
- Powdered sugar for dusting
Instructions
For the cake:
- Preheat the oven to 350°F. Generously grease and flour the bundt pan with a combination of flour and cocoa powder.
- Drain beets; discard liquid then puree beets using a food processor.
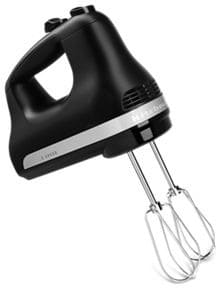
- In a large mixing bowl, combine the sugar, vegetable oil, eggs, vanilla extract and vinegar. Beat on medium speed until the eggs and oil are well incorporated and the batter is lighter in color, about 2 minutes. Scrape down the bowl as needed.Add pureed beets and beat until well combined.
- In medium bowl, whisk flour, cocoa powder, baking powder, baking soda and salt until well combined . Add half the dry ingredients to the batter, beating on low speed while pouring in the buttermilk and mix just until the flour starts to incorporate.
- Add the remaining dry ingredients and the water. Continue beating until all of the ingredients are well combined.
For the filling:
- remove wrapper and place cream cheese in medium microwave-safe bowl. Microwave on HIGH 20 seconds to soften
- In a medium-sized bowl, combine the softened cream cheese with the egg, sugar and vanilla extract. Mix all of the ingredients until they are well combined and smooth.
- Pour 1/2 of the cake batter into the prepared pan. Then spread the cheesecake filling over top and swirl.
- Pour in the remaining cake batter. Bake at 350° F for 40-45 minutes. Note that baking times will vary by oven and pan type. To test the cake for doneness, insert a knife into the cake, if the knife comes out clean, the cake is done. Remove from the pan. Dust with powdered sugar. Cool completely before serving.
Notes
- Bundt pans: Your bundt pan should be at least 10-cup size. Remember that baking times will vary by oven, pan type and size.
- About the beets: When pureed, a jar of Aunt Nellie’s beets will make a heaping ¾ cup. Not all brands produce the same results. You need at least 2/3 cup of pureed beets for this recipe. Be sure to drain the liquid prior to pureeing.
- Gluten-free: This recipe has been tested with a 1:1 (measure for measure) GF All-purpose flour. My preferred brand is King Arthur Flour. When looking for a gluten-free flour, make sure it has xanthan gum included in the flour.
- Buttermilk substitute: Use 1 tablespoon of lemon juice or vinegar and then add enough milk to make 1 cup. Allow to sit for 5-10 minutes and then stir prior to adding into the batter.
- To store this cake: Place cake in an airtight container (such as a cake carrier) at room temperature.
- Red velvet cake when naturally dyed with beets will appear a dark red/brownish color when baked. If you’d like a brighter red color, you can add some red food coloring to the batter.
Nutrition
- Serving Size: 1 slice
- Calories: 420
- Sodium: 520mg
- Fat: 18g
- Carbohydrates: 59g
- Fiber: 2g
- Protein: 7g
- Cholesterol: 80mg

