This post may contain affiliate sales links. Please see my full disclosure policy for details
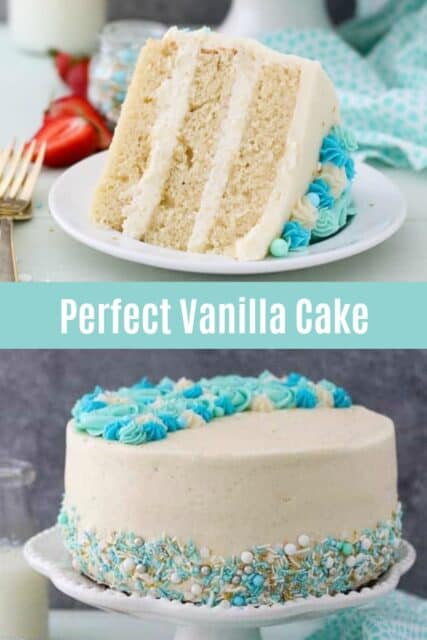
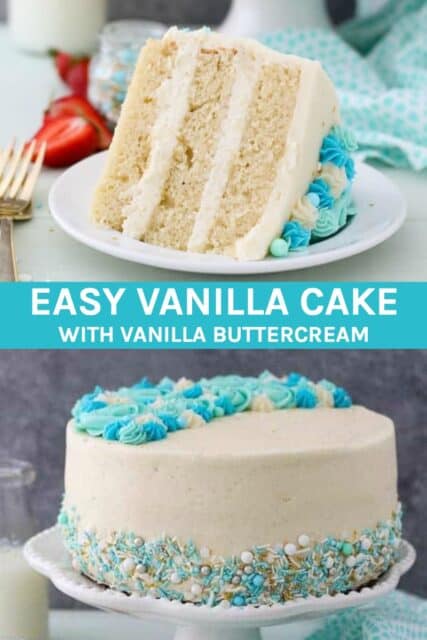
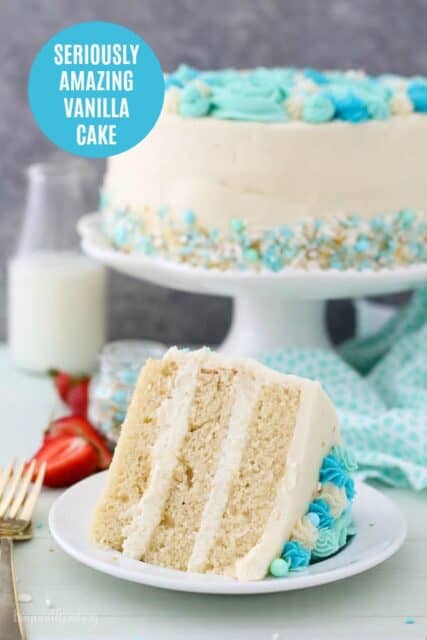
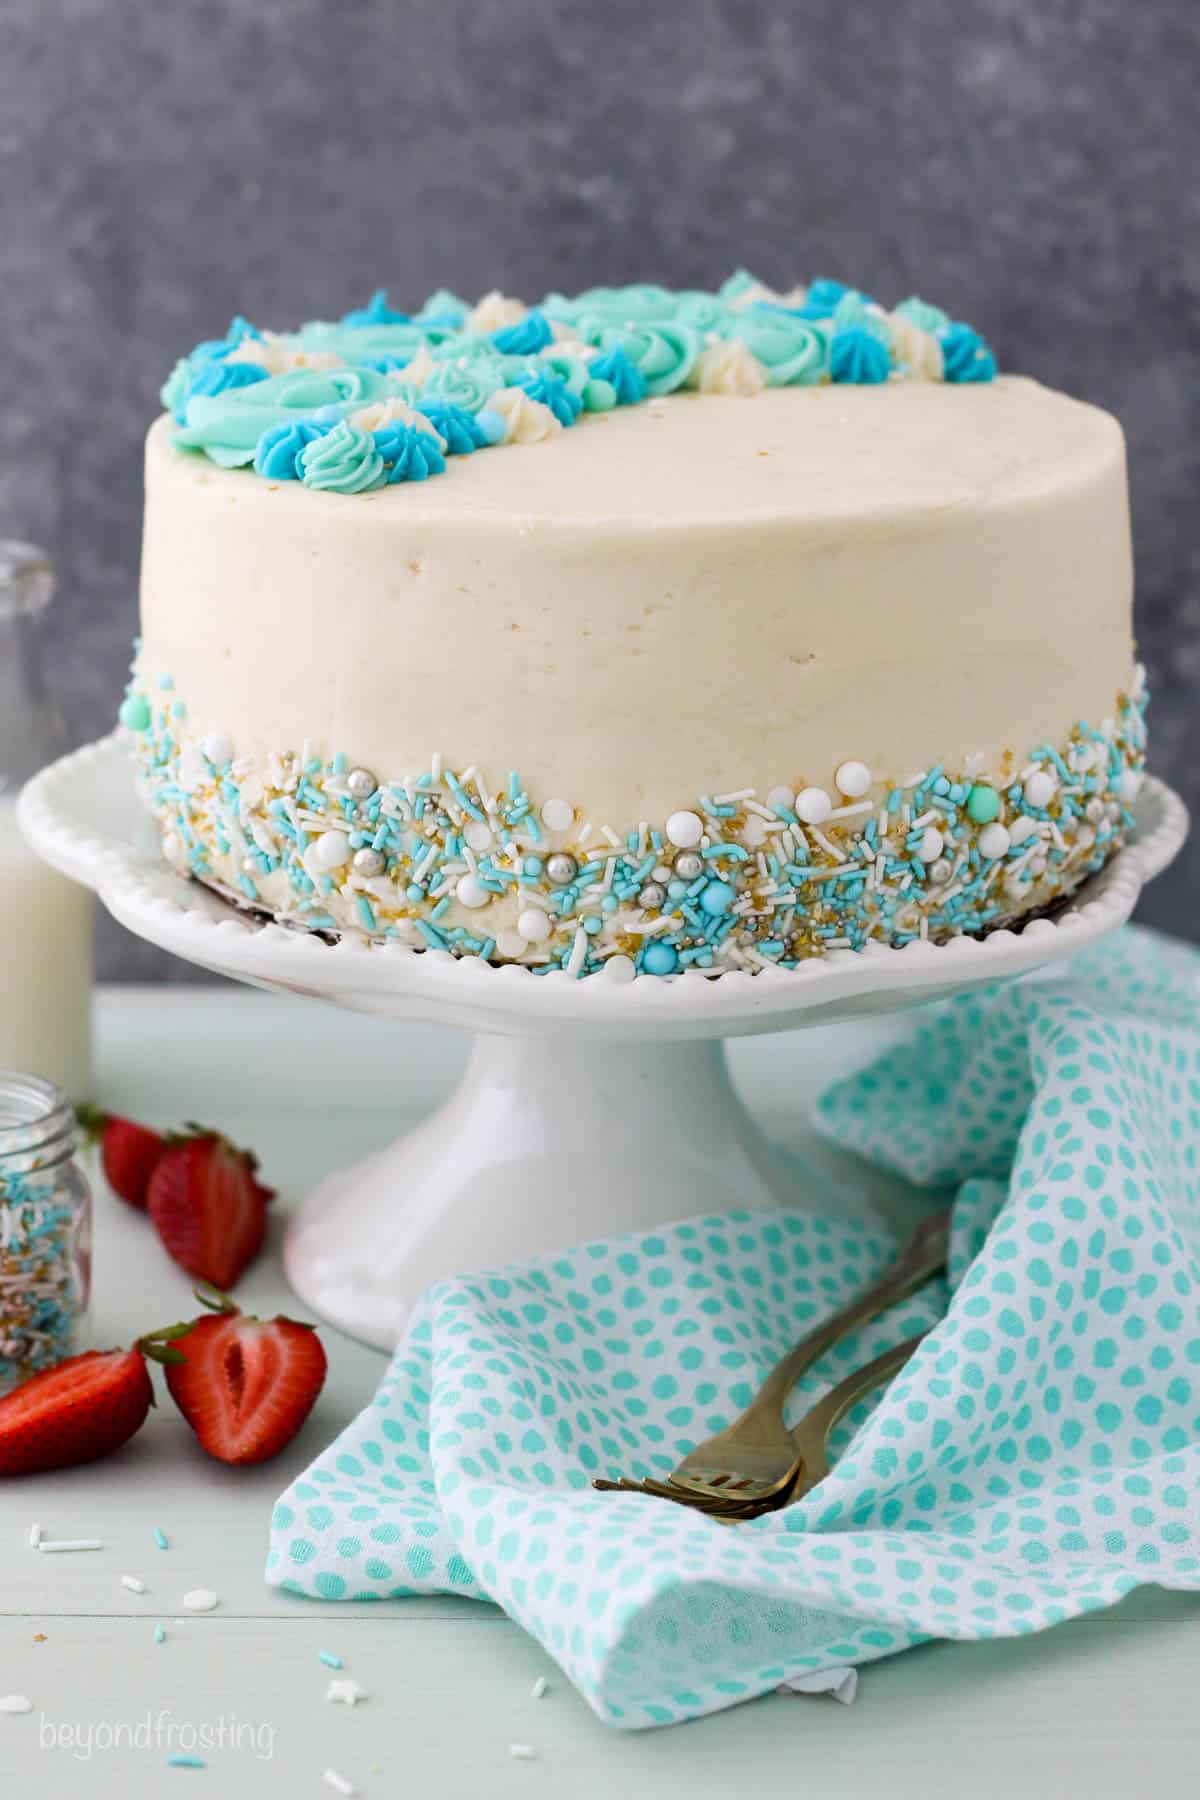
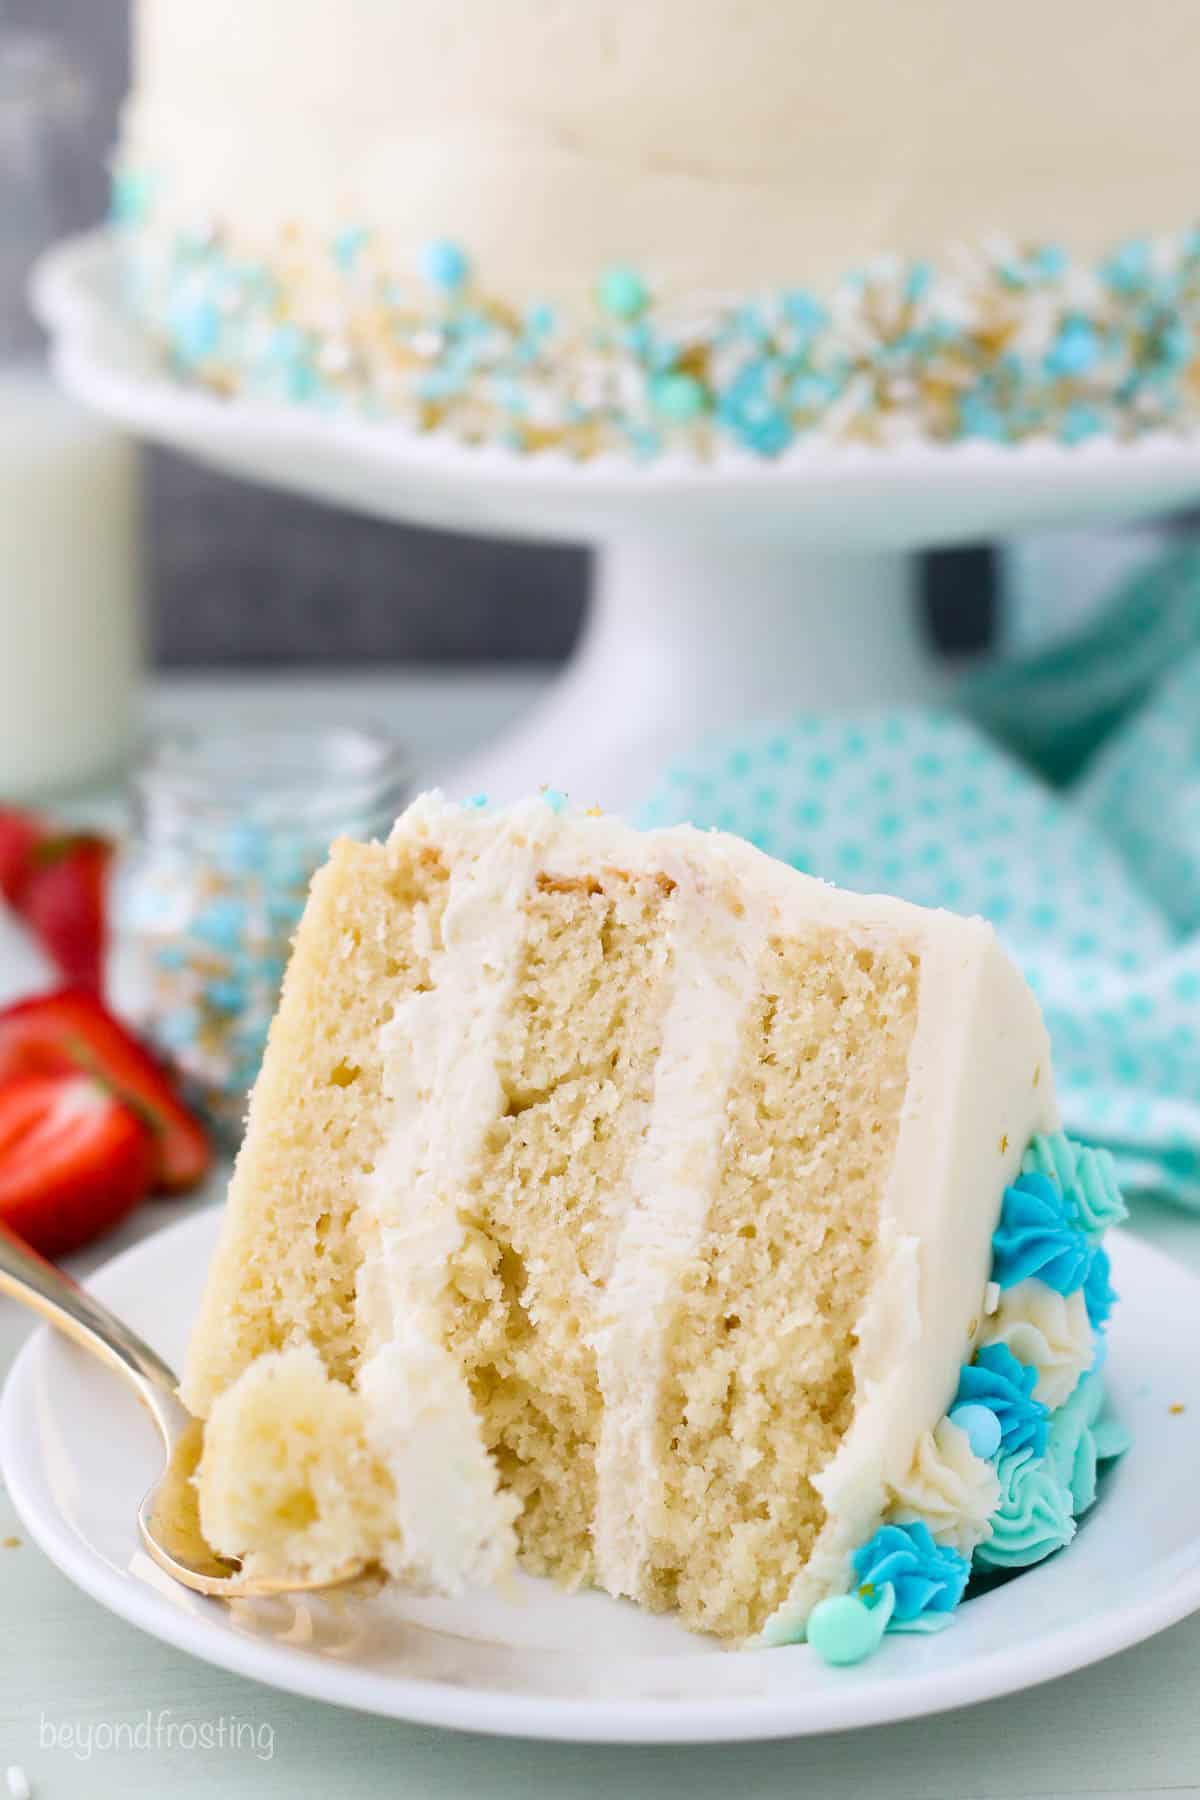
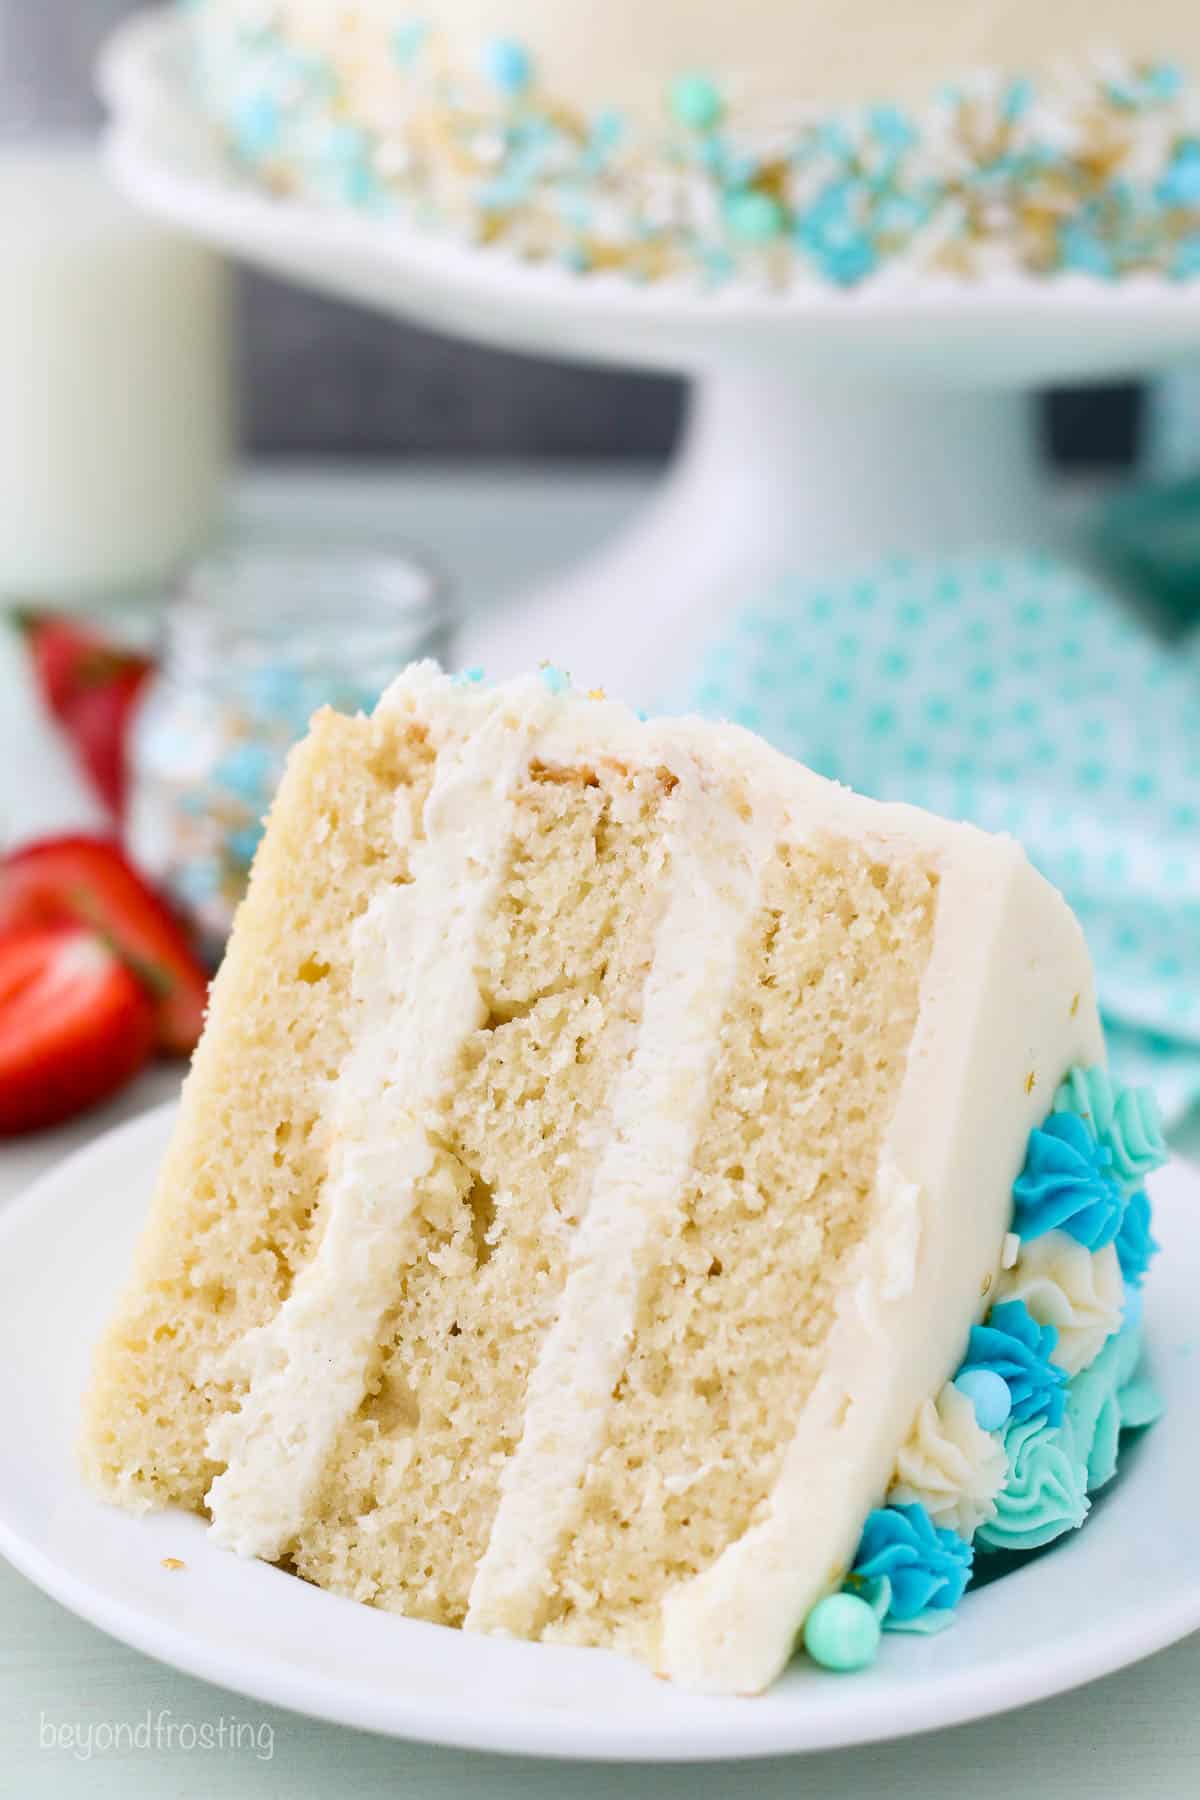
This is the perfect Vanilla Cake Recipe! Thick layers of vanilla cake and my favorite vanilla frosting. It’s an easy recipe to make using oil instead of butter which makes it super moist and spongy.
If you love vanilla cake, try pairing it with strawberry-filled cake or turning it into a cookie and cream cake.

TABLE OF CONTENTS
- Easy Vanilla Layer Cake with Vanilla Buttercream
- Cake Ingredients
- Let’s Make a Vanilla Layer Cake
- How to Prepare the Cake Pans
- My Secrets for the Best Vanilla Buttercream
- How to Decorate This Cake
- How to Color the Frosting
- How to Adjust This Recipe for Other Sizes
- How to Store a Frosted Cake
- Tips for Freezing Cakes
- Get the Recipe
Easy Vanilla Layer Cake with Vanilla Buttercream
Everyone needs their go-to, easy vanilla cake, especially if you’re making a layer cake. This cake is dense but spongy and very stable for stacking the layers. It can be paired with just about any flavor of frosting, but my favorite is my vanilla buttercream.
This is one of the easiest cakes to make because it’s an oil-based cake recipe, so there’s no waiting around for the butter to soften or worrying about properly creaming the butter and sugar together. The oil also creates a more tender and fluffy crumb as well. The texture is denser more so than it is light and airy, but it’s super moist and fluffy. It’s also very sturdy which makes it a great option for a layer cake.
This cake is perfect for just about any vacation. It can be dressed up for Valentine’s day or dye the cake layer for a 4th of July cake, Tint the frosting red or green for Christmas or coordinate it with the colors for a baby shower or birthday party.
Cake Ingredients
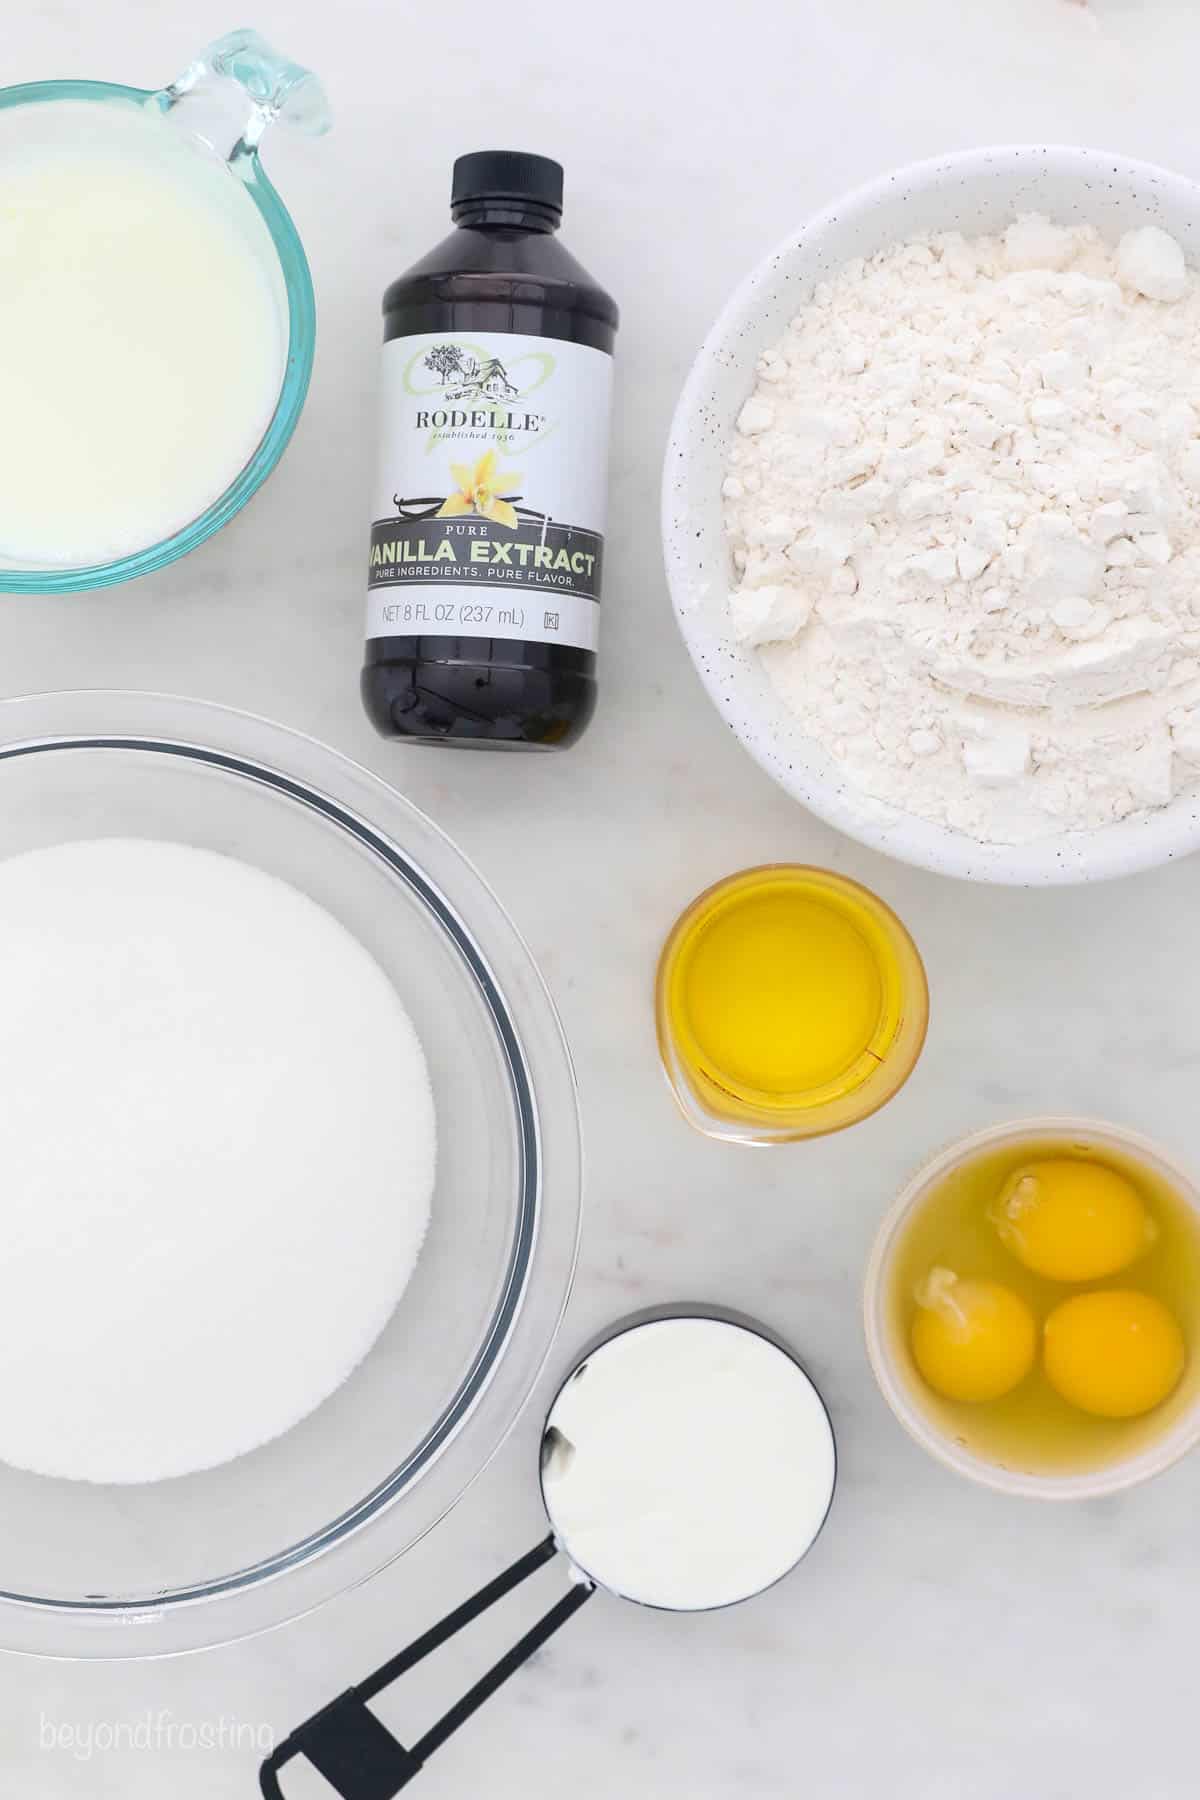
- Granulated sugar
- Vegetable oil: Oil contributes to the moistness and texture of this cake
- Large eggs
- Pure vanilla extract: Be sure you get a high-quality REAL vanilla extract for this recipe because the vanilla is your main ingredient for flavor.
- Sour cream: Sour cream helps keeps this cake very moist.
- All-purpose flour: This is not interchangeable with cake flour. So be sure to use all-purpose for this recipe.
- Baking powder & Salt
- Milk: Use any type you have
INGREDIENT SUBSTITUTIONS
- Sour cream: This is essential for keeping the cake moist. If you don’t have sour cream. I recommend substituting with non-fat Greek yogurt.
- Gluten-free flour: I have tested this recipe with a 1 for 1 measure for measure gluten-free flour and it worked out great
Let’s Make a Vanilla Layer Cake
Prepare: Preheat the oven to 350°F. Prepare pans for baking (more tips below!)
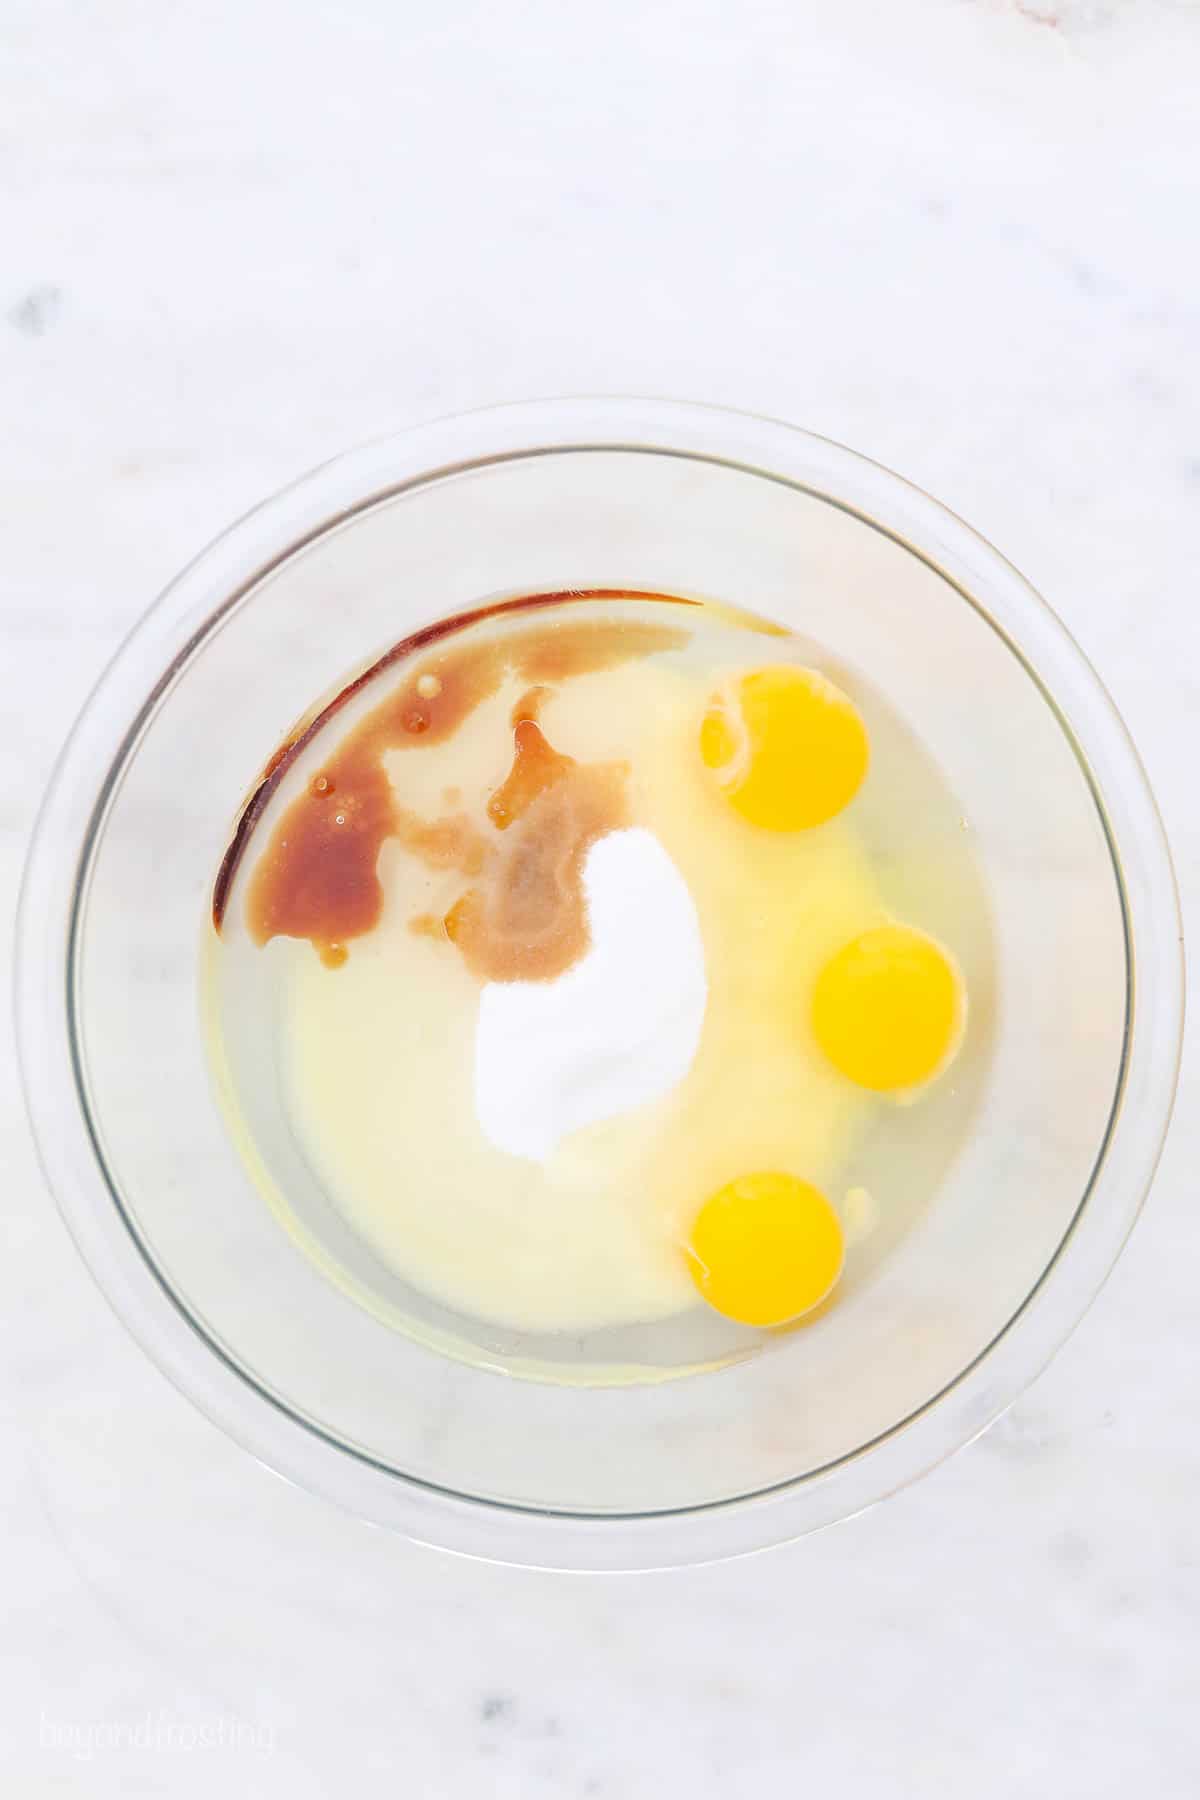
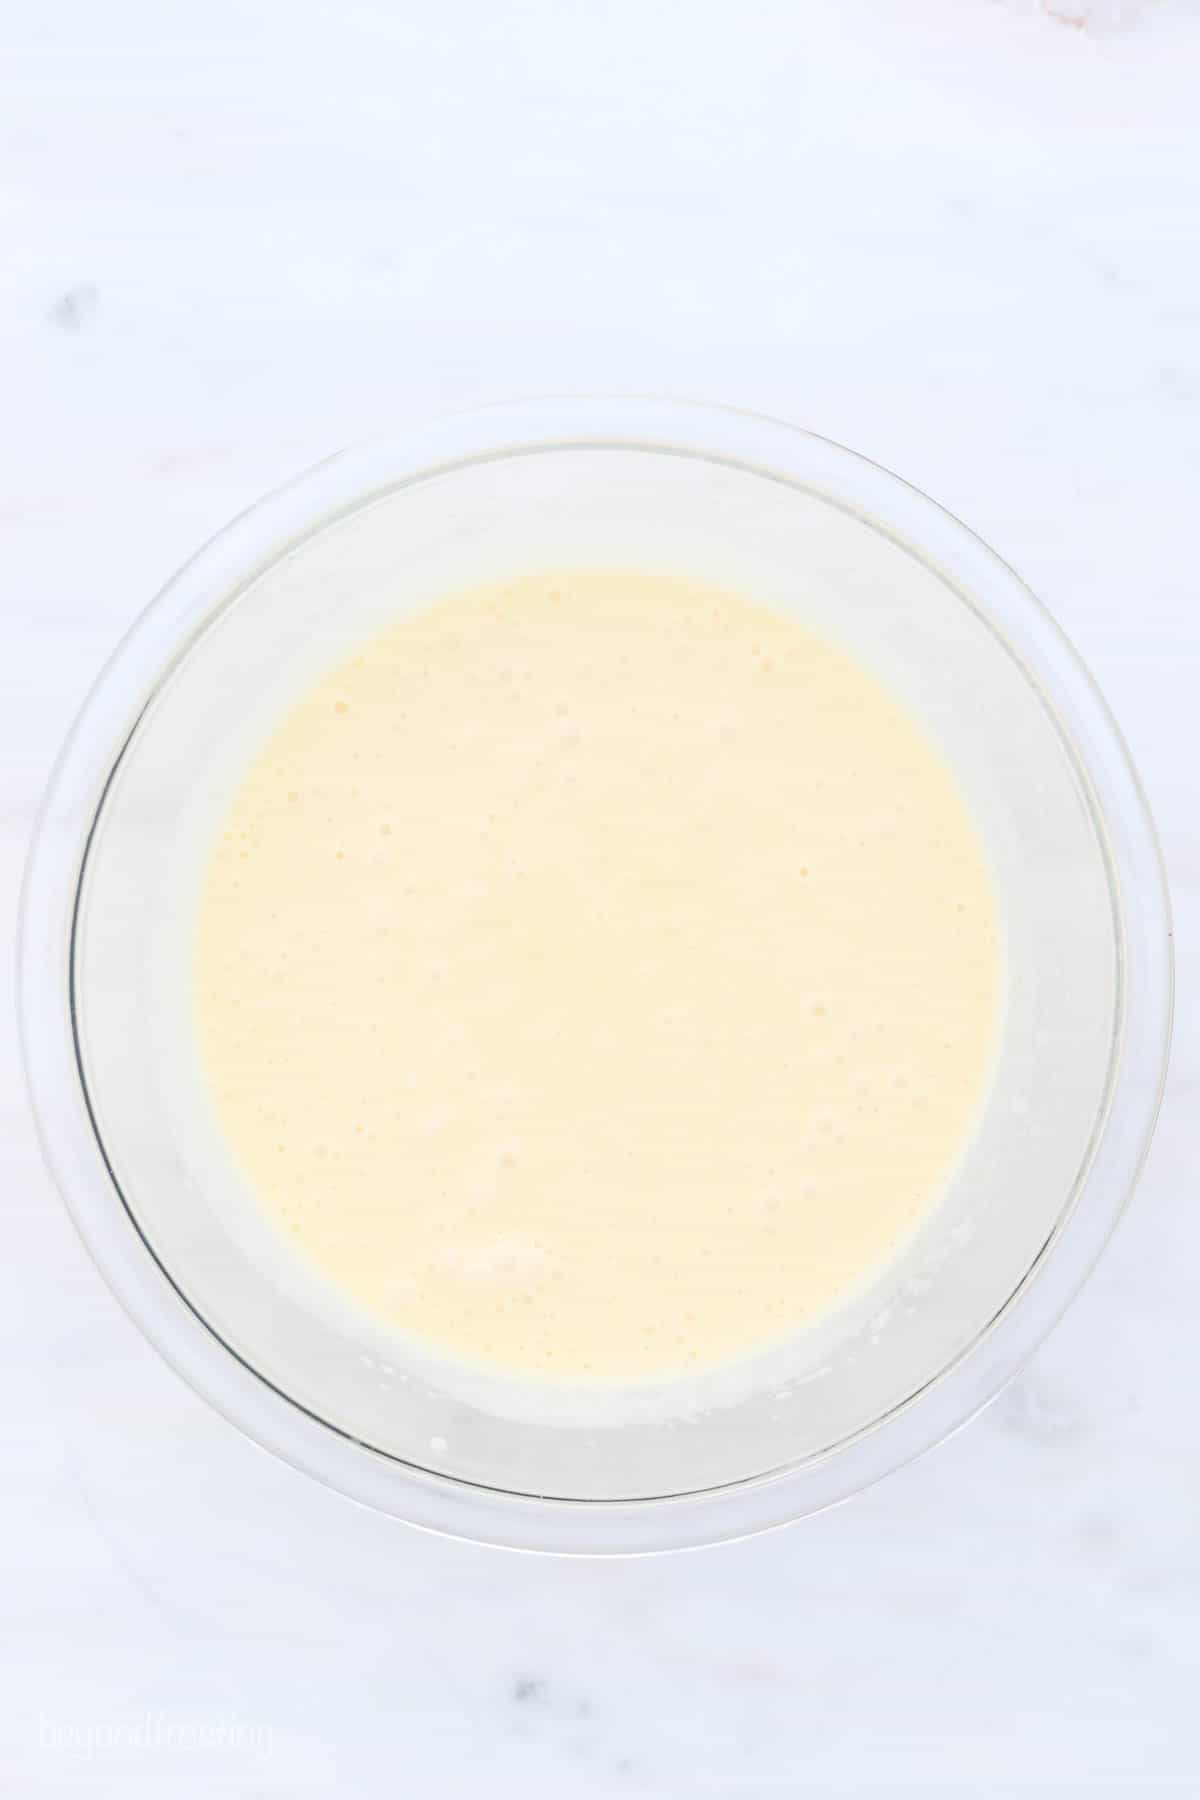
Combine the sugar with wet ingredients: Beat together the sugar, vegetable oil, eggs and vanilla extract until well incorporated. Then mix in the sour cream and beat until all ingredients are combined.
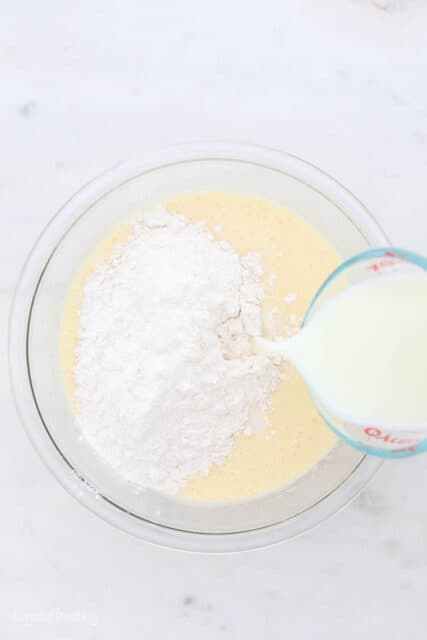
Combine and add the dry ingredients: Combine the dry ingredients together and then add half the dry ingredients, and half of the milk and mix just until the flour starts to incorporate.
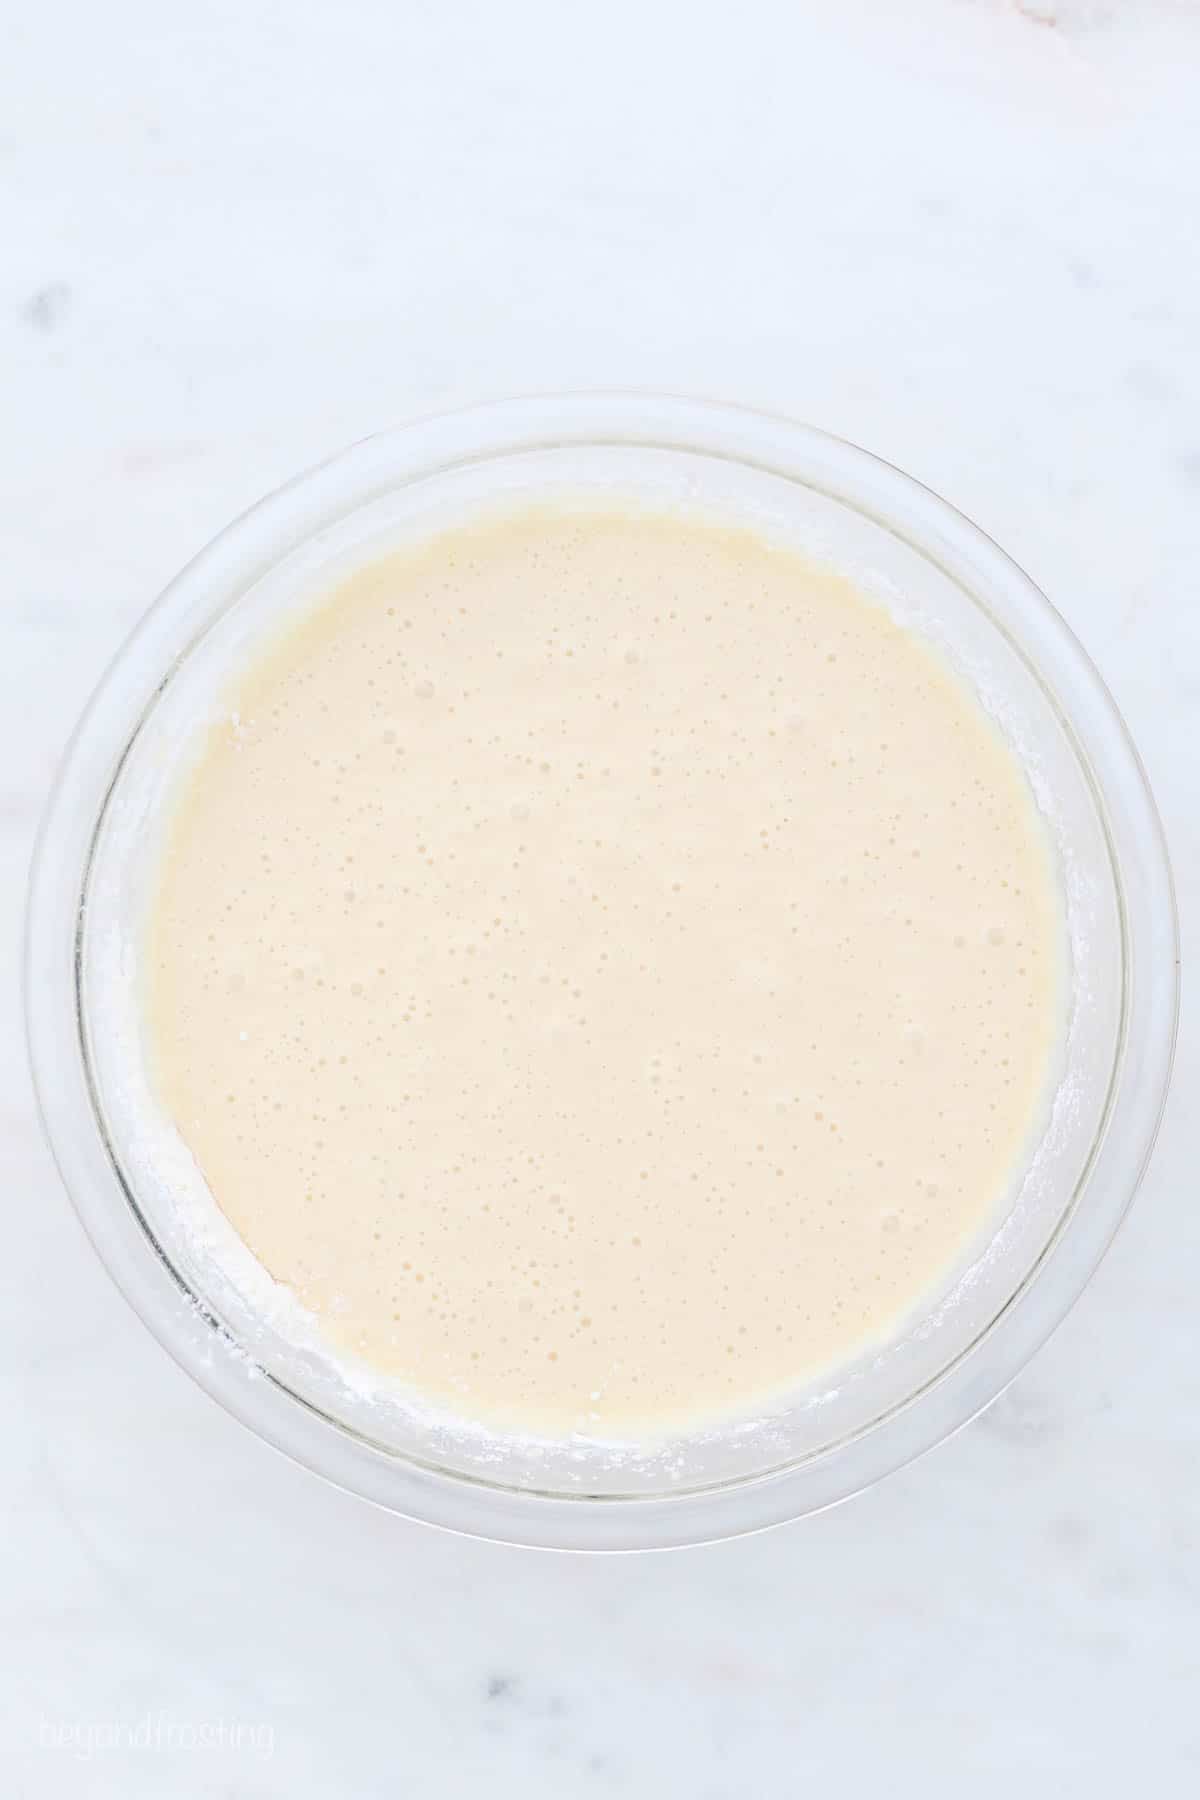
Add remaining ingredients: Then add the remaining dry ingredients and milk. Beat on low speed until all of the ingredients are well combined.
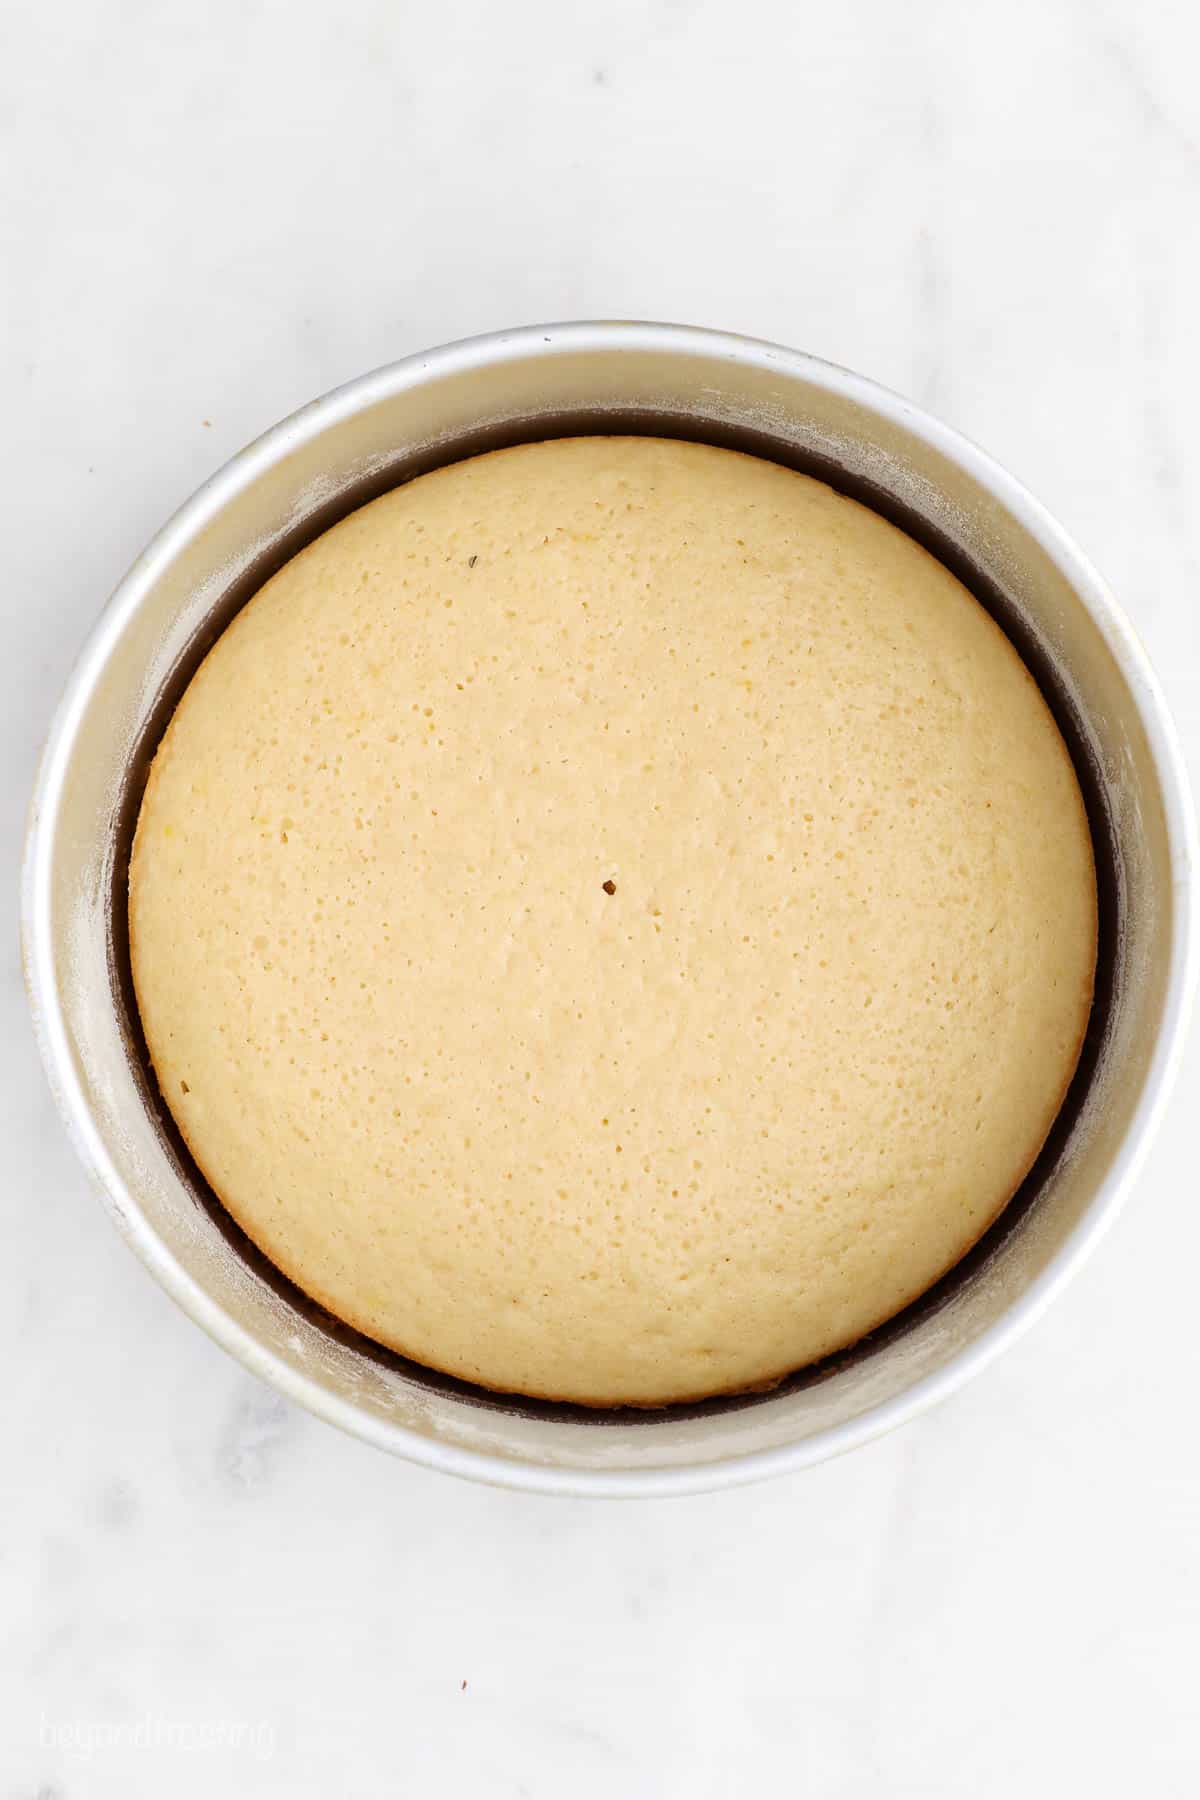
Fill the pans and bake: Divide the batter between the three pans, it’s about 1 2/3 cups per pan. Bake at 350°F for 20-23 minutes. Cool completely before frosting.
How to Prepare the Cake Pans
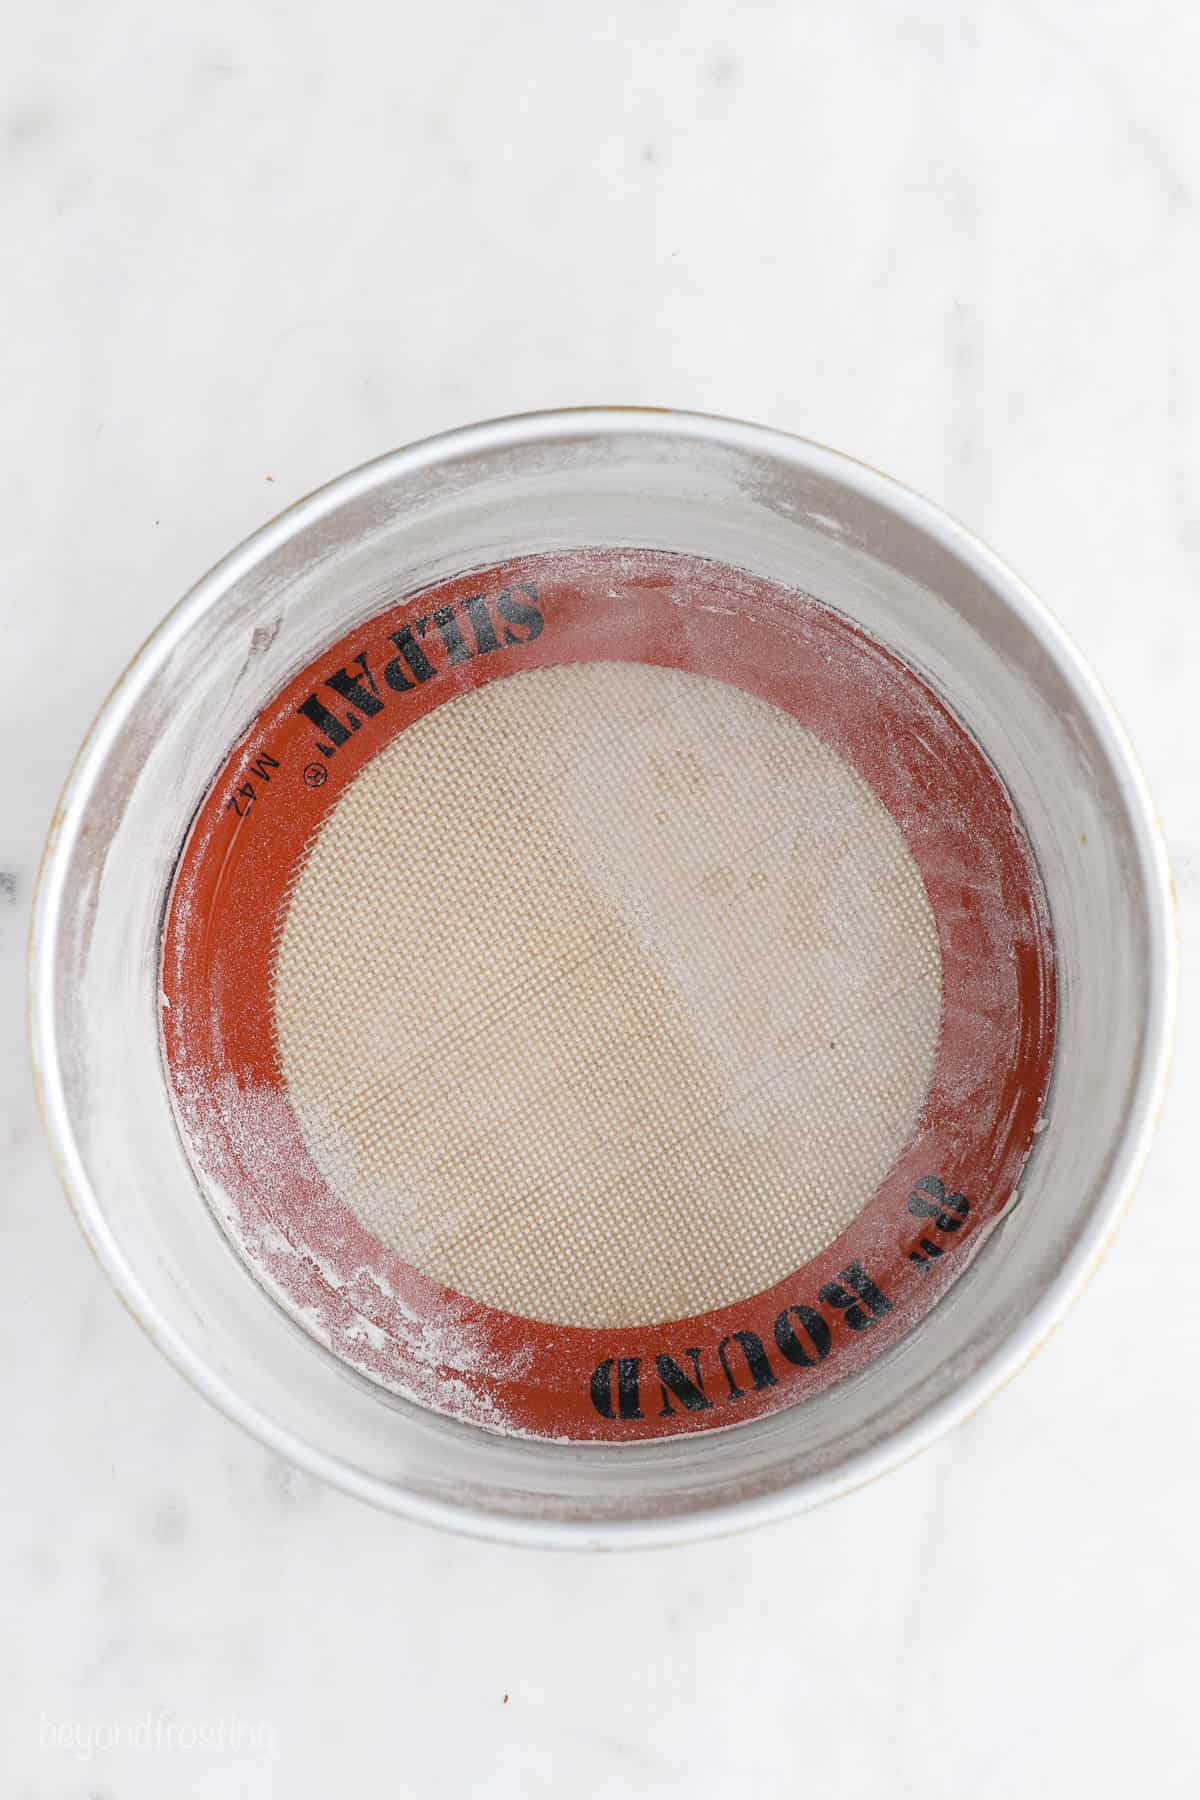
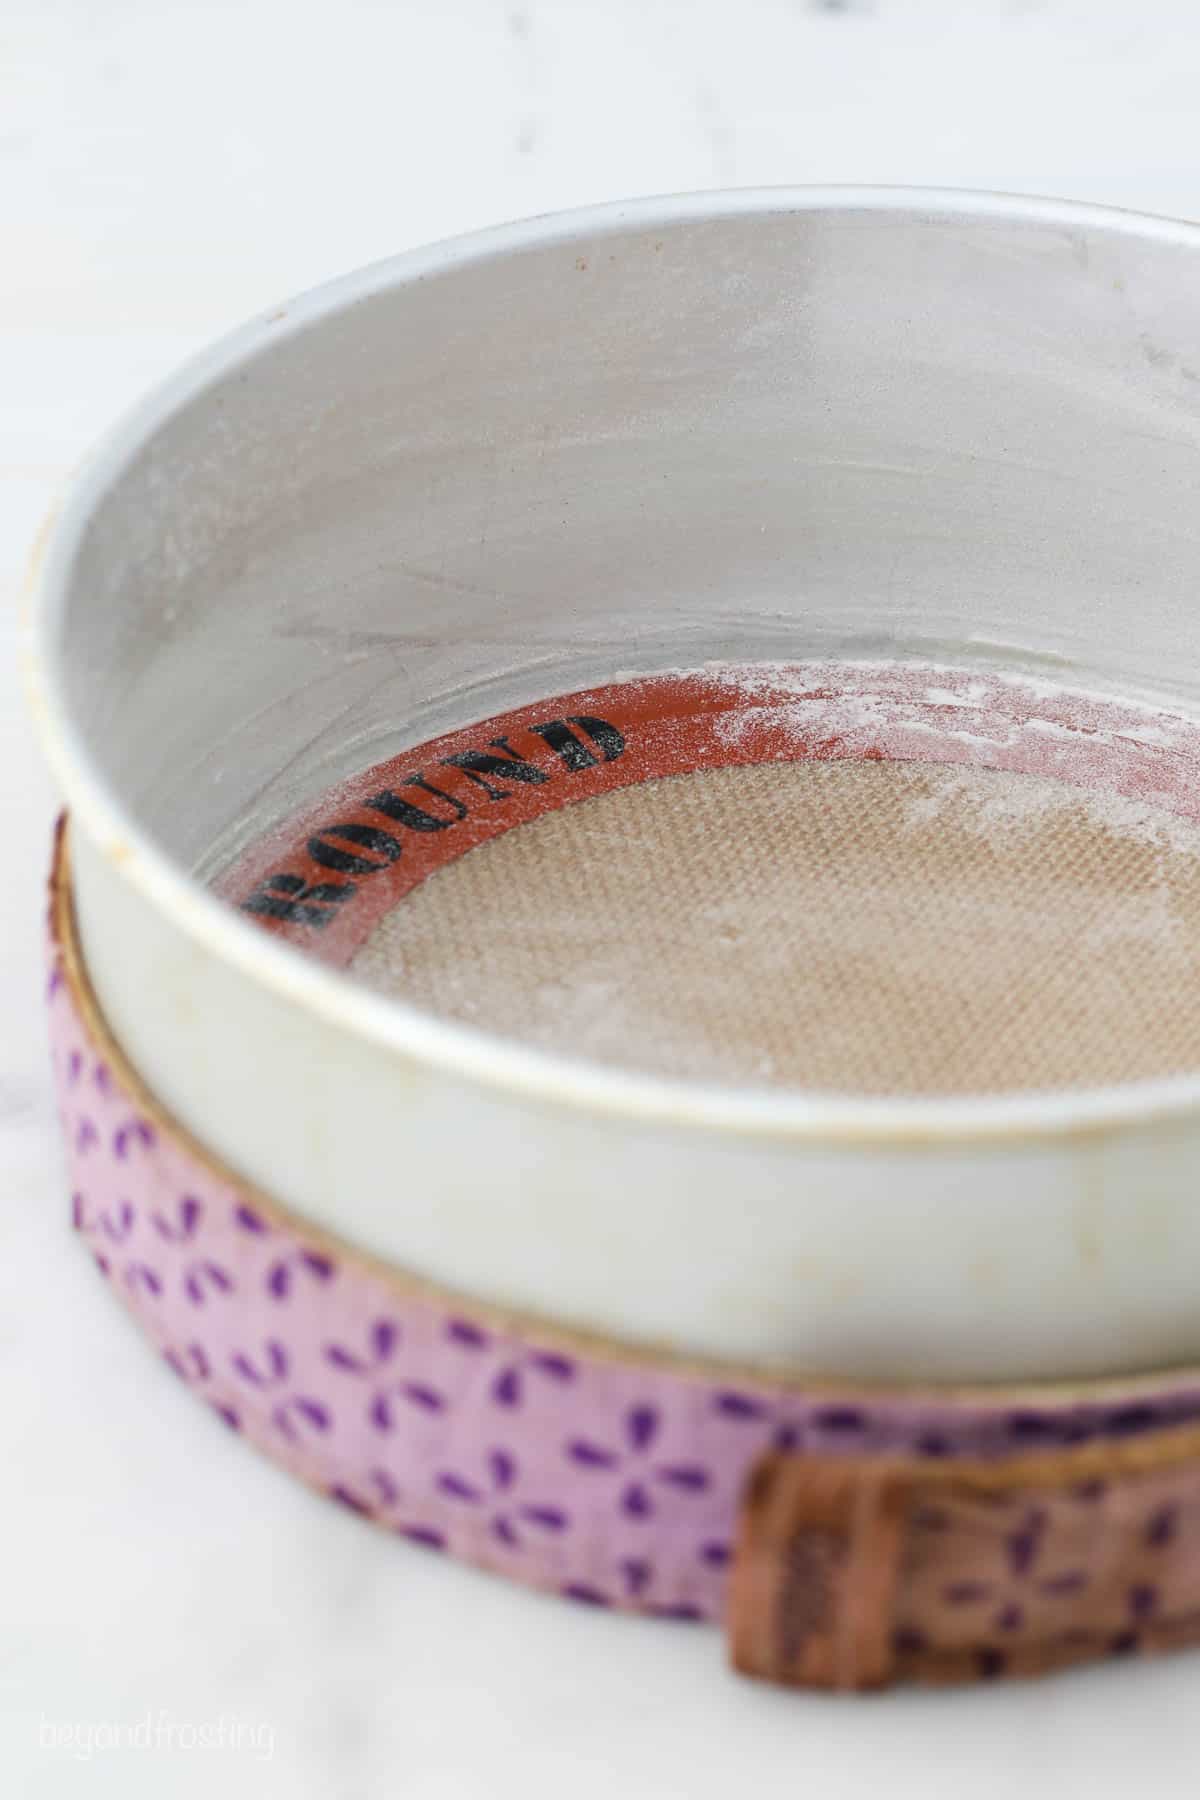
Grease and flour your pans: Generously greasing and flouring the pans will help to prevent the cake from sticking. I prefer using Crisco vegetable spread as opposed to a cooking spray.
Line the pans: Lining the pans with parchment paper or a silicone baking mats (affiliate link) will ensure that the cakes don’t stick to the bottom of the pans, and it makes it much easier to remove them after baking.
Bake Even stripes: I love using bake even stripes (affiliate link) because it helps the layers to bake flatter. Without them, the edges of the cake bake quicker, and therefore doming in the middle. You’ll notice the outside edges of the cake are also a little darker without them. The bake even stripes should be very wet when applied to the outside edge of the pan.
For more tips on making layer cakes, be sure to check out my full tutorial on baking Layer Cakes.
My Secrets for the Best Vanilla Buttercream
This recipe uses my tried and true vanilla buttercream. I am sharing a couple of my secrets below, but if you’d like to see the full tutorial on making this frosting, see my original buttercream post.
- It starts with cold butter: Yep, I said COLD butter- as in straight from the refrigerator. This allows you to control the consistency of the frosting and prevents the butter from getting too soft when decorating or coloring the frosting.
- Properly beat the butter: Since the butter is cold, you’ll need to spend several minutes beating the butter before adding any powdered sugar. Then, as you add the powdered sugar, spend a few extra minutes beating it at each stage. This is key to making the best whipped, silky texture.
- Use heavy whipping cream: Heavy cream makes this frosting extra creamy but helps to whip additional air into the frosting.
For this cake, you’ll need quite a bit of frosting. Besides the filling in between the layers, you’ll need extra frosting for decorating. You won’t have to worry about running out of frosting!
How to Decorate This Cake
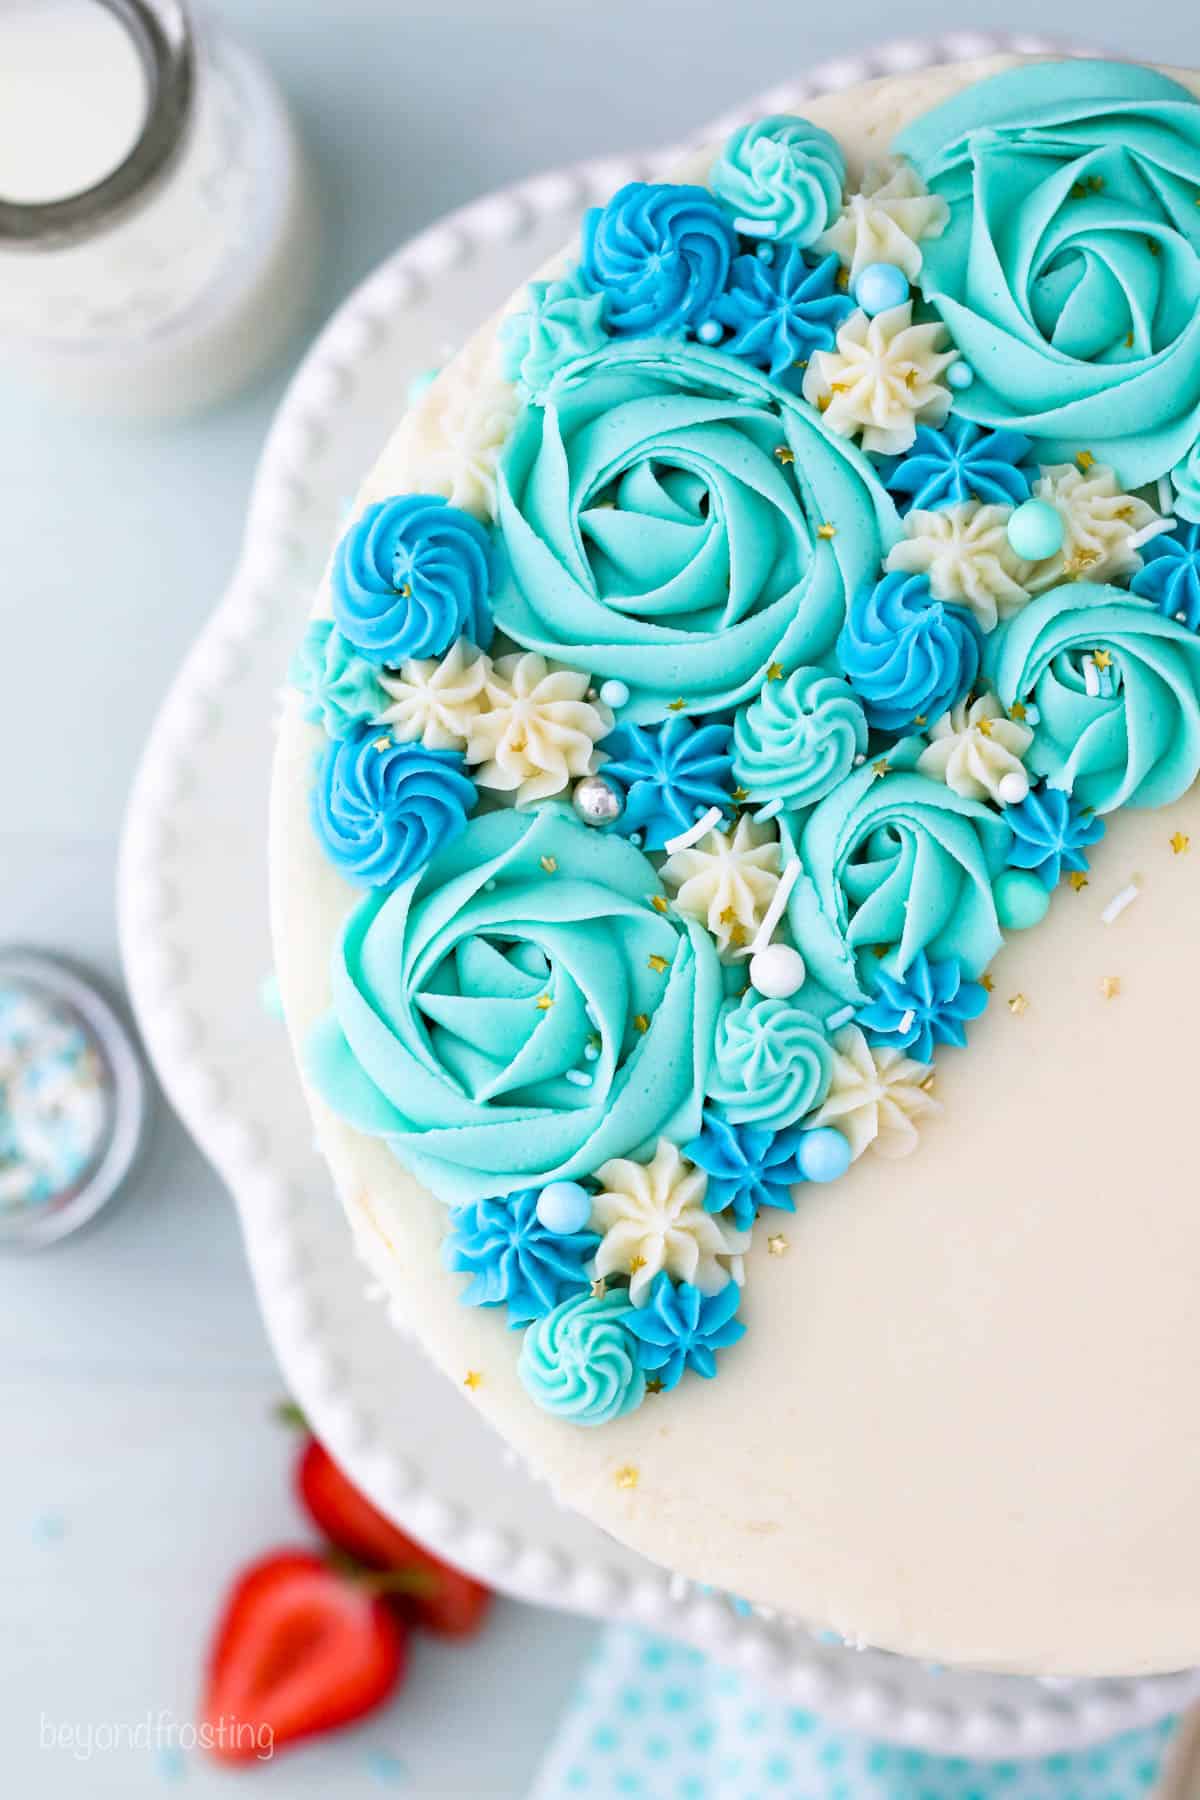
I love this cake because I pushed myself out of my comfort zone. I am not a cake decorator in the traditional sense. Of course, I’ve had a lot of practice over the years, but when it comes to cakes, I so often tend to stick with my go-to large open star piping tip.
This is a super approachable way to decorate a cake. I never thought I was very good at piping roses, but you guys, it’s SO SO easy! Here are some of the tools I used.
- 1M piping tip (affiliate link): If you’re not fully comfortable, try piping a few of them on some clean parchment paper, and then you can reuse the frosting. Start by piping your roses, and then fill in the open spaces with the stars and rosettes.
- Open star tips: Size 18 (affiliate link), Size 21 (affiliate link), can be used to create a variety of shapes and rosettes
If you use your piping bags with couplers (affiliate link), you can easily switch out the tips with the different frosting colors. These can be purchased at stores like JoAnn Fabrics, Michael’s, a cake supply store, or online.
Here are some more helpful tutorials when working with buttercream: How to Use a Piping bag and How to decorate with piping tips.
How to Color the Frosting
You can use either the Wilton Color Right Food Gels (affiliate link) or AmeriColor Gels (affiliate link).
The best way to dye your frosting if you’re looking for different shades is to start with half a drop in one bowl and then get progressively darker. Just remember that you only need a TINY bit of this gel to color these small amounts of frosting. It’s helpful to use a toothpick to add small amounts to your bowls at a time.
Here’s what you need:
- 1 cup of frosting for the roses (AmeriColor teal)
- ½ cup for the darker blue color
- ¼ cup of the white, undyed frosting
For more helpful tips on coloring buttercream, see my posts for How to Color Buttercream.
How to Adjust This Recipe for Other Sizes
This recipe has been used for several other size pans without adapting the cake recipe- you just may need to scale the frosting recipe accordingly.
- For two 9-inch cakes, they baked from 28-32 minutes. Baking times will vary due to how full the pans are, type of pans and true oven temperature. Please note these did “crust” a little more on the outside edge due to extended baking times and they rose quite a bite in the middle, so you’ll lose more of the “dome” of the cake.
- For two 8-inch pans: divide the batter evenly, about 2 1/2 cups per each pan. Bake for 28-32 minutes.
- For 6-inch pans: a full recipe will make four 6-inch layers, filling each one with about 1 1/3 cup of batter and baking for approximately 24-30 minutes. You can halve the recipe for a mini 2 layer cake.
- For 10 inch pans: I’ve never tested this with 10 inch pans myself, but I would recommend making 2 layers so you still have nice, thick cake. Trying baking for 15-20 minutes and assessing if additional time needed.
How to Store a Frosted Cake
The best option is to use a cake carrier which can allow it to be stored in an airtight container. This locks in the moisture. You can also slice it and store it in a Tupper ware container.
You do not have the refrigerate this cake unless you live in a hot or humid environment. If you need to refrigerate the cake, try to do so in an airtight container. If it’s already sliced, then I recommend placing plastic wrap up against the sliced edge to help prevent it from drying out. It’s best to serve at room temperature, so remove the cake in plenty of time prior to serving.
Tips for Freezing Cakes
I normally don’t freeze a decorated cake. I’d recommend freezing the layers and frosting in advance, and then thawing and decorating when ready. Place a piece of parchment paper on the top and bottom of the cake layer, double wrap the cooled layers in plastic wrap.
Print
Moist Vanilla Layer Cake
- Prep Time: 90 minutes
- Cook Time: 20 minutes
- Total Time: 1 hour 50 minutes
- Yield: 10-12 slices
Description
This is the perfect Vanilla Cake Recipe! Thick layers of vanilla cake and my favorite vanilla frosting. It’s an easy recipe to make using oil instead of butter which makes it super moist and spongy.
Ingredients
For the cake:
- 2 cups (380g) granulated sugar
- ½ cup (118 ml) vegetable oil
- 3 large eggs, at room temperature
- 1 tablespoon (14.8 ml) pure vanilla extract
- ½ cup (118 ml) sour cream at room temperature
- 2 ½ cups (350 g) all-purpose flour, sifted
- 3 teaspoons (11.2 g) baking powder
- 1 teaspoon (5 g) salt
- 1 ¼ cups (296 ml) milk (any type) at room temperature.
For the frosting:
- 2 cups (453g) unsalted butter, cold
- 7–8 cups (910-1041g) powdered sugar
- 1 tablespoon (15ml) vanilla extract
- 2–3 tablespoons (30-44ml) heavy whipping cream (or milk)
- Pinch of salt
Instructions
For the Cake:
- Preheat the oven to 350°F. Prepare three 8-inch round baking pans, line the bottom with parchment paper, and grease the sides. Prepare with bake-even strips if desired.
- In a large mixing bowl, combine the sugar, vegetable oil, eggs, and vanilla extract. Beat on medium speed until well incorporated. Scrape down the bowl as needed. Next mix in the sour cream and beat until well combined.
- In a separate bowl combine the remaining dry ingredients and sift together the flour, baking powder, and salt. Add half the dry ingredients, and half the milk, and beat on low speed just until the flour starts to incorporate. Repeat until all ingredients are added and combined. Use a spatula to scrape down the sides of the bowl and stir the batter from the bottom to the top to ensure it’s well mixed.
- Divide the batter evenly between the three pans, about 1 2/3 cups of batter per pan. Bake at 350°F for 20-23 minutes. Rotate your pans in the oven halfway through baking (around 10 minutes). Test the cake for doneness by inserting a toothpick into the center of the cake. If the toothpick comes out clean, the cake is done. Remove from the oven and allow to cool completely.
For the Frosting:
- Cut butter into pieces. Using the paddle attachment, whip the butter for 5-7 minutes, scraping down the bowl occasionally. Beat until the butter looks light in color.
- Alternate adding 2 cups of powdered sugar at a time with the liquid ingredients: vanilla extract & heavy cream. Ensure the powdered sugar is well combined, then and whip for 1-2 minutes before adding more powdered sugar.
- Once all the powdered sugar has been added, increase speed to medium-high and beat for another 3-5 minutes to whip additional air into the frosting.
To Assemble the Cake:
- Use a cake leveler I cut the domes off the top of the cake. Place a dollop of frosting on your cake board and place the bottom layer of cake on top of that.
- Place about 2 cups of frosting in a large piping bag fitted with a large open round tip, or simply cut off the end of the piping bag. Pipe a layer of frosting on top of the cake, starting at the outside edge and working your way into the middle. Spread evenly with an offset spatula. Repeat with the second layer of cake and then place your third layer on top.
- Use your piping bag to fill in any gaps between your layers and to create a crumb coat. Using an offset spatula or icing smoother, wipe away the excess frosting, leaving you just enough to coat the outside of the cake. Do not mix your crumb-coating frosting back into your icing if it has cake debris in it.
- Proceed to frost the top and sides of the cake using your offset spatula. Once the sides of the cake are covered, use you icing smoother to remove any excess frosting.
To Decorate this Cake:
- Use your hands to press the sprinkles into the sides of the cake. It’s best to do this over a sheet pan lined with parchment paper, allowing you to easily capture and reuse the sprinkles that fall off the cake.
- Take your leftover frosting and separate into 3 bowls: 1 cup, ½ cup and ¼ cup of white frosting (undyed). Dye 2 bowls with you desired color, and leave 1/4 cup of frosting uncolored.
- In a small piping bag, use a 1M piping tip to pipe the large roses on top of your cake.
- Place the other frosting in two small piping bags, fitted with a coupler and size 18 or size 21 tips, fill with your other color and the white frosting. Fill in the negative space with a mix of stars and small rosettes.
Notes
Adjusting the cake sizes:
-
- For two 9-inch cakes, they baked from 28-32 minutes. Baking times will vary due to how full the pans are, type of pans, and true oven temperature. Please note these did “crust” a little more on the outside edge due to extended baking times and they rose quite a bite in the middle, so you’ll lose more of the “dome” of the cake.
- For two 8-inch pans: divide the batter evenly, about 2 1/2 cups per pan. Bake for 28-32 minutes.
- For 6-inch pans: a full recipe will make four 6-inch layers, filling each one with about 1 1/3 cup of batter and baking for approximately 24-30 minutes. Here is the mini 2-layer version.
- For 10-inch pans: I’ve never tested this with 10-inch pans, but I would recommend a 2 layer cake so you still have nice thick layers. Trying baking for 18-20 minutes and assessing additional time needed from there.
Ingredients Substitutions
- Sour cream substitute: Substitute with non-fat Greek Yogurt if you do not have sour cream.
- Milk: Any type of milk can be used (full, reduced or low-fat)
- Oil substitutes: I have tested substituting 1/2 cup melted butter in place of the oil. The cake still bakes just fine but I prefer the texture of the cake make with oil.
Preparing and Storing:
- The best option is to use a cake carrier which can allow it to be stored in an airtight container. You do not have the refrigerate this cake unless you live in a hot a humid environment. This is best served at room temperature. Cake layers can be prepared up to 2 days before serving. Cool completely and wrap tightly with plastic wrap or store in an airtight container.
- Category: Cake
- Method: Baked
- Cuisine: American
More Classic Cake Recipes
- The best yellow cake
- My favorite Chocolate Cake Recipe
- Lemon Raspberry Cake with Mascarpone frosting
- The Perfect Vanilla Bundt Cake


