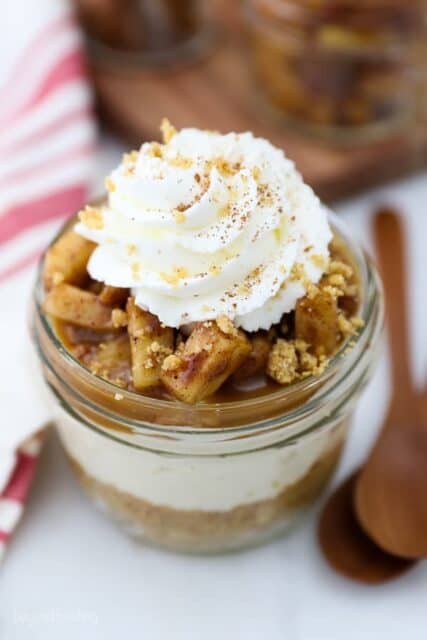
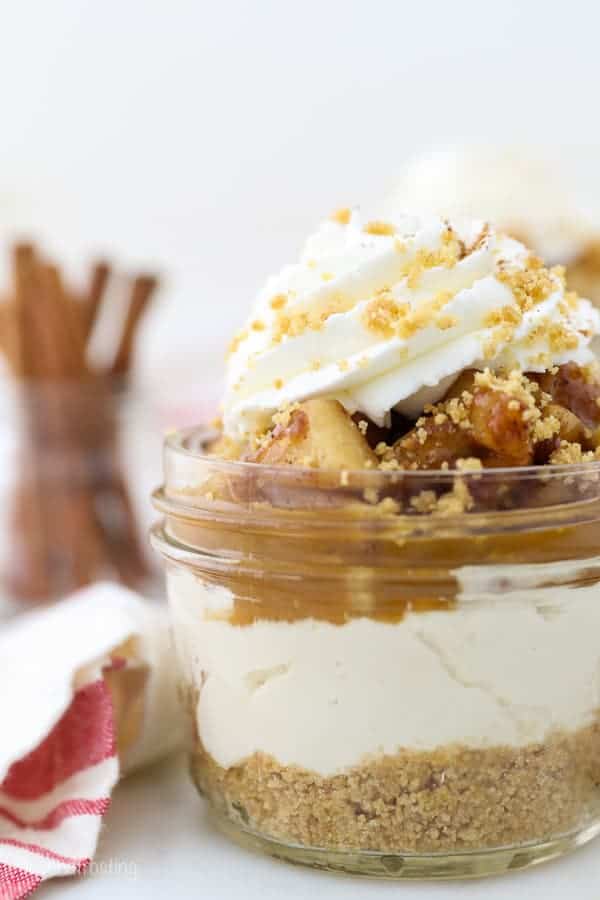
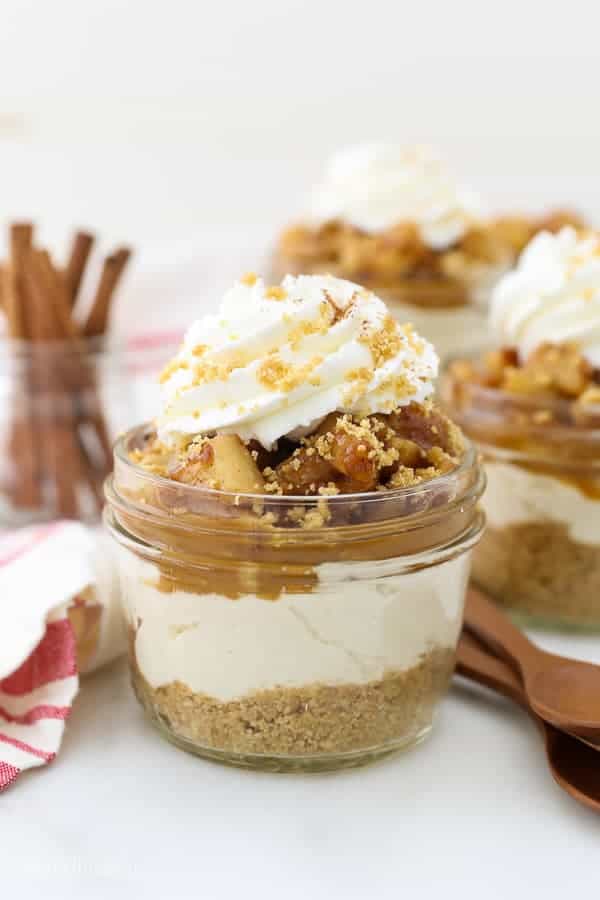
This easy no-bake Apple Cheesecake is five layers of heaven! Single-serving jars filled with graham cracker crust, brown sugar cheesecake, salted caramel sauce, apple pie filling, and cinnamon maple whipped cream.
Craving more apple pie goodness? You deserve a warm slice of my Apple Crumble Pie. Try it next!
Mini No Bake Apple Cheesecakes
Each layer of this cheesecake is so dreamy, I simply can’t decide on my favorite one. You have the crunchy graham cracker crust, the smooth and luscious brown sugar cheesecake, the sweet and gooey salted caramel sauce, the soft apple pie filling and the fluffy maple cinnamon whipped cream. Okay, now I’m really drooling!
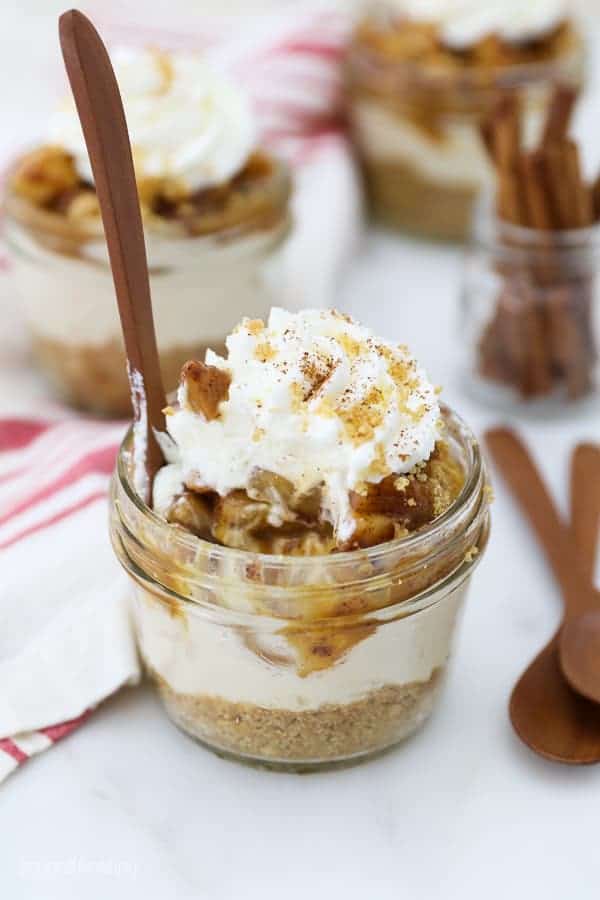
I’m a firm believer that you don’t have to wait until fall to enjoy apple pie desserts. Especially when it comes to no-bake recipes like this one. Since this cheesecake is made in individual jars, it’s a great dessert for entertaining. Everybody gets their own little cup of caramel apple pie cheesecake bliss!
What You’ll Need
Each layer of this apple treat uses simple, accessible ingredients. Let’s break them down one by one.
For the Brown Sugar Cheesecake
- Heavy Whipping Cream: For a light and fluffy texture.
- Powdered Sugar: You’ll need half a cup.
- Cream Cheese: Softened.
- Light Brown Sugar: If you prefer a more robust flavor, you can use dark brown sugar instead. Just keep in mind that it will alter the texture.
- Vanilla Extract: To enhance the brown sugar flavor.
For the Apple Pie Filling
- Apples: Diced into dime-sized chunks.
- Lemon Juice: Freshly squeezed.
- Light Brown Sugar: Just a couple tablespoons.
- All-Purpose Flour: To thicken the filling.
- Cinnamon: Ground.
- Pure Maple Syrup: This provides sweetness and gets the apples nice and caramelized.
- Water: To prevent the apples from sticking to the saucepan.
For the Graham Cracker Crust
- Graham Crackers: Ground into a fine crumb.
- Butter: Melted.
For the Cinnamon Maple Whipped Cream
- Heavy Whipping Cream
- Powdered Sugar
- Pure Maple Syrup
- Cinnamon
- Salted Caramel Sauce: You’re not required to add caramel sauce to your cheesecake, but I encourage you not to omit it! Your taste buds will thank me. This is a store-brought sauce, or you can make your own.
Which Kind of Apples are Best?
Granny Smith apples are my go-to when it comes to apple pie filling. I like them because they’re tart and firm, which keeps them from getting mushy or overly sweet in a loaded dessert like this. Personal preferences aside, you can also use Gala, Fuji, Honey Crisp or Macintosh.
How to Make Caramel Apple Cheesecake
These single-serving cheesecakes are easier than you’d think. Each component only has a few steps!
Make the Cheesecake
Beat Heavy Cream: Chill your mixing bowl in the freezer for 10 minutes. Pour the heavy whipping cream into the chilled bowl. Use an electric mixer to beat the heavy cream on medium-high speed until it starts to thicken.
Add Powdered Sugar: Slowly add the powdered sugar and continue beating on high until stiff peaks form. Set aside.
Beat Remaining Ingredients: Combine the cream cheese, brown sugar and vanilla and beat until well combined.
Combine Mixtures: Fold in the prepared whipped cream until it’s well mixed.
Chill: Pour the cheesecake filling into a large piping bag or Ziploc bag. Set it aside in the refrigerator until you’re ready for assembly, or at least 1 hour.
Make the Apple Pie Filling
Combine Apples & Lemon Juice: Squeeze a lemon overtop the diced apples and stir to combine.
Add Dry Ingredients: Add the brown sugar, flour and cinnamon on top of the apples. Stir to mix the ingredients.
Add Maple Syrup: Pour the maple syrup over the apples and gently stir.
Cook: Heat the prepared apples on the stove over medium heat for 15-20 minutes, until soft. Stir occasionally, mixing in up to 2 tablespoons of water as needed to keep the apples from sticking to the pan. You want the apples to be soft.
Let Cool: Set the apple pie filling aside and allow it to cool, refrigerating if necessary.

Make the Crust
Grind Graham Crackers: Grind the graham crackers into a fine crumb.
Combine with Butter: In a bowl, combine the graham cracker crumbs with the melted butter and mix until well combined.
Make the Whipped Cream & Assemble
Beat Cream: Pour the heavy whipping cream into a chilled bowl. Use an electric mixer to beat it at medium-high speed until it starts to thicken.
Add Remaining Ingredients: Slowly add the powdered sugar, maple syrup, and cinnamon and continue beating on high until stiff peaks form. Set aside.
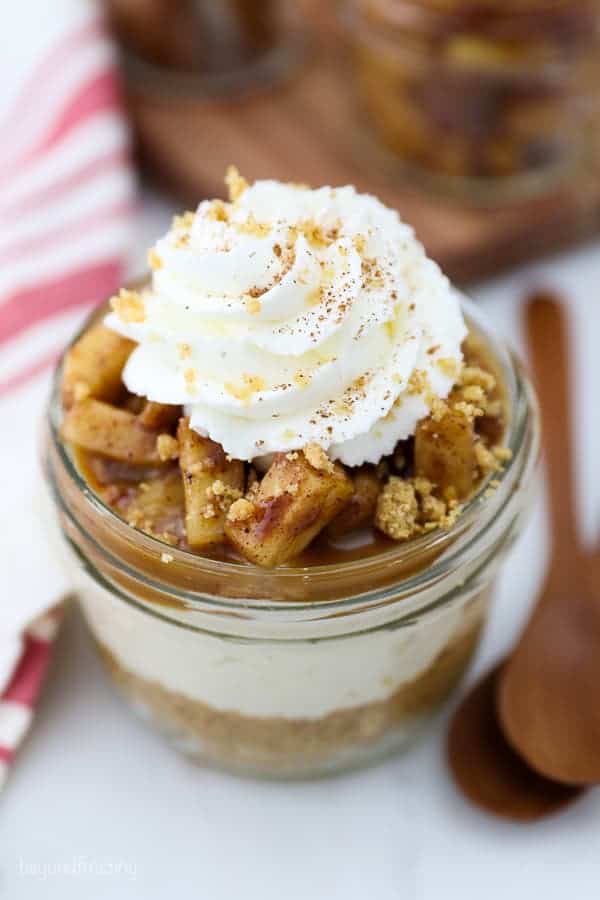
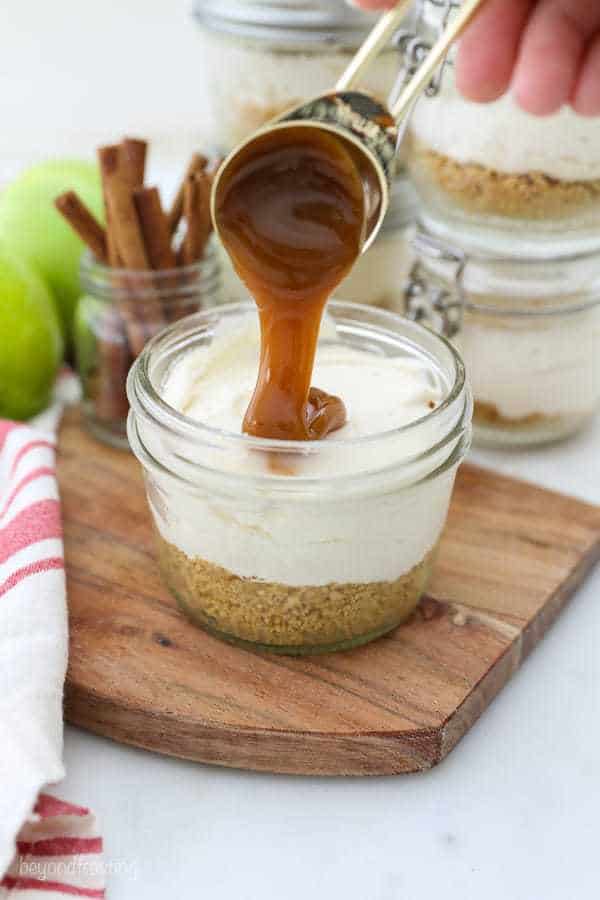
Add Layers to Jars: Press 2 tablespoons of the graham cracker crust into the bottom of each jar. Next, use the piping bag to fill the jars with the cheesecake filling. Top the cheesecake with a spoonful of salted caramel sauce, then top that with the apple filling. Finally, pipe some whipped cream on top.
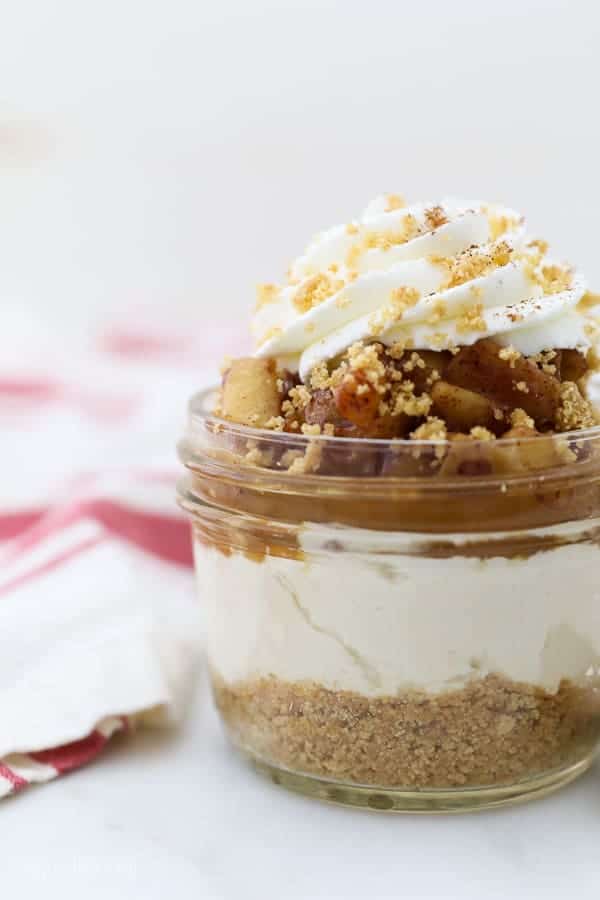
Garnish & Enjoy: Sprinkle the cheesecakes with any leftover crust and/or a pinch of cinnamon. Serve them immediately or store them in the refrigerator.
Tips for Success
To make this recipe even simpler, I’d like to share some useful tips and tricks. Here they are!
- Stop the Filling from Sticking: As the sugars caramelize, the apple pie filling can stick to the pan. This is why I suggest mixing in some water while it cooks. Add 1-2 tablespoons at a time, stirring frequently and slightly recuding the temperature if needed. I have an entire post dedicated to this Apple Pie Filling if you want more support!
- What Are Stiff Peaks? Any time you’re making whipped cream, you want to beat it until stiff peaks form. You can test this by lifting the mixer out of the bowl. If the cream sticks up straight and points upward, you have stiff peaks. If the tip of the peak curls down, keep beating. I also have a whole post for this Whipped Cream with more advice!
- Make These in Advance: This recipe is awesome for making ahead of time. If you want to do this, just hold off on preparing the whipped cream topping until you’re ready to serve the cheesecakes. And of course, keep them refrigerated. You can hold off on assembly if desired and store each ingredient separately.
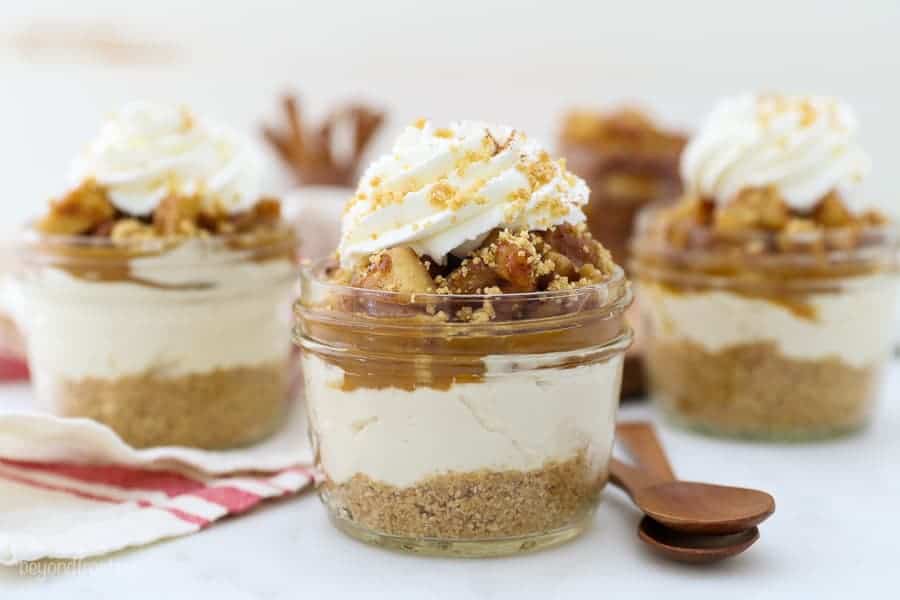
- Use Wide Mouth Jars with Lids: Any jars or glasses will work, but I prefer using wide-mouth jars with lids. The large openings make them easier to fill, and the lids are convenient for meal prep and storage.
Serving Suggestions
When it comes to toppings and pairings, there’s so much you can do with this cheesecake! Just take the tasty ideas below for example.
- Top with Chopped Nuts: Craving more crunch? Go ahead and top your cheesecake with chopped peanuts, walnuts or another nut of choice.
- Pair with Vanilla Ice Cream: Cinnamon apples and vanilla ice cream are a delightful combination. And this cinnamon apple cheesecake goes just as great with the stuff!
- Top with Apple Pie Spice: Instead of topping your layered cheesecakes with cinnamon, try using apple pie spice instead! It brings a a host of festive flavors to the table.
- Serve with Peanut Butter Cookies: Want to serve a second dessert that compliments your apple pie cheesecake? These Peanut Butter Oatmeal Cookies are the perfect choice.
How to Store Leftovers
Leftover cheesecakes can be stored in the fridge for up to 3 days. Keep them well covered and try not to store them with the whipped cream. I recommend adding the whipped cream as you serve the cheesecakes and refrigerating it separately if needed. Keep in mind that the whipped cream can only be stored for 24 hours.
Can I Freeze These?
Yes, you can freeze everything in these cheesecakes except the whipped cream. I usually don’t freeze the crust either since it’s so quick and easy to whip up on the spot. Both the cheesecake and apple pie fillings can be frozen in airtight freezer bags for up to 3 months!
The apples should first be thawed to room temperature, then stored in the fridge. You should thaw the cheesecake out directly in the fridge. Once everything is thawed, assemble the dessert and enjoy!
Print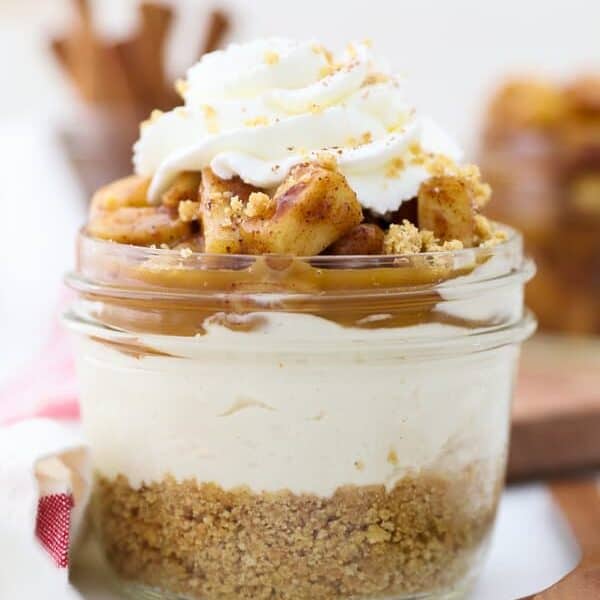
Mini Caramel Apple Cheesecakes
- Prep Time: 2 hours
- Cook Time: 20 minutes
- Total Time: 2 hours 20 minutes
- Yield: 8
- Category: Dessert
- Method: No Bake
- Cuisine: American
Description
Single-serving jars are filled with a buttery graham cracker crust, creamy brown sugar cheesecake, salted caramel sauce, stovetop apple pie filling and cinnamon maple whipped cream. This easy no-bake Apple Cheesecake is five layers of heaven!
Ingredients
For the Brown Sugar Cheesecake
- 1 cup heavy whipping cream
- ½ cup powdered sugar
- 8 ounces cream cheese, softened
- ½ cup light brown sugar
- 2 teaspoons vanilla extract
For the Apple Pie Filling
- 3 Medium apples, diced
- 1 tbsp Lemon juice
- 2 tbsp Light brown sugar
- 1 tbsp All-purpose flour
- 1 tsp Cinnamon
- 1 tbsp Maple syrup
- 2 tablespoons water
For the Graham Cracker Crust
- 1 ¾ cups graham crackers
- 6 tablespoons butter, melted
For the Cinnamon Maple Whipped Cream
- 1 cup heavy whipping cream
- ½ cup powdered sugar
- 1 tablespoon maple syrup
- ½ –1 teaspoon cinnamon
- Salted caramel sauce (store-brought or homemade)
Instructions
Make the Cheesecake
- Prepare the whipped cream. Chill the bowl in the freezer for 10 minutes. Pour the heavy whipping cream into the chilled bowl.
- Use an electric mixer to beat the heavy cream on medium-high speed until the cream starts to thicken.
- Slowly add the powdered sugar and continue beating on high until stiff peaks form. Set aside.
- In your mixing bowl, combine the cream cheese, brown sugar and vanilla and beat until well combined. Fold in the prepared whipped cream until it’s well mixed.
- Pour the cheesecake into a large piping bag or Ziploc bag. Set aside in the refrigerator until you’re ready to assemble, the cheesecake filling need at least 1 hour to set.
Make the Apple Pie Filling
- Dice the apples into small pieces (about the size of a dime) and squeeze a lemon over top and stir to combine.
- Add brown sugar, flour, and cinnamon over top of apples. Stir to mix ingredients. Pour the maple syrup over the apples and gently stir.
- Heat apples on the stove over medium heat for 15-20 minutes until soft, add 2 tablespoons of water to the sauce pan. Stir occasionally. You want the apples to be soft.
- Set aside and allow to cool, refrigerating if necessary.
Make the Crust
- Grind the graham crackers into a fine crumb. In a bowl, combine the graham cracker crumbs with the melted butter and mix until well combined.
Make the Whipped Cream
- Prepare a second batch of whipped cream as instructed above. Pour the heavy whipping cream into a chilled bowl. Use an electric mixer to beat the heavy cream on medium-high speed until the cream starts to thicken.
- Slowly add the powdered sugar, maple syrup and cinnamon and continue beating on high until stiff peaks form. Set aside.
Assemble
- Press 2 tablespoons of the graham cracker crust into the bottom of your jar. Next, use the piping bag to fill the jars with the cheesecake filling.
- Top the cheesecake with a spoonful of salted caramel sauce and top with the apple filling. Finally, pipe some whipped cream on top.
- Sprinkle with any leftover crust or cinnamon. Store in the refrigerator.
Notes
- This recipe originally appeared on Food Fanatic
- Makes 6-8 servings
Nutrition
- Serving Size: 1 jar
- Calories: 631
- Sugar: 43.7g
- Sodium: 160.5mg
- Fat: 40.6g
- Saturated Fat: 24.9g
- Carbohydrates: 63.8g
- Fiber: 2.8g
- Protein: 5.8g
- Cholesterol: 118.8mg
More Apple Dessert Ideas
With these easy apple treats up your sleeve, you’ll be ready for fall in no time.


This recipe was a real lifesaver for a LARGE group at a party. Everyone LOVED them and they were so flavorful and delicious. Easy to follow and perfectly printed. Thank you for sharing such a success of a recipe. Well done.
Oh that’s fantastic! Thank you Stacey!
I made this dessert for Thanksgiving in Canada. It was delicious, easy and all the family loved it. Will definitely be making it again!
That’s wonderful Cheryl, thank you so much for picking this to share at your Thanksgiving table.
Where do you get these small wide mouth jars? Could these be made in mini cheesecake pans, the kind where you push up on the bottom to get them out?
Hi Barb, I don’t recall specifically where they came from. They are 8-ounce wide-mouth canning jars. I am not 100% certain about using that type of pan but it’s a pretty straightforward no-bake cheesecake, so if you are used to using those pans with no-bake recipes, then it will probably be fine. You may want to add some more butter to the crust to make it a little firmer in your pan.
I made this recipe for a dessert cook-off among family and friends. I won the first place trophy with it. Everyone loved it!
That’s pretty amazing Bradley! Thank you for sharing!!
HI! Did you make your own salted caramel sauce?? If so ,do you have a recipe you favor?
Hi Katey- no I used store brought.
Hi, How far in advance can I make these?
For best results, I would recommend 2 days in advance
what size are the jars and how many does the recipe make of that size?
Hi Kyle, I used a mix of sizes. The ones you see here are wide mouth 8 ounces, and you’ll get 6-8 depending on how full you make them. If you use smaller jars, you’ll have a higher yield.
omw!! these look absolutley AMAZING!!! To die for!!
Thank you Laura!