
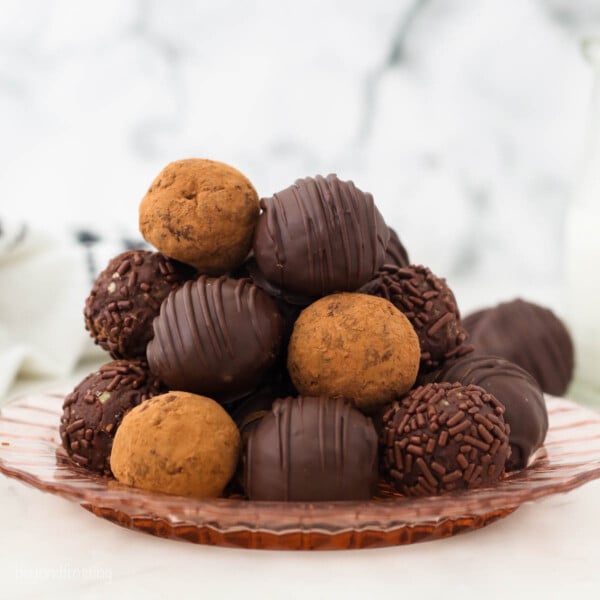
These easy chocolate rum balls are full of chocolate, chopped walnuts, and spiked with smoky dark rum. The longer they sit, the more flavorful they become! No-bake, homemade rum balls are great to make ahead and perfect for holiday gifting.

I’m always whipping up homemade candy for friends and family around the holidays. I like to make huge batches of truffles, fudge, and more, so I can gift a bunch and keep the rest for myself. This time, I’ve made soft chocolate truffles but added a splash of dark rum to make rum balls! These chocolate rum balls taste like they were purchased from a fancy chocolatier, but they’re actually very easy.
About This Chocolate Rum Balls Recipe
- Double the chocolate. Not only are these rum balls full of chocolate, but they’re rolled in even more velvety chocolate after they set.
- Better with time. The longer rum balls sit, the more intense the chocolatey, spicy flavors become. These are at their best if you make them 2 days ahead
- No baking. One of the things I love most about homemade rum truffles is that there’s zero baking invoved. Save the oven for all the Christmas cookies that need baking!
- More ways than one. There are countless ways to customize this chocolate rum balls recipe with different mix-ins, flavors, and more. I share a few of my favorite variations later on.

Ingredient Notes
This is an overview of the important ingredients you’ll need to make these easy chocolate rum balls. Scroll to the printable recipe card for the full list, amounts, and recipe instructions.
- Vanilla Wafers – Crushed Nabisco ‘Nilla wafer cookies serve as a “binder” in these rum balls, much like breadcrumbs hold the ingredients together in meatballs. You can use any cookie you’d like. Good options are chocolate wafers, graham crackers, or crushed Oreos like I use in my Oreo truffles recipe.
- Walnuts – Or another nut, like pecans or almonds, finely crushed alongside the wafers. For a nut-free version, leave out the nuts and substitute crushed wafers instead.
- Unsweetened Cocoa Powder – You could use Dutch-processed cocoa powder for a more intense chocolatey flavor (see natural vs. Dutch-processed cocoa powder).
- Chocolate Chips – I recommend choosing high-quality dark chocolate chips or chocolate melts for the best flavor. I like Lindt, Guittard, and Ghirardelli.
- Dark Rum – Dark or gold rum is best when making truffles. Since these are very rum-forward rum balls, pick a rum that you enjoy drinking for fail-proof results. The flavor WILL stand out.
- Corn Syrup – If cookies are the binder in these truffles, corn syrup is the glue! It also improves the texture of chocolate truffles by adding moisture and making the chocolate smooth and glossy. I’ve seen some rum balls recipes that use honey instead of corn syrup, though I haven’t tried it myself.
Make Them Alcohol-Free
You can replace the rum in this recipe with orange juice for an alcohol-free version. Or, if you love rum flavor but wish to skip the alcohol, I’d recommend following my chocolate truffles recipe, using rum extract. This way, you can ensure the truffles have the right consistency.
How to Make Rum Balls
Making chocolate rum balls requires patience rather than skill. The hardest part is waiting for the balls to set so you can dig in!
- Crush the wafers and nuts. Grind the Nilla Wafers into a fine crumb using a food processor or blender. Then, add the walnuts and pulse until they are finely chopped. Add the cocoa powder and the salt, pulsing to combine.
- Melt the chocolate. In a separate, heat-proof bowl, melt the chocolate chips in the microwave at 50% power for 30-45 seconds at a time, stirring each time until the chocolate is completely melted. See how to melt chocolate chips for details.
- Add the rum. Stir the rum, corn syrup, and vanilla into the melted chocolate and mix until well combined.
- Combine to make the dough. Now, add the dry ingredients to the melted chocolate mixture and stir until well combined.


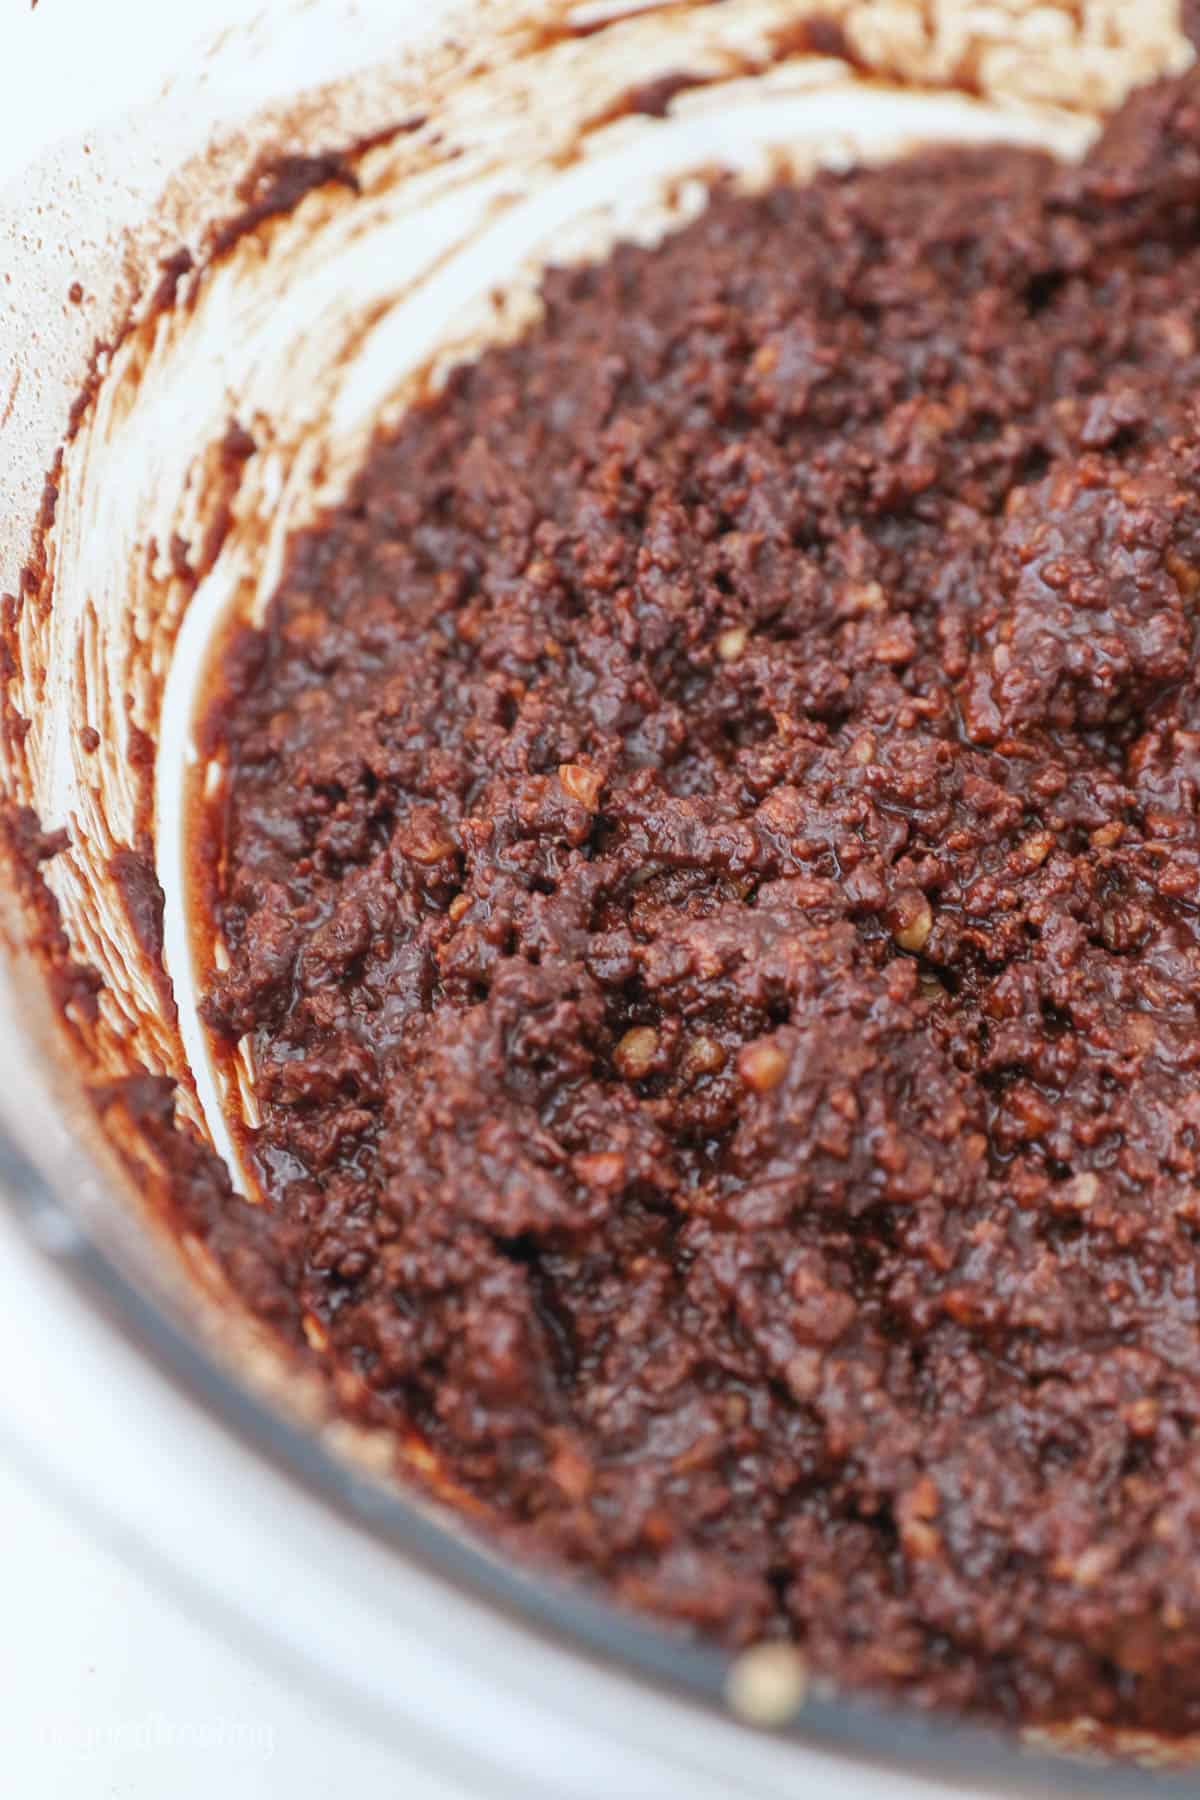
- Chill the dough. Next, refrigerate the truffle dough for 30 minutes. If you find that the mixture is crumbly, allow it to soften at room temperature for another 10-15 minutes before shaping the balls.
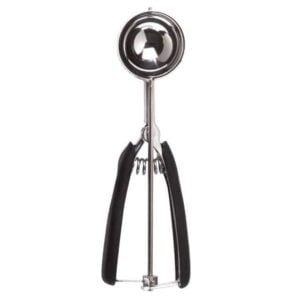
- Shape the chocolate balls. Use a small cookie scoop (about 2 teaspoons) to scoop the dough. For best results, pack the chocolate into the cookie scoop. Once they’re all scooped, roll each scoop between your hands to form a ball, then place the balls onto a lined baking sheet. You might find it helpful to wear some food-safe disposable gloves, as the chocolate can get a little messy.
- Roll the balls in cocoa powder. This step is optional, but I do find it helps with sticking. Roll each rum ball into a bowl of cocoa powder, coating them completely.


Add the Chocolate Coating
You can choose to coat these rum balls either in cocoa powder or dip them in melted chocolate. I did try some rolled in chocolate sprinkles, but I much preferred the other options.
- Melt the chocolate. In a microwave-safe bowl, melt the chocolate wafers at 50% power for 30 seconds at a time. You’ll want to stir frequently, every 30 seconds, and continue this process until the chocolate is melted. Reduce the microwave time as needed so the chocolate does not burn.
- Coat the rum balls. Use a spoon to dip the balls into the melted chocolate so they’re completely covered. Then, lift each ball out of the chocolate with a fork and tap the fork on the side of the bowl to remove any excess chocolate.
- Chill. Place the coated rum balls back onto the baking sheet and allow the chocolate to set completely in the fridge. To add an additional chocolate drizzle, do so after the chocolate coating has set.
Julianne’s Chocolate Dipping Tip: Work In Batches
When dipping the rum balls, work in small batches (6 at a time) and keep the remaining rum balls in the refrigerator or freezer until you’re ready to coat them. It works better if they are cold.


Tips for Success
- Minimize the mess. I recommend wearing food-safe gloves when scooping and rolling the rum balls. They tend to get a little sticky from the warmth of your hands.
- Make the rum ball dough ahead. You can make the chocolate filling ahead of time and keep it chilled in the fridge until you’re ready to shape and coat the truffles. If you do this, the dough will likely need more time to sit at room temperature before it’s soft enough to scoop. If the mixture remains crumbly, pack it into the cookie scoop and press it together while you’re forming the balls.
- If your rum balls are very sticky, try chilling the dough in the fridge for 30 minutes. You can also remix the dough, adding more crushed wafers to adjust the consistency before portioning the balls.
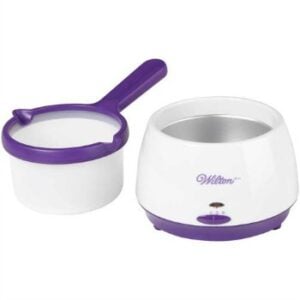
- Melting pot magic. I highly recommend using a Wilton candy melting pot to liquify your chocolate. This goes for both the truffles and the coating. Not only does it melt the chocolate beautifully, but it also keeps it at the proper temperature for coating the truffles.
- Not a rum fan? Replace the dark rum with brandy or bourbon for a different flavor profile.

Easy Rum Ball Variations
As you can tell, I like my rum balls with a classic chocolate coating, plus an extra drizzle of chocolate. But there are SO many ways that you can adapt this recipe with different ingredients, or decorate them for different holidays (like these adorable Easter bunny truffles). These are some of my favorite simple variations if you feel like changing it up:
- Coconut rum balls. Instead of coating your truffles with cocoa powder and chocolate, try covering them with finely shredded coconut. If the coconut is having trouble sticking to the rum balls, roll them around in your hands to make them sticky or dab them with a tiny bit of filtered water.
- Walnut rum balls. You could also coat your truffles with ground walnuts instead of the extra chocolate. Any nuts will do, but I prefer using walnuts to complement the ones inside the rum balls.
- Sprinkle rum balls. Using sprinkles for the coating is a great way to dress up these truffles for the holidays. Maintaining the theme with chocolate sprinkles is also nice.
- White chocolate rum balls. Want your rum balls to have a sweeter flavor? Feel free to use white or milk chocolate candy melts instead of dark ones. You could also use two different kinds of chocolate for the coating and the drizzle, if desired.
- Christmas rum balls. Add peppermint extract or roll the coated rum balls in crushed candy canes or peppermint crunch for a festive holiday version. You could also dip them in white chocolate and roll them in red and green nonpareils!
If you’re a fan of homemade, no-bake candies like rum balls, I also have crispy peanut butter balls and buckeyes that you can try, too!

How to Store Chocolate Rum Balls
- Refrigerate. Keep your rum balls in an airtight container in the refrigerator. The flavor enhances with time! They’ll stay fresh for up to 1 week, and they’re at their peak after 2-3 days.
- Freeze. To freeze, place the rum balls in a freezer-safe container and store them for up to 3 months. To prevent condensation from forming, thaw them out in the fridge for just a few hours before enjoying them. Don’t be surprised if you find yourself pulling a few of those from the freezer every so often to enjoy after dinner.
More Homemade Candy Recipes
Chocolate Rum Balls
- Prep Time: 1 hour
- Cook Time: 0 minutes
- Total Time: 1 hour
- Yield: 48 balls
- Category: Dessert
- Method: No Bake
- Cuisine: American
Description
These easy homemade rum balls are full of chocolate, chopped walnuts, and smoky dark rum. The longer they sit, the more flavorful they become!
Ingredients
For the Rum Balls
- 1 box (11oz/311g) Nilla Wafers
- 1 cup (116g) walnuts
- 2 tablespoons (14g) cocoa powder
- ½ teaspoon salt
- 12 ounces dark chocolate chips, melted
- ¾ cup (177ml) dark rum
- 1 tablespoon (15ml) corn syrup
- ½ teaspoon pure vanilla extract
For the Chocolate Coating (optional)
- Cocoa powder for coating
- 15 ounces of Ghirardelli dark chocolate melts
Instructions
Make the Rum Balls
- Grind the Nilla Wafers into a fine crumb using a food processor or blender. Then add the walnuts and pulse until they are finely chopped. Add the cocoa powder and salt and pulse to combine. ‘
- In a separate, heat-proof bowl, melt the chocolate chips in the microwave at 50% power for 30-45 seconds at a time, stirring each time until completely melted. Stir the rum, corn syrup and vanilla into the melted chocolate and mix until well combined.
- Pour the dry mixture into the wet mixture and stir until well combined. Refrigerate for 30 minutes. If you find the mixture is crumbly, allow it to soften at room temperature for another 10-15 minutes.
- Use a small-size cookie scoop (about 2 teaspoons) to scoop the balls and place them on the baking sheet. Roll each one between your hands to form a ball.
Coat the Truffles
- Cocoa powder coating: Roll each rum ball in a bowl of cocoa powder.
- For the chocolate coating: In a microwave-safe bowl, melt the chocolate wafers at 50% power in 30-second intervals; stir after each interval and continue until the chocolate is melted. Reduce microwave time as needed so the chocolate does not burn.
Nutrition
- Serving Size: 1 Truffle
- Calories: 141
- Sugar: 10.1 g
- Sodium: 51.4 mg
- Fat: 8 g
- Carbohydrates: 15 g
- Fiber: 1.5 g
- Protein: 1.7 g
- Cholesterol: 0.5 mg

I’ve been making rum and brandy truffles for decades and occasionally search for a new recipe to improve or spin them. This is the best one yet! My search is over. I had to make 100 of them for a wedding last month and the guests were enamored.
Can these be made with extract for those of us who don’t drink yet love rum flavor?
Hi Sheila, I am sure that is possible, but I would actually recommend following this recipe for my chocolate truffles and using the rum extract. That way you can ensure the right consistency for the truffle itself.
Always my favorite Christmas cookie. I roll mine in white sugar. They get rummier with age.
Yes! They do get better as they sit! Thanks for sharing!
I made these for a Christmas party today, using the cocoa powder coating, and they were a big hit among those of us who like very rum- forward rum balls. I made them just according to the published recipe, except that I only chilled the mixture for about 40 minutes before making the balls, and I think I made the balls a bit smaller than specified. It all worked out fine and I’ll definitely be using this recipe again!
Awesome Anne! Thank you so much.
Yay these look amazing! Will have to try!
Thank you!