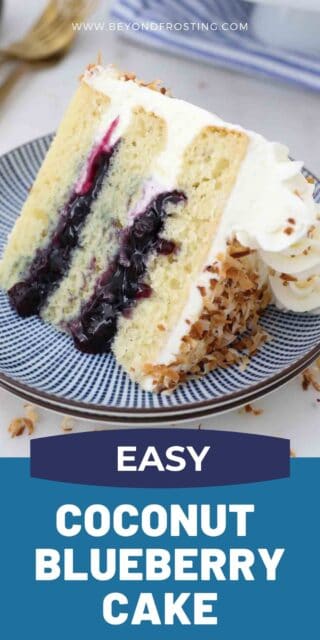
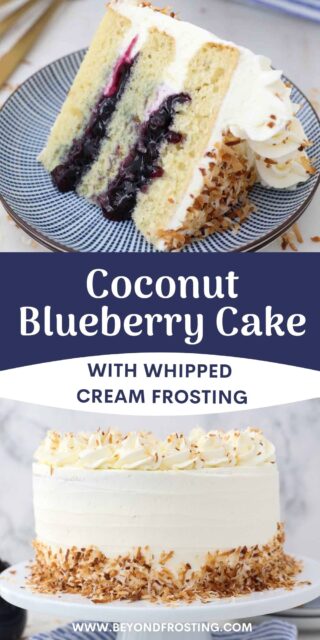
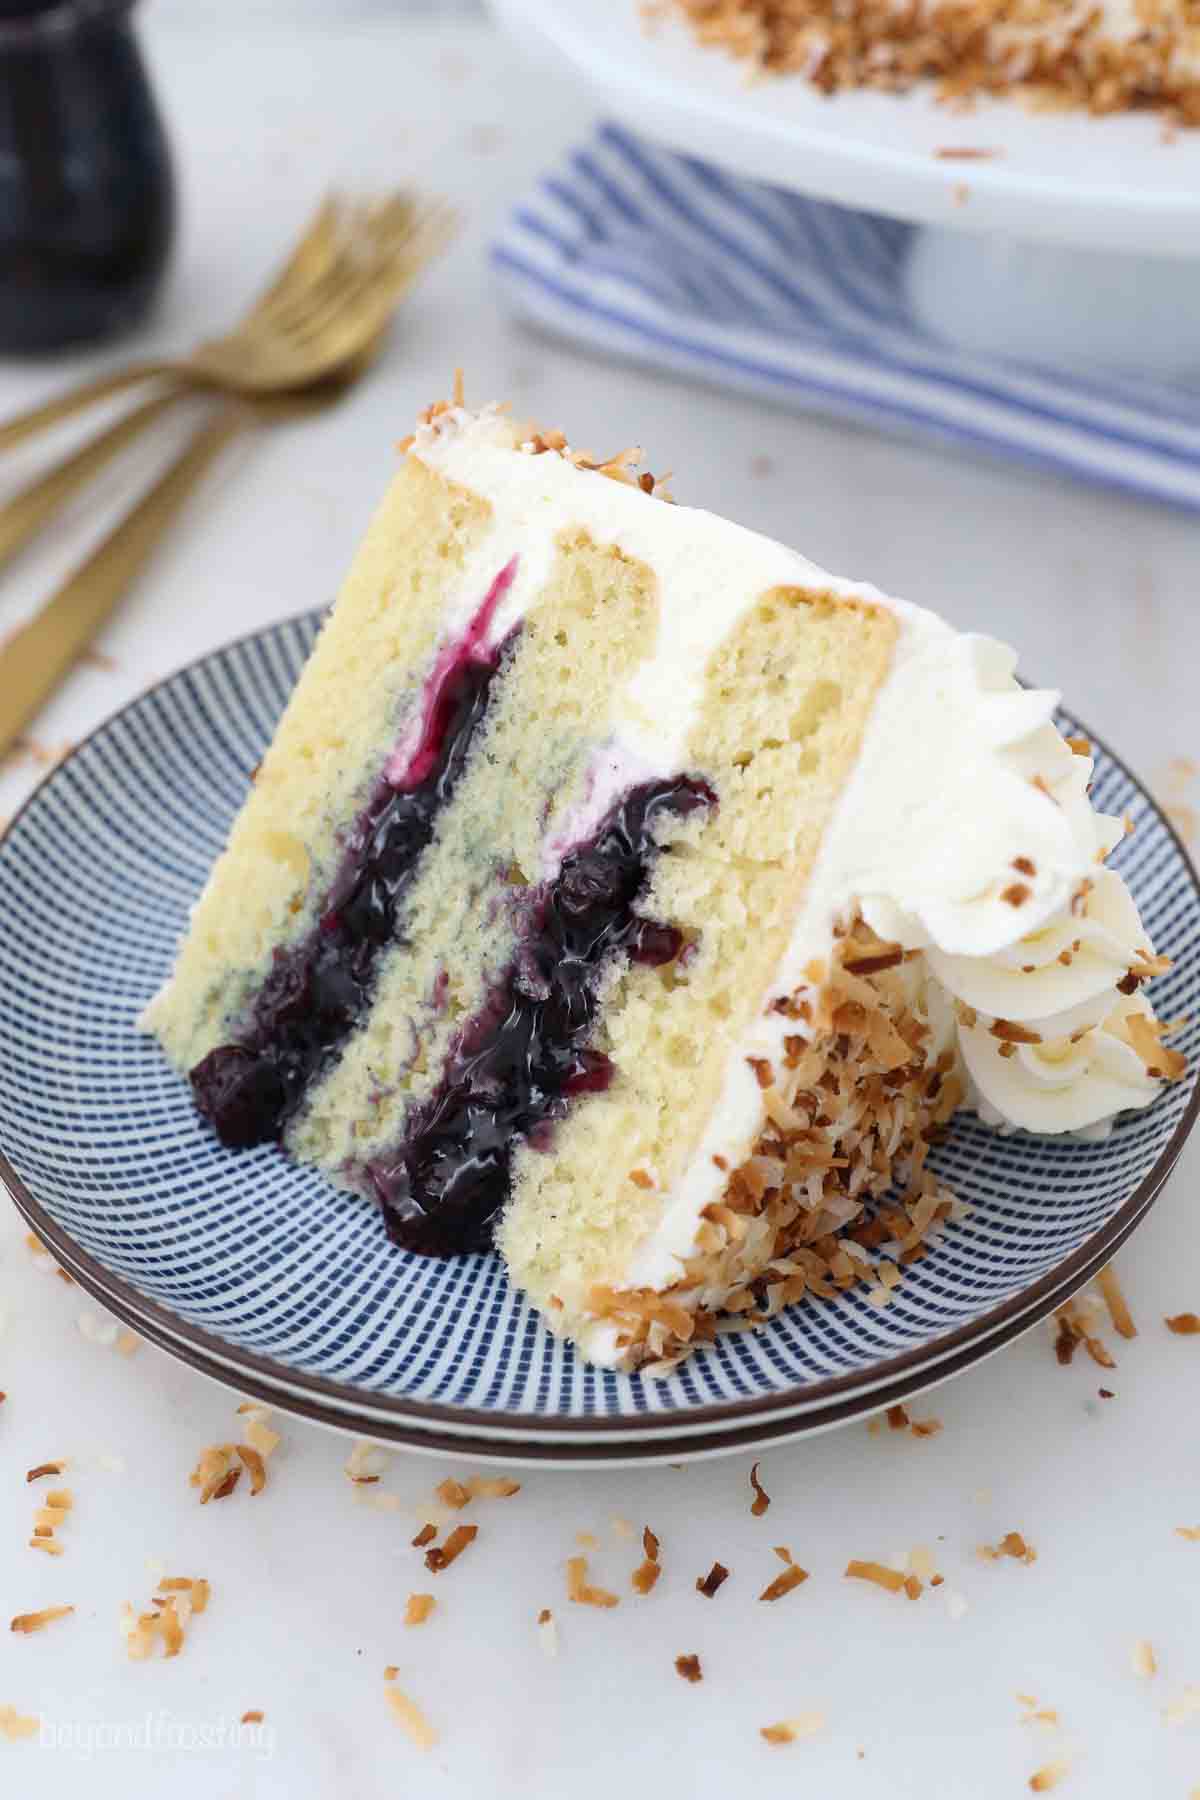
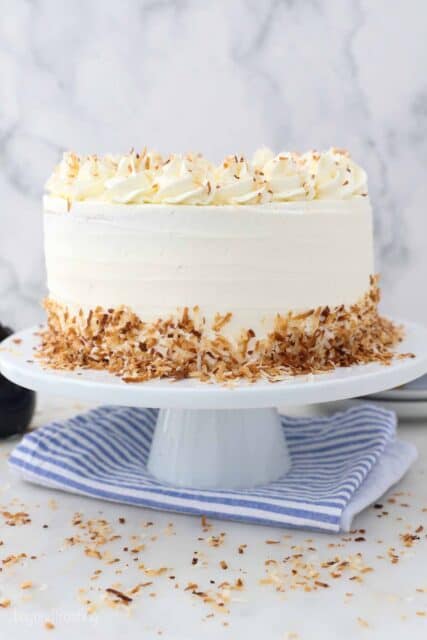
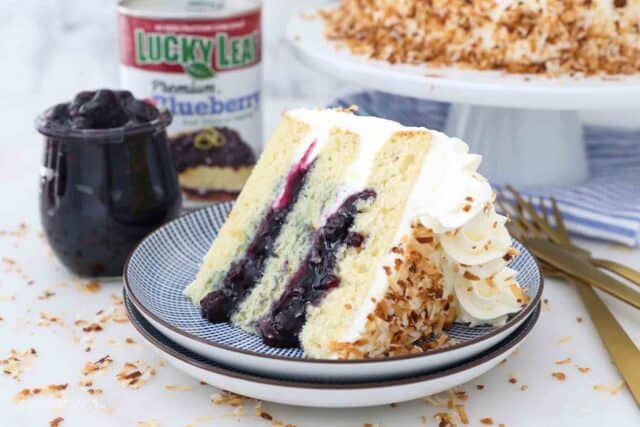
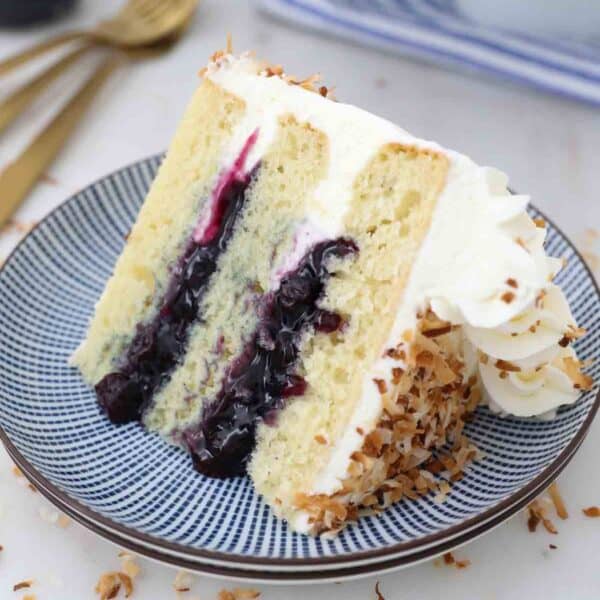
This homemade coconut cake is filled with a blueberry pie filling and topped with mascarpone whipped cream. It’s the perfect summer cake!
This post is sponsored by Lucky Leaf. All opinions are my own.
There’s nothing quite like a homemade cake, especially one that is filled with pie filling and a whipped cream frosting. If you’ve had my strawberry mascarpone cake, or lemon raspberry cake, this one is similar but filled with Lucky Leaf Premium Blueberry Fruit Filling or Topping and a coconut flavored cake and frosting.
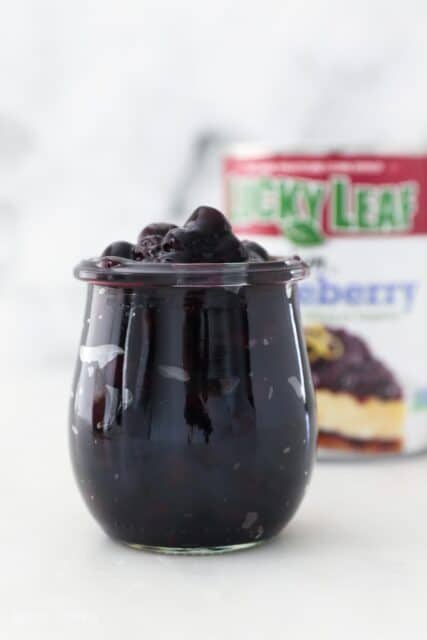
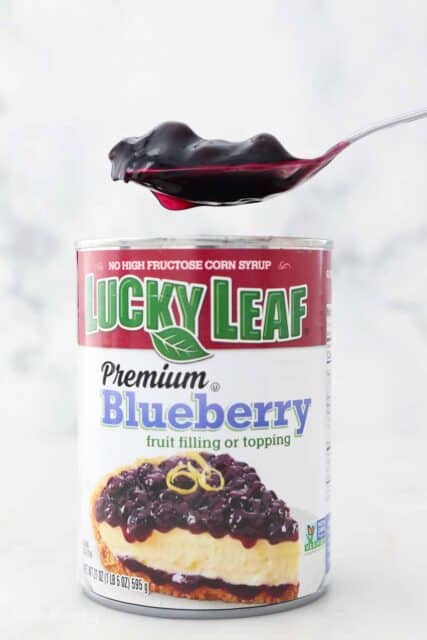
The pie filling makes this cake super quick to throw together. I love to use Lucky Leaf Premium Blueberry Fruit Filling or Topping. It’s loaded with berries that are perfectly ripened, and they’re a great size for this filling. Plus, the extra juices give it a boost of flavor, and you’ll have plenty of filling in each bite.
With Memorial Day coming up, I am already planning my menu. Don’t forget to bring the dessert, you know it’s the best part! This cake would make a great addition to your menu. It’s light and not overly sweet, and the combination of the cake, Lucky Leaf Premium Blueberry Fruit Filling & whipped cream is so refreshing. Just be sure to plan ahead as this cake needs to stay refrigerated.
Now let’s break down the three components of the cake, and how to prepare each one.
Light and Fluffy Coconut Cake
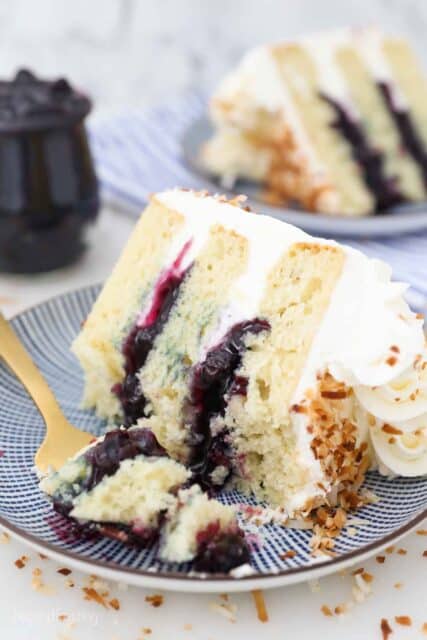
The texture of this cake is just perfect. It’s light and fluffy but super moist. The flavors are subtle, but the coconut comes through from the combination of the coconut milk and coconut extract.
What you’ll need:
- Vegetable oil– makes for the best crumb texture
- Unsalted butter– just a touch of melted butter for flavor
- Egg and egg white- the combination of these two helps gives this cake it’s fluffy texture
- Coconut extract- this tends not to be overly flavorful, so there’s a whole tablespoon in this recipe
- Pure vanilla extract– I like to add a touch of vanilla to the cake in addition to the coconut
- Sour cream– this helps keep the cake moist. If you need to substitute this, I recommend plain yogurt or Greek yogurt
- Dry Ingredients: Granulated sugar, All-purpose flour, baking powder, baking soda and salt
- Coconut milk– you’ll need 1 can of coconut milk and make sure it’s well stirred and smooth.
How to make it
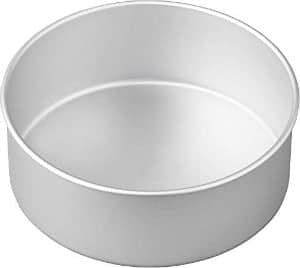
- Preheat the oven to 350°F and prepare three 8-inch round baking pans. I recommend lining the bottom with parchment paper and be sure to grease the sides.
- In a large mixing bowl, combine the sugar, vegetable oil, butter, eggs, sour cream and extracts. Beat on medium speed until well incorporated.
- In a separate bowl, combine the remaining dry ingredients. Alternate adding half the dry ingredients and half the coconut milk at a time and mix just until the flour starts to incorporate then mix by hand with a spatula until well combined.
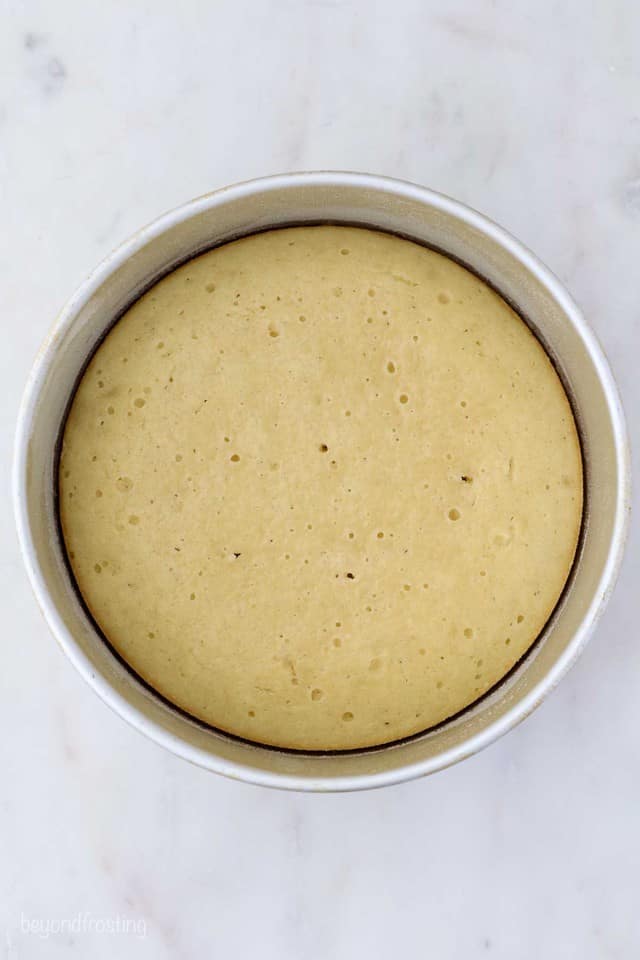
- Divide the batter evenly between the three pans, about 1 2/3 cups of batter per pan. Bake at 350°F for 20-24 minutes. I like to rotate my pans halfway through for evenly baked cakes.
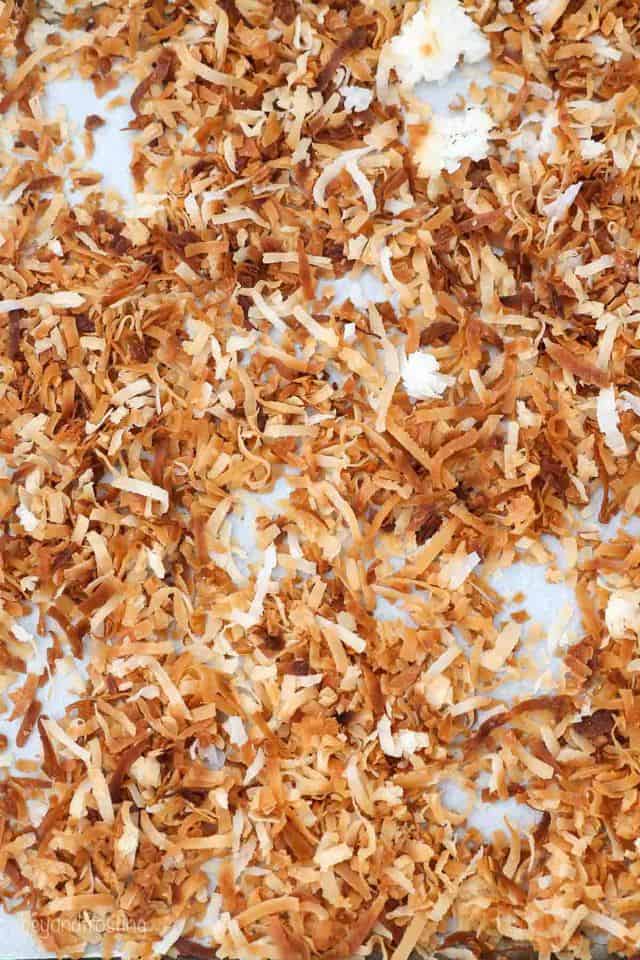
Easy toasted coconut
While the oven is still warm, toast the coconut. Line a baking sheet with parchment paper, spread the coconut evenly on the pan. Bake for 5-8 minutes, or until desired color is reached. Transfer to a bowl or plate to stop the cooking process. Cool completely.
If you forget this step, don’t worry you can also toast it on the stovetop.
Lucky Leaf Premium Blueberry Fruit Filling or Topping:
There’s no prep needed here, which is why this is my favorite simple “hack” when it comes to making this cake. You’ll need one can of Lucky Leaf Premium Blueberry Fruit Filling has approximately two cups of filling, so you’ll use 1 cup of filling between each layer. Below I will teach you how to properly fill the layers.
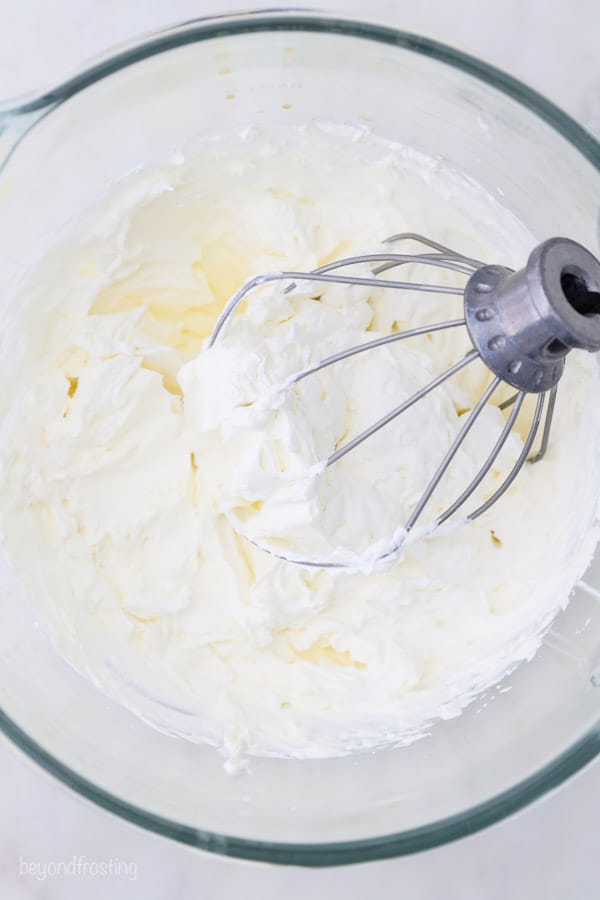
Simple mascarpone whipped cream frosting
This frosting cannot be matched. It’s light and not overly sweet but has a mousse like consistency. It’s the perfect frosting to pair with fruit filled cakes because it doesn’t overpower the flavors at all.
If you’ve never made this type of frosting before, be sure to check out this frosting recipe for more step-by-step photos.
What you’ll need:
- Heavy whipping cream– be sure it’s nice and cold
- Mascarpone whipped cream– This should also be cold, so no need to let this sit at room temperature.
- Powdered sugar to add a little bit of sweetness.
- Coconut extract for taste. You can add more or less than what’s called for depending on your own taste.
How to make it
- Chill the bowl and mixer in the freezer for 5 minutes, this helps keep the cream nice and cold.
- Spoon the mascarpone cream into the bowl and beat on a medium-low speed. Slowly pour in about ½ cup of heavy cream, allowing the mascarpone cheese to turn to a liquid consistency, scraping down the bowl occasionally.
- Add all remaining cream then increase the mixing speed to high (speed 8-10) and beat it until soft peaks form.
- Next, add the powdered sugar and coconut extract, beating on low until sugar is incorporated. Then continue beating at a high speed until stiff peaks form.
How to assemble this cake
Three easy components make up this cake: coconut cake, blueberry pie filling and mascarpone frosting.
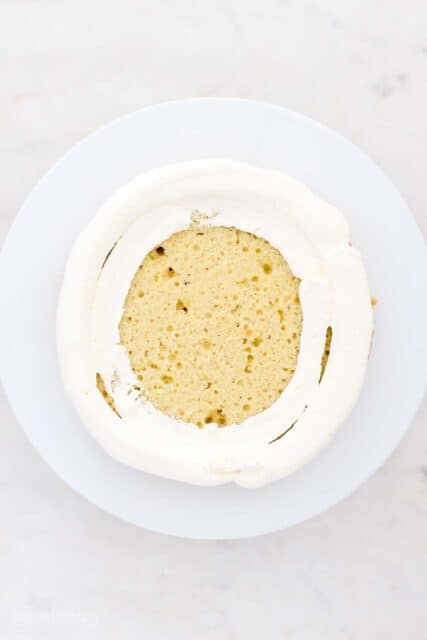
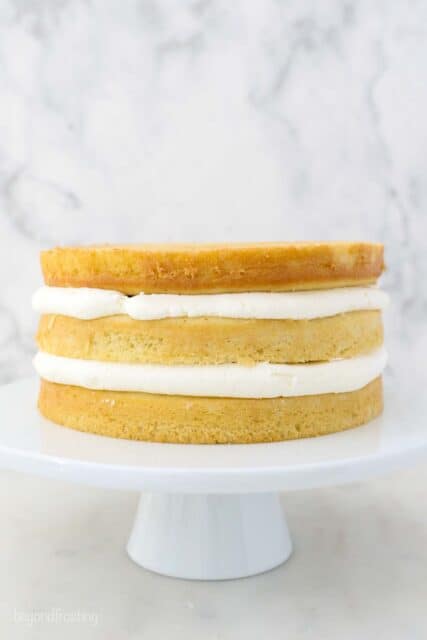
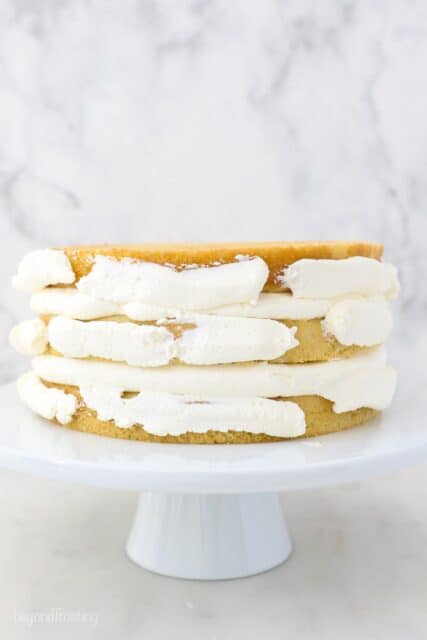
Filling the cake
The key to preventing the blueberry fruit filling from seeping out of the cake is to pipe a border (also called a dam) around the outside edge of the cake. Here’s how to do it.
- Start with a leveled cake layer so they’re nice and flat.
- Pipe a thick border (a dam) along the outside edge of the cake layer. You want to make sure the outside edge is higher than the filling.
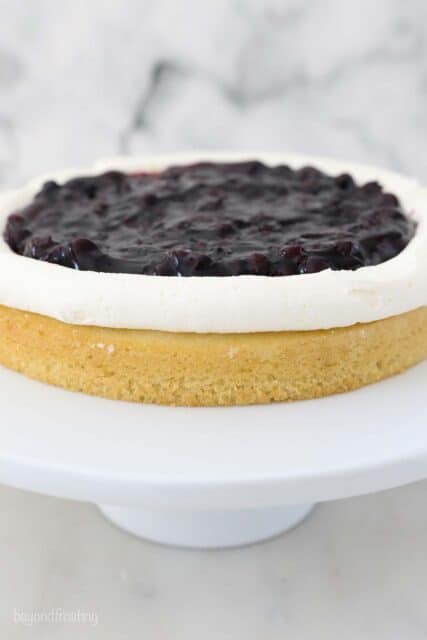
- Fill the middle of the cake with 1 cup of Leaf Premium Blueberry Fruit Filling and spread evenly.
- Add the second layer of cake and repeat the above steps using all of the remaining Lucky Leaf Premium Blueberry Fruit Filling. Next, add the final layer of cake on top.
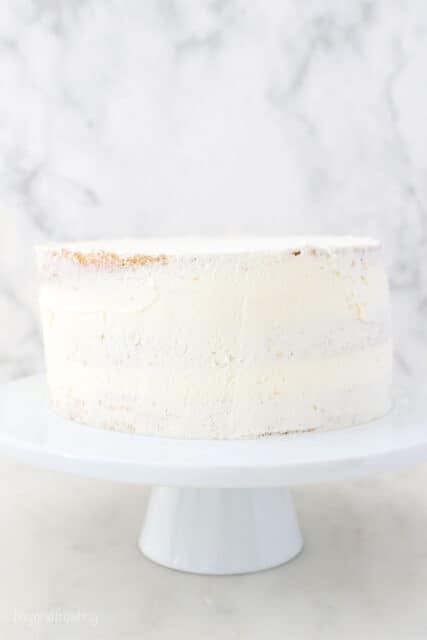
Frosting the cake
Make a crumb coating: Use a piping bag to fill in any gaps between the layers Using an offset spatula or icing smoother, wipe away the excess frosting, leaving just enough to coat the outside of the cake. Place the cake in the fridge or freezer for 5-10 minutes.
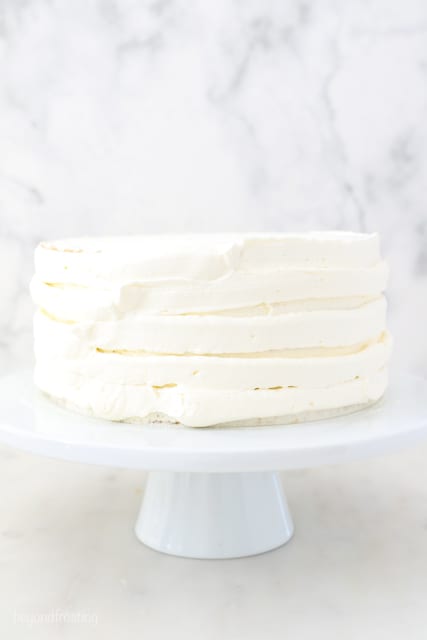
Frost the cake: Set aside 1 ¼ cup to decorate the top. Use the remaining frosting, piping around the outside edge of the cake from the bottom to the top. Smooth the frosting with an offset spatula or scraper.
Decorate: Press some toasted coconut up against the sides of the cake. Pipe florets on top of the cake using a 1M piping tip. Fill in the middle with toasted coconut.
How to store this cake
Since this cake is frosted with whipped cream frosting, it must be kept in the refrigerator. I prefer to use a cake carrier to store or another airtight container for best results. Allow the cake to sit at room temperature for 15 minutes prior to serving.
Connect with Lucky Leaf
Facebook | Twitter | Pinterest | Instagram
Coconut Blueberry Cake
- Prep Time: 60 minutes
- Cook Time: 20 minutes
- Total Time: 1 hour 20 minutes
- Yield: 10 slices
- Category: Cake
- Method: Oven
- Cuisine: American
Description
This homemade coconut cake is filled with a blueberry pie filling and topped with mascarpone whipped cream.
Ingredients
For the cake
- 1 ½ cups (285g) granulated sugar
- ½ cup (118 ml) vegetable oil
- 2 tablespoon (28g) unsalted butter, melted
- 2 large egg
- 2 large egg white
- 1 tablespoon (15ml) coconut extract
- 1 teaspoon (5ml) pure vanilla extract
- ½ cup (118 ml) sour cream
- 2 ½ cups (350g) all-purpose flour
- 2 teaspoon (7.5g) baking powder
- 1 teaspoon (4.5g) baking soda
- 1 teaspoon (5g) salt
- 1 1/3 cup (315ml) coconut milk, well stirred
For the filling and frosting
- 2 cups heavy whipping cream
- 16 ounces mascarpone whipped cream, cold
- 1 cup powdered sugar
- 1 coconut extract (or more to taste)
- 1 can (21oz/595g) Lucky Leaf Premium Blueberry Fruit Filling or Topping
- 1 cup toasted coconut (optional)
Instructions
For the cake
- Preheat the oven to 350°F. Prepare three 8-inch round baking pans, line the bottom with parchment paper and grease the sides. Prepare your bake even stripes if desired.
- In a large mixing bowl, combine the sugar, vegetable oil, butter, eggs sour cream and extracts. Beat on medium speed until well incorporated and the batter is lighter in color, about 2 minutes. Scrape down the bowl as needed.
- In a separate bowl, combine the remaining dry ingredients. Alternate adding half the dry ingredients and half the coconut milk at a time and mix just until the flour starts to incorporate. Use a spatula to scrape down the sides of the bowl and stir the batter from the bottom to the top to ensure it’s well mixed.
- Divide the batter evenly between the three pans, about 1 2/3 cups of batter per pan. Bake at 350°F for 20-24 minutes and rotate your pans in the oven halfway through.
- Test the cake for doneness by inserting a toothpick into the center of the cake. If the toothpick comes out clean, your cake is done. Remove from the oven and allow to cool completely.
- Toast the coconut in the preheat oven. Line a baking sheet with parchment paper, spread the coconut evenly on the pan. Bake for 5-8 minutes, or until desired color is reached. Transfer to a bowl or plate to stop the cooking process. Cool completely.
For the frosting
- Place the mixing bowl and whisk attachment in the freezer for 5 to 10 minutes to chill.
- Spoon the mascarpone cream into your bowl and beat on a medium-low speed. Slowly pour in about ½ cup of heavy cream, allowing the mascarpone cheese to turn to a liquid consistency, scraping down the bowl occasionally.
- Add all remaining cream then increase the mixing speed to high (speed 8-10) and beat it until soft peaks form.
- Next, add the powdered sugar and coconut extract, beating on low until sugar is incorporated. Then continue beating at a high speed until stiff peaks form.
To assemble
- Use a cake leveler to cut the domes off the top of the cake. Place a dollop of frosting on your cake board and place the bottom layer of cake on top of that.
- Place half of the whipped cream in a large piping bag fitted with a large open round tip, or simply cut off the end of the piping bag. Pipe a thick border (a dam) along the outside edge of your cake. You may need to do this twice.
- Fill the middle of the cake with 1 cup of Lucky Leaf Premium Blueberry Fruit Filling and spread evenly. Make sure that the filling is not higher than the edges.
- Add the second layer of cake and repeat the above steps using all of the remaining Lucky Leaf Premium Blueberry Fruit Filling. Next, add the final layer of cake on top.
- Use a piping bag to fill in any gaps between the layers and to create a crumb coat. Using an offset spatula or scraper, wipe away the excess frosting, leaving just enough to coat the outside of the cake. Place the cake in the fridge or freezer for 5-10 minutes.
- Set aside 1 ¼ cup of frosting to decorate the top. Proceed to frost the top and sides of the cake with a piping bag filled with the remaining frosting. Smooth with an offset spatula or scraper. Use remaining frosting to pipe the florets on the top of the cake using a 1M piping tip. Press some toasted coconut up against the sides of the cake and fill the top of the cake with remaining coconut.


Nutrition
- Serving Size: 1 slice
- Calories: 927
- Sugar: 55g
- Sodium: 462mg
- Fat: 62g
- Carbohydrates: 82g
- Fiber: 1.7g
- Protein: 10g
- Cholesterol: 158mg


Hello This combination sounds and looks amazing and I would love to bake it. Can you please help me with a size change? 3 round layers is just too big for 2 of us. If I half the recipe would that make two round 8 inches? or ? Also, As I am in Thailand at the moment and they have the BEST tasting coconuts, is there any way i can incorporate the coconut water and the coconut meat from the actual coconut into the cake? Thank you so much for your help x x
Hi there! Yes, a half recipe is best suited for 1 single 8inch layer or two 6-inch layers. A full recipe will make 2 very thick layers. Are you thinking about replacing the coconut milk with coconut water? That would be the only place to swap it.
This cake is incredibly moist. I was baking it for a little girl I babysit and the coconut was just enough for her. Not to overpowering but just perfect. We made our own lemon cream cheese frosting and it was an amazing pairing. Great recipe!
That’s awesome!! Thank you so much for sharing this.
Hi there, made this cake and it was a HUGE hit that I wanted to make again for a friends bday. Unfortunately I Had some plans get rescheduled after preparing the sponges, do you think 48hrs will be okay to let them sit? I have them under tin foil but can also refrigerate!
Yes 48 hours should be fine, but I would keep them sealed in an airtight container OR tightly wrap the layers in plastic wrap, with a layer of parchment on the top and bottom of the cake to prevent the plastic from sticking.
Is the cake sturdy enough to be shaped? My grandson wants a pyramid cake for his birthday.
And can you substitute coconut emulsion instead of the extract?
Hi Carrie, while I don’t have experience shaping cakes, it is a pretty stable, tight-crumb cake.
How far in advance can the cake layers be made? If made in advance, is refrigeration of the layers recommended? And can the layers be frozen?
HI Grace- If you don’t want to freeze them, I would recommend 1 day in advance for best results. If they are not frosted, no refrigeration is required. If you do want to freeze them, I would say up to 2 months.
Thank you for the tip!
You’re welcome!
Looks so delicious. Thanks for the recipe.
You’re welcome!