Homemade Quick Dinner Rolls are rich and fluffy, made in a fraction of the time that it takes to make traditional yeast rolls. Soft, moist 1-hour dinner rolls are an easy holiday side, and these are so quick that you can make them any other time of the year, too!
This recipe is a quick version of my Old-Fashioned Sweet Rolls and the best for everyday baking!

The Quickest No-Knead Dinner Rolls Recipe
This is a quick version of my family’s favorite old-fashioned Sweet Rolls. For that recipe, I stayed tried and true to Grandma’s original version. But, sometimes, the timing calls for something a little less time-consuming (sorry, Mama Girl!).
That’s this quick dinner rolls recipe’s time to shine. It’s perfect for weeknights and weekends, and I can’t think of a single meal that isn’t made better with a side of warm dinner rolls.
The longest part about this recipe is the rise, that only takes an hour. My fast-forward version of my Grandmother’s rolls is still irresistibly soft and buttery, with a hint of sweetness. With a few minor changes, it’s ready in a fraction of the time! I’ve used a similar recipe for my quick and easy cinnamon rolls.
Why You’ll Love These Homemade Rolls
What makes this the best bread roll recipe? Honestly, what doesn’t make it the best. These 1-hour dinner rolls are:
- Quick and easy. By swapping the active dry yeast for instant yeast, the dough comes together in minutes.
- Light and fluffy. This recipe includes an egg that makes the resulting rolls extra rich and airy.
- No kneading. The dough for these dinner rolls doesn’t require any kneading, so you can conserve that energy to make dessert.

Key Ingredients
You need only a few pantry staples to make perfect homemade dinner rolls. Below are some key ingredients that this recipe can’t do without, with the full recipe details available in the recipe card at the bottom of the page.
- Milk – My grandmother always insisted on making her dinner rolls with whole milk. The higher fat content yields the moistest and most tender rolls.
- Butter – I recommend using unsalted butter. You’ll melt the butter beforehand so that it’s easy to combine with the rest of the dough ingredients.
- Egg – One egg adds more richness to this version of my Grandma’s famous rolls, and makes the texture super fluffy. Lightly beat it before you start.
- Flour – Don’t forget to sift the all-purpose flour for this recipe. Trust me, it makes all the difference! See below for more details.
- Instant Yeast – Instant yeast speeds up the dough-making process in this quick dinner roll recipe.
Why (and When) Should You Sift Your Flour?
Why is sifting the flour so important in this recipe (and in other baking recipes)? Let’s dive into it:
- Sifting flour breaks up any lumps. Not only does this help with more accurate measuring, but it also aerates the flour so that it’s lighter and easier to mix into the dough.
- Do you sift flour before measuring or after? When you should sift your flour actually depends on the recipe. If a recipe calls for “X cups sifted flour”, you’ll sift the flour first and then measure. However, if it calls for “X cups of flour, sifted” (like in this recipe), this means to measure the flour before you sift it.

How to Make Quick Dinner Rolls
Who’s ready to make some lightning-fast dinner rolls? You’re going to be mind-blown by how quickly this dinner roll dough comes together. It’s really just a few minutes of prep, a 1-hour rise, and then a short bake that makes your kitchen smell like heaven. Here’s how to do it:
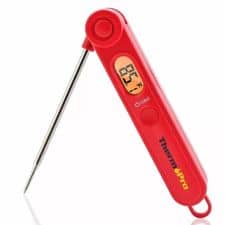
Prepare the wet ingredients. Start by warming milk in the microwave and stirring in the sugar so it’s dissolved. It’s important to get the milk to the right temperature, between 110ºF-120ºF (any higher and you’ll risk killing the yeast). Next, melt the butter and let it cool.
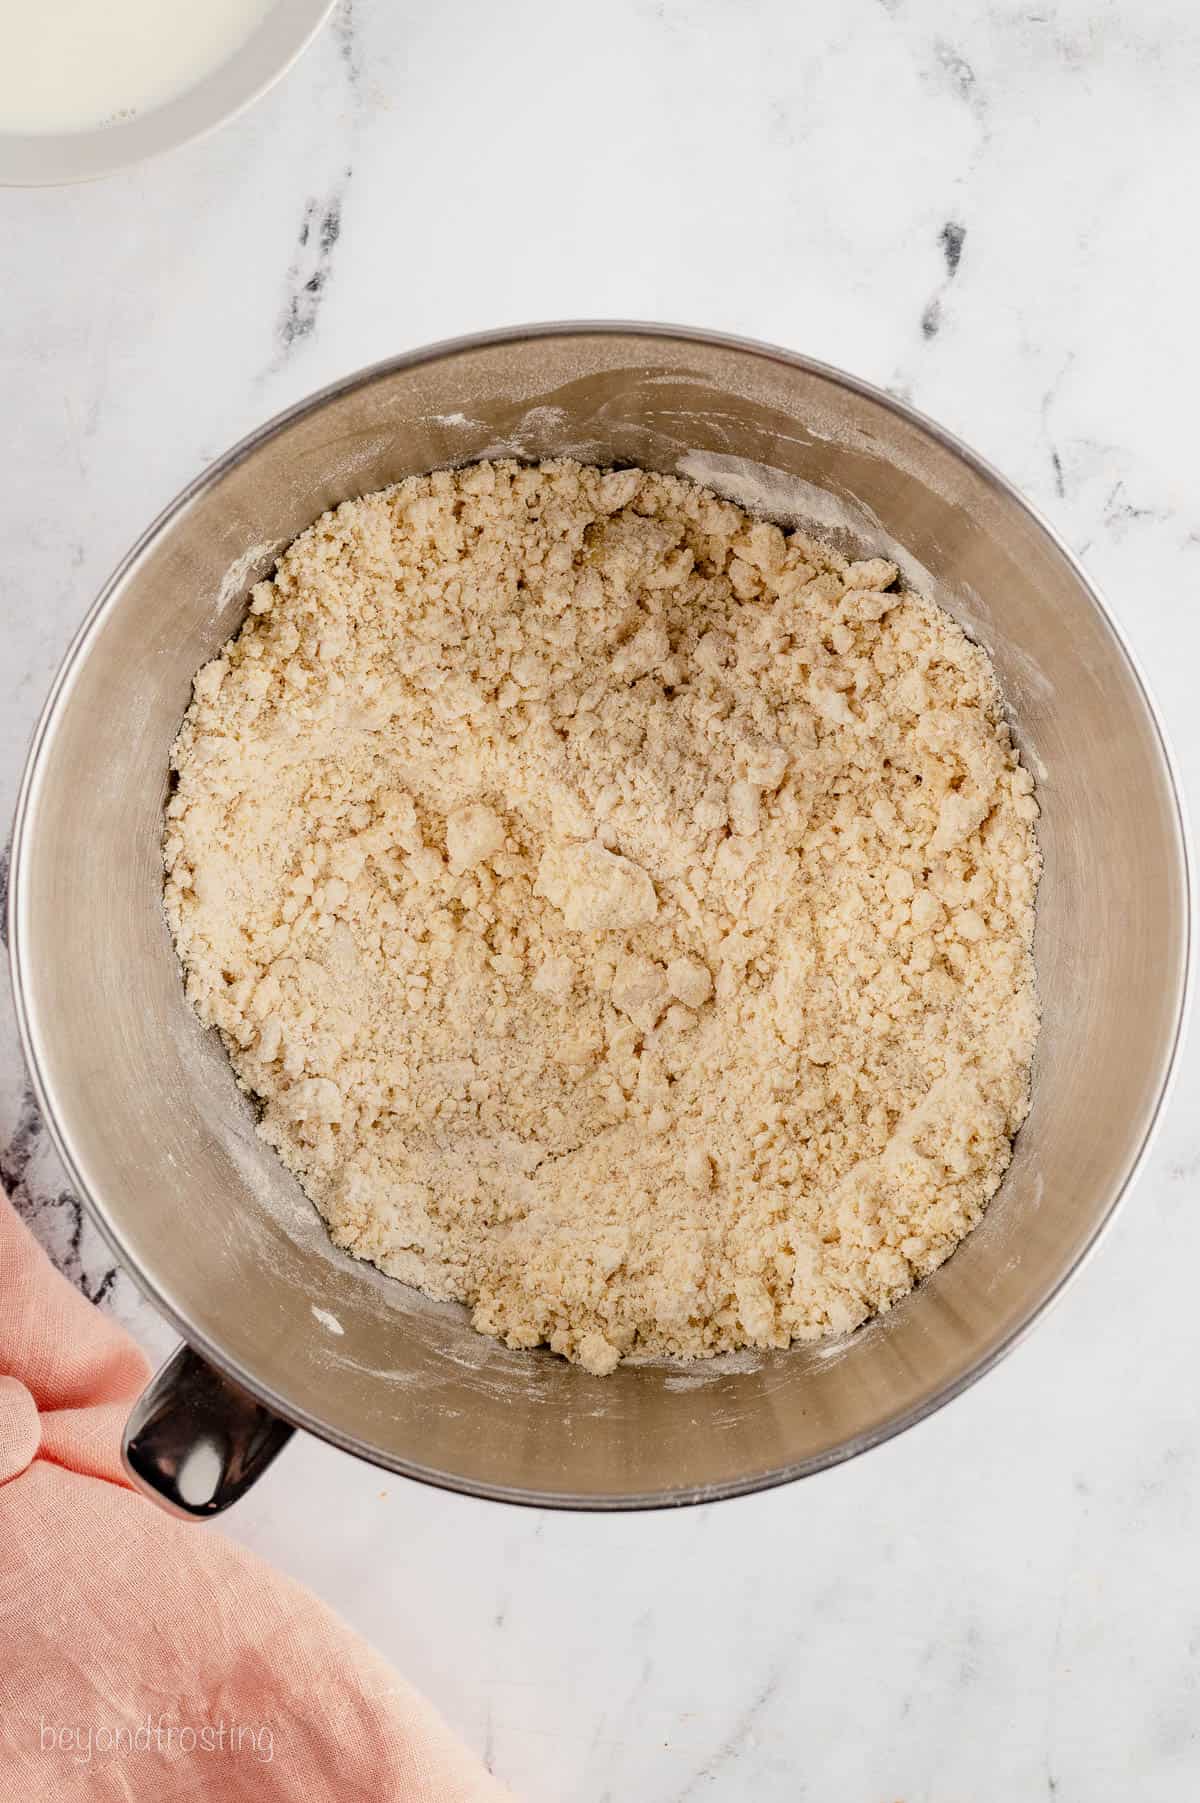
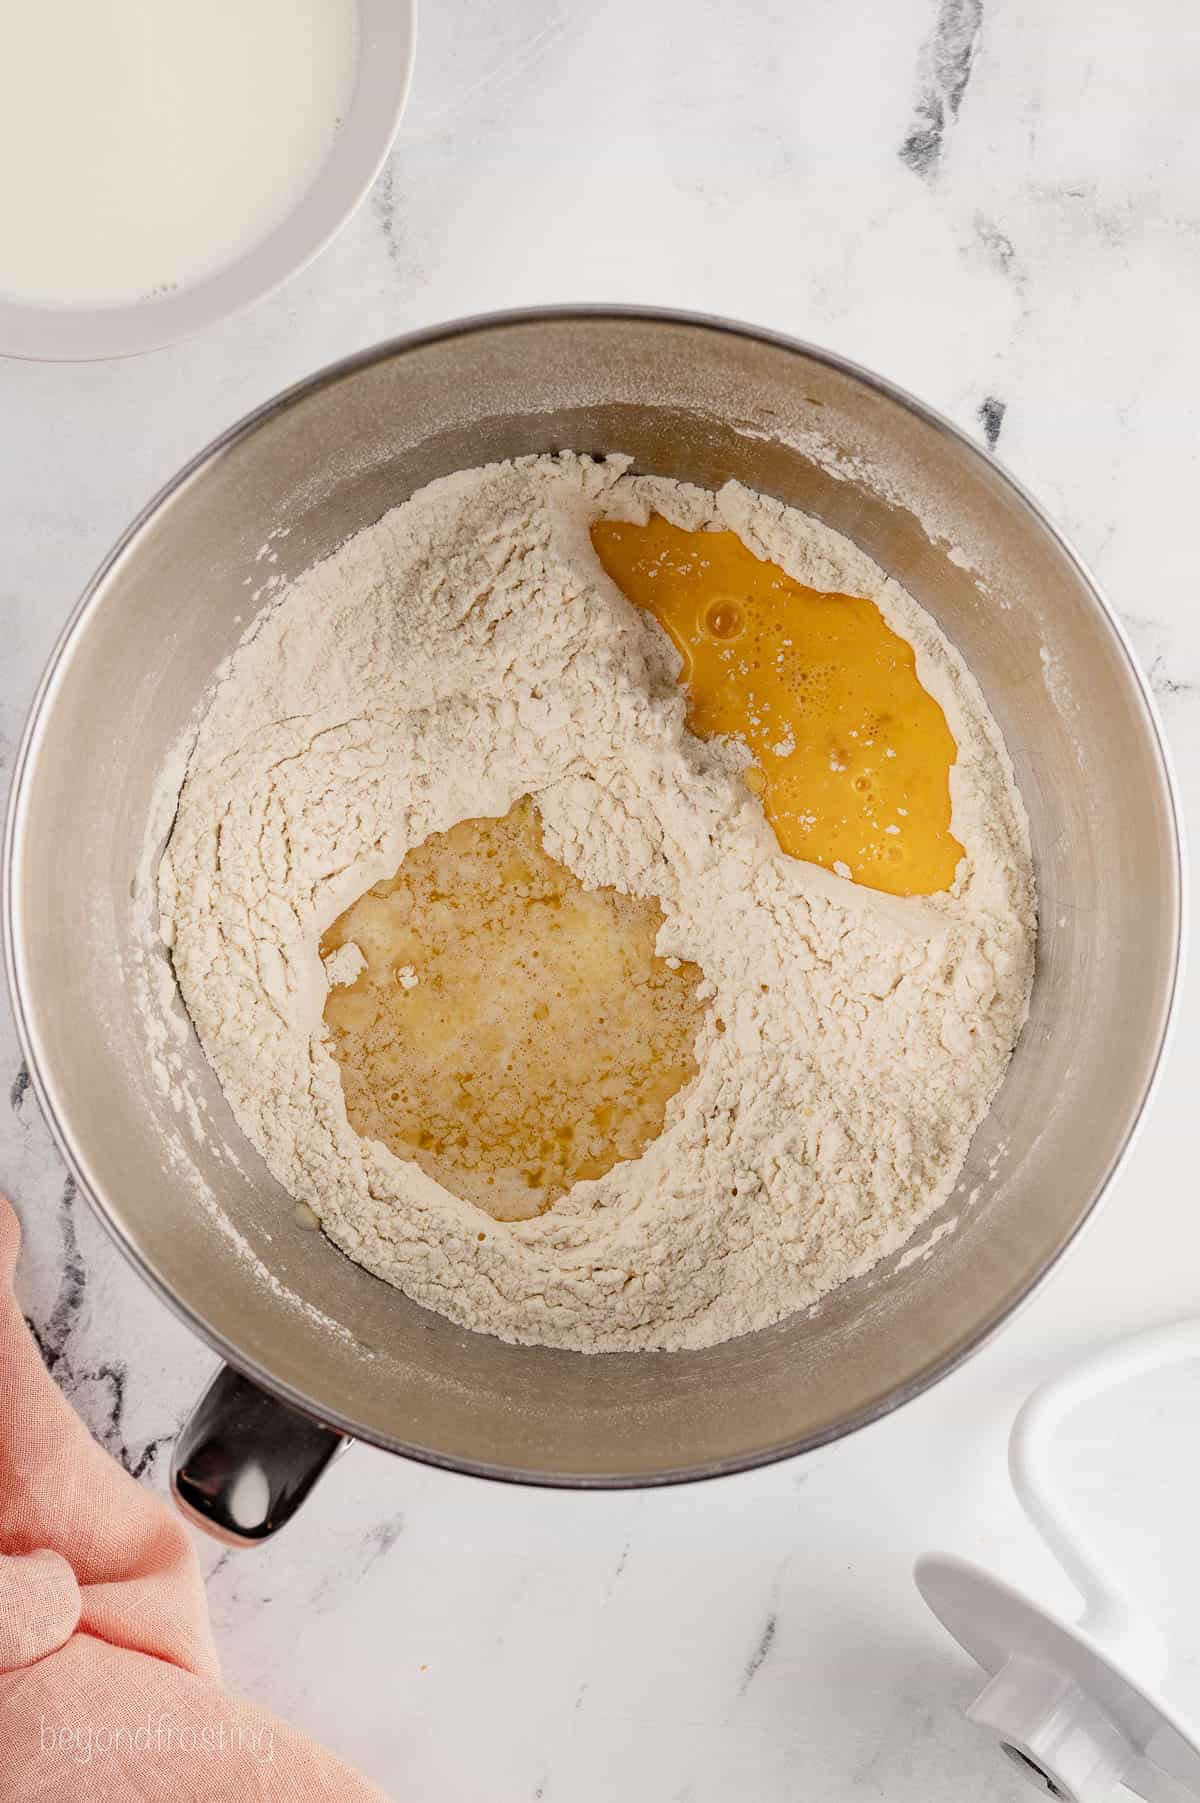
Combine Ingredients until dough forms. Whisk together the dry ingredients (yeast included), and then add butter followed by a beaten egg. Gradually stream the milk into the dough as it forms. Continue to beat the dough into a large ball.

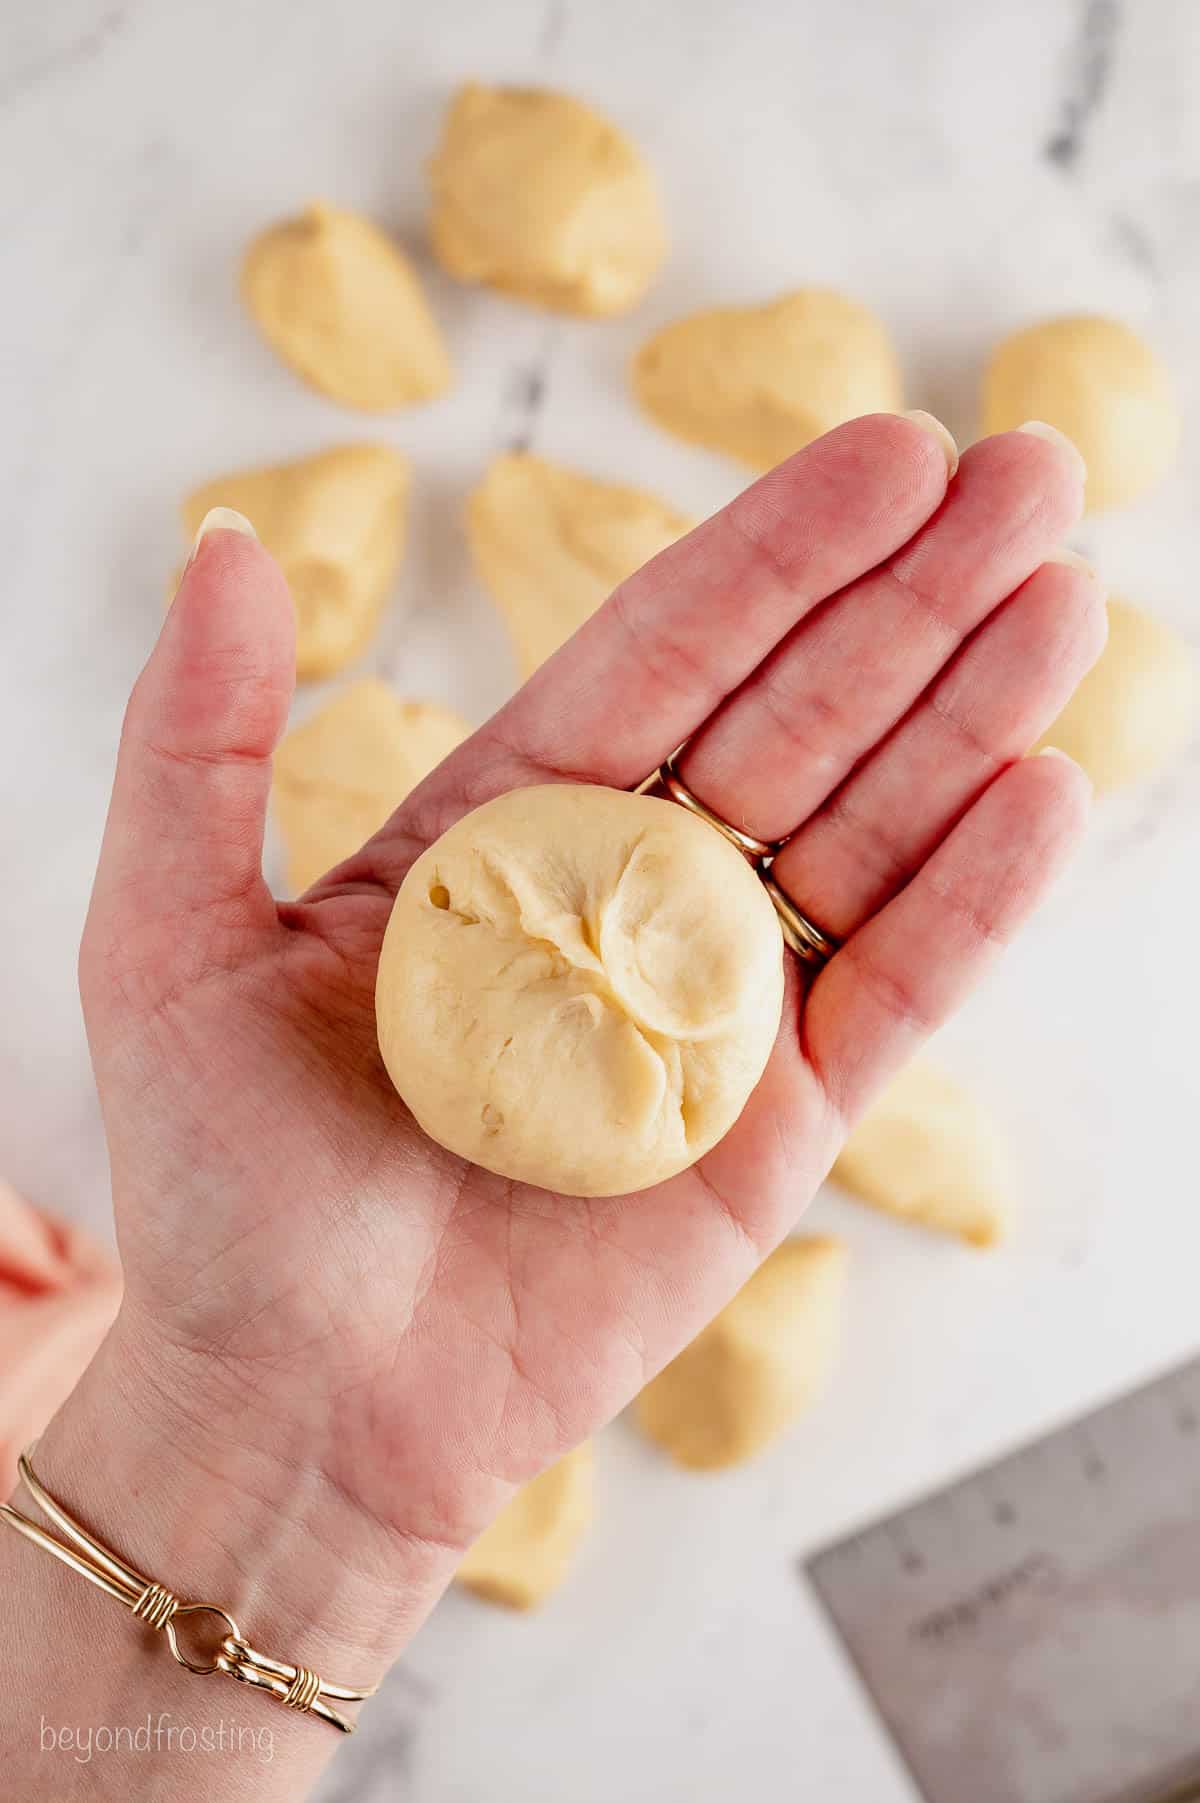
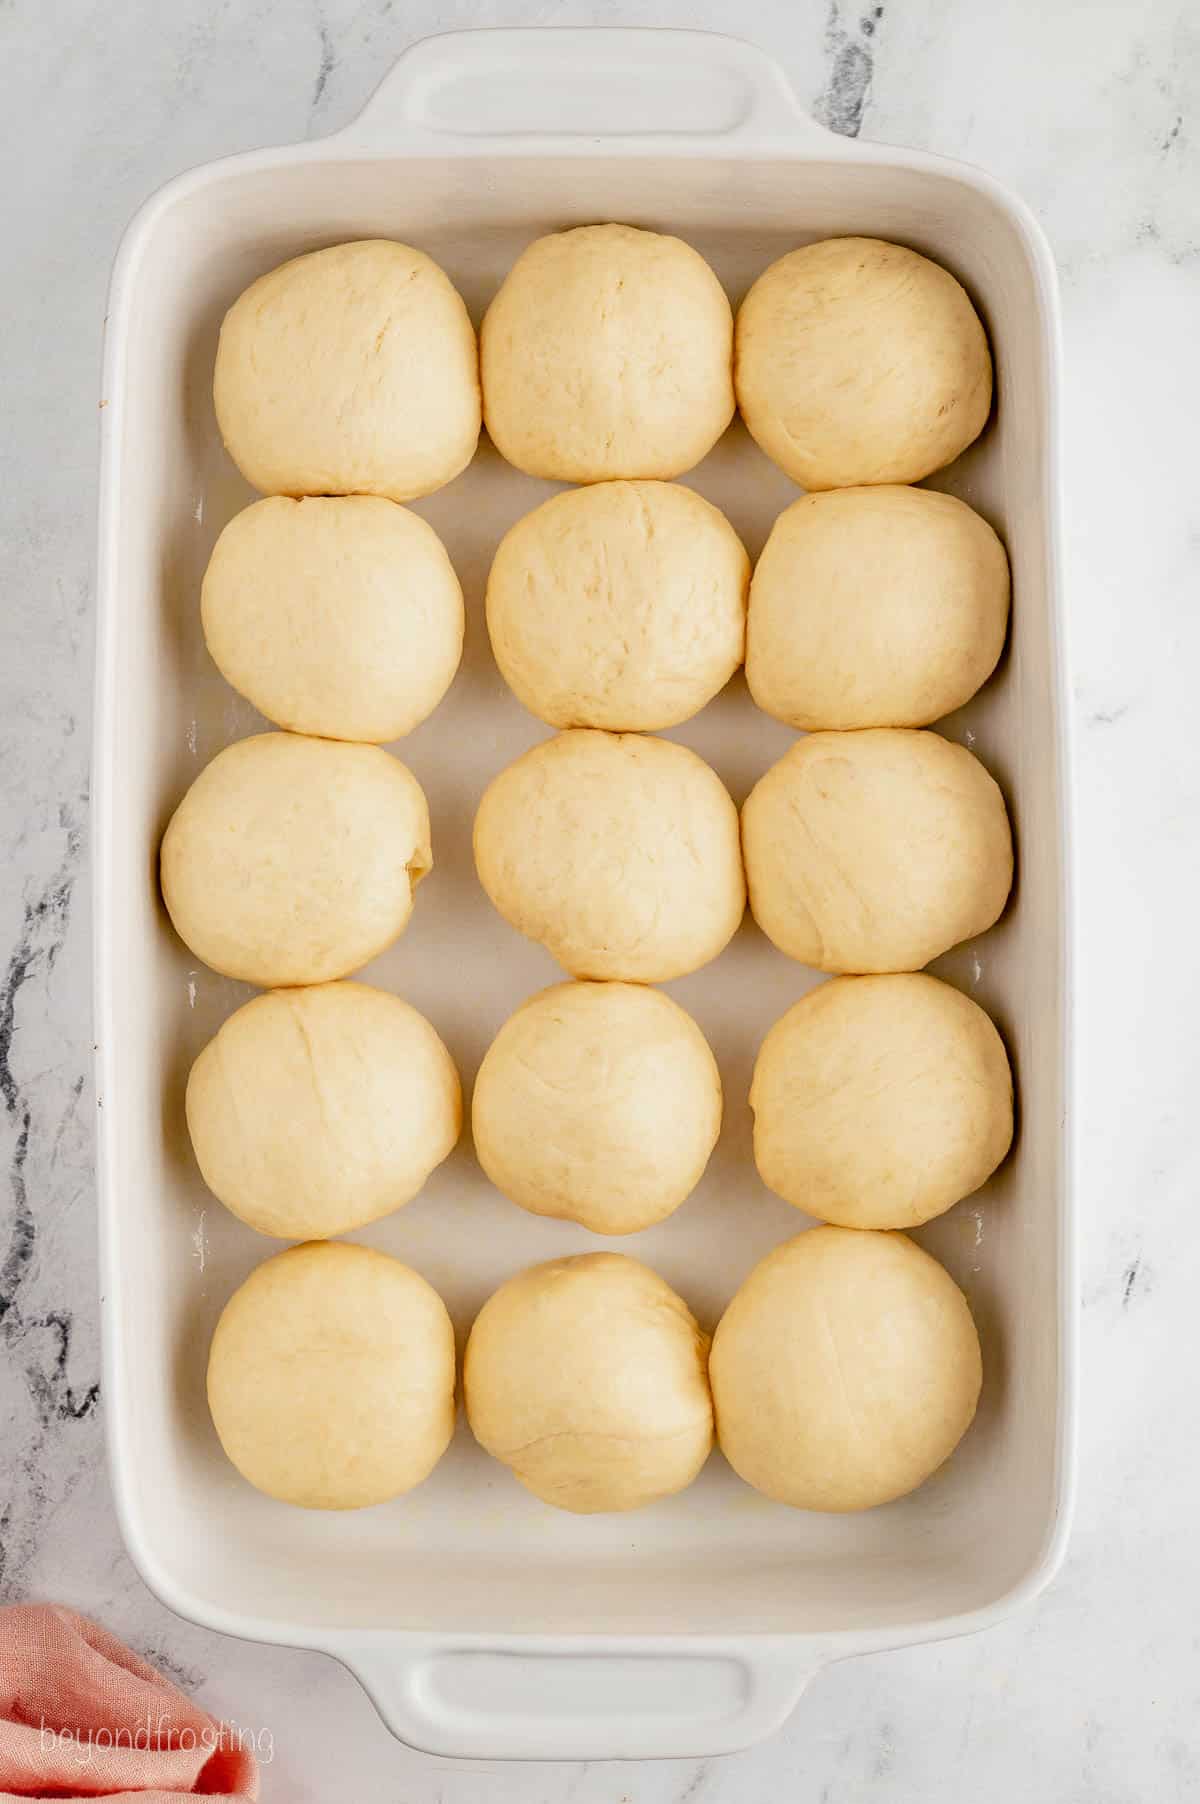
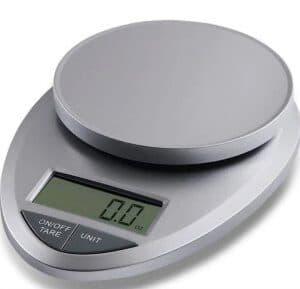
Shape the dough. Afterward, divide the dough into 15 individual rolls, I prefer to use a scale so they’re 2 ounces each. Shape the dough into smooth balls by pulling the edges under and pinching them together. Place seam side down in a greased glass baking dish

Rise. Leave the rolls to rise for about one hour in a greased glass or ceramic baking dish, after which they should be doubled in size.

Bake. Finally, brush the tops of the rolls with additional melted butter, and pop them into the preheated oven. Bake at 375ºF for about 15 minutes, though they may need a couple of minutes more depending on your oven. Once the rolls are cooked through and golden, take them out and serve them warm! See below for ways to enjoy these rolls with a meal.

Tips and Recipe Variations
This quick dinner roll recipe is perfect if you’re new to bread baking. Here are some helpful tips and easy variations to have these rolls bake up exactly how you want them:
- Check the expiration date on the yeast. If your yeast is expired, your rolls won’t rise. Make sure to check that your yeast is good before you go ahead with the recipe.
- Use a kitchen scale to measure the dough. When portioning out your dough balls, weighing them makes it easy to tell if your rolls are the same size. Even-sized rolls will bake more evenly.
- Use the right pan. A glass or ceramic baking dish is best when baking dinner rolls. Metal pans can cause the bottoms of the rolls to brown too fast. Remember to grease the pan well with either butter, shortening, or cooking spray before adding the rolls.
- If you notice that the rolls are browning too quickly, tent them with foil for the remaining baking time.
- Brush the tops with herb butter. Mix your favorite herbs into the melted butter you’ll use to brush the tops of your rolls. Italian seasoning, dried parsley, garlic powder, and onion powder are great options that bring a nice, savory flavor.
- Add a sweet glaze. Looking to make these sweet dinner rolls even sweeter? Whisk some honey or brown sugar into the butter before you brush it over top.

FAQs
Let’s clear up some additional common questions related to making homemade rolls.
Why are my dinner rolls not light and fluffy?
This could be because you added too much flour, or that your rolls weren’t given enough time to rise. Make sure to use all-purpose flour that’s sifted and measured correctly, and allow the dough enough time to proof up nice and puffy.
Why didn’t my rolls rise?
If your rolls aren’t rising enough, it could be that the yeast is expired, or that the milk was too hot and subsequently killed the yeast. Double-check labels and temperatures to be sure! If you live in a cold environment, this can also affect how quickly the dough will rise.
Ways to Serve Sweet Dinner Rolls
These quick dinner rolls are the easy, everyday-baking version of my family’s original recipe. My Grandmother’s rolls are always present on our holiday table, and I love having this quicker version at my fingertips whenever a craving strikes.
I’ll make a batch of these dinner rolls on a quiet afternoon, and warm them up again right before serving. Spread them with butter, drizzle your rolls with honey at breakfast, or have them as a side with soup, White Chicken Lasagna, or Baked Ziti at dinner. Morning, noon, night – there’s never a bad time to enjoy a warm, fluffy roll.

How to Store Homemade Rolls
Store your leftover dinner rolls airtight on the counter for up to 3-5 days. You can also freeze these rolls for up to one month, see below.
If you’d like, reheat the rolls in the oven or microwave to warm them through again before serving.
Can I Freeze Dinner Rolls?
Yes. These dinner rolls can be wrapped tightly or otherwise stored airtight and kept frozen for up to a month. Thaw the rolls at room temperature before reheating and/or serving.
Print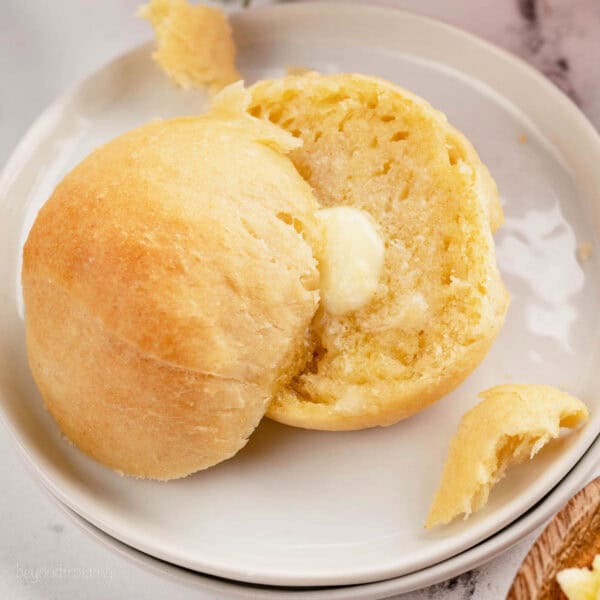
Quick Dinner Rolls
- Prep Time: 15 minutes
- Rising Time: 60-90 minutes
- Cook Time: 15-18 minutes
- Total Time: 0 hours
- Yield: 15 rolls
- Category: Breads
- Method: Oven
- Cuisine: American
Description
These Quick Dinner Rolls are rich and fluffy homemade rolls, ready in an hour. Enjoy soft and sweet dinner rolls as an easy holiday side, or any other time of the year!
Ingredients
- 1 cup (236ml) milk (whole milk preferred)
- ½ cup (113g) unsalted butter, melted
- ¼ cup (48g) granulated sugar
- 1 large egg, lightly beaten
- 3 ½ cups + 2 tablespoons (435g) all-purpose flour, sifted
- 1/2 teaspoon baking soda
- 1/2 teaspoon baking powder
- 1/2 teaspoon salt
- 1 tablespoon instant yeast
Instructions
- In a microwave-safe bowl, heat the milk for about 60 seconds until it reaches 110°F-120°F. Once heated, stir in the sugar until it’s dissolved. Melt the butter and cool.
- In a stand mixer, combine all the dry ingredients, including the yeast. Then add the melted butter and egg. Using the dough hook, beat the on low speed (speed 1) for 2 minutes. Slowly stream in the milk.
- Increase the mixing speed to medium and continue beating for another 5 minutes. The dough should be in one large ball, but it may stick to the sides of the bowl.
- Divide the rolls into 15 equal size balls. If you can use a kitchen scale, that would be best. Measure out 2-ounce size balls of dough. Shape the dough into smooth balls by pulling the edges under and pinching them together. Place seam side down in a greased glass baking dish and let rise for at least 1 hour until double in size.
- Preheat the oven to 375°F. Brush the rolls with melted butter and bake for 15-19 minutes. If the rolls are browning too quickly, tent them with tin foil. Serve warm.
Notes
- For 1 tablespoon of yeast, you’ll need 2 individual packets (2 1/4 tsp size)
- Storing: Store your leftover dinner rolls airtight on the counter for up to 3-5 days. You can also freeze these rolls for up to one month, see below.
- Freezing: Once cooled, wrapped tightly or otherwise stored airtight and kept frozen for up to a month.
- Rise time: If your rolls aren’t rising enough, it could be that the yeast is expired, or that the milk was too hot and subsequently killed the yeast. Double-check labels and temperatures to be sure! If you live in a cold environment, this can also affect how quickly the dough will rise.
- Recommended pan: Use a light-colored ceramic or glass pan to prevent the bottoms from burning or browning too quickly.
Nutrition
- Serving Size: 1 Roll
- Calories: 186
- Sugar: 4.3 g
- Sodium: 133.2 mg
- Fat: 6.8 g
- Carbohydrates: 26.8 g
- Fiber: 1 g
- Protein: 4.4 g
- Cholesterol: 29 mg


Just curious what size pan you used? I used a 9×13, I think maybe a smaller one would have been better. By the way, they are delicious, will definitely make them again. Thank you.
Hi Diane, yes I did use a 9×13 inch pan, and I will add this information to the post. I am glad you enjoyed them!