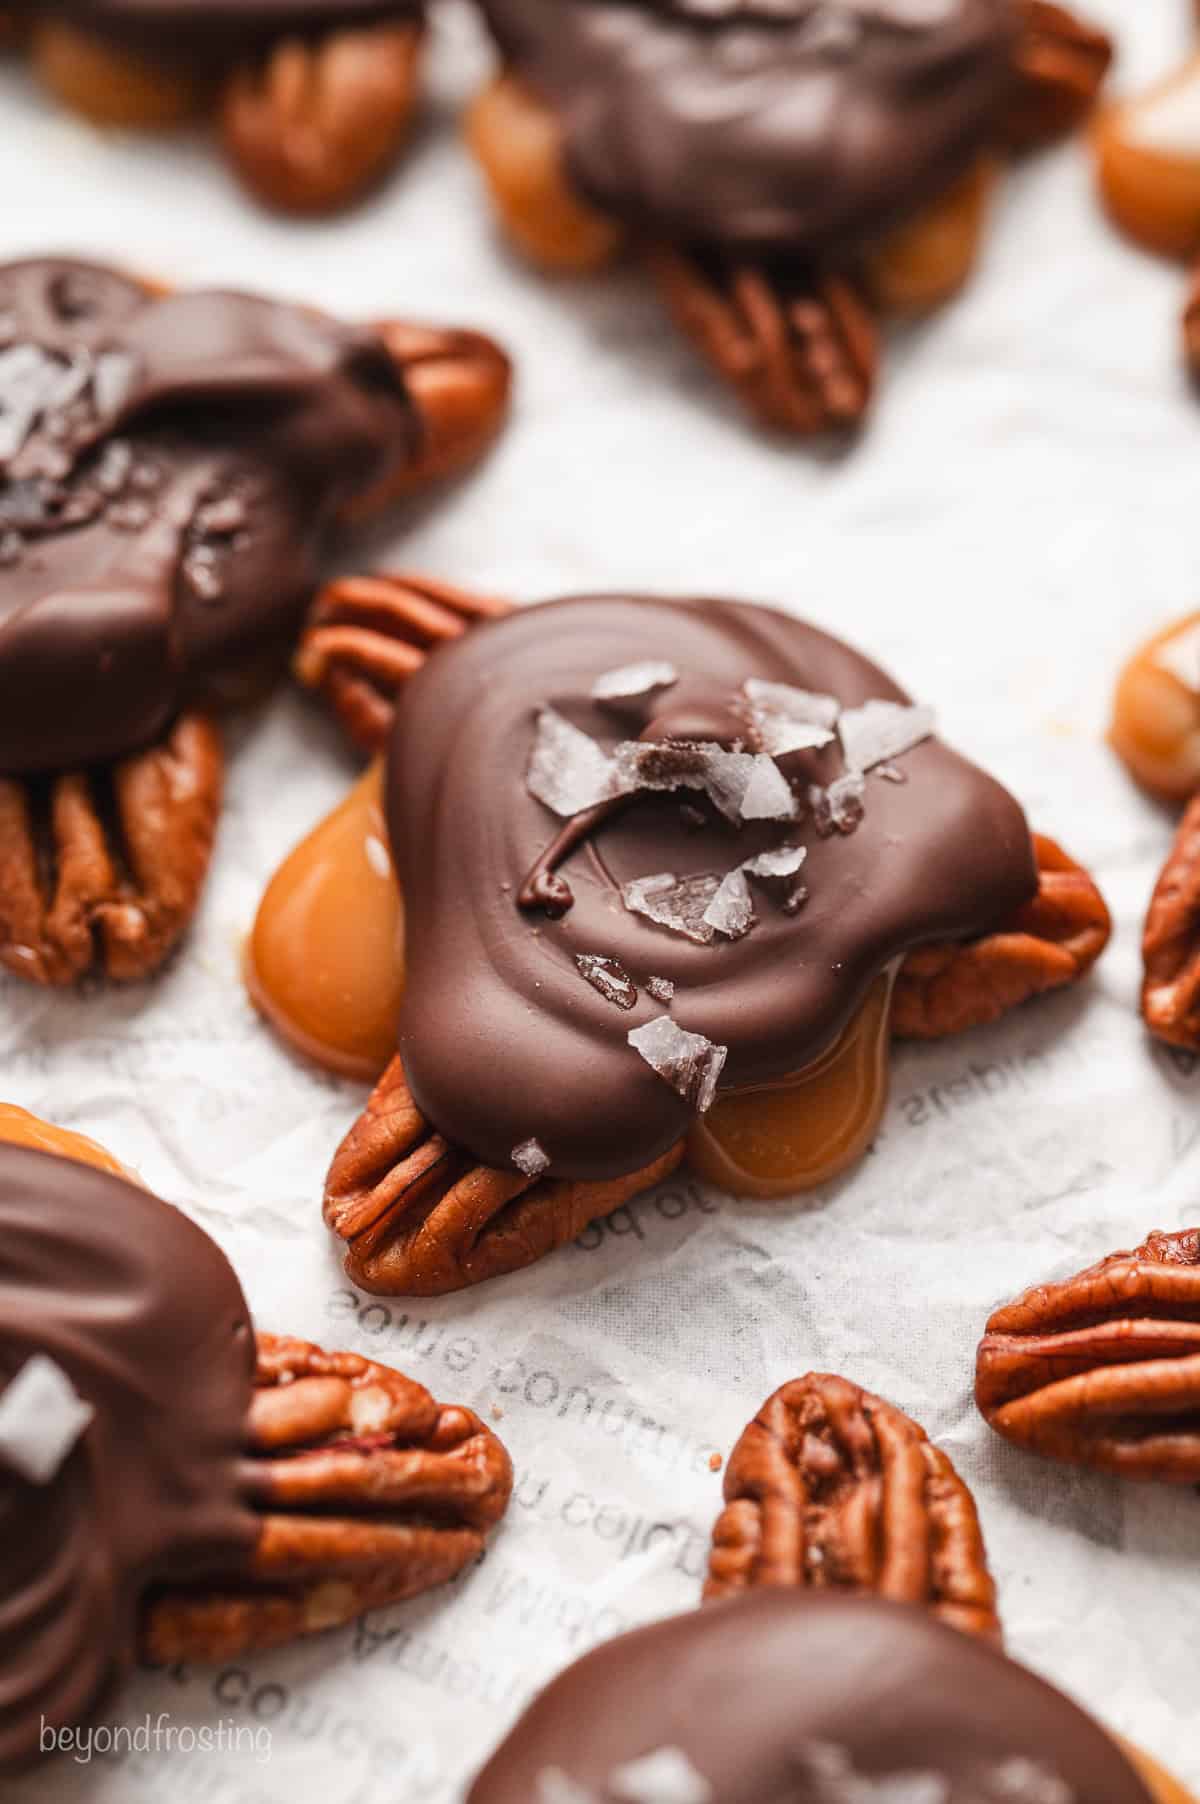
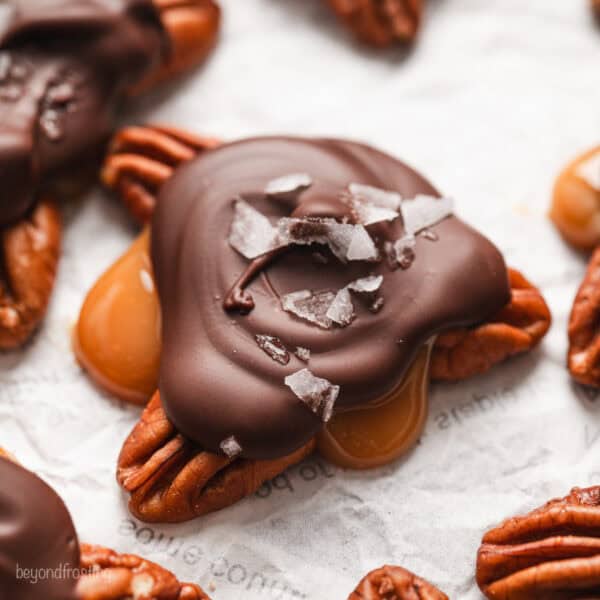
These chocolate turtle candies are a holiday classic, and so easy to make at home! Clusters of freshly toasted pecans are coated first with sweet, creamy caramel, and then topped with semisweet chocolate.
Finish these with a sprinkle of flaky salt for an irresistible candy to serve as a treat, give as gifts, or add to a Christmas cookie board alongside classic chocolate fudge and peanut clusters!
Homemade Chocolate Turtle Candies
I have a few turtle-inspired desserts, like my turtle pie, creamy turtle cheesecake, and turtle cupcakes, so it was only a matter of time before I tried my hand at a recipe for homemade turtle candies. All you need is pecans, plus caramel candies and chocolate for melting. I toasted the pecans and finished the turtles with a sprinkle of flaked sea salt to take the flavors up a notch, and they turned out even better than I remember! Rich, chewy, with that irresistible pecan crunch.
When I worked at a ice cream and candy shop in high school, I was always grabbing these for my shift snack. I also love them with cashews.
Why You Should Make Your Own
- It’s easy. These chocolate turtles are one of the simpler homemade candy recipes I’ve shared over the years. The ingredients, prep, and process are all very easy. I melt store-bought caramel as an easy shortcut.
- Ready in an hour. You can have these turtle candies ready to eat in an hour or less, including the time it takes them to set.
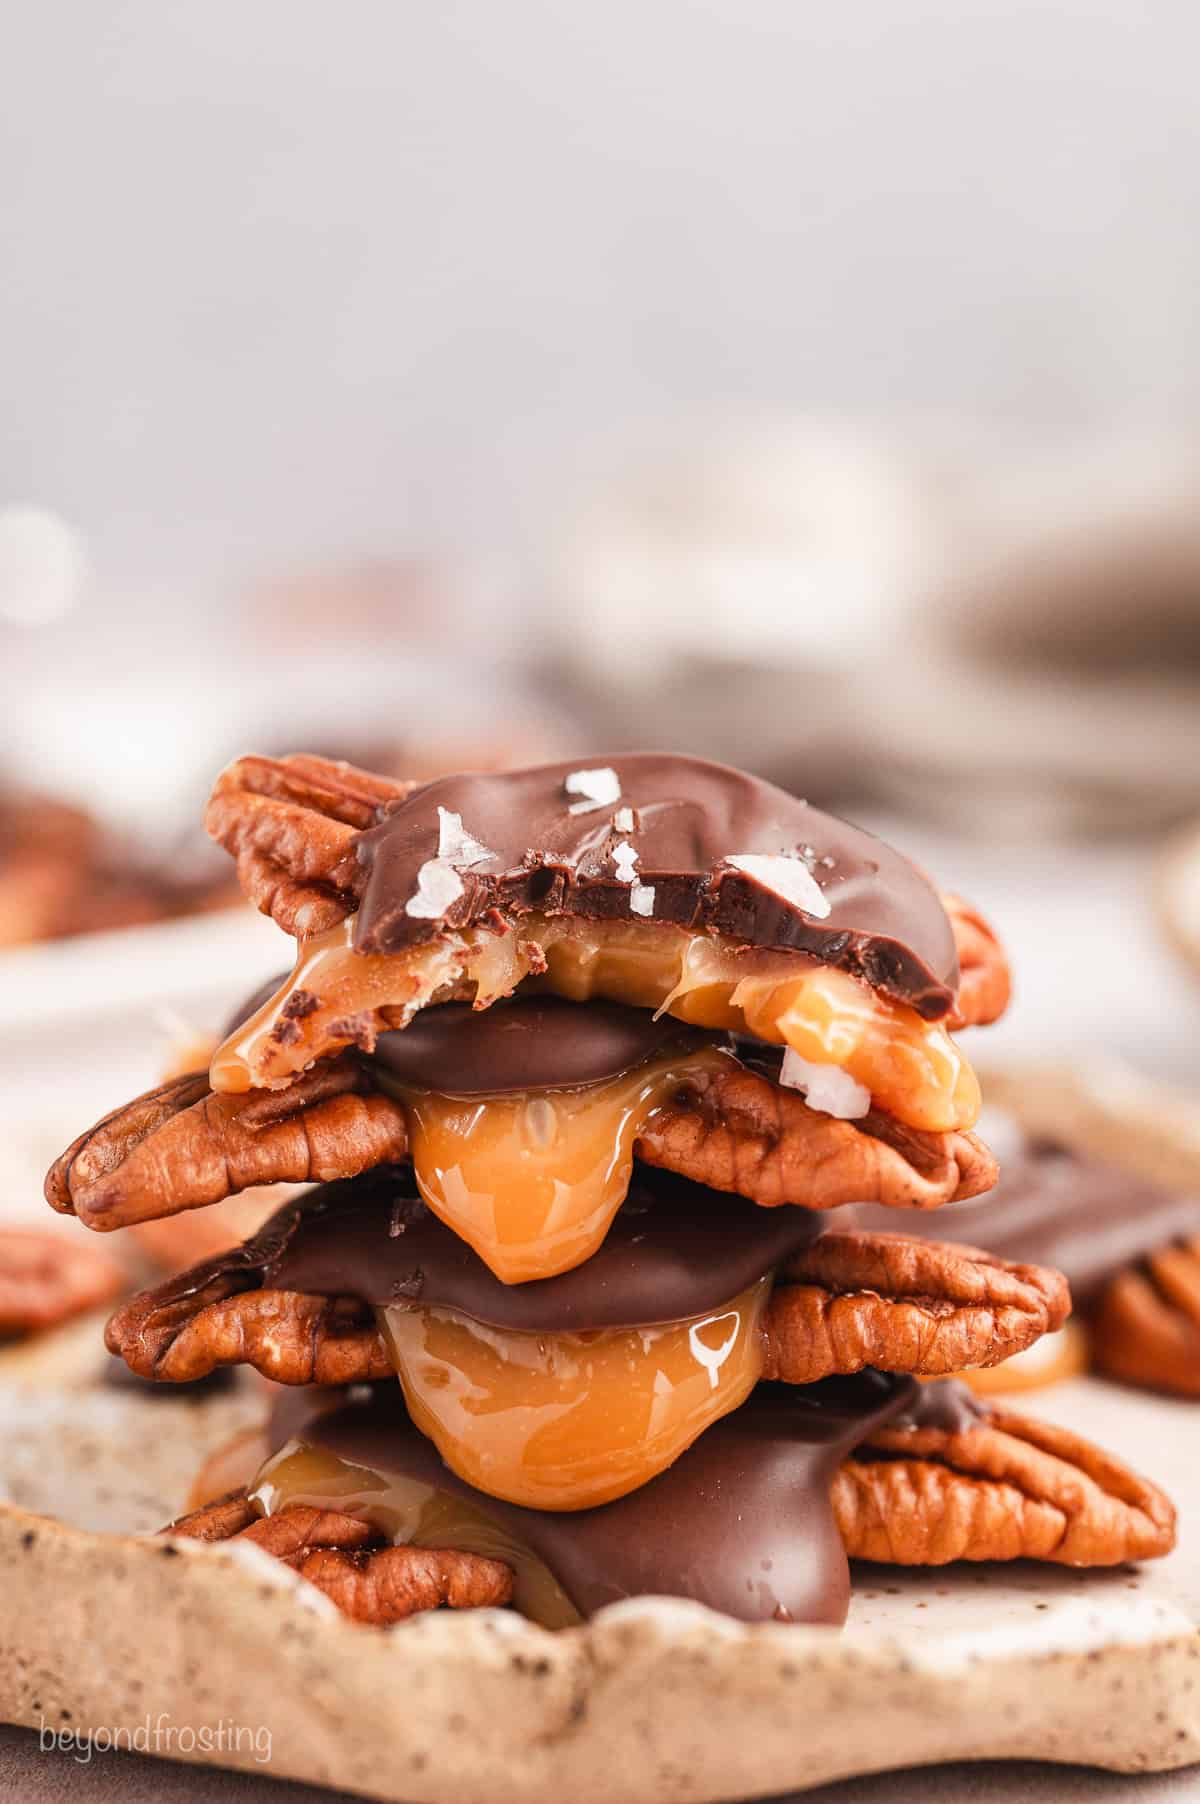
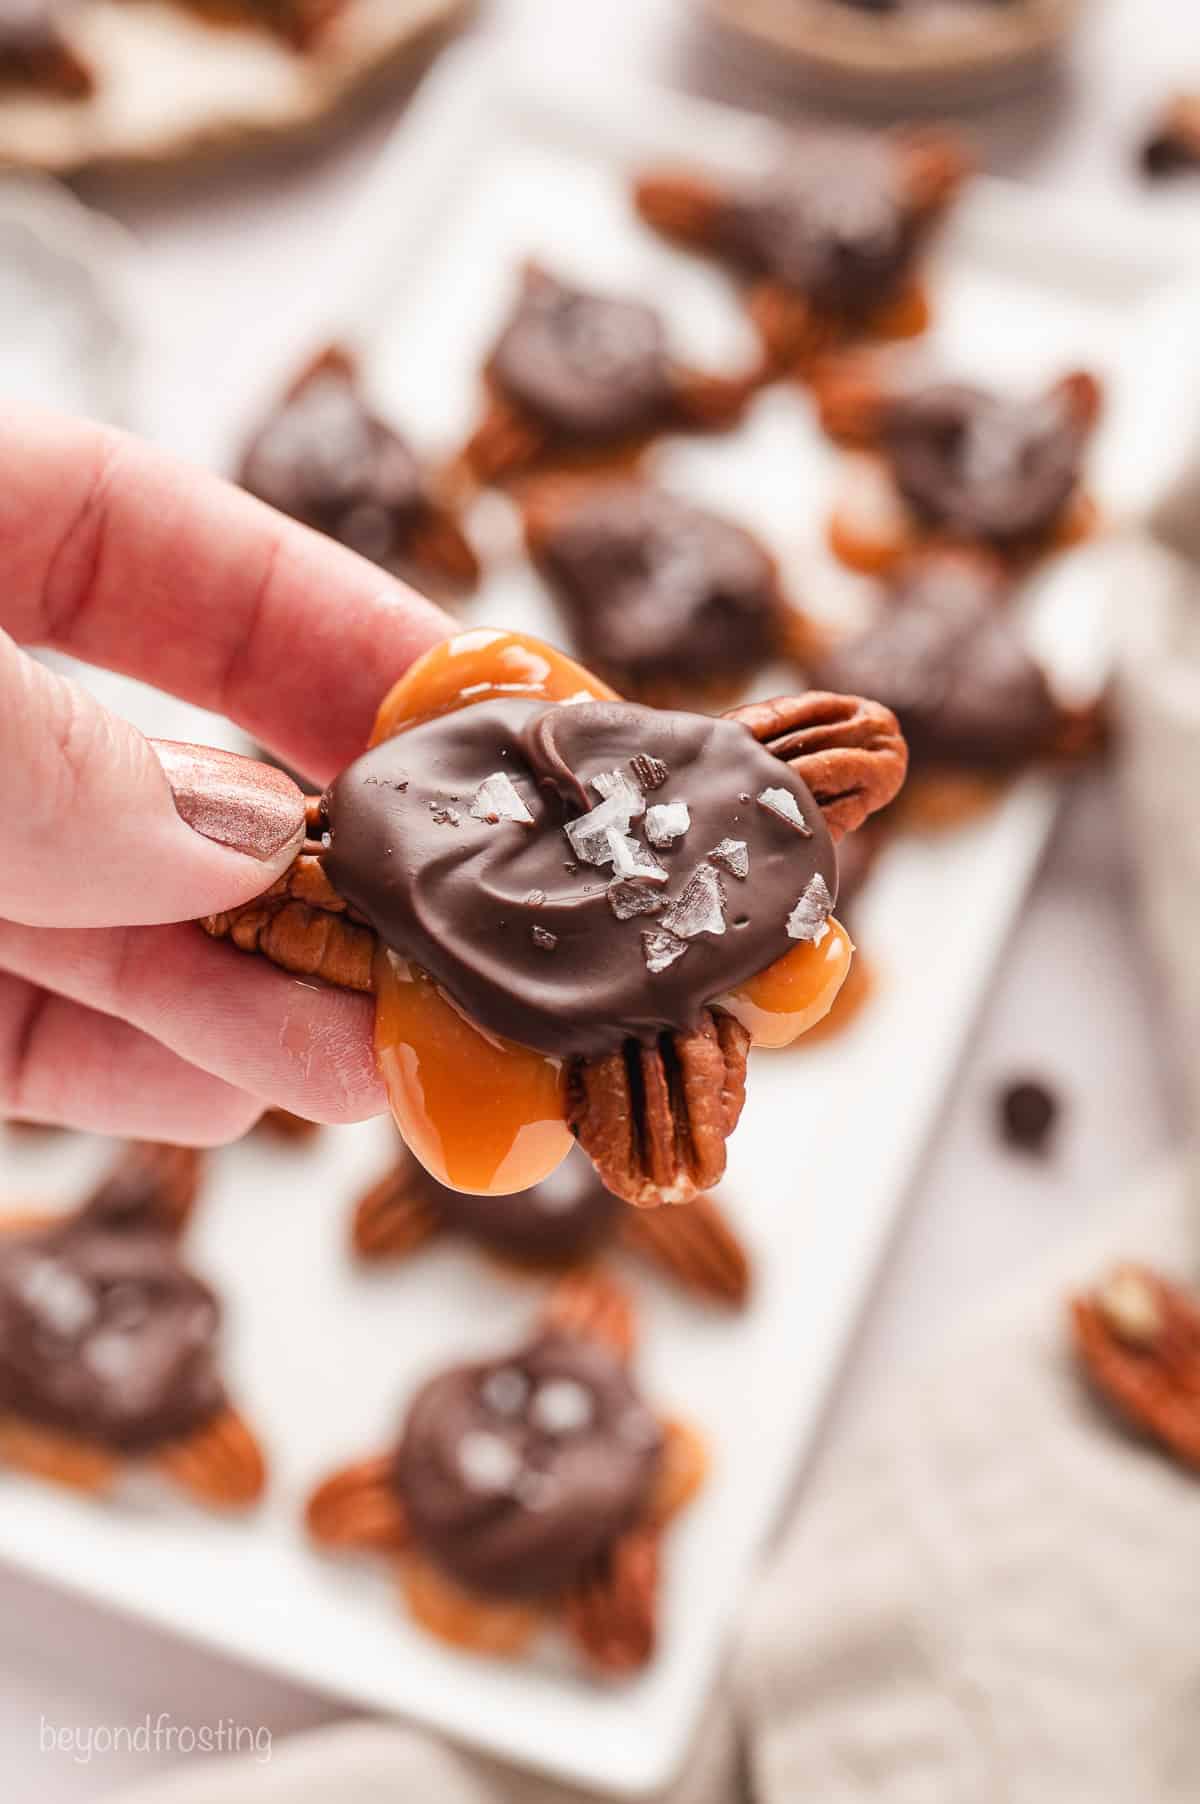
- As delicious as the original. These taste as good, if not better, than store-bought turtle candy! The caramel is chewy, the chocolate is snappy, and the toasted pecans and sea salt tie everything together for a perfectly balanced candy.
- Great for gifting. These homemade turtle candies make excellent gifts for neighbors, friends, and teachers, or I’ll add them to cookie boxes and dessert boards throughout the festive season.
Ingredient Notes
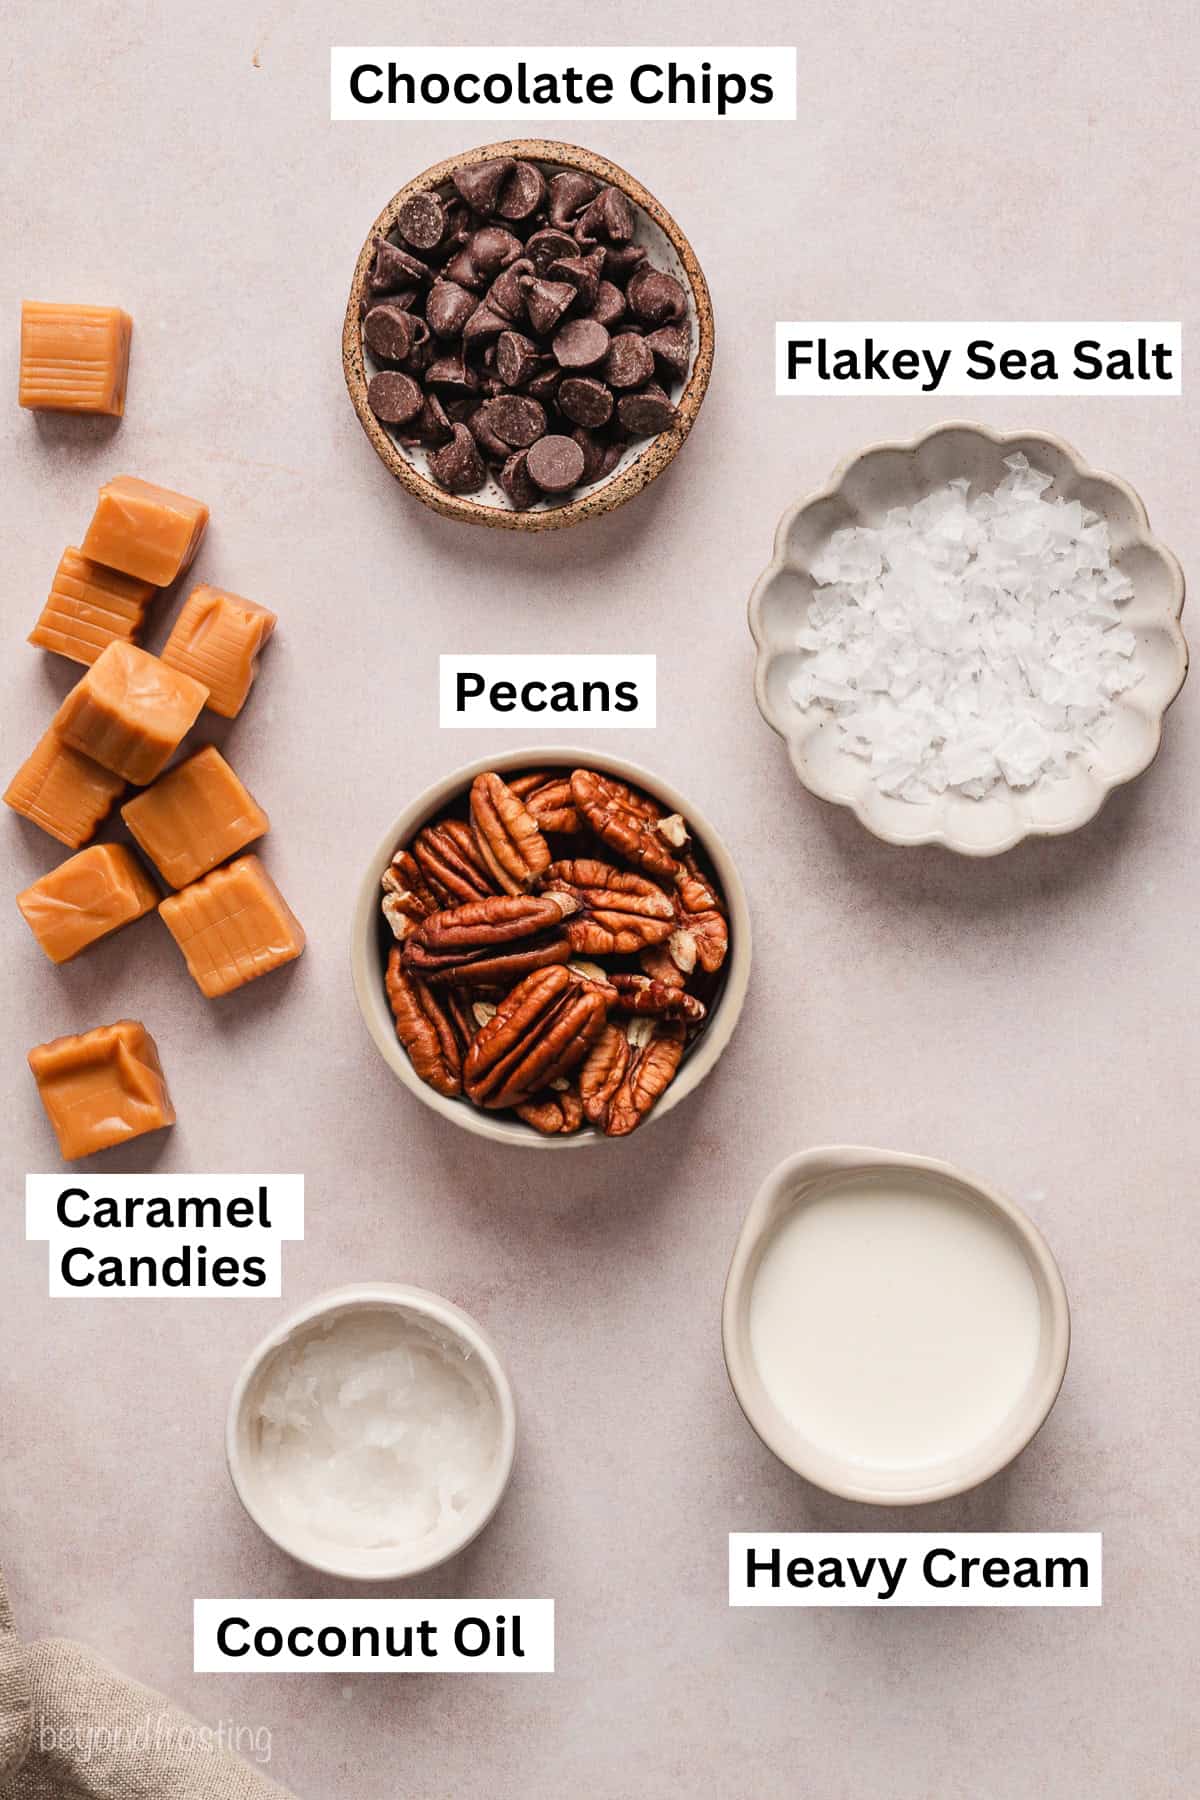
These homemade turtle candies need just 6 ingredients. I go over these with some notes below, and you’ll find the printable recipe with the full amounts in the recipe card below the post.
- Pecans – You’ll need about 2 cups of pecan halves. I always buy more than I’ll need since each package is bound to have a few broken pecans in the mix.
- Caramel Candies – I use Kraft caramel candies but feel free to use any brand of soft caramel you’d like. You’ll most likely need to unwrap the caramels individually.
- Heavy Cream – Make sure to use full-fat heavy cream or half-and-half, and not regular milk.
- Chocolate Chips – I like to use semi-sweet chocolate for the slightly bitter note against the sweet caramel. You can use any kind of chocolate though, including milk or bittersweet depending on your preference. Another option is to use chocolate bars and chop them up for easy melting.
- Coconut Oil – Adding a small amount of oil to the chocolate helps it melt smoothly, and gives it a nice, glossy shine when cooled. Coconut oil also has the advantage of keeping the chocolate more snappy, since it’s more solid at room temperature. If you do not have coconut oil you could use a teaspoon of vegetable oil or Crisco instead.
- Flaked Sea Salt – I use flaky Maldon sea salt to give these turtle candies a sparkly, sweet-salty finish.
How to Make Turtle Candies
Here are the easy steps to make homemade turtle candies. Double up on the recipe if you’ll be giving these as gifts! Follow along below, and scroll down to the recipe card for the printable instructions.
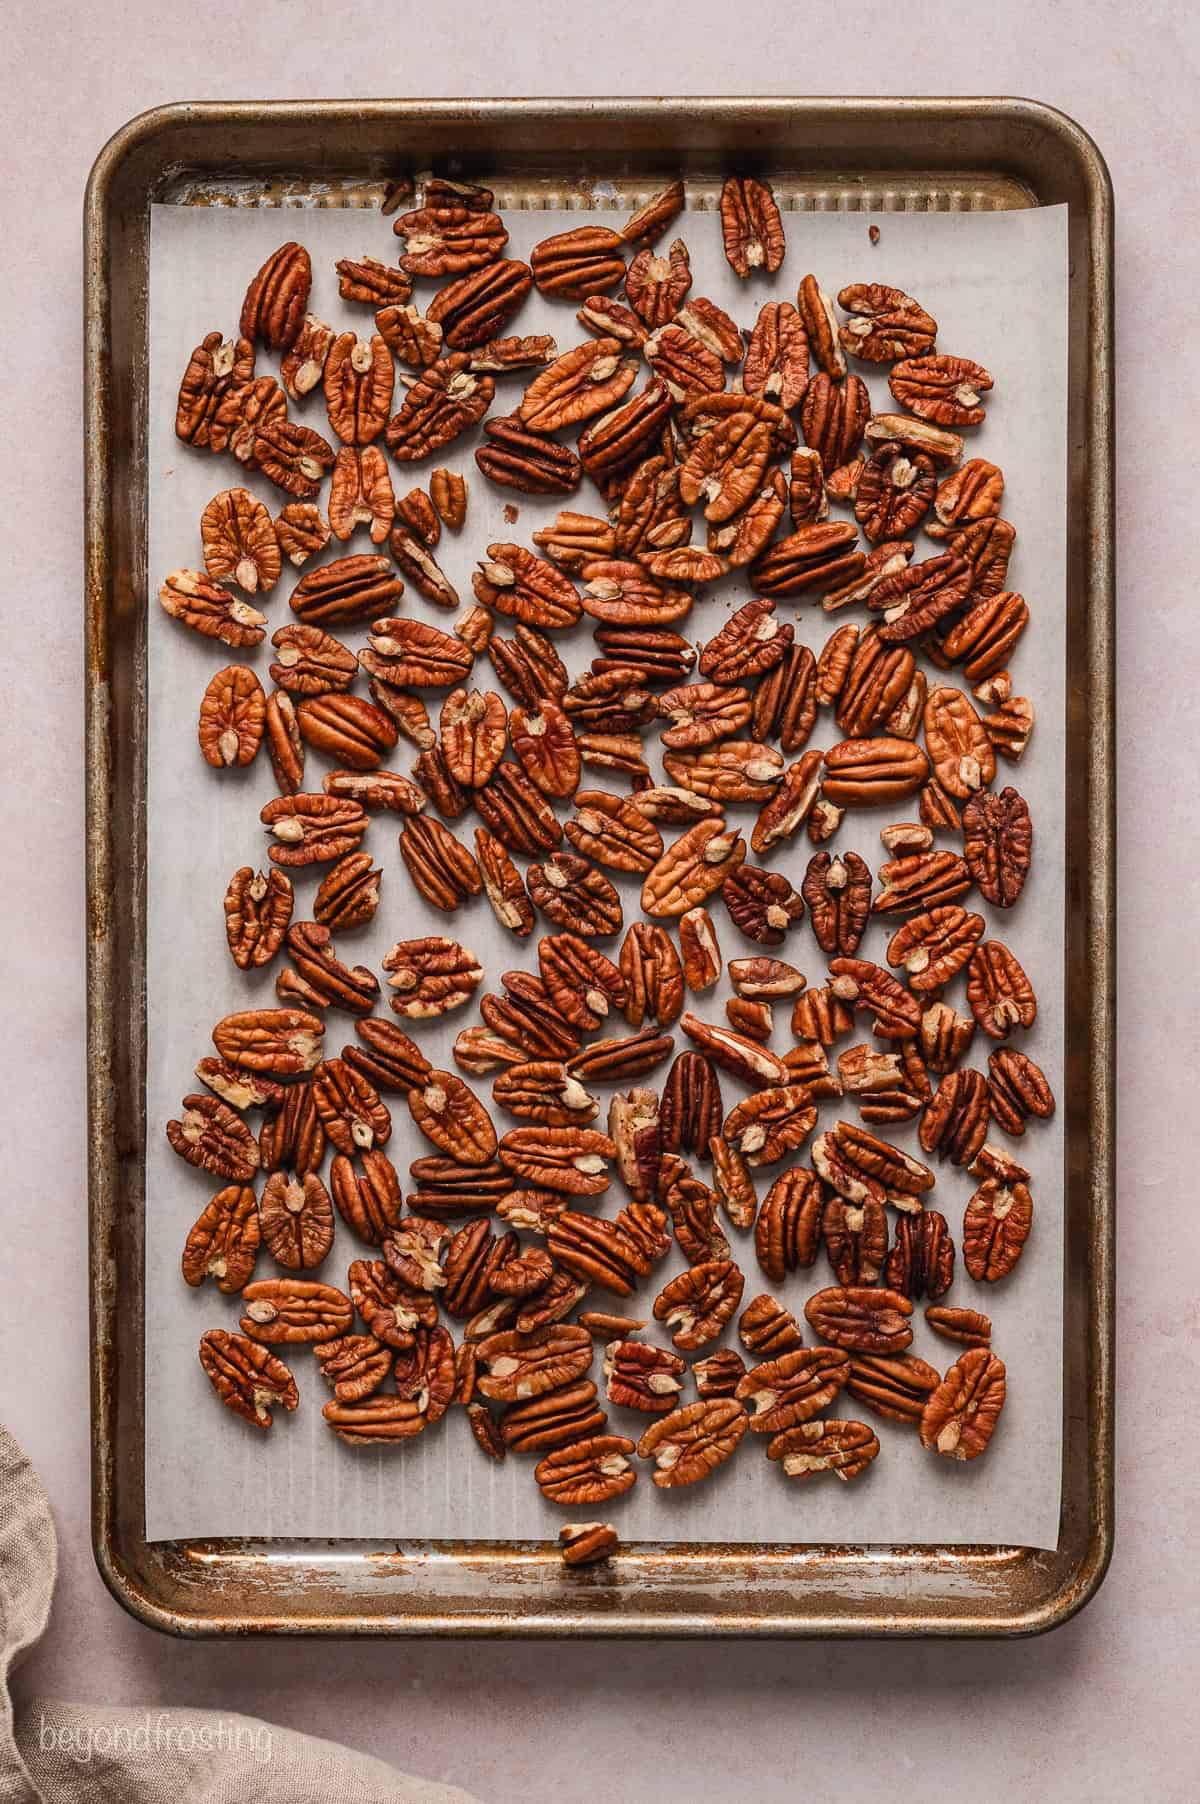
- Toast the pecans. First, line a sheet pan with parchment paper. Spread the pecans in a single layer and toast them in a 350ºF oven for 7-10 minutes, stirring occasionally.
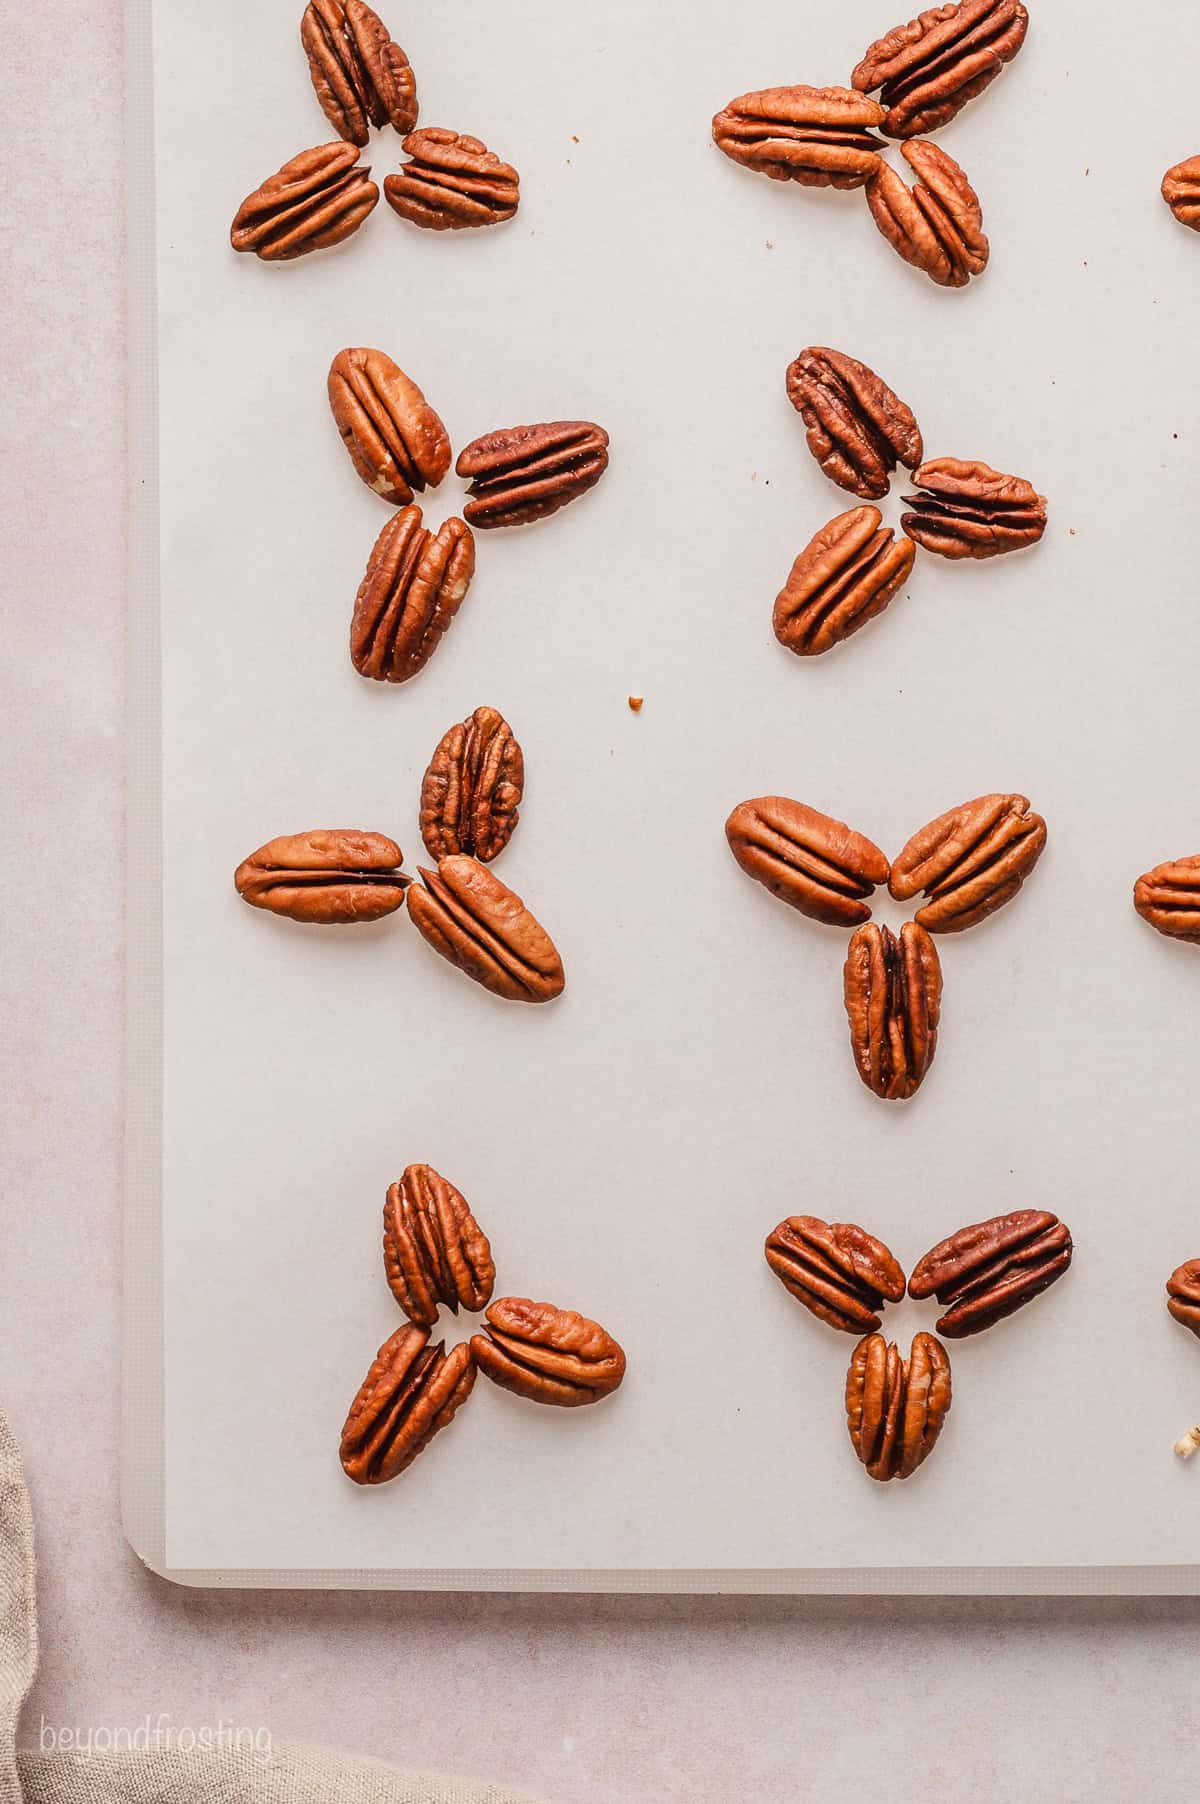
- Group the pecans. After they’ve cooled, arrange the pecan halves in clusters of 3 on a sheet of wax paper. Place them so that the points meet in the middle, as pictured. Another option is to place the pecans over a small circle of melted chocolate, so they’re less sticky on the bottom.
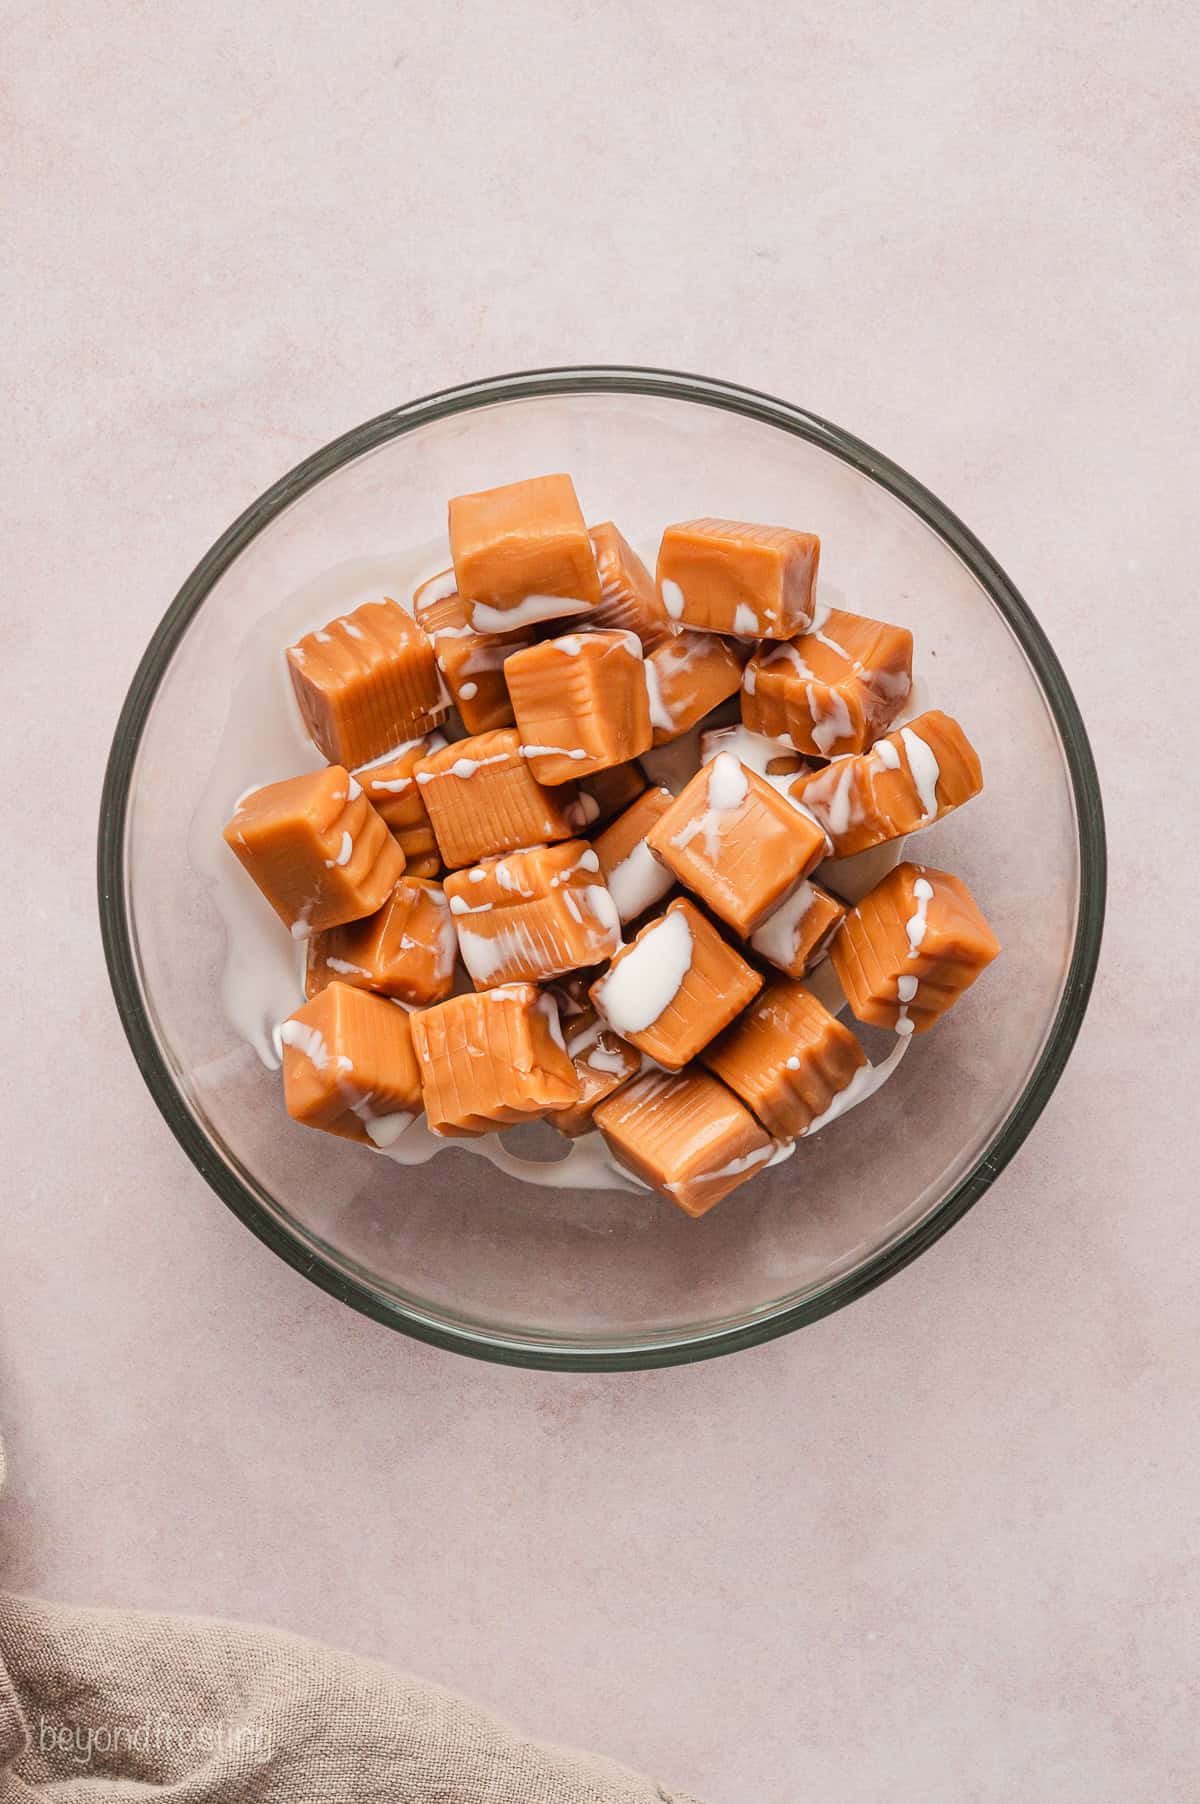
- Melt the caramel. Heat the caramel and heavy cream in a microwave-safe bowl. Microwave in increments, stirring in between, until the caramels are smooth and melted. Be careful not to overheat the caramel or it’ll be hard rather than chewy once it cools.
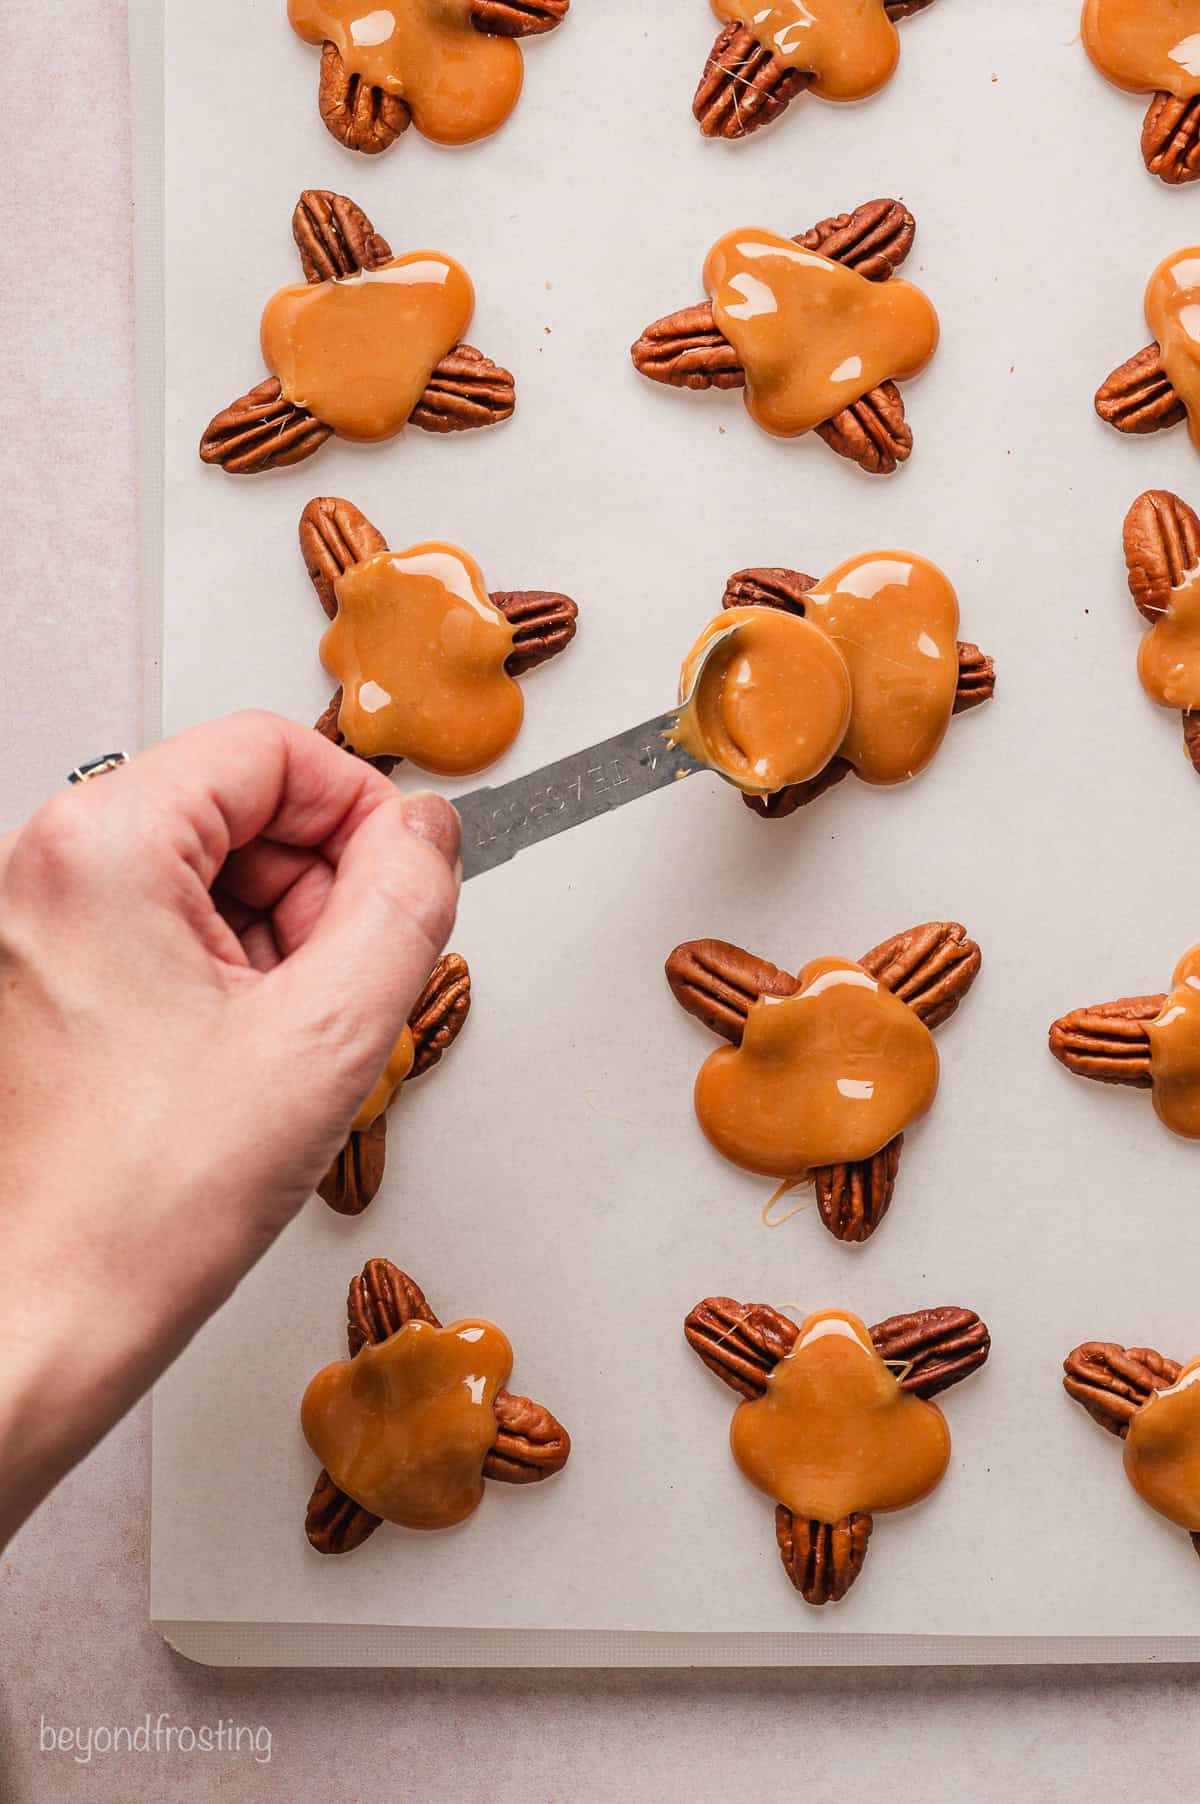
- Top the pecans with caramel. Working quickly, spread teaspoon-sized amounts of caramel over each pecan cluster. You may need to nudge the pecans back together if they start to spread. If you notice that the caramel starts to harden too much to work with, return it to the microwave to loosen it back up again.
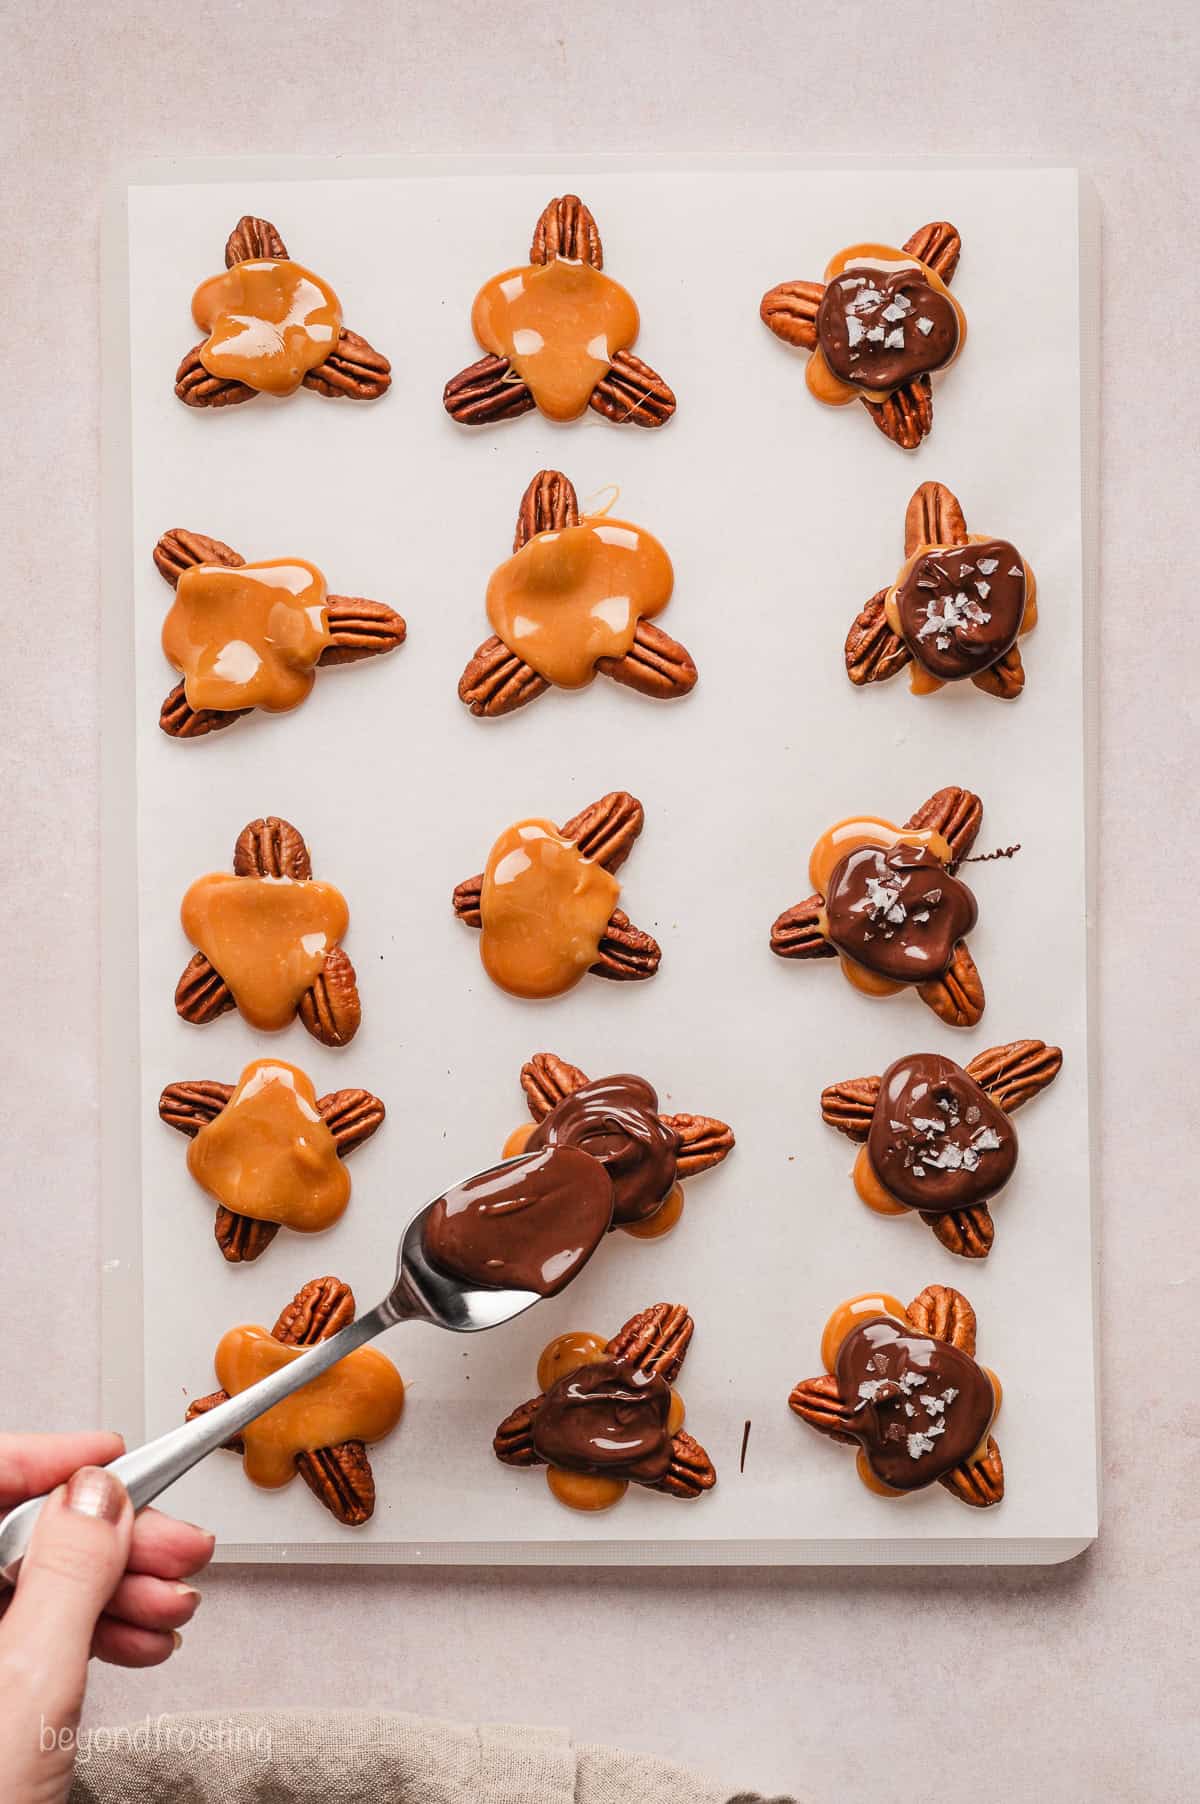
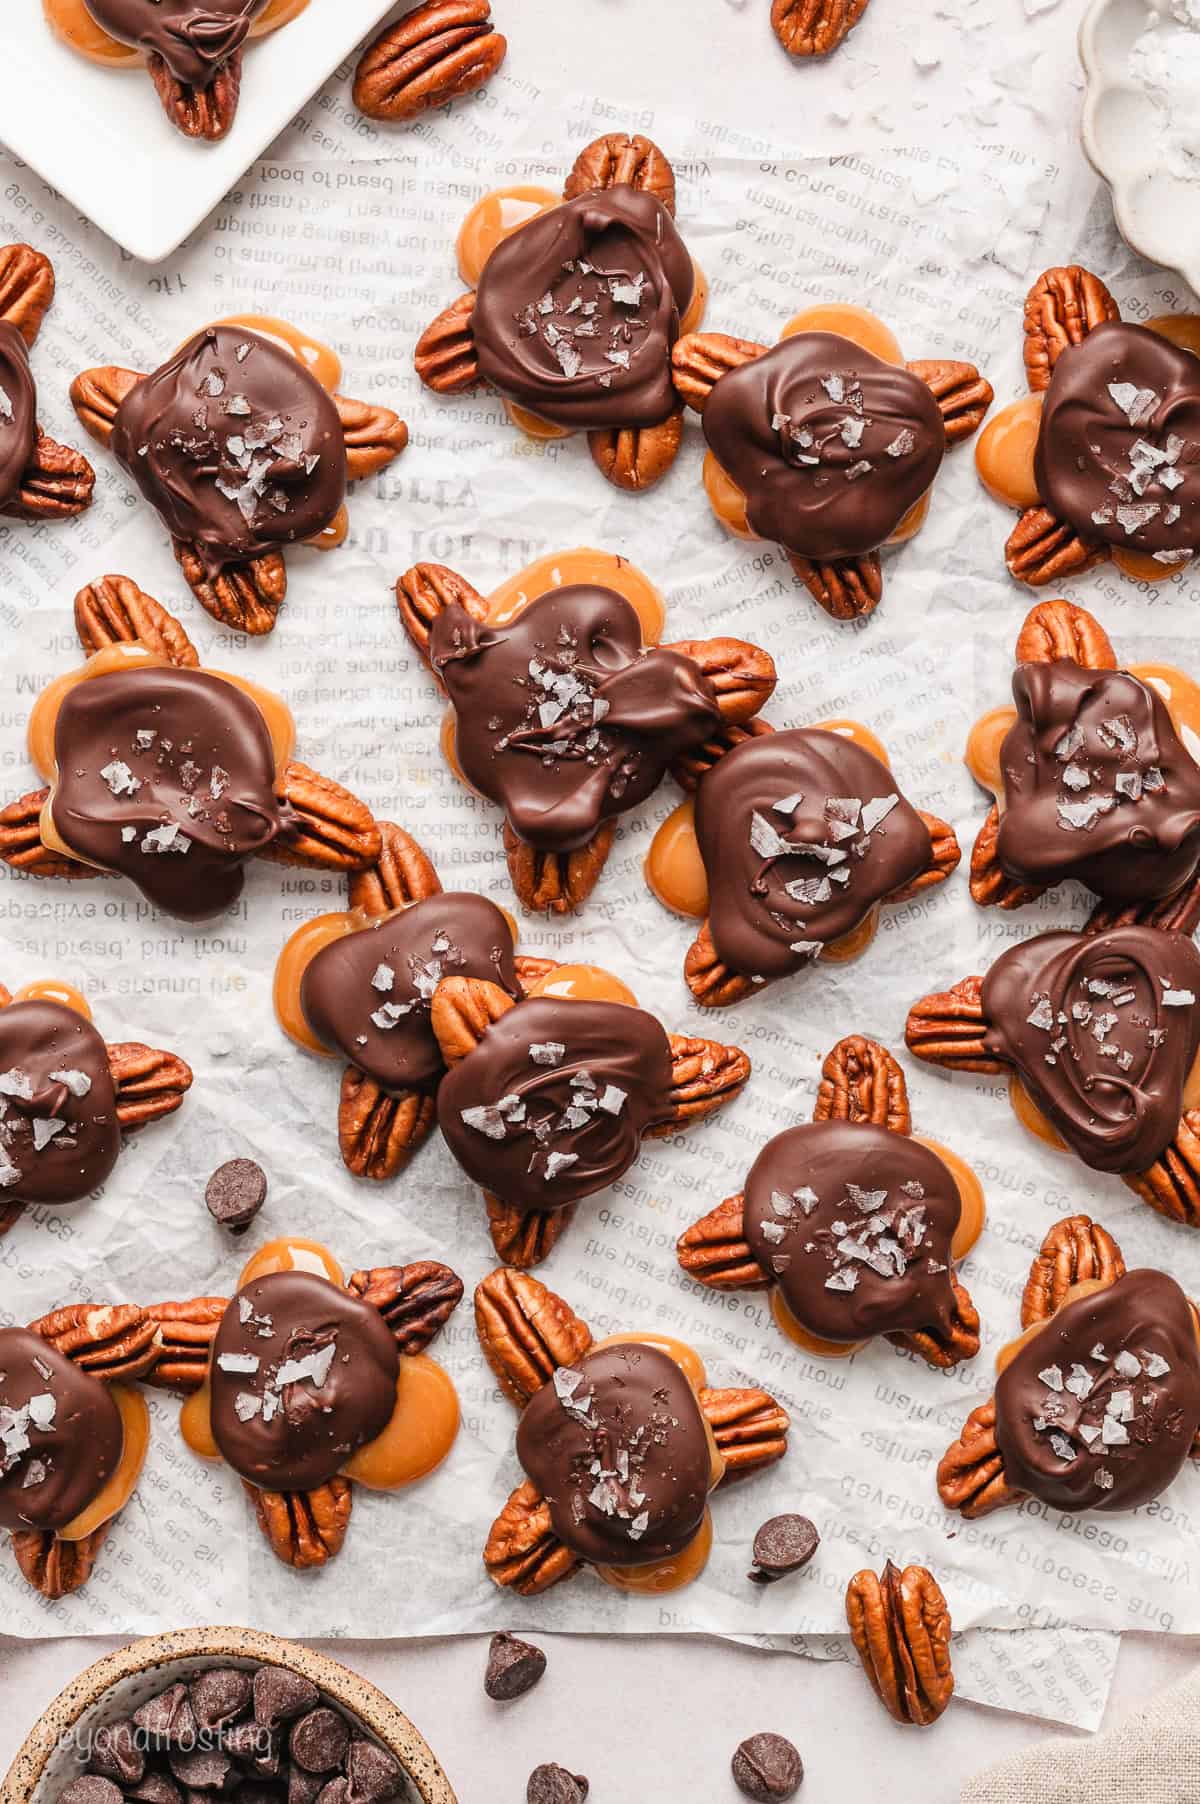
- Melt and add the chocolate. Leave the caramel-covered pecans to harden up for 10 minutes. Meanwhile, melt chocolate with coconut oil in the microwave, heating in increments (see how to melt chocolate). Then, drop a teaspoon-sized amount of chocolate over the cooled caramel. I like to use the back of a spoon to smooth it out and add a sprinkle of sea salt to finish.
- Cool. Let the turtles rest on the counter until the chocolate has set. Or, you can pop them into the fridge to cool.
Keep the Chocolate Warm While You Work
Pro tip: While working with the melted chocolate, I like to place the bowl over an electric heating pad. It keeps the chocolate warm and melted without it overheating. Plus, it saves having to microwave the chocolate in the middle of topping the turtles! If you have one, you can also use a candy melting pot.
Recipe Tips and Variations
- Don’t skip the heavy cream. If you omit the heavy cream from the caramel for your turtles, the resulting caramel will have a texture similar to how the candies are right out of the wrapper. This can make the turtles very sticky and difficult to chew. Do your best not to skip it.
- Maldon or another flaky salt is best for finishing these. Regular table salt or kosher salt can make the candies too salty, and they tend to melt into the chocolate, so they aren’t good substitutes for flaked salt. This is the one I use, it’s under $10!
- Stock up on pecans. Buy more pecans than you think you may need, as each bag is bound to have a few or more cracked pecans.
- Don’t let the broken pecans go to waste. Whenever I do have quite a few cracked pecans in the bag, I like to mound up the broken pieces to cover them with the caramel and chocolate. They may not be pretty, but they’re just as delicious!
- Top with crushed candy canes. In place of sea salt, sprinkle on crushed candy canes or peppermint candies for even more holiday flavor.
How to Store
- Refrigerate. I recommend storing the finished turtle candies in an airtight container in the fridge until you’re ready to serve them. Take them out of the fridge about 20 minutes ahead of time so they can come to room temperature.
- Room temperature. If you store these at room temperature, ensure they’re in a single layer so they don’t melt into each other.
More Homemade Candy
Turtle Candies
- Prep Time: 20 minutes
- Chilling Time: 40 minutes
- Total Time: 1 hour
- Yield: 24-36 turtles
- Category: Candy
- Method: Stovetop
- Cuisine: American
Description
Chocolate turtle candies are a holiday classic, and so easy to make at home! Toasted pecans are topped with creamy caramel, chocolate, and a sprinkle of sea salt in this easy turtle candy recipe.
Ingredients
- 8 ounces (2 cups) Pecan halves
- 36 squares of Kraft caramel candies, unwrapped
- 2 tablespoons (30ml) Heavy cream
- 8–10 ounces (about 1 ½ cups) Semi-sweet chocolate chips
- 2 teaspoons Coconut oil or Crisco
- Flaky finishing salt
Instructions
- Preheat the oven to 350℉. Line a large baking tray with parchment paper and spread the pecan halves in a single layer. Toast in the oven for 7-10 minutes, stirring every 2-3 minutes until lightly toasted. Remove and cool.
- Line up pecans on wax or parchment paper, and place 3 pecans halves so that the points meet in the middle. Make as many piles as you have pecans for. Optional: make a small circle of melted chocolate, then place the pecans on the melted chocolate. This will make a turtle that’s less sticky on the bottom, better for cookie platters!
- In a small microwave-safe bowl, heat the caramel and cream together in 30-second intervals, stirring each time until the mixture is melted and completely smooth. Do not overcook, or the caramel can become hard.
- Working quickly, drop 1- 1½ teaspoons of melted caramel in the middle of the pecans, spreading it out towards the edges. You may have to gently nudge them back together if not securing them on puddles of melted chocolate. If the caramel starts to become too hard to work with, return it to the microwave for another 10 seconds to loosen it back up. Place in a cool place for 10 minutes until the caramel hardens up.
- When the caramel is firm, melt the chocolate and coconut oil in the microwave, using 30-second intervals and then stirring between each round of heating. Working quickly, place about 1- 1 ½ teaspoons of chocolate on top of the caramel. For a neater look, use the back of the spoon to smooth it out slightly. While the chocolate is still wet, sprinkle a small amount of sea salt on top of each turtle.
- Let the chocolate firm up on the counter or you can place it in the fridge until set.
Notes
- For best results, store leftovers between wax paper in an airtight container in the fridge until ready to serve. Bring to room temperature by placing on the counter for 20 minutes before serving. If stored at room temperature, it is best to keep them in a single layer so that they do not melt into each other.


