Are you ready to take your Christmas cookie tray to the next level? This holiday-themed Christmas Cookie Board is one of my favorite types of dessert charcuterie boards to create. Your friends will be SUPER impressed with your creativity, but little do they know how easy it is to do something like this! I’m sharing all the tips you need to create the most epic holiday cookie board!
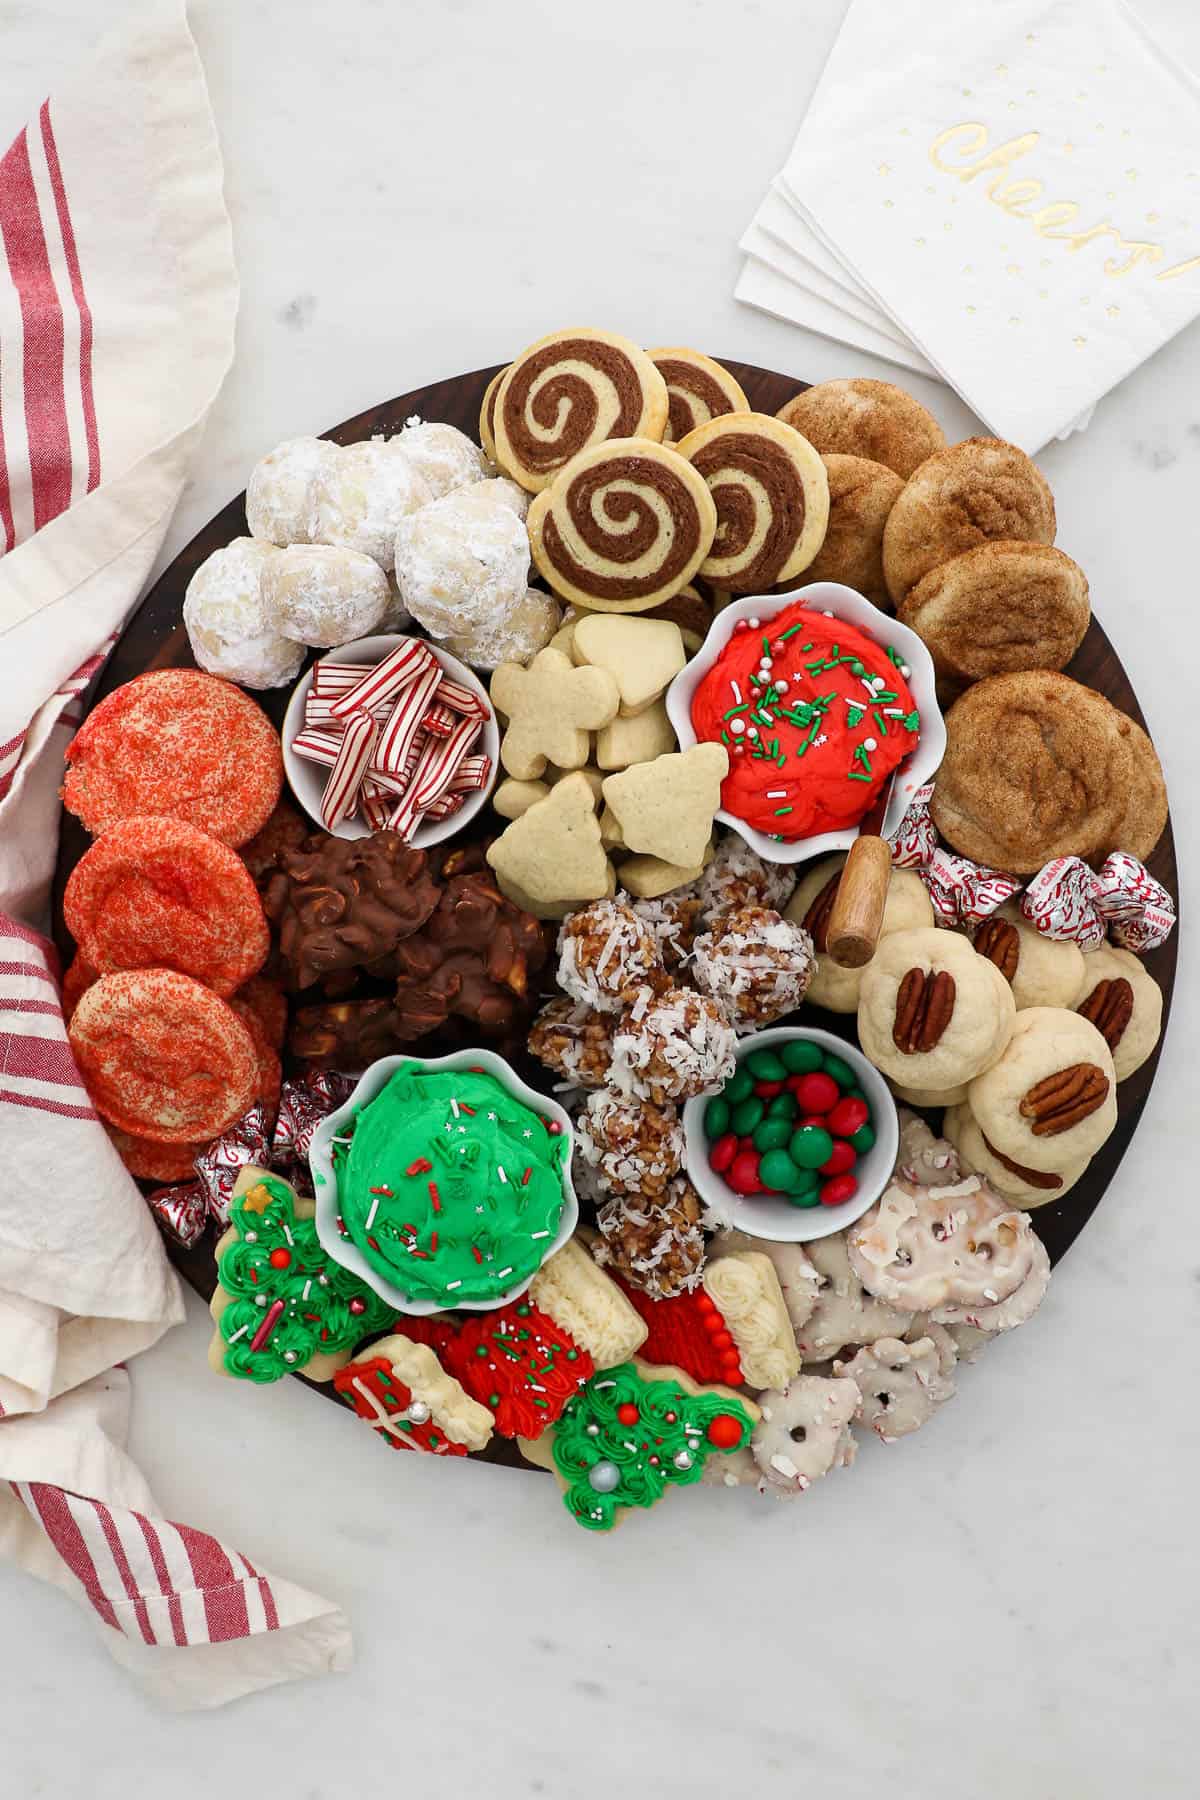
An Easy Christmas Cookies Charcuterie Board
This you guys, is the day I’ve been most looking forward to for this year’s cookie week! All of the cookie recipes I’ve shared this week are included on this dessert charcuterie board plus more of my favorite Christmas cookies!
I’m really looking forward to sharing with you all the tips I’ve learned, so you create this epic Christmas Cookie themed Charcuterie board.
You might be thinking a charcuterie board is typically meats, cheese and crackers, but I am here to tell you that a dessert-themed charcuterie board is just as fun and can even be more festive than a traditional board.
I don’t know about you, but building a beautiful charcuterie board can be quite intimidating at first! But let me tell you that it’s actually much easier than you’d think, and anyone can do it! I was super proud of my board, and you will be to, so let’s me show you!
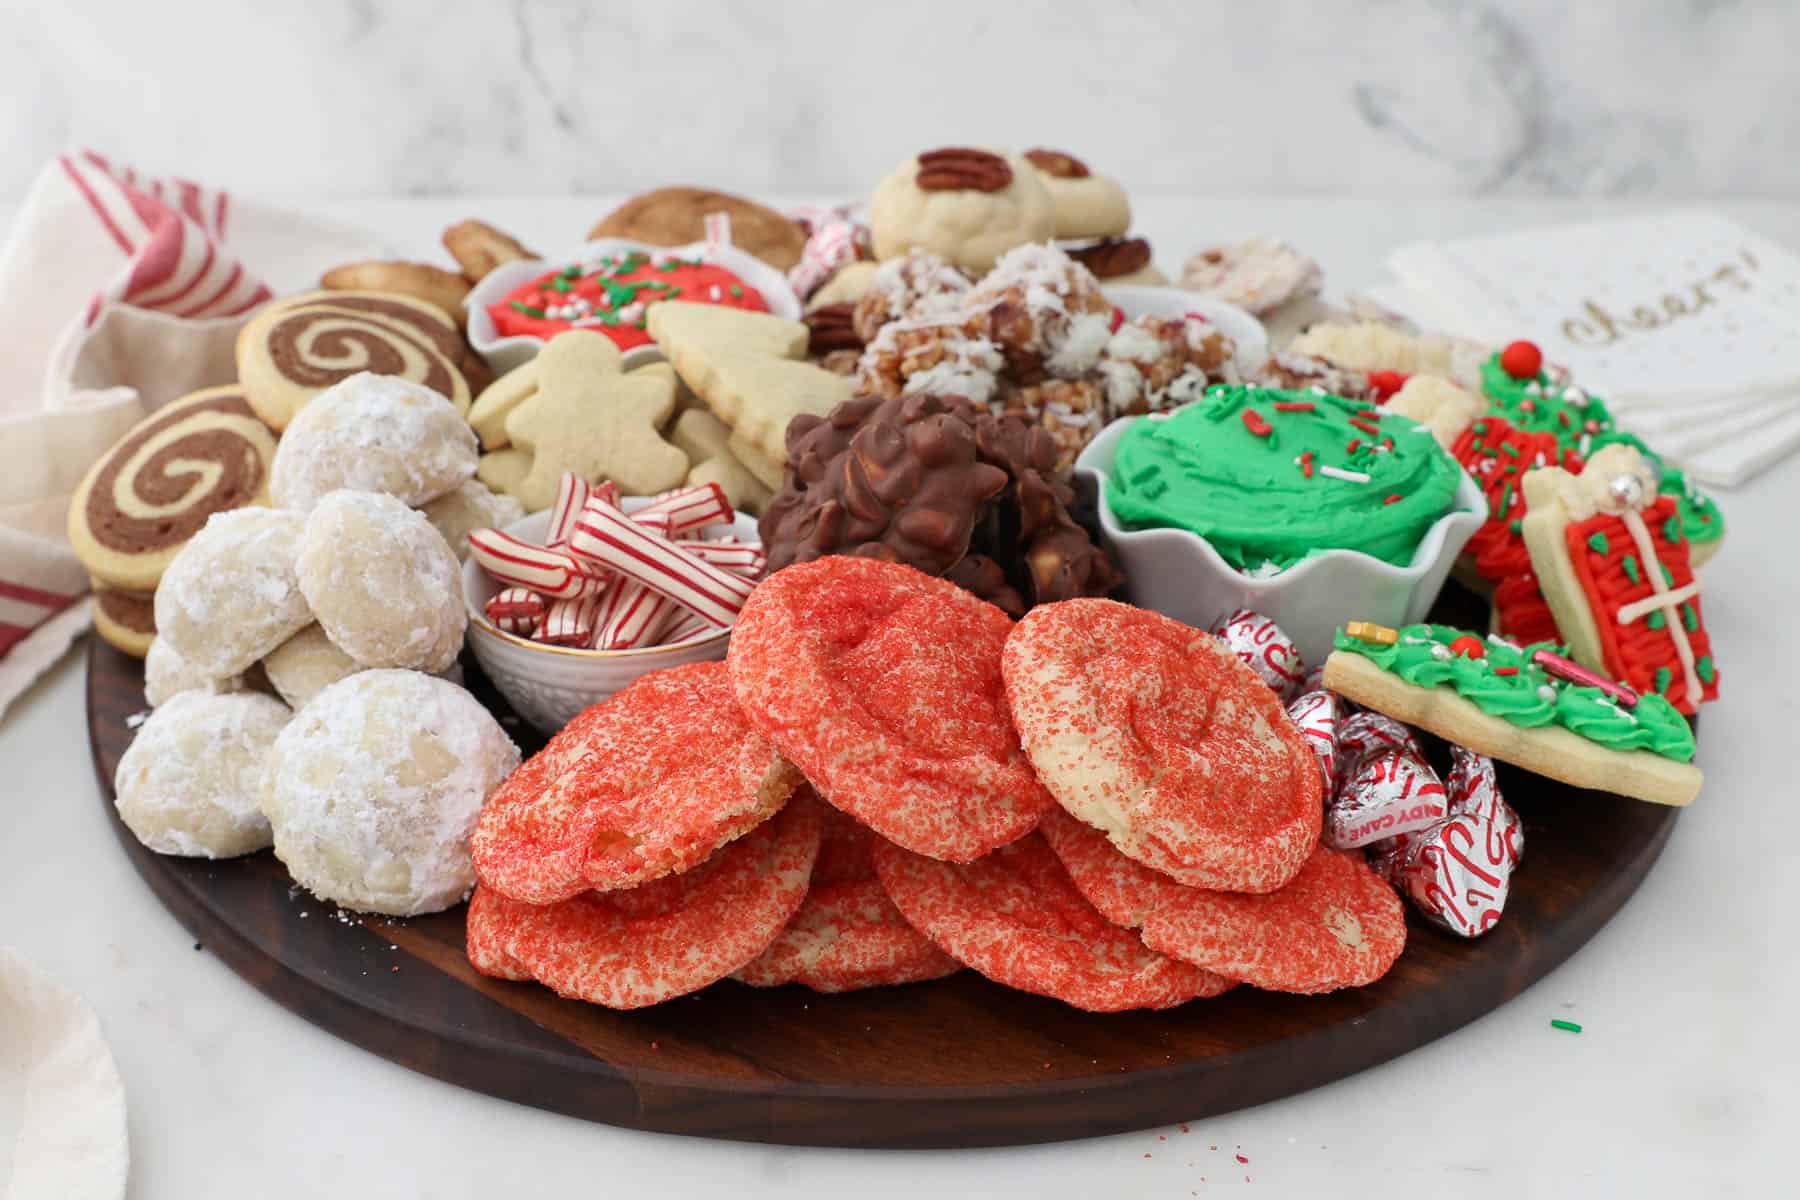
How to Make Christmas Cookie Dessert Board
Step 1: Selecting a board
Don’t feel like you have to rush out and spend a ton of money on a board. I will give you some suggestions on things you can use that you might already own, but first let me suggest a few places where you can buy a board if you need one.
Target (of course), HomeGoods, TJ Maxx & Walmart all have very affordable options for different sizes & shape boards.
For something a little fancier, you can look to Etsy or Ebay, William Sonoma, Crate & Barrell and other kitchen supply stores. You’ll likely be shopping in the kitchen section near the cutting boards or serving trays. I was looking for a specific board, so I purchased one on Etsy and it was called a “Pizza board”.
- Determine the size you want: Mine is 14-inches in diameter. The larger the size, the more stuff you’ll need to fill it. But a board of this size will work for multiple types of charcuterie boards.
- Determine the shape you want: I like the symmetry of a circle and the space it takes up on a table, but there’s also something to be said for boards that are squares or rectangles. If you go for a rectangle shape, think about the width and what you need to fit on it.
- Determine the type of board you want: Are you looking for a wood? Light or dark? Are you looking for something marble? Does it need to have handles? These are things you want to consider when choosing a board. Pick something that can be used for multiple things.
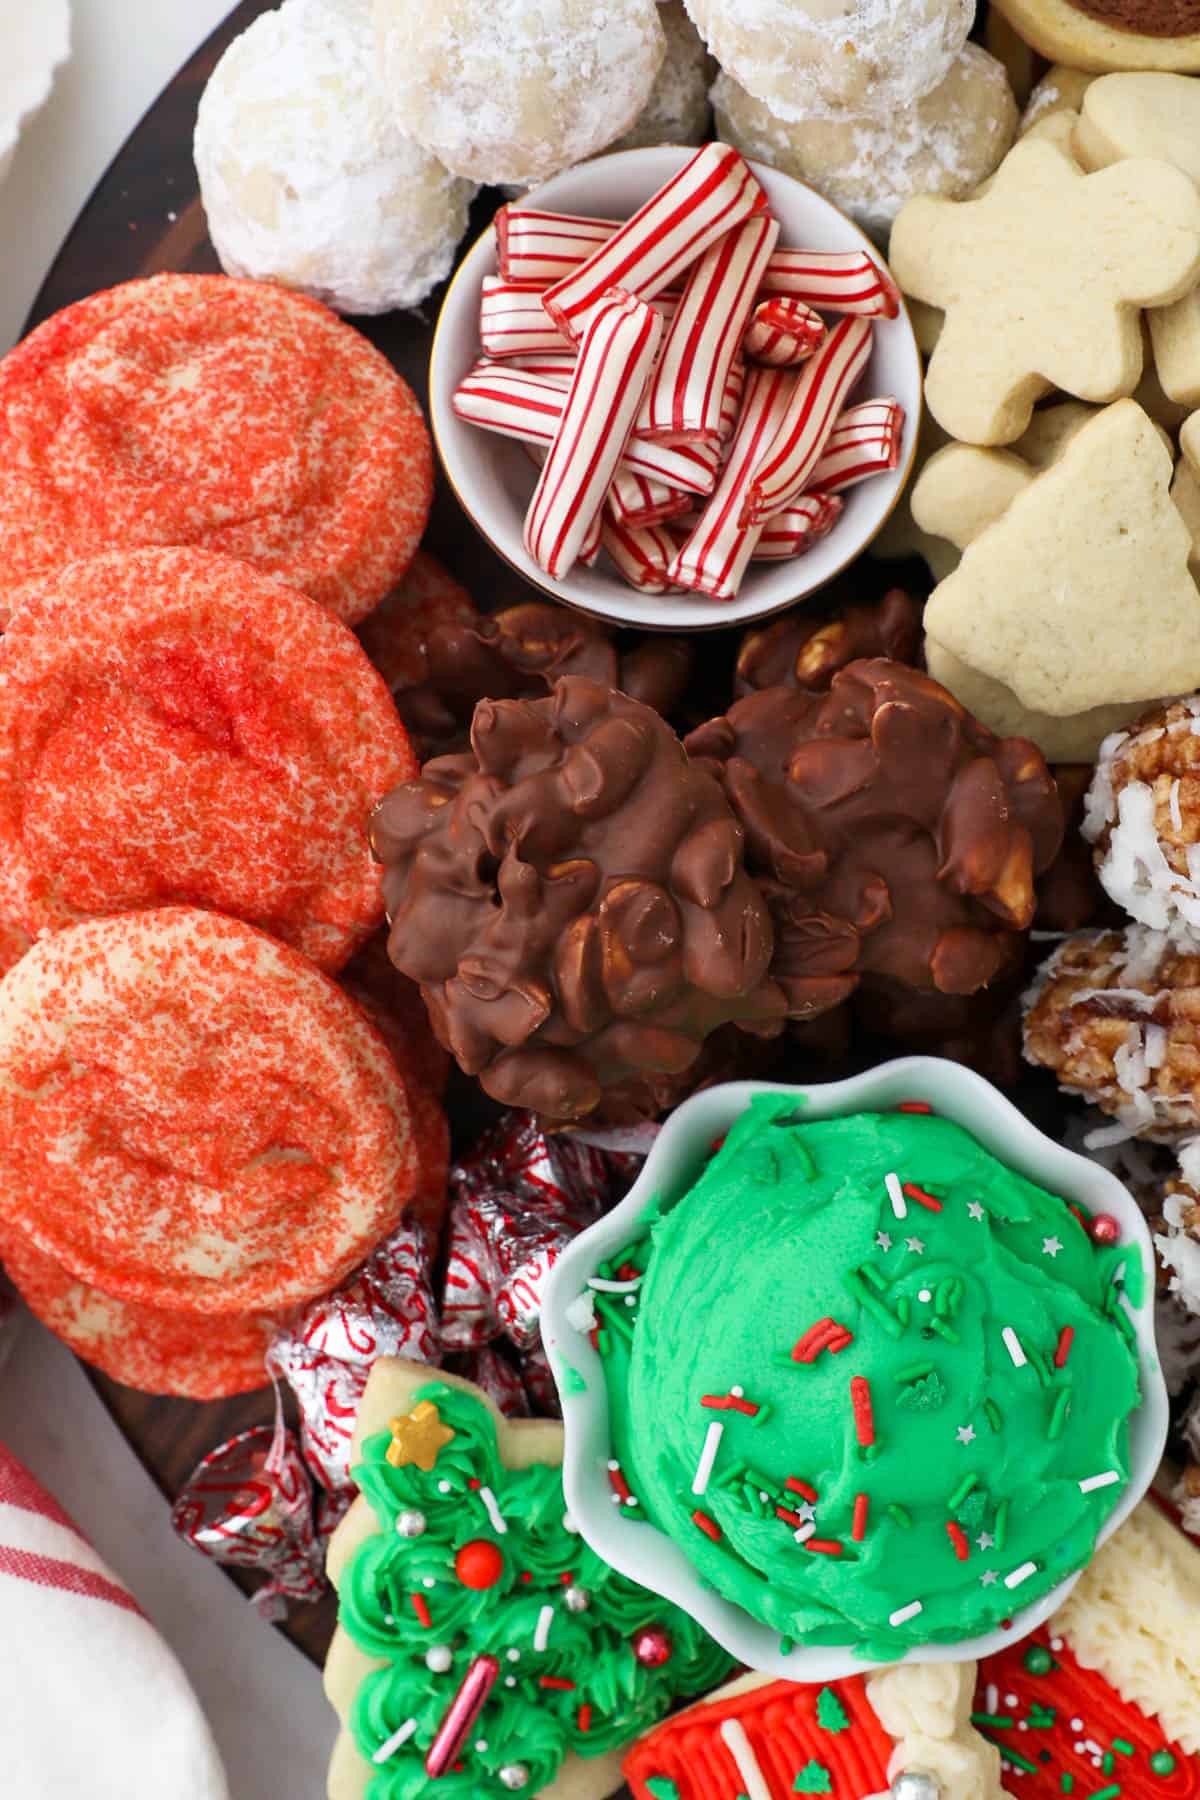
Alternative cookie board options
Don’t rush out and buy something before you look around your house and see what you have. Cutting boards can work great, especially if you want to mix shapes and sizes.
I also love using cake stands or other round serving trays. Cake stand can add height to your table and help your dessert really stand out.
Step 2: Select Your Christmas Cookies
This is perhaps the most fun part of building a board- selecting the treats you’re going to include. This can be accomplished in several ways: Homemade cookies, store-bought or semi homemade treats and seasonal candy and nuts.
Whatever you do, you’ll want to select treats that’s are varying sizes, shapes and color, flavors and textures.
Homemade Cookies:
Depending on your comfort level, you want to assess how much work you want to put in to make homemade cookies. Later on, I will talk about my tips to prepare cookie in advance, but here is a list of what’s included on my board. You should know that all of these cookies were prepared for my seasonal cookie baskets, not just for this board!
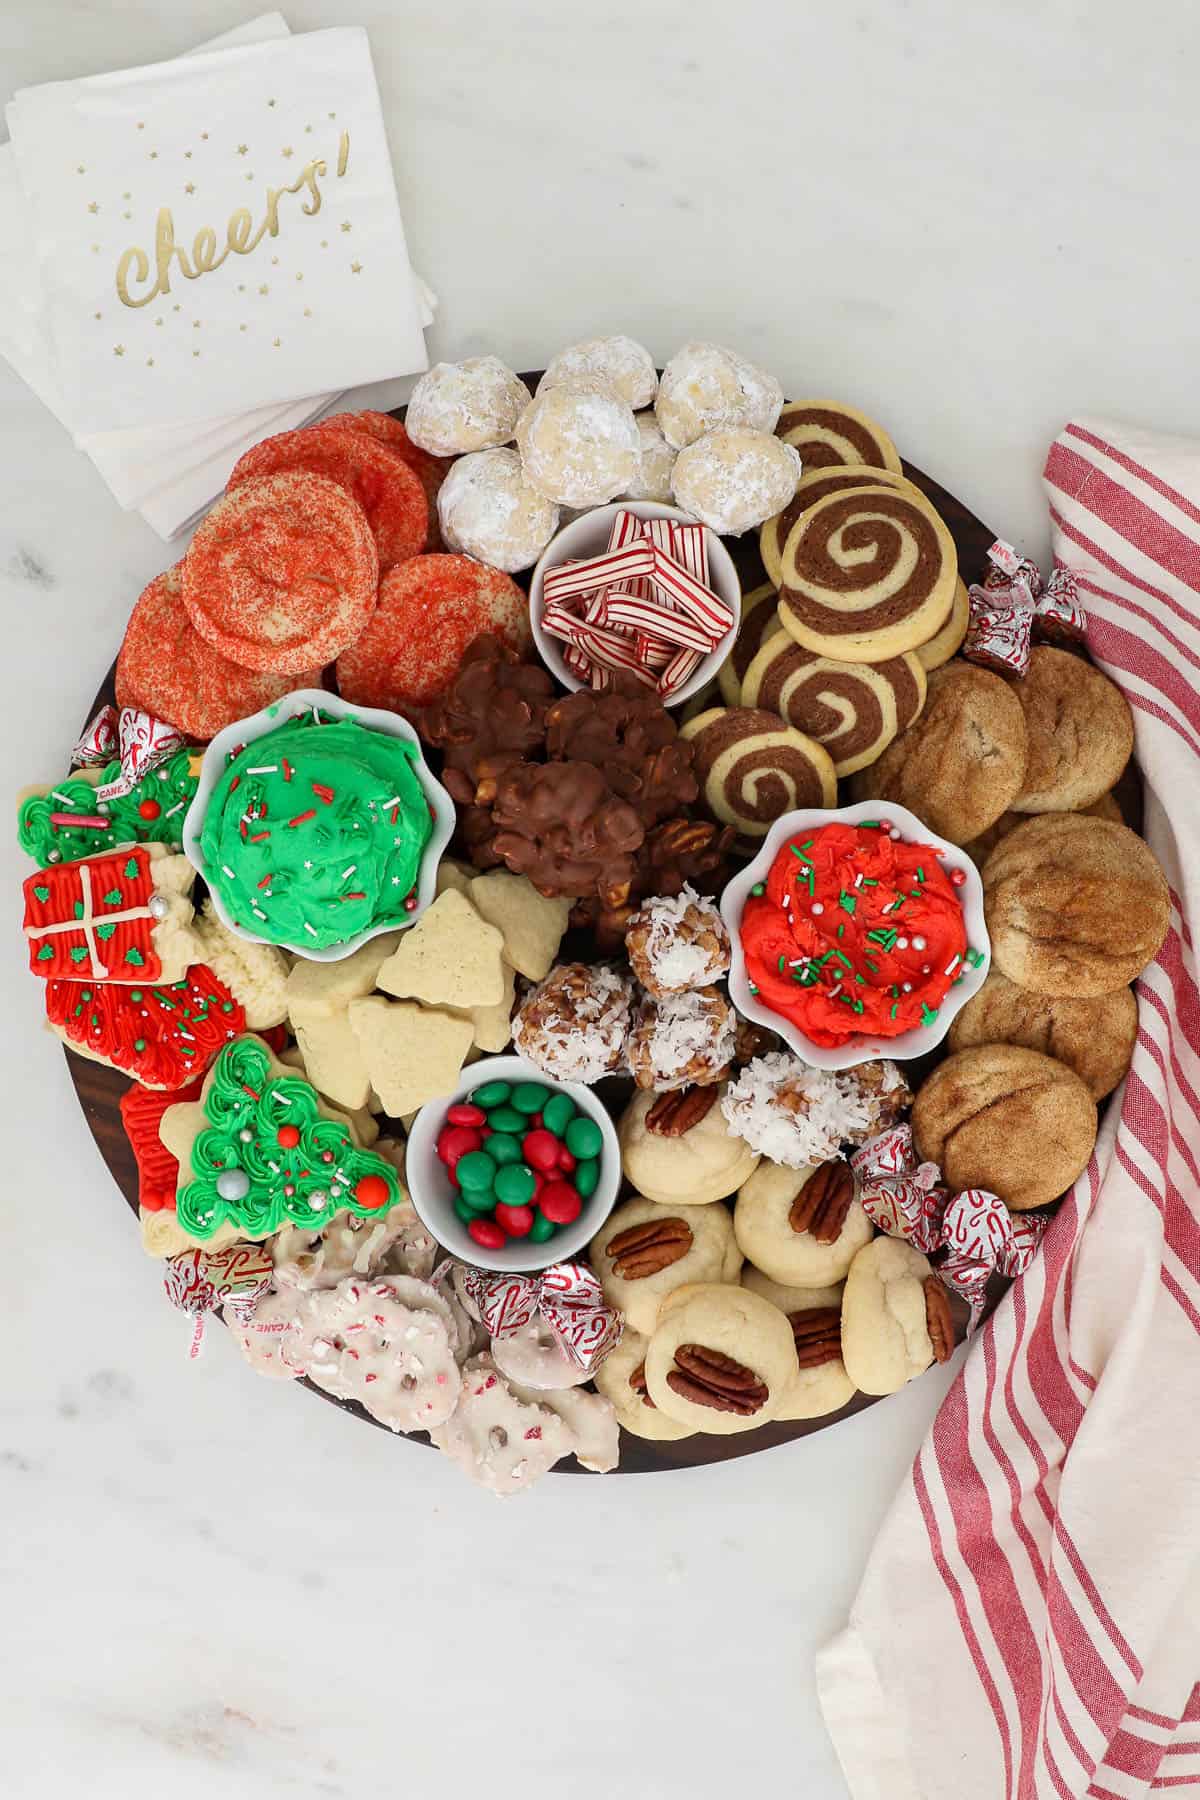
- Snowball Cookies
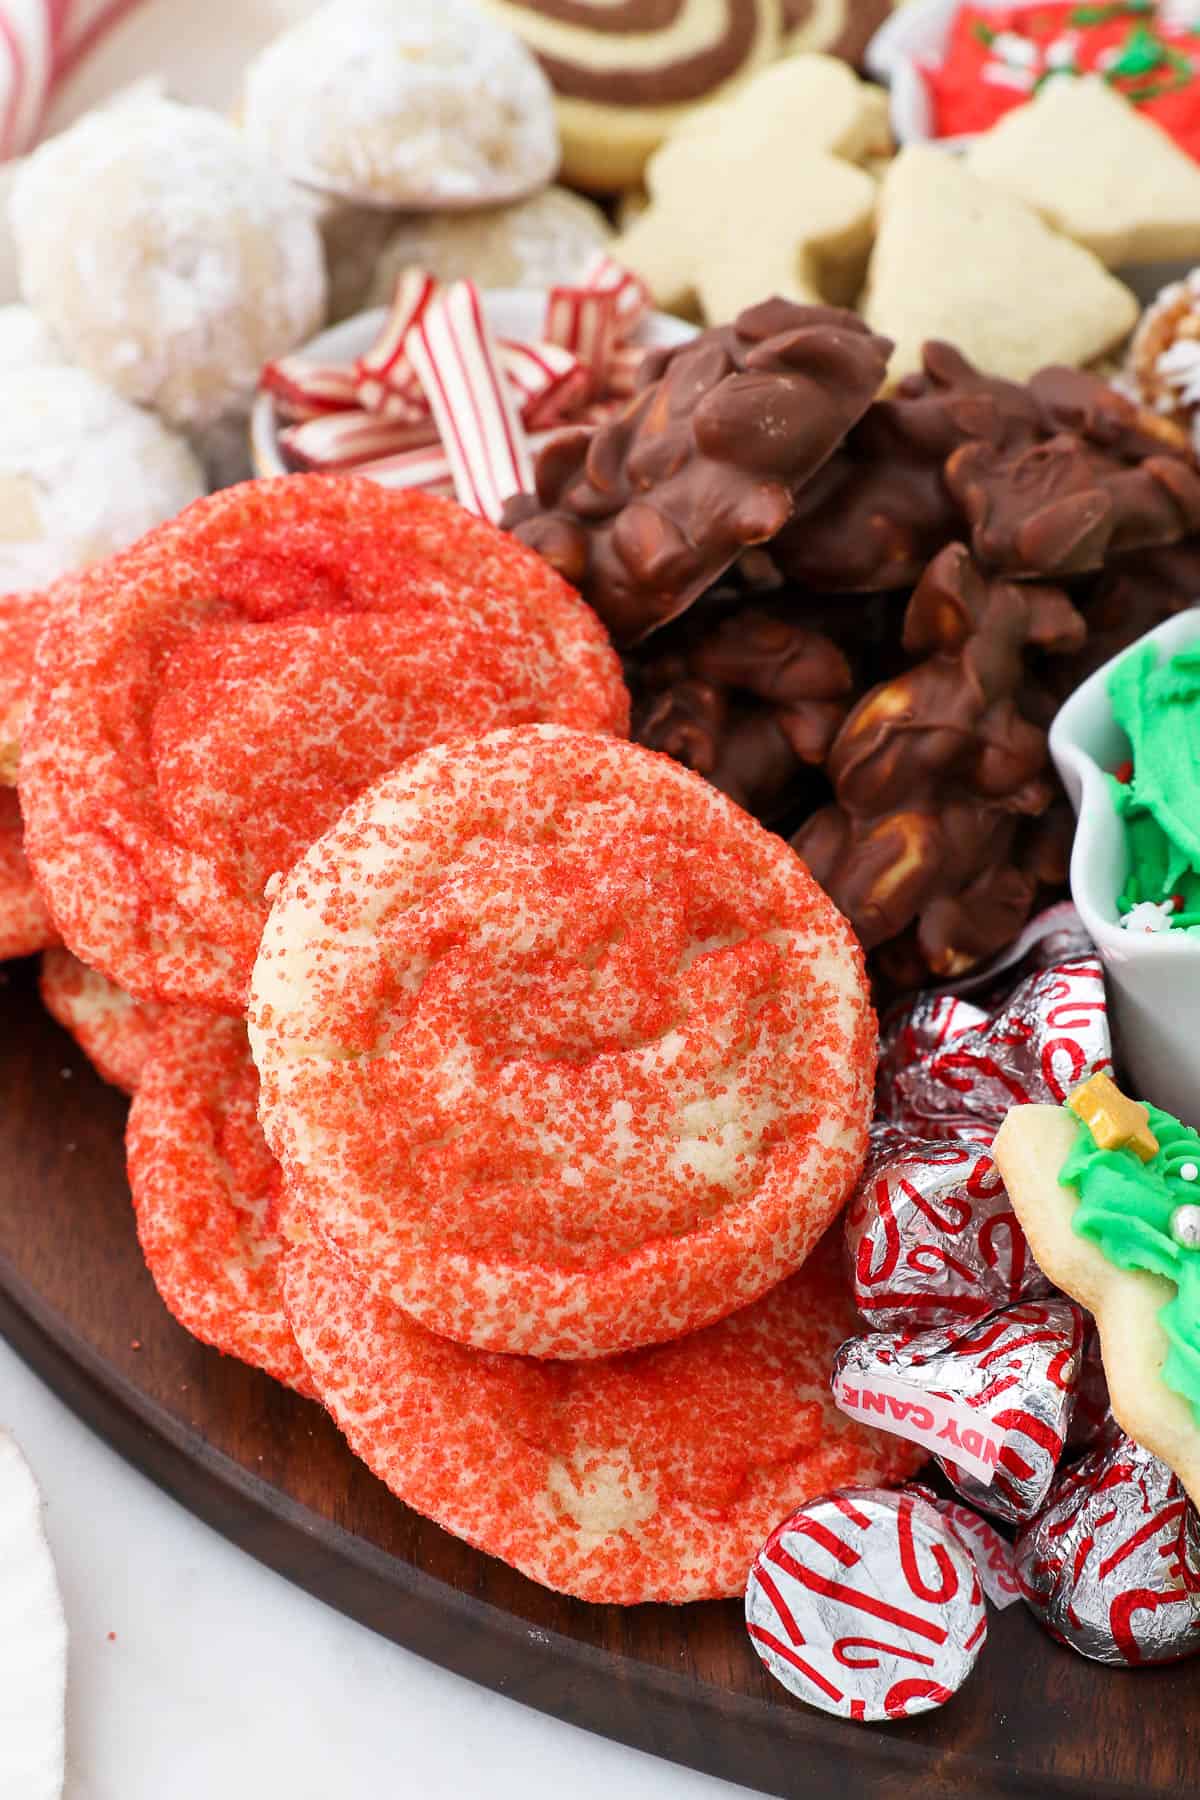
- Chewy Sugar Cookies
- Cut Out Sugar Cookies (full-sized or a mini cut out cookies)
- Peanut Clusters
- Pinwheel Cookies
- Snickerdoodles
- Cream Cheese Cookies
- Coconut Date Balls
- More ideas listed at the end of this post!
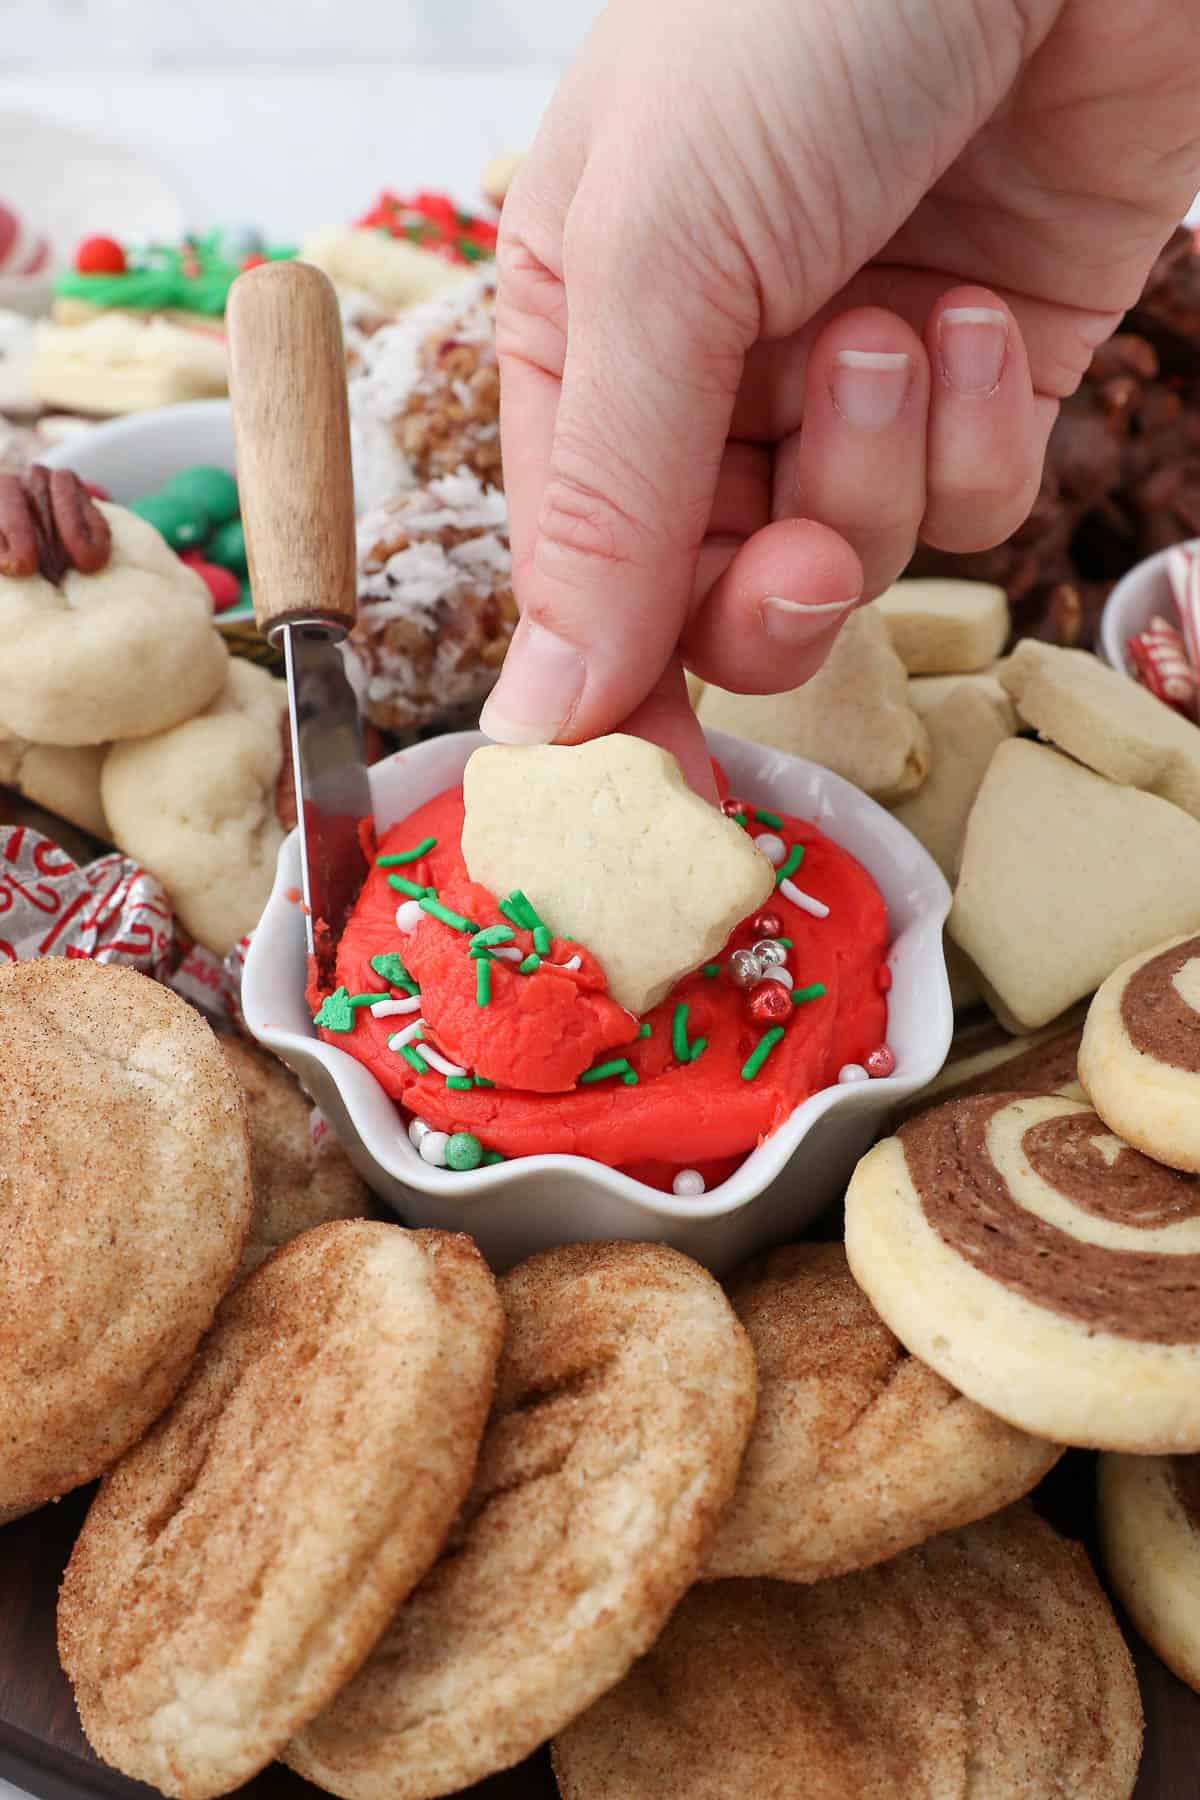
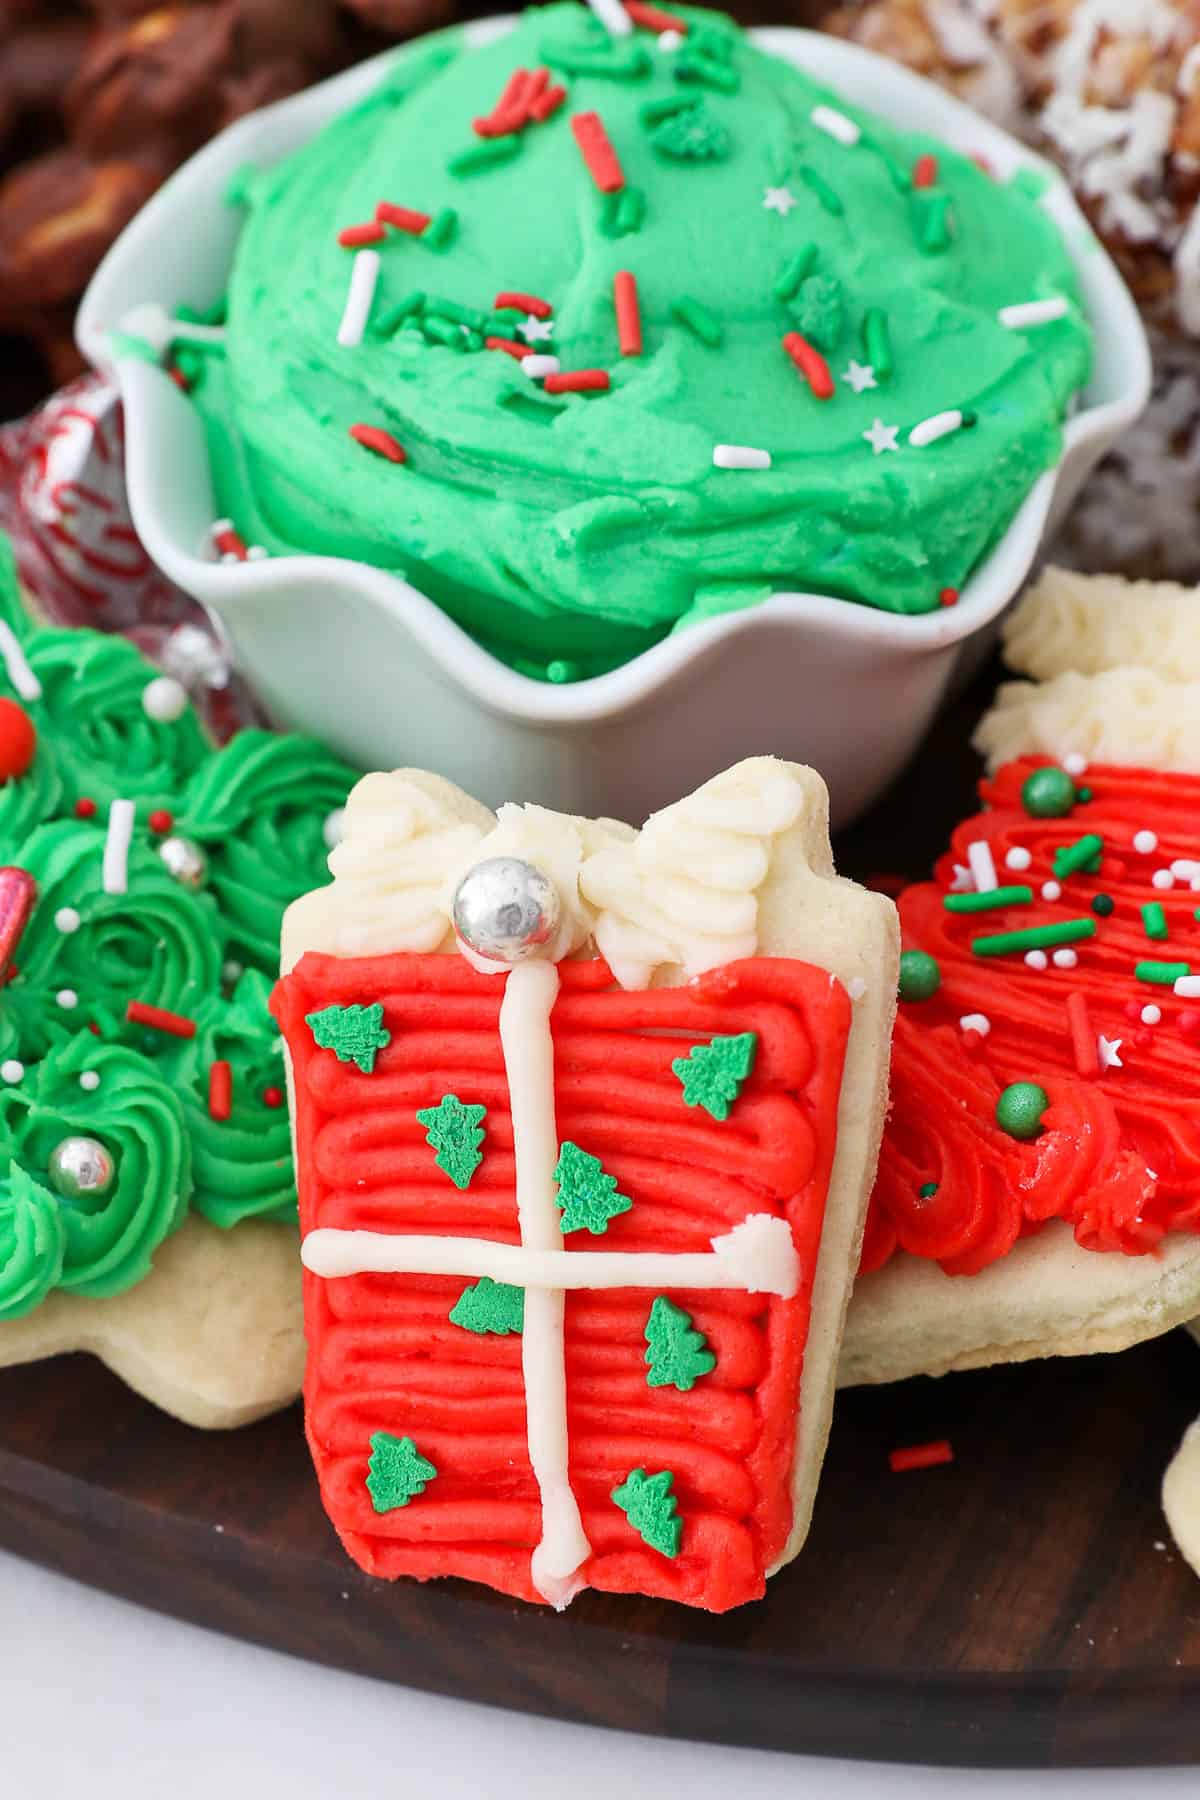
Can I just tell you about the mini cut-out cookie for a minute? I love love love decorating cookies, and even though there are only a few on my board, I would suggest having a backstock so you can refill, or a separate plate of them. They don’t stack super well.
But- I also LOVE these mini cut-out cookies, and I serve them with some vanilla buttercream that I’ve tinted red and green, and people can either dip or spread the buttercream on the mini cookie. It makes for a fun and interactive treat! If your frosting gets too firm, microwave it for 10-15 seconds.
Otherwise, I try to avoid frosted cookies which can be messier and need to be prepared closer to the event.
Store-Bought or Semi-Homemade Treats
Defiantly take it easy on yourself and mix in some store-bought or semi-homemade treats. Not only will this save you time, but it also takes some of the pressure off you to create everything on the board. Here are some ideas:
- Make a snack mix such as “White Trash Snack Mix”
- Grab some Oreos or pretzel and dip them in chocolate and garnish with sprinkles. No one is ever mad about that!
- Shop Trader Joes, Target (or your local grocery store) and look for seasonal treats like chocolate covered stars or marshmallows, Gingersnap cookies, Biscotti, Mini Gingerbread men or sweet breads that can be cut up.
- Don’t be afraid to grab something from the local bakery, especially if it’s a well-known treat in town!
Seasonal Candy, Nuts and Snack Mixes
Don’t go crazy here either because I don’t know about you, but I don’t want a lot of leftovers around the house, because I’ll just snack on them. You can use this category as “fillers” for little ramekins on your dessert board, or to fill in some of the empty spaces between your cookies
- Look for stocking stuffer sized treats like those prefilled filled candy canes for smaller portions
- Look for contrasting colors and textures, especially for the candy
- Consider including both wrapped and unwrapped candy
- I love grabbing white chocolate peppermint covered pretzels, but I look for the smaller bags, because I WILL eat the leftovers.
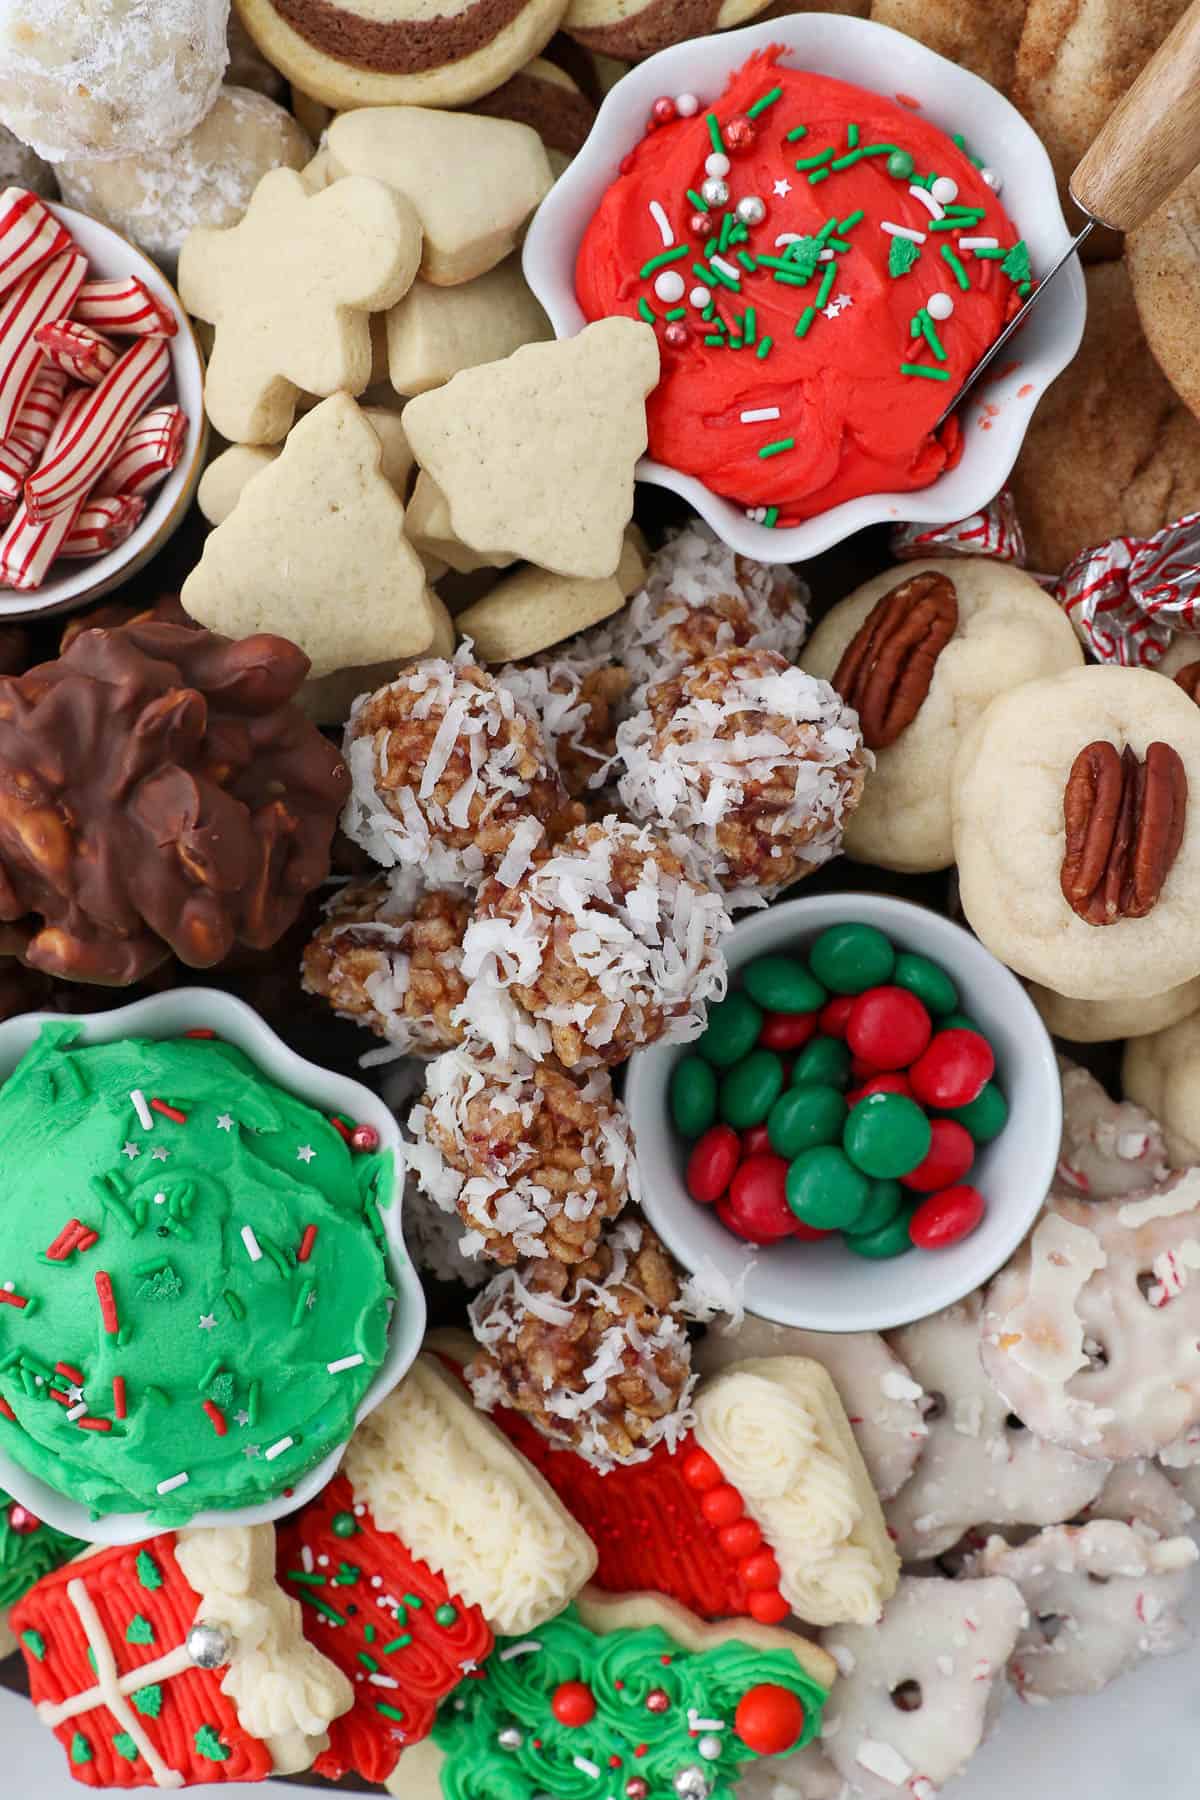
Step 3: Building Your Dessert Charcuterie Board
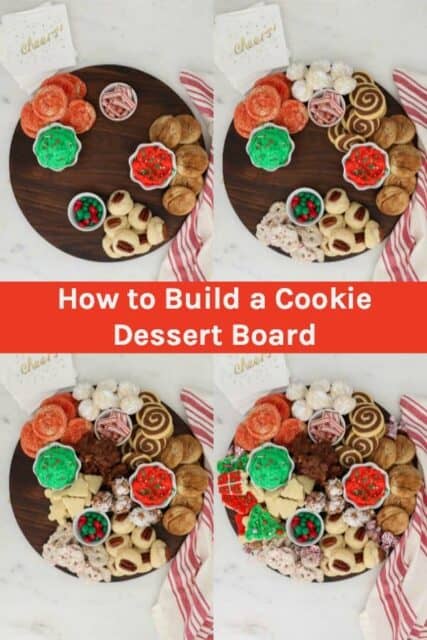
This is where the fun comes in. Now that you’ve chosen all the treats for your board, it’s time to build it! There’s no real right or wrong way to do this, but I’m sharing a few of my tips to make it super approachable.
- Start with a couple of small bowls and place them on your board. You’ll use these for your candies or nuts. The bowls should be no more than a couple inches wide, and somewhat shallow.
- Then take your largest cookies first and assemble them around the outside since these are the hardest to grab. Also, I tend to put more of my “popular” cookies on the try like Snickerdoodles.
- Arrange them in away so you don’t have the same color or textures sitting next to one another.
- Then start laying in your more unique cookies and candies and work your way in towards the middle.
- Fill in the center with the smallest cookies and look to add height for the cookies than can be stacked
- Use your candy to fill in any holes, like I’ve done here with the Hershey’s kisses.
- If you have a lot of leftovers, send your friends home with a goodie bag!
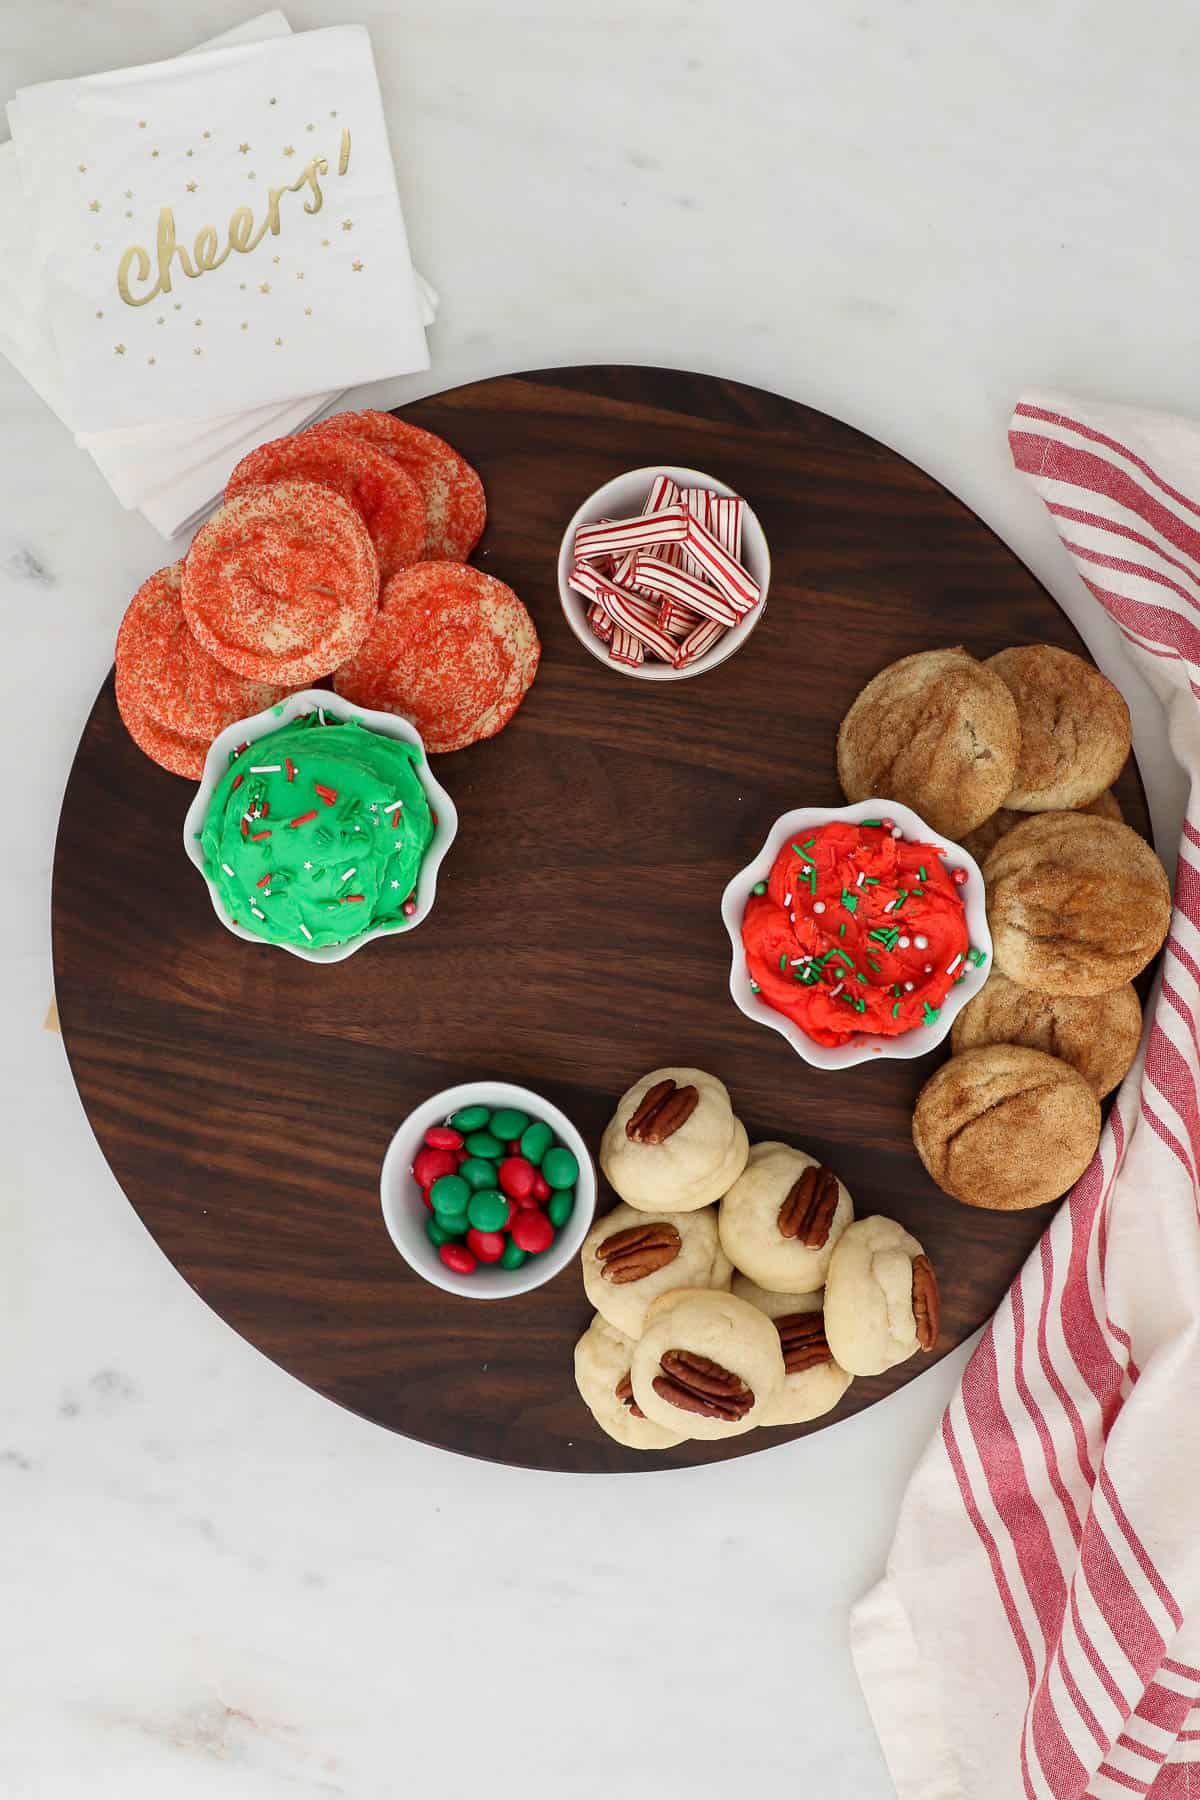
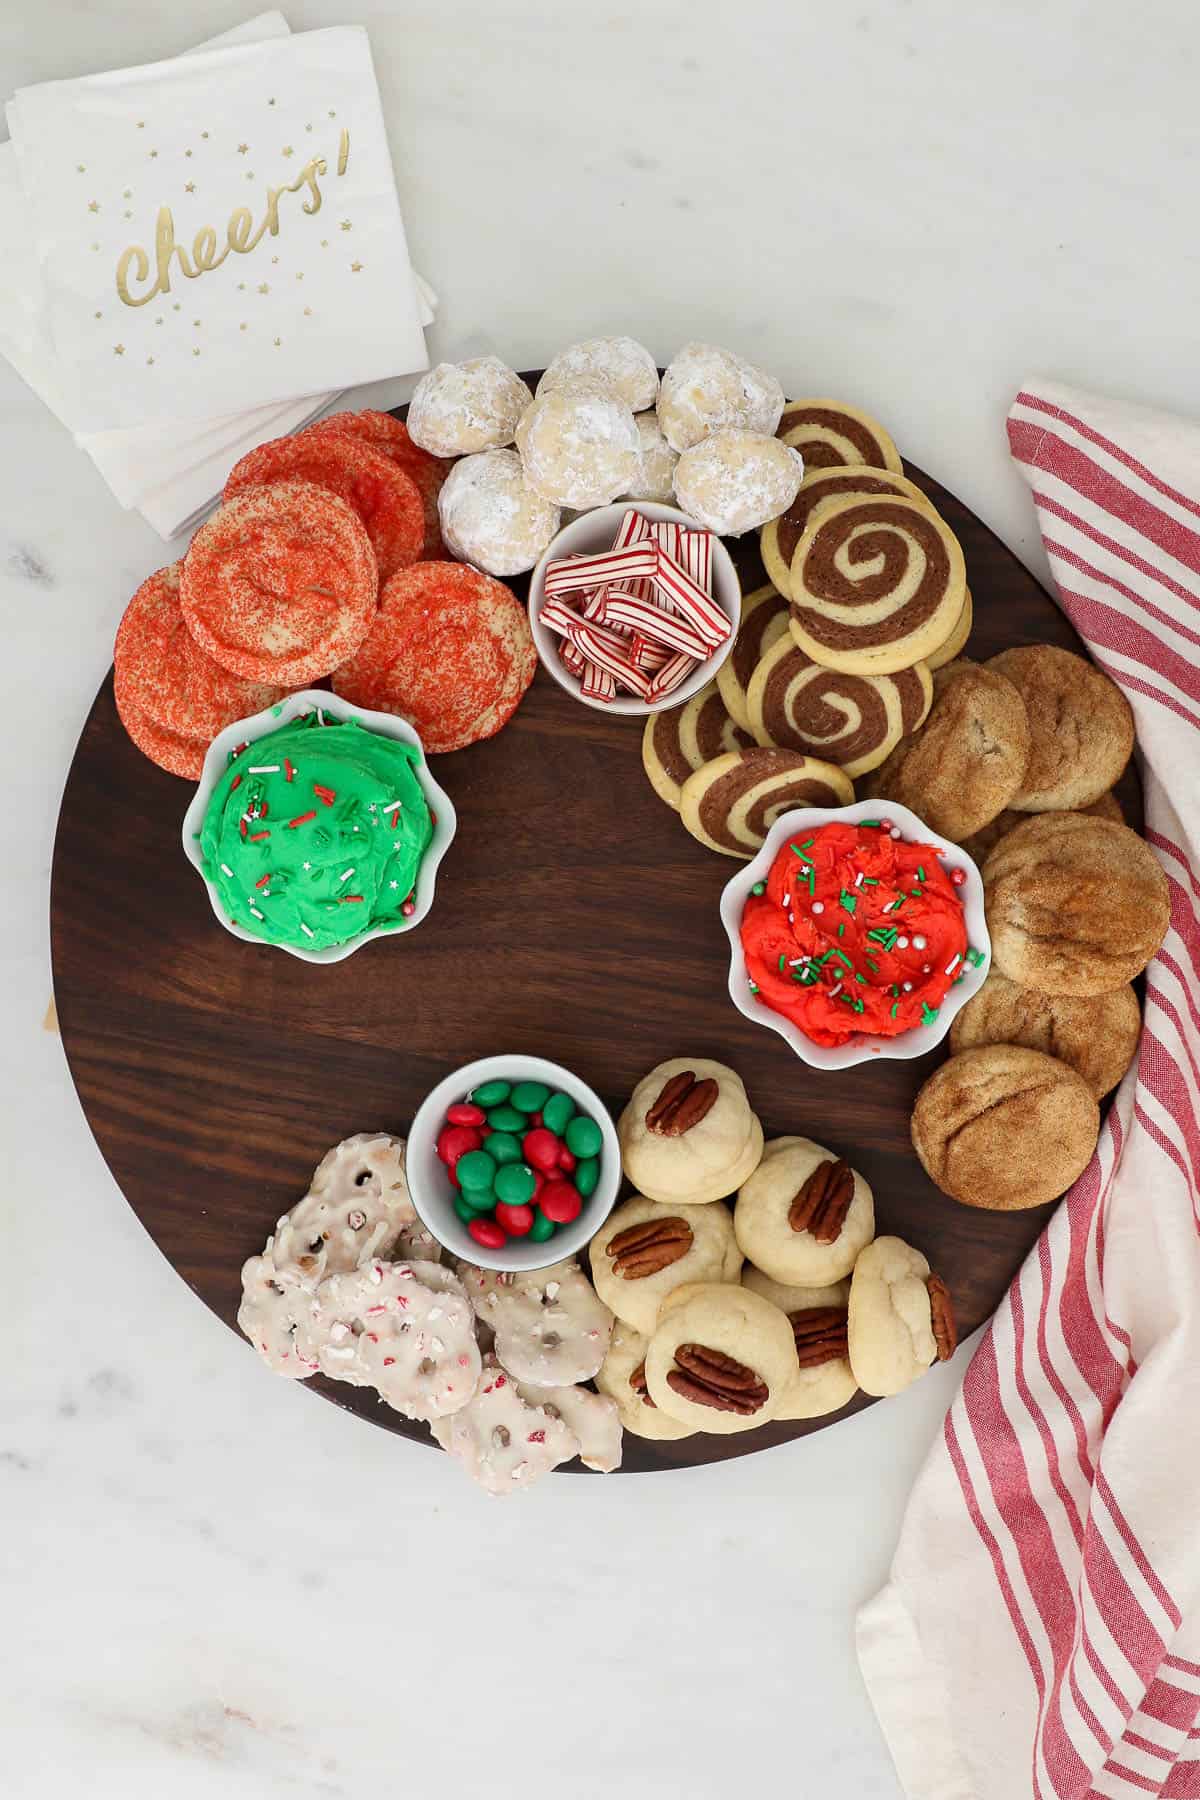
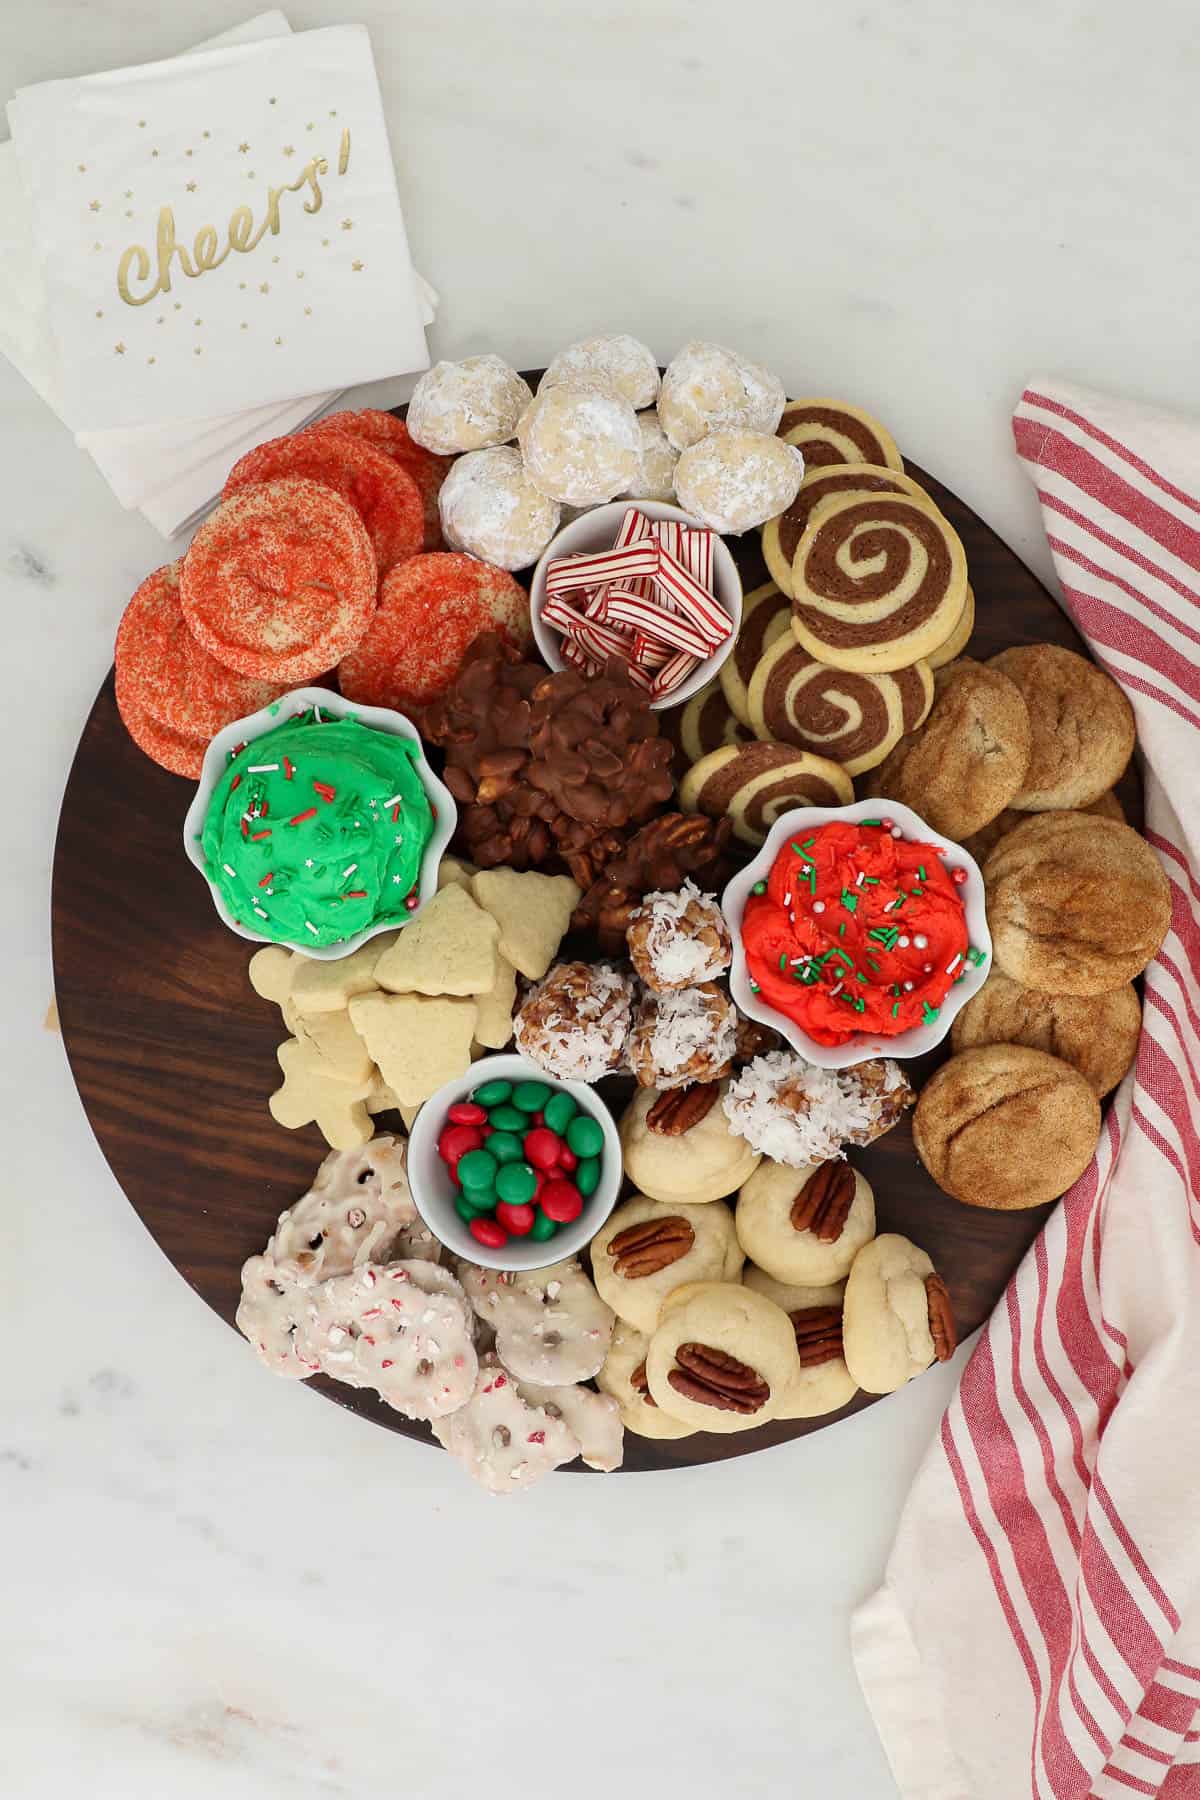
Planning Ahead: Baking and Freezing Cookies in advance
As I mentioned before, the cookies you see on my board were all prepared in advance and with intention of including them as part of my seasonal cookie baskets. There’s no way I would have done all that baking over 2 or 3 days.
I look for recipes like my Coconut Date Balls or Peanut Clusters that have a high yield, so they go a long way.
It’s also important that you choose cookie recipes that freeze well whether you are freezing baked cookies or cookie dough to bake closer to the time. Recipe such as Snickerdoodles, Unfrosted sugar cookies, Soft Molasses Cookies, Shortbread Cookies and Almond Cookies are great recipes to prepare in advance.
Stock up on large Tupperware and clear some room in your freezer. Pull out what you think you’ll need for the party and set them aside to thaw before placing on your board.
If you want to make my decorated sugar cookies, you can also do these in advance! You can either bake the cookies and freeze them unfrosted or you can even frost them and freeze them. You’ll want to read more about how to make my sugar cookies for in-depth details.
How Many Cookies Do I Need for a Cookie Board?
I’d plan on each person eating 3-5 cookies or candies depending on the size of your treats.
For my cookie baskets or a board like this, I make my cookie portions smaller (usually a medium-sized cookie scoop instead of a large) so it’s easier to try a variety of cookies and not feel like you’re overindulging.
As I mentioned before, if you have a lot of leftovers, send your friends home with a goodie bag! Or plan ahead and put a few little goodie bags next to your board for your friends to set some aside for later.
Transporting Your Cookie Platter
If you need to transport your cookie board, there may be some cookies you want to transport separately (I am looking at your sugar cookies!). Otherwise, you can build this board up at home and take it to your party.
Prior to building the board, place heavy-duty foil or plastic wrap under the board in a couple layers that you can easy wrap it up over top of the board.
More Christmas Cookie Recipes:
- Peppermint Crunch Sugar Cookies
- Cranberry Orange Shortbread Cookies
- Easy Almond Cookie Cups
- Soft Molasses Cookies
- Soft and Chewy Almond Cookies
- Espresso Shortbread Cookies
- Salted Caramel Cashew Cookies
- White Chocolate Cranberry Orange Cookies
- Double Chocolate Candy Cane Cookies
- Dark Chocolate Andes Cookie Cups
This project was super fun for me, and I love sharing new ideas and learning from you. Do you have something fun to add? Please leave me a comment below!
Print
How to Create a Christmas Cookie Dessert Tray
- Prep Time: 30 minutes
- Total Time: 30 minutes
- Yield: 1 board
- Category: Dessert
- Method: Baked
- Cuisine: American
Description
This holiday themed Christmas Cookie Board is one of my favorite types of dessert charcuteries boards to create. Your friends will be SUPER impressed with your creativity, but little do they know how easy it is to do something like this!
Ingredients
- 6– 8 Cookies (homemade or store-brought) of different sizes & flavors
- 1–2 premade festive snacks (such as chocolate covered pretzels)
- 2–3 holiday themed varieties of candie
Instructions
- Start with a couple of small bowls and place them on your board.
- Then take your largest cookies first and assemble them around the outside since these are the hardest to grab.
- Arrange them in away so you don’t have the same color or textures sitting next to one another.
- Then start laying in your more unique cookies and candies and work your way in towards the middle.
- Fill in the center with the smallest cookies and look to add height for the cookies than can be stacked
- Use your candy to fill in any gaps
- If you have a lot of leftovers, send your friends home with a goodie bag!
Notes
- Lots more detailed tips in this blog post!



I love this post so much!! I can’t wait to try so many of your suggestions. Thankyou for sharing this with all of us!
You’re welcome! Let me know which recipes you try!
Oh my goodness…I guess this shows how old I am (74). We’ve been making these ‘charcuterie boards’ as long as I can remember, but we just called them ‘cookie plates’. Back in the day, it was quite the Christmas event – every household tried to out-cookie the next and some of these assortments became quite breathtaking in their complexity. Times have changed and things were a lot simpler then, but it’s heartwarming to see some of these old traditions continue on, albeit under different names.
Love this idea! Never would I have thought of this type of board! That’s for sharing and inspiration and recipes.
You’re so welcome Lisa!