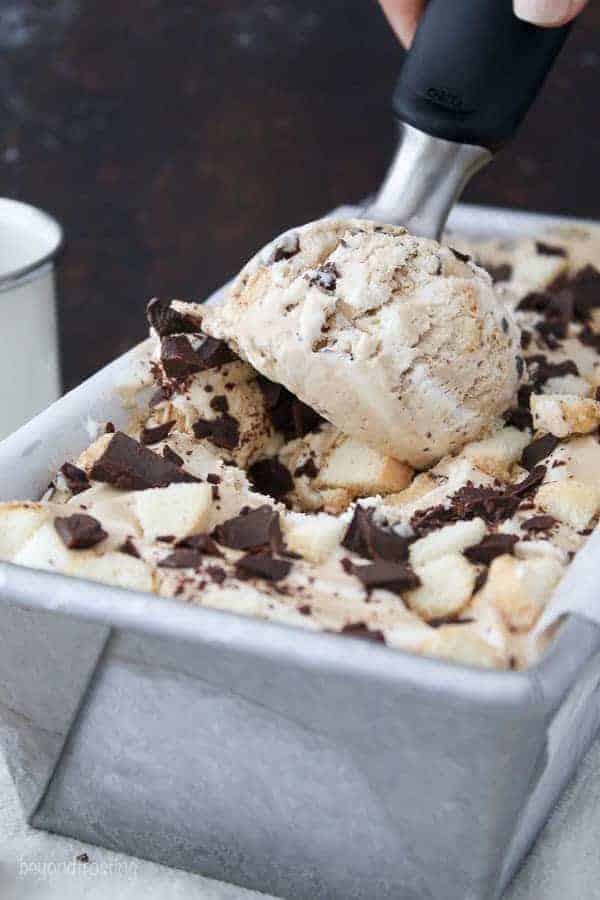
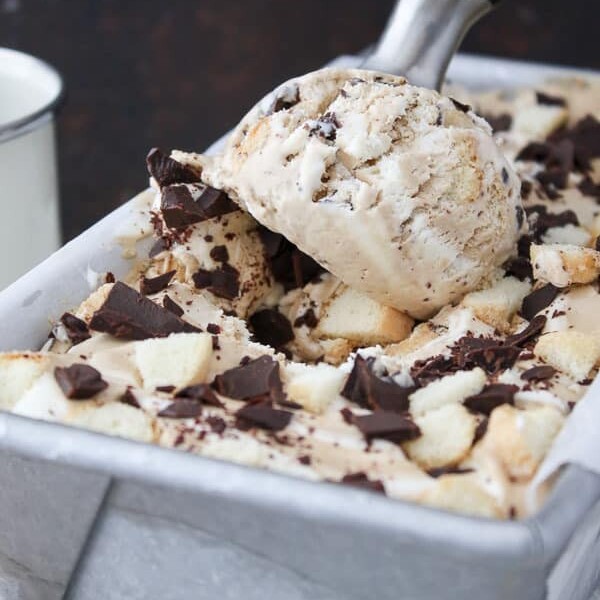
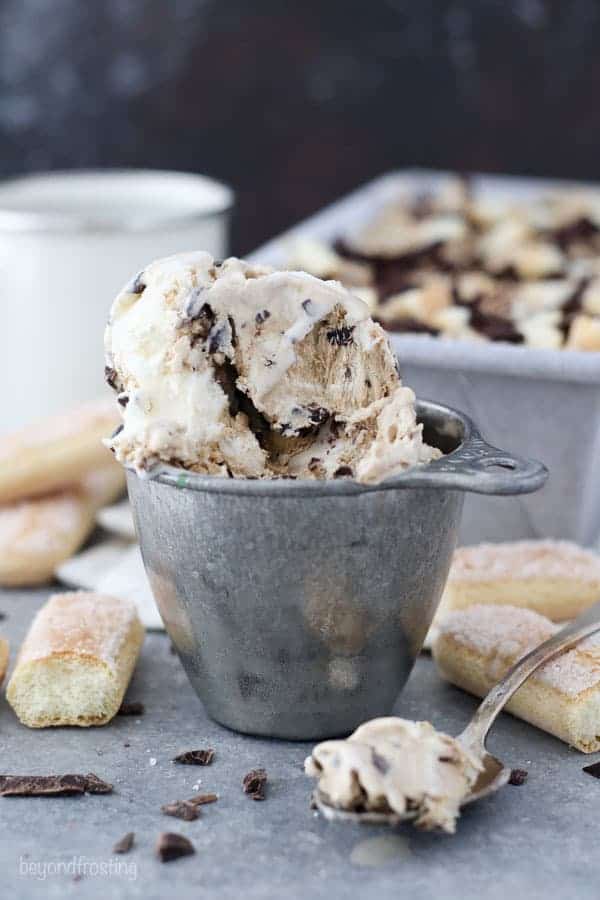
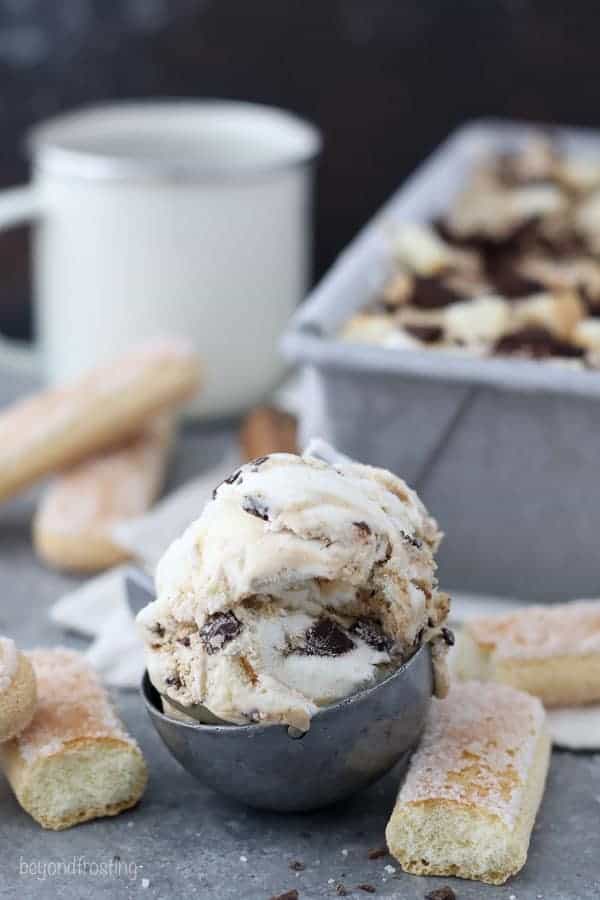
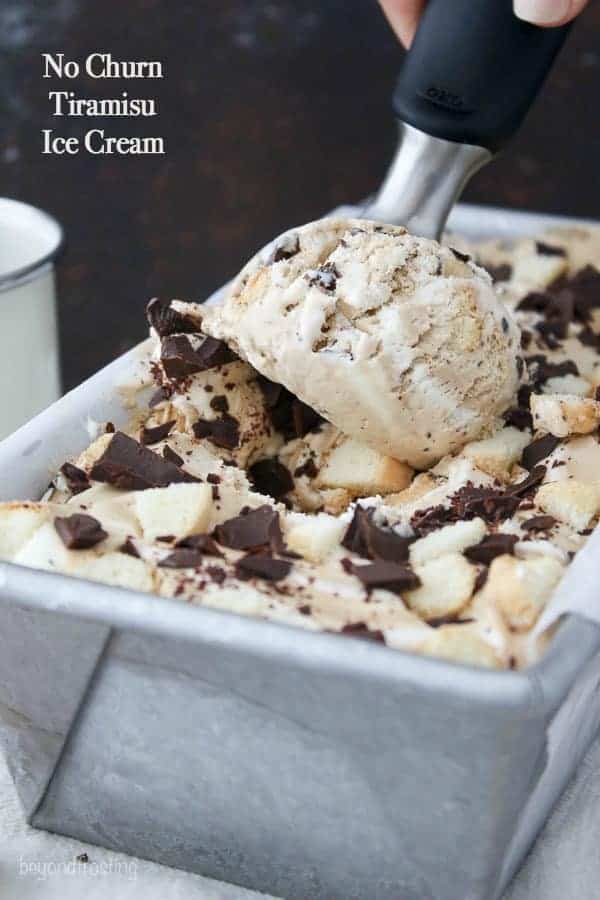
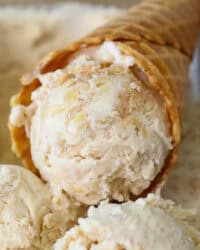
This No-Churn Tiramisu Ice Cream is layers of vanilla and coffee swirled mascarpone ice cream loaded with chunks of dark chocolate and lady fingers.
This post is sponsored by ADA Mideast. All opinions are my own.
What are three words that come to mind when you think about summer? For me it’s vacation, the lake and ice cream! A combination of all those things is, of course, my perfect summer day, plus a cocktail in hand, who are we kidding here?
Ice cream has always been at the top of my favorites list. Growing up, we used to have ice cream cakes for our birthdays, one of my first jobs was at an ice cream parlor in high school and “pint nights” were some of my favorite college memories.
My bestie and I traveled to 5 different ice cream spots in Portland in a single day and I am forever spoiled by fresh ice cream. There’s no shame in my game. The average American eats about 20 quarts of ice cream a year.
I don’t often make ice cream at home, but every time I do, I ask myself why I don’t do it more often. Thanks to my friends over at the American Dairy Association Mideast, who have invited me to share an ice cream recipe to celebrate Dairy Month- that’s June!
June is also the month that the most ice cream is produced. Did you know Ohio is the ice cream capital of the United States? I love those Ohio cows.
Today’s homemade ice cream is a No-Churn Tiramisu Ice Cream. It’s layers of vanilla and coffee swirled mascarpone ice cream loaded with chunks of dark chocolate and lady fingers.
No-churn ice cream is quick to make and convenient because it doesn’t require any special equipment except maybe a hand mixer. Just a little patience is needed, because it needs time to freeze!
The base of this ice cream is made with a homemade whipped cream, mascarpone cheese and sweetened condensed milk. The mascarpone cheese is subtle but really adds to the texture of the ice cream. I hope you like Tiramisu!
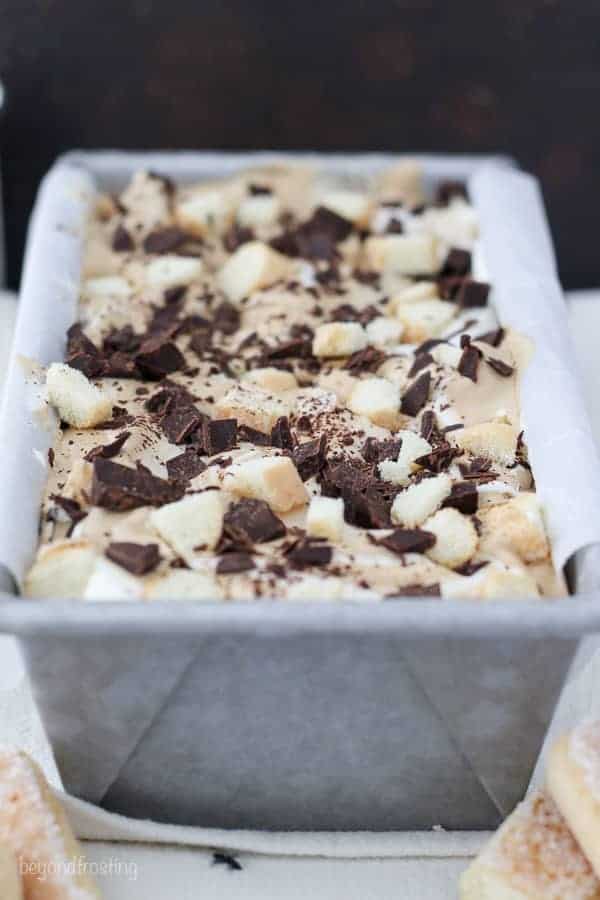
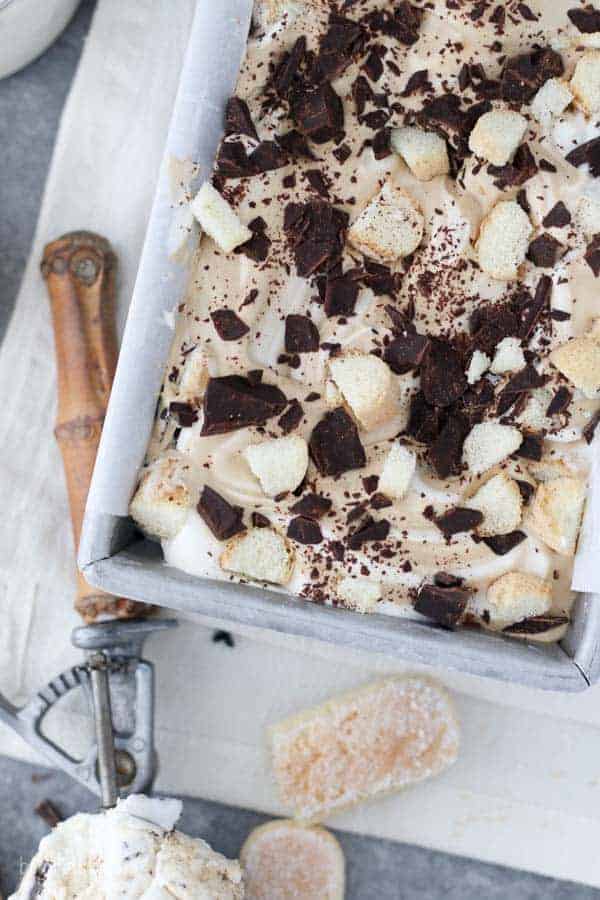
After the ice cream base is made, I divide it in half and mix in some espresso powder and brewed espresso to make a coffee-flavored ice cream. I dare you NOT to lick the spoon clean. Then I swirl the two together as I layer it with chunks of dark chocolate and chopped lady fingers.
Espresso powder is a key ingredient here because it produces the strongest coffee flavor. I use it in two ways for this recipe. I mix some espresso powder directly into the base of the ice cream and I also mixed in some brewed espresso.
What is a good substitute for the espresso powder? You can use finely ground coffee beans, the darker the roast, the better.
You’ll want to use a high-quality chocolate and chop it or shave it into smaller pieces. This will help to evenly distribute the chocolate assuring that there will be plenty of chocolate in each bite!
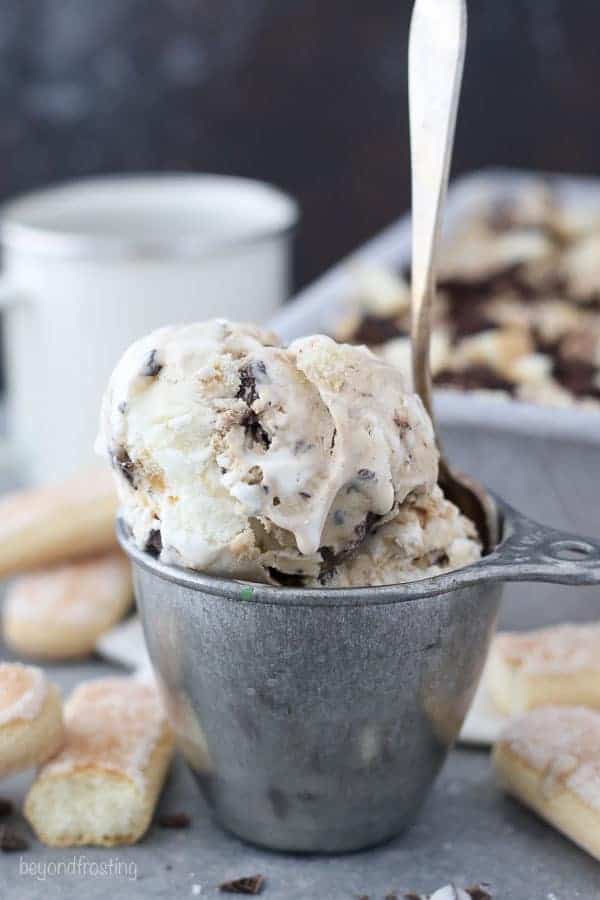
For the ladyfingers, I used crispy ones, which I cut into small pieces, about the size of a dime or smaller. They don’t fully soften when frozen, so it adds a nice texture to offset the chocolate. You won’t need very many, maybe 4-6 of them total.
Homemade ice cream is a great activity to do with your kids too, and it will help teach them a little patience as well, because this ice cream does have to sit in the freezer for a few hours to set.
Stock up your freezer with homemade ice cream this summer, you won’t be sorry.
For more fun dairy facts and recipes, follow the American Dairy Association Mideast on Facebook, Twitter, Instagram and Pinterest.
Follow Beyond Frosting:
Facebook | Twitter | Pinterest | Instagram | Bloglovin
If you love no-bake recipes, be sure to check out my cookbook, No-Bake Treats!
No-Churn Tiramisu Ice Cream
- Prep Time: 4 hours
- Cook Time: 20 minutes
- Total Time: 4 hours 20 minutes
- Yield: 6 servings
- Category: Ice Cream
- Method: Ice Cream Maker
- Cuisine: American
Description
This No-Churn Tiramisu Ice Cream is layers of vanilla and coffee swirled mascarpone ice cream loaded with chunks of dark chocolate and lady fingers
Ingredients
- 4 tablespoons espresso powder, divided
- ¼ cup water, hot
- 1 ¼ cup heavy whipping cream
- ½ cup powdered sugar
- 8 ounces mascarpone cheese
- ¾ cup sweetened condensed milk
- ½ cup chopped chocolate
- 5 ladyfingers, chopped
Instructions
- Combine 1 tablespoon of espresso powder with hot water and stir until the espresso is dissolved. Cool completely, refrigerating if necessary.
- To prepare the whipped cream, place the metal mixing bowl and whisk in the freezer for 5-10 minutes.
- Pour the heavy whipping cream into the chilled bowl and use an electric mixer to beat the heavy cream on medium-high speed until the cream starts to thicken.
- Next add the powdered sugar and spoon the mascarpone cheese into the whipped cream. Continuing beating until the whipped cream has thickened to stiff peaks.
- Pour the sweetened condensed milk and beat until well combined. Divide the ice cream base in half.
- To make the coffee ice cream, take half of the ice cream base and, slowly add 3 tablespoons of espresso powder and 3 tablespoons of the brewed espresso and stir until it’s completely combined.
- In a freezer-safe container, layer and swirl the vanilla and coffee ice cream. Pour 1/3 of each of the ice cream in the bottom of the pan and swirl with a knife, add chopped chocolate and lady fingers and swirl again. Repeat two more times.
- Freeze for a minimum of 4 hours.
Nutrition
- Serving Size: 1
- Calories: 626
- Sugar: 44.5g
- Sodium: 97mg
- Fat: 43.6g
- Carbohydrates: 52.5g
- Fiber: 1.4g
- Protein: 8.3g
- Cholesterol: 136mg
Filed Under:



I love to taste and prepare different ice cream recipes at my home. It is looking delicious and tasty so I will try it soon. Thanks
Hi Julianne,
Yay for no churn! It’s not like it’s so hard to set up the ice cream maker, but at the same time I never do it! P.S. We never had pint nights in college and I feel like I really missed out there. Thinking those should have been mandatory like English 101 or something :). Pinning this right now!
Thank you Carissa! It’s never too late for a pint night!