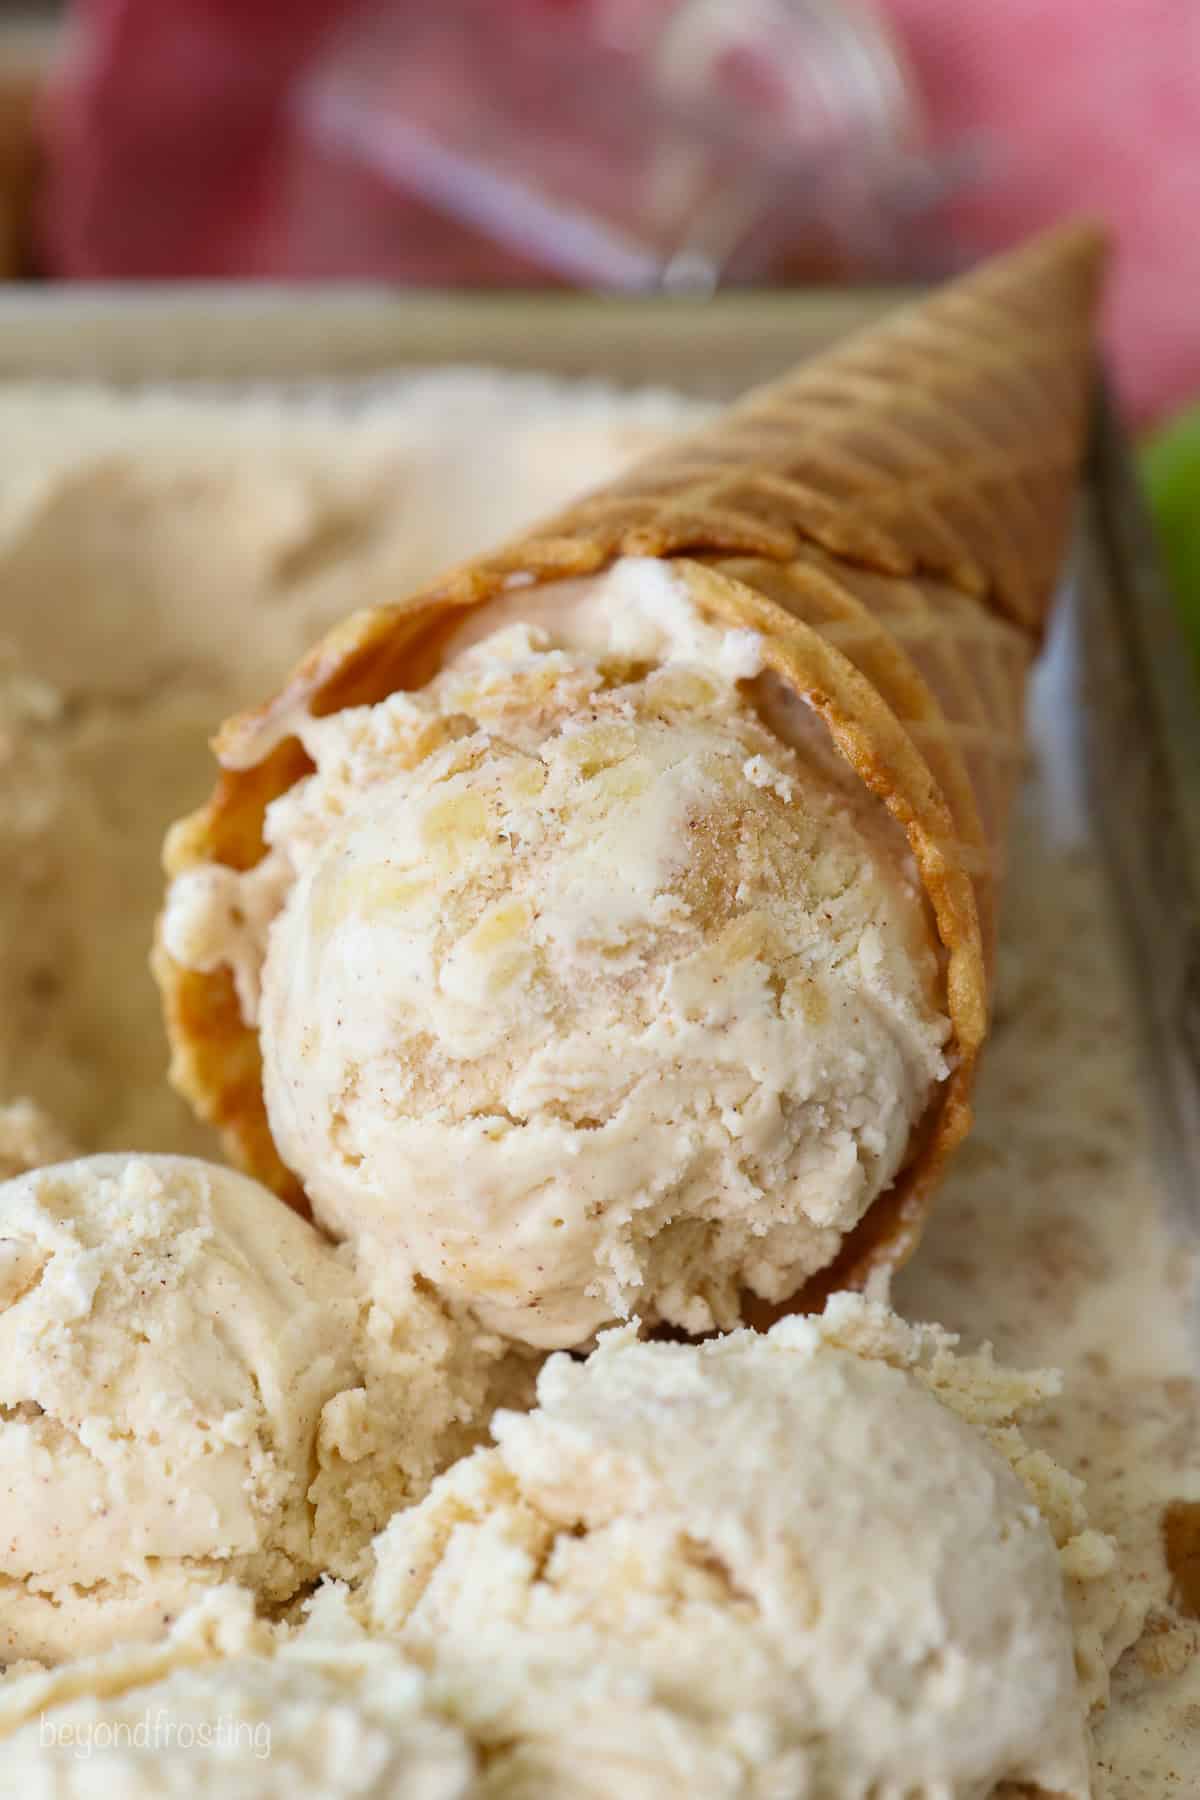
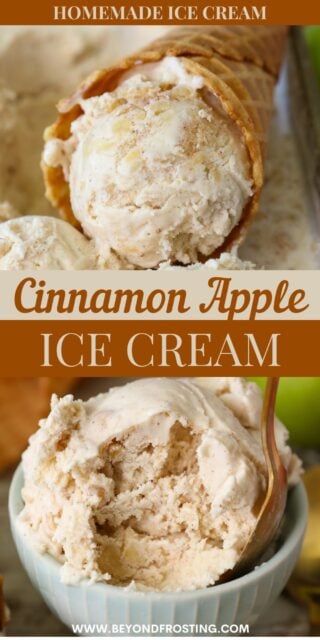
Apple ice cream is my family’s favorite way to enjoy the flavors of apple pie à la mode, without baking a whole pie! This homemade recipe has a cold and creamy ice cream base bursting with juicy bits of cinnamon apples, just like you’d find in pie filling.
The days might be getting chilly, but don’t retire your ice cream maker just yet! This apple ice cream and my pumpkin ice cream are the best way to embrace fall in a creamy, scoopable treat.
Creamy Homemade Apple Ice Cream
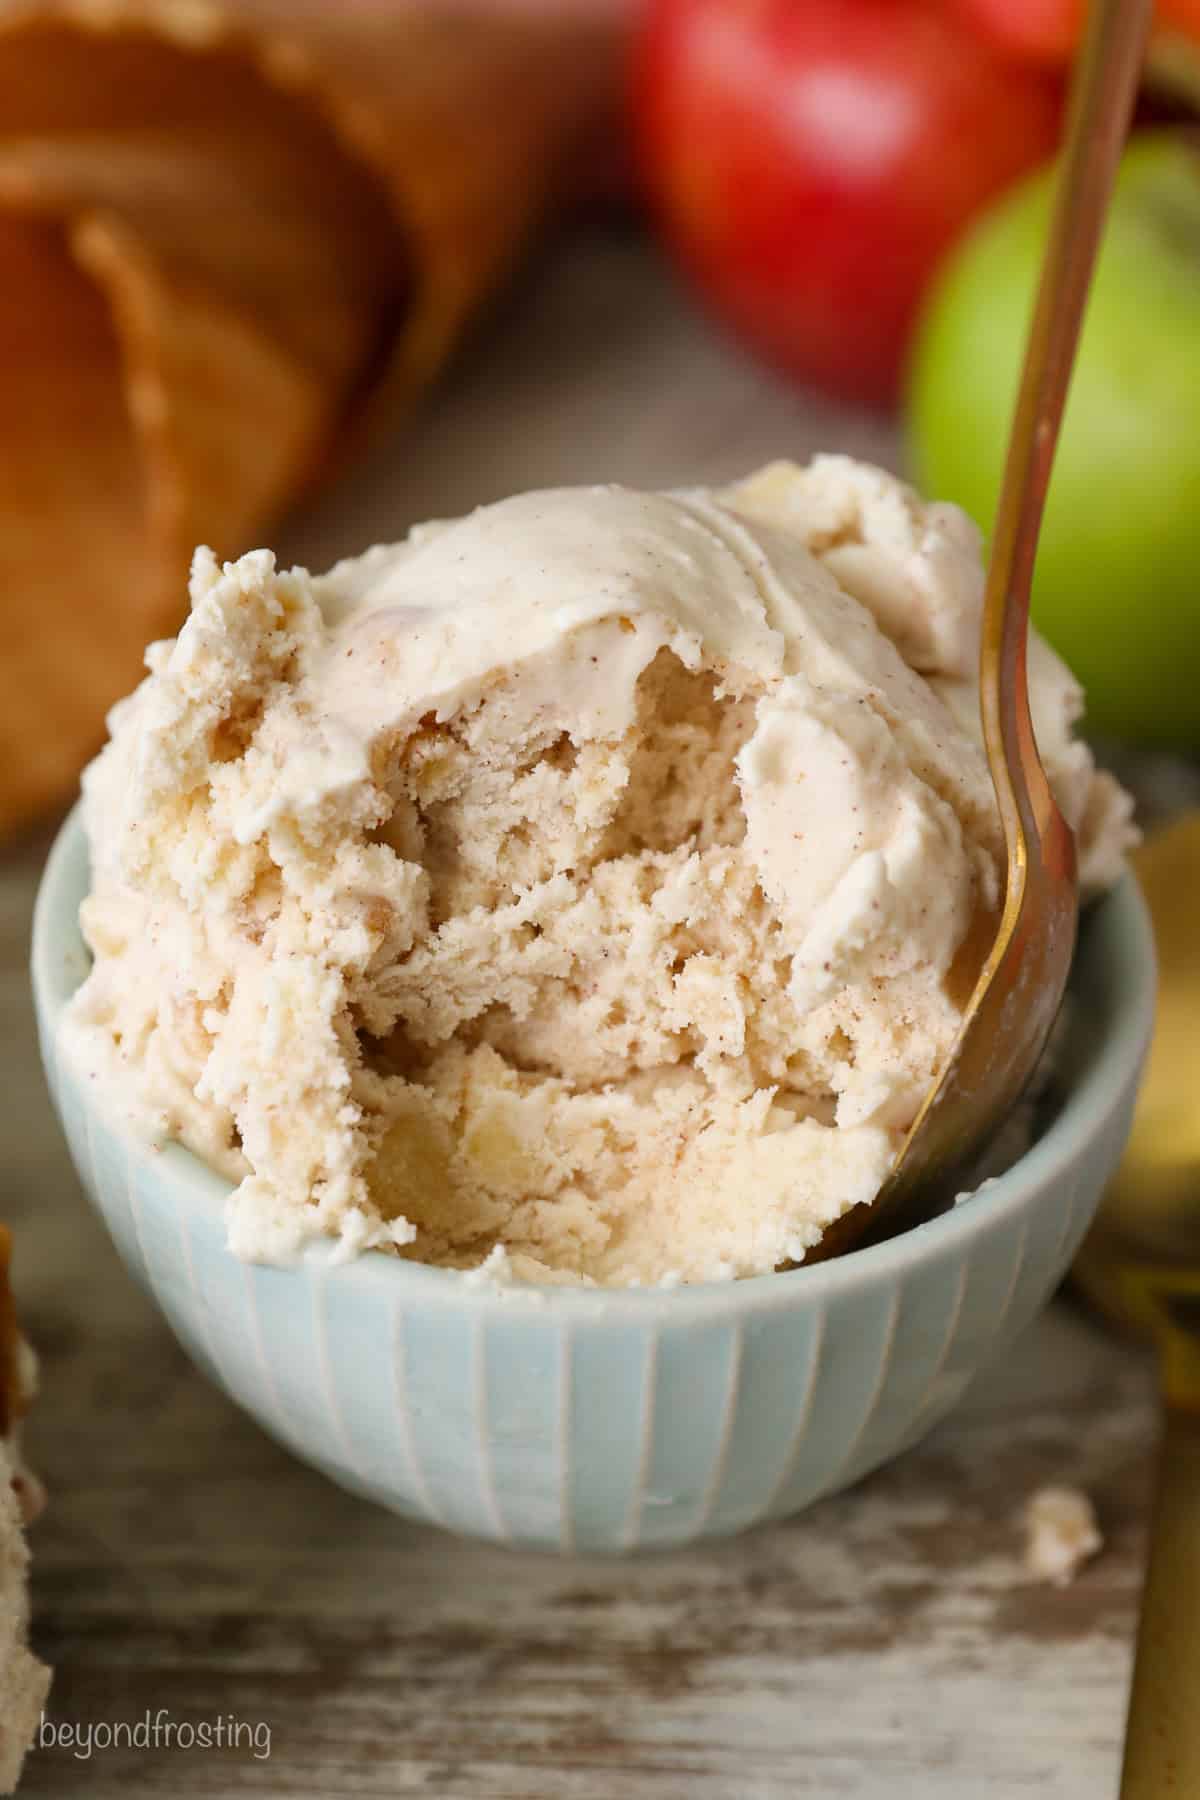
Why have apple pie WITH ice cream when apple ice cream is this easy to make instead? This homemade apple ice cream tastes just like apple pie à la mode, and it’s the perfect excuse to keep the ice cream maker out a bit longer this year. This recipe has juicy bits of apple pie filling wrapped in a cinnamon-spiced, bourbon-spiked, dreamy ice cream base. It’s the same base that I use for my peach ice cream recipe and it’s ultra-rich, creamy, and super simple to make.
Why You’ll Love This Ice Cream Recipe
- Beginner friendly! If you’re getting the hang of making ice cream from scratch, it’s very beginner-friendly. There’s no need to temper the egg yolks, which can be intimidating to some.
- Packed with fall flavor. Fresh fall apples, cinnamon, maple syrup, and pie spice fill every scoop of this ice cream with seasonal flavor. It’s the ultimate fall dessert!
- Spiked with bourbon. A little whiskey goes a long way in this apple pie ice cream recipe. Not only does it boost the flavors in the ice cream base, but adding bourbon makes for less icy ice cream, as alcohol does not freeze. You can easily swap bourbon out with another liquor, like brandy or spiced rum or omit it altogether.
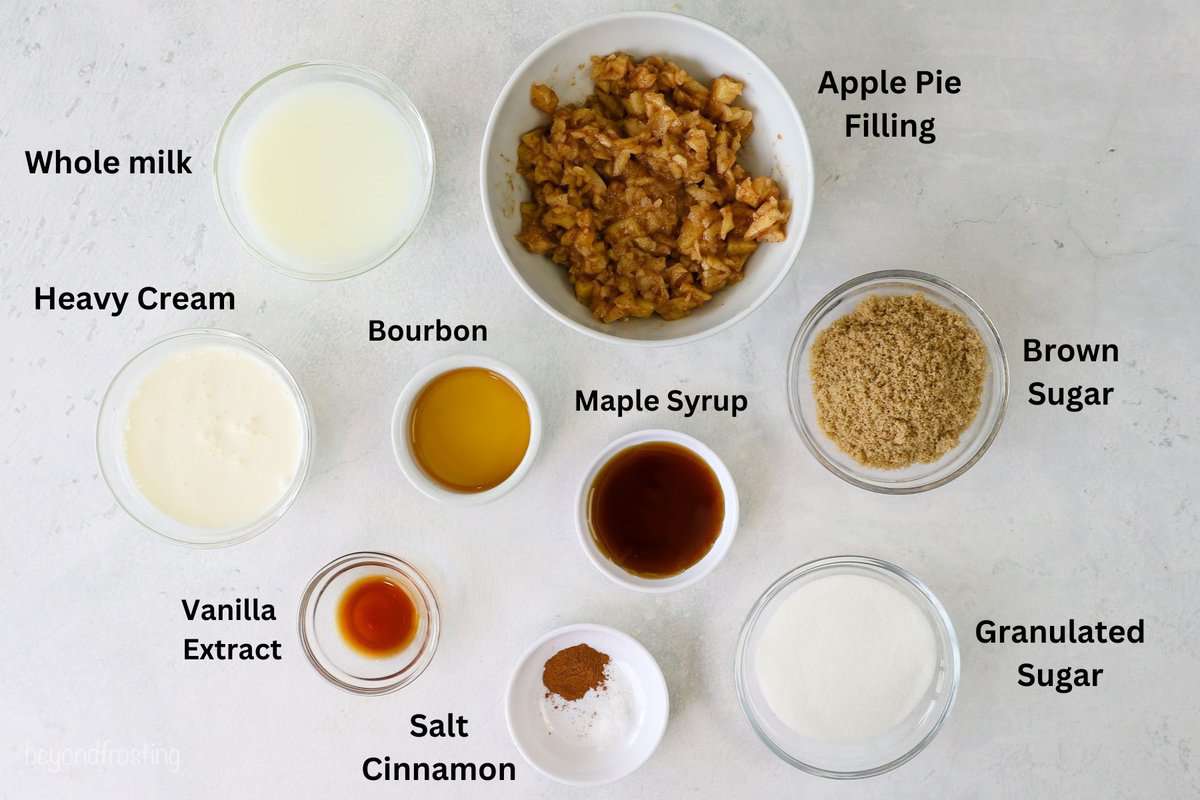
Key Ingredients You’ll Need
You need only a handful of ingredients to make the apple pie filling and ice cream base for this recipe, and I’ve included some notes on the key ones below. Scroll to the printable recipe card for a complete ingredients list with amounts.
- Apple Pie Filling – I include the recipe for my favorite homemade apple pie filling made from fresh fall apples, flour, sugar, and cozy fall spices. It’s ready in 20 minutes on the stovetop. If you’d prefer to use canned apple pie filling, that’s also an option.
- Whole Milk – Be sure to use whole milk and not low-fat or skim milk. The higher fat content is the secret to the creamiest homemade ice cream.
- Heavy Cream- In addition to the whole milk, heavy cream also added the fat content needed for a creamy ice cream base.
- Sugar – I use brown sugar along with granulated sugar for a deeper, more caramelized flavor.
- Maple Syrup – For an extra touch of fall flavor. If you don’t have real maple syrup, you can skip it or replace it with brown sugar.
- Cinnamon – Or a blend of fall spices, like apple pie spice (even pumpkin pie spice works in a pinch, as the ingredients are very similar).
- Bourbon – Optional, but a splash of bourbon whiskey or brandy adds great flavor. A full tablespoon yields a pretty strong flavor, so I usually start by adding ½ tablespoon and adapt the remaining amount to taste.
Before You Start, Remember to Do This
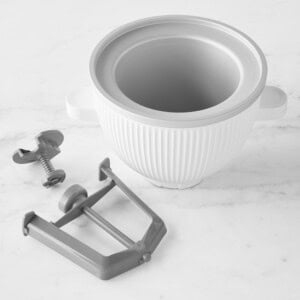
Take note of your ice cream maker’s instructions as some machines require pre-freezing, which can take 12-24 hours. I use this ice cream maker attachment for my KitchenAid mixer, but others may be different.
How to Make Apple Ice Cream
This is one of my best ice cream recipes to make in an ice cream maker and it’s very easy. The key is to have your ice cream base nice and chilled before you churn it as well as the apple filing which you can make up to 2 days in advance. Be sure to scroll to the recipe card for printable instructions.
- Make the apple pie filling. Squeeze lemon juice over peeled, diced apples and then toss them with the dry ingredients and a little maple syrup. Simmer the apples on the stove for 15-20 minutes, enough to soften without being mushy. Afterward, chill the filling and then blitz it in the food processor to small pieces before adding to the ice cream. The filling can be made up to 2 days in advance.
- Prepare the ice cream base. Heat the ice cream ingredients (apart from the heavy cream, vanilla, and bourbon) in a saucepan until the sugars dissolve. Be careful that it doesn’t boil.
- Finish and chill. Pour the base into a heat-proof bowl, and stir in heavy cream, vanilla, and a splash of bourbon. Now, cover and refrigerate the ice cream base for at least 2-3 hours, it must be completely chilled.
- Churn the ice cream. When ready, churn the ice cream according to your ice cream maker’s manufacturer’s directions. For most machines, this takes between 20-30 minutes.
- Add the apples. Finally, add the shredded apple pie filling in the last couple of minutes. I like to leave some of the apple filling aside to add by hand.
- Freeze. Transfer the churned apple ice cream to a freezer-safe container, and layer over the last of the apple pie filling. Pop the ice cream into the freezer for 4-6 hours, and then it’s ready to scoop!
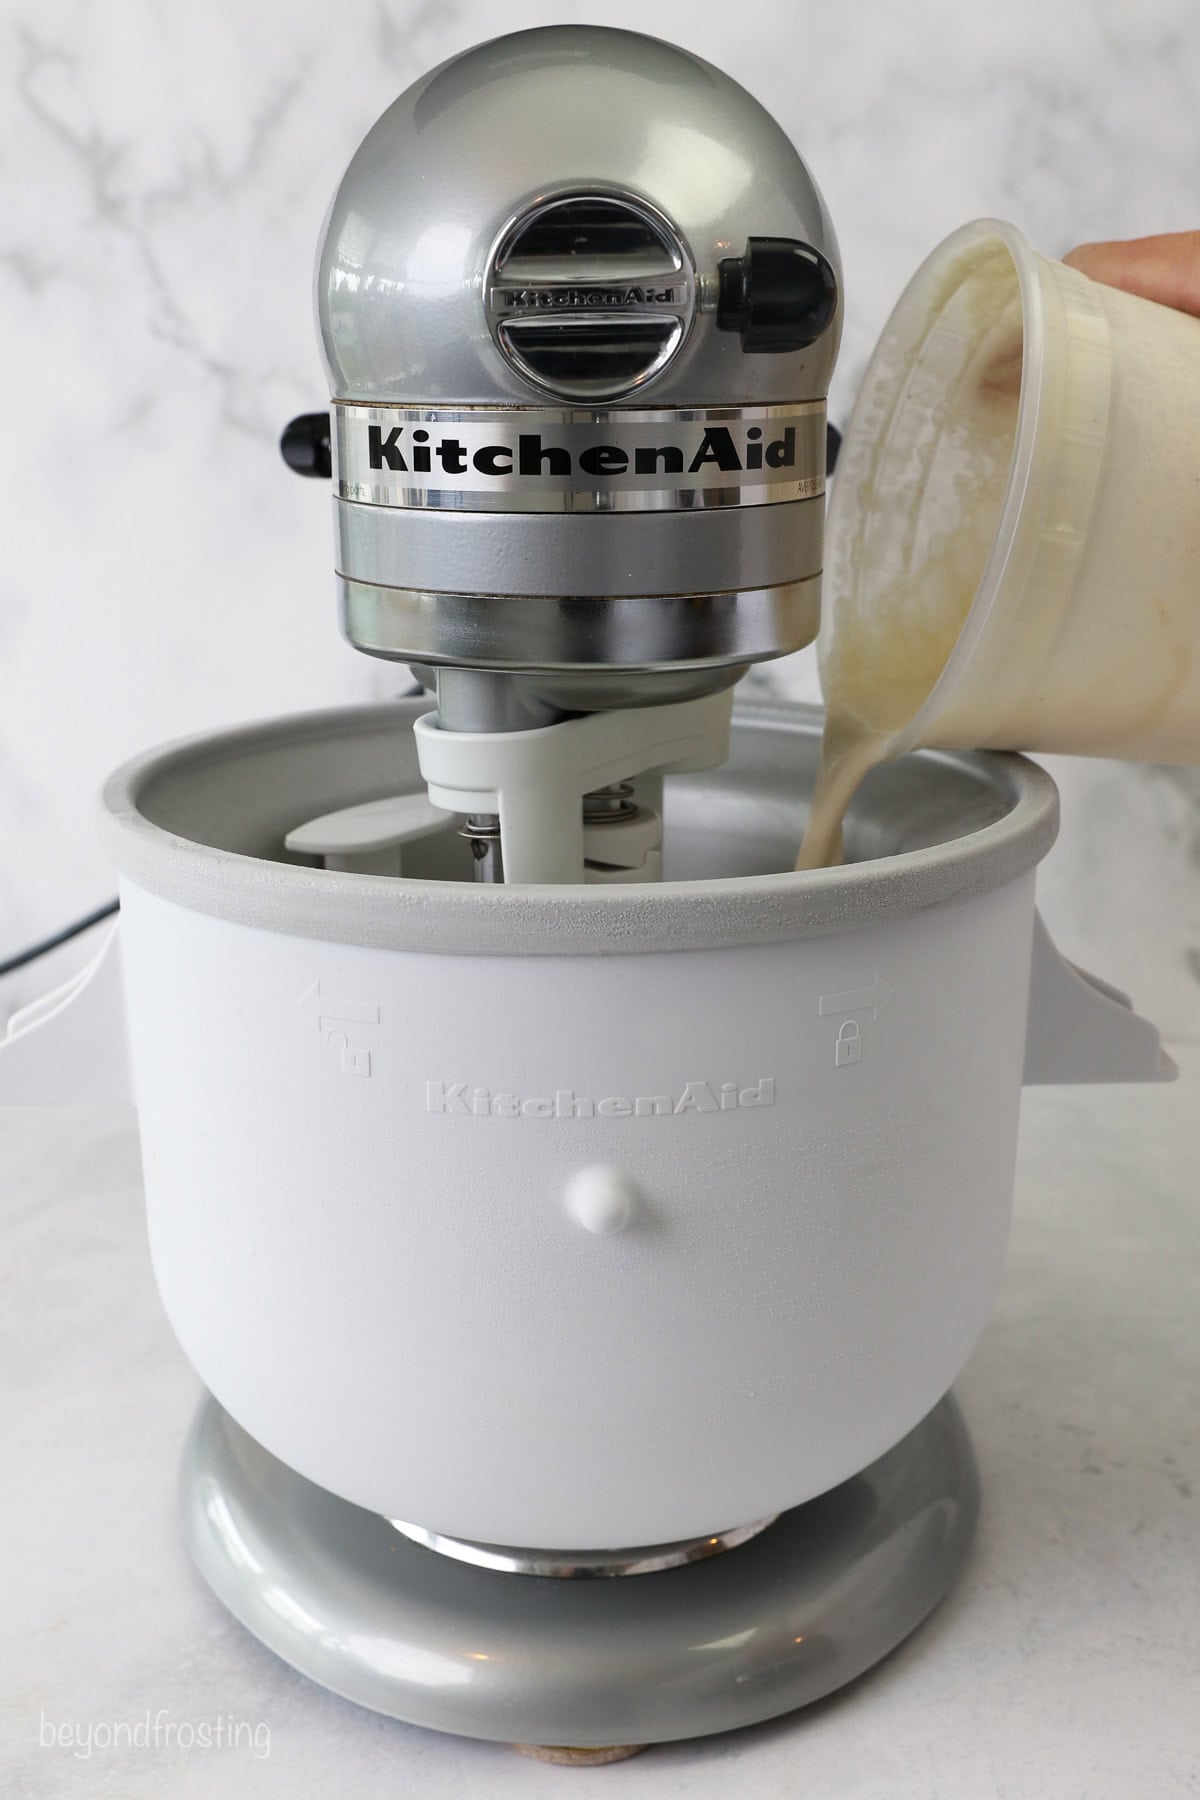
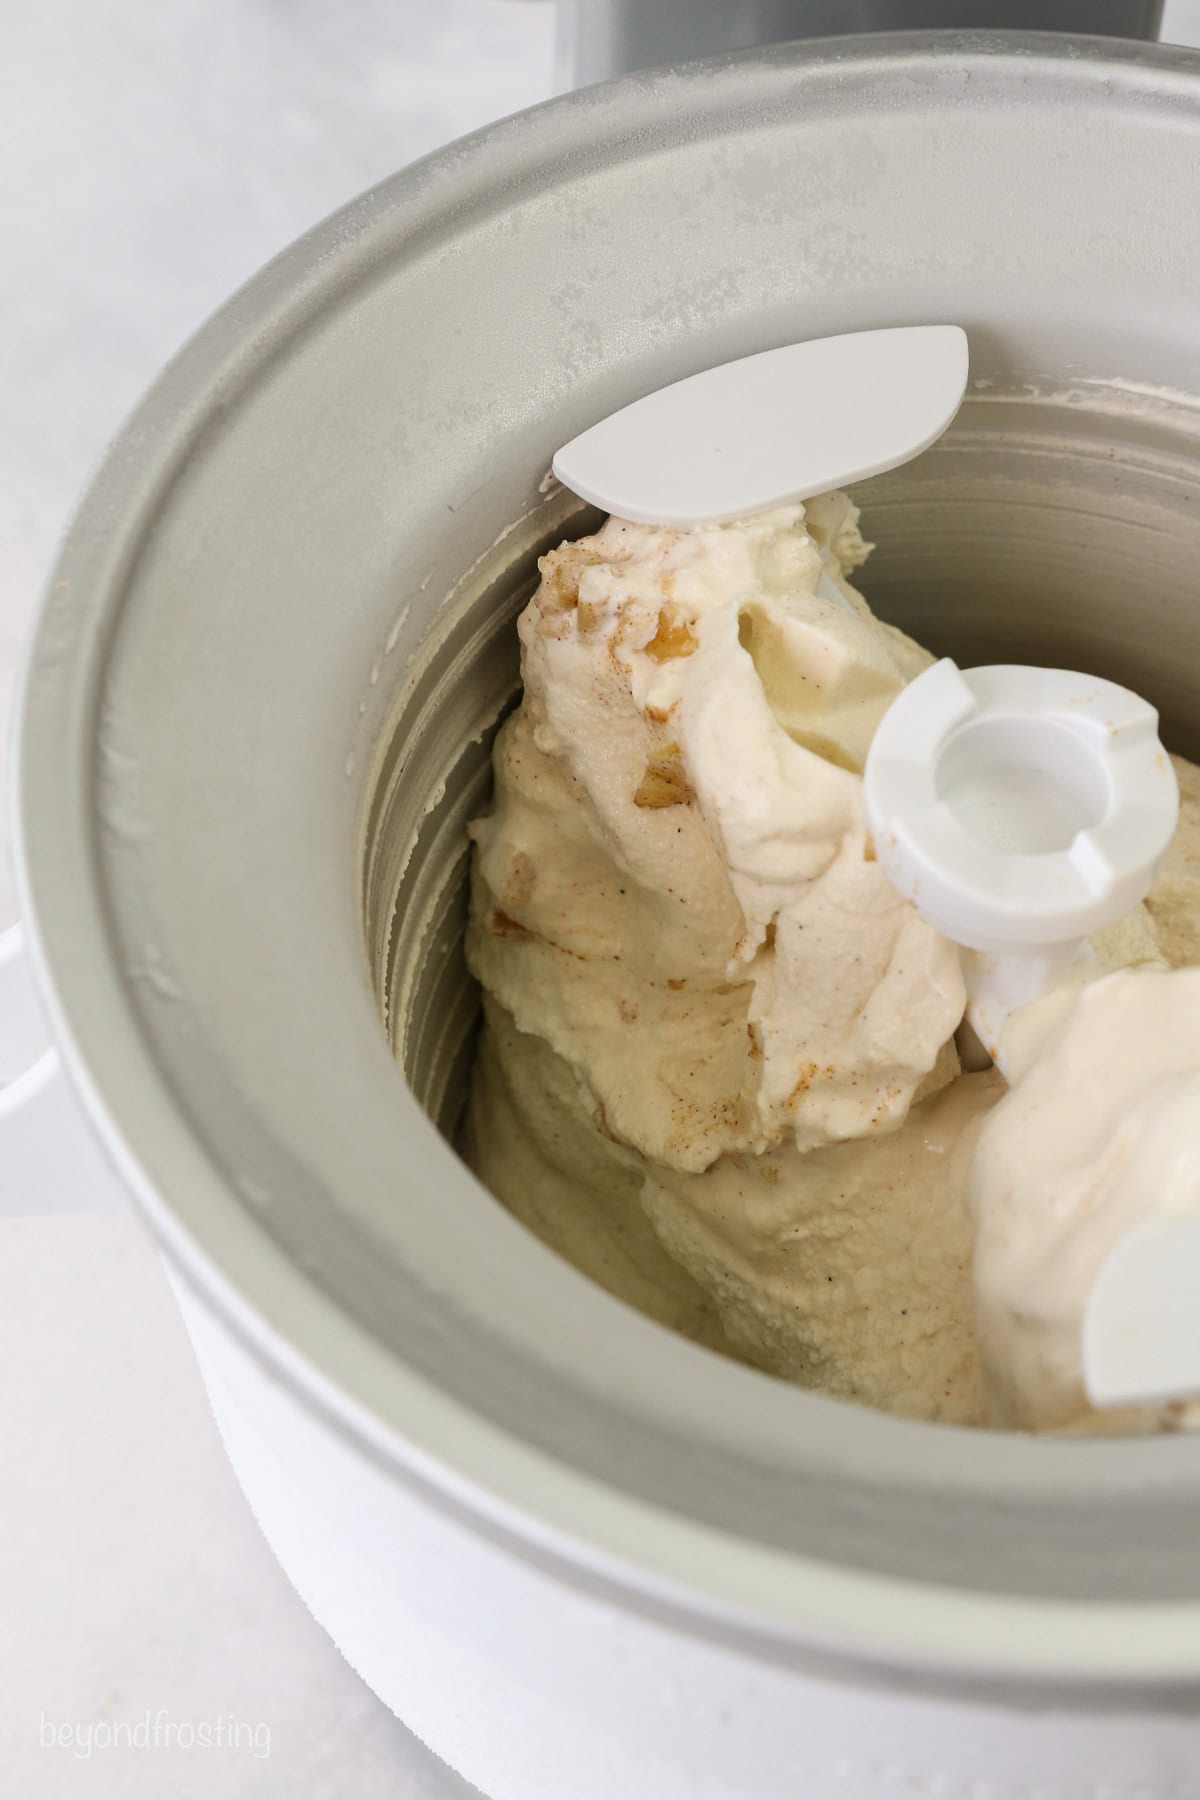
Can I Make This Without an Ice Cream Maker?
Unfortunately not. You’ll need an ice cream maker for this recipe, or a mixer with an ice cream maker attachment like the KitchenAid I use here. If you don’t have a KitchenAid mixer or similar, I hear this Cuisinart ice cream maker is great.
If you’re looking for an easy no-churn homemade ice cream recipe (meaning that you can make it without an ice cream maker), try my no-churn tiramisu ice cream or this no-churn brownie batter ice cream.
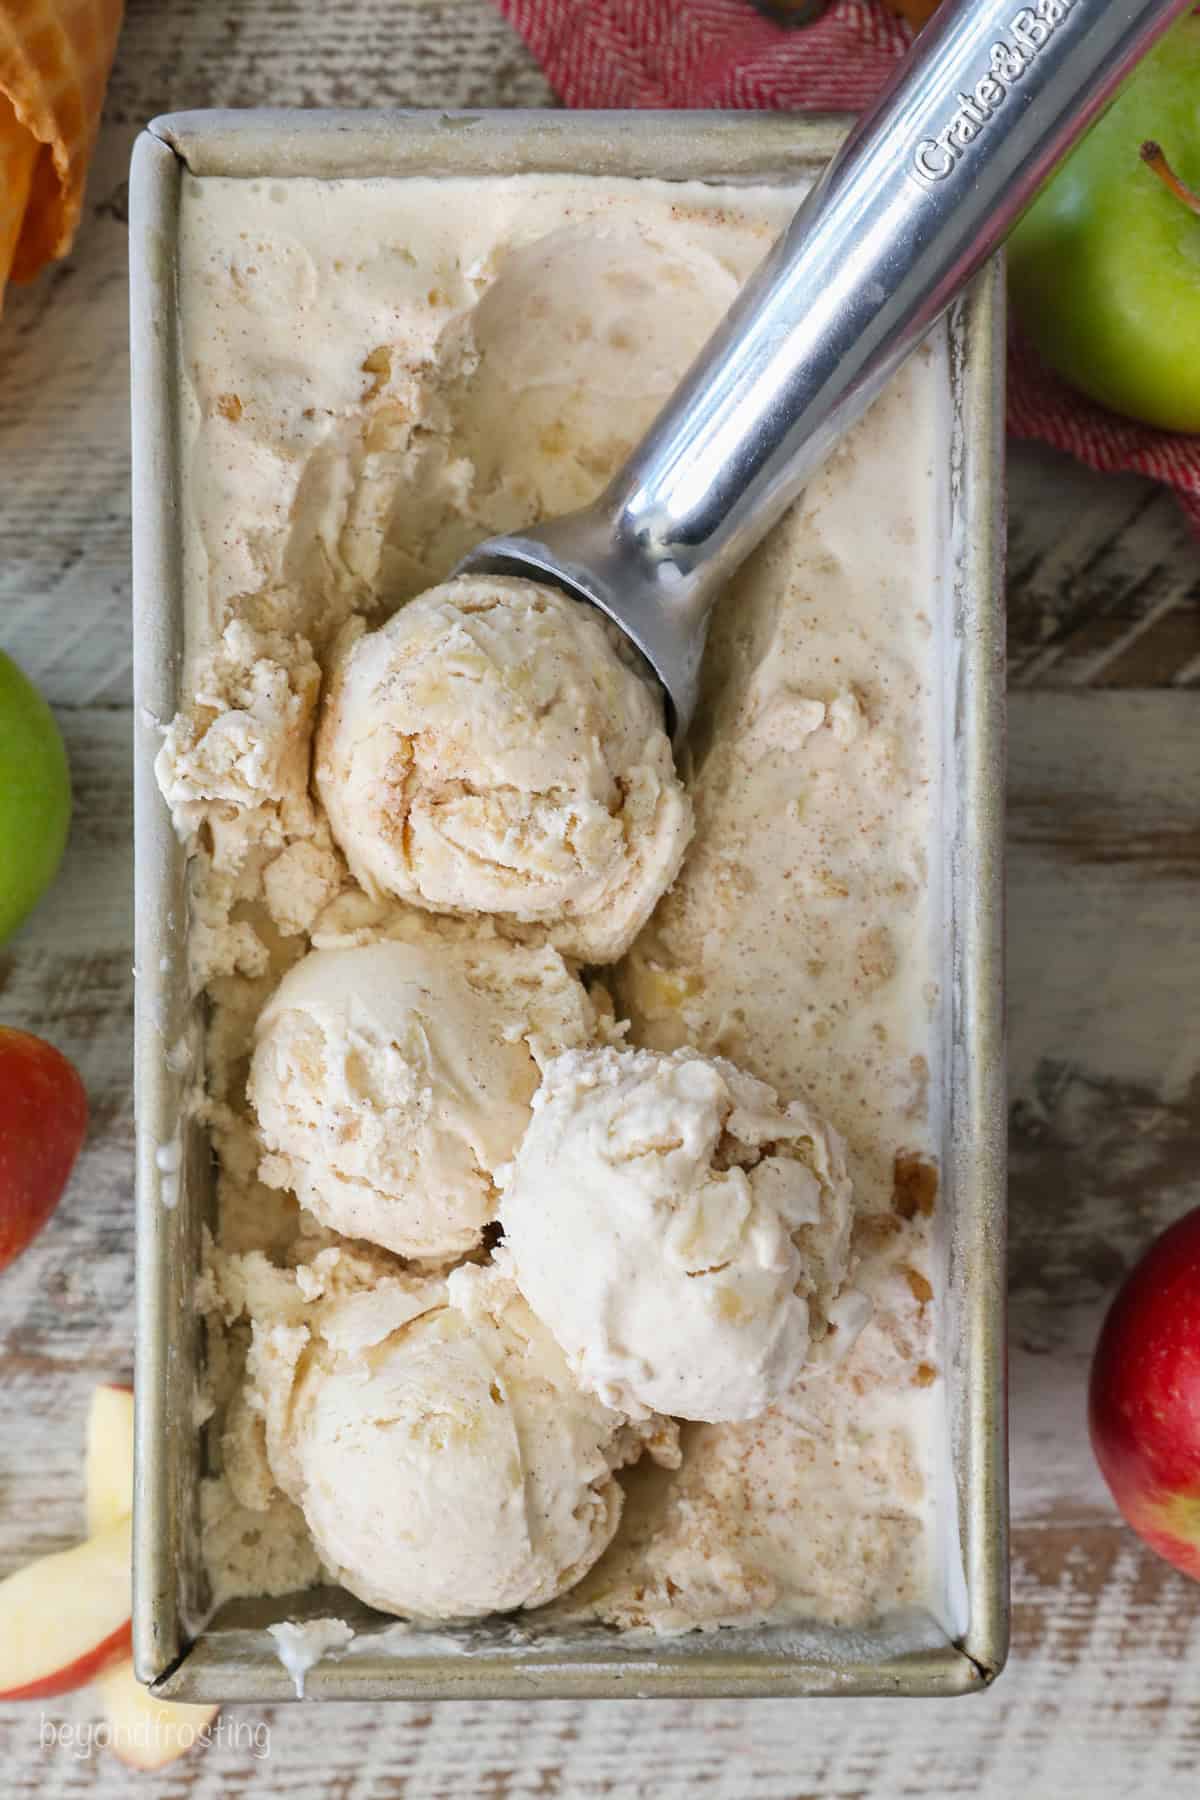
Recipe Tips
- Churn the ice cream for long enough. Be sure to churn the ice cream for at least 20 minutes (or as recommended by the manufacturer). As the ice cream churns, the ice cream becomes thicker with fewer ice crystals. This makes for a much smoother frozen consistency.
- Shred the pie filling. Once the apple filling is chilled, use a food processor to shred it into very small pieces. Biting into large chunks of frozen apples is not ideal.
- Prepare the filling in advance. The apples need time to cool down completely before you add them to the ice cream mixture. I find that it’s best to make it well ahead of time, and it’s fine to leave the filling covered in the fridge if you make it the day before, too.
- Add caramel. Drizzle salted caramel sauce over the finished ice cream once it’s in the tub, or layer the caramel into the ice cream for gooey swirls in every bite.
- Add nuts. If you love your ice cream with a bit of crunch, add chopped pecans or walnuts to the ice cream at the same time as the apple pie filling.
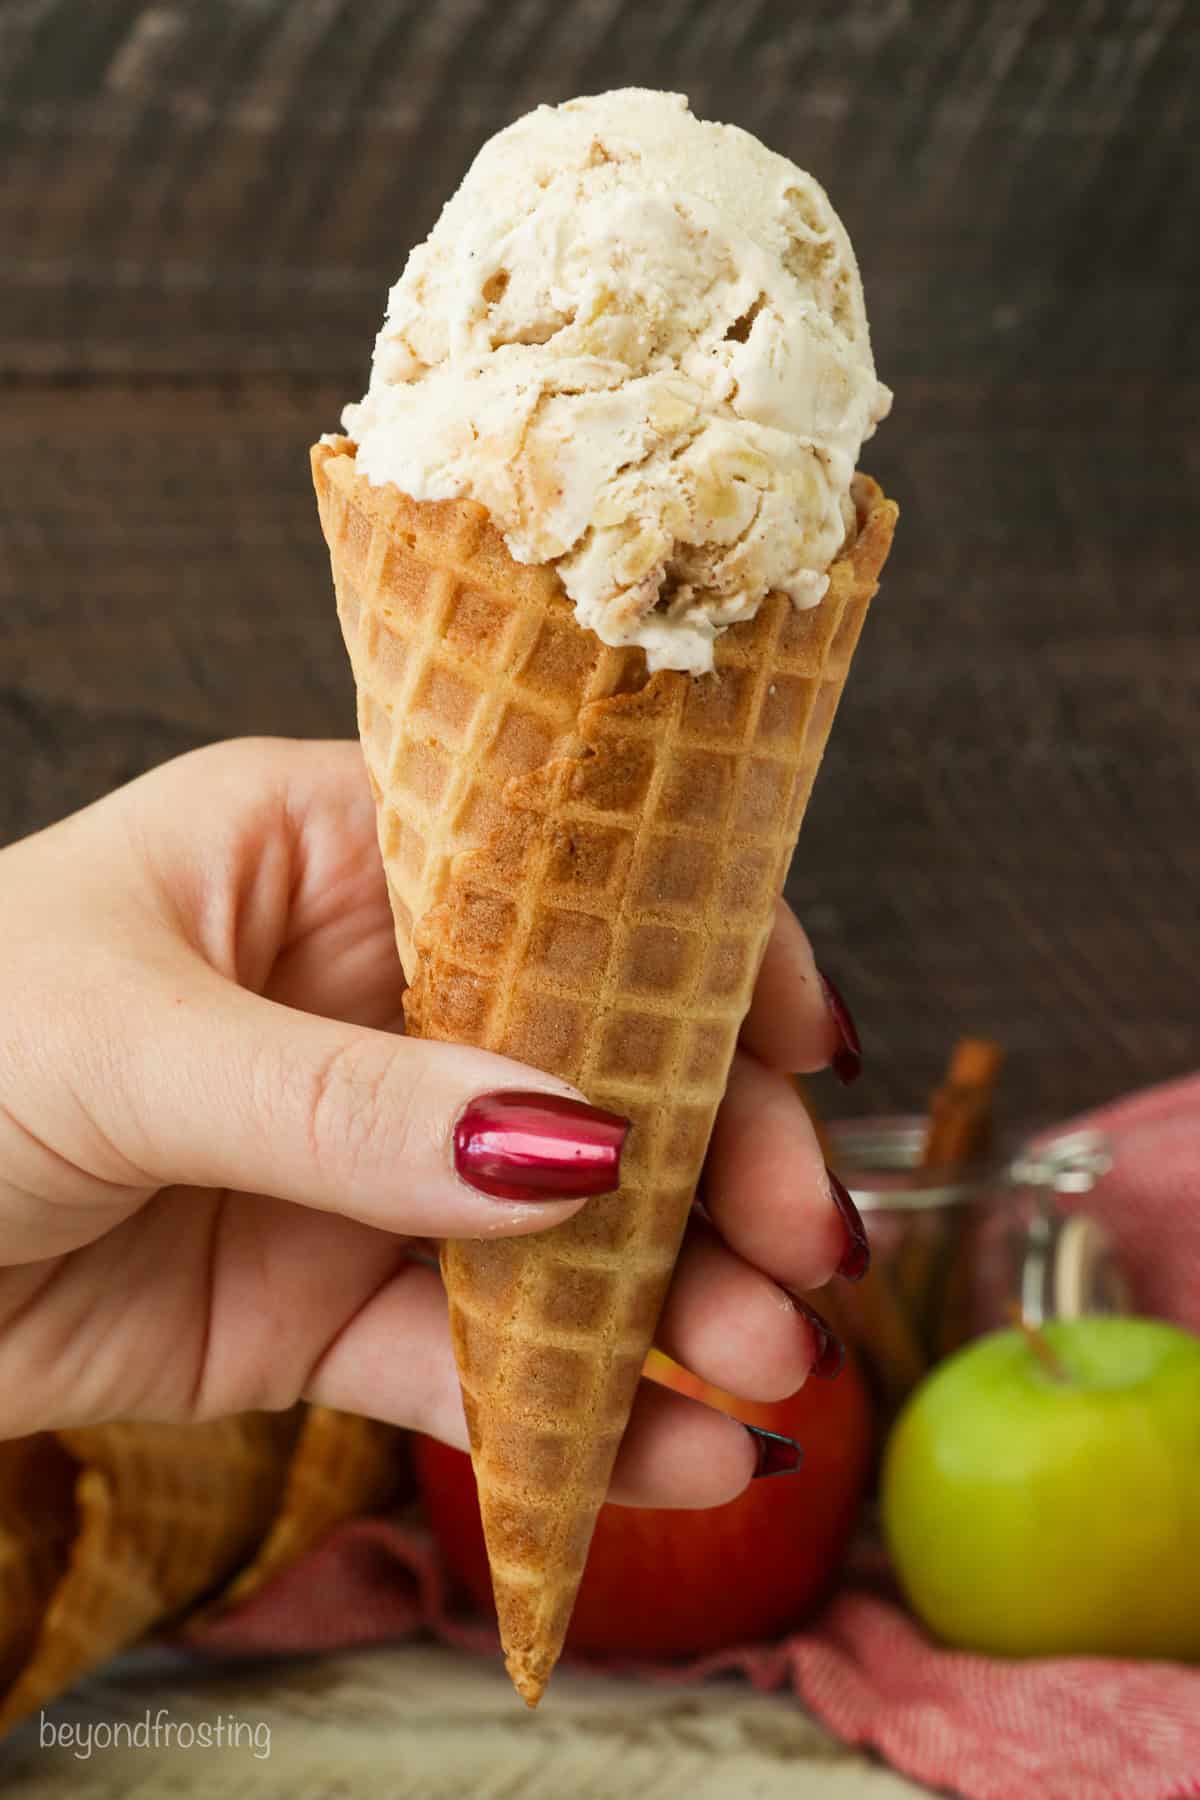
Ways to Serve Apple Ice Cream
When I was younger, I used to stir my ice cream until it was the consistency of a milkshake before I’d eat it! Old habits die hard, and I’ll still sometimes blend this apple ice cream with extra milk to make a shake. Otherwise, it’s delicious scooped into a cone or bowl and topped with whipped cream. I also love this ice cream topped with maple whipped cream, a drizzle of maple syrup or caramel sauce, and pie crust chips for a fall-themed ice cream sundae!
Serving Tip
Homemade ice cream can be a bit harder and icier than store-bought since it’s made without any additives. For this reason, I’ll take the ice cream out of the freezer 10 minutes or so before serving so that it’s easy to scoop. It also helps to run the ice cream scoop under hot water and dry it before scooping.
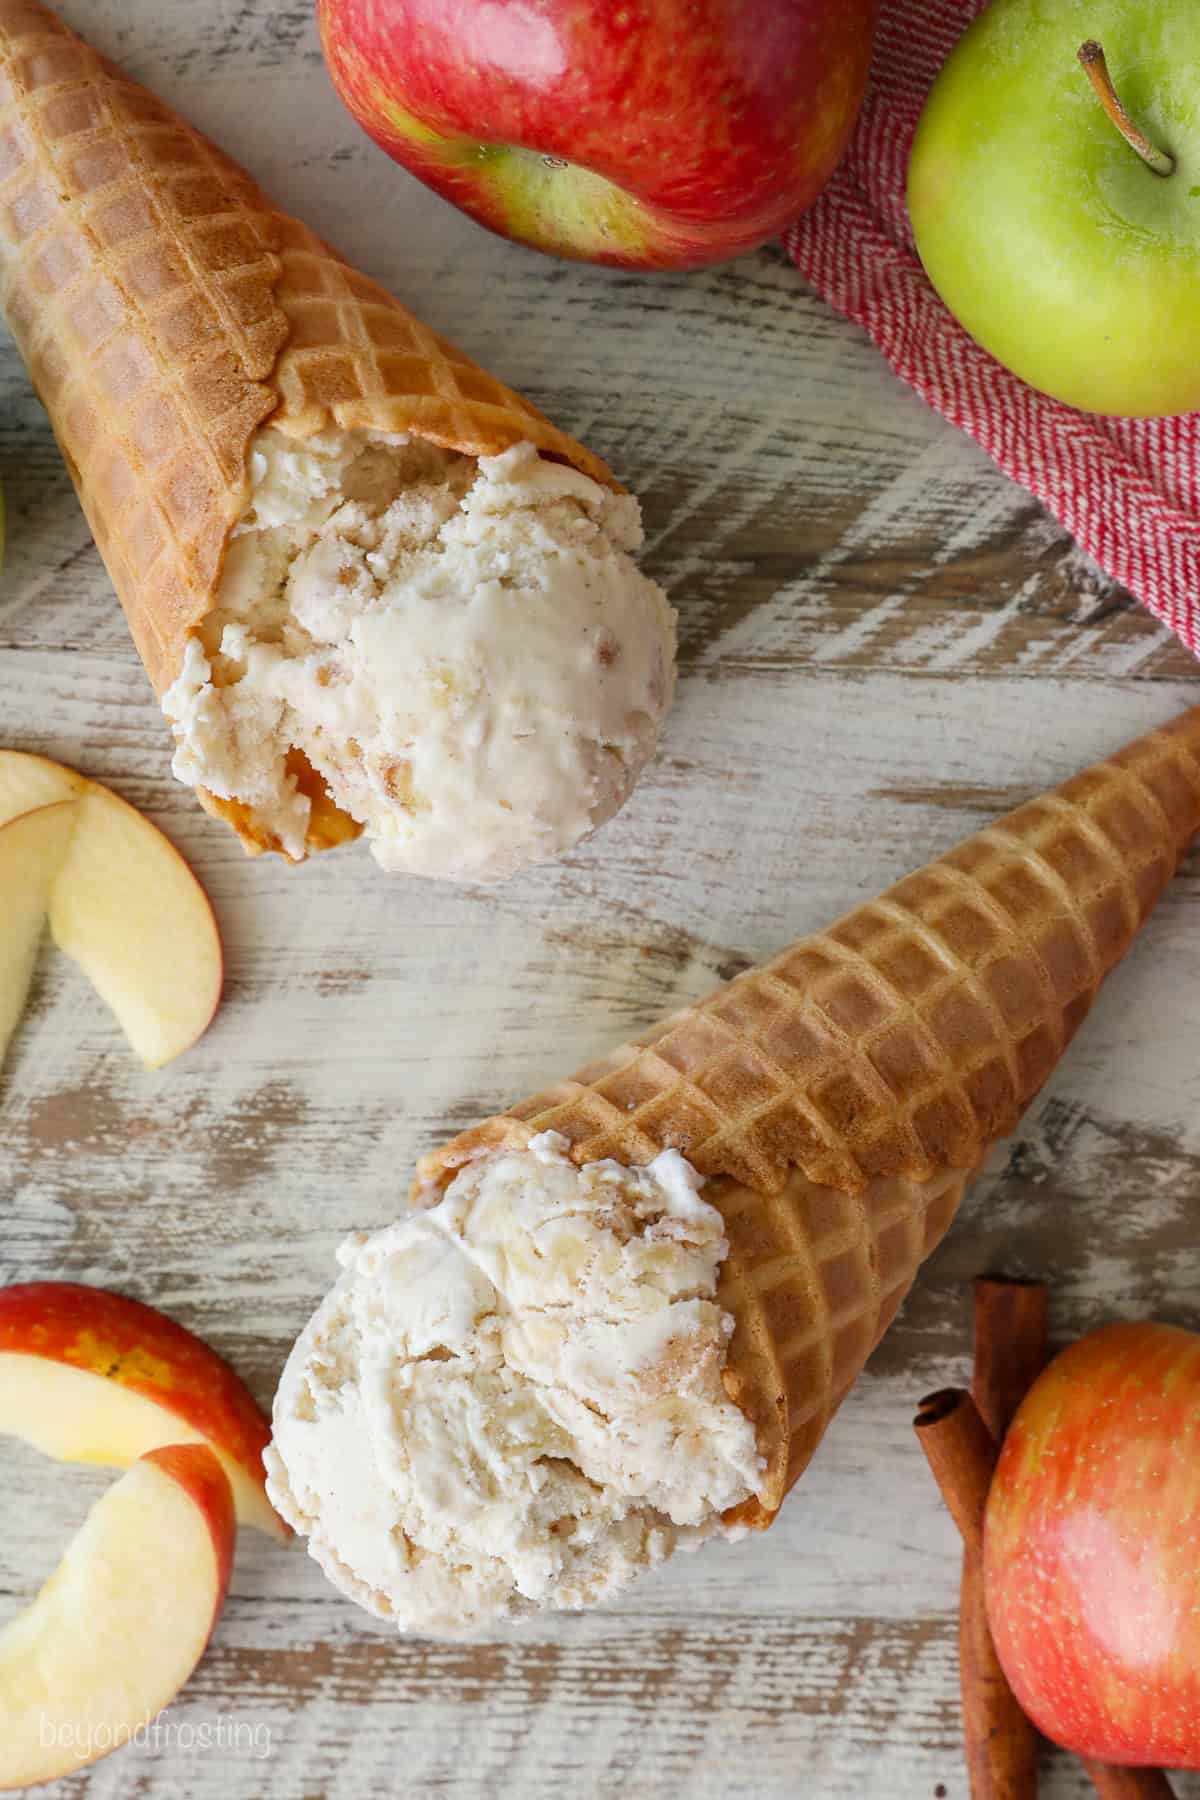
How to Store
Keep this apple ice cream in a freezer-safe tub or container with a tight-fitting lid. You can also use a loaf pan and wrap it tightly with plastic wrap. Store your homemade ice cream in the freezer for up to 1 month. A piece of plastic wrap pressed directly to the surface of the ice cream helps to protect it from freezer burn.
More Apple Dessert Recipes
Print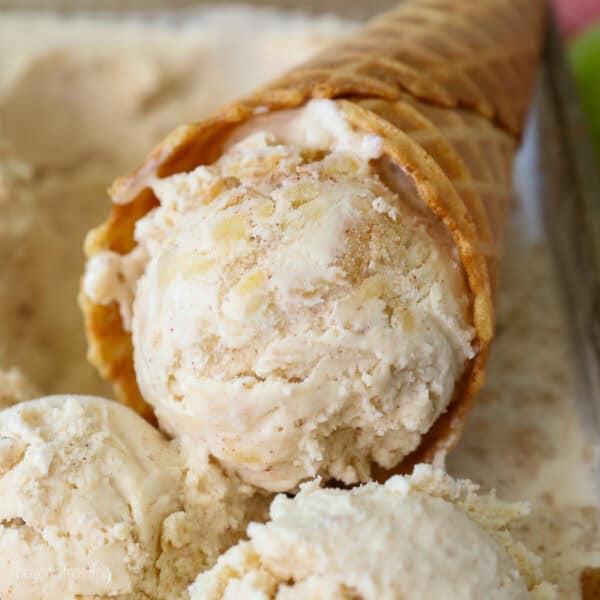
Apple Ice Cream
- Prep Time: 45 minutes
- Chill time: 6-8 hours
- Cook Time: 20 mins
- Total Time: 0 hours
- Yield: 4 Cups
- Category: Ice Cream
- Method: Ice Cream Maker
- Cuisine: American
Description
This homemade apple ice cream recipe is a cold and creamy fall treat bursting with juicy bits of cinnamon apples, just like the filling in homemade apple pie!
Ingredients
For the Apple Filling
- 1 cup chopped apples (about 2 medium apples, peeled and chopped)
- Squeeze of fresh lemon juice
- 1 teaspoon (5ml) Pure maple syrup
- 2 teaspoons (6g) All-purpose flour
- 1 tablespoon (28g) Light brown sugar
- ½ teaspoon Ground cinnamon
- ¼ teaspoon Apple Pie Spice
- 1–3 tablespoons Water, as needed
For the Ice Cream Base
- 1 cup (236ml) Whole milk
- ¼ cup (48g) Granulated sugar
- ¼ cup (56g) Light brown sugar
- 1 tablespoon (15ml) Pure maple syrup
- ¼ teaspoon Ground cinnamon
- ¼ teaspoon Salt
- 2 cups (473ml) Heavy whipping cream
- 1 teaspoon (5ml) Pure vanilla extract
- ½ to 1 tablespoon (15ml) Bourbon (optional)
Instructions
- Pre-freeze the ice cream machine as directed by the manufacturer.
For the Apple Filling:
- Peel and dice the apples into small pieces (about the size of a dime) and squeeze a lemon over top and stir to combine.
- Combine the dry ingredients and then toss together with the apples until fully coated. Pour the maple syrup overtop and gently stir.
- Heat apples on the stove over medium heat for 15-20 minutes until soft. Stir occasionally, add 1 tablespoon of water at a time as needed to prevent sticking. Cook until the apples are fork-tender and the sauce has thickened. Chill completely.
- Once chilled, use a food processor to shred the apple filling into small pieces, the smaller the better.
For the Ice Cream Base
- In a medium-sized saucepan, combine the whole milk and all the remaining ingredients except the heavy cream, vanilla extract, and bourbon. Heat over medium-low heat, stirring frequently just until the dry ingredients are dissolved. Do not allow the mixture to boil.
- Remove from the heat and transfer to a heat-proof bowl. Stir in the heavy whipping cream, vanilla, and bourbon, mixing to combine. Cover the top of the mixture with plastic wrap and refrigerate for a minimum of 2-3 hours until the mixture is completely rechilled.
- Churn the ice cream base according to the manufacturer’s instructions, this should take around 20-30 minutes. During the last couple of minutes, add the shredded apple filling, and reserve a couple tablespoons to stir in by hand. Transfer the ice cream to a freezer-safe container, laying in the remaining apple filling. Freeze for 4-6 hours before scooping.
Equipment
 Buy Now →
 Notes
- Bourbon can be omitted for an alcohol-free option.
- Scooping tip: Run the ice cream scoop under hot water and pat dry before scooping. It helps keep the scoops together.
Nutrition
- Serving Size: 1/2 cup
- Calories: 297
- Sugar: 20.4 g
- Sodium: 104.7 mg
- Fat: 22.5 g
- Carbohydrates: 21.8 g
- Fiber: 0.5 g
- Protein: 2.8 g
- Cholesterol: 70.4 mg



Hi Mary, I have the 1 1/2 qt container and the recipe is enough to fill that container.
Oh my gosh, I LOVE my ice cream maker!
Thanks Trish! Me too!
Thanks Jessica! I can’t resist anything apple pie!
Thank you Lindsey!
haha! Apple pie always gets me too.
Thanks for sharing Gayle!
Thanks girl!
Ice cream before 8am is totally fine, because no one will see you eating it 🙂
You got that right!