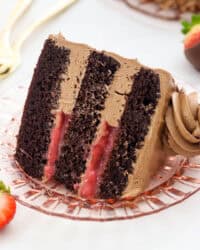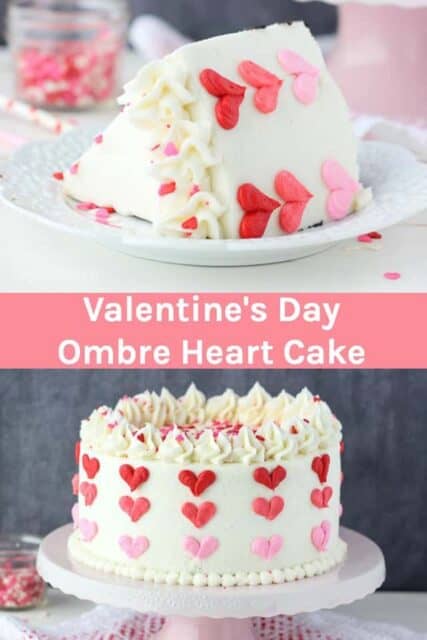
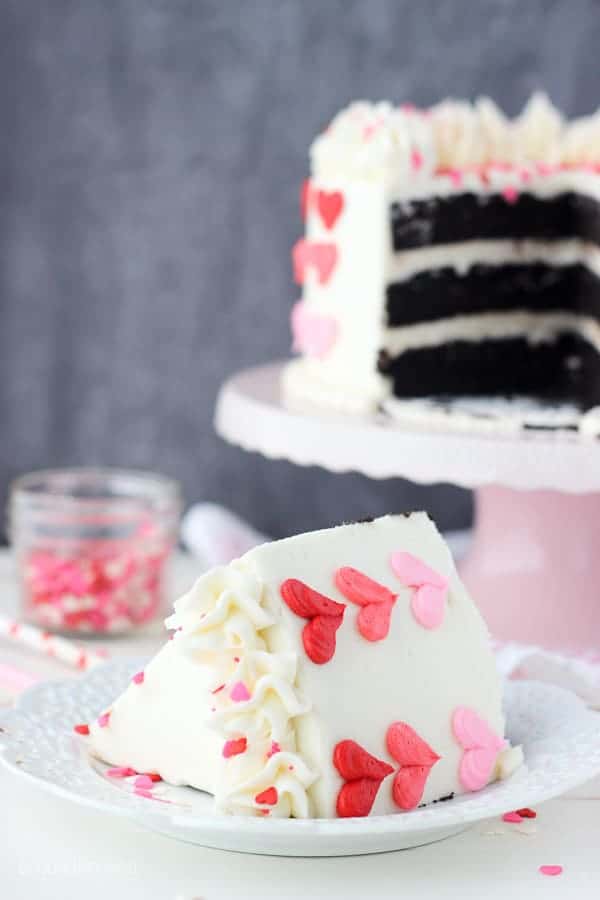
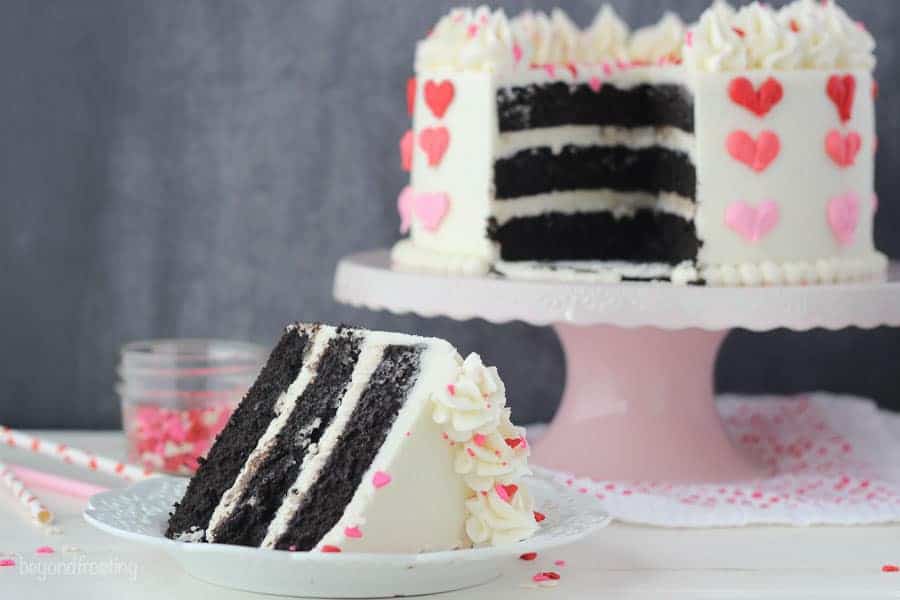
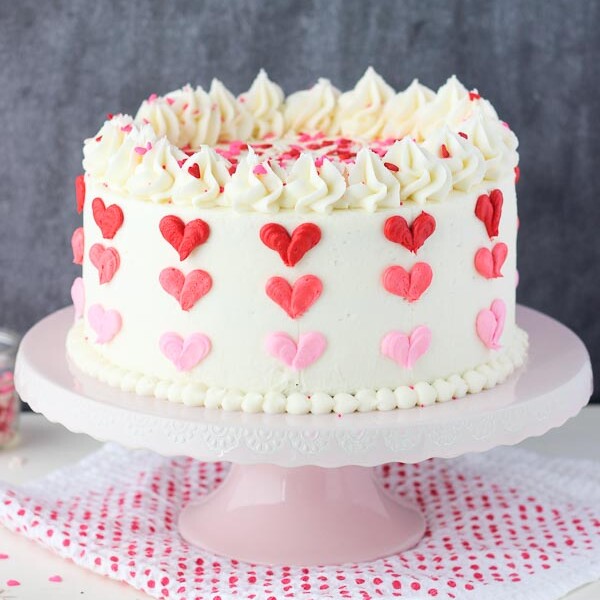
You can make this Valentine’s Day Cake featuring an ombre heart design with these few easy tips. This is an easy homemade chocolate cake with vanilla buttercream.
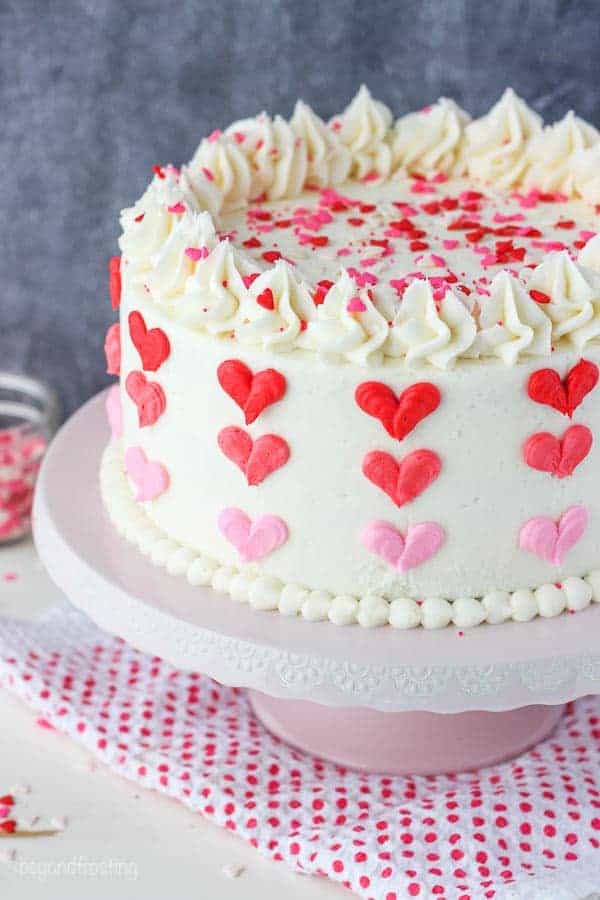
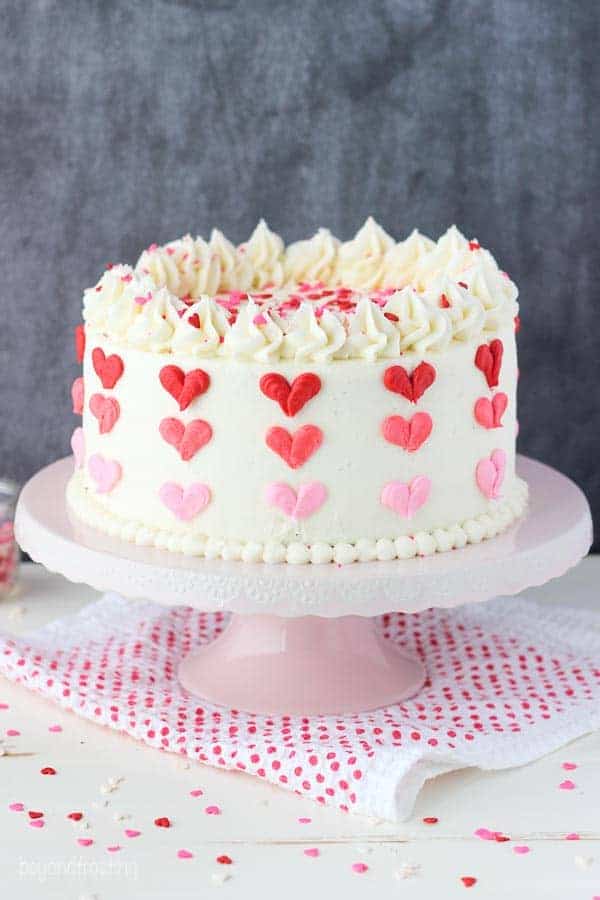
I pictured this cake in my head and it actually came out just the way I wanted it too. I haven’t always been the best when it comes to cake decorating, but I’ve practiced a ton! I love the ombre red and pink hearts, the decadent chocolate cake and of course the heart shaped sprinkles on top.
You can make this cake too! Even if you’re not someone who feels comfortable baking from scratch or even decorating cakes, I am here with LOAD OF TIPs, plus the actual cake recipe is very easy to make.
One of my goals for this year was to try more cakes because I consider cakes to be a bit challenging for me. Trust me, if I can do it, you can do it! Since I originally posted this cake, I’ve made lots and lot of cake recipes, but each time it can still be a challenge to try different decorating techniques.
Easy Cake Recipes
Whether you love chocolate or vanilla cakes, either option works perfectly for this Valentines day cake.
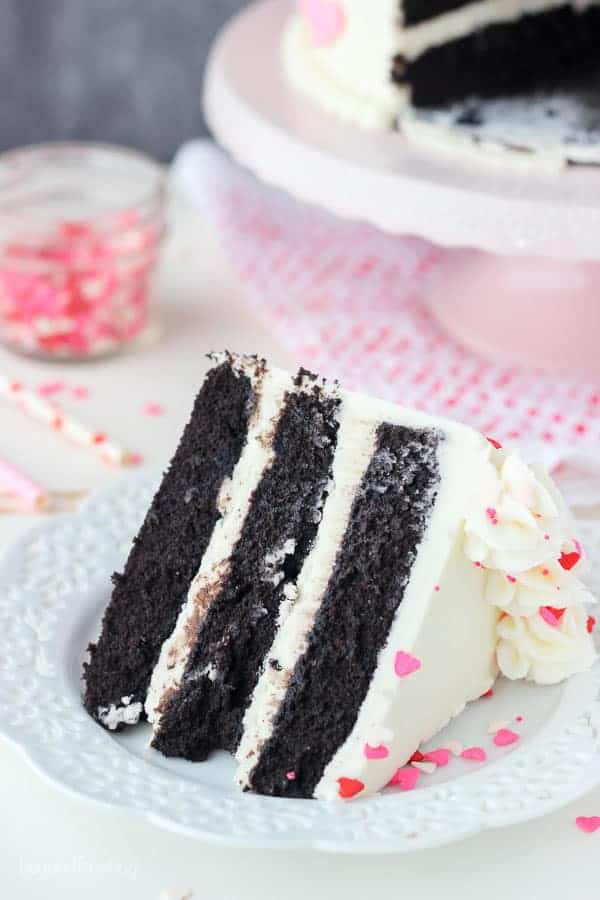
For this cake, I used my chocolate cake. This is my go-to chocolate cake recipe. It can be made as cupcakes, a 9×13 inch cake or as an 8-inch three layer cake like you see here. If you prefer a vanilla cake, then I’d recommend my Moist Vanilla Layer Cake Recipe.
Both recipes are super easy to make. Each recipe an oil-based cake, so there’s no need to cream together the butter and sugar. It takes about 10 minutes from start to finish to prepare the cake batter.

The best vanilla frosting
The frosting for this cake is my Perfect Vanilla Frosting. It is an all-butter frosting that is whipped to perfection. If you’re hesitant about frosting, don’t worry! Just reference my post about how to make buttercream. It’s packed with tips and tricks.
Between frosting and decorating this cake, you’ll need a lot of frosting. I made two small batches of it, but in the recipe card, I listed the total amount needed. It sounds like a heck of a lot of ingredients, and you’re right.
My number one rule when it comes to making cakes and cupcake is that you never want to run out of frosting. You will have extra frosting with this cake. So afterwards, you might be inspired to make a batch of cookies or cupcakes just so you can use it up.
You can also save your leftover buttercream! Store it in an airtight container in the refrigerator or one week or in the freezer for longer.
Frosting the cake
The first layer of frosting is a crumb coat and the filling for each layer. If you’re not super comfortable making layer cakes, follow these next few simple tips.
- To fill the layers, I placed the frosting in a piping bag and used a large round open tip. You can use a Wilton Tip #12 Round or something larger.
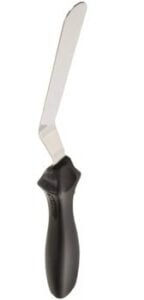
- Pipe from the outside edge in a single layer of frosting. Gently smooth over with an Angled Icing Spatula. Place the next layer of cake and repeat.
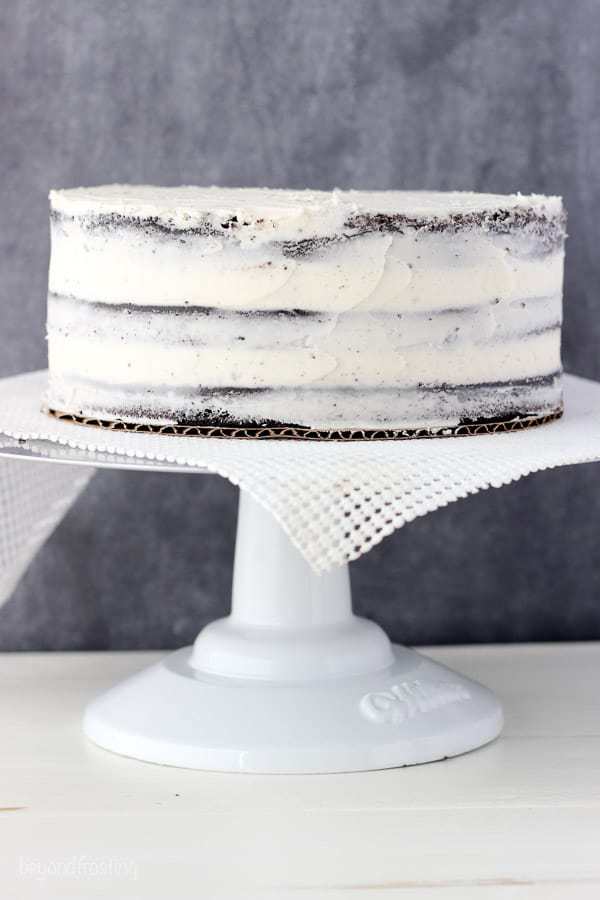
- Once your layers are built, add the crumb coat. This will be a thin layer of frosting, enough to cover the edges and fill in the cracks.
- Simply drop a spatula’s worth of frosting and spread across the top and down the edges. You can use your filled piping bag to add additional frosting to some of the cracks in between the layers or at the bottom edge.
- Refrigerate the cake for 5 minutes until the crumb coat is firmed up.
Then it’s time to add the final layer of frosting. I have NEVER built a cake with edges as smooth as this cake. There are a few essential tools you will need that will change your world.
Tools for frosting a smooth cake
- These are helpful tools but certainly not required: Cake Icer, Icing Smoother, a Fondant Smoother
- Viva paper towels. I first heard about the Viva paper towel trick years ago in my cake decorating classes. They really do the trick!
- With the oversized cake icer, you will also need an 18-inch piping bags.
- It is extremely helpful is you have a turntable that you can spin as you ice the cake. The higher the better. I have one very tall, heavy duty metal turntable and also a smaller one as well. This Cake Turntable should work just fine for you.
For how to get those nice smooth edges, I used this tutorial for frosting a smooth cake from my bestie Lindsay. I can’t even begin to try and explain it all. But it worked! She is like my cake spirit animal. I called her as soon as I was done and was all, “can you believe I did this?”
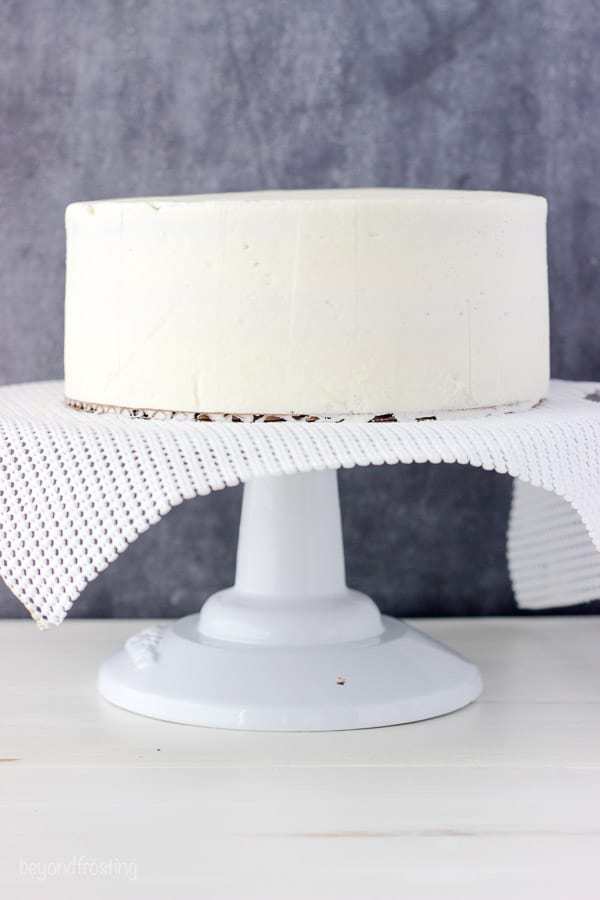
Once the cake is iced, pop it in the refrigerator for 10-15 minutes so the edges are slightly firmed. This will help ensure that when you’re piping the hearts, you don’t accidentally dig into the sides of your cake. Now it’s time to prepare to add the hearts.
Dying your frosting
You need to dye about ½ cup of frosting per color. It is more frosting than you need, but it makes it easier to hold the piping bag if it’s more full. I used my Wilton Color Right gels. With this set you can make dozens and dozens of colors using just 8 base colors.
When dying colors, it is important to remember that you can always make a color darker, but you can’t really make it lighter. So start with just a small drop of dye.
- I started with the lightest pink by adding ¼ of a drop of pink gel.
- Then for the second color I used a larger drop of red
- For the third color, I used a combination of red and crimson
Decorating with ombre hearts
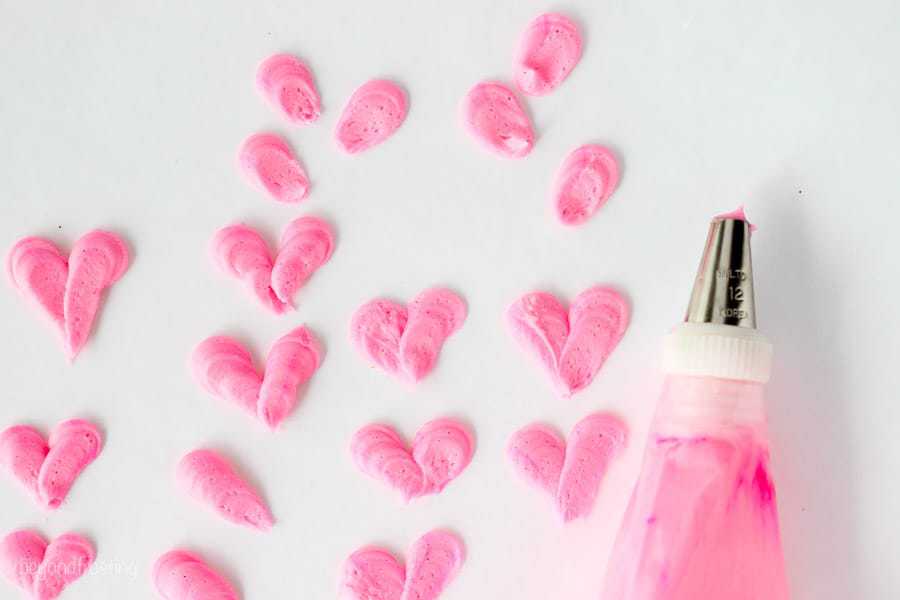
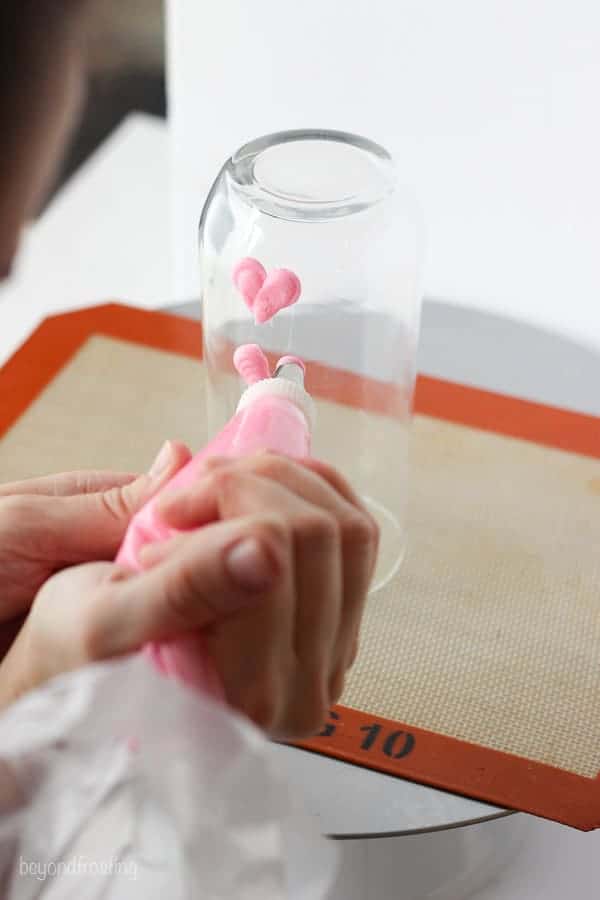
I had to practice making the hearts before adding them to my cake. First I practiced on a piece of parchment paper, and then I practiced on a glass, as if I was piping on the cake. I found it was very helpful to do this before actually applying it to my cake.
And if you need that frosting, you can just scrape it back into your piping bag so it doesn’t go to waste!
- To make the hearts, I used a Wilton Tip #12 Round. It is nice if you have more than one so you don’t have to wash it out every time.
- If you have couplers on your piping bags, then it’s super fast to switch your piping tip from bag to bag.
- Cut the plastic bag just about the first ring on your piping bag. The piping tip will actually fit over top of the bag, then screw on your cap. This is the best way I have found to prevent the frosting from blowing out of the bag.
- For more tips of how to use a piping bag, I have a whole tutorial for that too!
- If you don’t want to use couplers, then I recommend the two piping bag trick. Fit the #12 piping tip in one bag, and then drop in a separate bag filled with frosting. When you’re done, just pull your frosting bag out, clean your piping tip and drop the next one in.
Making the hearts
- I use a soft tape measure to measure the diameter of the cake and mark the bottom with a small dot, using a toothpick. I was able to make mine about 2” apart.
- Then I used a ruler and ever so gently imprinted a vertical line that will be used to keep the hearts straight as I applied them. You’ll hardly notice once you add the hearts, just be careful not to push in too deep.
- Start by making a tear drop shape. Squeeze the piping bag until it makes a circle and then slowly pull down as you ease the pressure and swiftly pull it away. Once you are ready to add to you cake, follow a few simple steps.

For the top, I used an Ateco Tip #846 – Closed Star Tip to make the stars on top and then garnished with some sprinkles. You could also use any of your leftover frosting from the hearts to pipe the boards along the top and bottom of your cake. I was just so proud of myself when I saw the finished piece! I know you can do it to!
More helpful tools for baking layer cakes:
Icing Smoother | Fondant Smoother | Cake Icer
Wilton Color Right | Ateco Tip #846 – Closed Star Tip
Wilton Tip #12 Round | 12-inch Piping Bags | 18-inch piping bags
Cake Turntable | Angled Icing Spatula
Follow Beyond Frosting:
Facebook | Twitter | Pinterest | Instagram
If you love no-bake recipes, be sure to check out my cookbook, No-Bake Treats!
Valentine’s Day Ombre Heart Cake
- Prep Time: 60 minutes
- Cook Time: 20 minutes
- Total Time: 1 hour 20 minutes
- Yield: 10 slices
- Category: Cake
- Method: Baked
- Cuisine: American
Description
This homemade chocolate cake with vanilla buttercream is decorated with ombre hearts. You can make this Valentine’s Day Ombre Heart Cake with these few easy tips.
Ingredients
For the cake:
- 1 ½ cups granulated sugar (285g)
- ½ cup vegetable oil (118 ml)
- 3 large eggs
- 1 tablespoon pure vanilla extract (15 ml)
- ½ cup light sour cream (118 ml)
- 2 cups all-purpose flour (280g)
- ½ cup cocoa powder (55 g)
- 1 tablespoon espresso powder (5g) (optional)
- 2 ½ teaspoons baking powder (9 g)
- ½ teaspoon baking soda (2 g)
- 1 teaspoon salt (5 g)
- 1 ¼ cup brewed coffee (296 ml)
For the frosting:
- 3 cups unsalted butter, cold (680g)
- 9–10 cups powdered sugar (1711g)
- 1 tablespoon vanilla extract (15ml)
- 3 tablespoons heavy whipping cream(45ml)
Instructions
- For the cake: Preheat the oven to 350°F. Prepare 3 8-inch round baking pans, line the bottom with parchment paper and grease the sides. Prepare your bake even stripes if desired.
- In a large mixing bowl, combine the sugar, vegetable oil, eggs and vanilla extract. Beat on medium speed until the eggs and oil are well incorporated and the batter is lighter in color. Next mix in the sour cream and beat until well combined.
- In a separate bowl, sift together the dry ingredients. Alternate half the dry ingredients followed by half of the coffee and mix just until the flour starts to incorporate. Repeat with remaining ingredients.
- Use a spatula to scrape down the sides of the bowl and stir the batter from the bottom to the top to ensure it’s well mixed.
- Divide the batter evenly between the three pans, about 1 2/3 cups of batter per pan. Bake at 350°F for 20-24 minutes. Rotate your pans in the oven halfway through baking.
- Test the cake for doneness by inserting a toothpick into the center of the cake. If the toothpick comes out clean, your cake is done. Remove from the oven and allow to cool completely.
For the frosting:
- Cut the butter into pieces. Using the paddle attachment, whip butter for 5-7 minutes, scraping down the bowl occasionally. Beat until butter look light in color.
- Add 2 cups of powdered sugar and mix on low speed until incorporated into butter then add 2 tsp of vanilla extract and mix to combine. Beat for about 60 seconds.
- Next, add additional powdered sugar 2 cups alternating with the heavy cream and vanilla extract and beat on low speed until sugar is incorporated. Increase speed to medium-high and beat for 2-3 minutes for adding more powdered sugar.
- Once all the ingredients have been added, beat for another 2-3 minutes.
- Separate out 1/2 cup of frosting into 3 bowls. Using the Wilton color gels, start with the lightest pink by adding ¼ of a drop of pink gel. Then for the second color I used a larger drop of red and for the third color, I used a combination of red and crimson. Mix until well combined.
- Fill 3 separate 12-inch piping bags fitted with a coupler and a size #12 Wilton piping tip. Set aside.
- To assemble the cake, use a cake leveler to cut the domes off the top of the cake. Place a dollop of frosting on your cake board and place the bottom layer of cake on top.
- Place about 2 cups of frosting in a large piping bag fitted with a large open round tip, or simply cut off the end of the piping bag. Pipe a layer of frosting on top of the cake, starting at the outside edge and working your way into the middle. Spread evenly with an offset spatula. Repeat with the second layer of cake and then place your third layer on top.
- Use your piping bag to fill in any gaps between your layers and to create a crumb coat. Using an angled spatula or icing smoother, wipe away the excess frosting, leaving you just enough to coat the outside of the cake. Do not mix your crumb coating frosting back into your icing if it has cake debris in it. Refrigerate the crumb coat for 20 minutes.
- Proceed to frost the top and sides of the cake using your offset spatula. Once the sides of the cake are covered, use you icing smoother to remove any excess frosting.
- Pipe the hearts on the outside of your cake. Then take you remaining vanilla frosting and use a large open star tip to pipe the boarder of the cake and garnish with sprinkles.

Notes
- For the hearts, I used a soft tape measure to measure the diameter of the cake and mark the bottom with a small dot, using a toothpick. I was able to make mine about 2” apart. Then I used a ruler and ever so gently imprinted a vertical line that will be used to keep the hearts straight as I applied them.
Filed Under: