My old-fashioned chocolate pie recipe is rich, silky, and easy to make from scratch. It has a buttery homemade pie crust filled with thick and creamy chocolate custard, topped with fluffy whipped cream and chocolate shavings for the ultimate chocolate lover’s dessert!
For another delicious variation of this recipe, try my chocolate pudding pie with a graham cracker crust. You might also love this classic French silk pie.
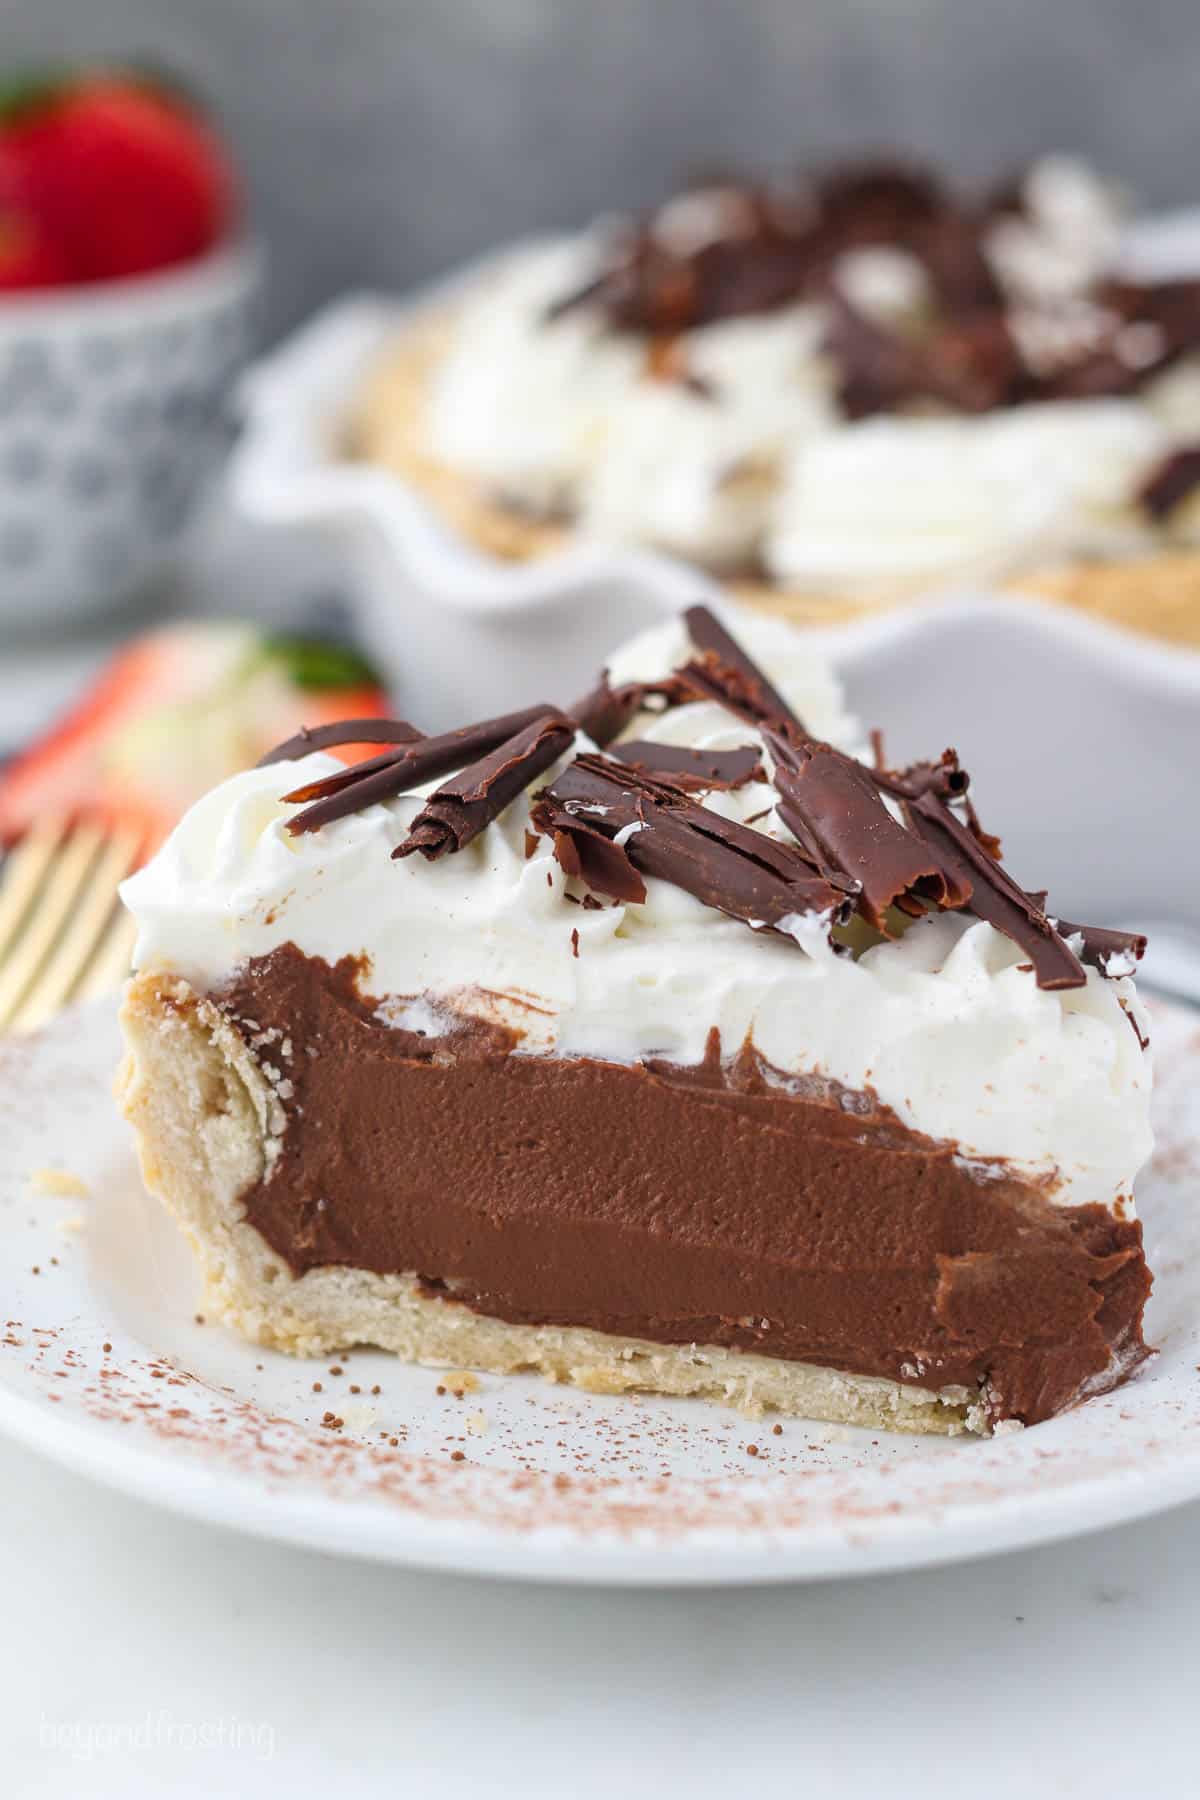
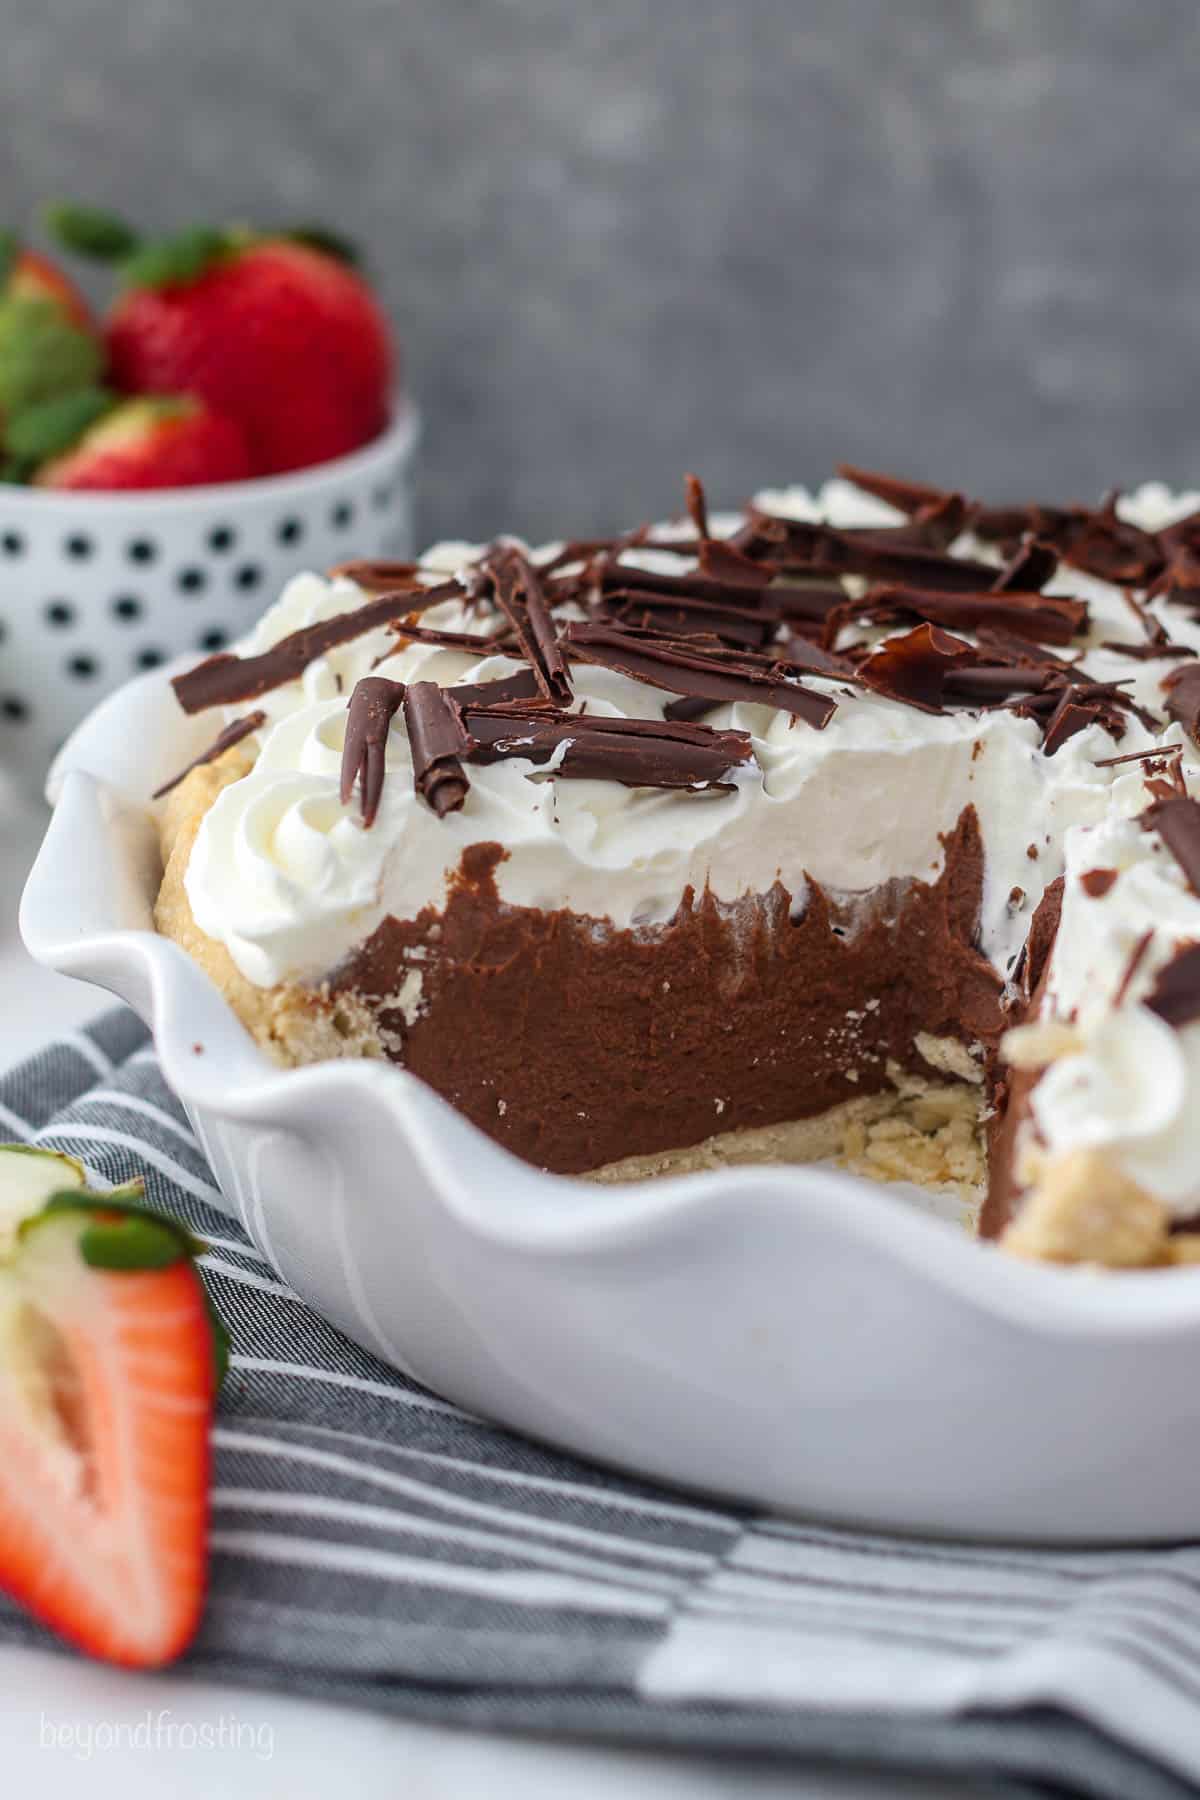
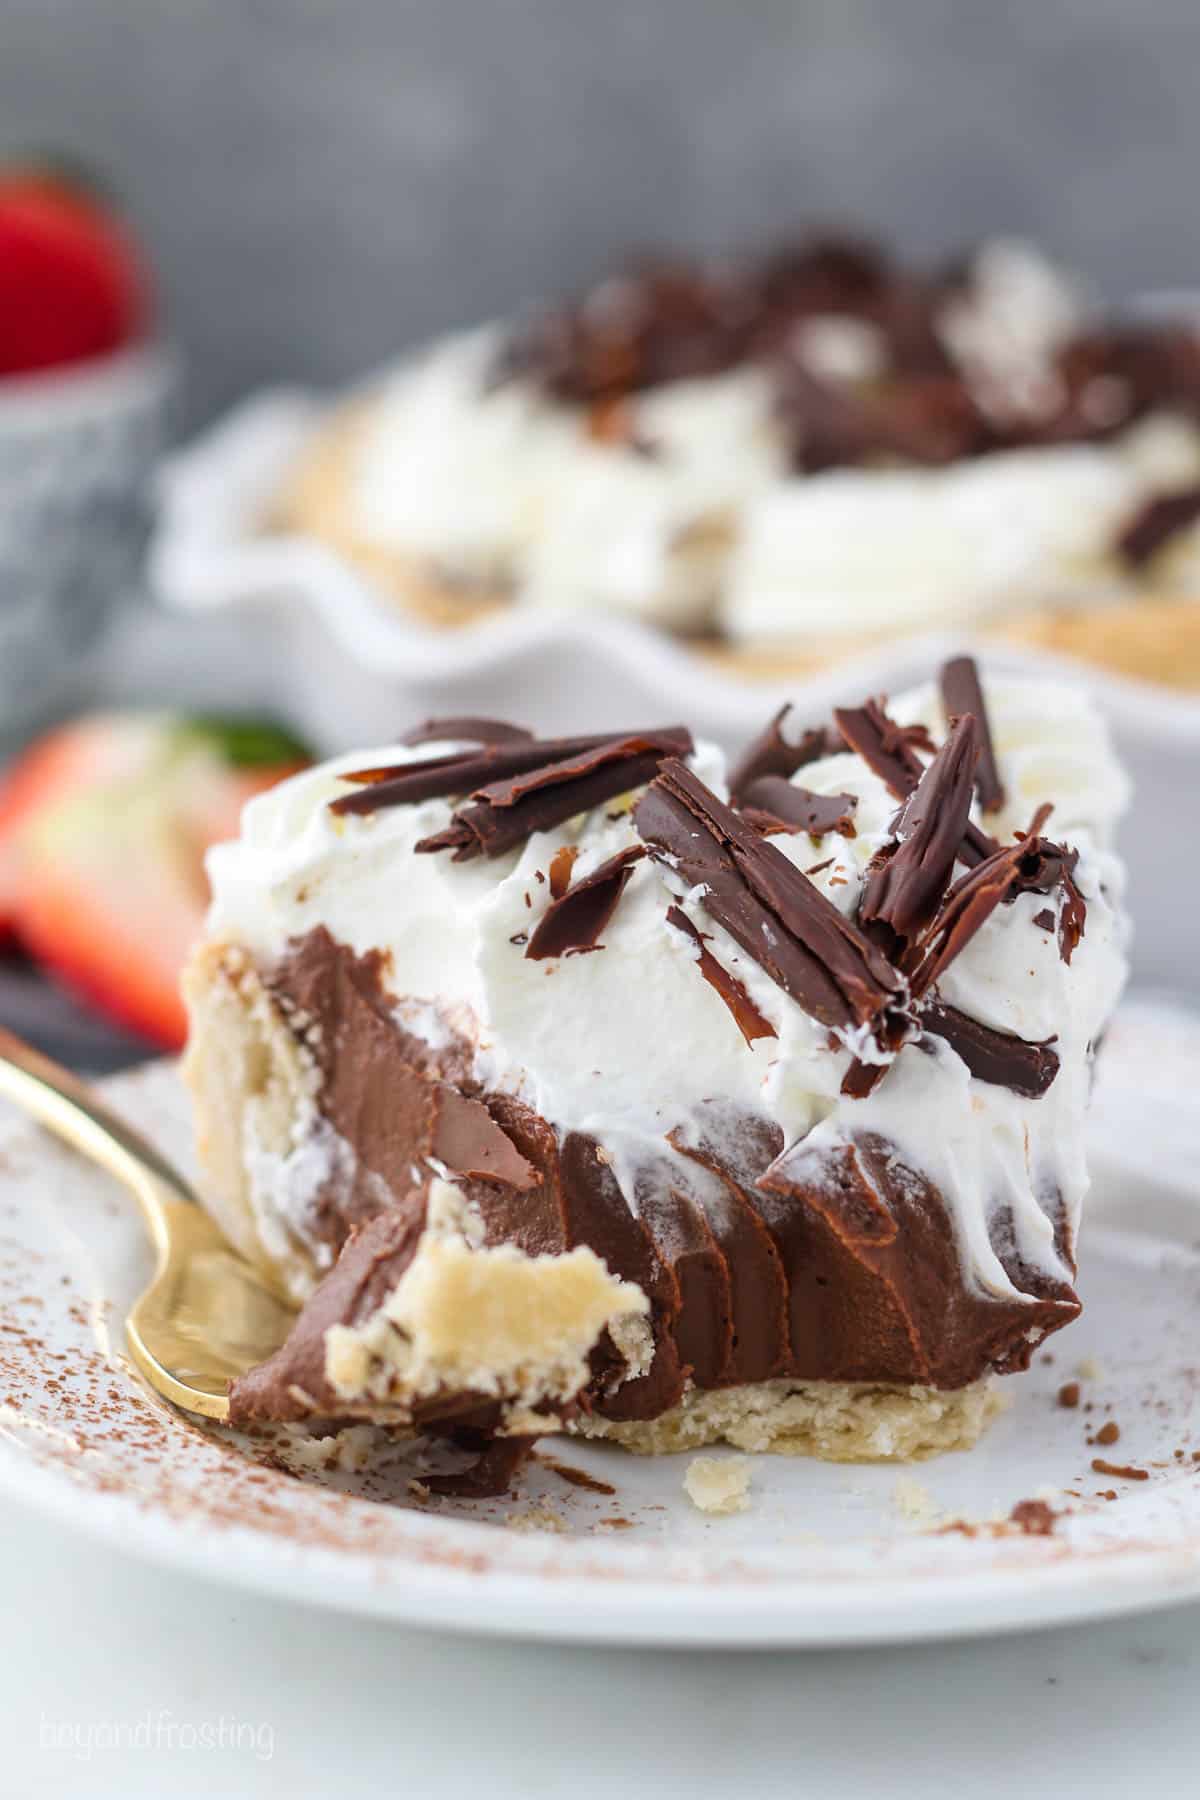
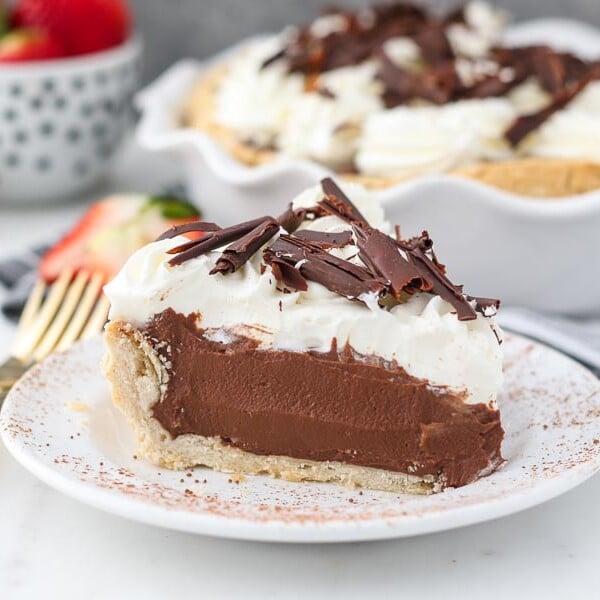
Today’s creamy chocolate pie recipe is one of my favorite holiday desserts. It has a buttery pie crust that’s par-baked and then filled with a rich dark chocolate custard. Afterward, I top this pie with fluffy homemade whipped cream and chocolate shavings. When you get the flaky crust, silky chocolate, and whipped cream together in one bite, it’s simply the best.
Like my old-fashioned coconut cream pie, this no-bake chocolate pie is surprisingly simple to make. It’s perfect for Christmas, potlucks, and any occasion that calls for a decadent but easy dessert. I’ll show you how to prepare the chocolate filling from scratch. You’ll be whipping up this pie for gatherings in no time.
About This Chocolate Pie Recipe
- Simple ingredients. You need only 7 basic ingredients for the chocolate custard. I make this chocolate pie without egg yolks and without gelatin. The filling is incredibly fuss-free and easy to work with.
- Minimal prep. You’ll cook the filling on the stovetop, then pour it into a blind-baked pie crust.
- Rich, silky texture. The chocolate custard is rich and smooth while staying thick and sliceable. With the buttery pie crust on the bottom and fluffy whipped cream on top, the contrast of textures is totally mouthwatering.
- Chocolatey flavor. Melted dark chocolate gives this pie an unbelievably deep chocolate flavor that I have yet to find in another chocolate pie recipe.
Ingredient Notes
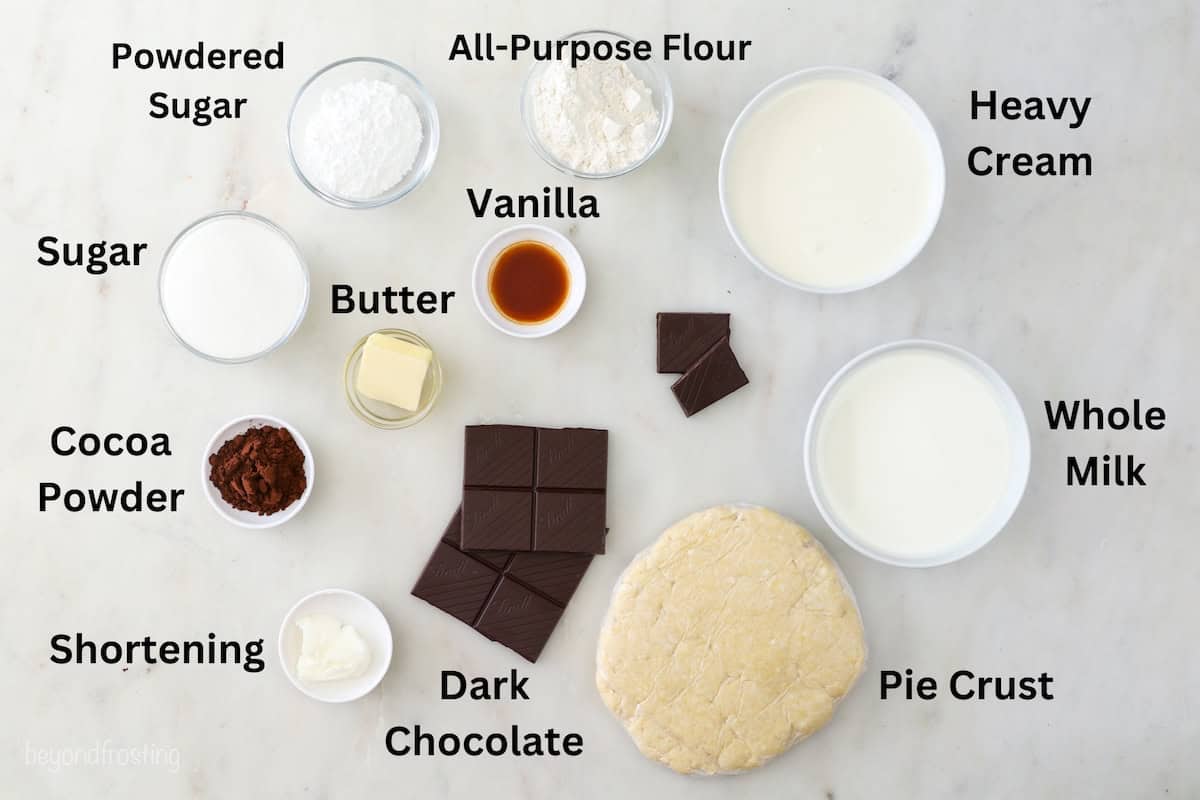
Here’s a quick look at what you’ll need to make a chocolate pie, including your choice of homemade or store-bought pie crust. Scroll down to the recipe card for printable recipe details and instructions.
- Pie Crust – This recipe calls for one 9-inch pie crust, prepared and blind-baked. See below.
- Cocoa Powder – You can use natural unsweetened cocoa powder in the filling, or Dutch-processed cocoa powder if you prefer a deeper color and fudgier flavor.
- Whole Milk – I make this chocolate pie without evaporated milk, and I use whole milk instead. The super-silky texture of the custard relies on the high fat content, so I don’t recommend replacing whole milk with a lighter kind.
- Dark Chocolate – I use Ghirardelli 60% Cocoa as it’s readily available. I’ve also tested this recipe with a Baker’s Chocolate Semi-Sweet baking bar, standard Hershey’s Bar, and chocolate chips. The higher quality chocolate you use, the smoother it will melt and the better your chocolate custard will be. If you prefer a less intense chocolate taste, I recommend using a Hershey’s Milk Chocolate Bar.
- Crisco Shortening – To melt with additional chocolate, which you’ll spread over parchment paper and let cool before chopping it into thin shards. This is an easy way to make homemade chocolate shavings! Alternatively, you can use a vegetable peeler and carefully pull shavings from a chocolate bar.
- Heavy Whipping Cream – You’ll whip heavy cream with powdered sugar to make the whipped topping. You could also top this pie with Cool Whip as a semi-homemade shortcut.
You’ll Need to Blind-Bake the Pie Crust
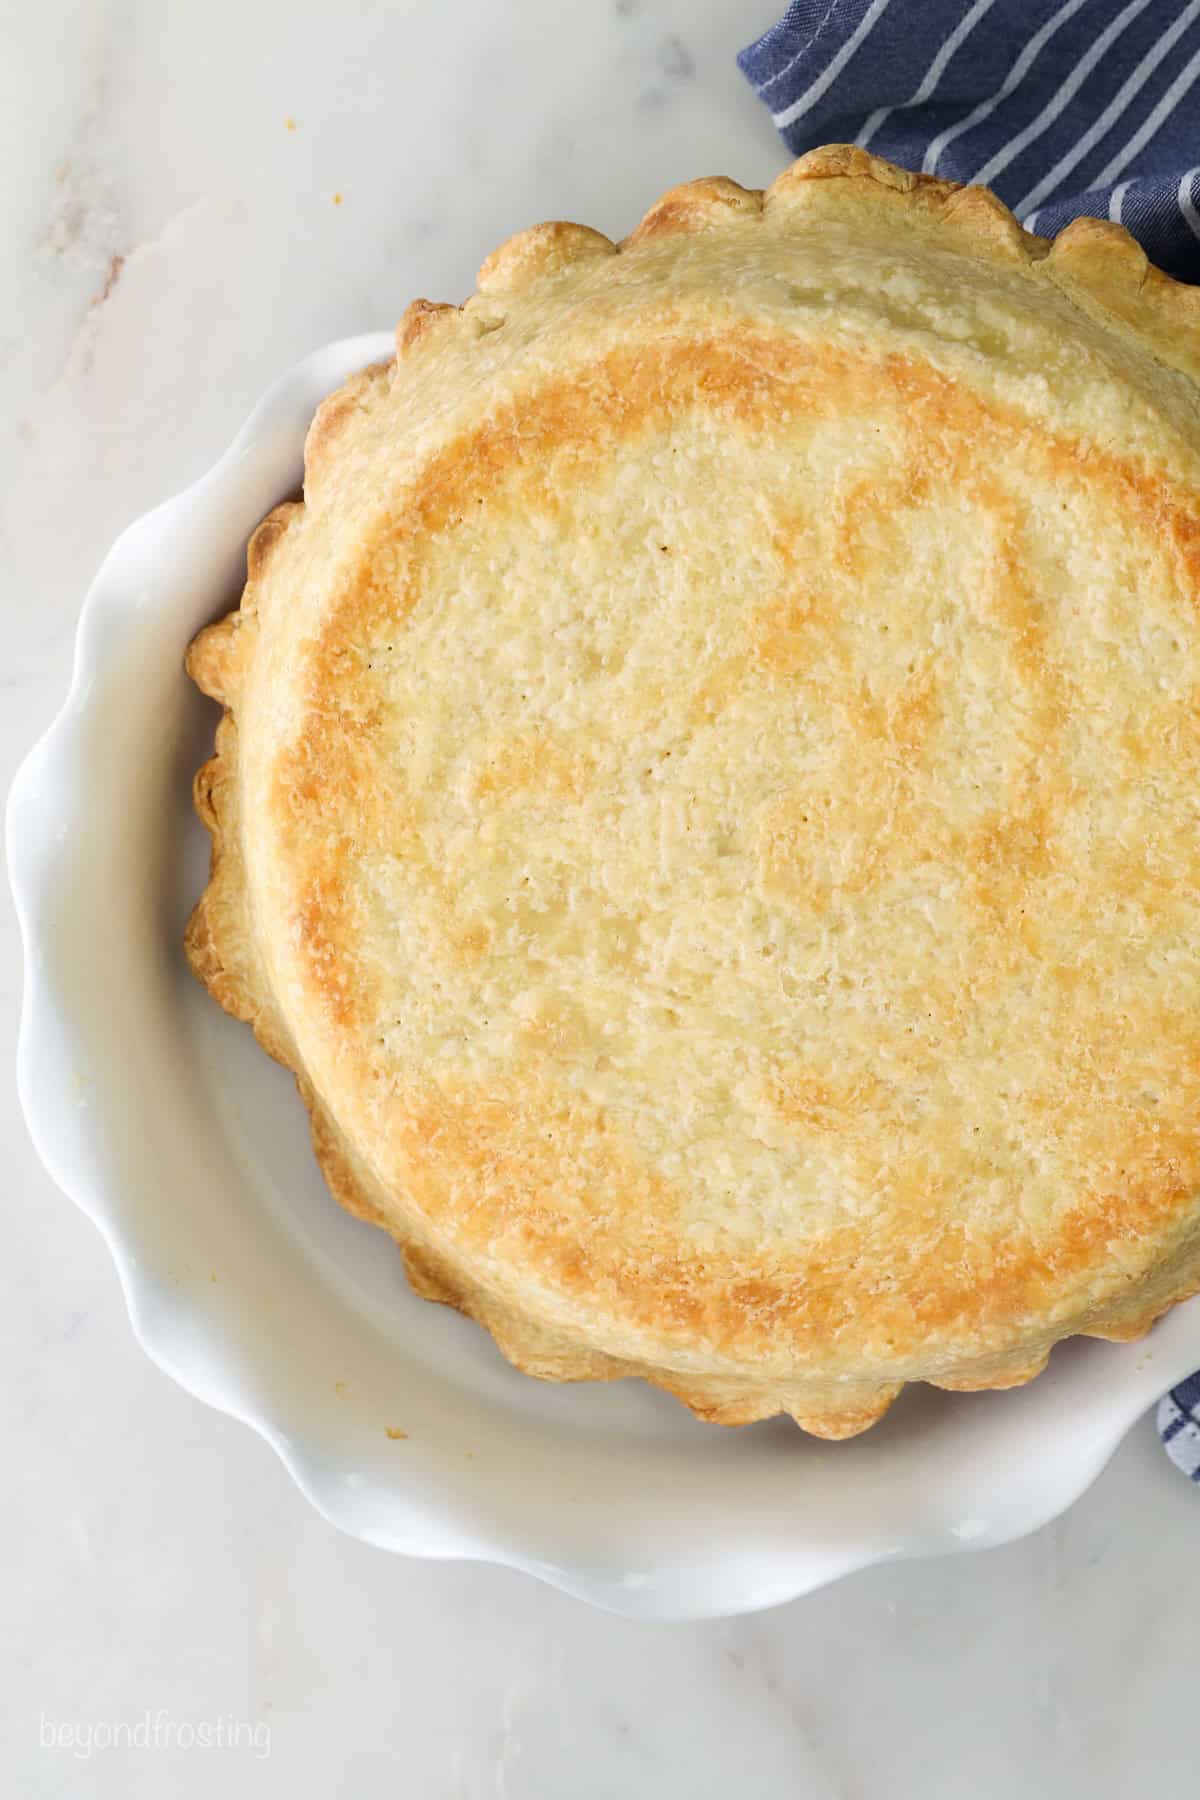
I use my easy crust recipe as the base for this chocolate pie. Since you won’t be baking the custard filling for this pie, you’ll need to bake the pie crust separately before you fill it, using a method called blind-baking or par-baking.
In a nutshell, you’ll fill your pie crust with pie weights, and then bake it at 375ºF for about 20 minutes, for a full blind-bake.
My pie crust post (linked above) includes instructions for blind-baking, or you can refer to my in-depth tutorial on how to blind-bake a pie crust that takes you through it, step-by-step. If you’re using a store-bought pie crust, you’ll need to follow the baking directions on the package.
How to Make Chocolate Pie
Once you’ve prepared and baked a 9-inch pie crust in a deep dish pie plate, you’re ready to make your chocolate pie. Follow these steps to whip up the creamy pie filling from scratch.
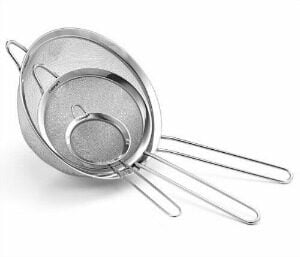
- Prepare your ingredients. Chop the chocolate ahead of time and have your sieve and bowl ready to go. Once the milk starts to bubble, the custard comes together very quickly.
- Heat the dry ingredients. First, in a medium saucepan, combine the flour, sugar, and cocoa powder and whisk together. Heat for 2 minutes on medium to medium-low heat, whisking occasionally while the dry ingredients toast in the pan.
- Add the milk. Slowly whisk the milk into the dry mixture. Press the whisk into the bottom edges of the saucepan to break up any clumps.
- Cook to a boil. Continue whisking the custard until it starts to thicken and lightly bubble, approximately 10-15 minutes. The mixture will start to coat the outside of the pan as it thickens. This step is important! Ensure it’s thickened enough before moving on to the next step. Otherwise, your custard won’t set properly.
- Add the chopped chocolate. Slowly add the chocolate to the milk mixture, and continue whisking until completely melted. Cook for 2-5 minutes, ensuring the custard is bubbling and thick, stirring occasionally.


- Add butter and vanilla. Now, remove the custard from the heat. Whisk in vanilla extract and butter until they’re melted and combined.
- Strain the custard. Strain the custard through a fine sieve three times, rinsing the sieve in between each time. This may seem excessive, but I promise the triple-strain is worth it. This will prevent your custard from having a grainy texture. Don’t skip it!
- Cool. Lastly, pour the chocolate custard into a heat-proof bowl. Cover the filling with clear plastic wrap (placing it directly against the surface of the custard), then poke a few holes in the plastic wrap with a toothpick. Allow the custard to cool on the counter for at least 1 hour, then move it to the fridge for 2-4 hours until the custard is chilled and set.


Assemble the Pie
Allow the pie filling and baked crust to cool completely. Then, fill your prepared flaky crust:
- Fill the pie crust. Pour the chilled custard into your prepared pie crust, and spread it evenly.
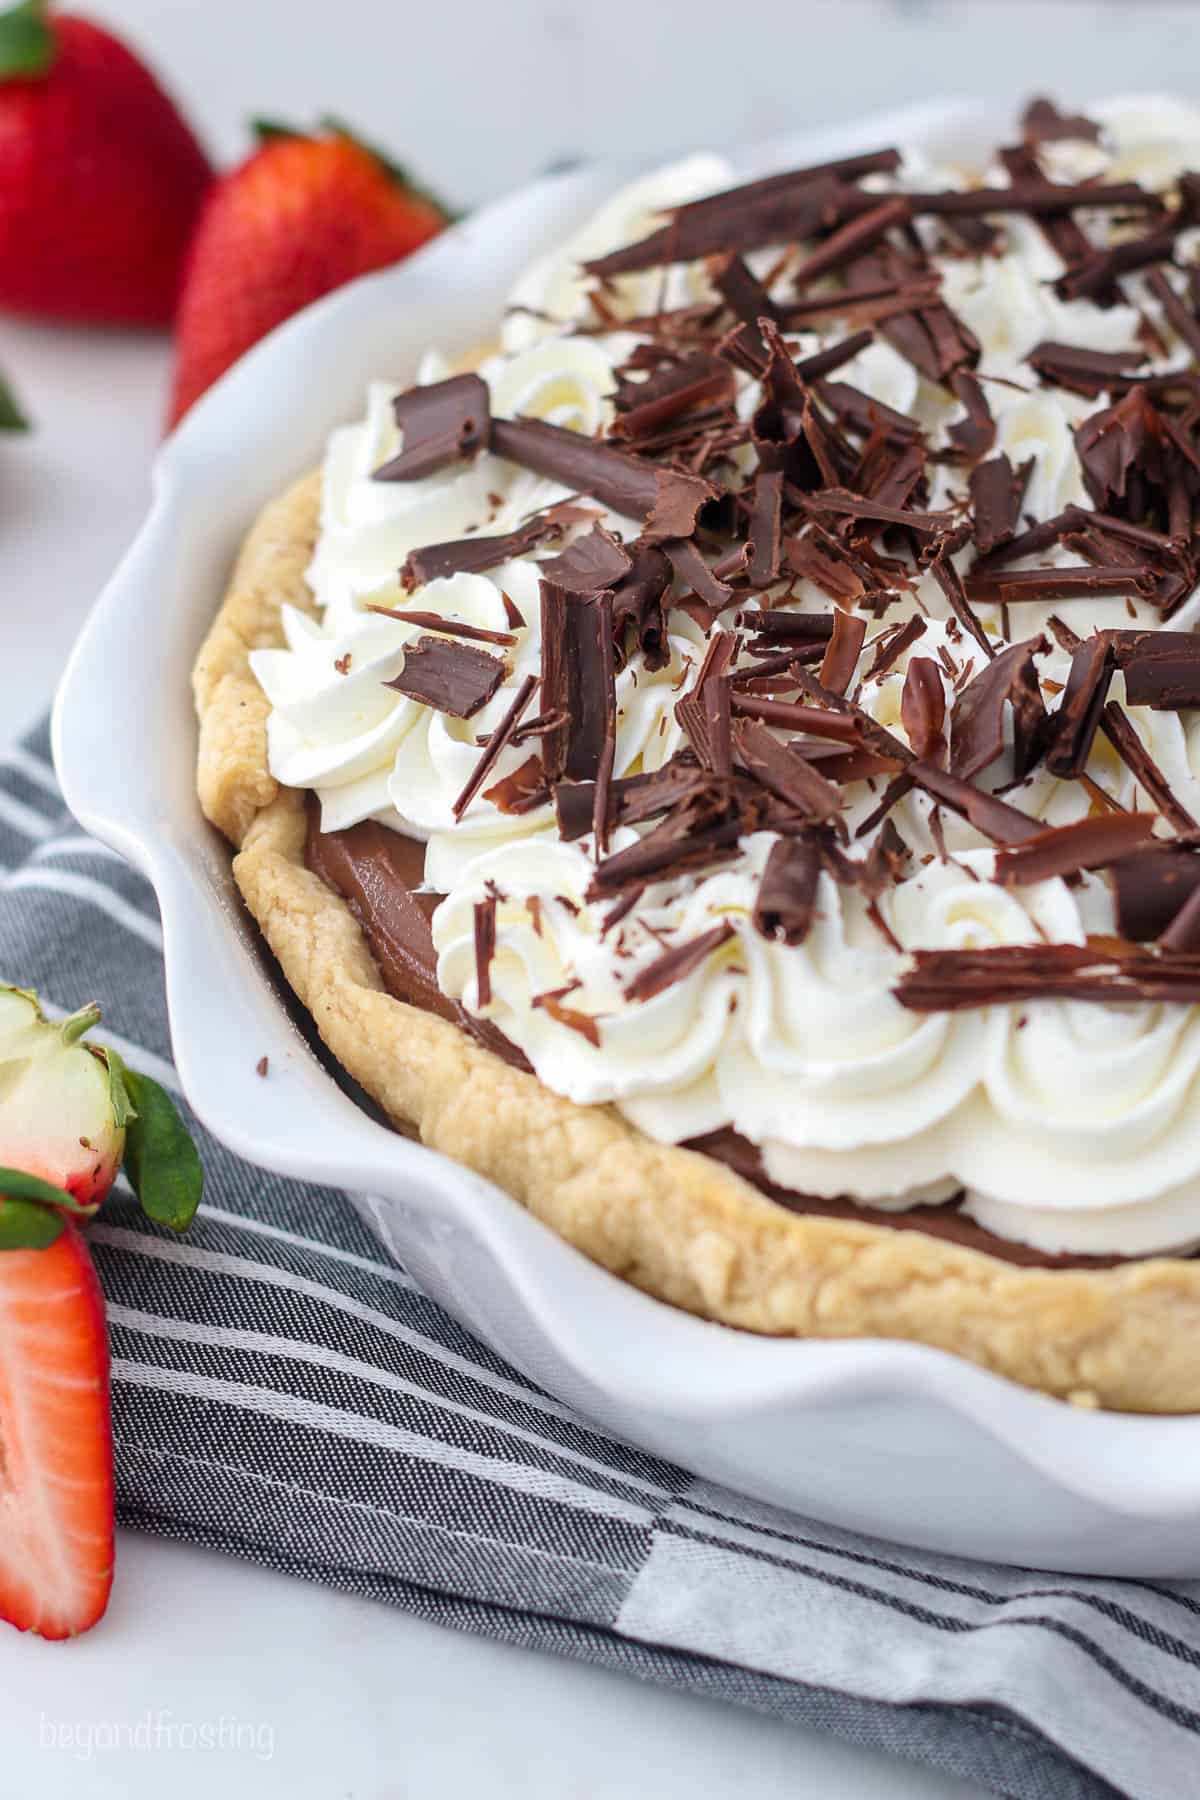
- Add the whipped topping. Top your chocolate pie with homemade whipped cream and chocolate shavings as desired.
Important Recipe Notes
- Use a high-quality dark chocolate bar. Chocolate bars melt down so much smoother and are less oily than chocolate chips. You’ll want to use high quality chocolate, similar to what you’d use to make chocolate ganache.
- Strain the custard. It’s important to catch the clumps of dry ingredients that did not dissolve. I strain the custard 3 times, rinsing the sieve in between. Do not scrape the bottom of your saucepan, those clumps that are sticking to the bottom are no good.
- Cool the custard before pouring it in your pie crust. Let it chill in the fridge for a good 2-4 hours, or even overnight. This prevents a soggy pie crust.
- Cover the top of the warm custard with Saran Wrap. This prevents a skin from forming on top of the chocolate pie filling. Use a toothpick to poke a few holes, allowing some of the air and condensation to escape.
Why Didn’t My Chocolate Pie Set?
If your chocolate custard did not set, even after chilling overnight, it could be because it wasn’t cooked for long enough. If you’ve prepared your filling using the specified ingredients and cooked it properly, your pie filling should set up without a hitch. Some quick troubleshooting tips:
- The custard must be thickened at two stages. Once when the dry ingredients are incorporated into the milk, and again after the chocolate is added. Each time, the mixture should be bubbling and thick. You’ll also notice in the first stage that the mixture is starting to coat the outside of your saucepan.
- Chill the filling thoroughly afterward. The chocolate custard will need a few hours to set fully. I let it sit on the counter for about an hour until it’s partially cooled, and then I refrigerate the filling for another 2-4 hours before pouring it into the pie shell.
Make-Ahead and Storage
- Refrigerate. Once you’ve assembled the pie, it needs to be kept in the refrigerator. Ideally, it should be covered in an airtight container or with plastic wrap. This is best when served within 3 days of preparation. I don’t recommend freezing custard pies.
- Make-ahead. This homemade chocolate pie keeps very well in the refrigerator, although I suggest adding the whipped cream right before serving. You can make the custard the day before you make the crust and then pour it into your crust when it’s ready. The custard will be thick and set, but it will still spread with a spatula.
More Chocolate Dessert Recipes
Chocolate Pie Recipe
- Prep Time: 15 minutes
- Cook Time: 30 minutes
- Total Time: 4 hours
- Yield: 8 slices
- Category: Pie
- Method: Refrigerator
- Cuisine: American
Description
This homemade chocolate pie recipe is made from scratch with a rich, silky dark chocolate custard and homemade whipped cream topping! Finished with a sprinkle of chocolate shavings, it’s a perfect holiday dessert.
Ingredients
- 1 deep dish pie crust, prepared and blind baked
For the chocolate custard:
- 1/2 cup (95g) granulated sugar
- 4 tablespoons (31g) all-purpose flour
- 1 tablespoon (7g) cocoa powder
- 3 1/2 cups (828ml) whole milk
- 12 ounces dark chocolate, chopped
- 1 tablespoon (14g) butter
- 1 teaspoon (5g) pure vanilla extract
For the whipped cream
- 1 1/2 cups (355ml) heavy whipping cream
- 3/4 cup (98g) powdered sugar
For the chocolate shavings (optional)
- 2 ounces dark chocolate
- 1/2 tablespoon (21g) Crisco shortening
Instructions
- Prepare your favorite 9-inch pie crust and blind bake it. Cool completely.
For the chocolate custard:
- Prepare all the ingredients prior to starting. In a medium saucepan, combine the flour, sugar, and cocoa powder and whisk together. Heat for 2 minutes on medium to medium-low heat, whisking occasionally.
- Next, slowly whisk in the milk, pressing the whisk into the bottom edges of the saucepan to break up any clumps.
- Continue whisking the custard until it starts to thicken and lightly bubble, approximately 10-15 minutes. The mixture will start to coat the outside of the pan as it thickens. Ensure it’s thicken before moving onto the next step.
- Then slowly add the chopped chocolate and continue whisking until the chocolate is completely incorporated. Cook for 2-5 minutes, ensuring the custard is bubbling and thick, stirring occasionally.
- Remove the custard from the heat and whisk in the vanilla extract and butter and whisk until the butter is melted and combined.
- Strain the custard through a fine sieve, three times, rinsing the sieve in between each time.
- Pour the custard into a heat proof bowl and cover with clear plastic wrap (placing directly on the surface of the custard), then poke a few holes in the plastic wrap with a toothpick.
- Allow the custard to cool on the counter for at least 1 hour before refrigerating.
- Refrigerate 2-4 hours until the custard has cooled and is firm. Pour in the prepared pie crust. Prepare the whipped cream prior to serving.
For the whipped cream:
- Prepare the whipped cream. Place the mixing bowl and whisk attachment in the freezer for 5 to 10 minutes to chill. Pour the heavy whipping cream into the chilled bowl and use an electric mixer to beat the heavy cream on medium-high speed until soft peaks start to form. Slowly add the powdered sugar and continue beating on high speed until stiff peaks form. Top with chocolate shavings (optional) or dust with cocoa powder.
For the chocolate shavings:
- Combine chocolate and shortening in a heat-proof bowl. Microwave at 50% power in 30-second increments until the chocolate is melted and stir until completely smooth.
- Using an offset spatula to thinly spread the chocolate over a flat surface, such as a cookie sheet. Refrigerate until the chocolate is firm. Use a bench scraper or the offset spatula to scrape the chocolate off the sheet pan.
Notes
- Custard consistency: Be sure that the milk & dry ingredients have thickened and are bubbling prior to adding the chocolate. After adding the chocolate, it should be stirred & melted, and continue cooking for another few minutes until it’s bubbling and thick.
- Properly cooling: After the custard has cooled on the counter for 1 hour, it can be transferred to the refrigerator to cool completely or poured into the cooled, baked pie crust and then refrigerate another 2-4 hours until the custard is firm. Do not pour the hot filling directly in the pie crust.
- When to add the topping: Add the topping before serving, and only once the custard has cooled completely.
- Types of chocolate to use: I’ve also tested this recipe with Baker’s Chocolate Semi Sweet baking bar, a standard Hershey’s Bar and Chocolate Chips. If you prefer a less strong chocolate taste, I’d recommend using a Hershey’s Milk Chocolate Bar
- Storing: This needs to stay in the refrigerator, ideally in an airtight container or covered with plastic wrap. It’s best served within 3 days of preparation.
Nutrition
- Serving Size: 1 slice
- Calories: 720
- Sugar: 50.8g
- Sodium: 177.3mg
- Fat: 41.3g
- Saturated Fat: 24.8g
- Carbohydrates: 75.4g
- Fiber: 4.2g
- Protein: 12.9g
- Cholesterol: 75.1 mg







My daughter and I made this for Mother’s Day and everyone loved it. We used the Hershey’s milk chocolate bars as suggested. The pie shell was frozen that we used. It was some work but worth it.
Thank you so much for sharing Krista, I appreciate that!
This pie was SOOO smooth, I am so so happy with how thick and smooth it is. I am not a fan of dark chocolate, so for me it is very very dark. But even my dark chocolate loving mom said it tasted like it was missing sweetness. Im not sure if we’re just accustomed to a sweeter box flavored pudding or what, but I even did semi sweet chocolate and not dark. I definitely want to make this again, maybe using just milk chocolate, or adding more sugar? I’m not sure. Any thoughts are appreciated.
Hi Jeri, milk chocolate would be the sweetest option for sure. You can try adding 1/4 more sugar for sure.
Our teenage son made this twice and it turned out great.
We used what we had in the pantry— which was a 90% dark chocolate bar and mixed in some semi-sweet chocolate chips. He enjoyed the second pie better (no dark chocolate, just chocolate chips), but the aunties all enjoyed the first!
The second time we made it, we skipped heating the dry ingredients because it didn’t work well for us the first time haha (there must have been some moisture in the pot or on the whisk)! We also skipped running the pudding through a sieve and found the finished product to be just fine 😊
Excellent recipe, it got rave reviews! Thanks!
That’s awesome!! I am so happy to hear that!!
I made this today for the first time. My friends loved it so much they asked to take a piece home with them. I’ll definitely be making this again!
I love when that happens! So glad you gave this a try April!
I followed the directions exactly, I will never make this again and it’s going in the trash!!!! Now I have to make another pie, different recioe!!!!
Hi Betty, without more information as to what happened, I can’t help. This is a well tested recipe, and I’ve provided lots of helpful tips for troubleshooting. However, if the pudding is not cooked for long enough, it will not firm up, and that seems to be the most common issue.
Not at all helpful without stating what you don’t like about it 🙄
I’m going to make this for hubby’s birthday on November 22….can I use a marshmallow meringue instead of the whipping cream, browned in the oven? If so, do I do it before it is chilled?
Hi Gloria, I am so sorry, this got caught up in my spam folder and I am just now seeing it. I have not tried this with a meringue topping
I’ve made this every year for Thanksgiving since 2020 and it continues to be a hit!!! I’m making two this year so I can bring one to my in laws house as well! Do you think I could double the batch and make 2 in one pot and then just divide the filling between each pie crust? Thank you for this recipe!!!
Yeees Meghan! Thank you!! Yes I think you can but I would just be sure to cook it longer so it’s properly thickened (and since you’ve made it before you know what to expect!). I am so excited to be a part of your Thanksgiving dessert spread!
I made this once and am in the process of maki g again today. My husband loves it. This is a really rich pie but delicious. I used Ghirardelli dark chocolate bars.
Yes Robin! I love that! Thank you. I make this with Ghirardelli as well!
Looks delicious, only change I’d make would be to use coconut oil instead of Crisco in the chocolate shavings.
Could you use 60% cocos bittersweet chocolate in this recipe
yes any type of chocolate you’d prefer
can I use 1per cent milk?
Hi Ava, whole milk really is best. If you use 1% milk, you may need to cook the pudding longer or add additional flour or cornstarch to help thicken it.
Hi,
Can I froze the pie without the wipped cream? Looks so good! Thnks.
I have not tested freezing this
I have made this recipe twice in 3 days because it was such a huge hit!! I used a mixture of milk and dark chocolate the first time with a frozen pie crust. The second time I made a homemade oreo pie crust then used calibet milk chocolate. The pudding is so tasty and so easy to make! I will be making 2 of these for Thanksgiving!! Super yummy! Thank you for this awesome recipe!
Love this Ivy! I can’t wait for you to have these on your Thanksgiving table. What did you end up doing with the Oreo crust? Did you bake it or leave it unbaked?
Can I use a plant based milk, almond or even oat milk?
I have not tested it, so I am not sure
I have had really good luck with Oatly’s Barista oat milk because of the fat content. I tried their regular oat milk and it was much to thin.
I also used Lindt oat milk chocolate and it’s perfect.
Thank you so much Rebecca, that’s very helpful!
😱broken dish AND a speeding ticket … tough day …. —linda of no.cal.
Yea it was quite a day LOL
I made this pie this weekend and everyone loved it! My family gives it a 5-Star rating and two thumbs up! I posted a photo on my FB page and now many of my friends and family want me to make a pie for them too. Thanks for sharing this recipe with the world. 🙂
Yes Linda!! Thank you so much for sharing your review! I am so excited to hear this!
This is undoubtedly the best Chocolate Cream Pie I have ever tasted. I used Semi sweet chocolate and some dark chocolate. You really have to stir and cook long enough to make it thick. I did a full 15 minutes until it was thick just like the directions say. I will make this pie every holiday and more. So happy and proud of this recipe.
Thank you so much Jane! I am beyond excited to hear this!
Question: Do you actually heat the dry ingredients in the saucepan for 2 minutes and then add the milk? Or is it the other way around?
Hi Darlene, I heat the dry ingredients first, it helps to eliminate any of the raw flour taste.
Hi! I made your pie last year for Thanksgiving and then again for Christmas because everyone raved about it! I’ve always said that I shouldn’t be getting all the praise, I just followed the recipe! So, bravo for such a fantastic recipe, and very clear, detailed, and easy to follow instructions. I want to make it for Christmas Day lunch this year, but I’m hoping to make it on the 23rd when I have help with my kiddos! (I need to be able to concentrate.) I know the recipe says I can make it the day before and add the whip day of, but would you recommend making the pudding on the 23rd? I can bake the pie crust fresh on the 25th and make the whipped cream as well on the 25th. Thank you! Merry Christmas.
Awesome Erina! I am so glad to hear this! Yes, you can make the filling, place it in a bowl, cover the surface of the pudding with the saran wrap and then fill your pie shell on the 25th. Give it a little time for the pudding to “rest” in the shell so it all stays together nice! As long as your pudding is thickened to the correct consistency, this should work just fine.
is it a dark chocolate bar or morsels
It’s a dark chocolate bar, the details about this are in the blog post!