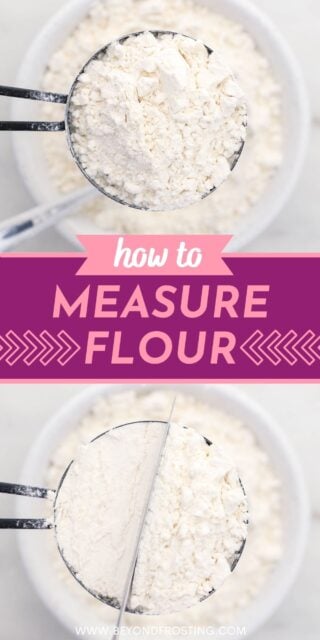
Accurately measuring flour can be a struggle if you don’t know the proper technique – and it can seriously impact the quality of your baked goods! With this step-by-step tutorial, you’ll never have to wonder how to measure flour again.
Once you’ve mastered how to measure flour, check out my guide on how to heat treat flour to use in all your edible cookie dough recipes and no-bake desserts!
The Best Methods for Measuring Flour
Have you ever carefully followed a recipe only to end up with dry, crumbly cookies or tough, dense cupcakes? Well, chances are you over-measured your flour. This is a super common baking mishap that’s not talked about as often as it should be.
But fear not! There are actually a couple of super easy ways to avoid miscalculating the amount of flour you’re supposed to use in a recipe. Let’s get started!
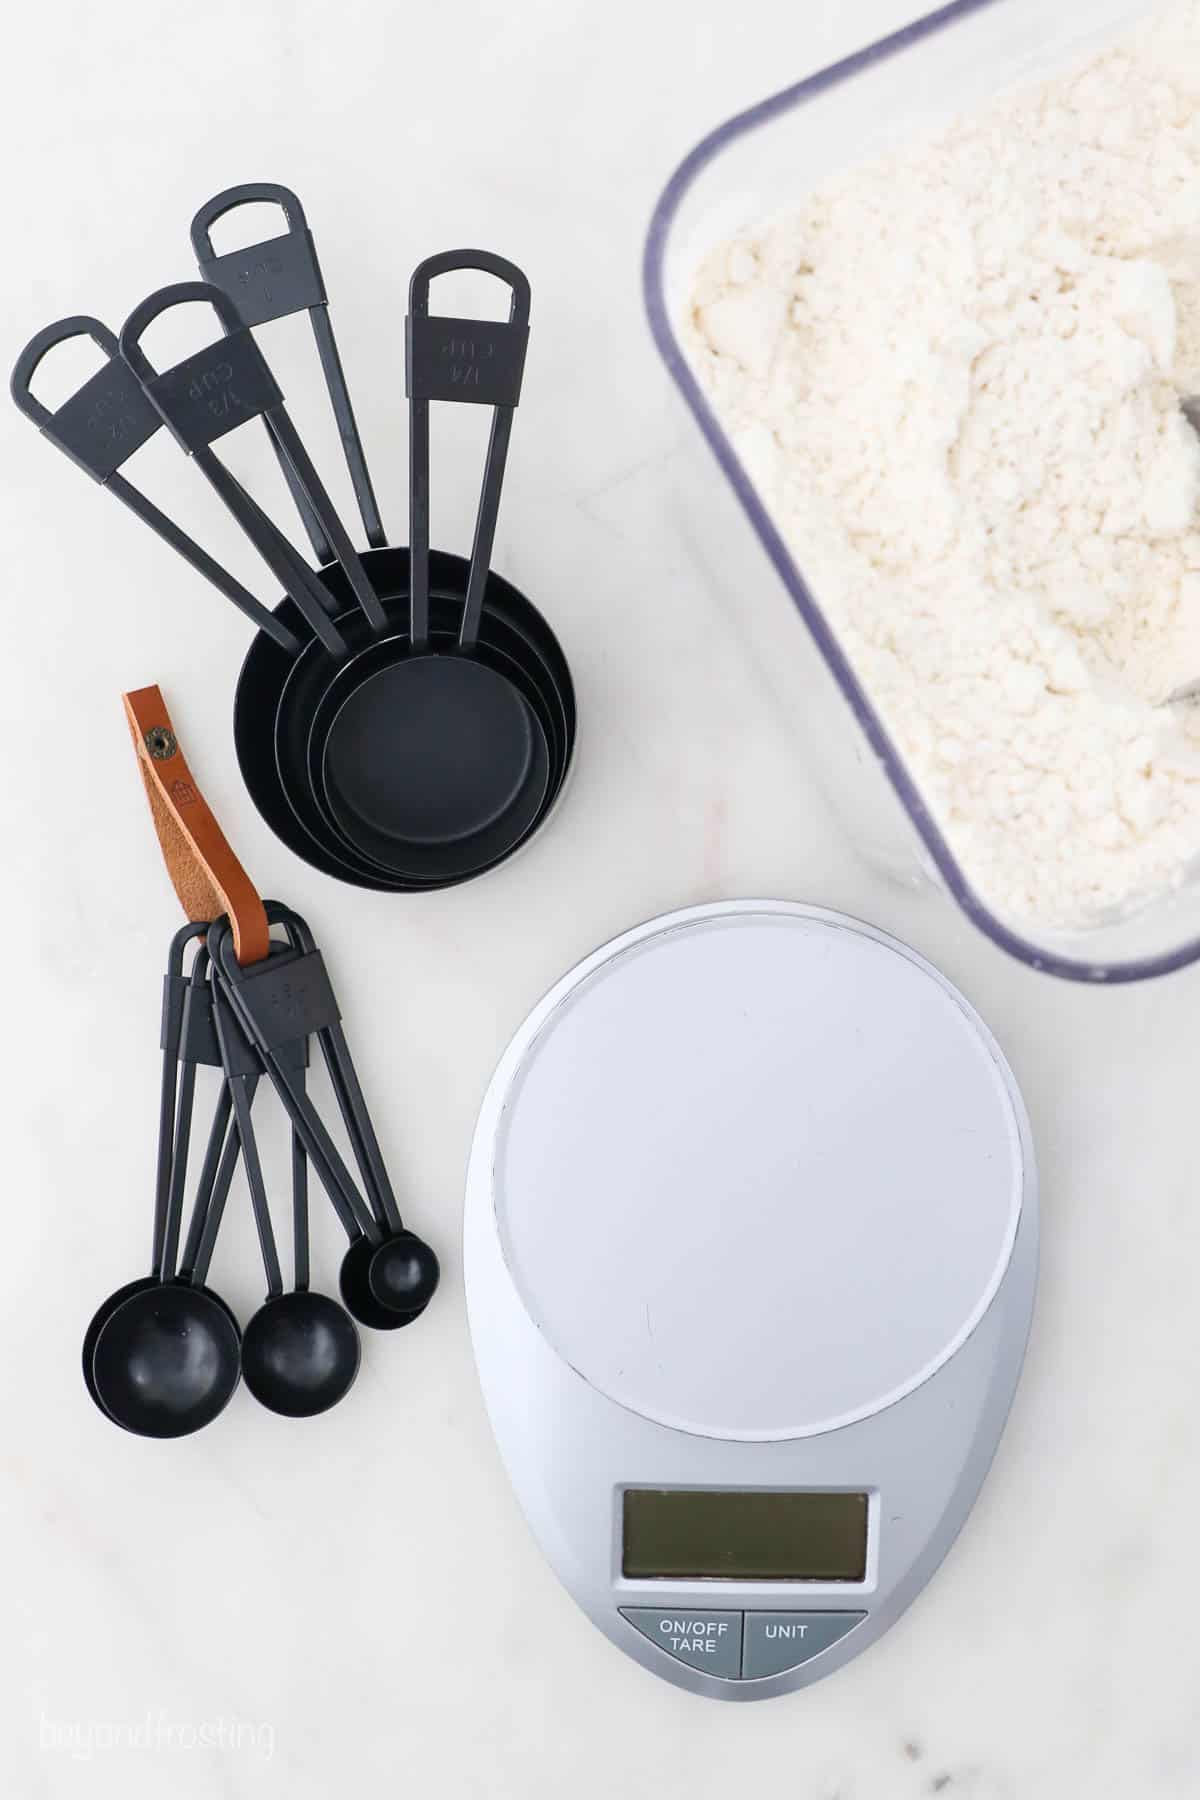
Measuring Flour With a Food Scale
Measuring your flour with a food scale is the best way to ensure accuracy. For that reason, it’s definitely my preferred method. Since a scale measures the weight of the flour rather than the amount of space it takes up, it makes for much more precision. This is called measuring flour by weight.
Measure Your Cup: Before you actually measure any flour, you’ll want to determine the weight of your measuring cup. Once you know how much it weighs, you can subtract that number from the weight that you get when the flour is inside the cup. This is called “taring”.
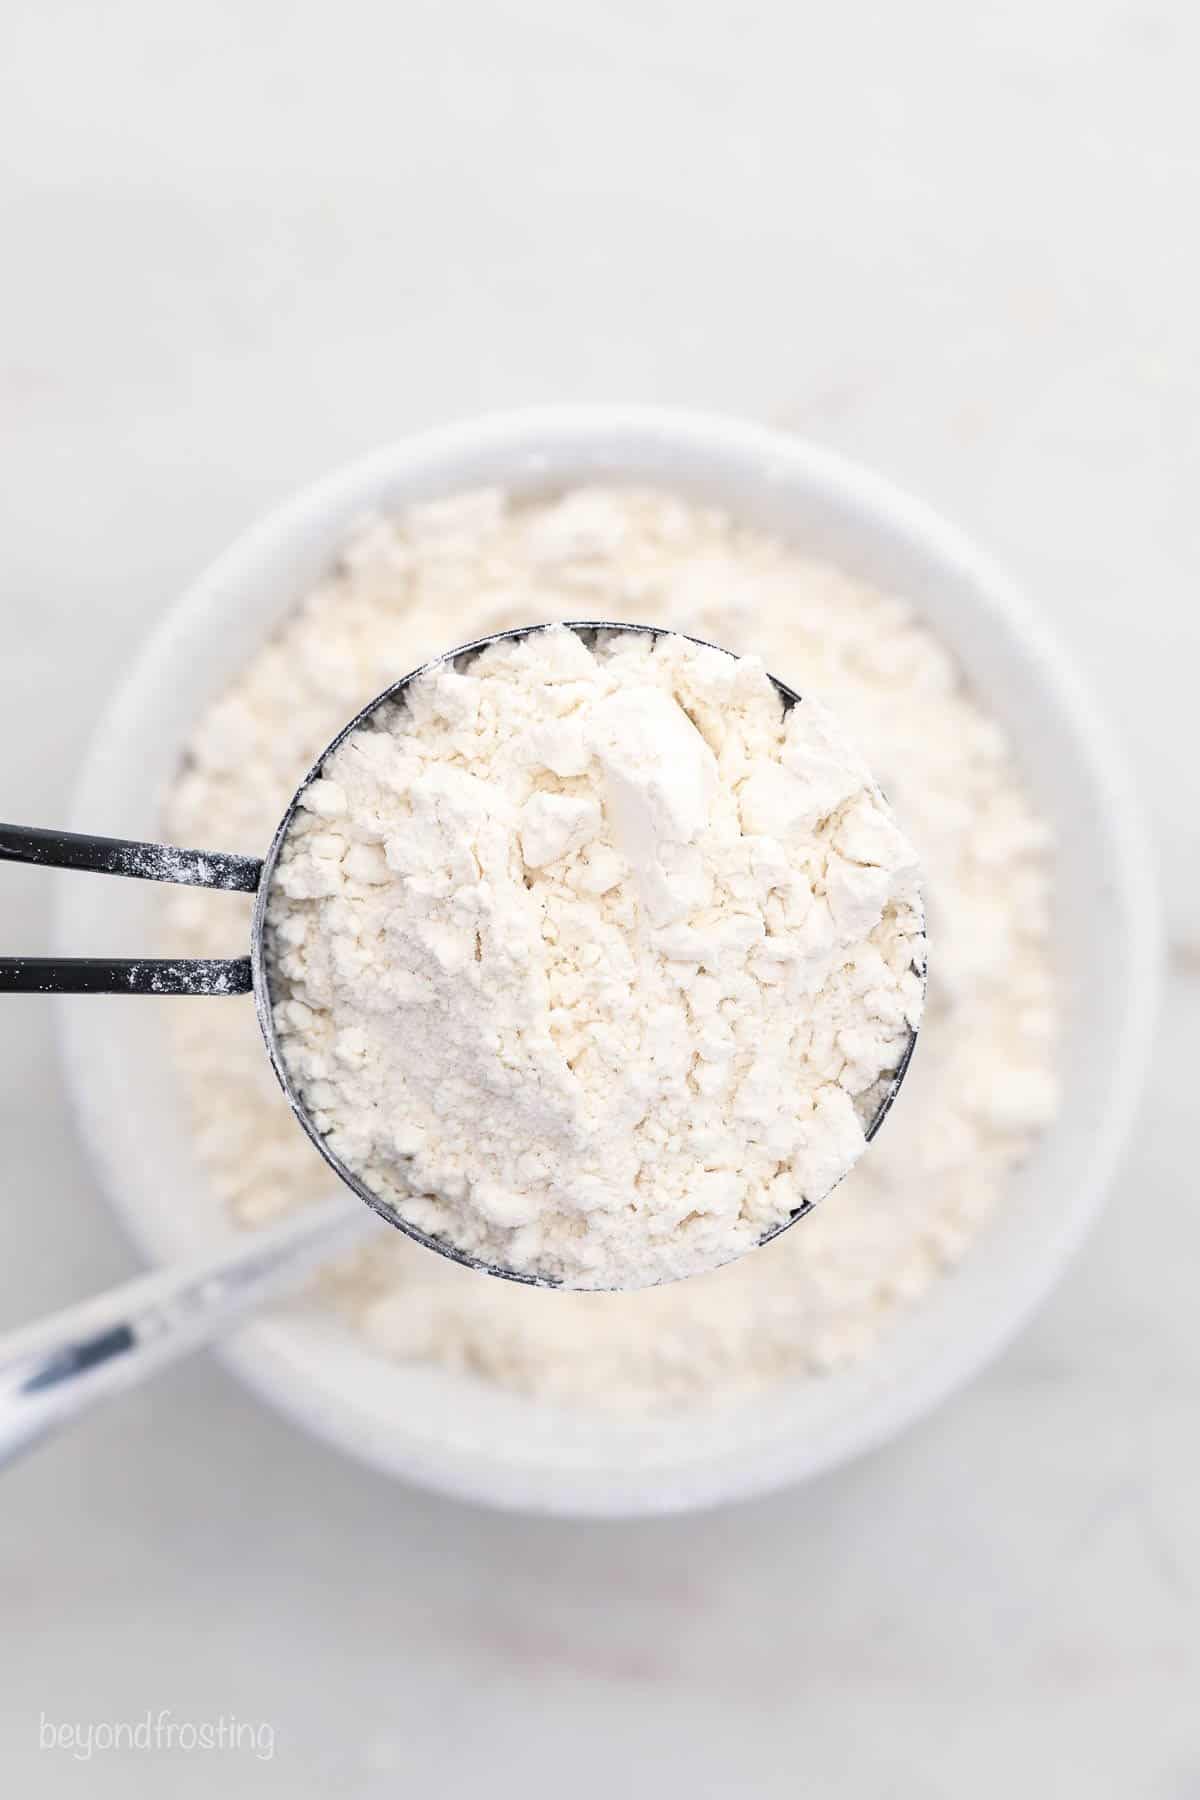
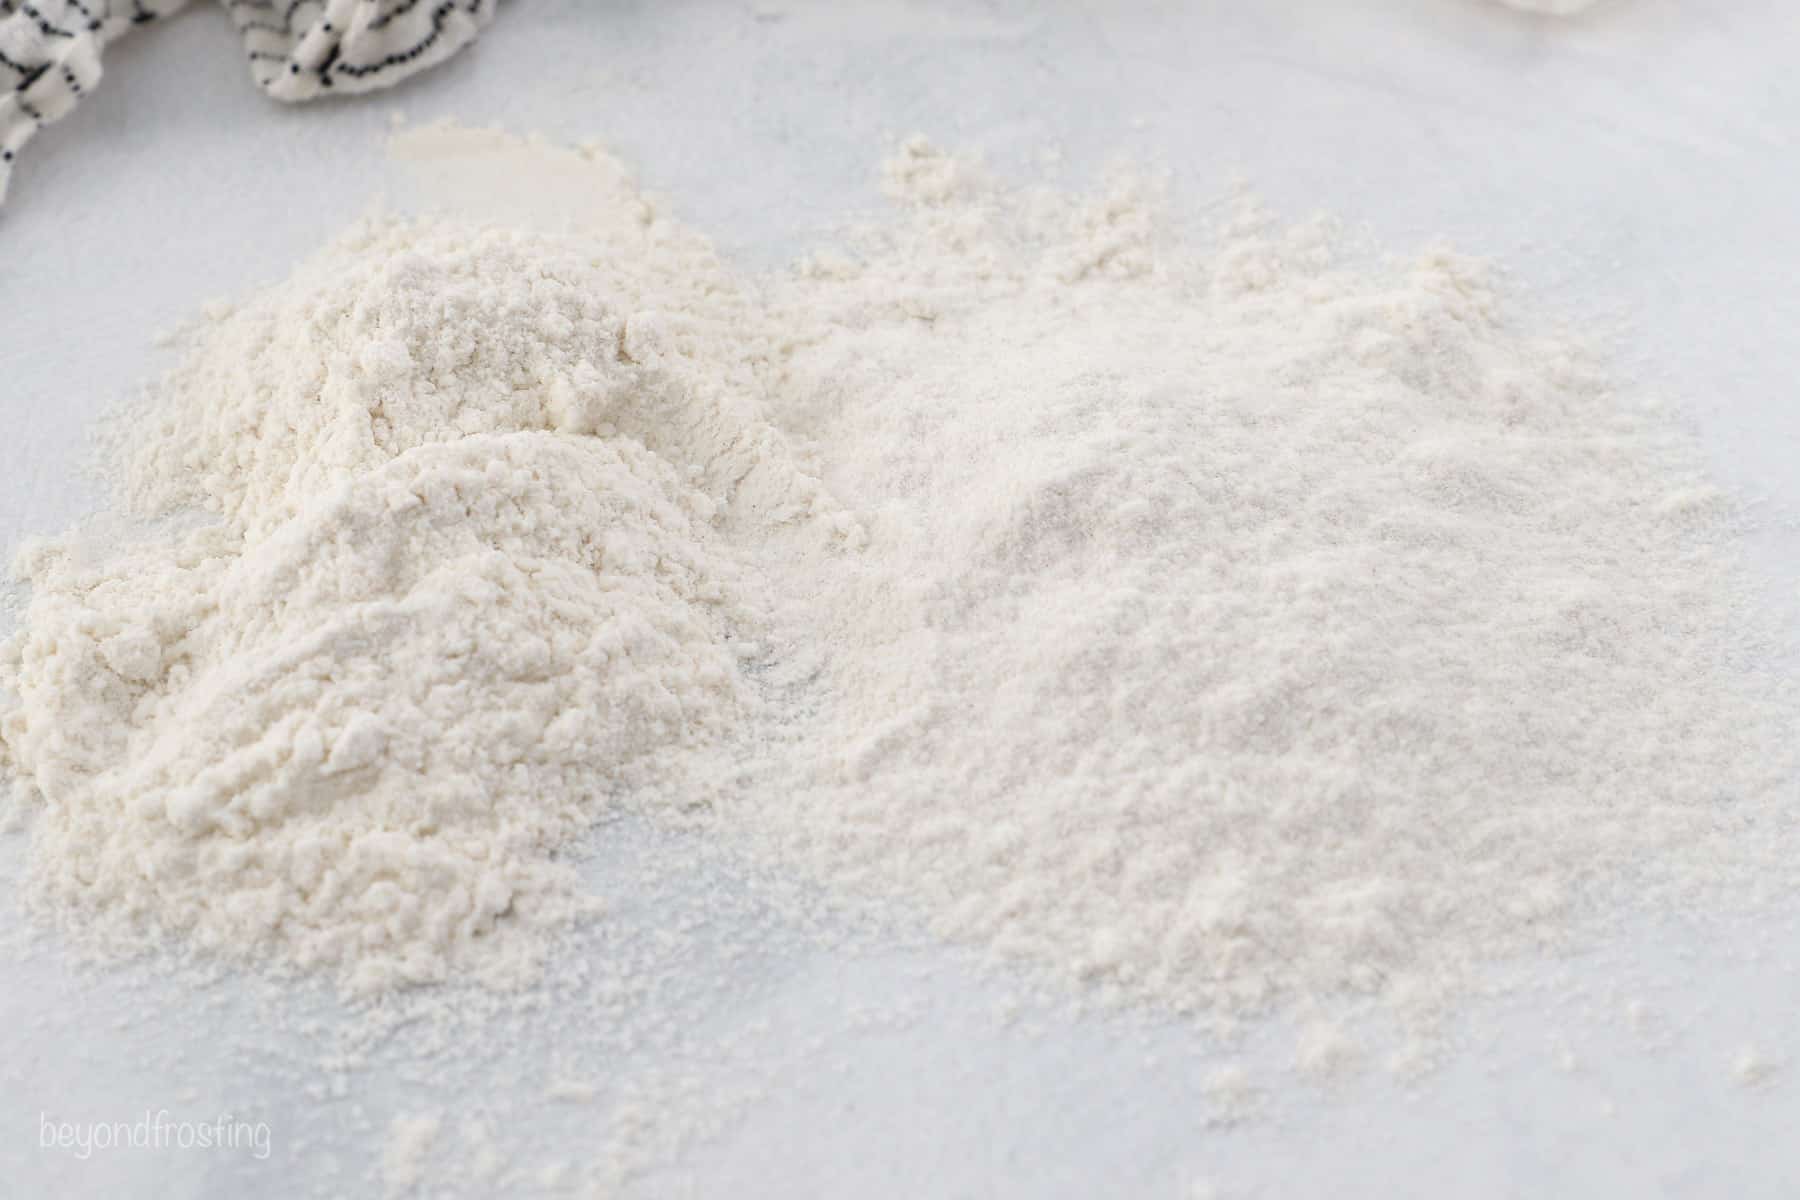
Prep the Flour: Before you scoop your measuring cup into the flour, fluff it up a few times to make sure it’s not too compact.
Fill Your Cup: Scoop your cup directly into the fluffed-up flour, leaving some free space at the top of the cup to compensate for any packing that took place during the scoop. Brush any excess flour off the sides and bottom of the measuring cup. Alternatively, you can use a spoon to fill your measuring cup little by little.
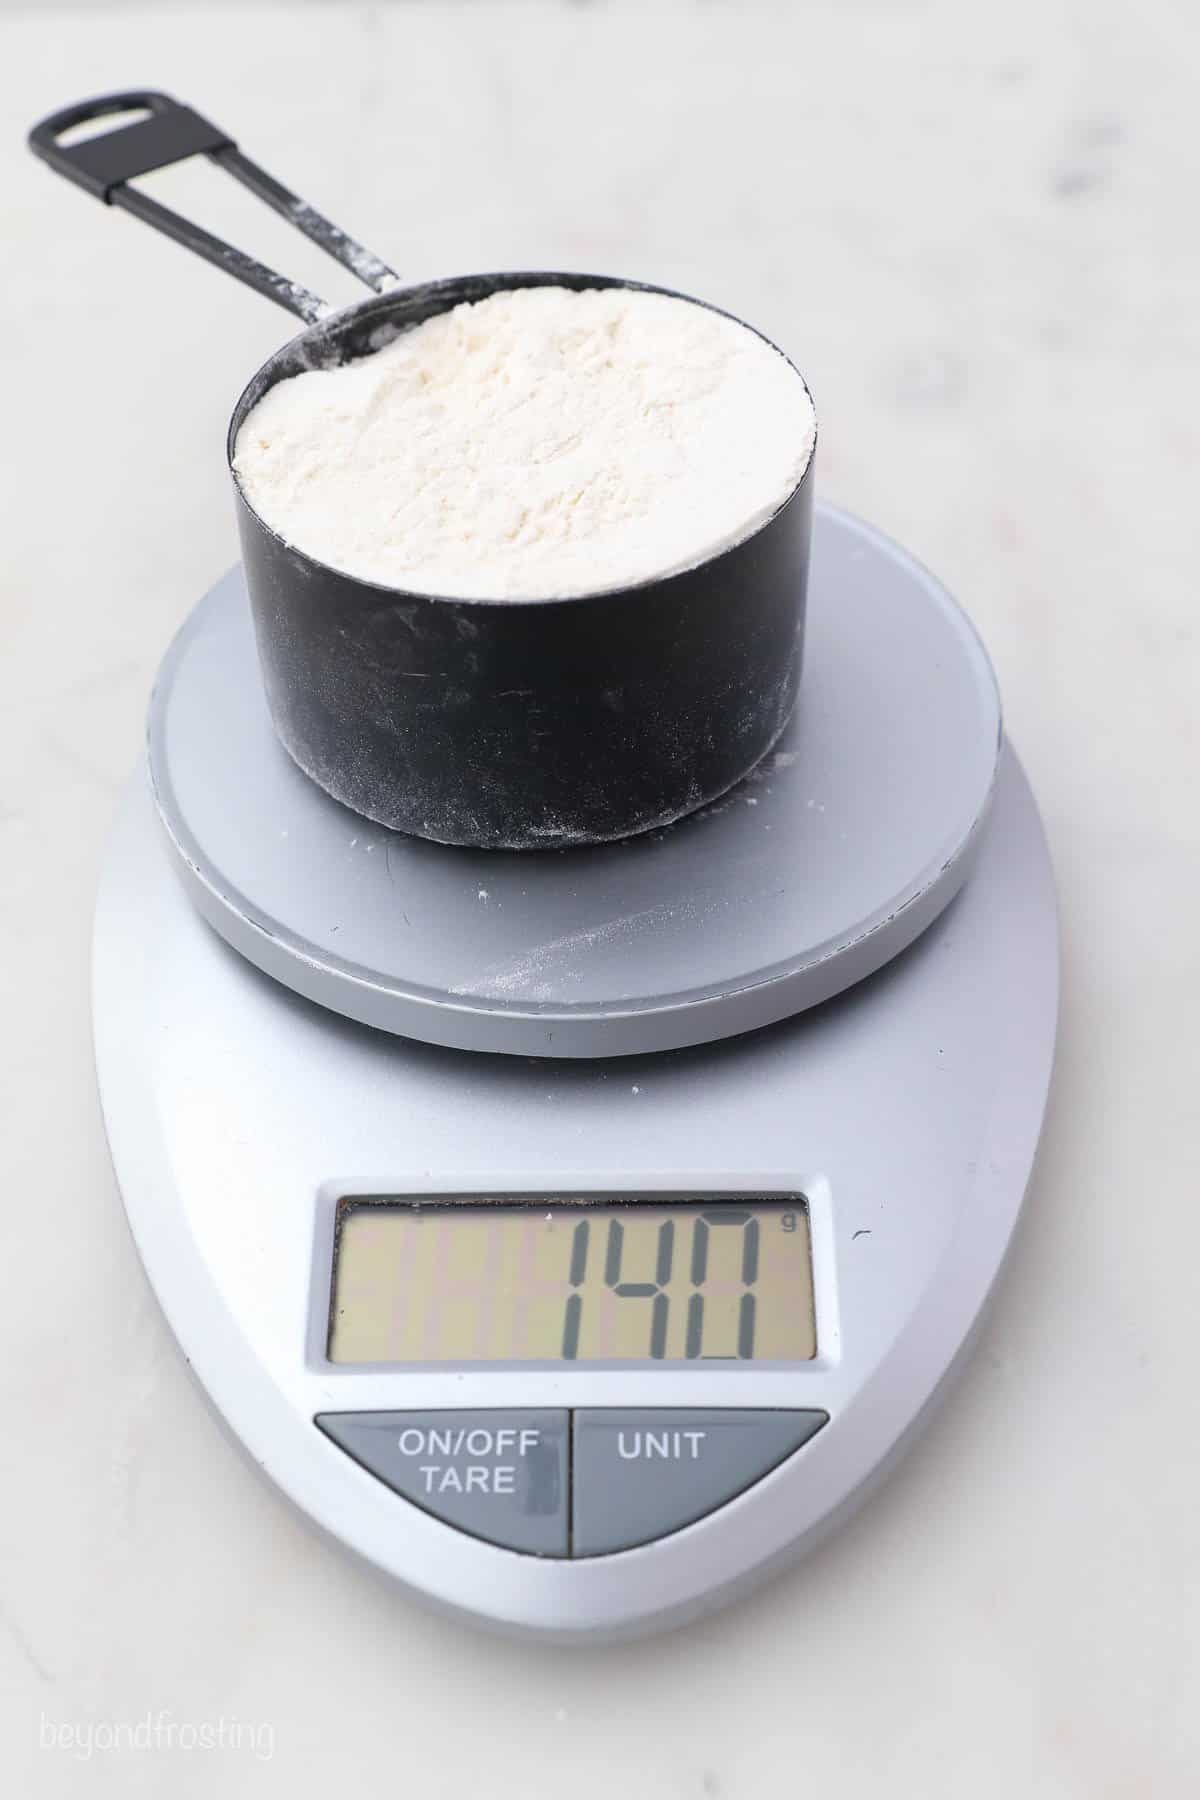
Weigh & Adjust: Place your filled measuring cup onto the food scale. In more than half of the recipes on my site, you’ll find 1 cup of flour is equivalent to 140 grams (more about this below). Continue filling the measuring cup with flour if needed – and remove some from the cup if you have too much.
How Much Does a Cup of Flour Weigh in Grams?
There’s no exact way to determine cups to grams, as every brand is different. If you’re using King Arthur Flour or Gold Medal Flour, 1 cup will weigh 120 grams. Keep in mind that this applies to these brands’ all-purpose flour only.
You’ll find varying opinions on the internet as to what 1 cup of flour should weigh. When I started weighing ingredients, I used a table that indicated 1 cup of flour is 140g. So on my website, a majority of my recipes are developed with this method. Newer recipes are adjusted to have 120g for one cup.
Cake flour, whole wheat flour, and gluten-free flour have their own unique conversion rates. I recommend referring to the weight measurements provided on the packaging of the flour. This way, you’ll know exactly how much 1/4 cup, 1/3 cup, 1/2 cup or one full cup of the flour should weigh and you can match that up with your food scale’s measurements if needed.
Measuring With the Spoon and Level Method
If you don’t have access to a food scale, the spoon and level method is the way to go. As the name suggests, this method involves spooning your flour into the measuring cup little by little, and then leveling it off at the top. You’ll still get some variance with this recipe, but without a scale, this is the best option. Here’s how to do it properly:
Prep the Flour: Before you grab that spoon and start scooping, you’ll want to give your flour a good fluff so that it’s nice and light.
Fill Your Cup: Spoon the fluffed-up flour into your measuring cup until it’s overflowing. Go back in and re-fluff the flour as you’re working to avoid spooning compacted flour into your cup.
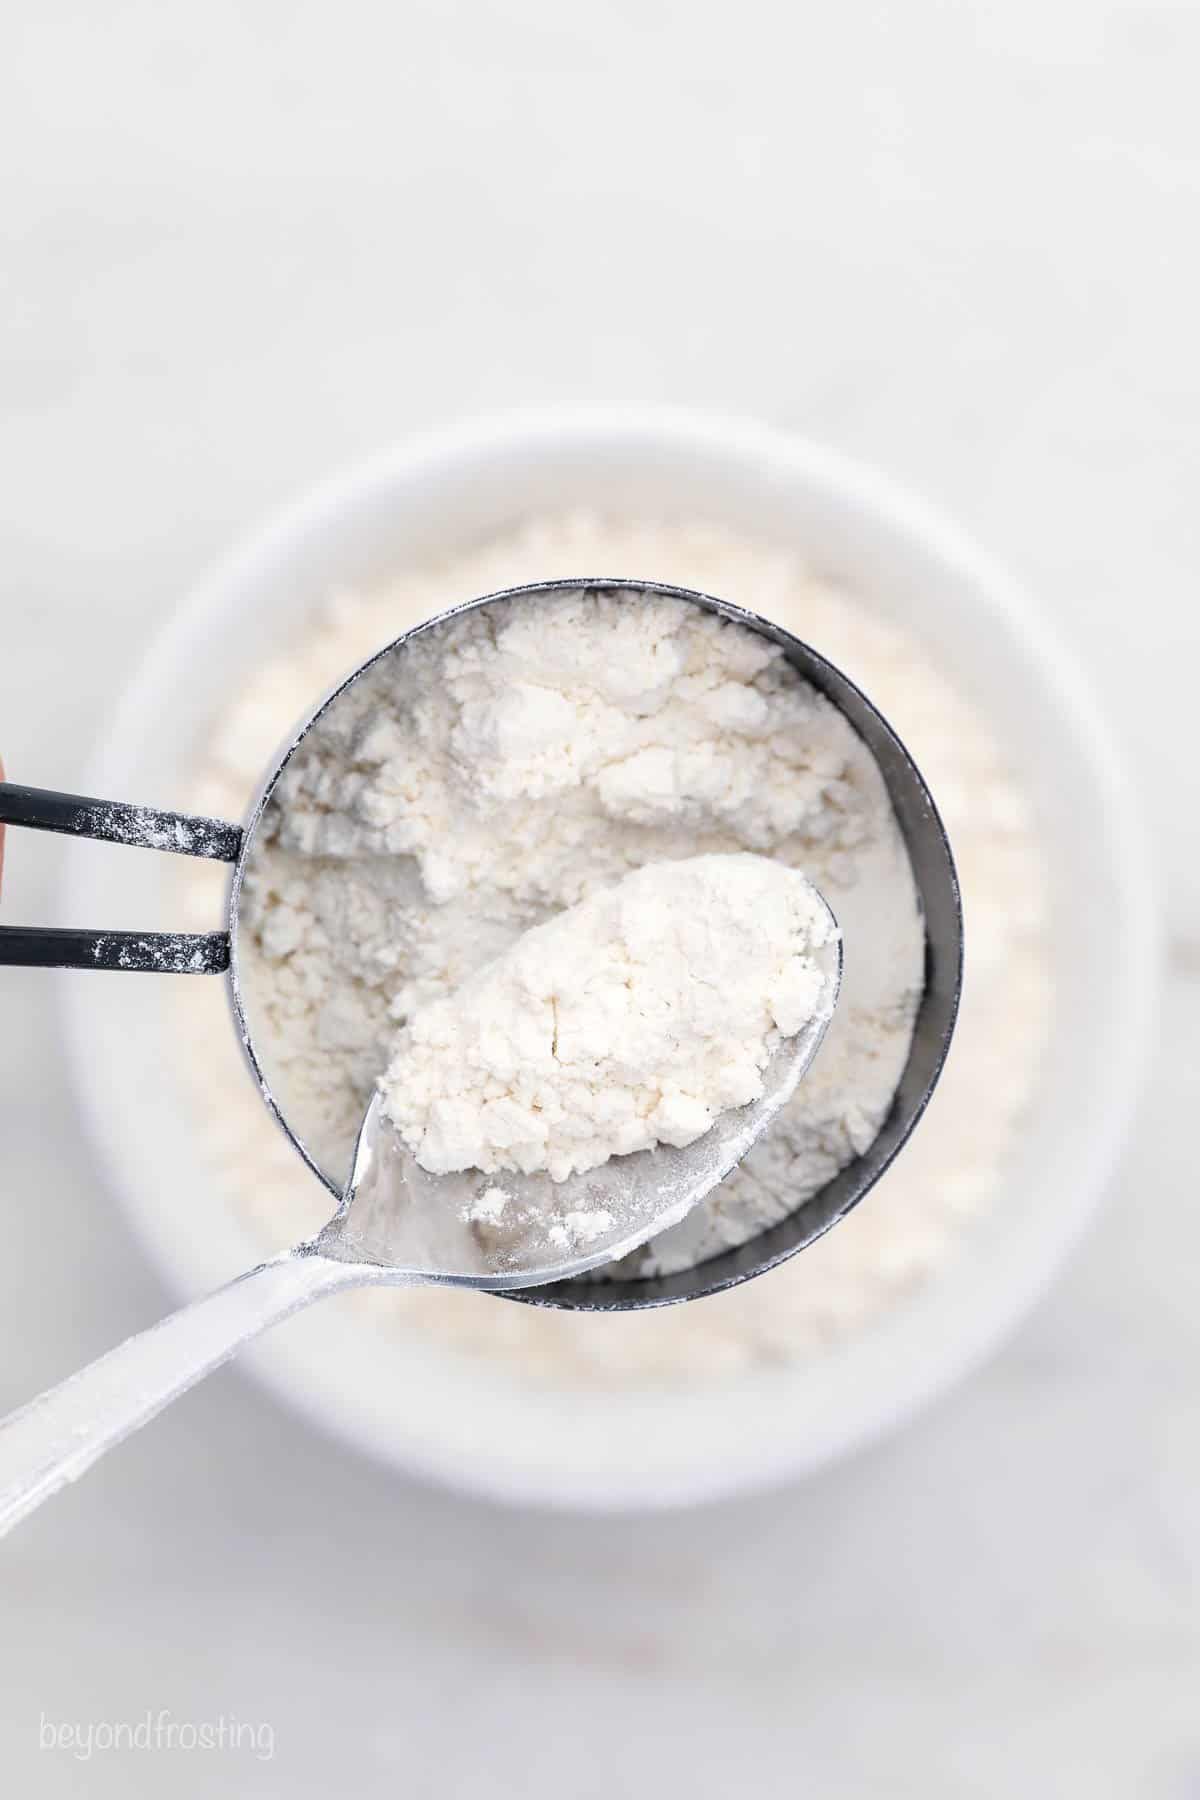
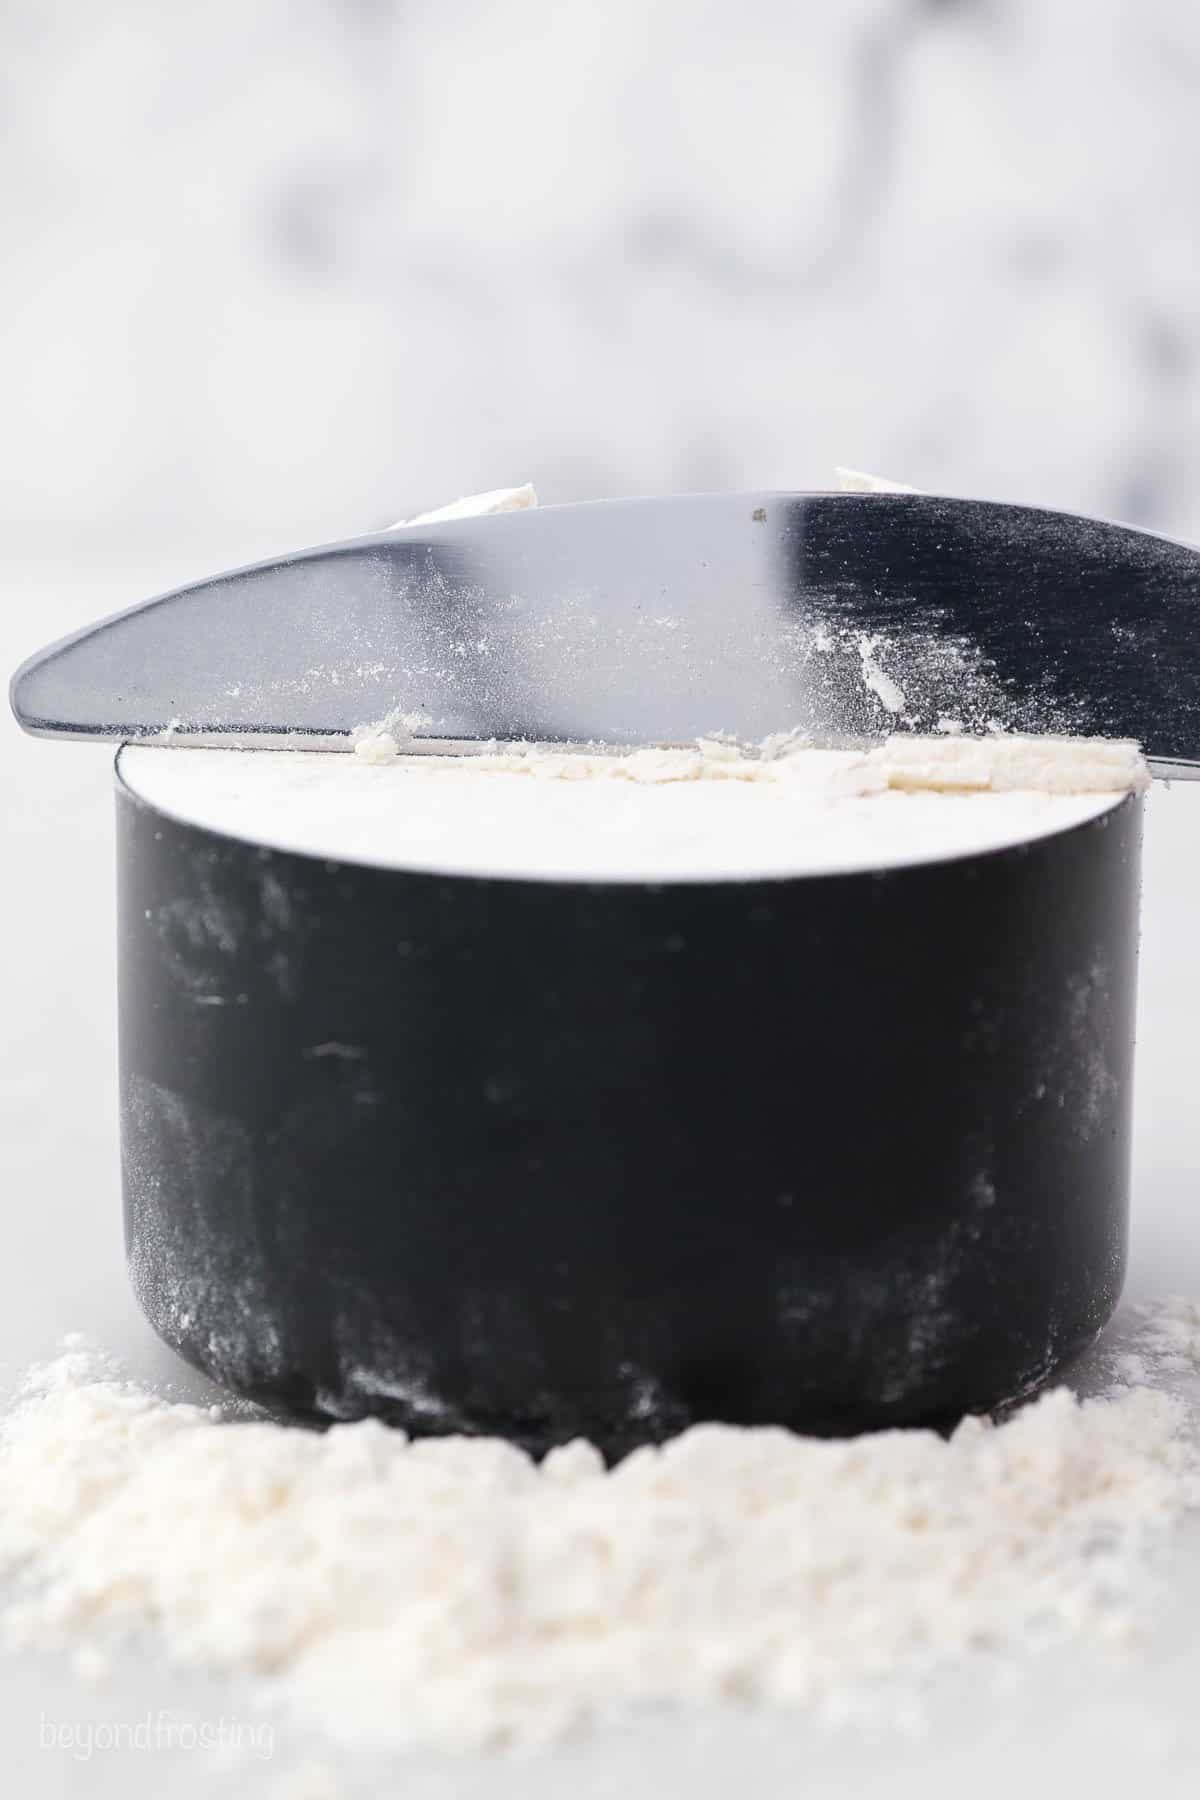
Level it Off: Use a butter knife or another thin and flat kitchen utensil to level off your flour at the top, sliding it right along the brim of the cup.


How to Measure Sifted Flour
Certain occasions call for “sifting” flour, which means passing the flour through a fine-mesh sieve before using it in a recipe. Sifting flour does a couple of things. It breaks up any lumps, and it also aerates the flour, making it lighter and easier to mix with the other ingredients. This is especially handy in light and delicate desserts, like this fluffy vanilla bundt cake.
Sometimes, a recipe will call for “1 cup sifted flour” or “1 cup flour, sifted”. So, what’s the difference? Well, you’ll end up with different amounts of flour depending on which method you use. It comes down to whether you’re meant to sift before or after the flour is measured. Here’s a breakdown:
- 1 Cup Flour, Sifted – Measure 1 cup of flour first, and sift it afterwards. In this case, use the spoon and level method (see above), by spooning the flour into the measuring cup and leveling off the flour with the back of a knife.
- 1 Cup Sifted Flour – Sift the flour, then measure to 1 cup. The best way to do this is to spoon the flour into the sieve while sifting the flour into the measuring cup. Afterward, level off the cup with a knife.
It’s important to know the difference! One cup of sifted flour versus one unsifted cup of flour can have a big impact on the outcome of a recipe. This is because there is more flour in an unsifted cup compared to the amount of flour in a sifted cup. (And if there’s one takeaway from this post, it’s the importance of properly measured flour!)
How to Prevent Over Measuring
Now that you know how to measure flour, let’s review some important takeaways. Here’s to getting perfectly textured baked goods every time!
- Fluff it Up: No matter what type (or brand) of flour you’re using, it will naturally become compact as it sits in the bag. Don’t forget to fluff it up before you measure it! You can do this by simply stirring the flour about a bit with a spoon before you begin measuring it.
- Use Dry Measuring Cups: Certain measuring cups are designed for dry ingredients while others are meant for liquids. Be sure to use the dry ones whenever you’re working with flour.
- Know Your Flour: It’s always a good idea to double check the weight measurements that correspond to the flour you’re using. These should be made clear on the product’s packaging.
More Helpful Baking Tutorials
Want more ways to ensure that your baked goods come out flawless? Check out these step-by-step tutorials next!


If it does not mention sift flour, do you just leave it alone. Or is it okay to sift per preference?
I would follow the recipe as indicated, if it calls for the flour to be sifted then it should be sifted. As far as measuring sifted flour, that is covered in the section “How to Measure Sifted Flour”