My Oreo Cookies and Cream Cake is a fluffy vanilla layer cake loaded with crushed Oreo cookies and creamy chocolate buttercream. This Oreo cake is decorated with cookies and cream frosting and then glazed with chocolate ganache for the ultimate party dessert!
If you’re an Oreo-lover and chocoholic, you’re going to love this cake recipe. Try my Chocolate Oreo Cake, next!
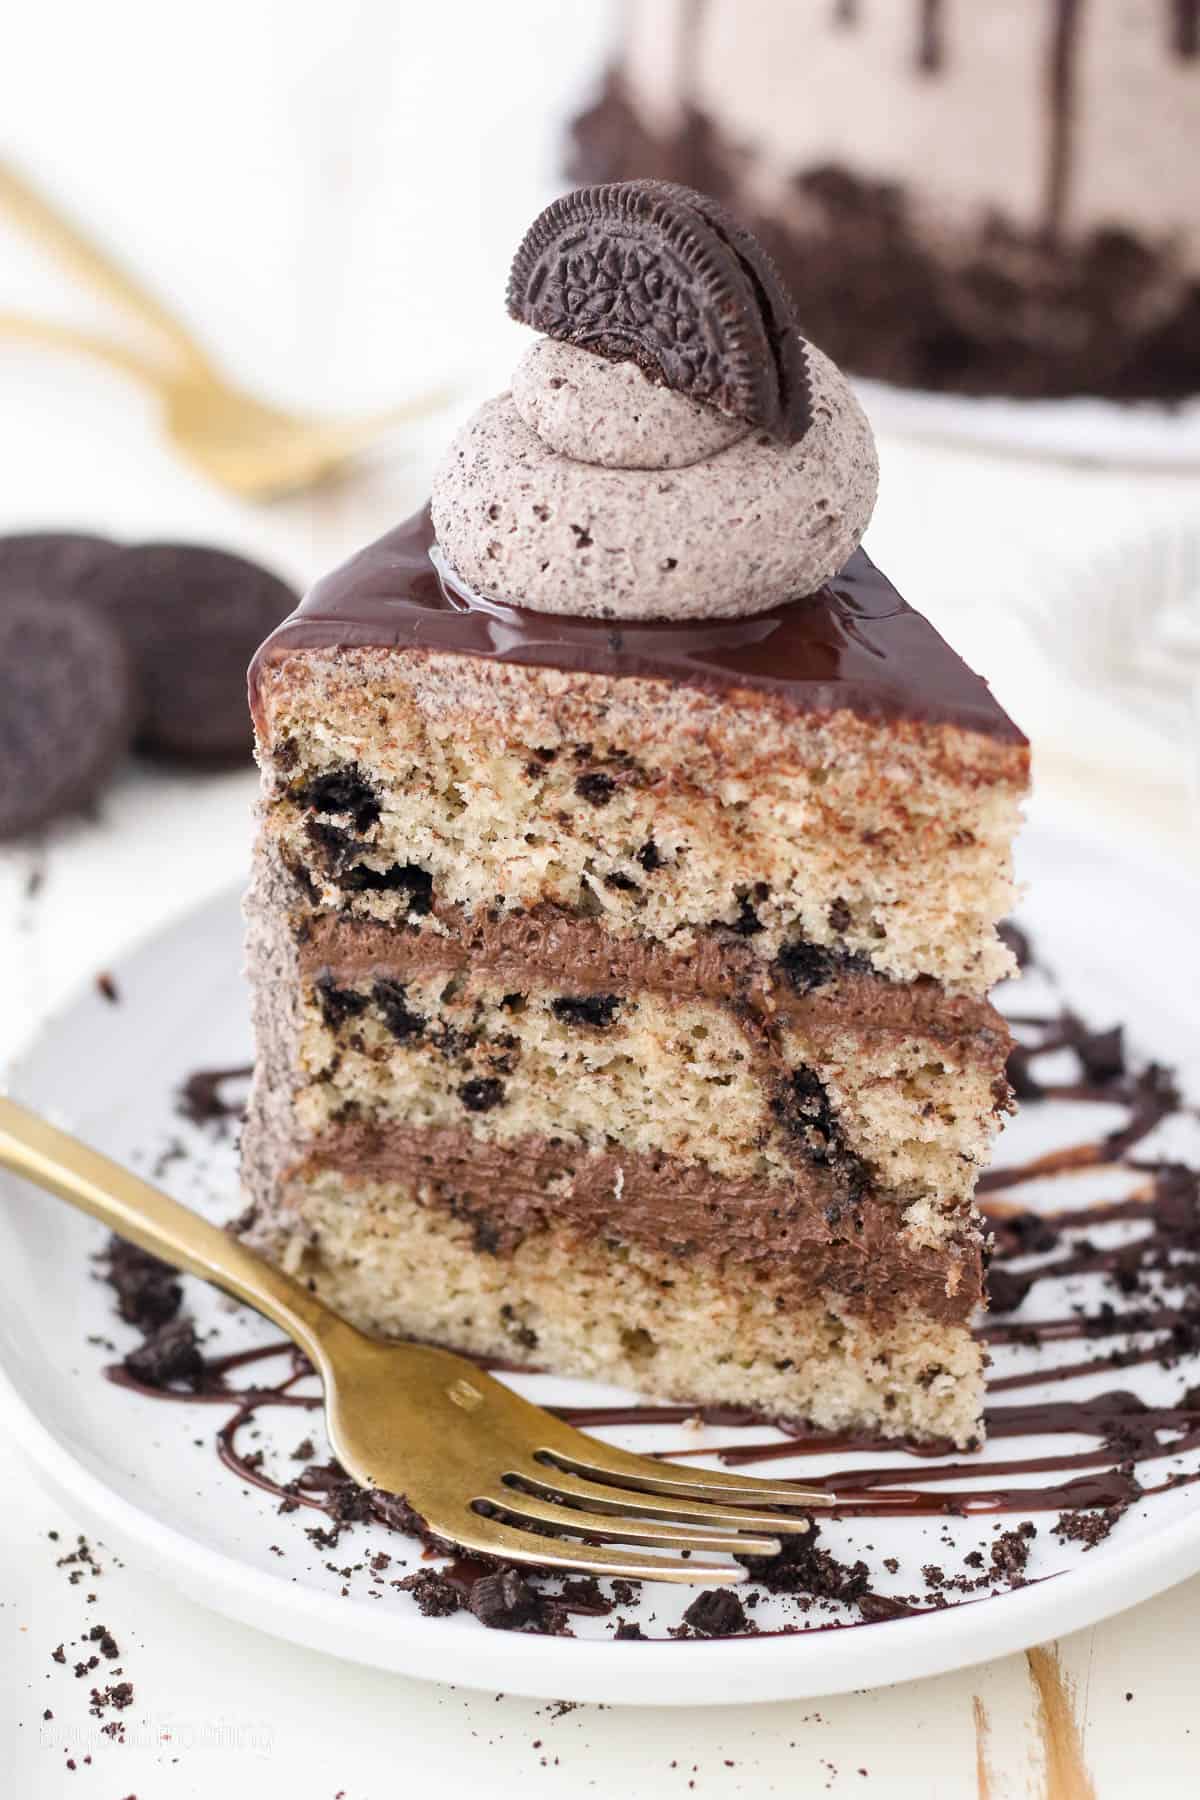
The Best Oreo Cookies and Cream Layer Cake
Calling all Oreo lovers! Today I’m sharing the ultimate Oreo dessert that’s jam-packed with cookies and cream flavor.
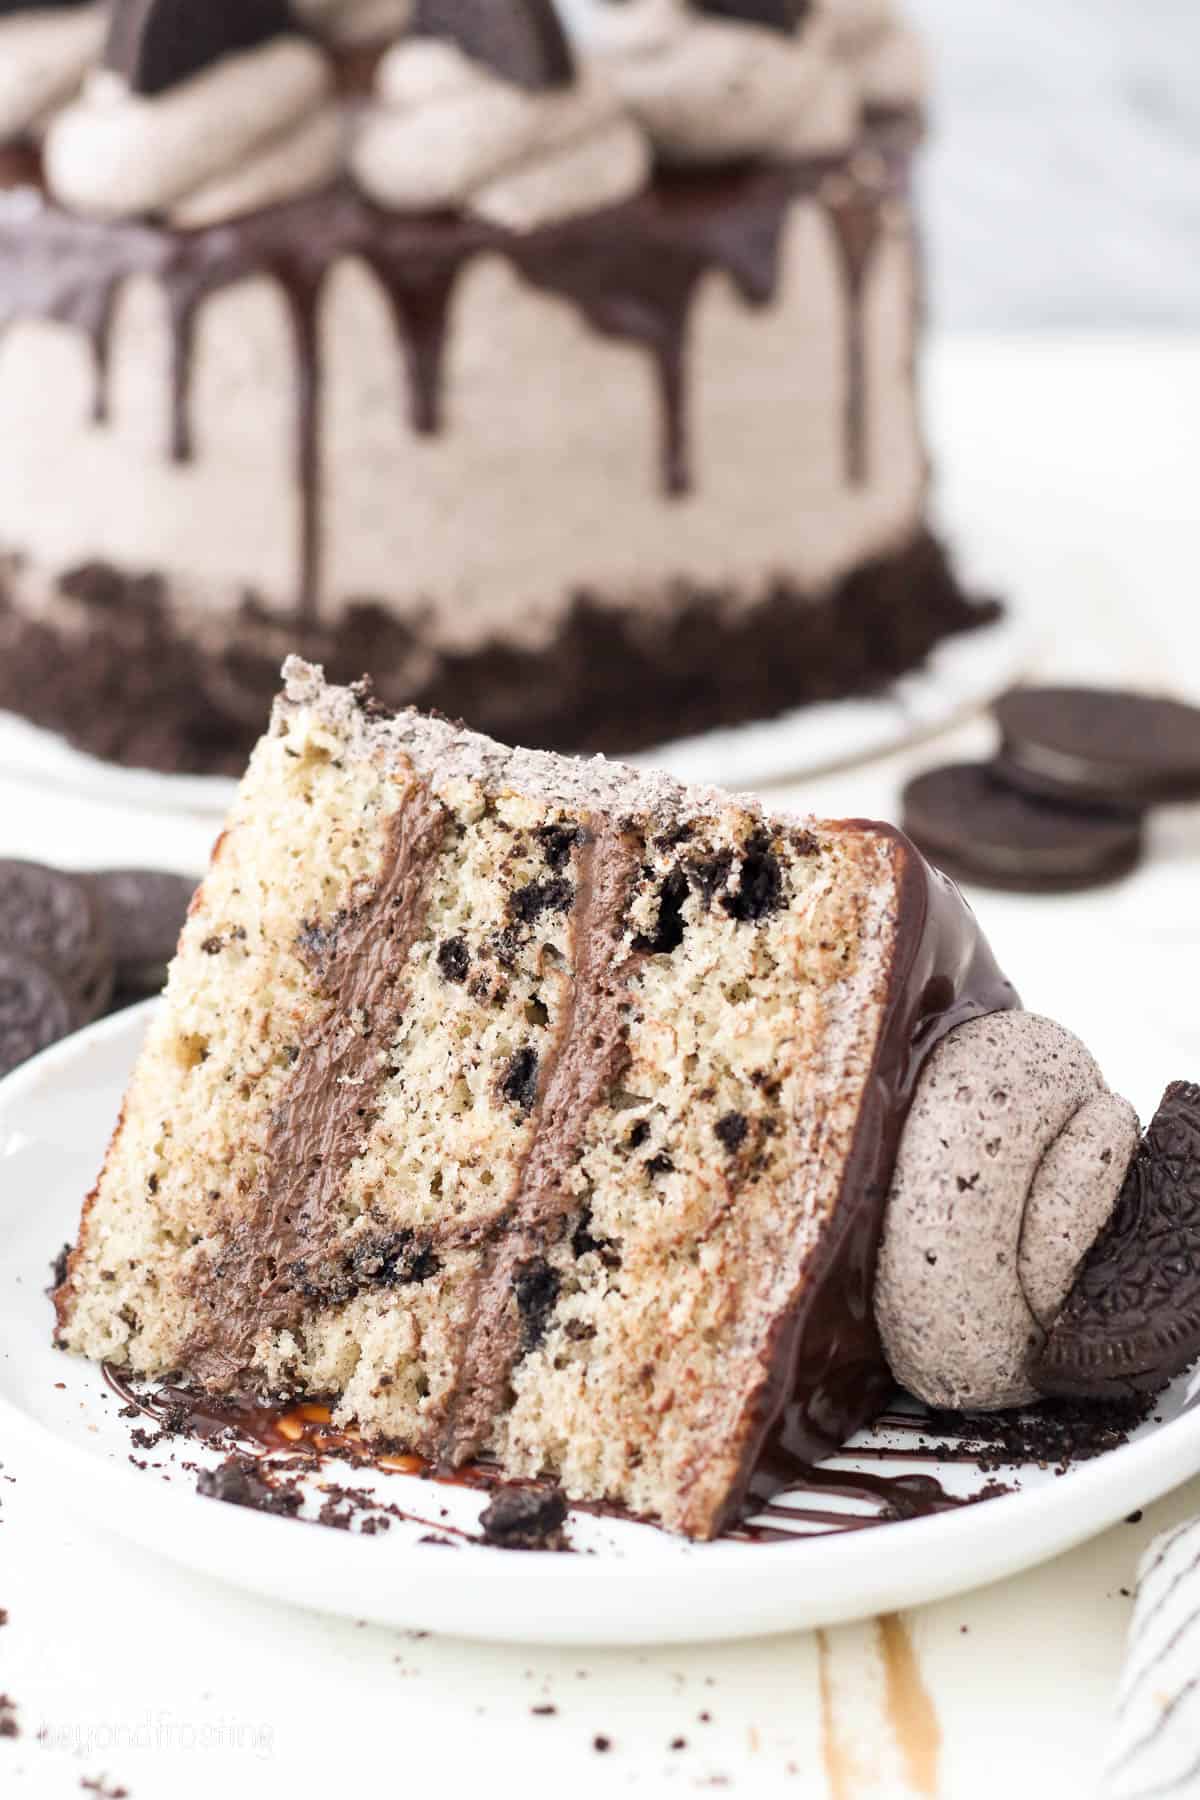
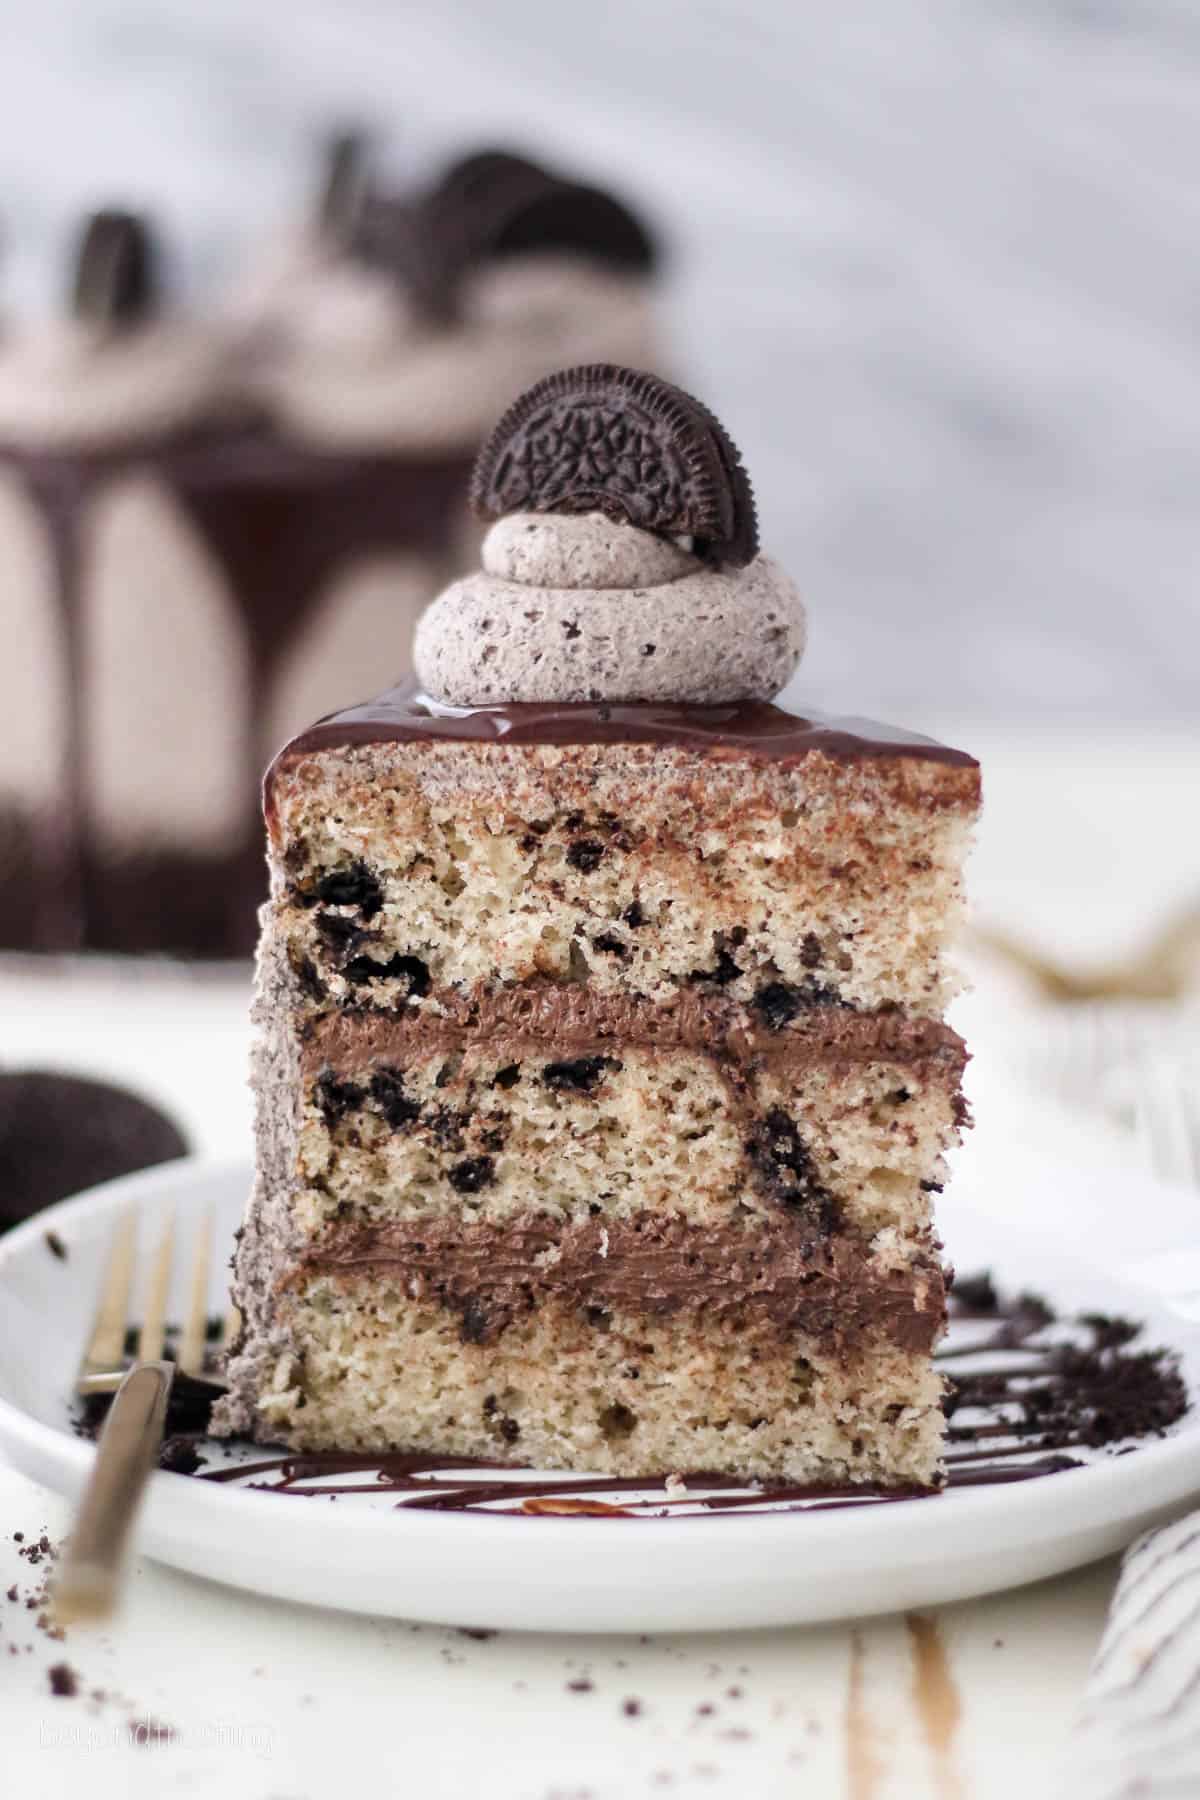
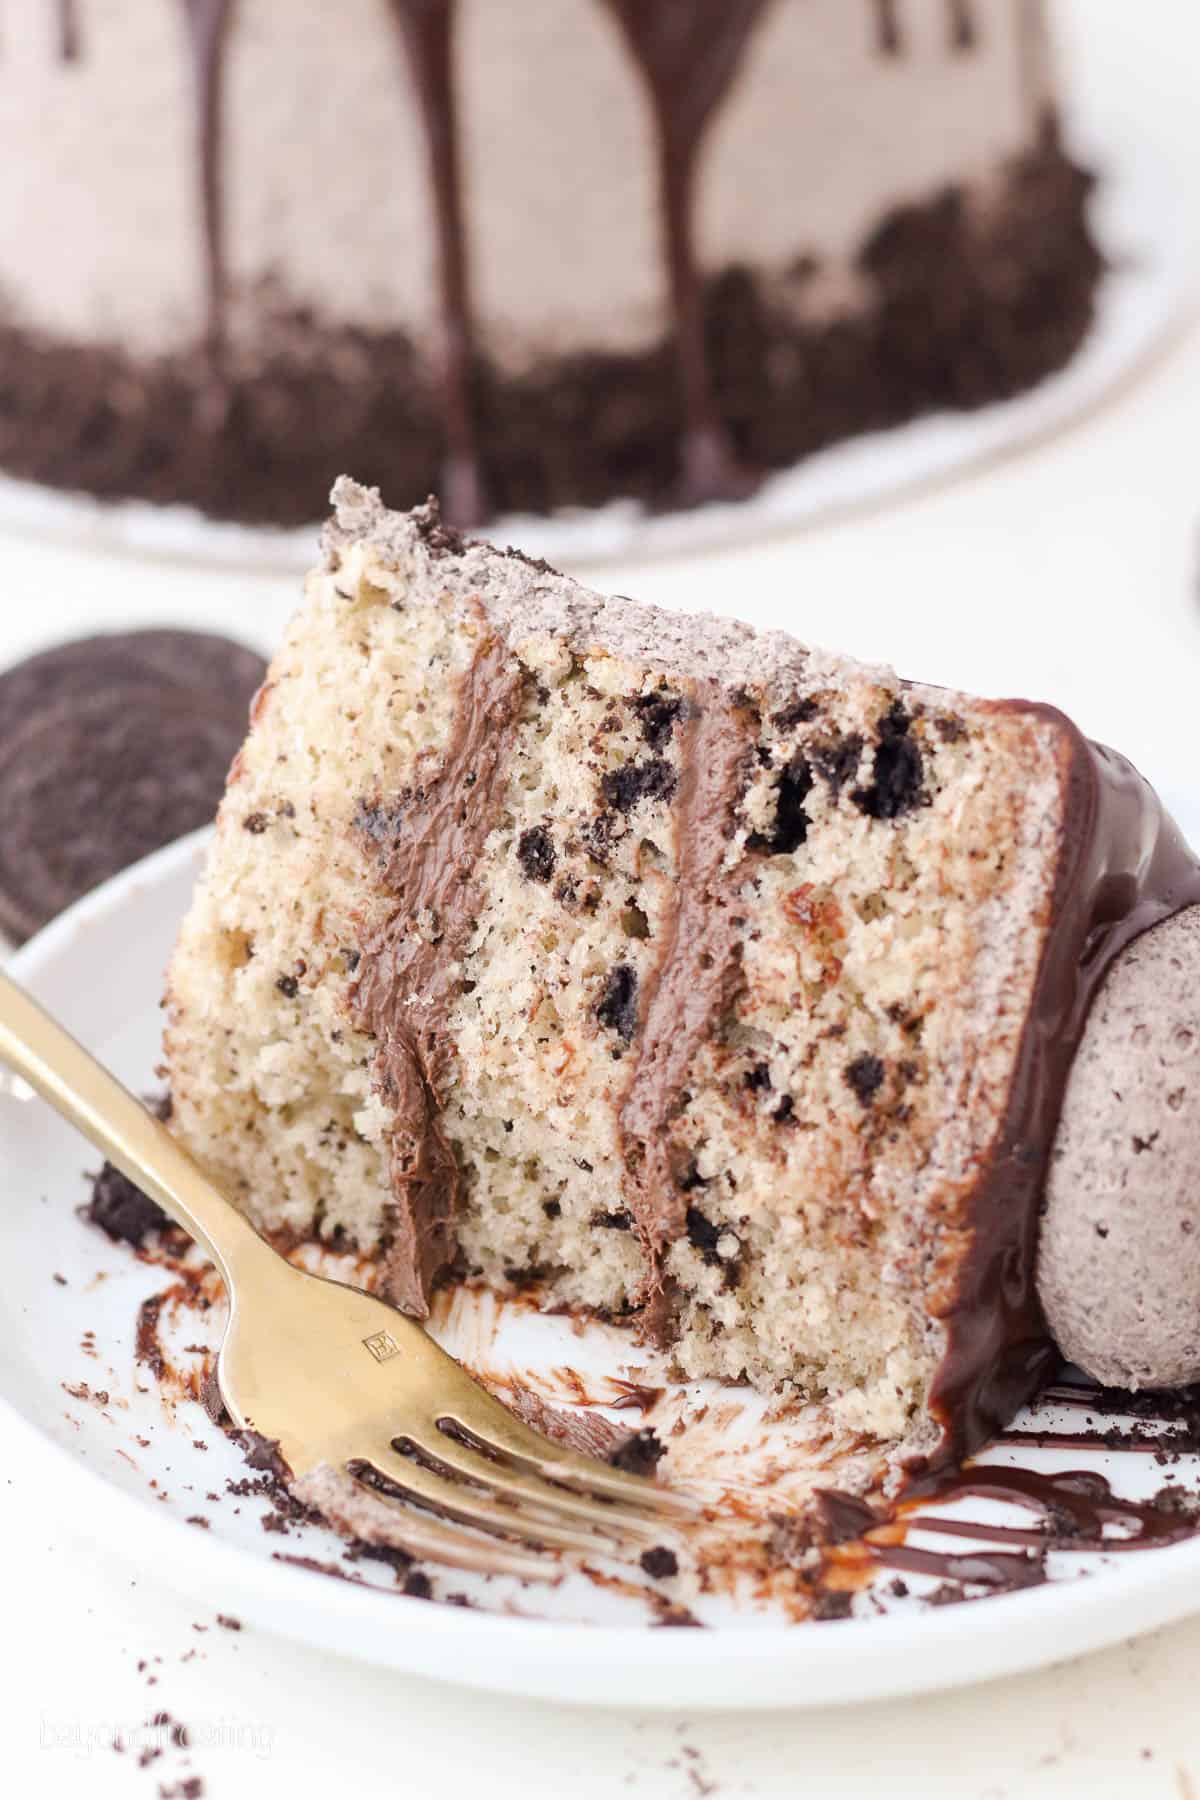
This Oreo cookies and cream cake is a three-layer cake made from moist vanilla cake loaded with crushed Oreos, filled with chocolate fudge frosting, and then decorated with my favorite Oreo Frosting. It’s basically a cookies and cream bonanza! The cake itself is light and fluffy, and the frosting is ultra-creamy.
I drizzle the top with drippy chocolate ganache and swirl on some additional frosting for good measure. This Oreo cake is layer upon layer of decadent, chocolatey bliss!
Why You’ll Love This Cake Recipe
If you’re looking to satisfy an intense craving for your favorite chocolate sandwich cookie, this Oreo cake is the way to do it. Here’s why you’ll love it:
- Loaded with cookies. This Oreo cake starts with my Vanilla Cake recipe. It’s then combined with crushed Oreos that soften once baked, for delicious cookies and cream flavor in every bite.
- Step-by-step. Sure, cookies and cream layer cake might seem fancy. You’ll be surprised by how easy it is to make! I include easy-to-follow directions every step of the way, from batter to buttercream.
- Perfect for parties. What party wouldn’t benefit from a slice of thick, fudgy, frosted Oreo cookies and cream cake? This homemade cake recipe is perfect for birthdays, holidays, and really any special occasion. Of course, it’s also delicious to enjoy just because!
Key Ingredients
You’ll need your usual pantry ingredients when making this irresistible Oreo cake, including sugar, eggs, flour, etc. Along with the basics, there are some key ingredients for the perfect cookies and cream cake, which I go over below. Don’t forget to scroll to the bottom of this post for the printable recipe card for the full recipe details.
- Vegetable Oil – Substituting butter with oil is Secret #1 for a moist and tender cake. This is because the oil in the crumb stays liquid at room temperature, while butter has a tendency to stiffen up. Use mild-flavored oil, like vegetable or canola oil.
- Sour Cream – Secret #2 for a super-moist cake! For the best, light cake texture, use full-fat sour cream or plain Greek yogurt, brought to room temperature before you start.
- Oreos – You’ll need 2 cups of crushed Oreos (approximately 15-18 cookies) for the cake. Use the whole cookie, cream filling, and all. I recommend using regular Oreos and not the Double Stuf kind, as there tends to be too much filling. Additional Oreos are needed for the buttercream as well.
- Chocolate Frosting – The frosting in between the cake layers is my Chocolate Fudge Frosting. It’s a rich chocolate buttercream made from cocoa powder, powdered sugar, and melted dark chocolate.
For the Oreo Frosting and Topping
- Butter – You’ll need unsalted butter that’s cold from the fridge. This might sound a bit unconventional, but I promise, whipping cold butter leads to extra fluffy frosting.
- Heavy Cream – For best results use full-fat heavy whipping cream when making buttercream frosting. Whole milk will also work, though the texture won’t be as light.
- Dark Chocolate- For the ganache, you’ll need your favorite chocolate (dark or milk will work). I recommend using chocolate bars instead of chocolate chips.
- Corn syrup- Used in the ganache for extra shine
How to Make a Cookies and Cream Cake
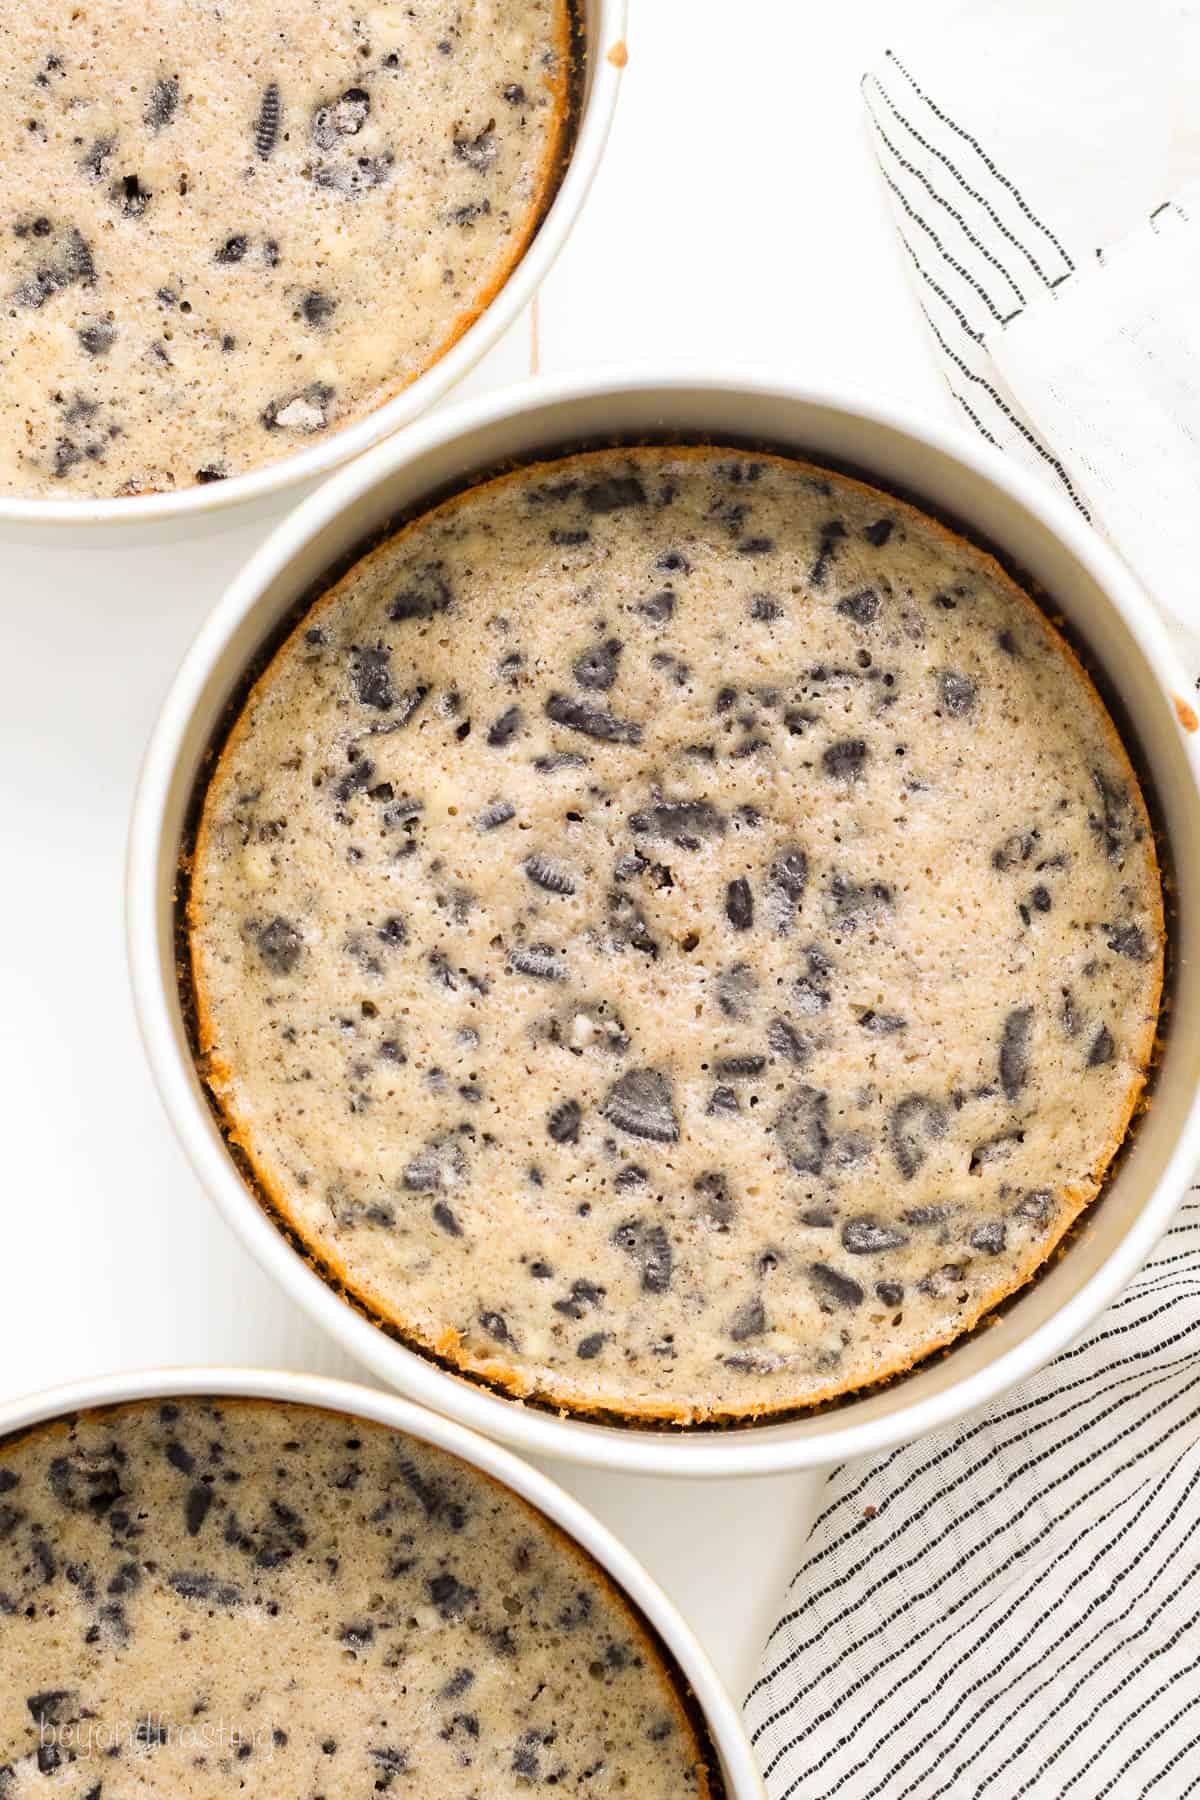
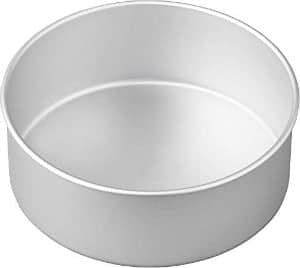
While the oven preheats, grease and line three 8-inch round baking pans. You’ll start by preparing the Oreo cake layers:
- Mix the batter. First, cream the sugar with the vegetable oil, eggs, and vanilla until light and fluffy, then beat in the sour cream. Add the flour gradually, alternating with milk, until the batter is just combined.
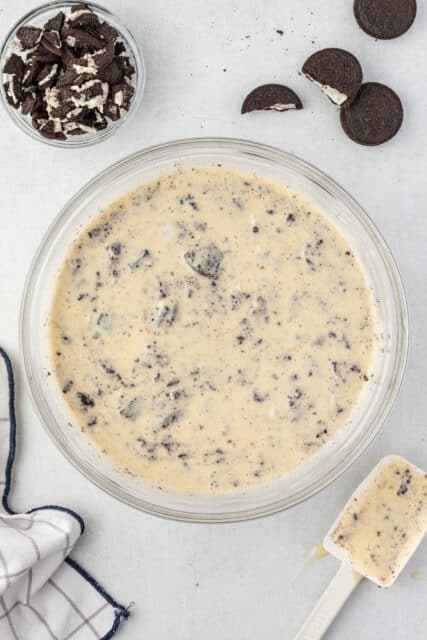
- Add Oreos. Next, roughly crush the Oreos and fold them into the cake batter. Divide the batter between your prepared pans.
- Bake. Bake the cakes at 350ºF for 20-25 minutes. I usually rotate the pans about halfway through to ensure that the cakes bake evenly. Afterward, leave the cakes to cool completely before frosting.
Prepare the Frosting
I couldn’t decide between using my chocolate fudge frosting or Oreo frosting for this cake, so, naturally, I use both. I use the same chocolate frosting from my Yellow Cake recipe, and the base for my Oreo buttercream is my Perfect Vanilla Frosting. They’re both super easy to make!
Chocolate Frosting
- Melt the chocolate. Begin by melting dark chocolate in the microwave, stirring between increments. When melting chocolate in the microwave, I suggest changing the power to 50%, which helps prevent the chocolate from burning. Once melted, set the chocolate side to cool while you start on your frosting.
- Combine. Beat cold, cubed butter until it’s fluffy and super whipped, about 3-4 minutes, then beat in the cocoa powder. Add powdered sugar, a little at a time, alternating with vanilla and heavy cream until combined.
- Add chocolate and whip. Lastly, slowly beat in the melted chocolate, then up your mixer speed and give everything another good whip, to really work the air into the frosting.
Oreo Frosting
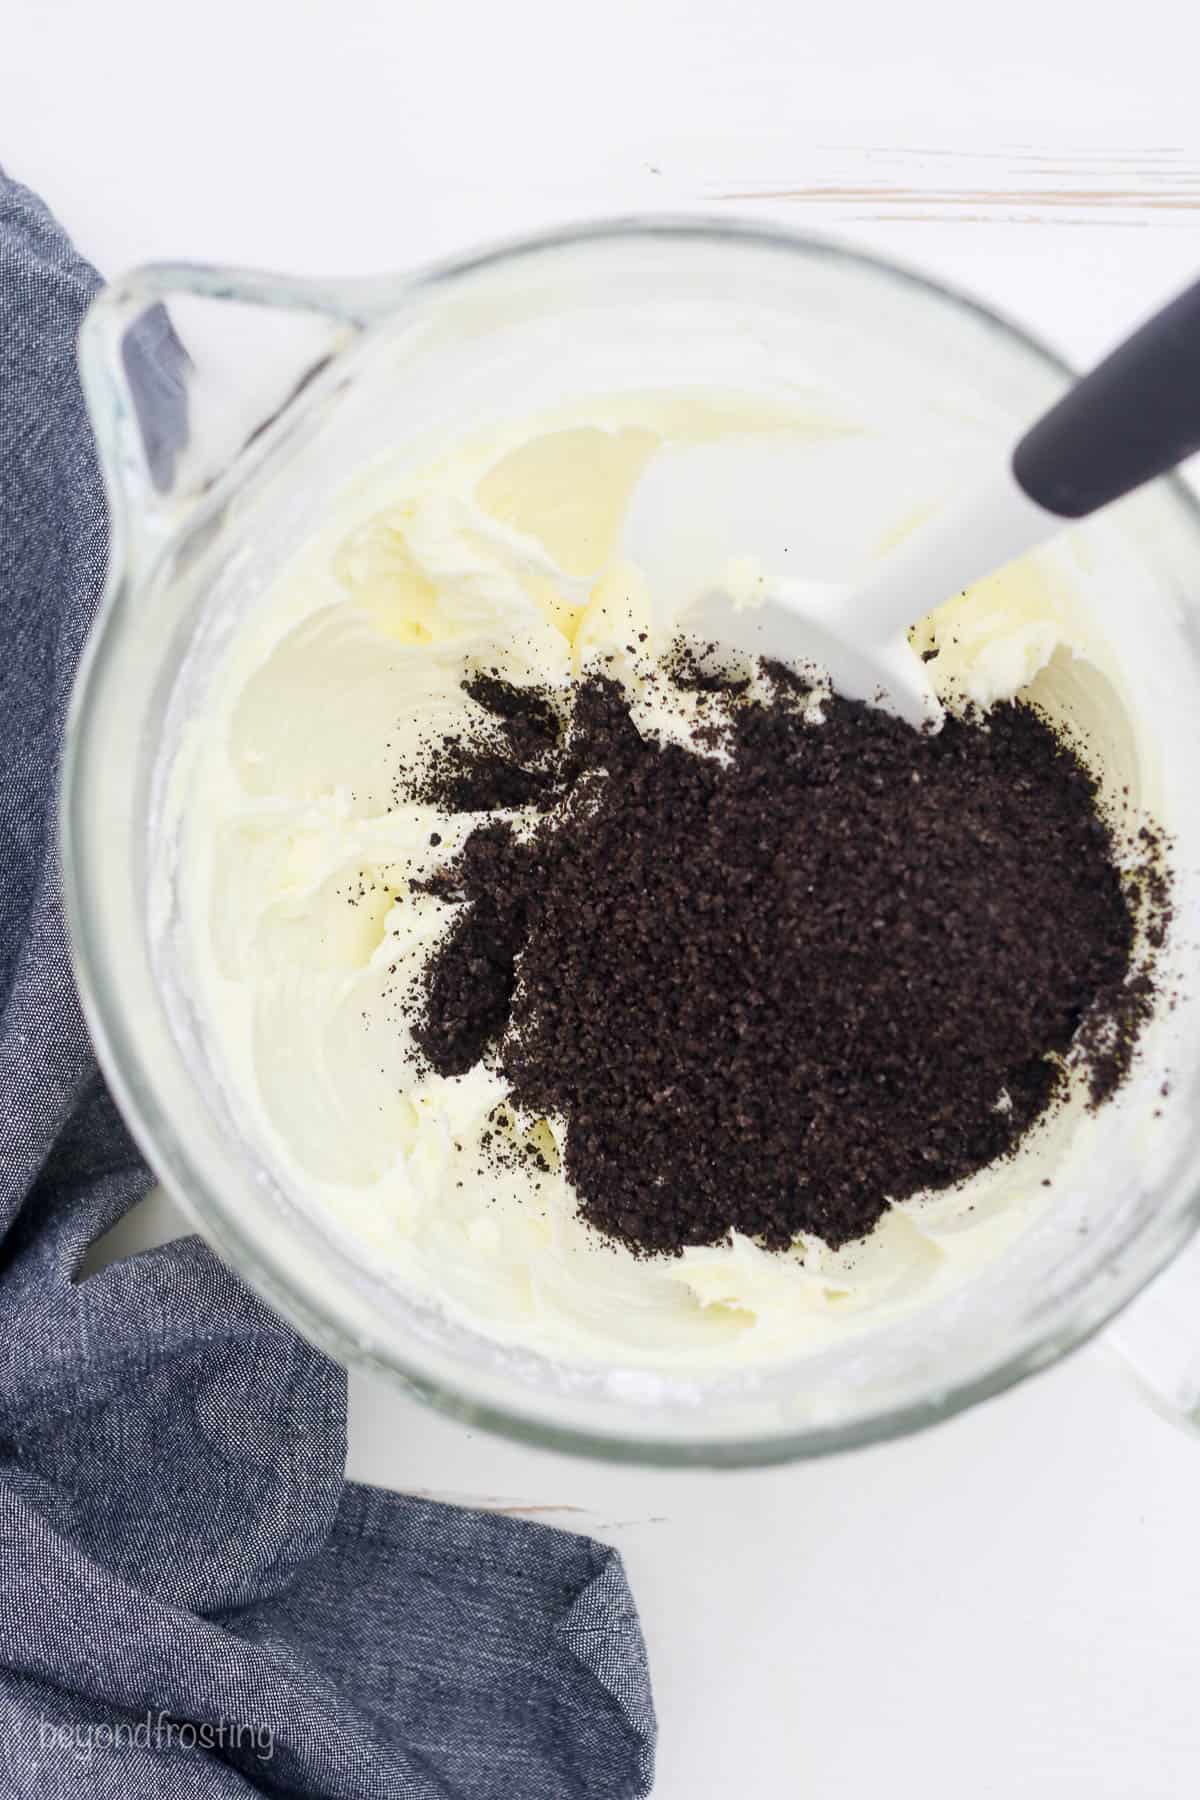
- Whip the ingredients. Again, you’ll want to whip your cold butter for a good 3-4 minutes to get it light and fluffy, before gradually beating in the powdered sugar and liquid ingredients (vanilla and heavy cream).
- Crush and add the Oreos. Next, grind the Oreos into a fine crumb, making sure that no large chunks remain. I find this is easiest to do with a food processor. Beat the crumbs into the frosting with the heavy cream, until smooth and fluffy.
Assemble and Frost the Cake
Before assembling the cake, add both your chocolate frosting and Oreo frosting to piping bags. If you’re new to making layer cakes, I have handy tutorials on How to Use a Piping Bag and How to Make a Layer Cake that you may find helpful. It’s really easy once you get the hang of it!
To frost the cake, I snip off the tip of the bag with chocolate frosting for filling the cake layers, and fit the second bag with Wilton’s piping tip 789 for piping out the Oreo frosting. You’ll find more decorating ideas in the section below, but here are the basics of assembling and frosting your cookies and cream cake:
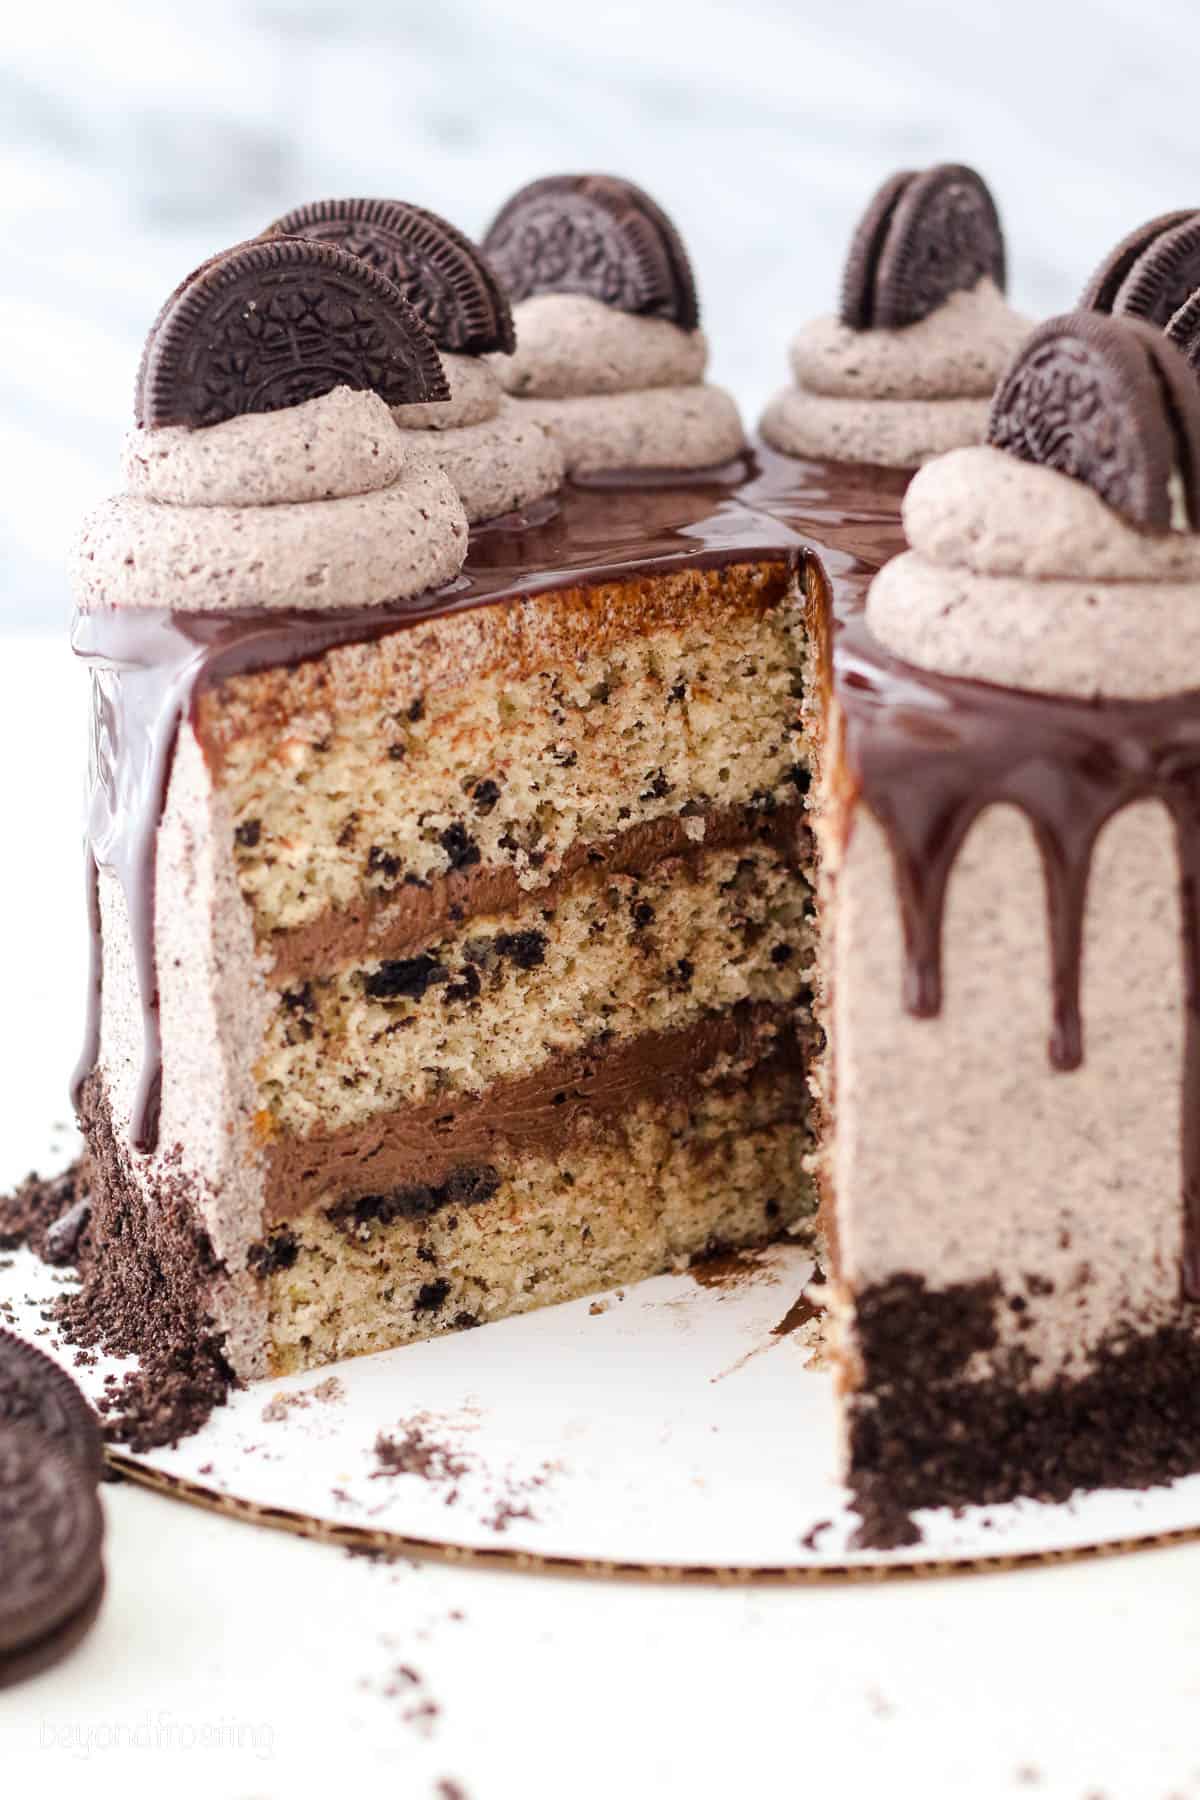
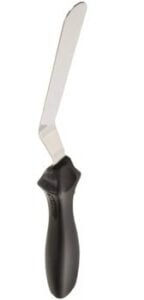
- Begin with the first cake layer. Add a dollop of frosting to the middle of your cake board or a plate, and place the first cake layer over top. The frosting helps to keep the cake from slipping. Next, pipe a thick swirl of chocolate frosting from the outside edge inward, and smooth it out with an offset spatula.
- Stack the other layers. Place the second cake layer over the first, pipe another layer of frosting, and then add the third and final cake layer.
- Frost the cake. Using your spatula, spread a light coat of Oreo frosting over the outside of the cake to create a crumb coat. After, use your piping bag with the cake icer tip to pipe a layer of Oreo frosting all around the sides and top of the cake. Finally, smooth out the frosting with an offset spatula.
Before you garnish this cake with the chocolate ganache, throw the cake in the refrigerator for 20-30 minutes to allow the buttercream to firm up. This allows the ganache to drip over a smooth surface.
Adding Chocolate Ganache
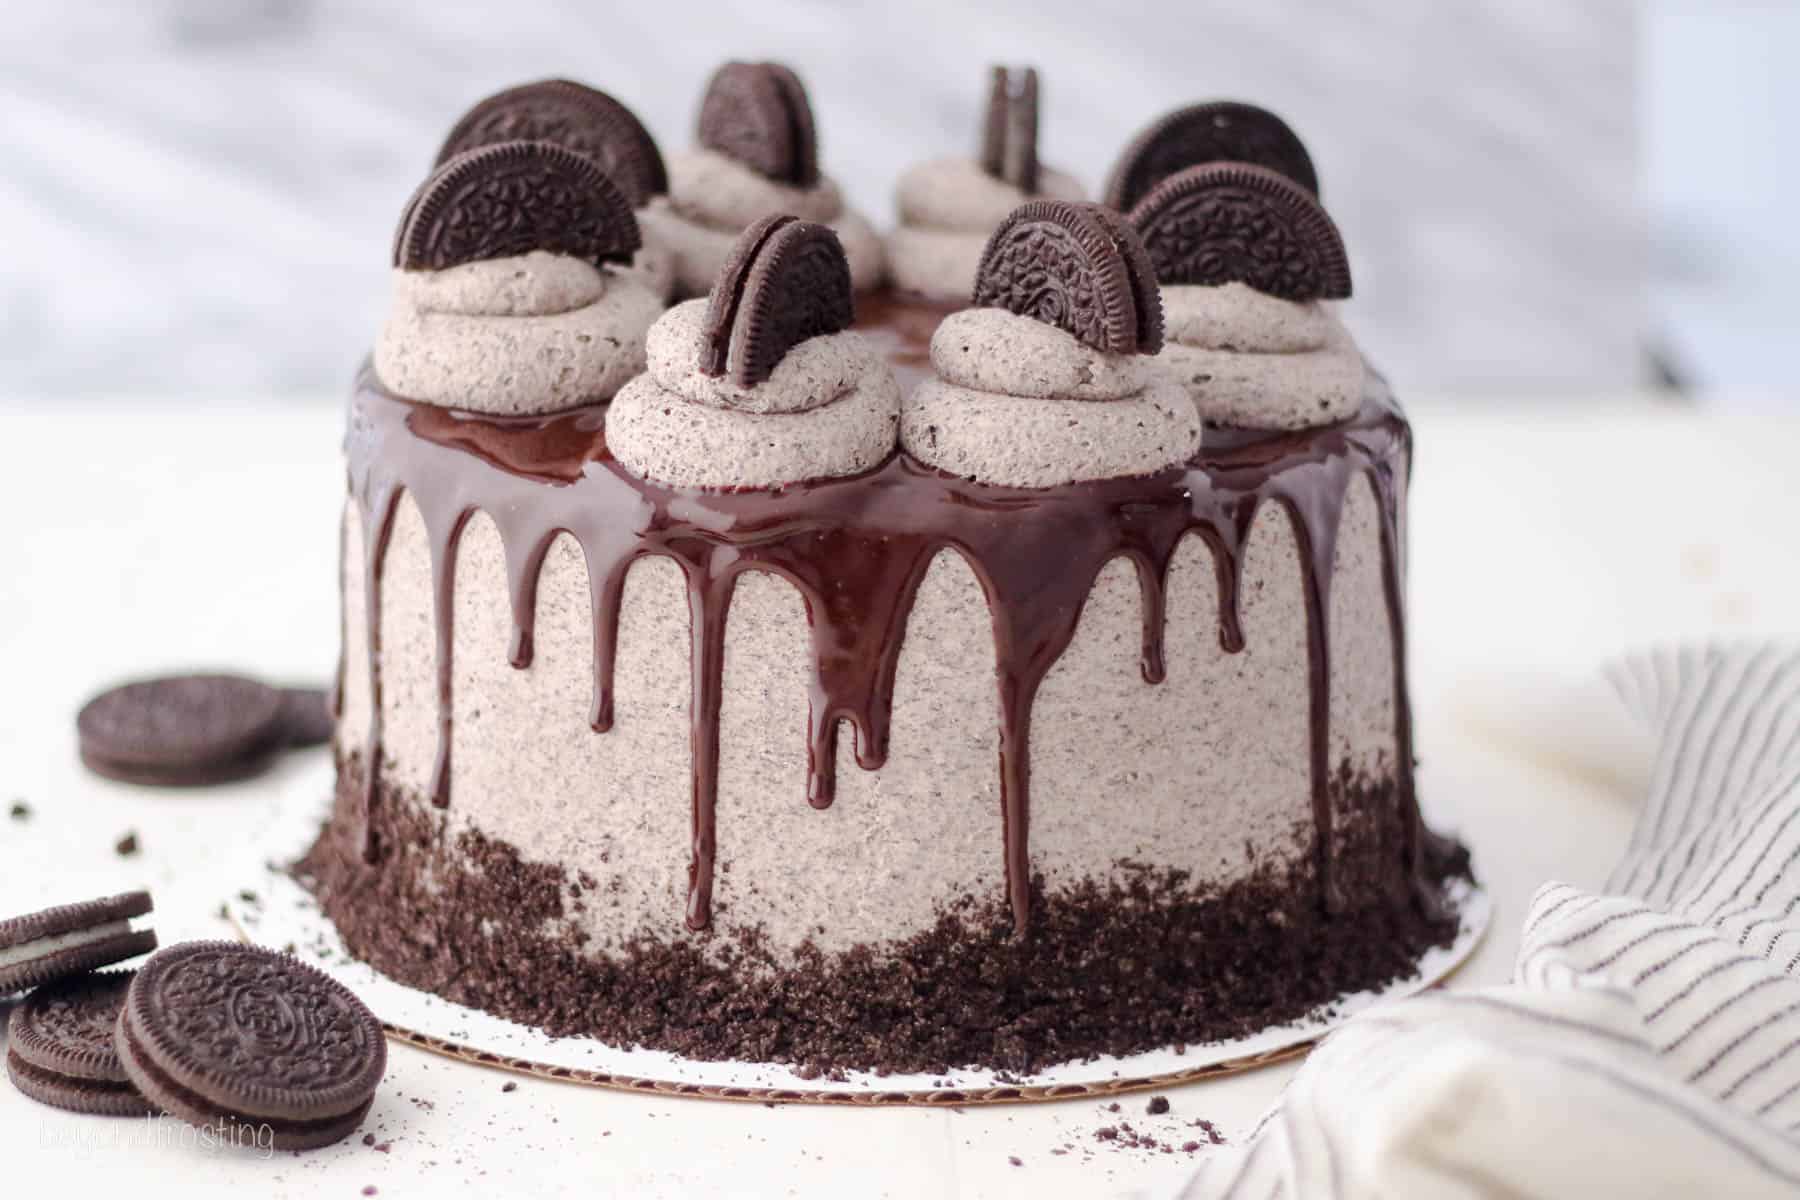
The finishing touch on this Oreo cookies and cream cake is an (optional) drip of chocolate ganache. Just like in my Chocolate Drip Cake recipe, ganache adds an extra layer of decadence to this Oreo layer cake, which I love. It’s very quick to make:
- Melt the chocolate and heavy cream. Combine both and heat the mixture in the microwave (again heating at 50% power) until melted. Then, stir in the corn syrup. Corn syrup is the secret to ultra-glossy chocolate ganache.
- Chill. Place the ganache into the fridge and let it cool down for a few minutes, or let it sit at room temperature. If the temperature is too hot, it will melt your frosting.
- Pour. Once the ganache is cooled enough, use a spoon to drip the ganache along the edges of the cake. Then, pour the glaze over the top of the cake and use an offset spatula to spread it evenly. The ganache will need about 20-30 minutes to set before you can decorate the cake. Decorating it too early will cause the frosting swirls to fall off the side of the cake.
How to Decorate an Oreo Cake
There are countless ways that you can decorate this Oreo cookies and cream cake. It’s totally up to you! I use a large open round tip and the leftover Oreo frosting to pipe swirls on top of the cake, and then garnish it with additional Oreo cookies. Check out my tutorial on How to Use Piping Tips for details and decorating tips.
If you’d like to add a “skirt” of Oreo crumbs around the bottom of the cake as pictured, you can do this after the assembled cake is frosted and before it’s placed into the fridge to chill. I recommend laying down some parchment paper to catch any stray crumbs. Then, use your hands to gently pack Oreo crumbs along the bottom edge.
Alternatively, you can decorate this cake with swirls of Whipped Cream, chocolate shavings, or even rainbow sprinkles. Let me know your ideas in the comments!
Recipe Tips for Success
There are a few elements to this cake, but I’m certain that yours will turn out amazing! Just take it one step at a time, and keep these tips in mind:
- The Oreo batter won’t rise as much as traditional vanilla cake. This is due to the weight of the Oreos, and it’s totally normal. It will still have a soft and tender texture.
- If your cakes dome while baking, this happens because the outside edges of the cake bake faster than the middle. Go ahead and trim off the domes using a serrated knife so that the layers stack evenly. It also helps to have a nice flat surface to decorate.
- Ensure that your cakes don’t stick to the pans. I recommend lining the pans with parchment paper or Silpat liners (they’re available in 8-inch and 9-inch rounds!). For extra insurance, grease the sides with Crisco and lightly flour the pan.
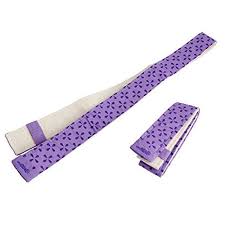
- Use bake-even strips. Remember that pesky doming issue? I like to apply bake-even strips to the outsides of the pans to prevent the cake edges from baking too quickly.
- If your Oreo cake is dry, this could be due to over-mixing or over-baking. A dense, dry cake could also be the result of too much flour. Make sure you’re following the directions and measurements accurately!
- The consistency of the ganache is key. You want it to be pourable, but also thick enough that it doesn’t run right off your cake. If you’re unsure, spoon a small amount of ganache over a section of your cake to check if it’s the right consistency.
Can I Make This Recipe in Advance?
Absolutely. The Oreo cake layers can be baked ahead of time and stored airtight at room temperature for 1-2 days. You can also refrigerate them for up to 1 week, or freeze the cake layers for up to 3 months. I recommend wrapping the cake layers tightly in plastic wrap prior to place in the refrigerator or freezer, and then throwing them inside a large Ziploc bag to seal in the air.
The Oreo frosting will also keep for 24 hours at room temperature, or up to 1 week in the fridge. Store it airtight and allow the frosting to come to room temperature again before you use it. I suggest giving it a quick whip in the mixer in order to get air back into the frosting, as it will settle once it’s been sitting.
Can I Use a Different Pan?
Yes, you can adapt this cake recipe for different-sized pans if you’d prefer a cookies and cream cake with fewer layers or a single-layer cake:
- To make this recipe as an Oreo sheet cake, add the batter to a 9×13-inch baking pan and bake at 350ºF for 30–35 minutes, or until a toothpick stuck into the center of the cake comes out clean.
- For a double-layer cake, prepare the batter as directed and fill two round pans about ¾ full. You can use any extra batter to make a mini-batch of cupcakes (also linked below).
- For cupcakes, I recommend that you refer to my Cookies and Cream Oreo Cupcakes recipe.
When it comes to frosting a single-layer cake or cupcakes, you can decide which frosting you prefer (chocolate fudge or Oreo) and follow the recipe as directed.
How to Store a Finished Cake
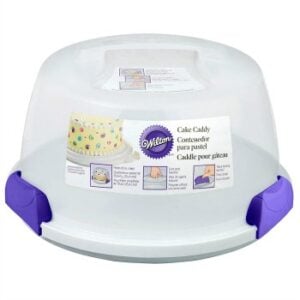
Your frosted Oreo cake can be stored airtight on the counter for a day or two. After that, I’d recommend storing it in the fridge. Take the cake out of the fridge about 30 minutes or so ahead of serving so that it comes to room temperature. This is my favorite cake carrier.
If you live in a warm or humid environment, it is recommended to refrigerate this cake.
Can I Freeze This Oreo Cake?
Yes. You can freeze the frosted cake either whole or in slices. Wrap the cake tightly in plastic wrap or store it in a freezer-safe airtight container and freeze it for up to 2 months. Thaw the cake at room temperature before serving.
Print
Oreo Cookies and Cream Cake
- Prep Time: 3 hours
- Cook Time: 30 minutes
- Total Time: 3 hours 30 minutes
- Yield: 8-10 slices
- Category: Cake
- Method: Baked
- Cuisine: American
Description
A showstopping Oreo Cookies and Cream Cake made from moist Oreo cake layers filled with creamy chocolate buttercream, topped with Oreo frosting, and glazed with chocolate ganache!
Ingredients
For the Cake
- 2 cups (380g) granulated sugar
- ½ cup (118 ml) vegetable oil
- 3 large eggs, at room temperature
- 1 tablespoon (14.8 ml) vanilla extract
- ½ cup(118 ml) sour cream, at room temperature
- 2 ½ cups (350 g) all-purpose flour, sifted
- 3 teaspoons (11.2 g) baking powder
- 1 teaspoon (5 g) salt
- 1 ¼ cups (296 ml) milk (I use nonfat), at room temperature
- 2 cups crushed Oreos (about 15–18 Oreos)
For the Chocolate Fudge Frosting
- 4 ounces (113g) melted dark chocolate
- ¾ cup (170g) unsalted butter
- 2 ¼ cups (293g) powdered sugar
- 3 tablespoons (15g) cocoa powder
- 1 tablespoon (15ml) heavy whipping cream
- 1 teaspoon (5ml) vanilla extract
For the Oreo frosting
- 1 ½ cups (339g) unsalted butter
- 6 cups (780g) powdered sugar
- 12 Oreos, ground into crumbs
- 1–2 tablespoons (15-30ml) heavy whipping cream (or milk)
- 1 teaspoon (5ml) vanilla extract
For the Chocolate Ganache
- 2 ounces (56g) dark chocolate
- ¼ cup (59ml) heavy whipping cream
- 2 tablespoons (30ml) light corn syrup
- Pinch of salt
- 5 Oreos, ground into crumbs
- 4 Oreos, cut in half
Instructions
For the Cake:
- Preheat the oven to 350°F. Prepare three 8-inch round baking pans, line the bottom with parchment paper, and grease the sides. Prepare bake even stripes if desired.
- In a large mixing bowl, combine the sugar, vegetable oil, eggs, and vanilla extract. Beat on medium speed until well incorporated. Scrape down the bowl as needed. Next mix in the sour cream and beat until well combined.
- In a separate bowl combine the remaining dry ingredients and sift together the flour, baking powder, and salt. Add half the dry ingredients, and half the milk, and beat on low speed just until the flour starts to incorporate. Repeat until all ingredients are added and combined. Use a spatula to scrape down the sides of the bowl and stir the batter from the bottom to the top to ensure it’s well mixed.
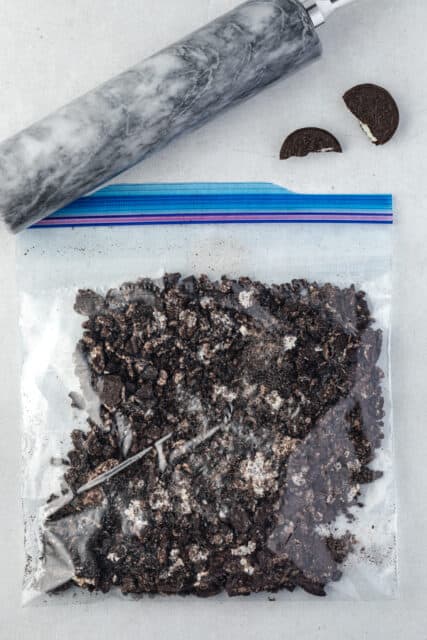
- In a large Ziploc bag, crushed the Oreos into small pieces using a rolling pin or something similar. Fold the crushed Oreos into the cake batter.
- Divide the batter evenly between the three pans, about 1 3/4 cups of batter per pan. Bake at 350°F for 20-25 minutes. Test the cake for doneness by inserting a toothpick into the center of the cake. If the toothpick comes out clean, the cake is done. Remove from the oven and allow to cool completely.
For the Chocolate Fudge Frosting:
- In a microwave-safe bowl, melt the chocolate in the microwave at 50% power in 30-second increments, stirring each time until the chocolate is melted. Stir until completely smooth. Set aside to cool.
- Cut the butter into 1 tablespoon size pieces. Using the paddle attachment, whip butter for 3-4 minutes, scraping down the bowl occasionally. Beat until the butter in whipped and airy. Next, beat the cocoa powder into the butter until well-mixed, scrape down the sides of the bowl as needed.
- Alternate adding 1 cup of powdered sugar at a time with the liquid ingredients: vanilla extract & heavy cream. Ensure the powdered sugar is well combined, and whip for 1-2 minutes before adding more powdered sugar.
- Next, pour in the melted chocolate and beat on slow speed until incorporated. Then, increase the speed to medium-high and beat for another 2-3 minutes to whip additional air into the frosting. Once ready, place the frosting in a large piping bag and set aside.
For the Oreo Frosting
- Cut the butter into 1 tablespoon size pieces. Using the paddle attachment, whip butter for 3-4 minutes, scraping down the bowl occasionally. Beat until the butter is whipped and airy.
- Alternate adding 2 cups of powdered sugar at a time with the liquid ingredients: vanilla extract & heavy cream. Ensure the powdered sugar is well combined, then whip for 1-2 minutes before adding more powdered sugar.
- In a food processor, grind the Oreos into fine crumbs then add to the frosting and slowly beat the crumbs into the frosting then beat at a high speed for 60 seconds.
- Place the frosting in a large piping bag (about ¾ full) fitted with a piping tip 789. If you don’t have one, use a large open round tip.
To Assemble
- Use a cake leveler or serrated knife to cut the domes off the top of the cake. Place a dollop of frosting on the cake board and place the bottom layer of cake on top of that.
- Pipe the first layer of chocolate frosting. Snip the end of the piping bag off and pipe the filling working in circles from the outside edge to the middle. Spread evenly with an offset spatula. Add the second layer of cake and add the remaining chocolate frosting. Place the third layer of cake on top. Use an offset spatula to remove any excess chocolate frosting from the edges of the cake.
- Next, use an offset spatula to frost a light crumb coat of Oreo frosting on the outside of the cake. To finish, pipe the Oreo frosting along the outside edge of the cake, then use an offset spatula or icing smoother to create a smooth edge. Using your hands, gently pack the Oreo crumbs along the bottom of the cake. Once completed, refrigerate for 30 minutes.
For the Chocolate Ganache:
- In a microwave-safe bowl, combine the chocolate and the heavy whipping cream. Melt the chocolate in the microwave at 50% power in 30-second increments. Once the chocolate is fully melted and stirred smooth, add the corn syrup and stir the mixture until it’s well mixed. Cool the ganache in the refrigerator for about 10 minutes before pouring over the cake.
- Allow the ganache to set for 20-30 minutes at room temperature. Garnish with remaining Oreo frosting and Oreo cookies.
Notes
- Storing: If you live in a warm or humid environment, it is recommended to refrigerate this cake. Otherwise, you can store this at room temperature in an airtight container for up to 3 days. After that you can refrigerate it, and serve it room temperature.




Best Oreo Cake ever was the review from my children and a friend we made this cake for. We made it in 6 in pans so we could make the two cakes. Delicious!
AMAZING to hear this Megan! Thank you so much for sharing!
Hey if I want to make it in a 10inch round tin can I double the recipe and would it work.
You might try a 2 layer 10 inch cake without doubling the recipe. If you want a 3 layer 10 inch cake, your layers would be thinner.
Hi! I was wondering if this cake would taste as good if I make it without the buttercream? My family isn’t a big fan of frostings. Could a regular sponge cake be made out of this recipe if I just leave the frosting bit out?
Hi there, I am not sure what you mean when you say a “regular sponge cake”. You can absolutely make the just the cake recipe and top it with whatever you want. You can make it in a 9×13″ pan or as cupcakes. It will make 24 cupcakes.
Hi! I am excited to try out this recipe! I have been doing a little research and am seeing variations of this recipe using only egg whites and avoiding egg yolks so the cake looks more white like cookies and cream. Do you think the egg yolks make this cake very yellow? What do the yolks add to the cake in terms of texture and what are your thoughts on using only egg whites? Thank you!
Hi Andrea- this recipe was specifically developed to use whole eggs. Making the change to only egg white would change the entire structure of the cake, and I would not recommend it.
How should I adjust the temperature and time if I wanted to bake this cake in a square pan? Like a sheet cake pan? Thanks!
That depends on the size and type of the cake pan, but for an 8inch square pan if you’re baking 3 layers it would be about the same. 2 layer would increase the baking time around 5 minutes. It’s really just means you need to set the timer for a minimum time and then check it every few minutes until it’s done.
If I was to double this recipe how would it work cake pan wise? Would I need to use twice as many cake pans (6) or double the size?
Many thanks.
I would suggest using 2x the cake pans.
Looks delicious! I am making this cake for Sat but will need make way ahead as working until then. I understand it’s best place the oreo on the same day but have you tried the cake 4 days after it’s baked? It will be iced and refrigerated all along but not sure if the cake will still taste “fresh”
Hi Val- not that I can recall. If you are making 5 days ahead, you could refrigerate or even freeze it, but you should plan on 24 hours to defrost. In the fridge, it should be in an airtight container. If in the freezer, you can box it up and double wrap it in plastic wrap, tightly and thaw in the fridge overnight. Serve at room temperature for the best results- meaning allow a few hours for it to come to room temperature after it’s thawed
Good afternoon,
What do you think about using a white cake mix? I live in Denver and baking is tricky. Please don’t be offended but I really want this to turn out. Cookies and cream is my son’s favorite.
Thank you!
Hi Lynn! It would absolutely work! Feel free to use whatever works for you!
Hi! Just wondering, since you said the cake doesn’t rise much, why not add some baking soda to the recipe, which will react with the acidic sour cream and maybe allow the cake to rise a little more?
The reason I noted that was because there’s a lot of cookies in the batter, so it’s kind of bumpy and uneven and doesn’t rise super high
Hi! Do you have any suggestions for cooking with 9 inch pans??
Hi Kellie, for my regular vanilla cake these are the instructions: For two 9-inch cakes, they baked from 28-32 minutes. Baking times will vary due to how full the pans are, type of pans and true oven temperature. Please note these did “crust” a little more on the outside edge due to extended baking times and they rose quite a bite in the middle, so you’ll lose more of the “dome” of the cake.
However, there’s more batter in this recipe because of the Oreos. So probably a longer baking time.