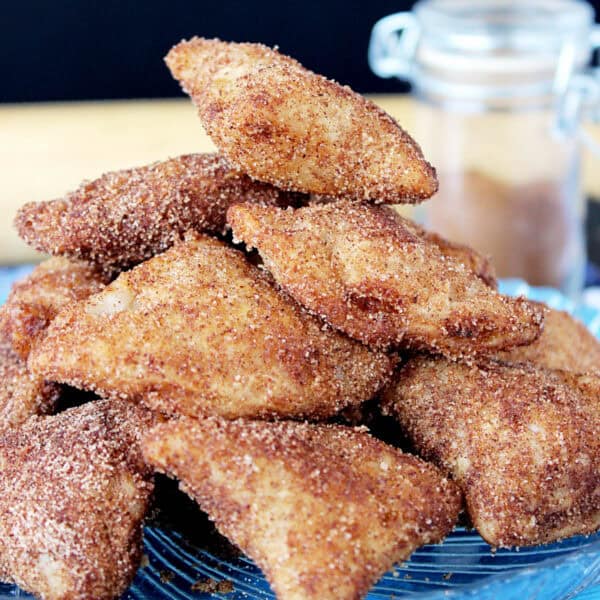
Apple pie bites turn refrigerated pie dough and gooey apple pie filling into an easy and delicious fall treat. Golden-fried and coated with cinnamon sugar, they taste just like a bite-sized version of homemade apple pie!
For a deconstructed version of this recipe, try my apple pie filling dip with fried pie crust chips. You might also like these easy apple pie cupcakes.
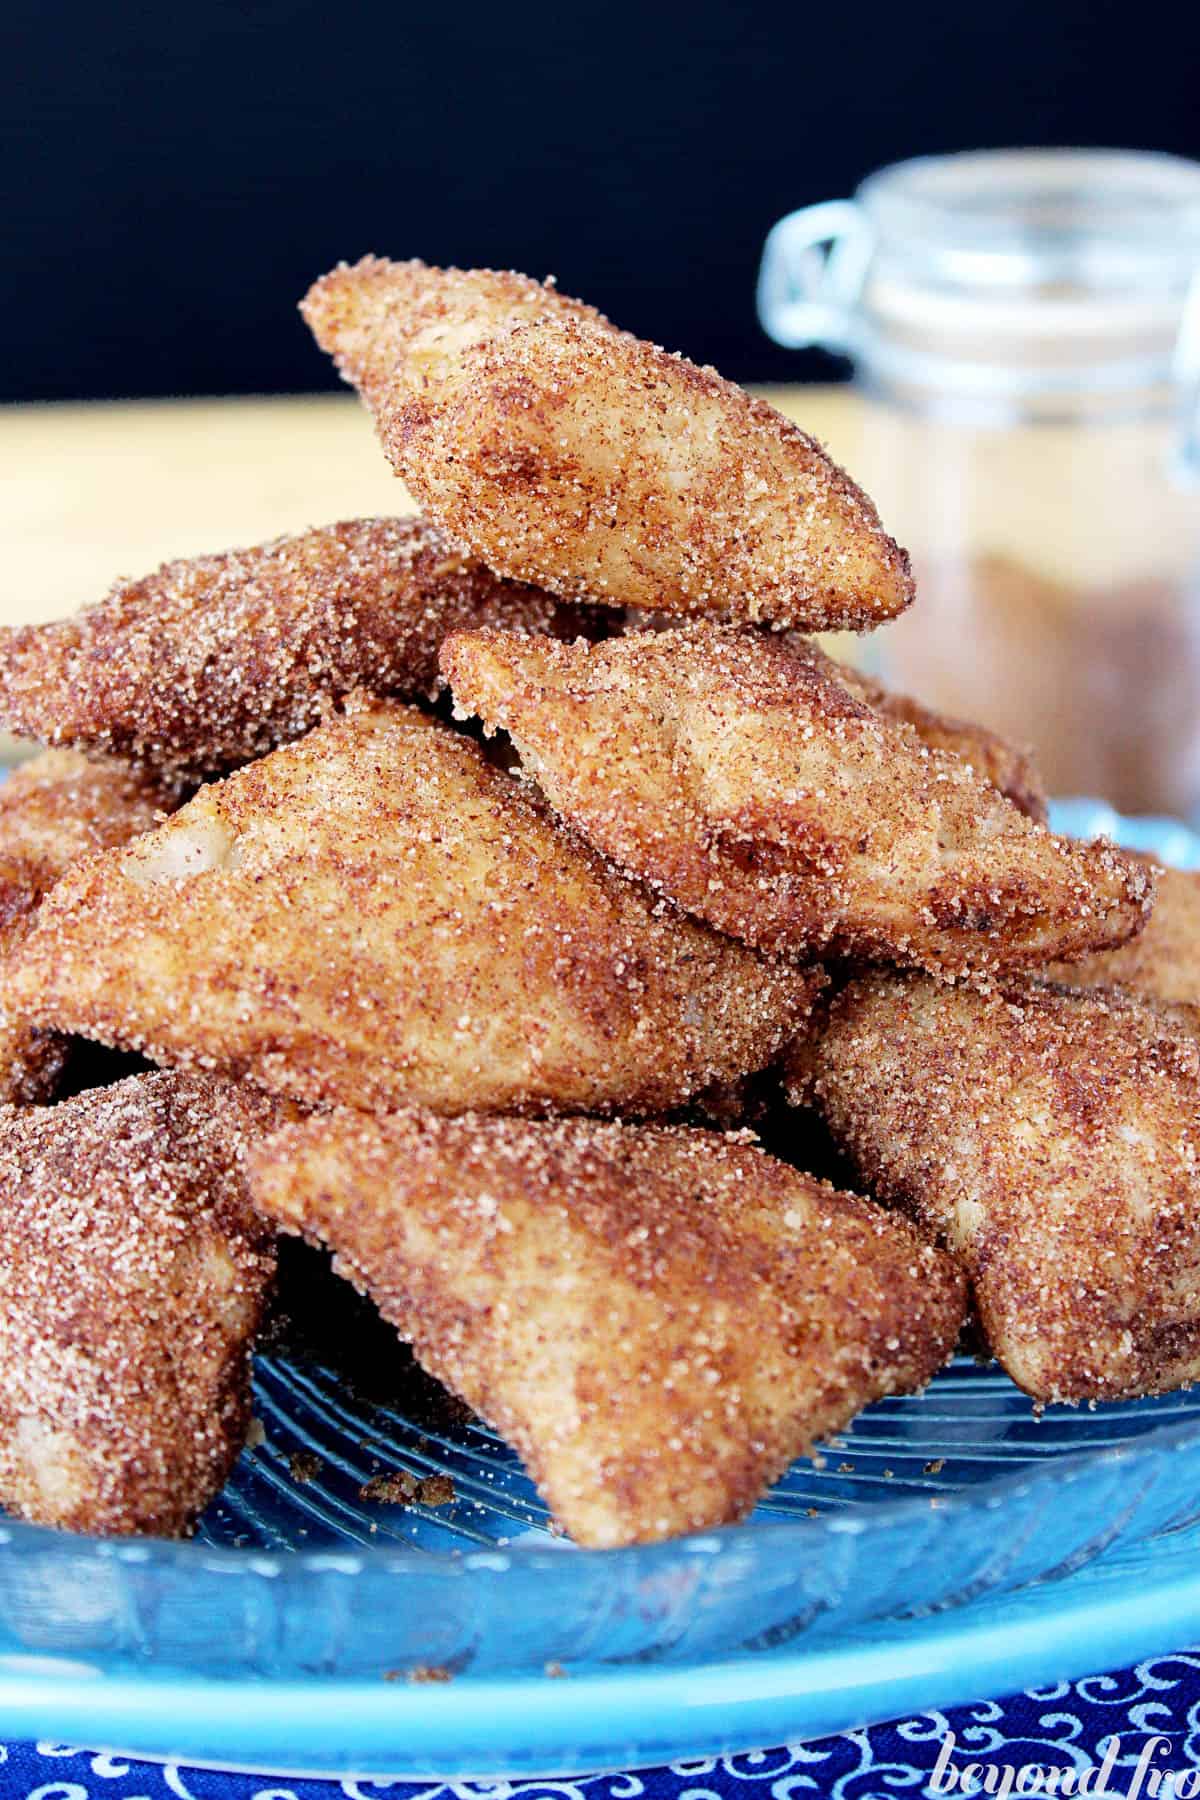
Who else is getting excited for fall? Beyond changing leaves and cooler weather, fall means apple season! Today’s mini apple pie bites are crispy, deep-fried pockets of refrigerated pie crust stuffed with Lucky Leaf apple pie filling. They’re a fun and delicious fall dessert that’s great for entertaining, and they’re super easy to make.
Why I’ve Fallen in Love With These Mini Apple Pie Bites
- Small bites, big flavor. These are rolled in cinnamon sugar and packed with my favorite fall flavors, including maple syrup.
- 6 ingredients. Prepared pie crust and pre-made pie filling make this recipe extra easy.
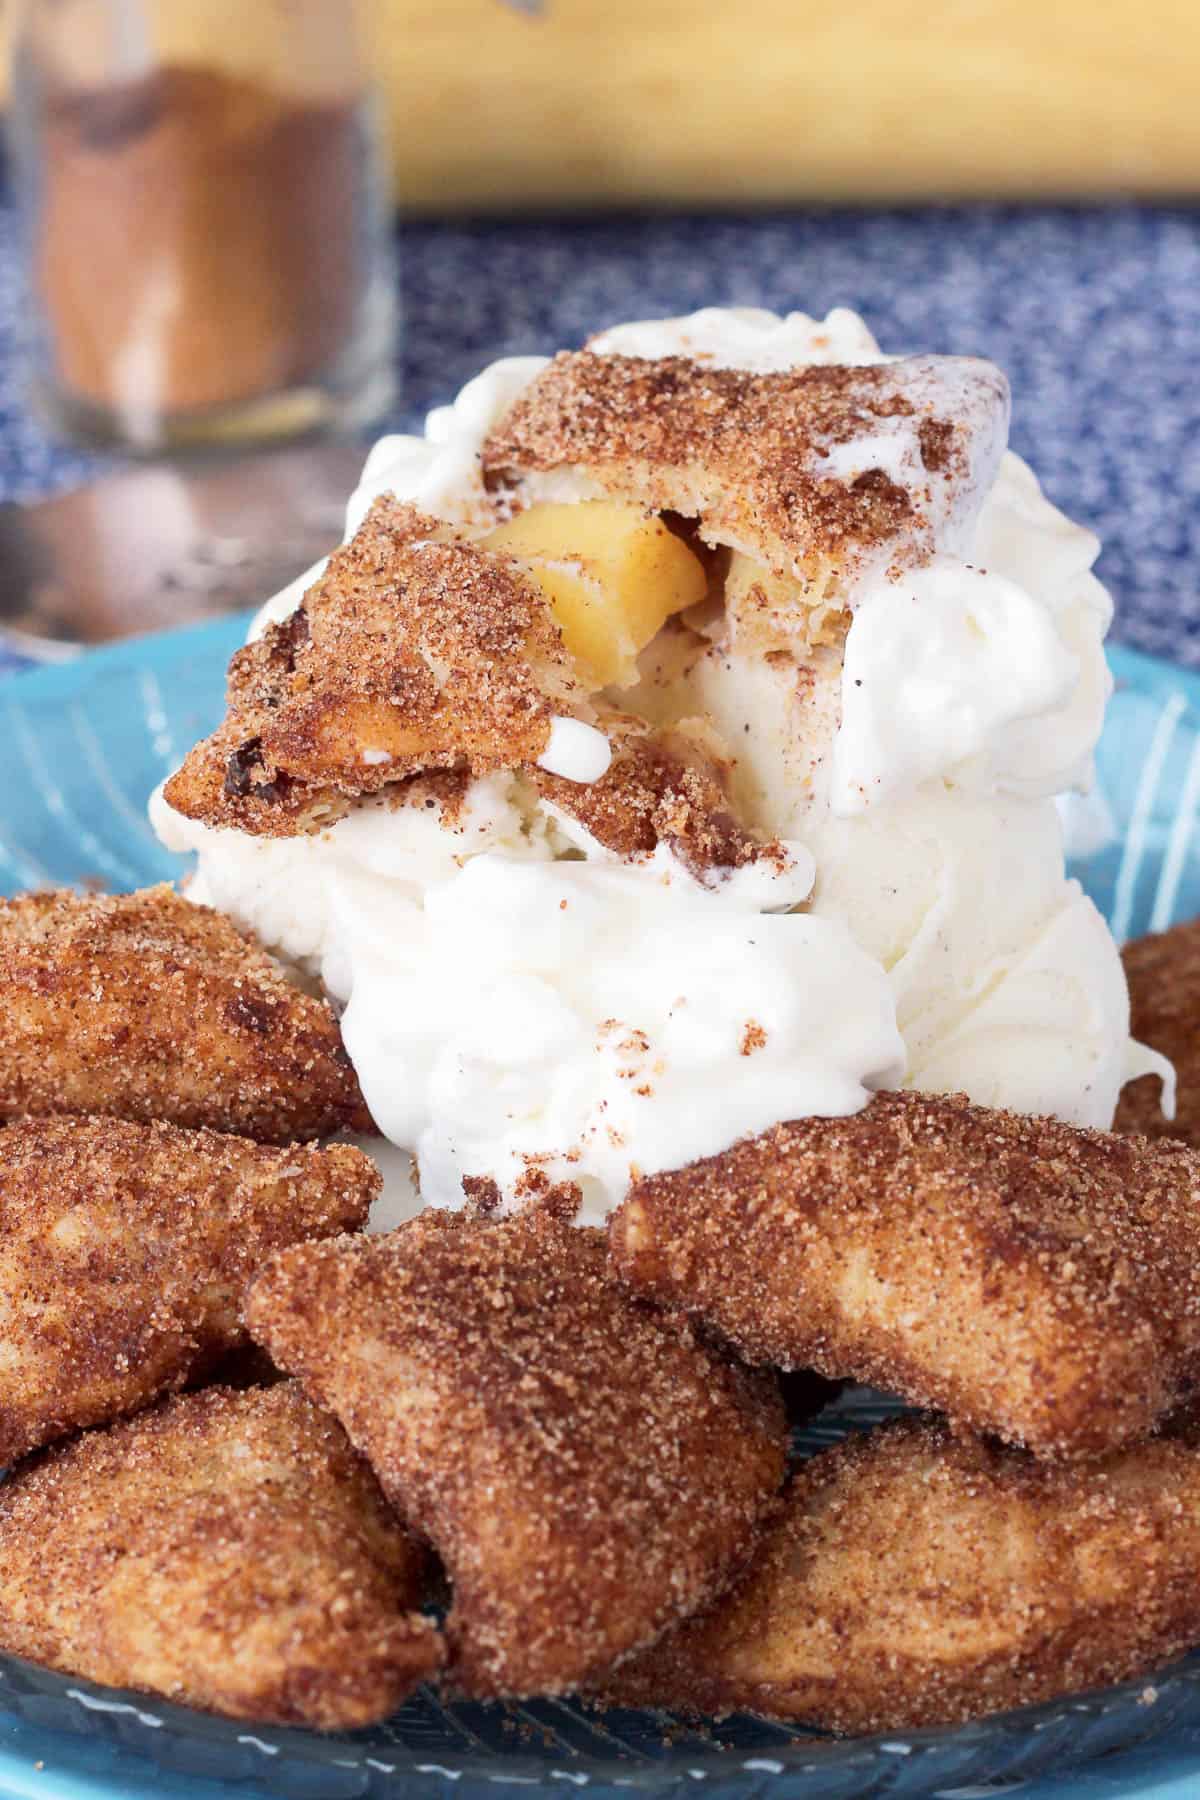
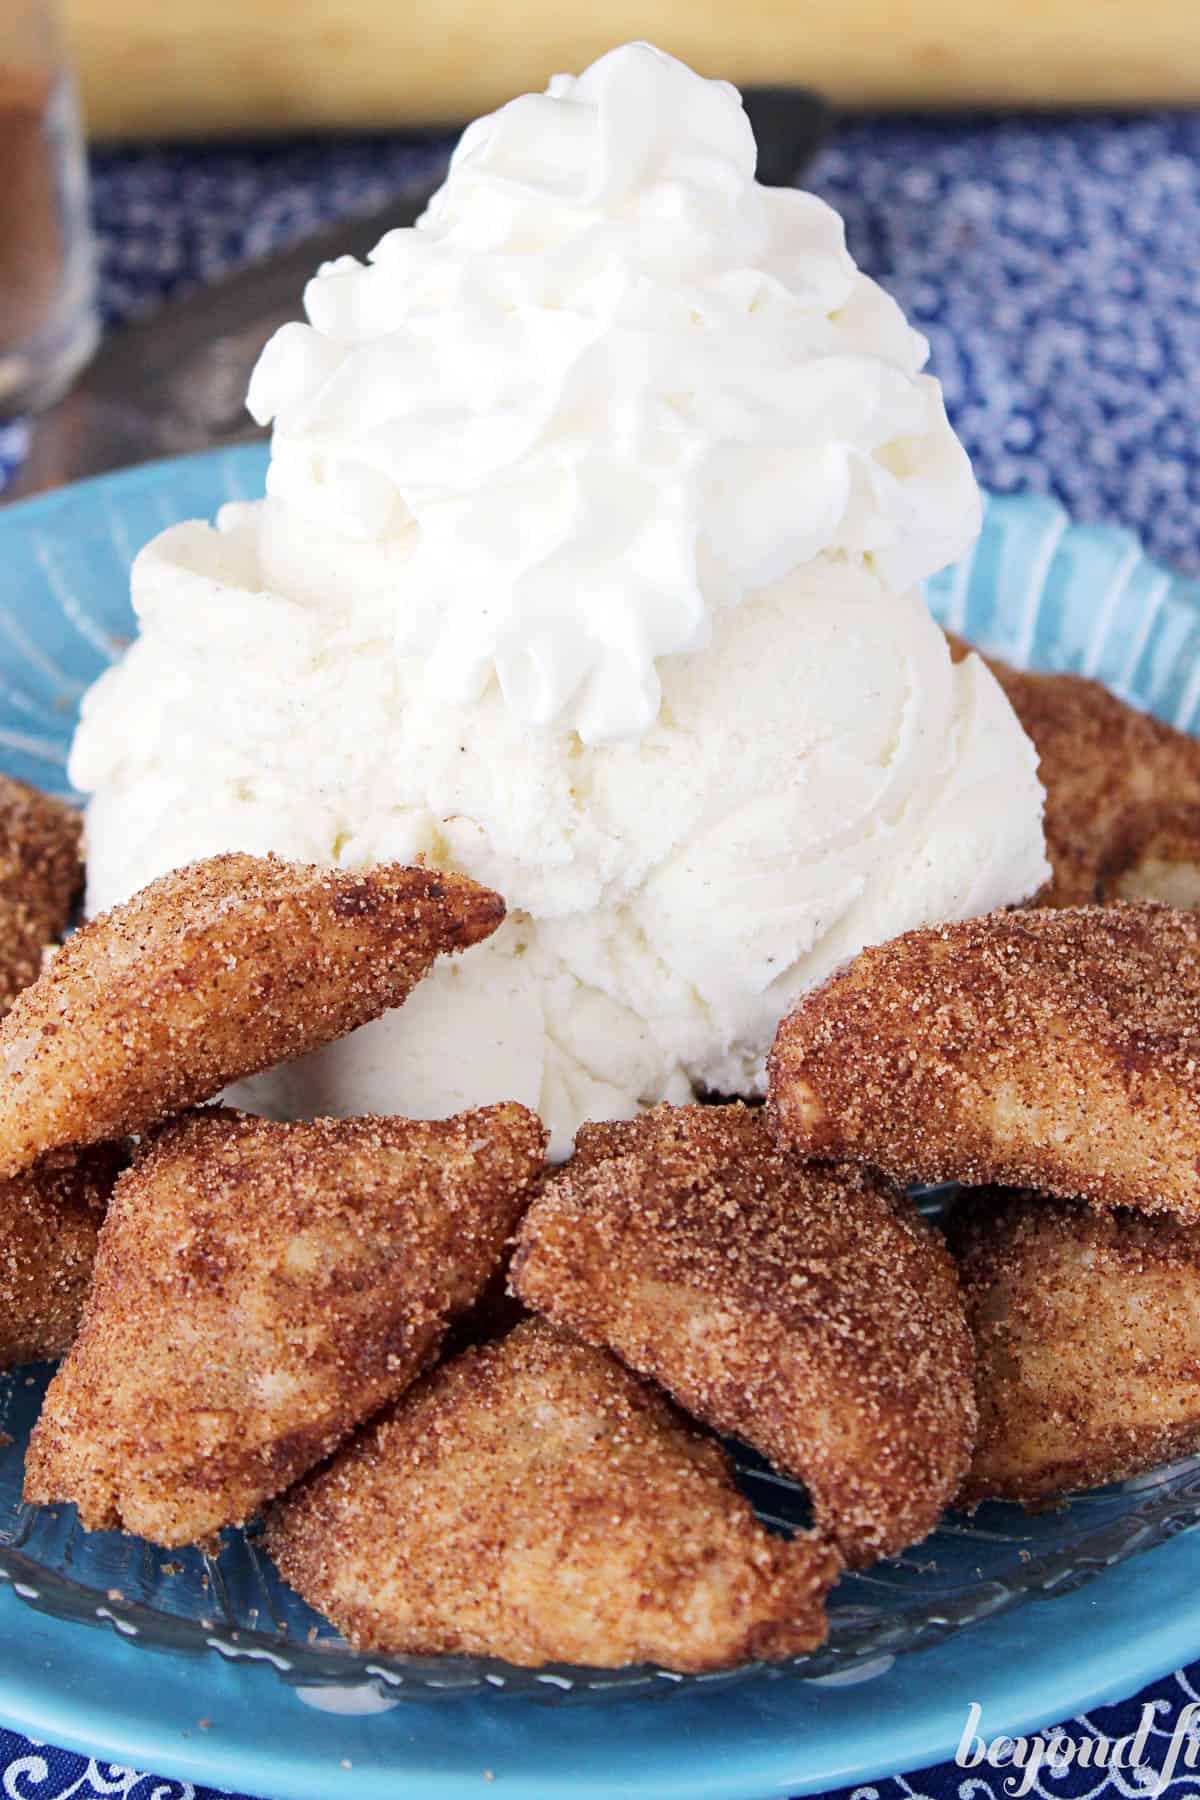
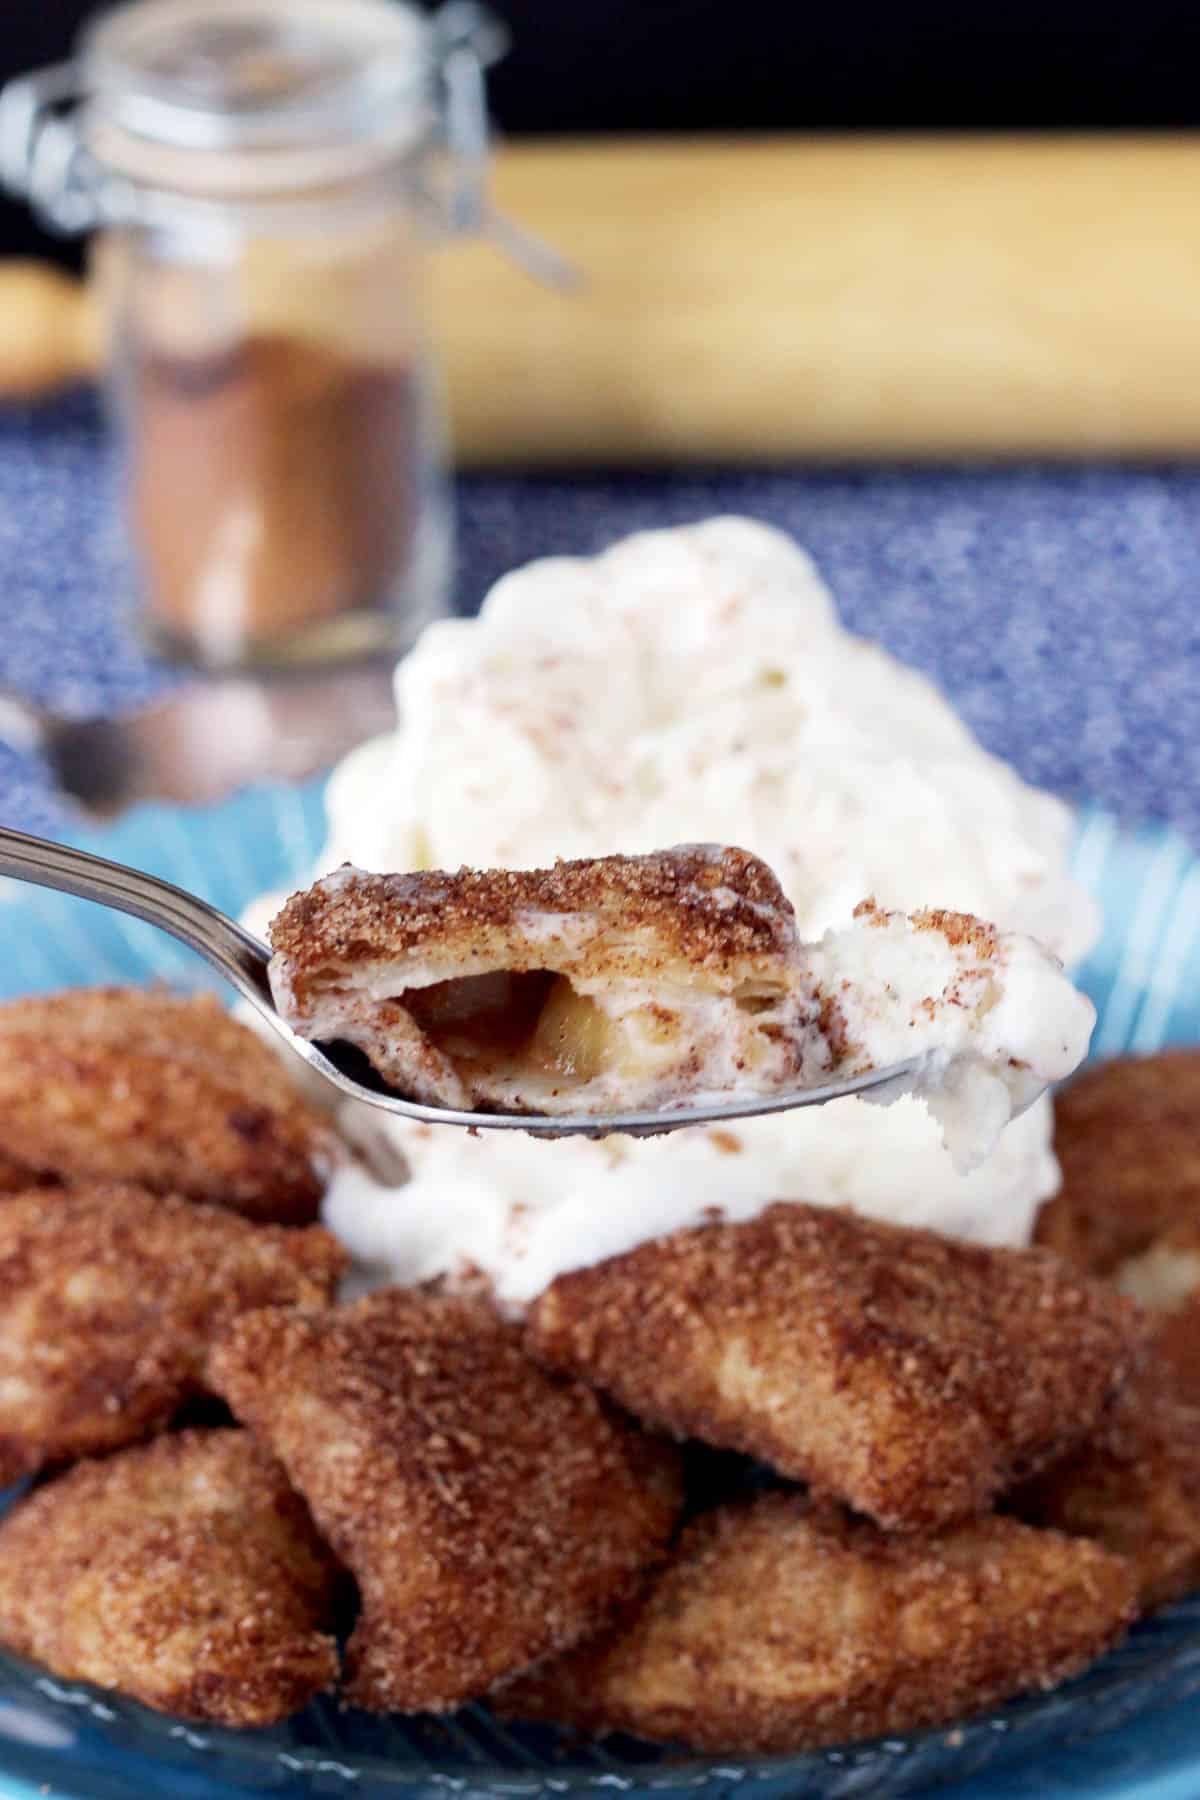
- Apple pie that you can eat with your hands. Apple pie bites are best served warm with vanilla ice cream and or whipped cream. Eat them with a spoon or with your fingers!
Quick Notes
- Deep frying is optional. I used a deep fryer to make these, but you can easily fry your pie bites on the stove, or even bake them in the oven.
- Serve them right away. I recommend eating the apple pie bites soon after frying.
- Halve the recipe. If you don’t need as many bites, you can use only one of the pie crusts instead of two for this recipe.
What You’ll Need For This Recipe
The list is simple! These are some notes on the easy ingredients you’ll need to make your apple pie bites. Scroll to the recipe card after the post for the full amounts and recipe details.
- Pie Crust – This recipe uses ready-made pie crust, so choose your favorite brand of refrigerated double crust from the store. You could also use your own pie dough recipe or a gluten-free pie crust if needed.
- Apple Pie Filling – Again, keep it quick with a can of Lucky Leaf pie filling unless you’d prefer to use homemade apple pie filling.
- Maple Syrup – Honey will work here, too, but I always love to add maple syrup to my fall desserts.
- Cinnamon Sugar – Make your own from granulated or brown sugar mixed with cinnamon.
I’ll Show You How to Shape These Apple Pie Bites
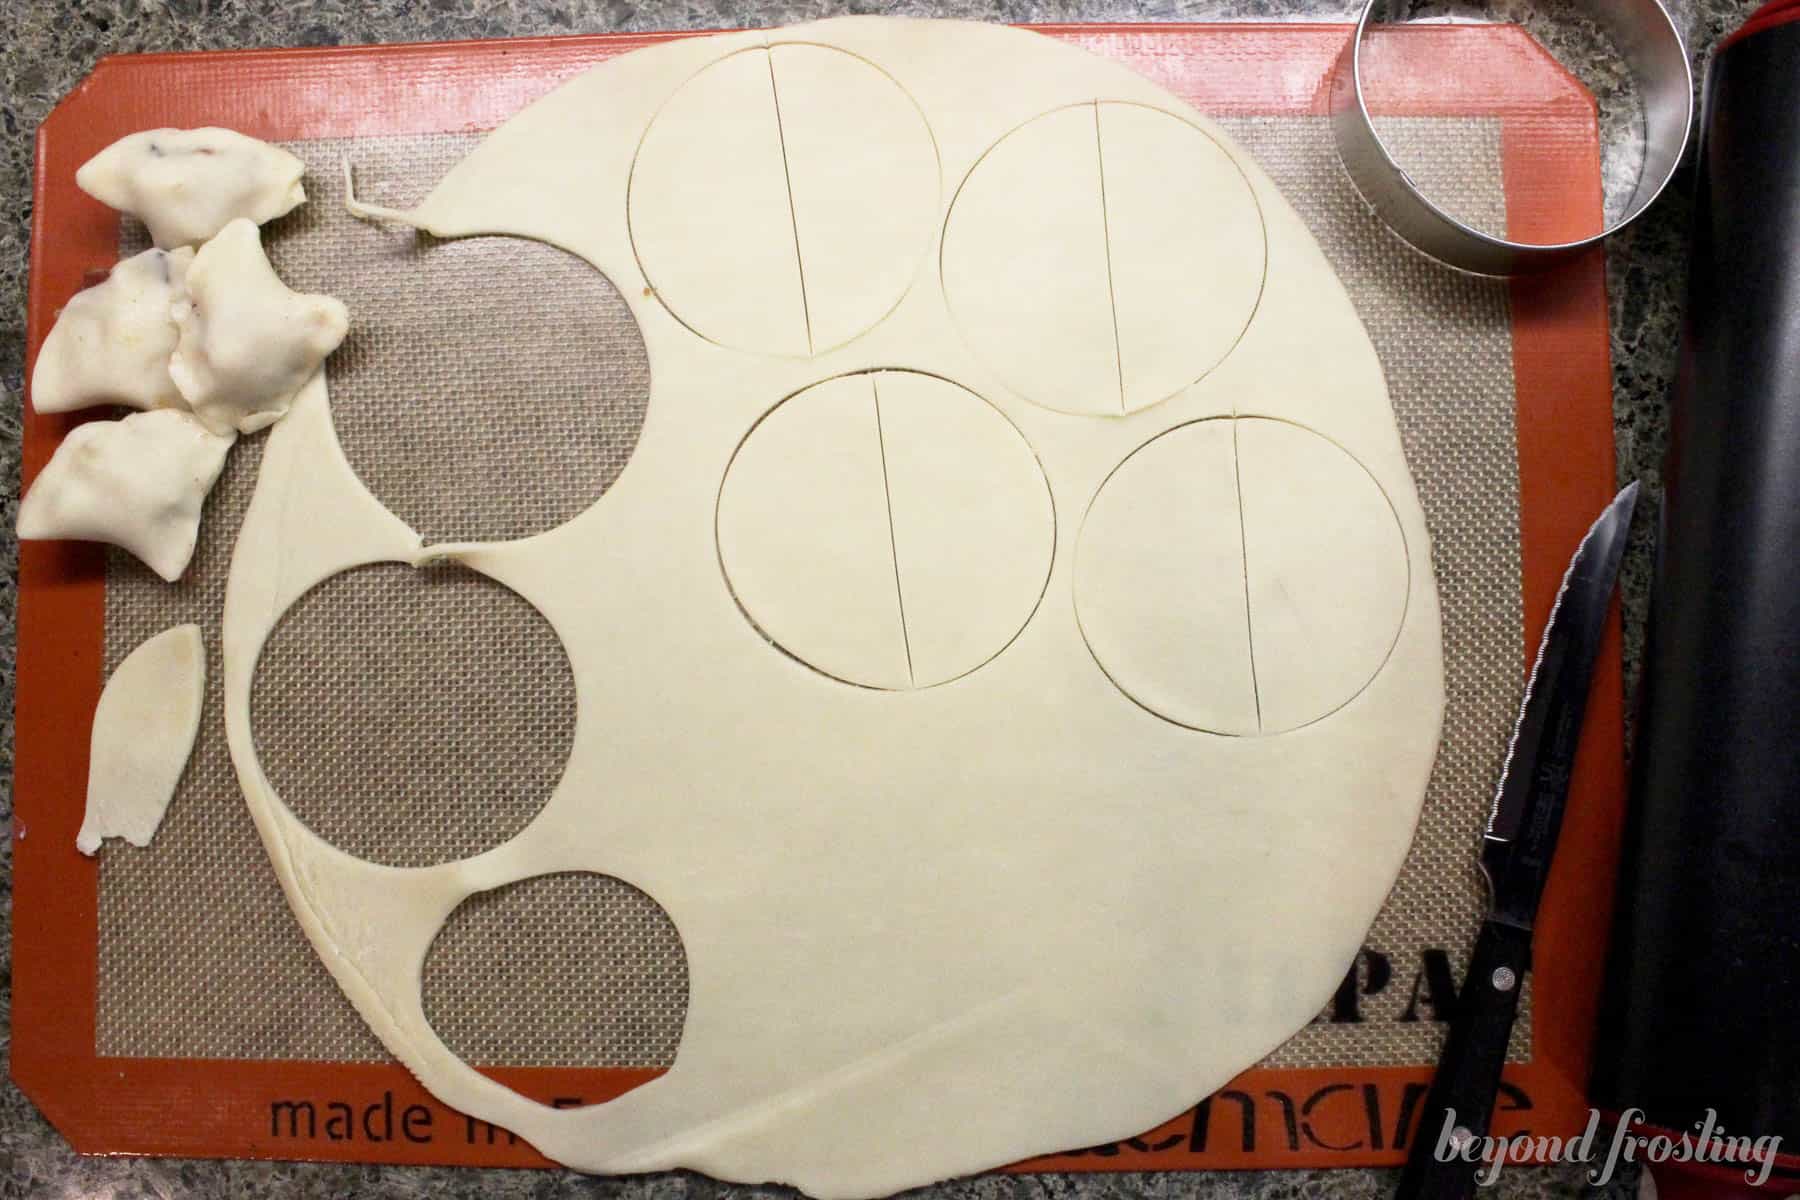
Similar to wrapping dumplings, these are the steps to stuffing your mini apple pie pockets before you fry them. If you don’t have a biscuit cutter or cookie cutter to cut out the pie crust, use a glass that’s close in size.
- Warm the pie filling with maple syrup and cinnamon. Set this aside for now.
- Remove your refrigerated pie crust from the packaging, or prepare a homemade pie crust, and roll the dough to about ⅛” thin. Use a 3.25” round biscuit or cookie cutter to cut the dough into circles. Then, cut each circle into half moons. You can re-roll and cut the scraps until you run out of dough.
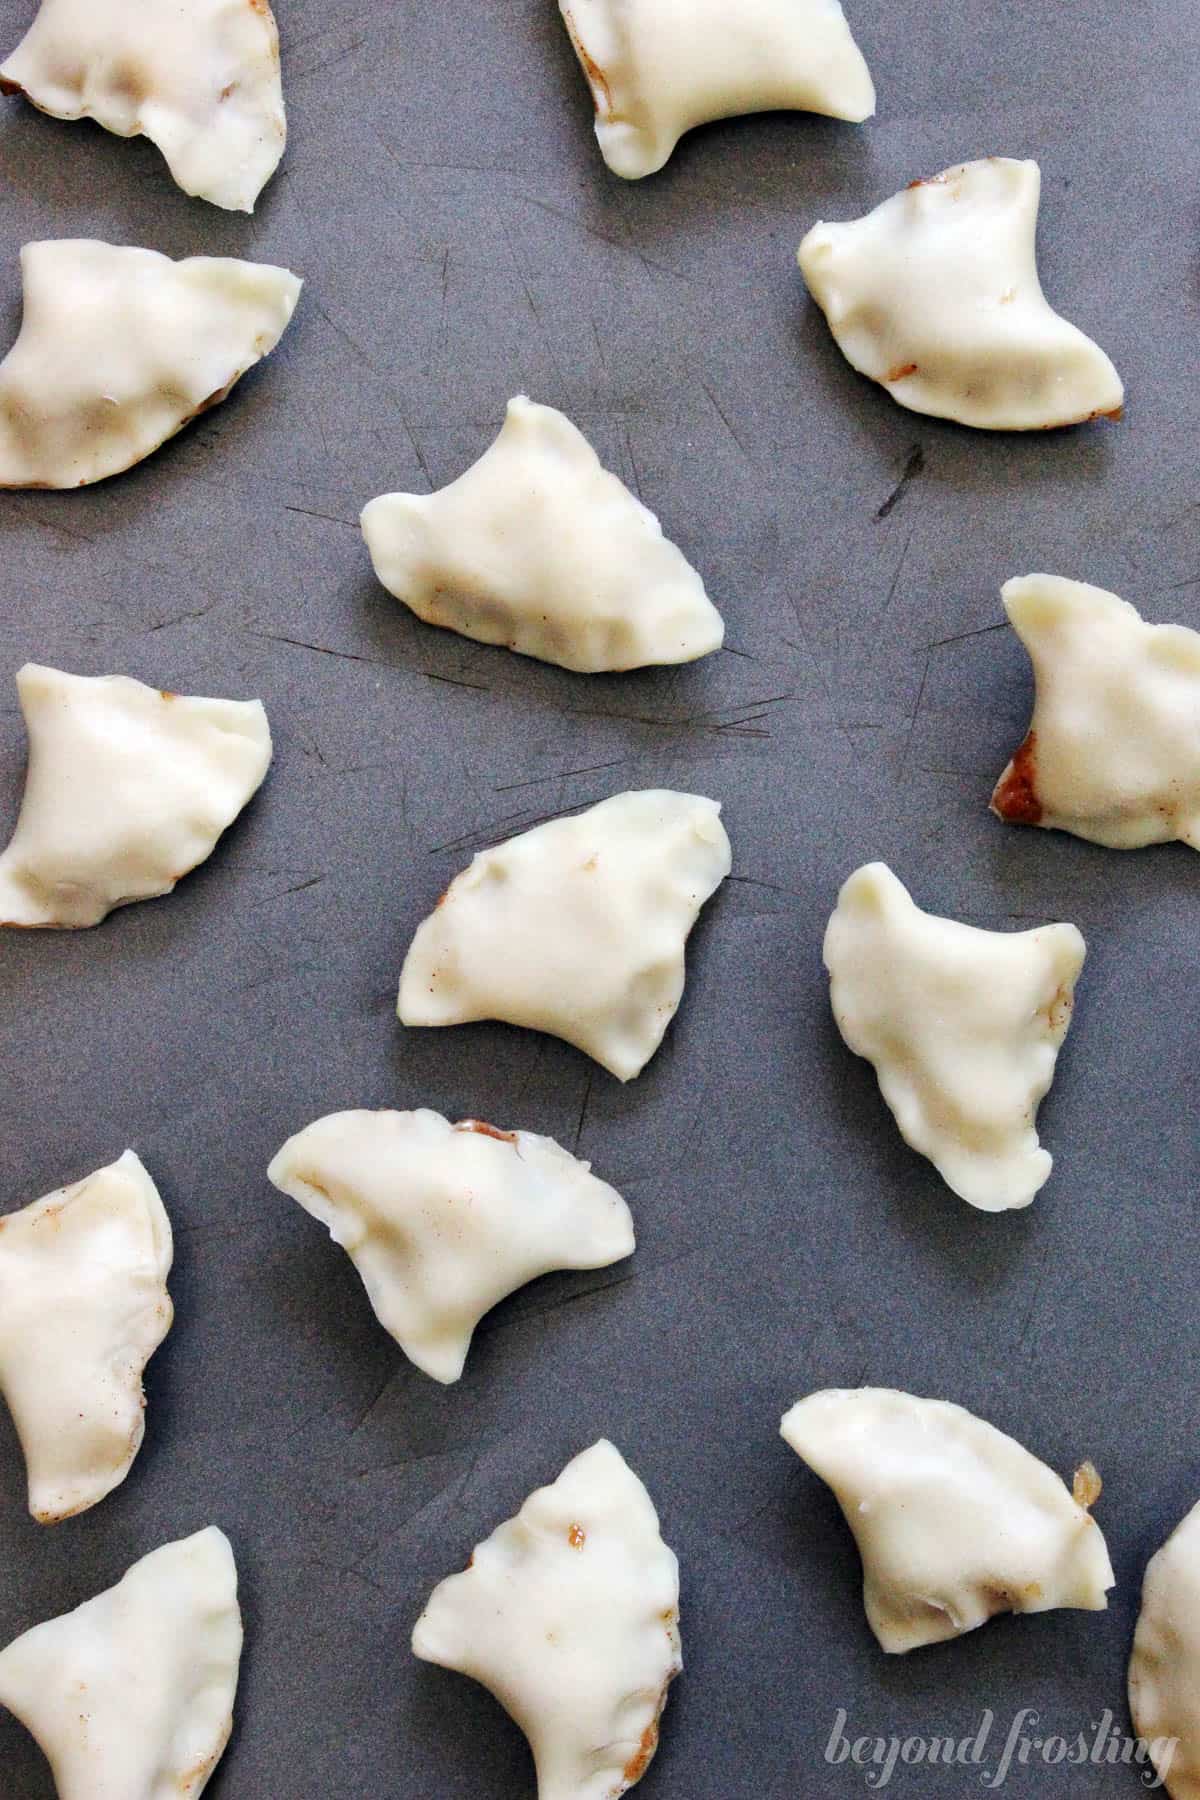
- Starting with one half-moon, spoon the warmed pie filling into the center of the dough. Fold the dough over the filling and pinch it closed with your fingers. A spoon or butter knife can help hold the dumplings closed while you seal the edges. When all the dumplings are sealed, you’re ready to fry.
Deep Frying Tips
- Preheat the oil. The oil you use for deep frying should be between 350ºF-375ºF. A candy thermometer makes it easy to track the temperature of the oil. If the oil isn’t hot enough, the bites won’t crisp up, and if it’s too hot, the outside will burn before the crust cooks through.
- If you’re making these on the stovetop, instead of the deep fryer, use a heavy-bottomed pot and fill it with enough oil to completely submerge the dumplings.
- The oil will be very hot. Once the oil comes to temperature, I like to wear oven mitts or gloves to protect my hands from splatters. Carefully lower the bites into the oil, and use a set of long metal tongs or spoons to move them.
- Don’t leave the hot oil unattended. Deep frying requires your full attention. Make sure that your pie bites are ready at hand, and that your kitchen is clear of any distractions (this includes children and pets). Don’t leave the stove or fryer, even for a minute, while you fry the apple pie bites.
- Brown both sides. When one side starts to brown (usually after 30 seconds), turn the apple pie bites and cook the other side until browned, too. Since the filling inside is already cooked, the crust will fry quickly!
- Drain the pie bites afterward. Use the tongs or a slotted spoon to move the deep-fried apple pie bites to a paper towel-lined plate or baking sheet to drain the excess oil. Allow the oil in the fryer to cool completely before you clean it.
Add the Cinnamon Sugar Coating
Technically, the cinnamon sugar topping is optional. But I highly recommend it! The easiest way to coat the fried apple pie bites is to brush the warm bites with melted butter, then add them to a bag with the cinnamon sugar. Shake until they’re fully coated, and enjoy.
Can I Bake These Instead?
Yes. If you’d prefer to bake your apple pie bites instead of frying, I suggest following the baking directions for my baked apple hand pies. Brush the bites with an egg wash and bake at 375ºF. Since these apple pie bites are smaller, they’ll need less time in the oven. Check the bites after 15 minutes and bake until they’re golden brown. Afterward, toss the baked apple pie bites with cinnamon sugar as directed.
Serving Suggestion: Make a Fall Dessert Board
Pile these crispy apple pie bites onto a Thanksgiving or Christmas charcuterie dessert board with your favorite holiday cookies, reindeer chow, peanut clusters, etc. Add a bowl of whipped cream, cream cheese frosting, or salted caramel sauce for dipping.
Make Ahead and Storage
Like most things deep-fried, these apple pie bites are best served right away. The crispy crust becomes stale when stored. If you’d like to make these ahead, I recommend storing them before deep frying:
- Make ahead. Fill and wrap the pie crust dumplings as directed. Store the raw bites airtight or covered in the fridge for up to 2 days, and fry them when it’s time to serve.
- Freeze. You could also freeze the uncooked apple pie bites. I suggest pre-freezing the sealed pie bites on a baking sheet and then transferring them to a freezer bag. Freeze for up to 2 months. Defrost the bites at room temperature before deep frying.
- Storing and reheating leftovers. If you do happen to have leftover cooked pie bites, refrigerate them airtight for 1-2 days. I recommend reheating these apple pie bites in the oven (or use the air fryer if you have one) to crisp up the outside.
More Apple Desserts
Apple Pie Bites
- Prep Time: 30 minutes
- Cook Time: 2 minutes
- Total Time: 32 minutes
- Yield: 32 Bites
- Category: Dessert
- Method: Fried
- Cuisine: American
Description
These apple pie bites are sweet, golden-fried pockets of refrigerated pie crust packed with gooey apple pie filling. Coated with cinnamon sugar, they taste just like a bite-sized version of apple pie!
Ingredients
For the Bites:
- 1 quart vegetable oil
- 1 package prepared refrigerated pie crust
- 1 can Lucky Leaf Apple Pie Filling
- 1 tablespoon pure maple syrup
- 1 teaspoon cinnamon
For the Coating:
- 3 tablespoons butter
- ½ cup sugar
- ¼ cup cinnamon
Instructions
- Preheat oil in a large pot over medium heat. Oil should reach temperatures between 350°-375° F. It is best to use a candy thermometer.
- While oil is heating, prepare the dumplings. Preheat pie filling on stovetop over medium heat until warm. Combine with maple syrup and cinnamon. Remove from heat and set aside.
- Remove pie crust from packaging. Roll out slightly to help thin it out.
- First, cut circles, at least 3.25” in diameter and then cut circles in half. Once I ran out of crust, I combined the leftovers and re-rolled the crust to cut more circles.
- Take one half of the circle and spoon some pie filling into the middle.
- Use your fingers to pinch the edges to seal. It will be helpful if you have a spoon or butter knife to help keep these stuffed as you are pinching the edges.
- Use extreme caution for next step. Oil will be very hot. When the oil is heated, carefully place several pie bites in the oil to fry. Use a set of long tongs to turn the pie bites over and the first side begins to turn light brown (about 30 seconds per side).
- After each side is browned, use tongs to remove from oil and place on a plate lined with paper towels to cool.
- When all bites are finished, prepare the coating. In a microwave safe bowl, melt butter, about 20-30 seconds.
- In a large Ziploc bag, combine cinnamon and sugar. Add additional cinnamon if desired.
- Brush each side of the pie bites with butter using a pastry brush. Place into Ziploc bag and seal the bag.
- Gently shake the bag until pie bites are coated with cinnamon and sugar. Remove from bag and serve.
- Allow oil to cool completely before cleaning your deep fryer.





Could an air fryer be used for this?
Hi Mae- I’ve never used an air fryer, so I can’t say for certain but I don’t see why you wouldn’t be able to? As long as the crust doesn’t stick to the rack?
I loved these so much I want to make a batch for Thanksgiving. Could you prep them a day ahead of time and then do the frying the next day?
Sorry Mindy, I missed this comment. I think so as long as your dough stays attached.
This was delicious. Apples were on sale so I made my own filling and used store bought crust.
I skipped the butter brushing step before the cinnamon sugar and they were still amazing. I will definitely make again.
Yaaaaas Mindy! That is awesome!
Not much of a filling . Very messy to make . I will not make again
Hi there, I am sorry you didn’t enjoy this recipe. You could certainly make larger pie crust circles. These are meant to be bite-sized so you would need to chop the apple pieces pretty small.
Could you use puff pastry for the crust?
That looks really delicious! I love me some deep fried dessert.
Same here! Thanks!
You had me at deep-fried and apple pie! I’m going to give this recipe a try for sure. Thank you.
These look yummy, but I am confused, Do you place another half circle on top of the one you fill, or just pinch the one half circle? Thank you!
Hi Kathy! You take your circle and fold it in half, pinch the edges!
Can they be baked instead of fried? And how long should they be baked if they are baked instead?
Very nice post. I just stumbled upon your blog and wanted to say that I’ve truly enjoyed browsing
your blog posts. After all I will bee subscribing to your feed and I hoppe you write again soon!
Okay, these look awesome. The things I would do for a plate of these right now…
Haha! Love it!
Hi, there! I’m doing an apple roundup on my blog, and I’m including these… I stumbled across them on Pinterest, and I’m so glad that I did! I am linking back (with just one photo used) to your site. I’m also a new follower, so I’ll be sure not to miss any posts. These look fabulous!
These look AMAZING! That cinnamon sugar coating is calling my name! I’m getting into the fall flavors too – lovin’ me some apple! 🙂
Totally calling your name!
Oh, now these look good and how clever! I think I may lose to you in this Lucky Leaf contest. 😉
Thank you so much for sharing at Marvelous Mondays this week!
HHAHA Thanks Carrie! It was a fun contest!
These look so good! I love that they are rolled in cinnamon sugar! That probably gives them a taste like an elephant ear? Just guessing, but plan on finding out on my own very soon! Yum!
HAHA The cinnamon sugar rolling I guess could be considered option, but who doesn’t want more cinnamon and sugar in their apple pie?
OH how yummy!!!
Thanks! 🙂
Triple A! Apple-lisious Amazing Creation! Oh wait. Double A & a C!! Nice!
Thanks Debbie!
Congratulations Julianne! I have nominated your amazing blog for the Versatile Blogger Award. If interested, please pick up your award here: http://sweetbakedlife.com/2013/08/25/the-versatile-blogger-award/
Thank you Sheila 🙂
looks so yumm! saw you on the blog hop
Wow, a few of these would make my morning coffee routine quite memorable!!
Oh my gosh- that’s a great idea!
These sound like a great change of pace from regular apple pie, but i am leery about the 1/4 CUP cinnamon called for in the coating. That much?????
It’s the standard amount to mix with 1/2 cup of sugar.