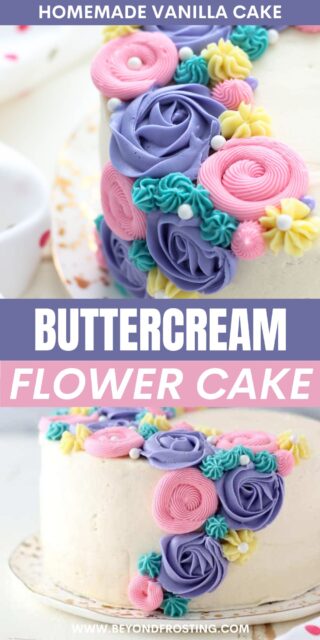
Learn how to decorate a buttercream flower cake following this easy step-by-step tutorial! Make beautiful buttercream flowers using sweet vanilla buttercream frosting and a few simple piping techniques.

Easy Buttercream Flowers Tutorial
Once upon a time, the most beautifully decorated buttercream flower were trending online, and I had to give this technique a try for myself. You’re going to love how easy it is to make buttercream flowers for cakes, it’s much simpler than you’d imagine.
I used my standard vanilla layer cake for the base. This cake has light, fluffy layers filled with creamy vanilla buttercream, decked out with sweet and colorful frosting blooms.
Why You Should Make This Buttercream Flower Cake
- Step-by-step. I’ll show you how to make a 3-layer cake decorated with buttercream flowers using my favorite buttercream frosting. Plus, tips for coloring buttercream, and more.
- Easy decorating techniques. Even if you’re just getting the hang of decorating cakes, making flowers with buttercream is super straightforward. With the right tools (nothing fancy, don’t worry), a good frosting recipe, and some basic piping techniques, you can make bright, beautiful roses and swirls to transform a cake into something special.
- Occasion-worthy. A cake showered with buttercream flowers is made for occasions! Make this cake as a birthday cake, for Easter, or Mother’s Day. The pretty flowers make this cake perfect for spring, but it’s just as fun any time of the year.

Ingredient Notes
Here are some quick notes on the ingredients you’ll need to make the cake and frosting for this buttercream flower cake. Scroll to the recipe card for a printable list of ingredients with amounts.
For the Cake
- Oil – Using vegetable oil in place of butter is the secret to ultra-moist and tender cake layers.
- Sour Cream – The extra fat in sour cream is my second secret weapon for ultra-soft, flavorful cakes! You can replace sour cream with Greek yogurt if needed.
- Milk – I use nonfat milk, but you can use whole milk, 2% milk, or any kind of milk you’d prefer.
For the Frosting
- Butter – I recommend using unsalted butter that’s cold from the fridge when making buttercream frosting for decorating. It takes a little extra whipping to get cold butter soft, but the result is perfect, stable buttercream that won’t lose its shape.
- Powdered Sugar – Also called confectioner’s sugar, powdered sugar is extra-fine and key to the frosting’s silky smooth texture.
- Heavy Whipping Cream – For the creamiest frosting, be sure to use full-fat whipping cream.
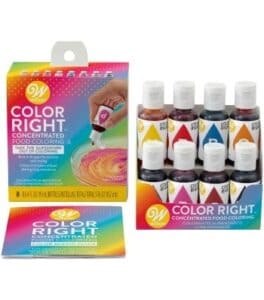
- Gel colors- For bright and bold colors, you’ll want to use gel colors instead of traditional food coloring. I talk more about this below.

How to Make a Layer Cake
I use my easy-to-make vanilla cake for this tutorial. Of course, you can use any kind of cake you’d like, whether it’s a chocolate layer cake, a sheet cake, or cupcakes. For now, here’s how to make a moist vanilla layer cake. You’ll find printable instructions in the recipe card.
- Combine the wet ingredients. You’ll start by mixing the sugar, oil, eggs, and vanilla. Once the batter is light and fluffy, beat in the sour cream.
- Add the dry ingredients. Next, whisk together the dry ingredients and slowly add them to the wet batter, alternating with the milk. Be careful that you don’t overmix.
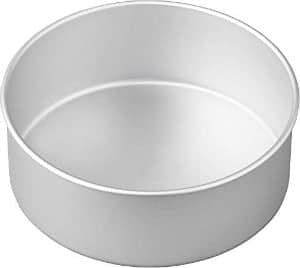
- Bake. Divide the batter between three greased and lined 8” round pans. Bake the cake layers at 350ºF for 20-23 minutes, rotating the pans about halfway through. Take out the cakes and let them cool.
Assemble and Frost the Cake
Once your cakes cool completely to room temperature, it’s time to whip up your buttercream frosting. You’ll need enough to frost the cake and make the buttercream flowers, so I recommend making the frosting in two batches.
If you’ve never made my vanilla buttercream before, visit that post because I share so many tips and knowledge behind mastering a thick and stable buttercream that’s perfect for decorating. Additionally if you’re new to working with layer cakes, this tutorial includes everything from stacking and filling cakes to crumb coating and more.
- Make the frosting. Dice the butter into cubes and whip at a high speed for several minutes until it’s light, fluffy and easily spreadable. Gradually beat in powdered sugar and heavy cream. Give the frosting a good whip so that it’s stiff and airy.
- Stir out the air bubbles. Once it’s whipped and fluffy, reduce the mixing speed to the lowest speed and beat for 1 minute to eliminate some of the air bubbles. After that, stir by hand using a spatula.
- Prepare the piping bags. Add 2 cups of frosting to a piping bag fitted with an open round tip. You can also simply snip off the tip of the bag to create a round opening.
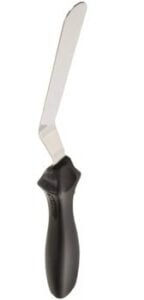
- Start with the first layer. Starting with the first cake layer, pipe frosting over the cake and then smooth it over with an angled spatula.
- Stack the other layers. Repeat with the second layer and, finally, add the third and final cake layer. Create a crumb coat by filling any gaps between the cake layers with frosting and wiping off the excess with a spatula. Chill for 15 minutes.
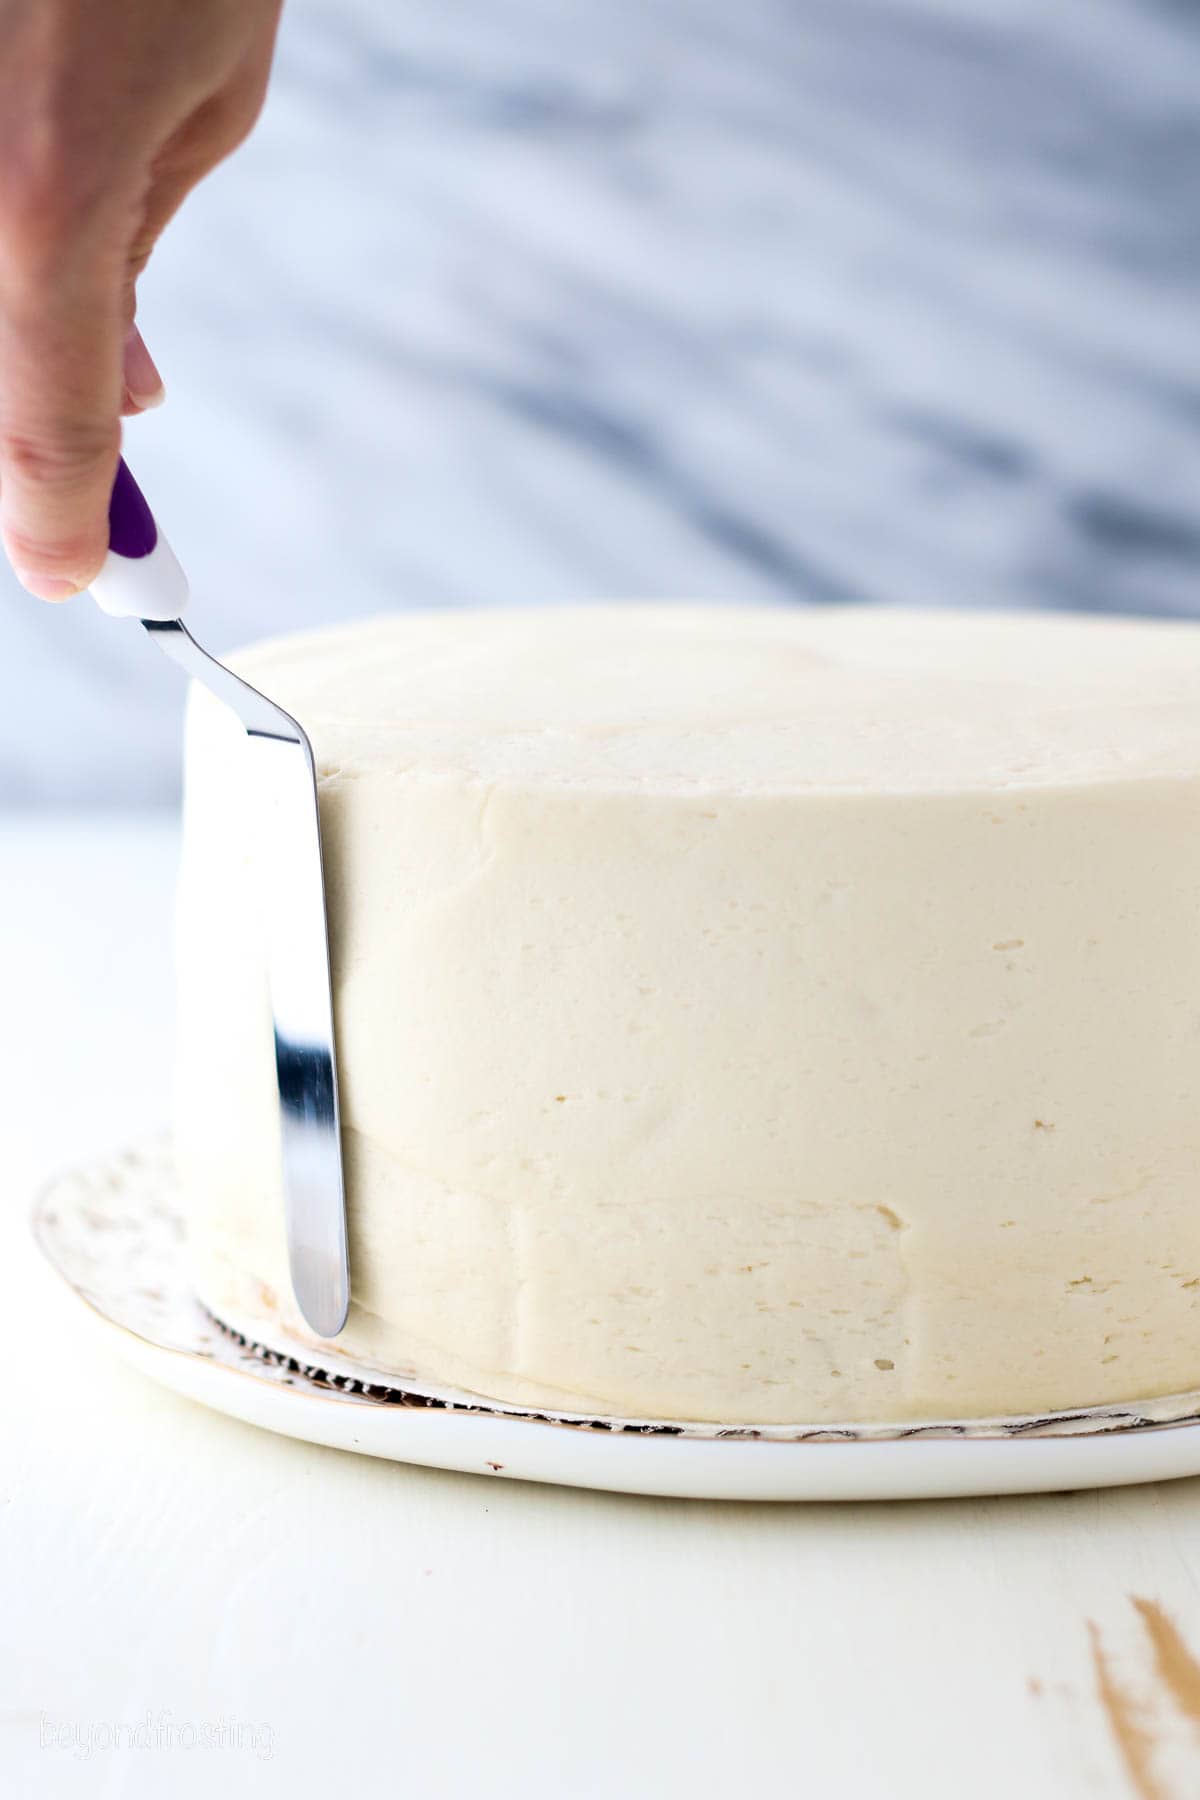
- Frost the cake. I like to switch to a cake icing tip when frosting the outside and the top of the cake (it’s totally optional). Once the outside of the cake is frosted, smooth over the edges using your spatula or an icing smoother.
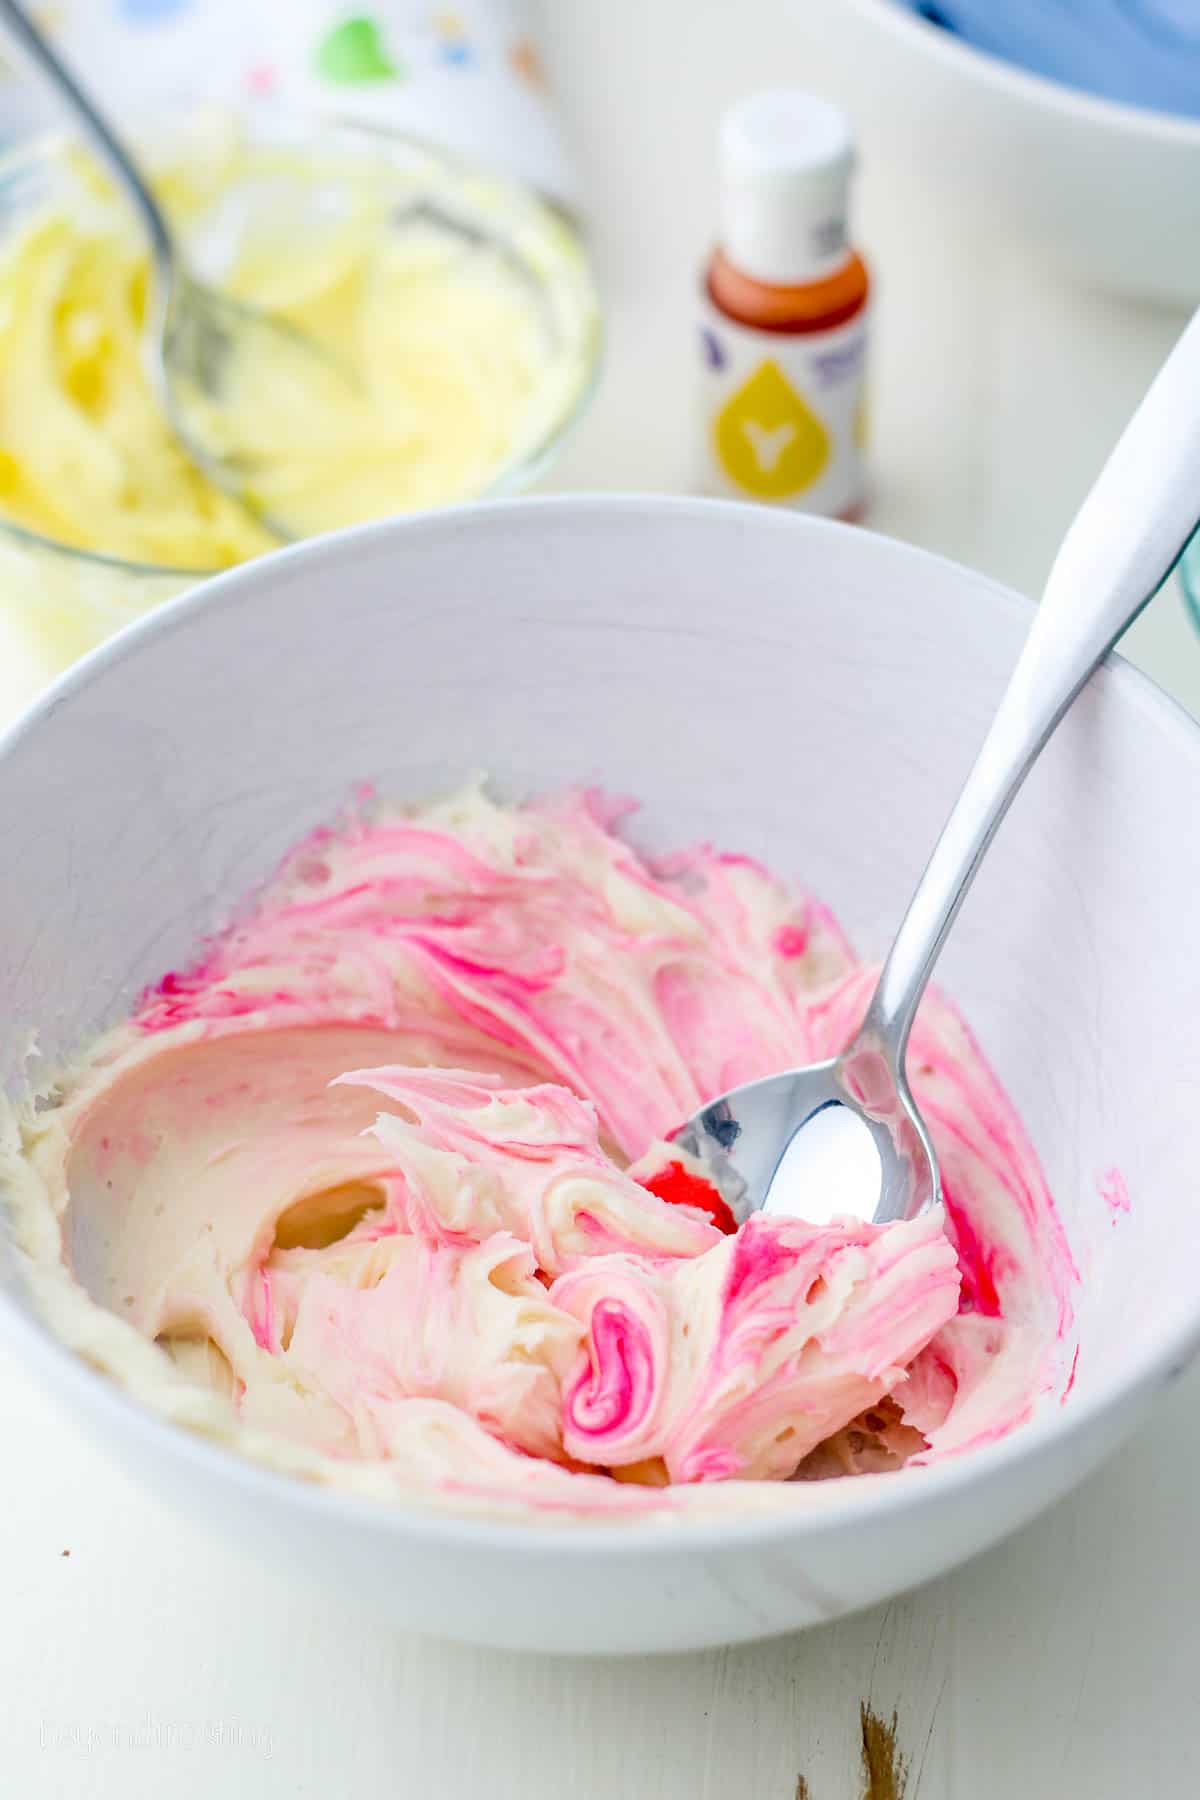
Coloring the Buttercream
You’ll color the remaining frosting to use for your buttercream flowers. I recommend choosing 3-4 colors in addition to the plain (white) frosting used to frost the cake.
- Make the primary colors. These will be the colors for the bigger roses and large swirls. In my case, I chose purple and pink. You’ll want about 1 cup of frosting for each primary color.
- Make the accent colors. Choose the colors for the smaller accents (I chose teal and yellow). You’ll only need about ½ cup of frosting per accent color.
What Food Coloring Should I Use?
The best food coloring for buttercream frosting is gel food dyes, like the Wilton Color Right color system AmeriColor or Chef Master. Gel food coloring is highly concentrated, and just a drop or two goes a long way. I cover the subject in-depth in my tutorial on how to color buttercream if you need more tips.
What Piping Tips Do I Need?
First things first, here are the basic piping tips that you’ll need to create the swirls, roses, and rosettes for your buttercream flower cake:
- Wilton 1M Piping Tip – Open star tip for the purple roses.
- #199 Piping Tip – Large open star tip for the pink swirls.
- #21 Piping Tip – Small open star tip for the small teal accents.
- #2F Drop Flower Piping Tip – For the small yellow flowers.
Fill each piping bag with one frosting color. For the bags fitted with smaller piping tips, consider using couplers. It makes changing out the piping tips super easy! I also have in-depth tutorials on how to use a piping bag and how to use piping tips that will set you up for success.

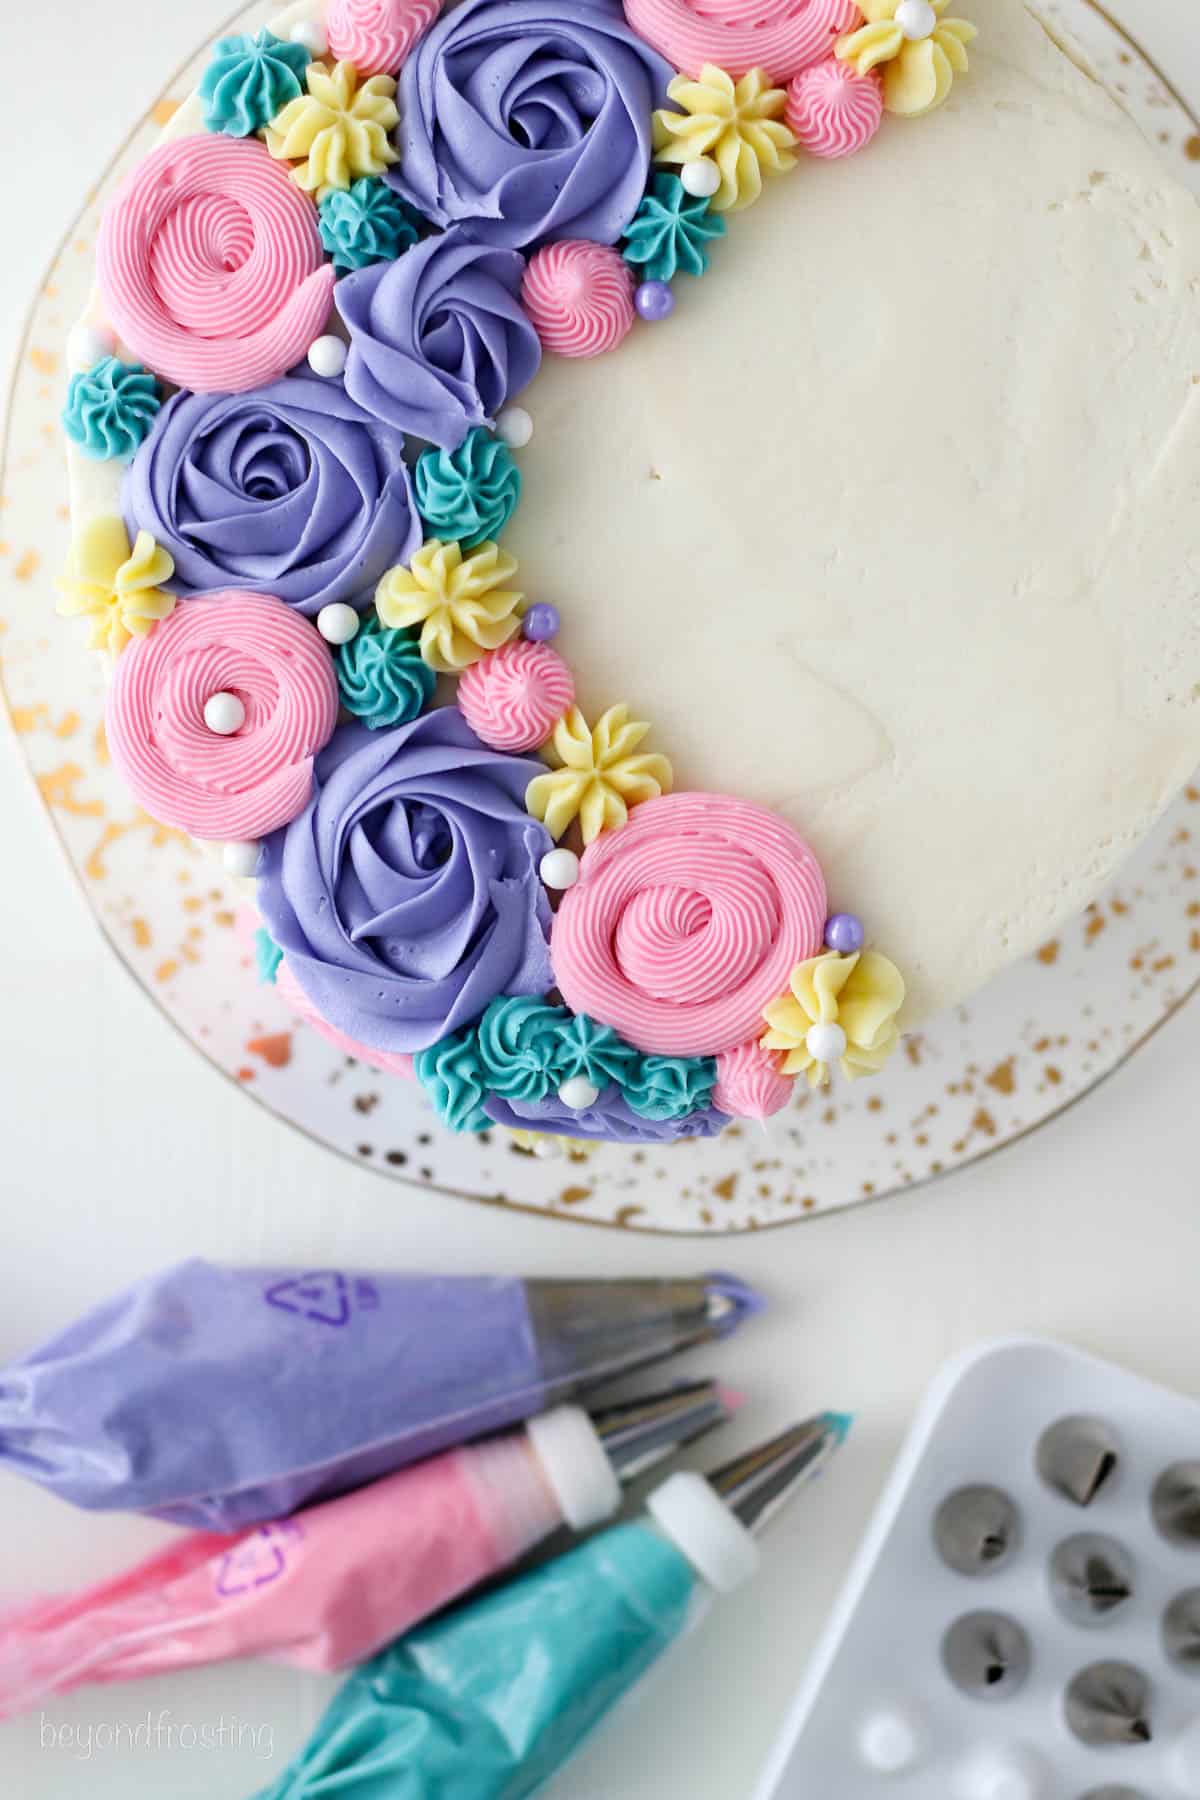
How to Make Buttercream Flowers for Cakes: Step-By-Step
Your blank canvas is ready for decorating. Let’s get down to the fun part: piping gorgeous buttercream flowers all over this cake! This step-by-step is perfect for beginners and I hope it’ll inspire you to get creative.
Buttercream Roses
You’ll start by piping a wandering line of purple roses up one side of the cake, over the top, and down the other side (see photo). Here’s how to create a buttercream rose:
- Firmly grip your piping bag with purple frosting.
- Position the 1M piping tip in the center of the rose, and gently press out the frosting.
- Continue to squeeze out the frosting while creating a flat swirl outward.
Buttercream Swirls
Next, you’ll build up your buttercream flower bouquet with some large swirls:
- Choose your piping bag with pink frosting.
- Position the #199 piping tip where you’d like the center of the swirl to be. I placed my swirls on either side of the purple roses.
- Squeeze out the frosting while slowly swirling the piping tip outwards (very similar to how you piped the roses).
Small Flowers
Lastly, let’s fill the space in and around the larger roses with smaller accent shapes:
- Use teal buttercream with a #21 piping tip. Make the small rosettes by pressing out a small amount of frosting and lifting the tip up and away from the cake.
- Use yellow buttercream and a #2F drop flower tip to pipe out small flower shapes.


Tips for Success
These are some bonus tips for decorating cakes with buttercream flowers:
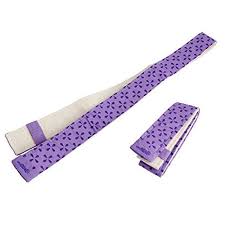
- Use bake-even strips. I like to use bake even strips whenever I bake cakes in round pans. Wrapped around the outside of the pans, bake-even strips help to prevent big domes from forming in the center of the cakes.
- Large batch of buttercream. IMO, it’s better to over-budget the amount of frosting you’ll need rather than run short, so this recipe makes a lot of frosting. The volume can be a bit much for a standard 5-quart mixer. For this reason, I recommend making the frosting in two separate batches.
- Chill the cake. After adding the crumb coat and before frosting the outside of the cake, place the whole cake into the fridge to chill for 15-20 minutes. This lets the crumb coat set a little and makes it easier to spread frosting over the cake.
- Use gel colors. Gel food dyes are more potent than liquid-based food coloring (like the kind you find in grocery stores). They’ll give you the brightest, most vibrant frosting colors.
- Less is more. It’s easy to go overboard when it comes to decorating! Negative (empty) space is your friend. That being said, there’s no wrong way to decorate a buttercream flower cake and it’s guaranteed to be delicious either way.
- Practice makes perfect. If you’ve never piped flowers before, do a practice round on a piece of parchment paper. It’s an easy way to get a feel for piping the flowers before you attempt it on the cake itself.
How to Store a Buttercream Flower Cake
- To Store. This frosted buttercream flower cake can be stored in an airtight container or cake carrier at room temperature for 2-3 days. If you live somewhere warm, however, consider keeping the cake in the fridge, and serve at room temperature. Refrigerated cakes should last for 7 days.
- Freeze. I recommend freezing the cake layers unfrosted, or assembled and frosted, before adding the buttercream flowers. Double-wrap the cake tightly in plastic wrap and keep it frozen for up to 1 month. Defrost in the fridge and bring the cake to room temperature before assembling/decorating/serving.
More Cake Decorating Ideas
Print
Buttercream Flower Cake
- Prep Time: 90 minutes
- Cook Time: 30 minutes
- Total Time: 2 hours
- Yield: 10-12 slices
- Category: Cake
- Method: Baked
- Cuisine: American
Description
Learn how to decorate a beautiful buttercream flower cake following this easy step-by-step tutorial! Including my favorite homemade vanilla cake, how to color buttercream, and easy piping techniques.
Ingredients
For the cake:
- 2 cups (380g) Granulated sugar
- ½ cup (118 ml) Vegetable oil
- 3 Large eggs
- 1 tablespoon (14.8 ml) Pure Vanilla extract
- ½ cup (120g) Sour cream, at room temperature
- 2 ½ cups (350 g) All-purpose flour, sifted
- 3 teaspoons (11.2 g) Baking powder
- 1 teaspoon (5 g) Salt
- 1 ¼ cups (296 ml) Milk (any type), at room temperature
For the frosting:
- 2 1/2 cups (565g) Unsalted butter, cold
- 8–10 cups(1041g-1301g) Powdered sugar
- 1 tablespoon (15ml) Pure vanilla extract
- 2–3 tablespoons (30-45ml) Heavy whipping cream
- Pinch of salt
Instructions
For the cake:
- Preheat the oven to 350°F. Prepare three 8-inch round baking pans, line the bottom with parchment paper, and grease the sides. Prepare with bake-even strips if desired.
- In a large mixing bowl, combine the sugar, vegetable oil, eggs, and vanilla extract. Beat on medium speed until well incorporated. Scrape down the bowl as needed. Next mix in the sour cream and beat until well combined.
- In a separate bowl combine the remaining dry ingredients and sift together the flour, baking powder, and salt. Add half the dry ingredients, and half the milk, and beat on low speed just until the flour starts to incorporate. Repeat until all ingredients are added and combined. Use a spatula to scrape down the sides of the bowl and stir the batter from the bottom to the top to ensure it’s well mixed.
- Divide the batter evenly between the three pans, about 1 2/3 cups of batter per pan. Bake at 350°F for 20-23 minutes. Rotate your pans in the oven halfway through baking (around 10 minutes). Test the cake for doneness by inserting a toothpick into the center of the cake. If the toothpick comes out clean, the cake is done. Remove from the oven and allow to cool completely.
For the frosting
- Cut butter into pieces. Using the paddle attachment, whip the butter for 5-7 minutes, scraping down the bowl occasionally. Beat until the butter is light, fluffy, and whipped to a spreadable consistency.
- Add 3 cups of powdered sugar and mix on low speed until incorporated into butter then add the vanilla extract and mix to combine. Beat for about 60 seconds.
- Next, add an additional 2 cups of powdered sugar and beat on low speed until sugar is incorporated. Increase speed to medium-high and beat for 3 minutes.
- Add the remaining powdered sugar 1-2 cups at a time alternating with the heavy whipping cream. Beat on low speed until ingredients start to mix together. Increase speed to medium-high and beat for another couple of minutes to whip additional air into the frosting.
- To remove the air bubbles, reduce the mixer to the lowest speed for about 1 minute, then mix by hand using a spatula to remove any additional air bubbles.
To assemble the cake
- Use a cake leveler to cut the domes off the top of the cake. Place a dollop of frosting on your cake board and place the bottom layer of cake on top of that.
- Place about 2 cups of frosting in a large piping bag fitted with a large open round tip, or simply cut off the end of the piping bag. Pipe a layer of frosting on top of the cake, starting at the outside edge and working your way into the middle. Spread evenly with an offset spatula. Repeat with the second layer of cake and then place the third layer on top.
- Use a piping bag to fill in any gaps between layers and to create a crumb coat. Using an angled spatula or icing smoother, wipe away the excess frosting, leaving just enough to coat the outside of the cake. Do not mix the crumb-coat frosting back into the mixing bowl if it has cake debris in it.
- Proceed to frost the top and sides of the cake using your angled spatula or a large piping bag fitted with a large cake icer tip. Once the sides of the cake are covered, use an icing smoother to remove any excess frosting.

Notes
Decorating
- For tips and tricks on how to decorate this cake, please refer to blog post
- For the roses (see in purple), I used a Wilton 1M piping tip.
- For the large swirls, I used a Wilton #199 piping tip (see in pink)
- For the smaller flowers, I used a #21 piping tip (teal)
- Finally, #2F drop flower piping tip (yellow)
- Decide which two color are going to be your primary colors- these will be the color of your rose and the large swirls. You’ll want about 1 cup of each color. Then for your two accent colors, you’ll need about ½ cup of frosting each.
- Be sure to check out all the tips and tricks I’ve shared in my how to make buttercream post which is detailed with all my success tips for the perfect buttercream frosting every time.
Storing
-
- To Store. This frosted buttercream flower cake can be stored in an airtight container or cake carrier at room temperature for 2-3 days. If you live somewhere warm, however, consider keeping the cake in the fridge, and serve at room temperature. Refrigerated cakes should last for 7 days.
-
- Freeze. I recommend freezing the cake layers unfrosted, or assembled and frosted, before adding the buttercream flowers. Double-wrap the cake tightly in plastic wrap and keep it frozen for up to 1 month. Defrost in the fridge and bring the cake to room temperature before assembling/decorating/serving.
Nutrition
- Serving Size: 1 slice
- Calories: 944
- Sugar: 113.4g
- Sodium: 384.2mg
- Fat: 43.6g
- Saturated Fat: 28.4g
- Carbohydrates: 135.8g
- Fiber: 0.7g
- Protein: 5.9g
- Cholesterol: 135.9mg


Thank you so much for not only writing clear instructions that helped me to finally make sense of my piping tips but also putting that together with the best vanilla cake and buttercream frosting I’ve ever tasted. I was knocked out by my cake, so you can imagine my boyfriend’s reaction! Needless to say that even with just 2 of us living here, the cake is all gone 2 days later. I’ve already got a couple of friends’ upcoming birthdays on tap for getting a cake because I’m just so delighted that I can finally pipe flowers that look like flowers and make a gorgeous design. I’m downright giddy about my new skill and recipe (or maybe it’s all the sugar). My boyfriend wanted some extras on the flowers, and he’d seen pics of ones with little sprinkles or sparkles on them. But we didn’t have any, so I substituted Fruity Pebbles cereal, and they added a little extra touch that worked perfectly. Thank you so much again for such a plethora of helpful tips and yummy recipes!
Hi Virginia, thank you so much for this feedback. I struggle sometimes providing information overload but it’s the best way to help other learn! So happy you found this one!
What if I want to make buttercream flowers for a cake, but I don’t have any piping tips or tools? How can I achieve a similar effect without traditional tools?
You’d have to do gum paste or maybe royal icing flowers, but royal icing would still require piping tips and gum paste flowers require tools. I would recommend doing some research on Google or Youtube
What a fantastic tutorial! 🎂 I love how easy you’ve made decorating a buttercream flower cake look. 🌸 The step-by-step instructions are clear, and using sweet vanilla buttercream sounds delicious! 😋 Can’t wait to try this out for my next cake. 🎉 Thanks for sharing! 🙏
I am so happy to hear you found this to be helpful!
So cute! I would love to make this! Can you tell me the how many drops of the Wilton colors you used to get these shades?
Hi Amy, for small quantities maybe 1/2-1 drop. Start small, mix your color and add accordingly.
S this enough frosting to make about 25-30 fliers small -med plus frost the cake 🎂
Hi Esther- sorry I don’t understand what you’re asking. What are fliers? Do you mean flowers?
Your frosting recipe says 8-10 cups of powdered sugar. However, in the directions it starts with 3 cups, add 2 more cups and then the final 2 cups. That’s only 7 cups of powdered sugar. I was going to give this recipe a try but now I don’t feel confident.
Hi Karen- thanks for point that out. I will clarify- but simply adding the powdered sugar 2 cups at a time is just easier for your mixer to handle, and because this is a large batch of frosting, some people find it more helpful to make it in 2 batches
How easy & delicious is this!!! My kids would totally beg me for more:P
That’s great Summer!
This cake is looking delicious. I would love to bake this cake for the coming occasion of mother’s day. Thanks for sharing the recipe.
Thank you!
This cake looks and sounds so delicious! I love it.?
It’s never too late for this cake? One of my favorite flavors!! ?
Thank you Maria!
Great my friend, you have brains. You have shared some truly fabulous ideas in this blog post.I did’nt see before, It is very different from the other cake..some of them are masterpieces (Y) .I love to see the creativity growing 🙂
Loving the info on this internet site, you have done outstanding job on the content. Thank you for awesome blog.
Thank you so much Sophia!