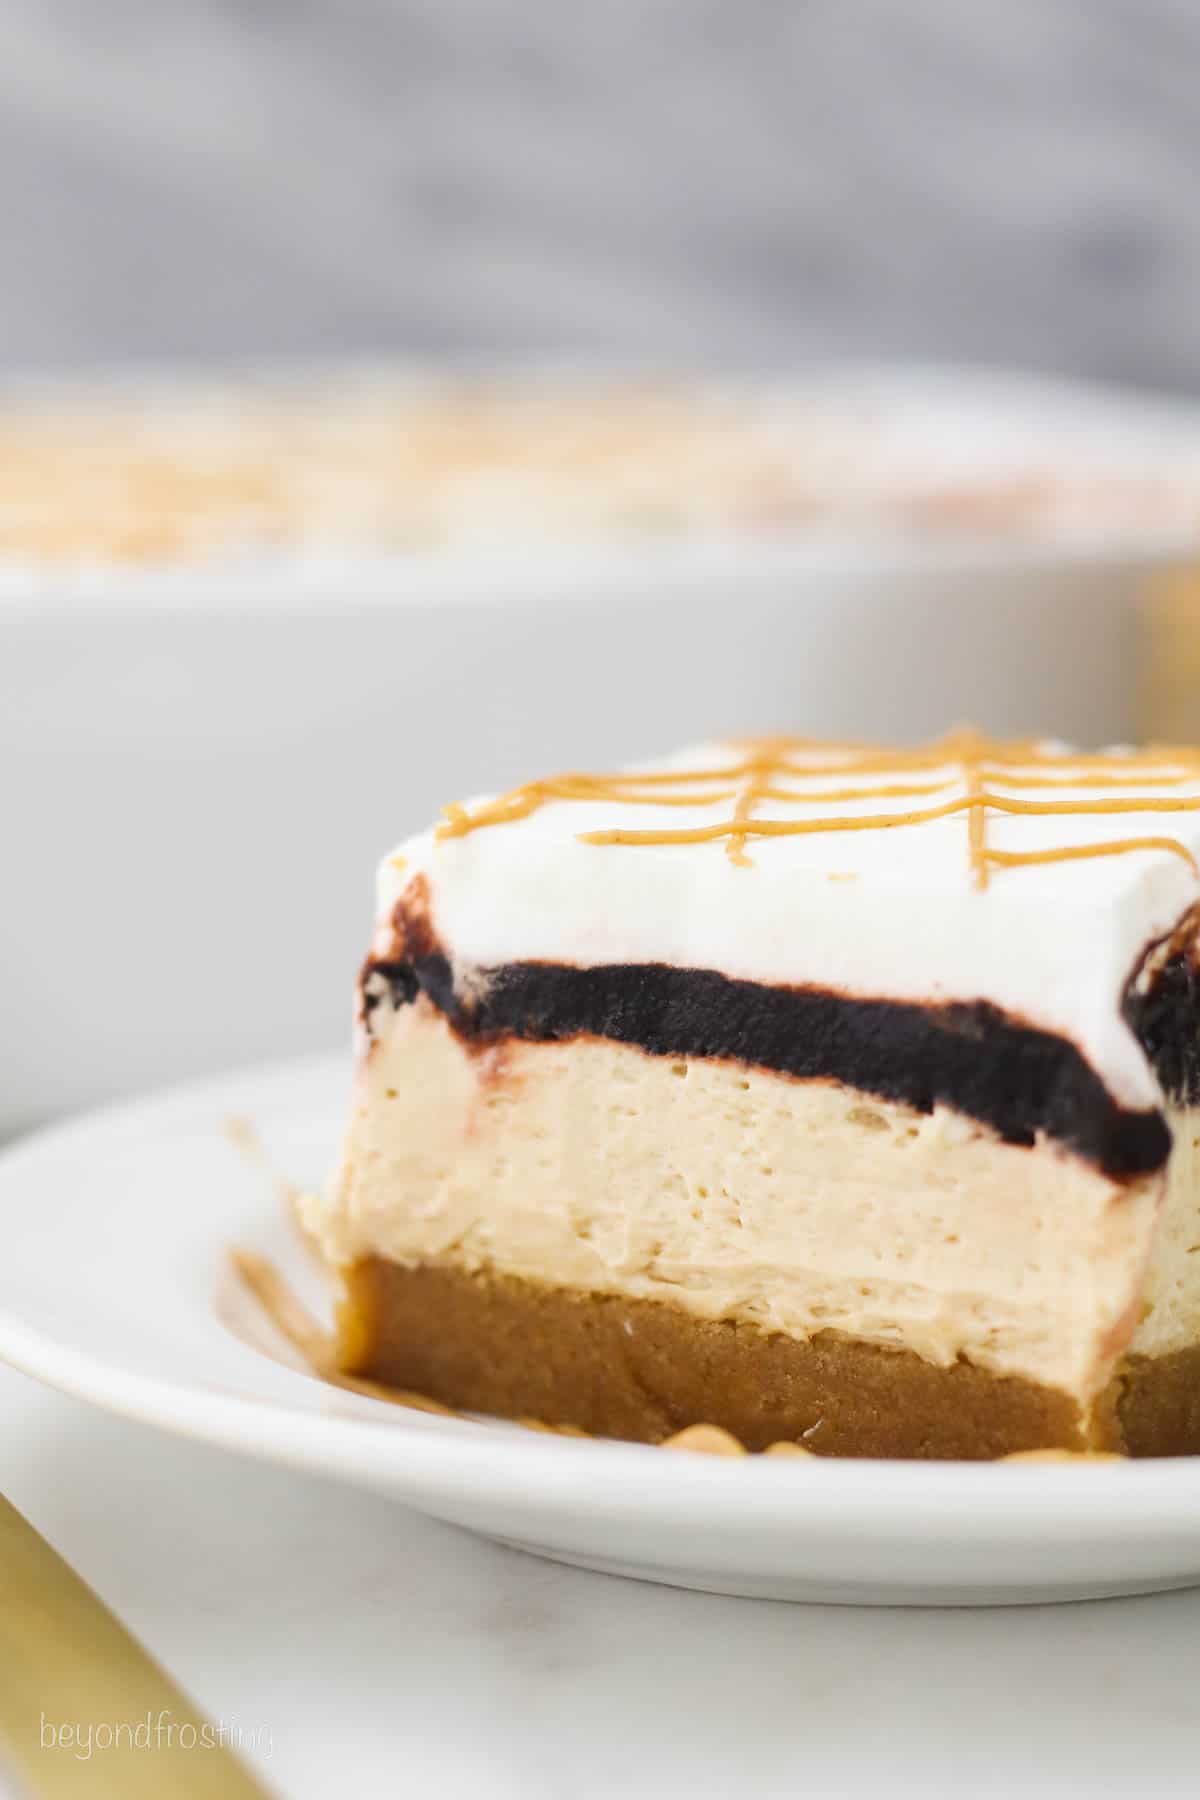
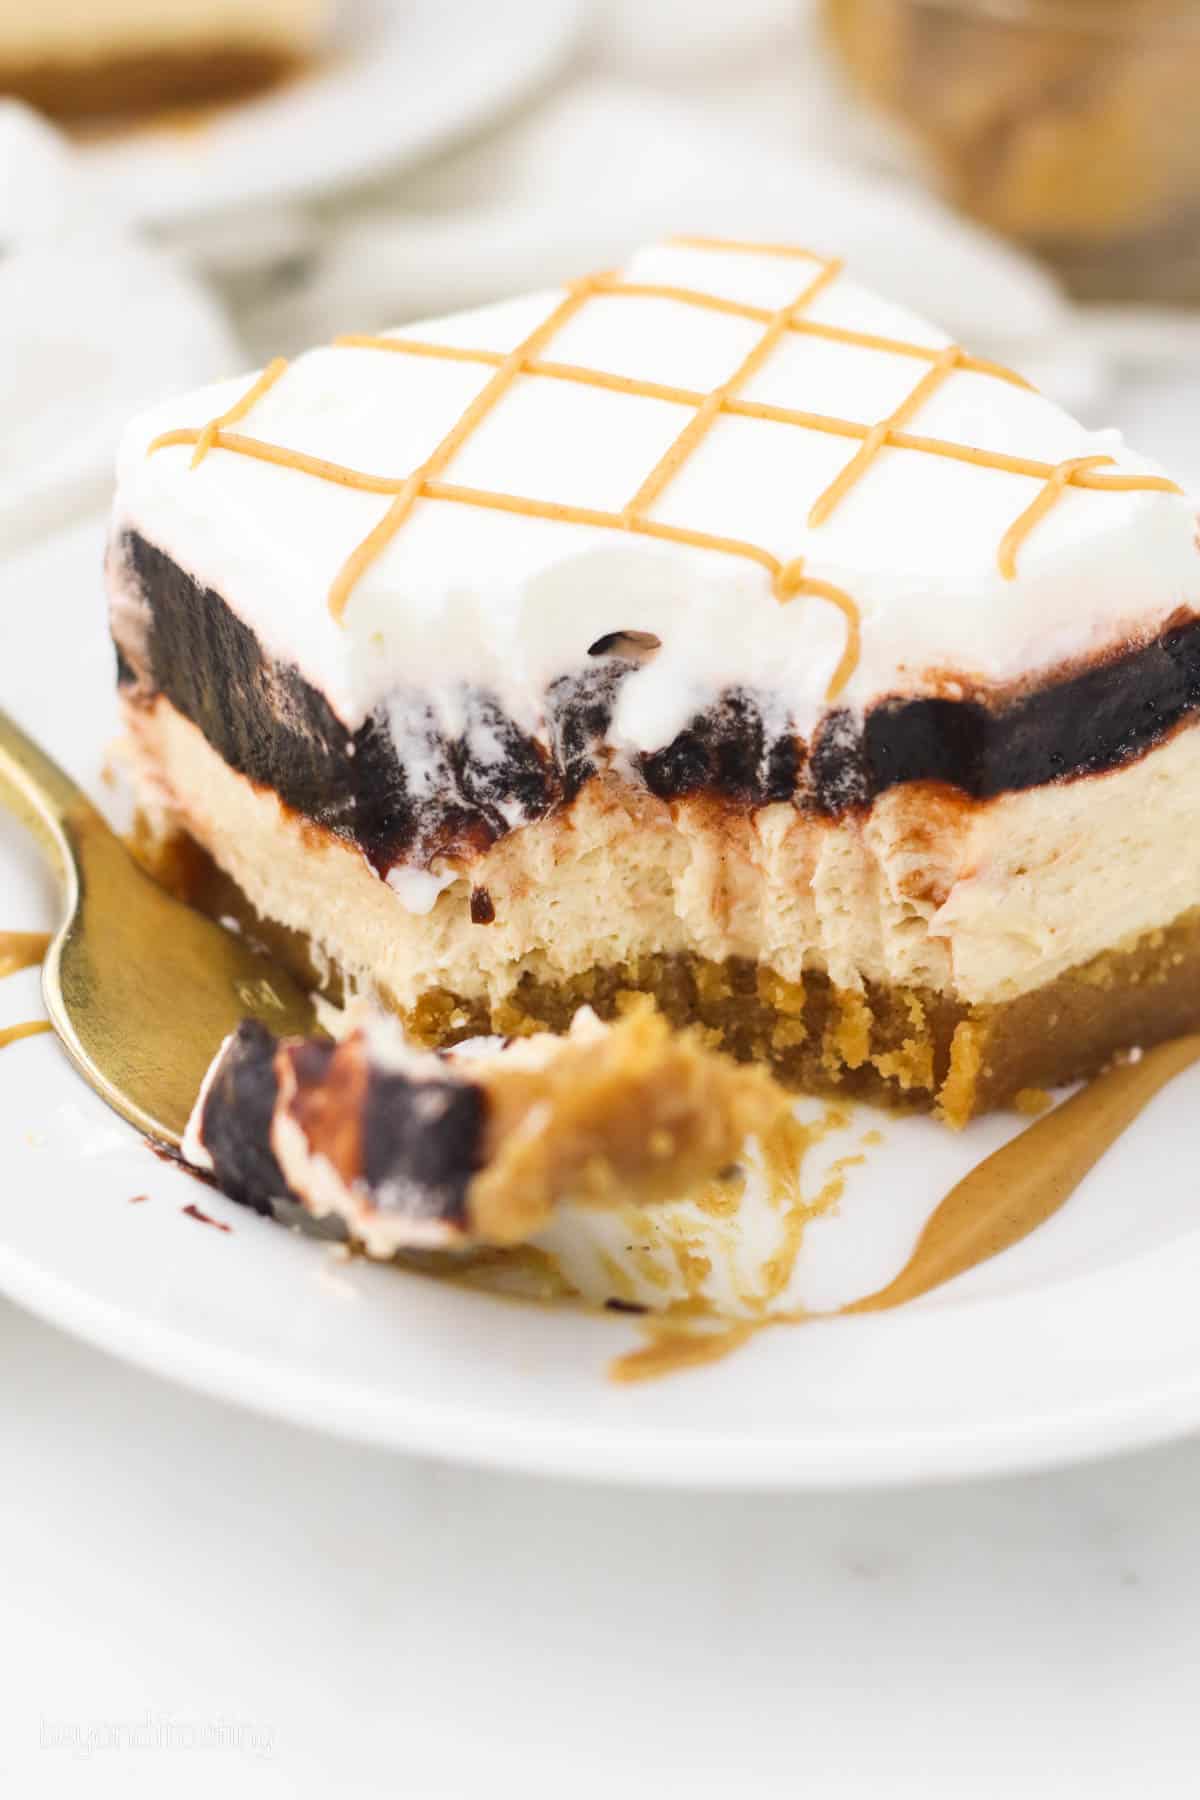
This Peanut Butter Lush is made with a gooey peanut butter cookie crust layered with no-bake peanut butter cheesecake, chocolate pudding, and homemade whipped topping. This dessert is for true peanut butter lovers!
This post is sponsored by the National Peanut Board. All thoughts and opinions are my own.

Decadent Peanut Butter Lush Dessert
Lush desserts are typically no-bake, but I am changing things up a bit with a soft-baked peanut butter cookie layer for the crust. It’s topped with a no-bake peanut butter cheesecake, chocolate pudding, and whipped cream. I mean, this dessert practically melts in your mouth!
Each layer is so tasty that you’ll be sneaking bites before the dessert is even assembled!
Key Ingredients
Here’s a couple of notes about specific ingredients! Scroll to the recipe card below for the full list of ingredients and amounts.
- Peanut Butter Cookie Mix – You’ll need the actual peanut butter cookie mix plus the additional ingredients needed to make the dough. These should include egg, oil, and water!
- Cream Cheese – Make sure you’re using a full-cat cream cheese block for the best flavor and texture, and it should be at room temperature.
- Peanut Butter – I recommend using the creamy variety of peanut butter and stay away from the natural peanut butters. Most natural nut butters have a layer of oil separated on top and don’t incorporate well. It can leave you with an oily texture.
How to Make Peanut Butter Lush
This delicious lush dessert tastes decadent, but comes together with minimal prep!
Prep the cookies: Prepare your cookie mix according to package instructions, press it into a greased baking pan, then bake until slightly underdone. Carefully flatten the cookie layer while it’s still warm, then cool completely.
Make the pudding: In a bowl, combine pudding mix and milk. Set in the fridge until set.
Make the cheesecake: In a chilled mixing bowl, whip the heavy cream until soft peaks form. Add in the powdered sugar and mix until stiff peaks form.
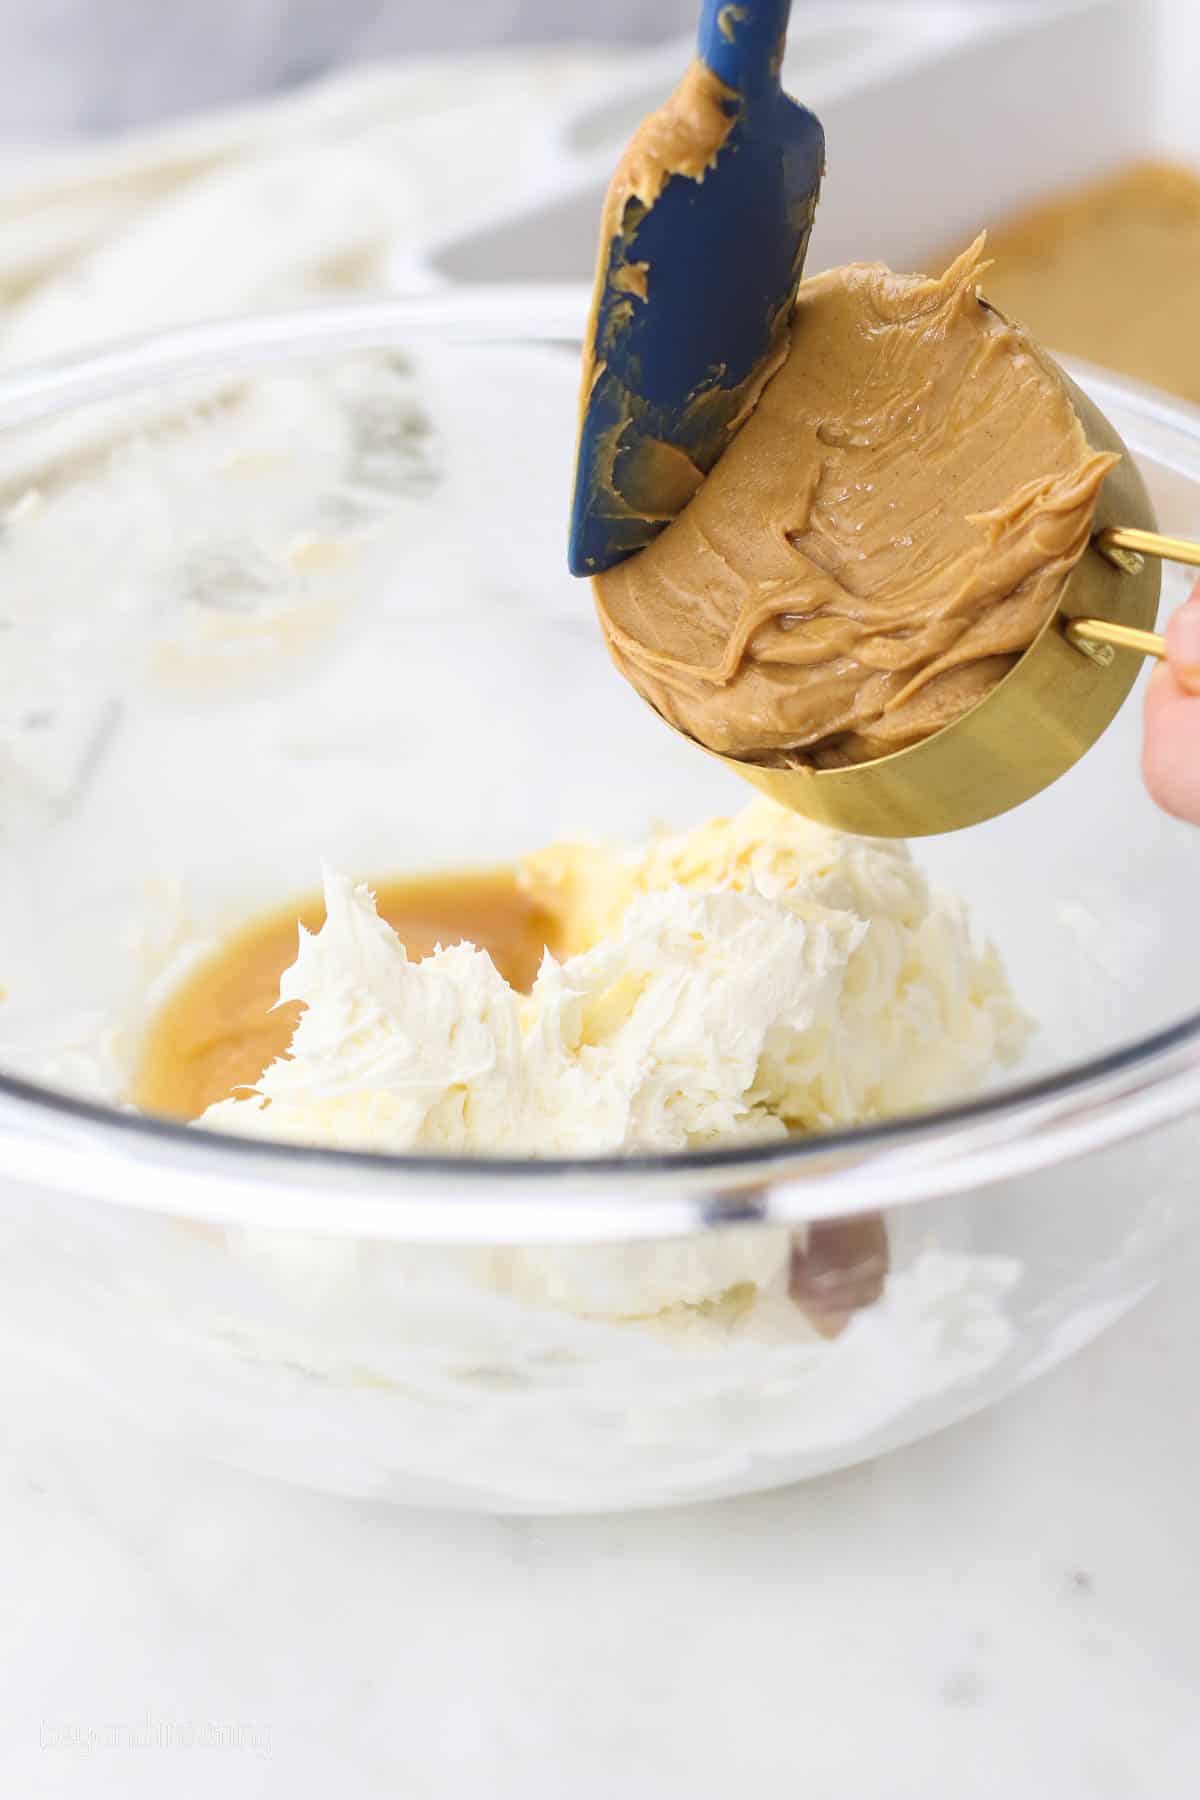
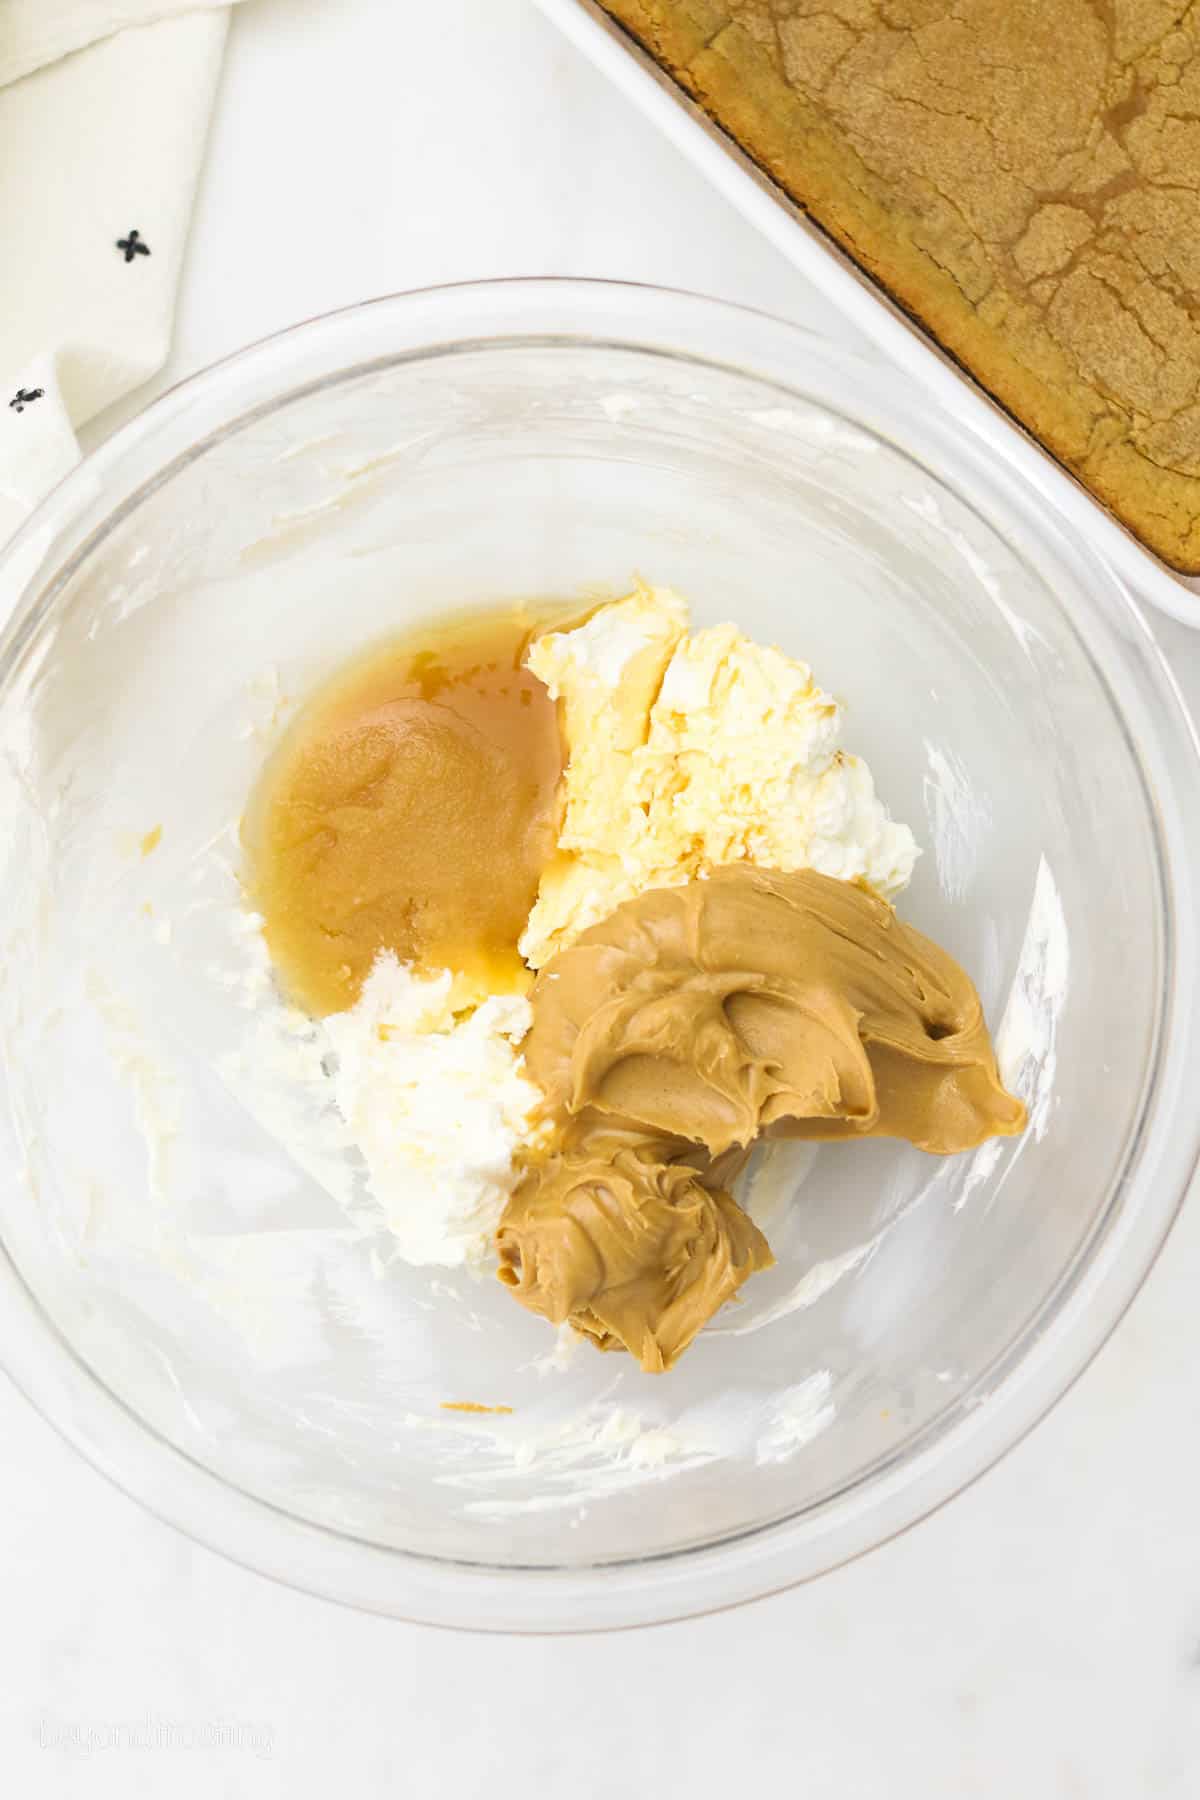
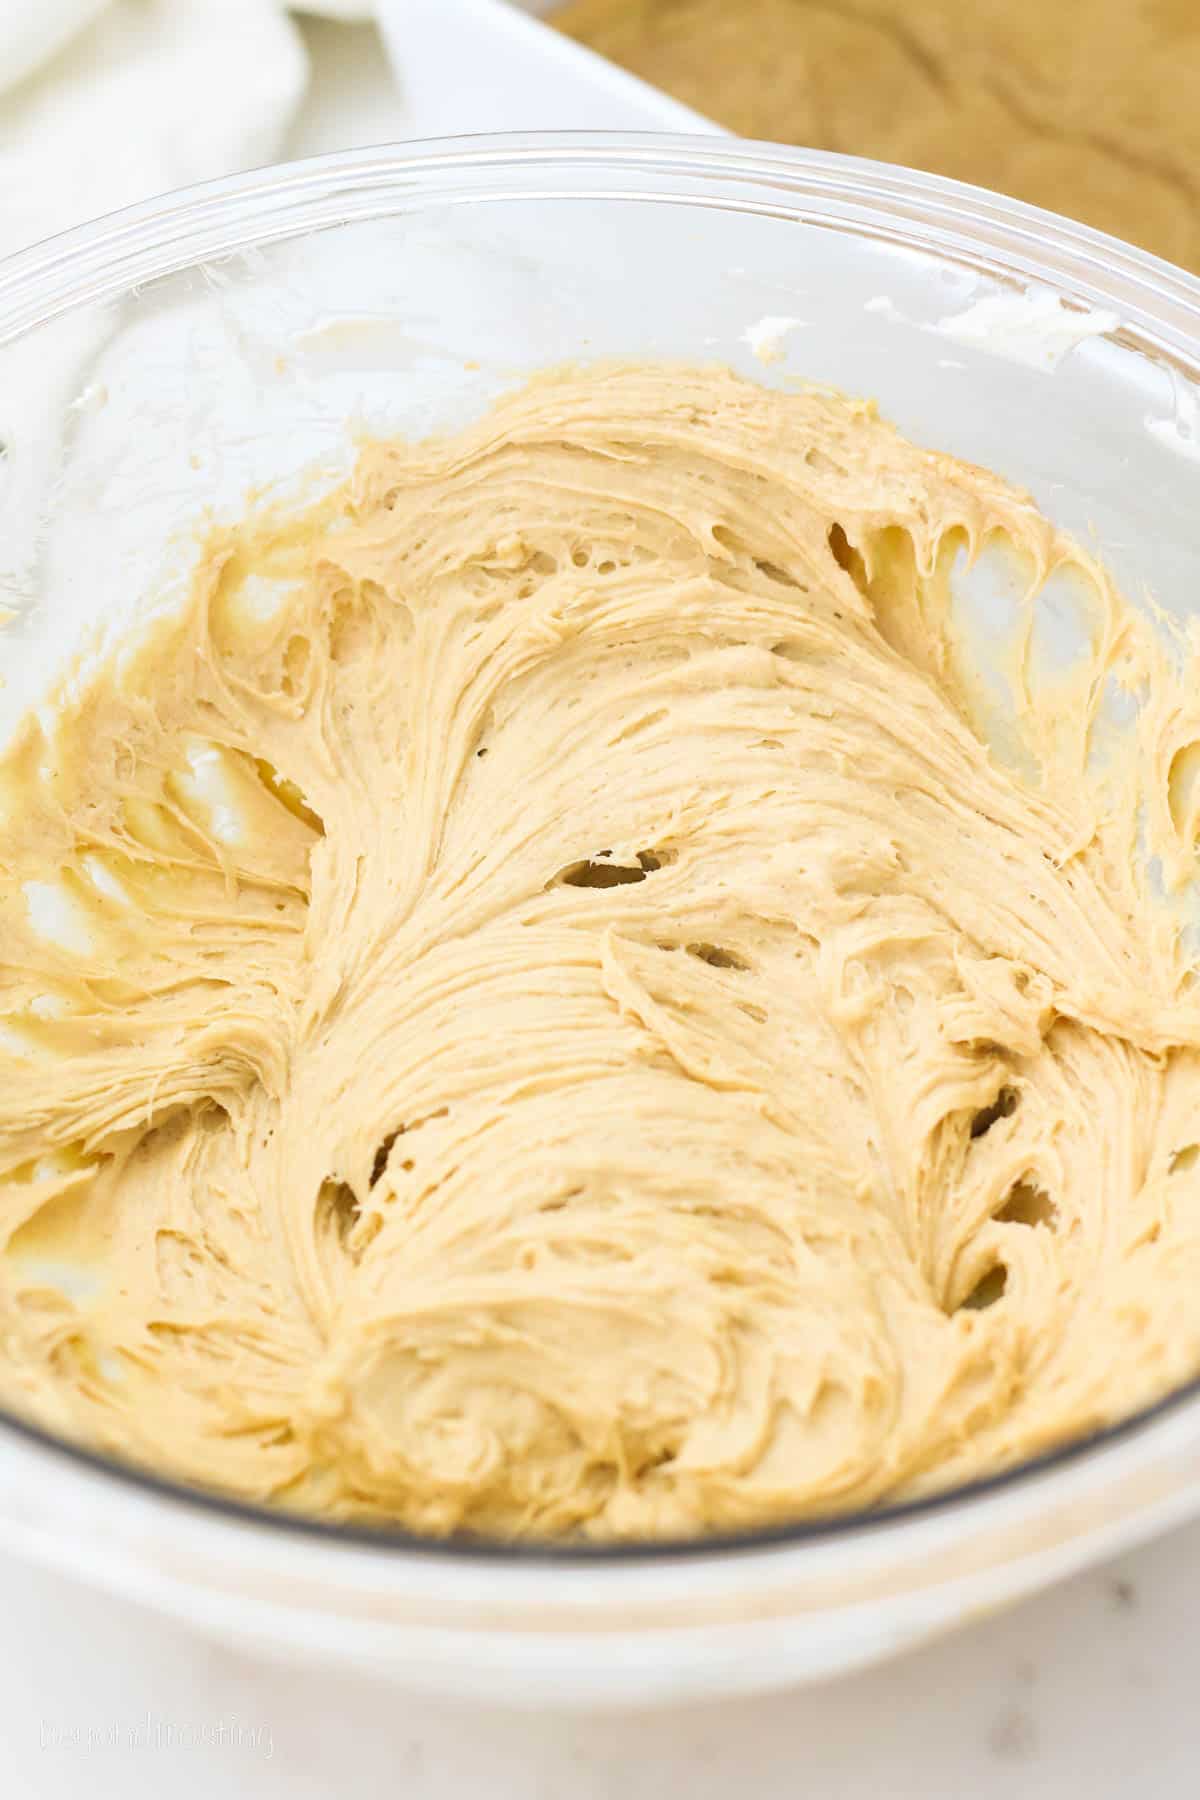
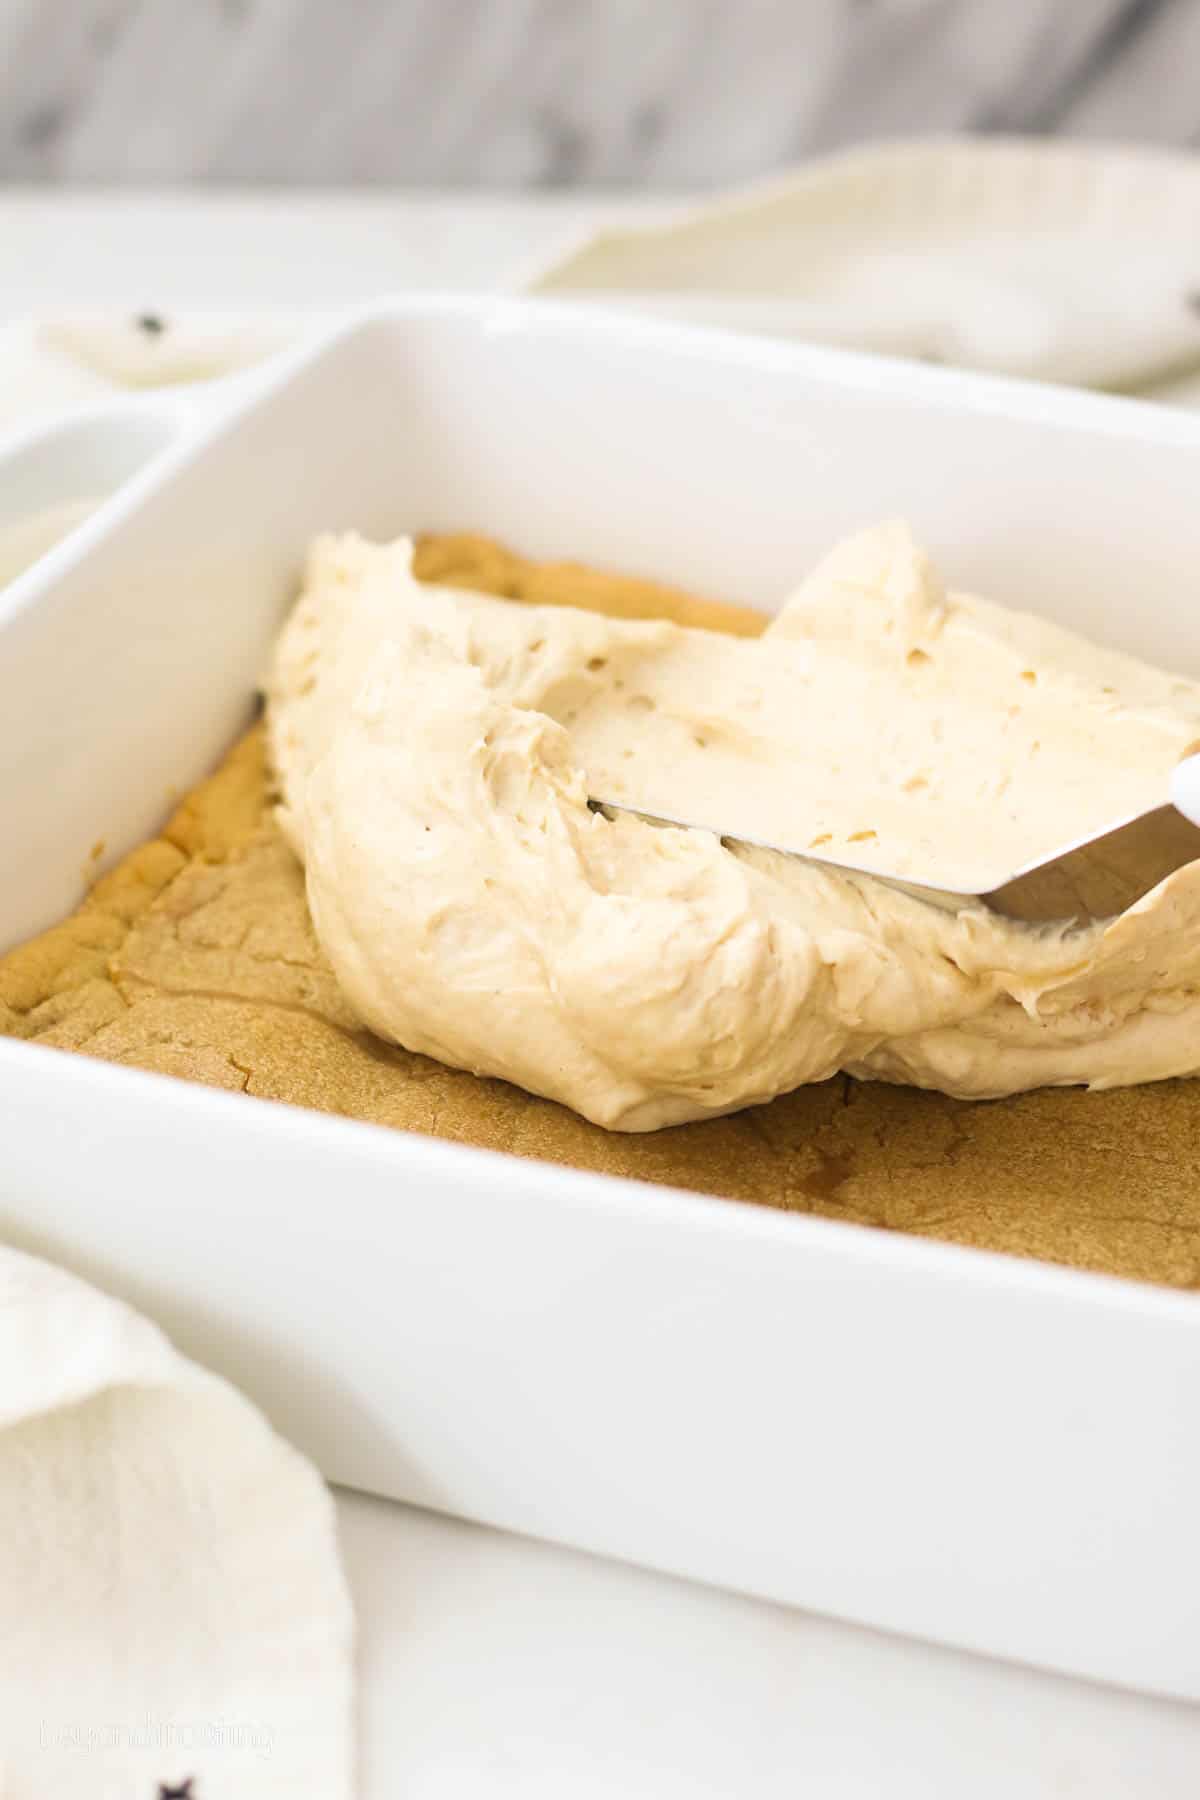
In a separate bowl, beat the cream cheese until softened, then mix in the peanut butter, sugar, and vanilla extract. Beat until light and fluffy, then fold half of the prepared whip into the cream cheese mixture.
Assemble: Spread the cheesecake layer over the cooled cookie crust followed by the pudding. Spread the remaining whipped cream over the top, then refrigerate or serve.
If you’re looking for even more peanut butter flavor, try melting a little bit of creamy peanut butter in the microwave, then drizzling that over the top of your prepared lush!
Recipe Tips and Notes
- Slightly underbake the cookie crust. Take it out of the oven as soon as the center is cooked through. This helps it maintain a deliciously soft, gooey texture even after it’s chilled in the fridge.
- Flatten the cookie crust while it’s warm. We want the cookie crust to be a nice even surface, so I recommend flattening them using a piece of parchment paper and a pan or spatula. Make sure you do this right when it comes out of the oven while it’s still nice and soft.
- Chill your mixing bowl. The cold bowl helps create a lighter, fluffier whipped cream.
- Make your cookie crust from scratch. If you’d rather make your crust totally from scratch, feel free! Simply use my peanut butter cookie recipe as the bas.
- Want a totally no-bake recipe? You can find pre-made peanut butter cookies at the store, grind them into a fine crumb, then combine the crumbs with 6-8 tablespoons of melted butter. Press that into the bottom of your pan to create the crust.
How to Store a Finished Lush Dessert
Finished peanut butter lush can be stored in an airtight container in the fridge for up to 4 days, so you can make it a day or two in advance, or at least prepare the cookie layer ahead of time. I do not recommend freezing the dessert.
More Peanut Butter Desserts You’ll Love
- Peanut Butter Cup Ice Cream Cake
- Reese’s Peanut Butter Cup Cheesecake
- Peanut Butter Marshmallow Pie
- Peanut Butter Chocolate Mousse Pie
Peanut Butter Lush
- Prep Time: 45 minutes
- Cook Time: 18 minutes
- Total Time: 1 hour 3 minutes
- Yield: 9 slices
- Category: Bars
- Method: Oven
- Cuisine: American
Description
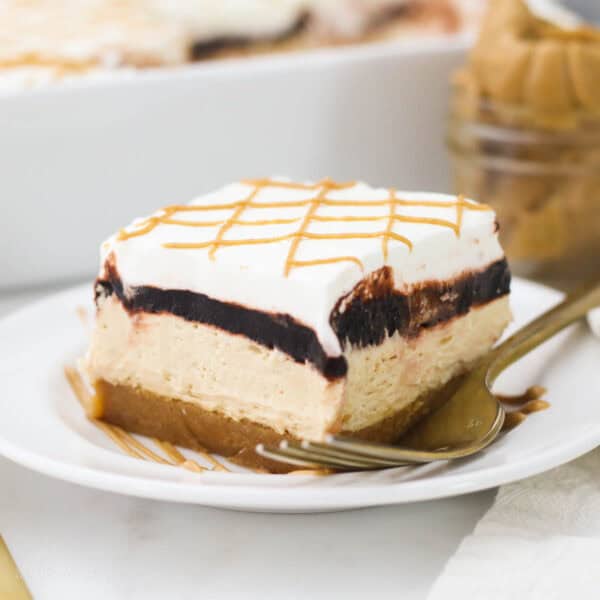
This Peanut Butter Cookie Lush starts with a peanut butter cookie, then it’s layered with a no-bake peanut butter cheesecake, chocolate pudding and a whipped cream topping. This dessert is for true peanut butter lovers!
Ingredients
For the crust:
- 1 package (15oz) peanut butter cookie mix
- Ingredients listed on the box (egg, oil water)
For the pudding
- 1 package (3.4oz) instant chocolate pudding
- 1 ¾ cups milk
For the cheesecake:
- 1 ¾ cups heavy whipping cream
- ¾ cup powdered sugar
- 8 ounces cream cheese, at room temperature
- ½ cup creamy peanut butter
- ¼ cup granulated sugar
- 1 teaspoon vanilla extract
For the topping
- 1–2 tablespoons creamy peanut butter
Instructions
- Preheat the oven to 350°F. Prepare a 9-inch pan by greasing the bottom with cooking spray.
- Prepare the cookie mix according to the instructions on the box. Press the prepared dough evenly into the pan. Bake at 350° F for 15-20 minutes until the center is cooked through. Cool completely. As the cookie is cooling, use a piece of parchment paper and another pan or spatula to press down the center of the cookie so you have a nice flat surface to work with.
- Prepare the pudding. In a medium-sized bowl, combine the pudding mix and milk and whisk until the powder has dissolved. Refrigerate until the pudding has set.
- Next, prepare the cheesecake layer. Place a metal mixing bowl in the fridge for 5-10 minutes to chill. Pour the heavy cream into the chilled bowl and whip at high speed until soft peaks form. Add the powdered sugar and continue mixing until stiff peaks form. Set aside.
- Beat together the cream cheese until smooth. Then add the peanut butter, sugar and vanilla extract and beat for several minutes until it’s light and fluffy. Next, fold 1 ½ cups of the prepared whipped cream into the cream cheese mixture until well mixed.
- Assemble. Spread the cheesecake over the cooled cookie. Then evenly spread the prepared chocolate pudding over the cheesecake layer. Finally, spread the remaining whipped cream on top. Drizzle with peanut butter if desired. Microwave the peanut butter for 20-30 seconds until it’s runny and drizzle over top of the whipped cream.
Notes
- Substitute the homemade whipped cream with an already prepared whipped topping, you’ll need two 8-ounce containers.
- Add your favorite peanut butter toppings if desired. Crushed cookies or candy work great, add just before serving for best results.
- Store in an airtight container in the fridge for up to 4 days.
Filed Under:
Head here for even more delicious peanut butter recipes for every occasion.
Following along with the National Peanut Board Social
Facebook | Twitter | Pinterest
Hi! Can I make this recipe into smaller individual portions? Im thinking of using a lined muffin tin to make these>
You sure can!
A muffin tin would be perfect. If you’re planning to do the baked PB cookie, you might consider baking the cookie in the muffin pan directly. This would make it more like a “cookie cup” with your filling. When they come out of the oven and are still hot, take a glass or something and press the cookie into the bottom of the muffin pan.
If you’re doing the no-bake crust, same idea. Use the muffin liners and press the cookie crust into the muffin pan with a glass.
Can this be made in a 9 inch springform pan? Thank you!
It sure can Cassie! Enjoy!