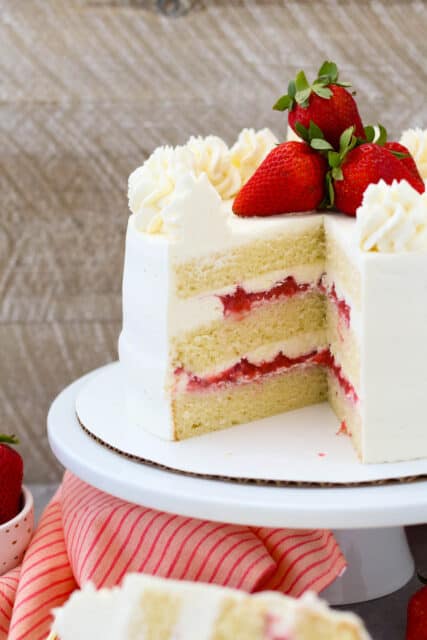
This Strawberry Mascarpone Cake is made from layers of moist vanilla cake, fresh strawberry filling and silky mascarpone whipped cream frosting. This simple strawberry layer cake is one of my absolute favorite homemade cake recipes and I just know you’ll love it, too!
Obsessed with strawberries? My Strawberry Cake with Strawberry Frosting is a must-try, too!
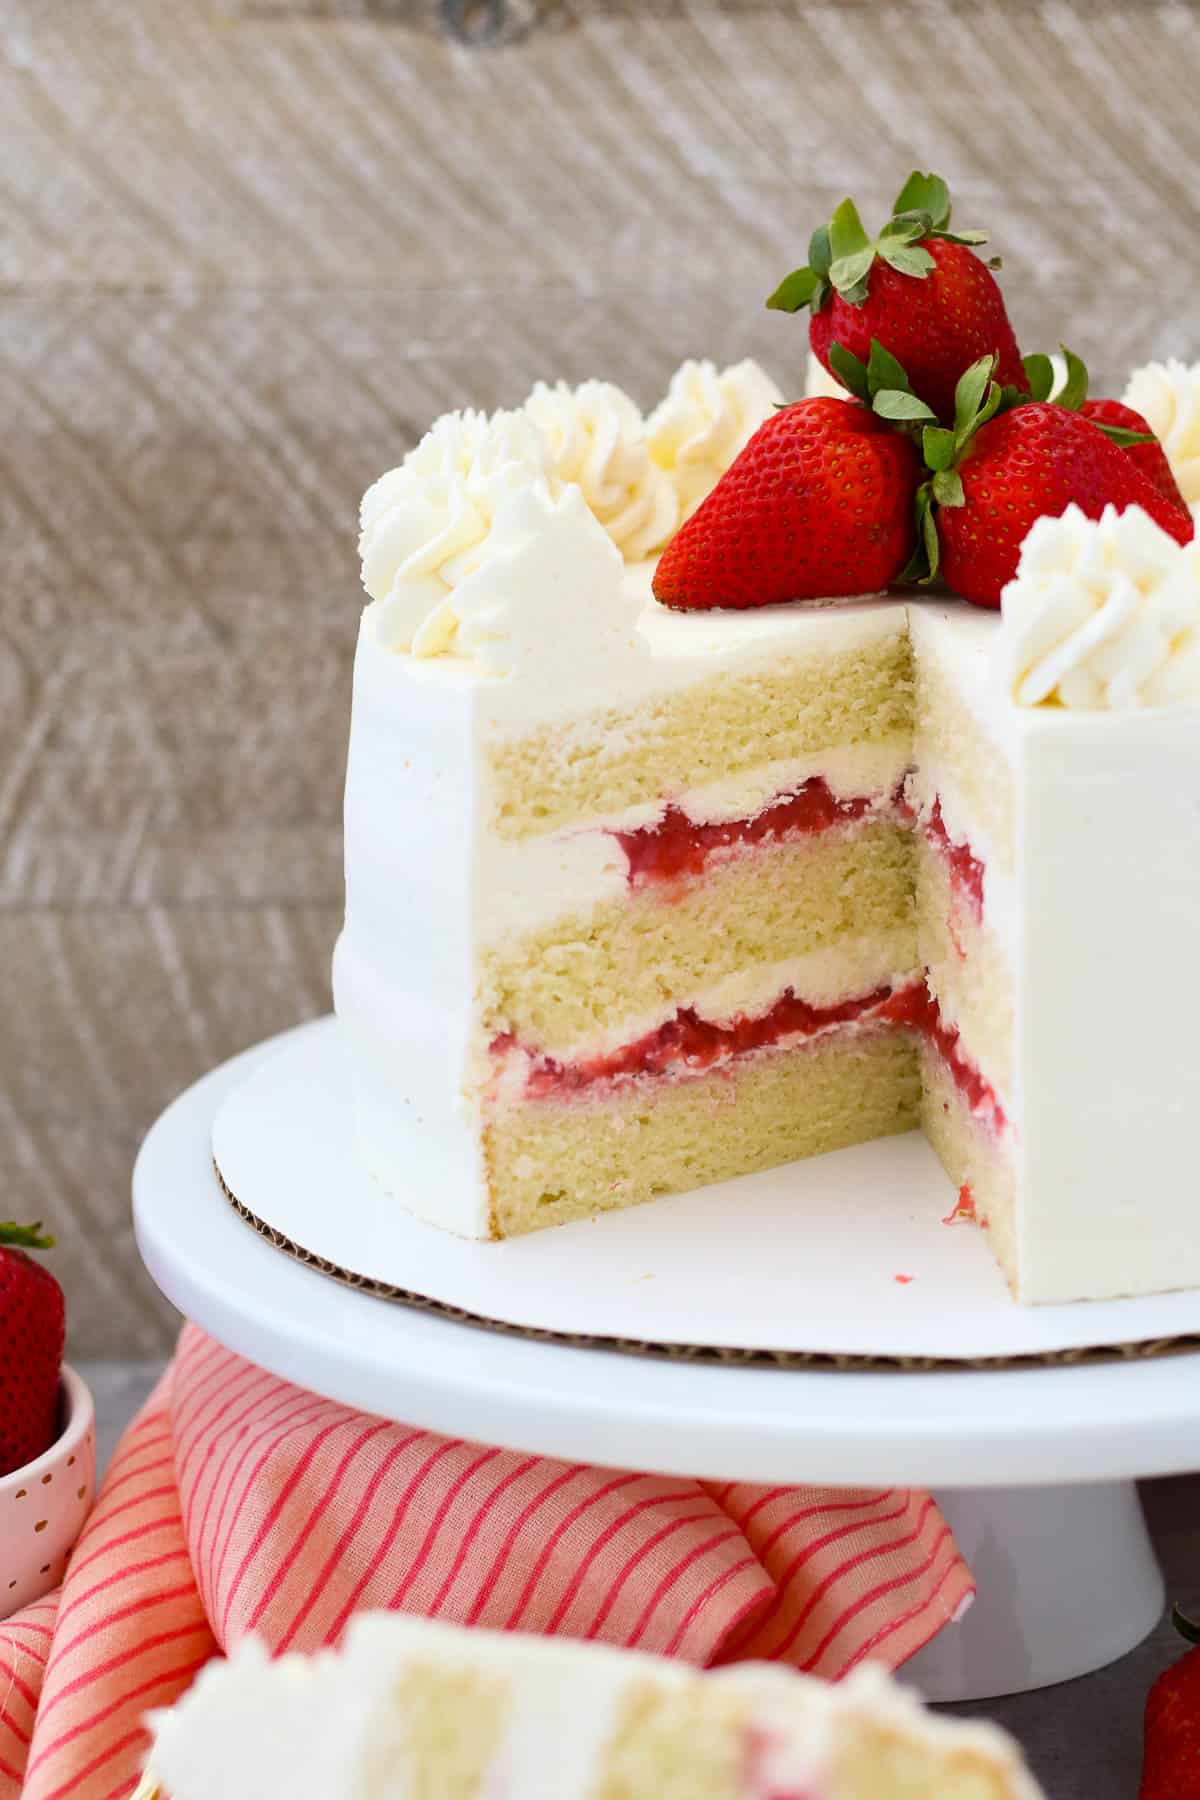
The Best Strawberry Vanilla Cake with Mascarpone Cream
I make this luscious strawberry mascarpone cake every year for my birthday, right at the height of berry season here in the US. It’s the perfect way to kick off the summer. It’s also one of my absolute favorite cake recipes, and I’m SO excited to share it.
Prepare to fall head-over-heels in love with this cake after the first bite. Seriously. The cake base for today’s recipe is my moist vanilla cake, baked as a layer cake and filled with a delectable strawberry filling, plus the most addicting mascarpone whipped cream. Just give me a bowl of this mascarpone frosting and a spoon, and I am good to go.
This strawberry layer cake is irresistibly tender and full of fresh berries-and-cream flavor. Trust me, it’s a dangerous situation to be left alone with this cake!
Why You’ll Love This Cake Recipe
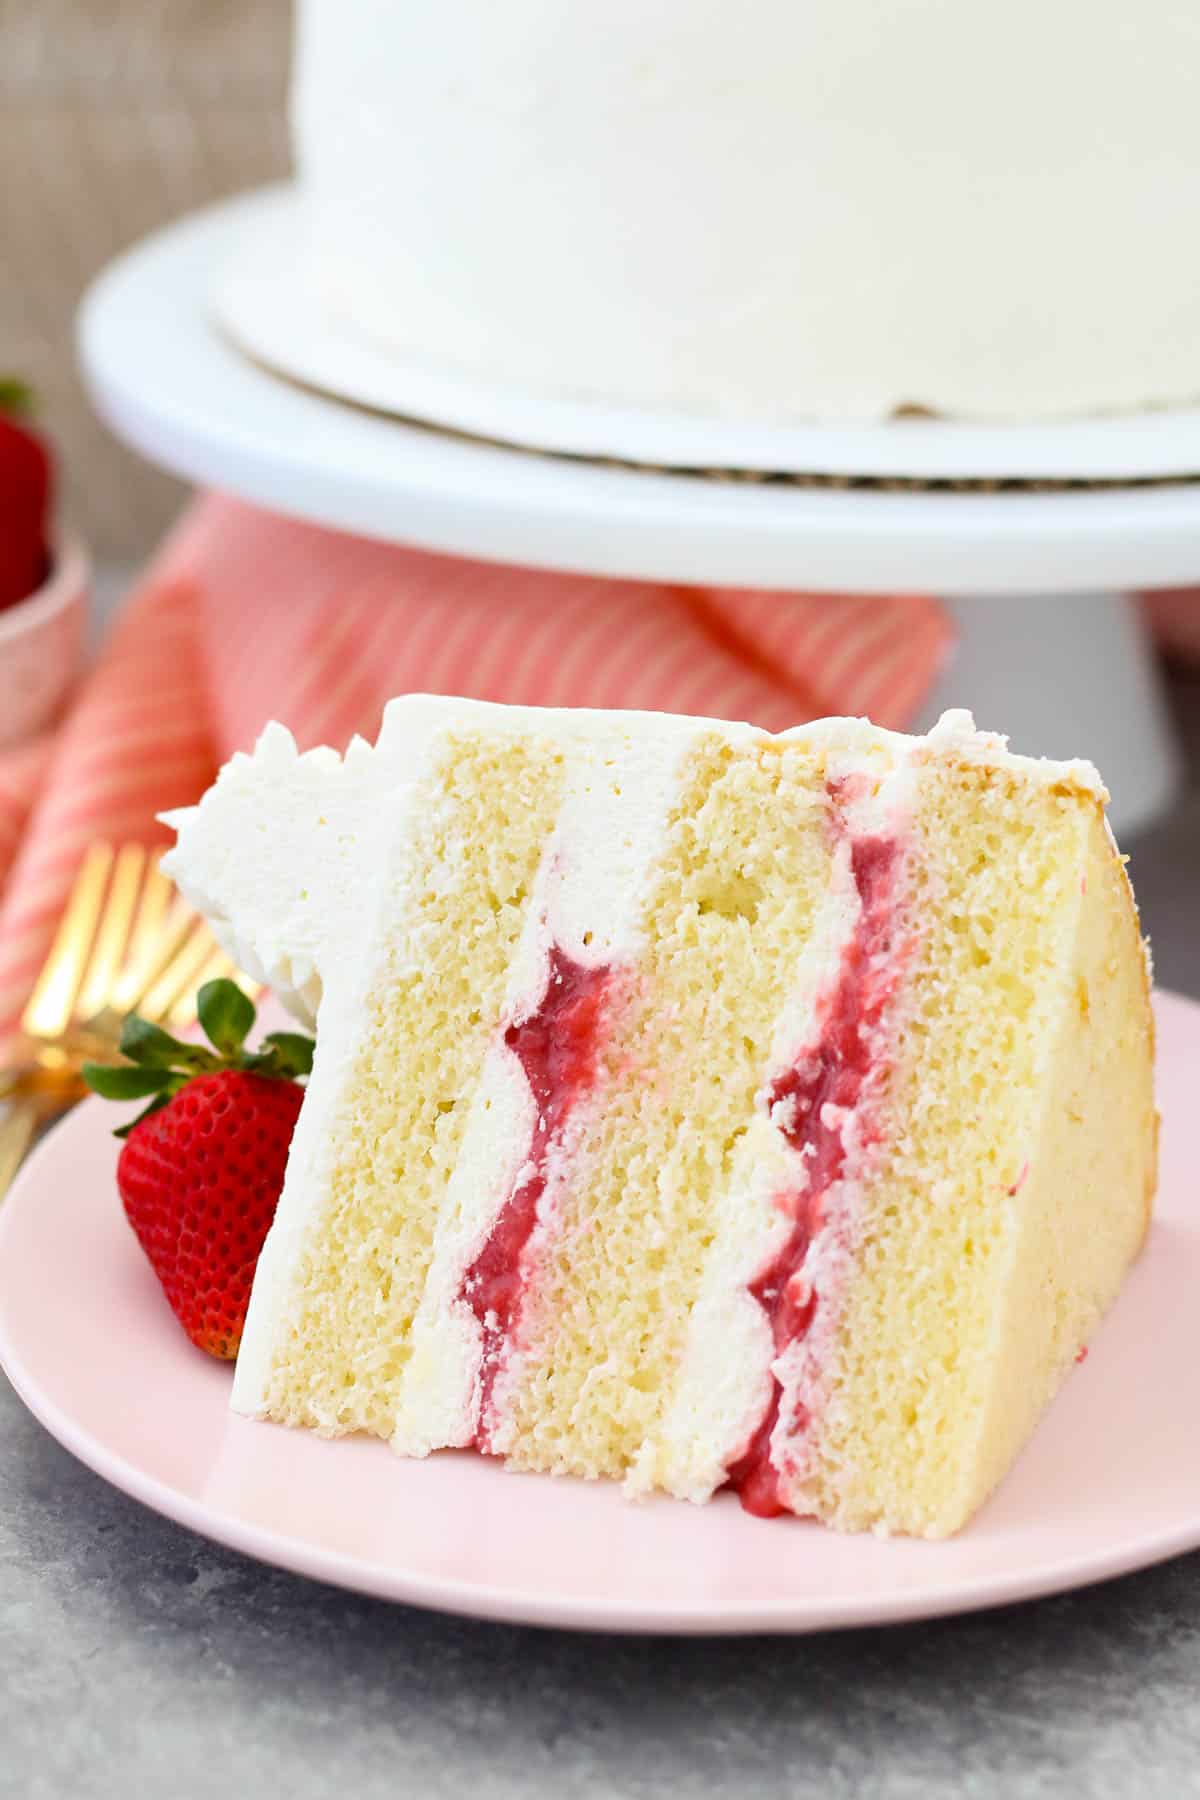
This really is the perfect strawberry birthday cake. The layers are nice and dense, filled with the bright flavor of juicy strawberries and just the right amount of vanilla sweetness. Here are more reasons why this cake is just the best:
- Delicious flavor. I love that this homemade cake has a true vanilla taste paired with fresh strawberries. There isn’t a stitch of artificial flavor in sight!
- Quick and easy. The recipe is quite simple and uses common ingredients. It’s also an oil-based cake instead of butter, so the batter comes together quickly.
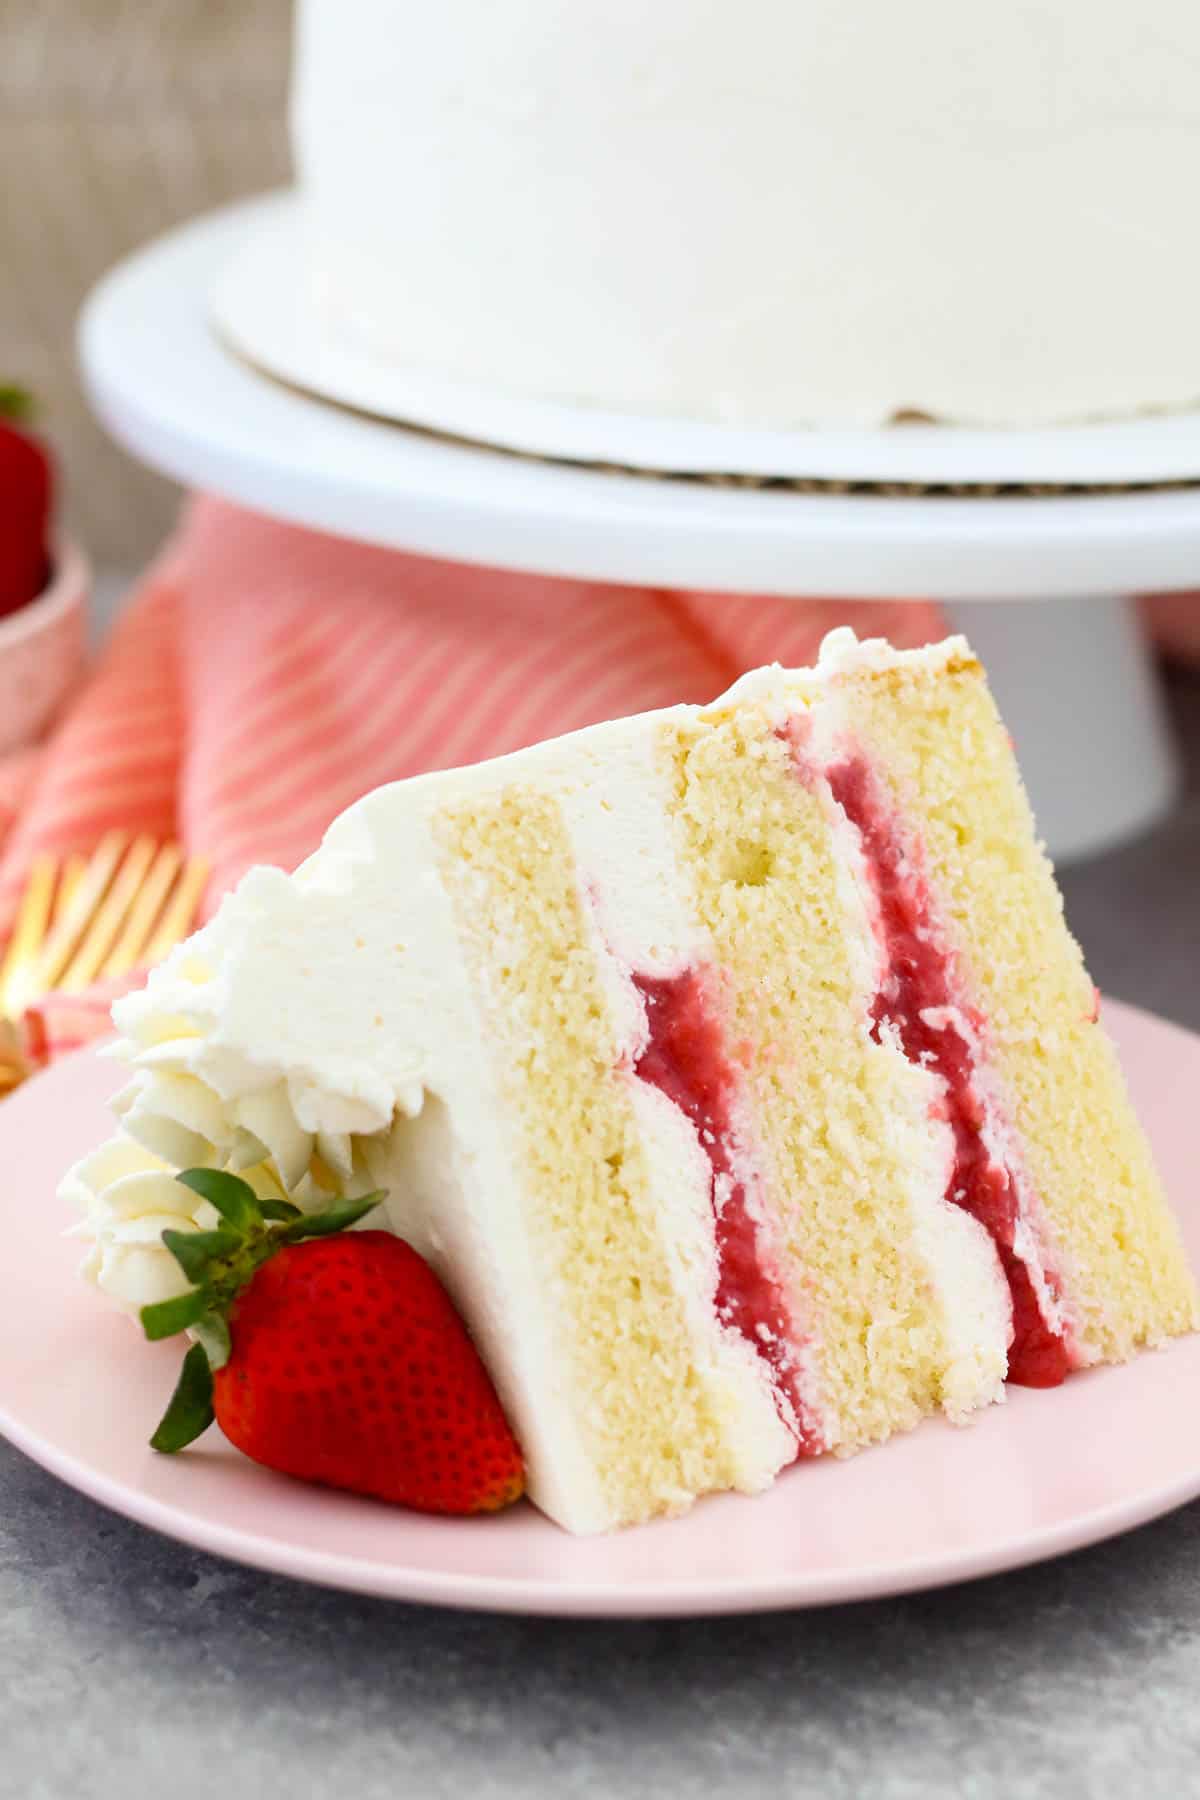
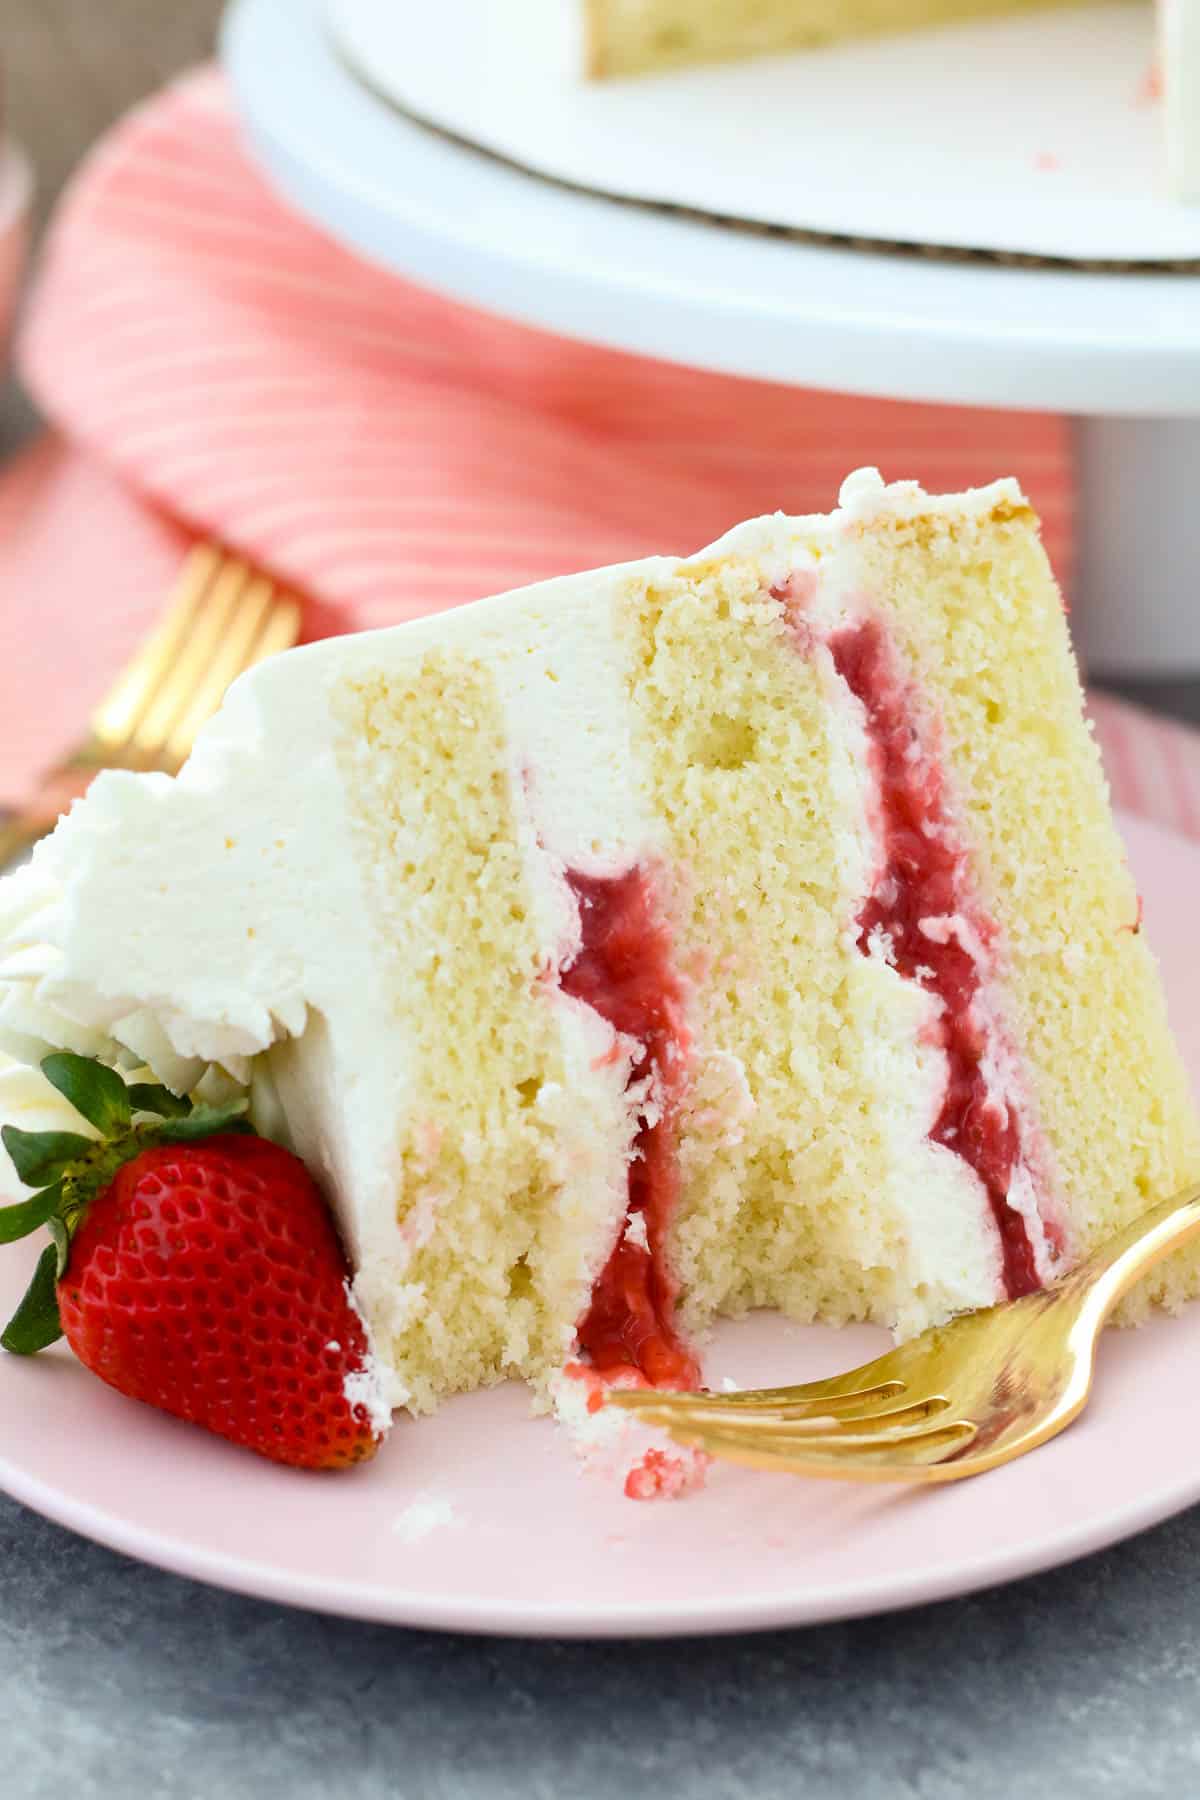
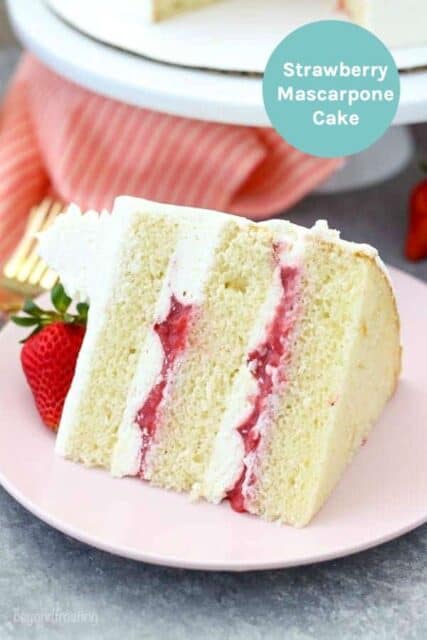
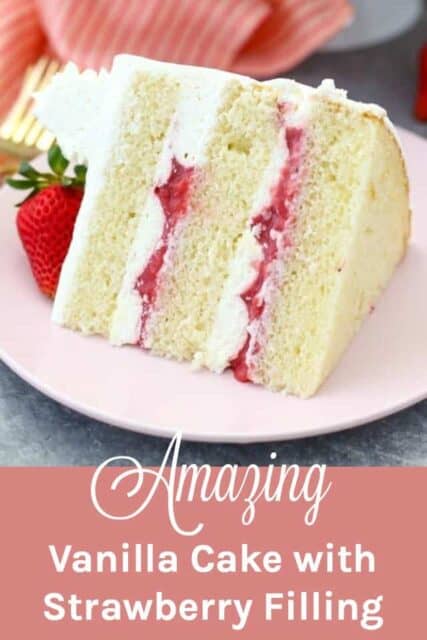
- Gorgeous to look at. I love slicing into this cake and seeing those ruby layers of fresh strawberries in between fluffy whipped cream and thick vanilla cake.
Key Ingredients
As mentioned, the cake and mascarpone frosting come together with basic pantry ingredients, with some key additions that you’ll find below. Be sure to refer to the recipe card for the full amounts and details.
For the Vanilla Cake and Strawberry Filling
- Oil – I prefer to use oil in place of butter in cake recipes whenever possible. The oil keeps the crumb super light and tender.
- Sour Cream – This is the secret to a moist and fluffy vanilla cake. I use light sour cream, but feel free to use full-fat if you’d like.
- Milk – For a lighter cake, use non-fat as I do in this recipe. Whole milk or 2% will also work.
- Strawberries – Pureed strawberries combined with a couple of spoonfuls of sugar and flour form the base for the strawberry filling. You can use fresh or frozen strawberries. Fresh is best, but if you use frozen just make sure that the berries don’t contain any added syrup or juices.
- Lemon Juice – A squeeze of fresh lemon lends a nice hint of acidity to the strawberries.
For the Frosting
- Mascarpone – You’ll need mascarpone cheese that’s chilled from the fridge. This is a soft and mild Italian cheese that you’ll find in most major grocery chains, or you can pay a visit to your local Italian deli. If you can’t find mascarpone, you can use cream cheese in a pinch, but mascarpone has a much more subtle, less tangy flavor.
What Does Sour Cream Do In a Cake?
If there’s one ingredient you don’t want to skip in this recipe, it’s sour cream. The added fat content from sour cream is the secret to making unbelievably moist cakes and cupcakes. Also, since this strawberry cake will be refrigerated, we really want to take all necessary precautions to keep the crumb from drying out. No sour cream? Use plain or Greek Yogurt instead.
How to Make a Strawberry Mascarpone Cake
This vanilla cake is beautifully simple and comes together in three layers. With your oven preheating, get started on preparing the cakes.
Step 1: Make the Cake
The batter makes about 5 cups, which makes for 3 nice and thick layers of cake.
- Combine the wet and dry ingredients separately. Begin by beating together sugar, oil, eggs, and vanilla, followed by sour cream. In a separate bowl, whisk together the dry ingredients.
- Mix the cake batter. Slowly incorporate the dry ingredients into the wet ingredients, alternating with milk. Scrape down the sides of the bowl as you go, until everything is well mixed.
- Fill the pans and bake. Next, divide the batter between three greased and lined 8” round cake pans. Bake the cakes at 350ºF for 20 minutes, rotating the cake pans at the halfway mark to ensure that the cakes bake evenly.
Step 2: Prepare the Strawberry Cake Filling
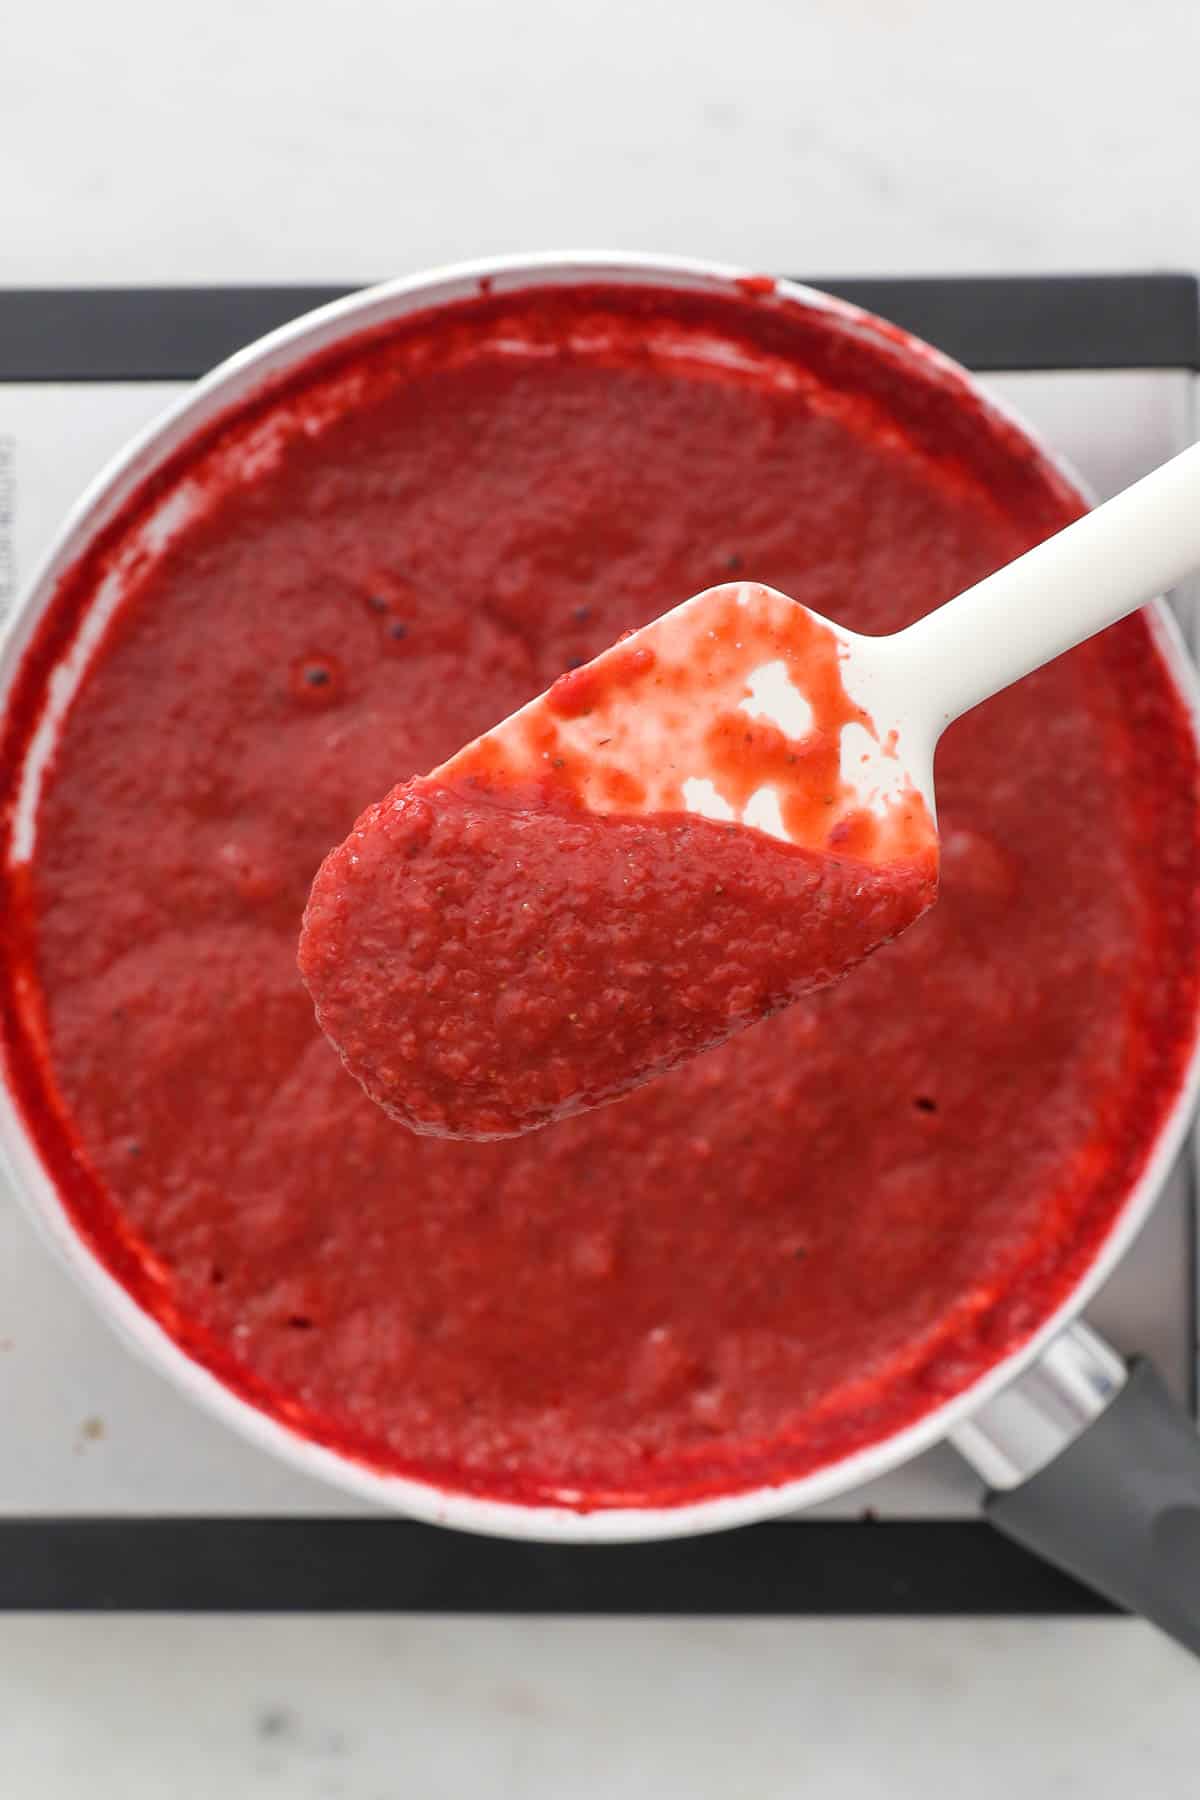
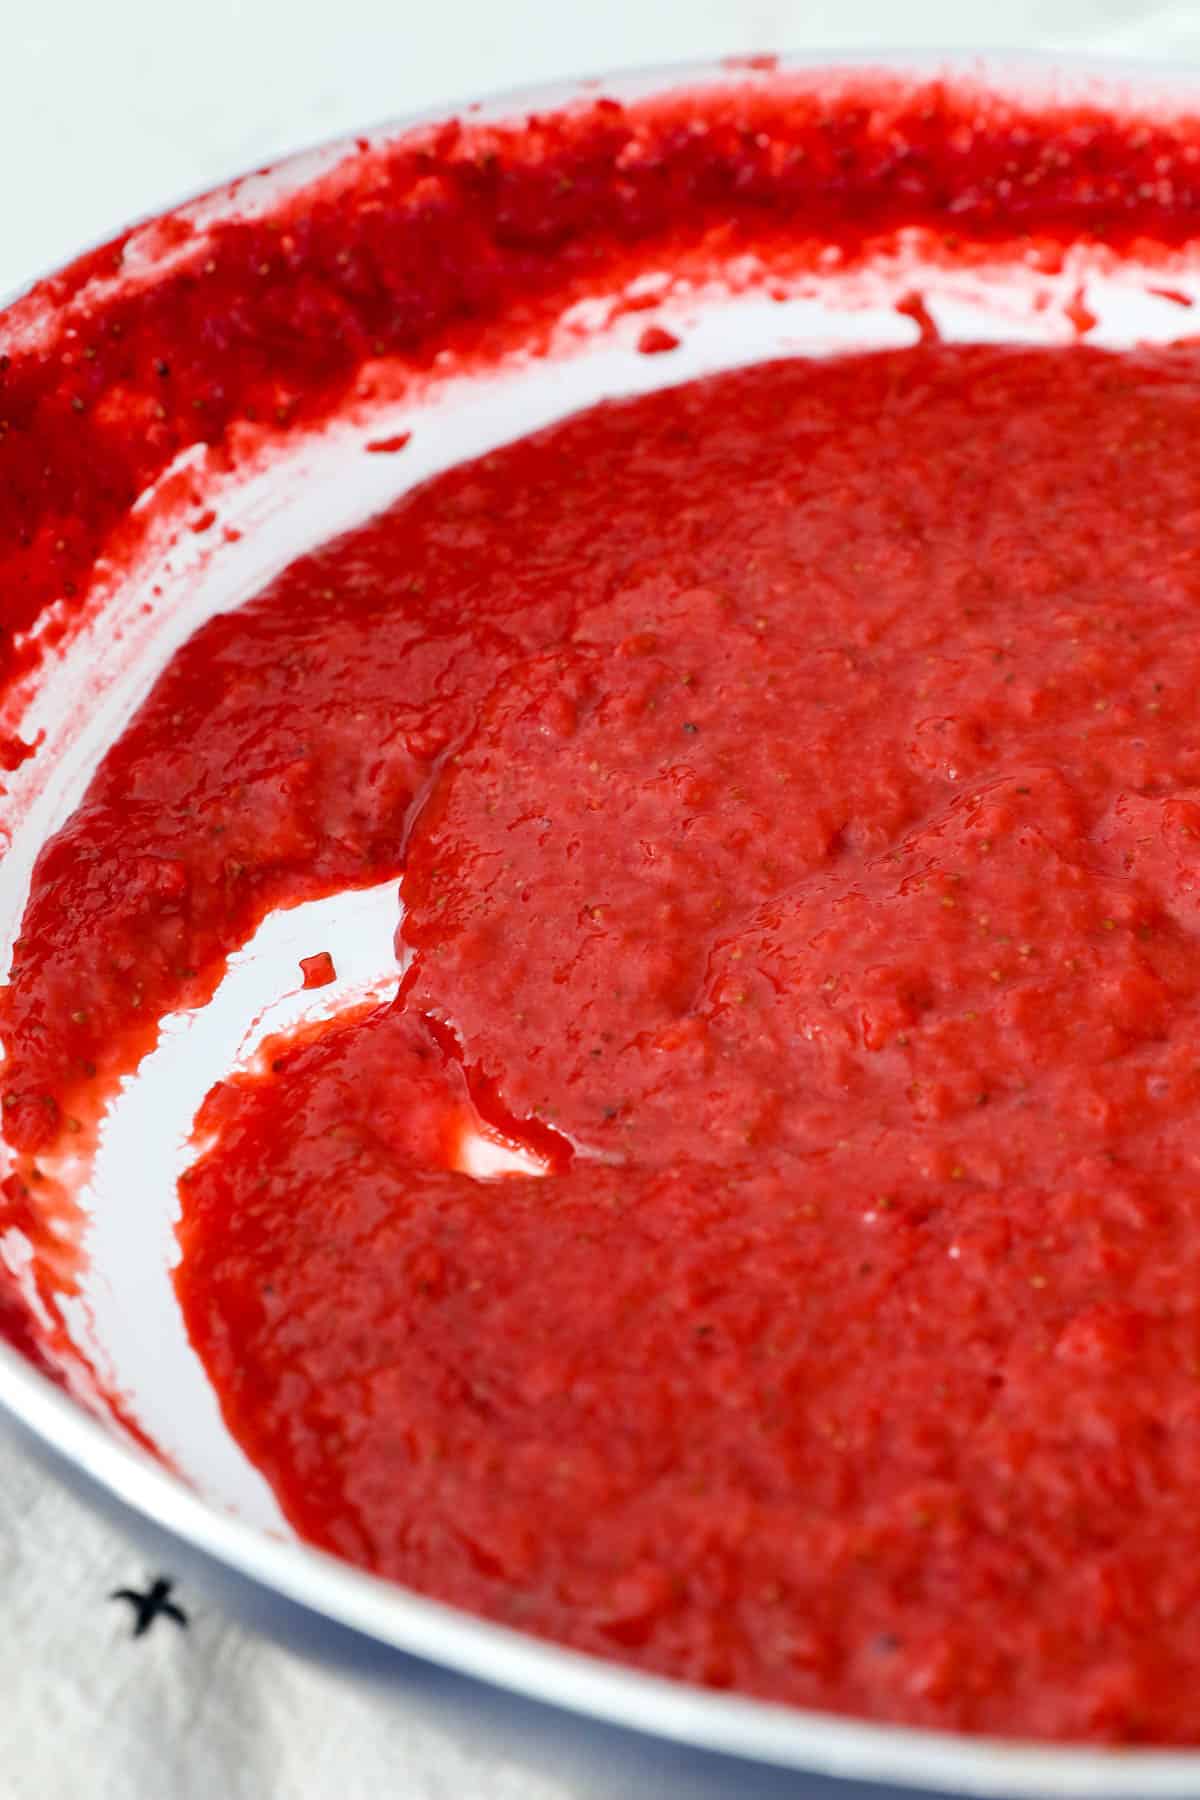
While the cake is baking, prepare the fresh strawberry filling (it will need some time to cool before it’s added to the cake). This simple strawberry puree is similar to the one I use in my Strawberry Cheesecake Poke Cake. It’s super easy to prepare:
- Puree the strawberries. You’ll first need to cut the strawberries into small pieces and gently puree them in a food processor. An immersion blender also helps to speed up the process.
- Combine and cook. Next, sprinkle flour and sugar into a saucepan, then add the pureed strawberries and a squeeze of lemon. Give the mixture a good stir and then bring it to a steady simmer to thicken.
- Chill. The filling will need to cool fully before you assemble your cake. Pop the filling into the fridge to cool it down while you prepare the mascarpone frosting.
Step 3: Make the Mascarpone Whipped Cream
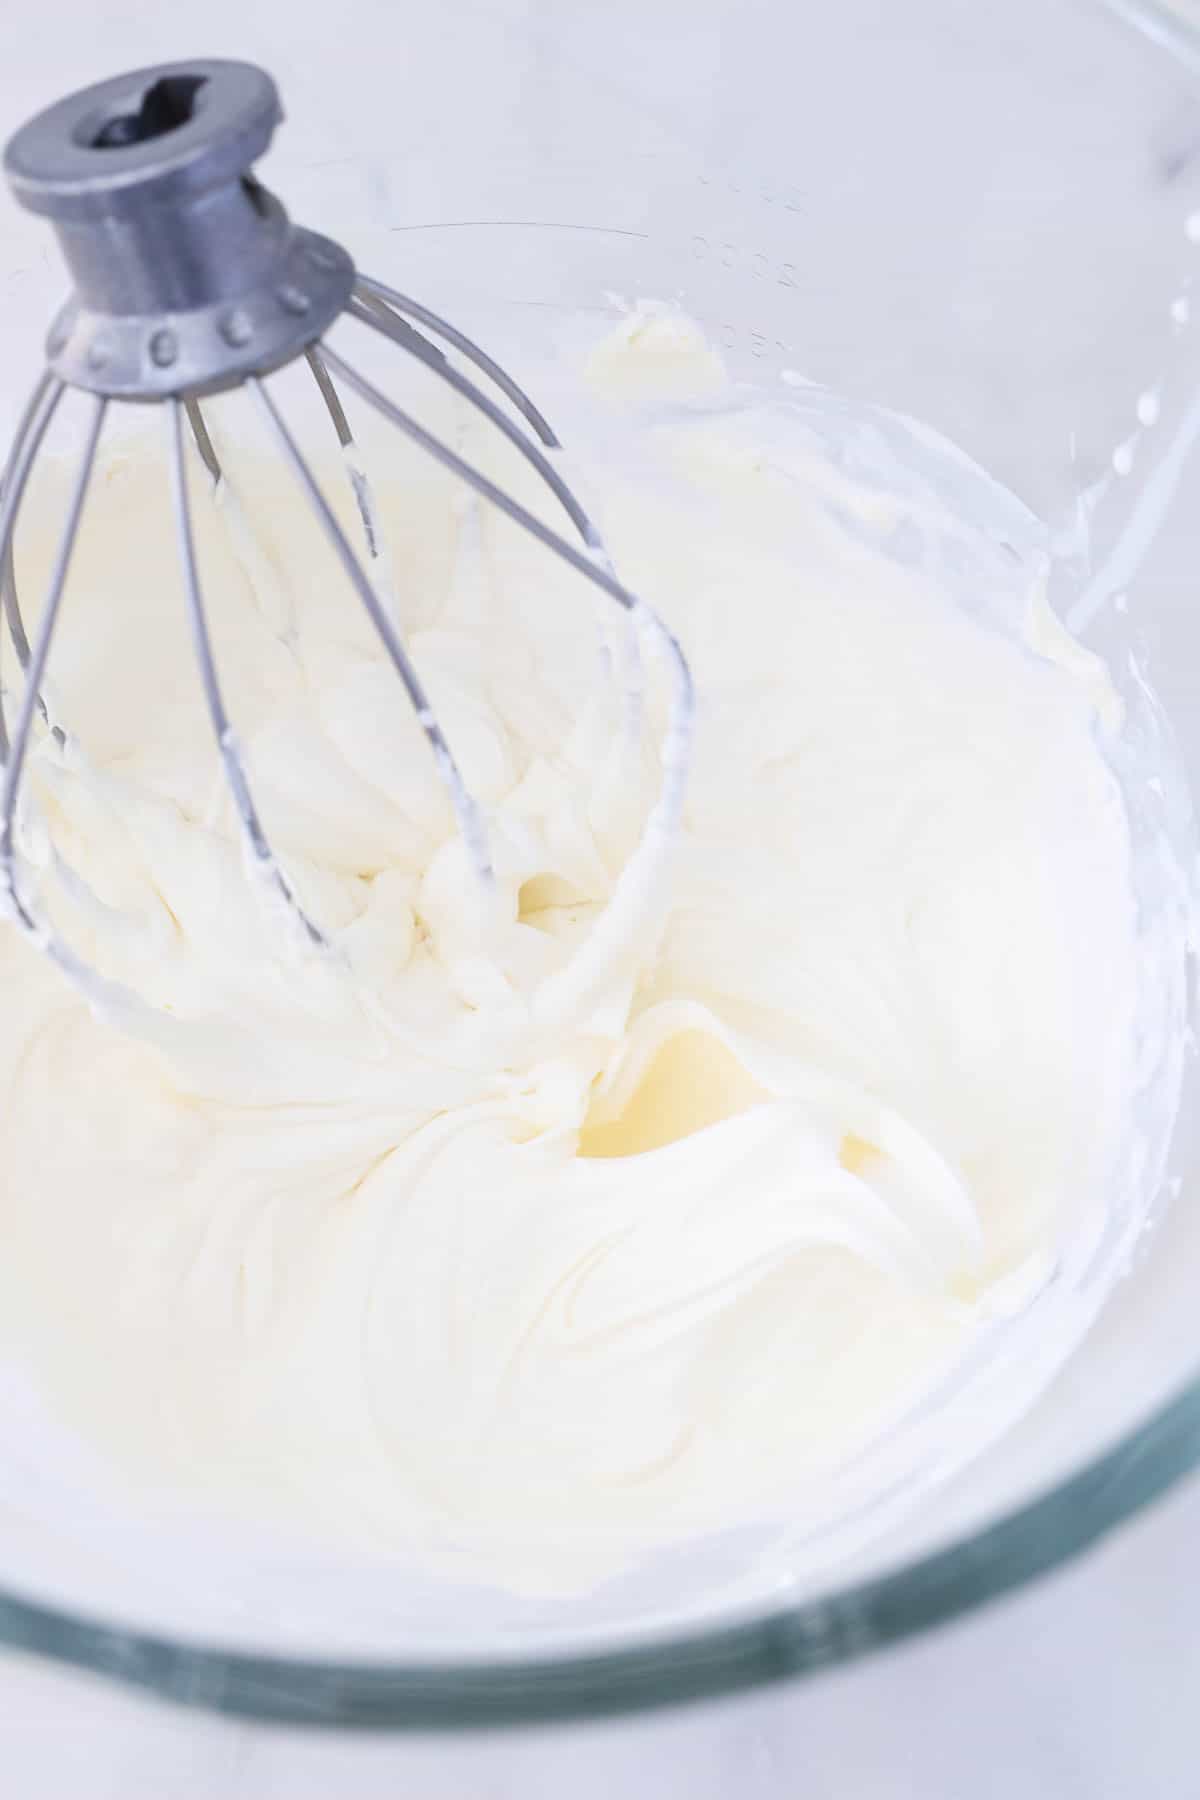
Finally, we have the mascarpone whipped cream. This is one of my favorite frosting recipes. The mascarpone makes it much thicker than traditional whipped cream, with an added structure that makes it ideal for piping.
The most important thing is to whip the frosting into stiff peaks that hold their shape so that it’s thickened enough to pipe and frost. I have a full tutorial for how to make Mascarpone Whipped Cream with all the tips and tricks to get it perfect. Here are the steps:
- Chill the bowl. Make sure that the bowl you’ll be whipping your frosting in is nice and cold. A quick 10-minute stint in the freezer usually does the trick.
- Whip the mascarpone. Add cold mascarpone cheese to the chilled bowl, and beat while adding the heavy cream until you reach a liquid consistency. At this stage, you’ll up the mixing speed and whip the mascarpone mixture into soft peaks.
- Add powdered sugar. Finally, beat in the powdered sugar and vanilla extract, and continue to beat the frosting on high until you reach stiff peaks. What is a stiff peak? Basically, the frosting should hold its shape if you were to run a knife through it.
Step 4: Assembling the Cake
Before assembling the cake, you’ll want to trim the domes off the tops of the cakes so that they form even, flat layers. This also helps prevent the cake from sliding!
A piping bag is super helpful when frosting and decorating this cake. See my post on How to Use a Piping Bag for more detailed guidance.
Prepare the cake layers. Trim off the domes and place a dollop of frosting on your cake board. Place the first cake layer over the frosting. Next, fill a piping bag with half of the mascarpone whipped cream. Begin by piping a thick ½”-1” border of frosting around the outside edge of the cake (pictured). This “dam” holds the strawberry filling in place and keeps it from seeping out.
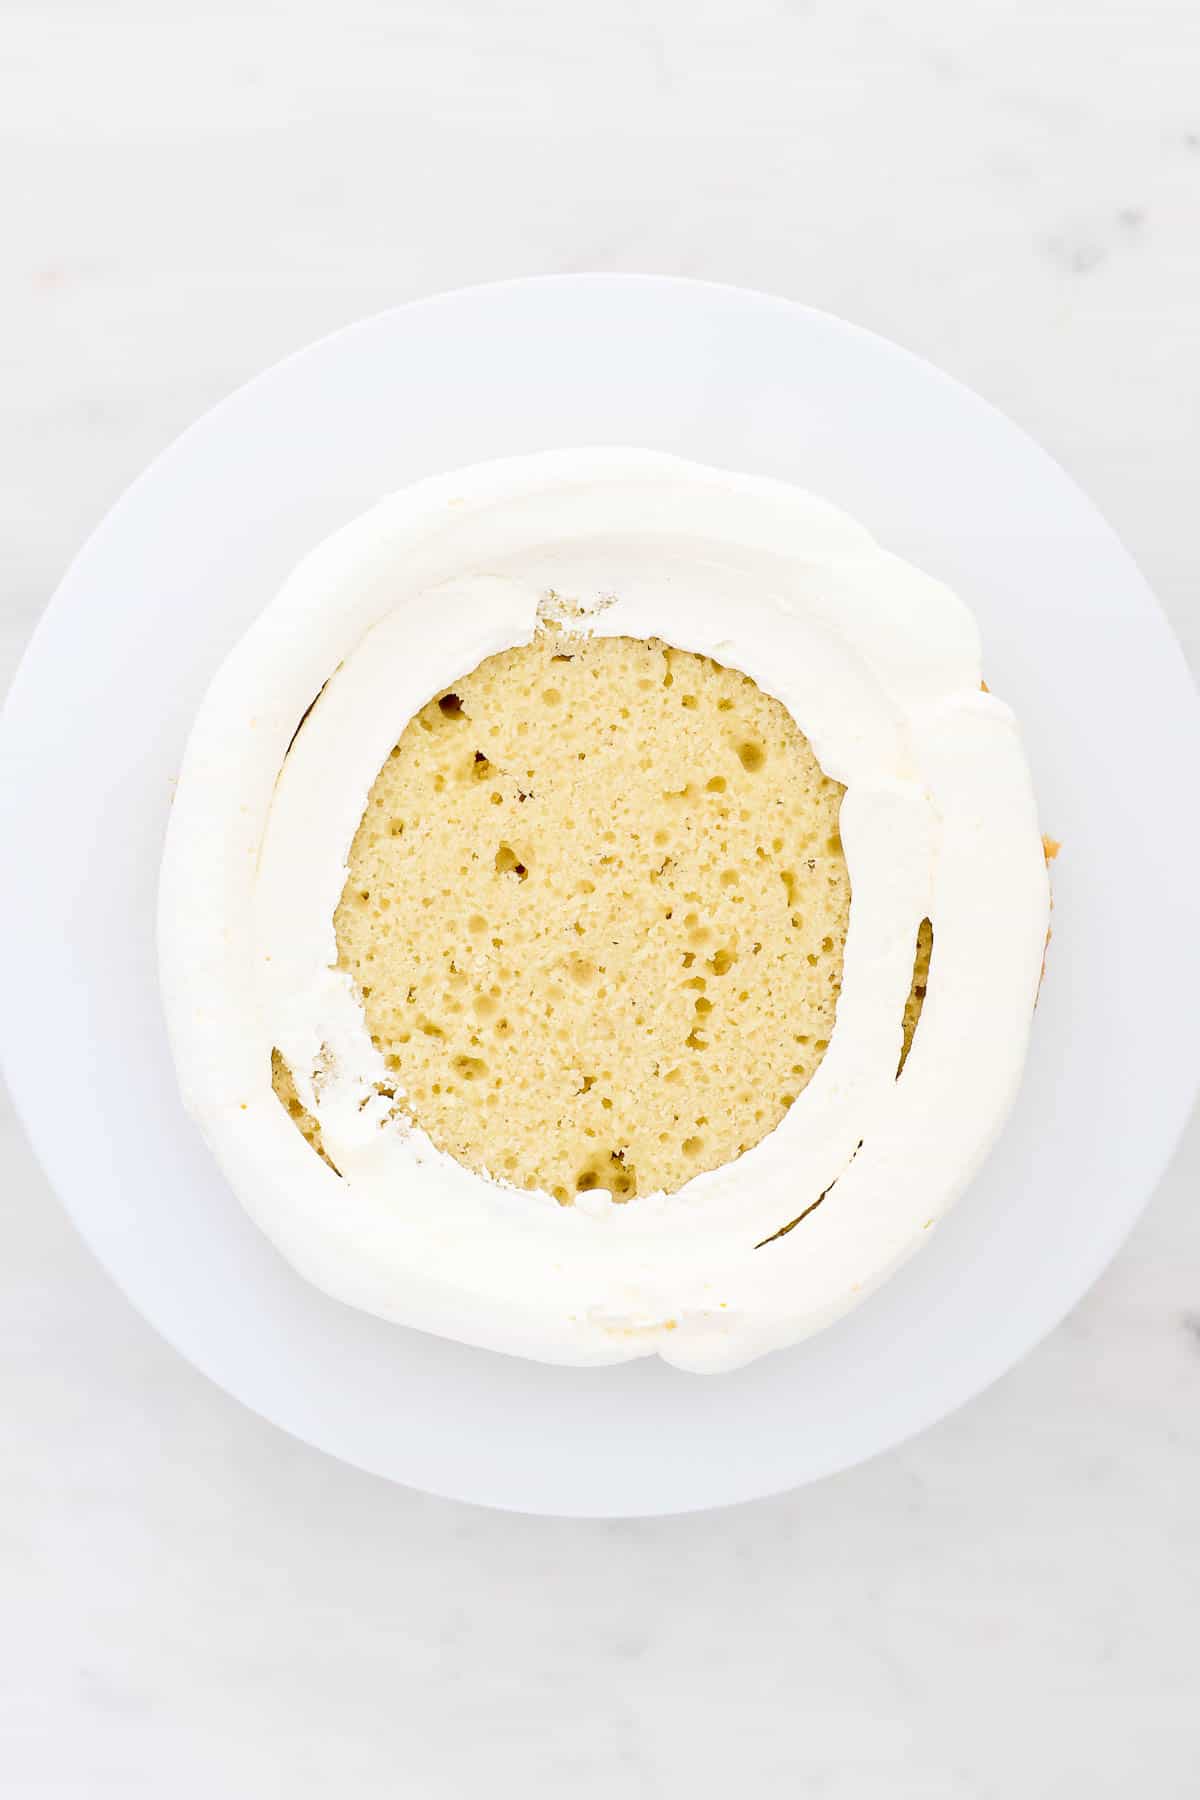
Fill the cake. Spread the strawberry filling inside the dam, then top it with a thin layer of frosting before adding the second cake layer. You’ll repeat the piping and filling process, finally adding the third and final cake layer over top.
Create a crumb coat. Next, pipe additional frosting into the gaps between layers, and use an offset spatula to spread a light crumb coat over the outside of the cake.
Frost the cake. Spread mascarpone frosting over the top and sides of the cake. If you have one, use an icing smoother to even out the surface.
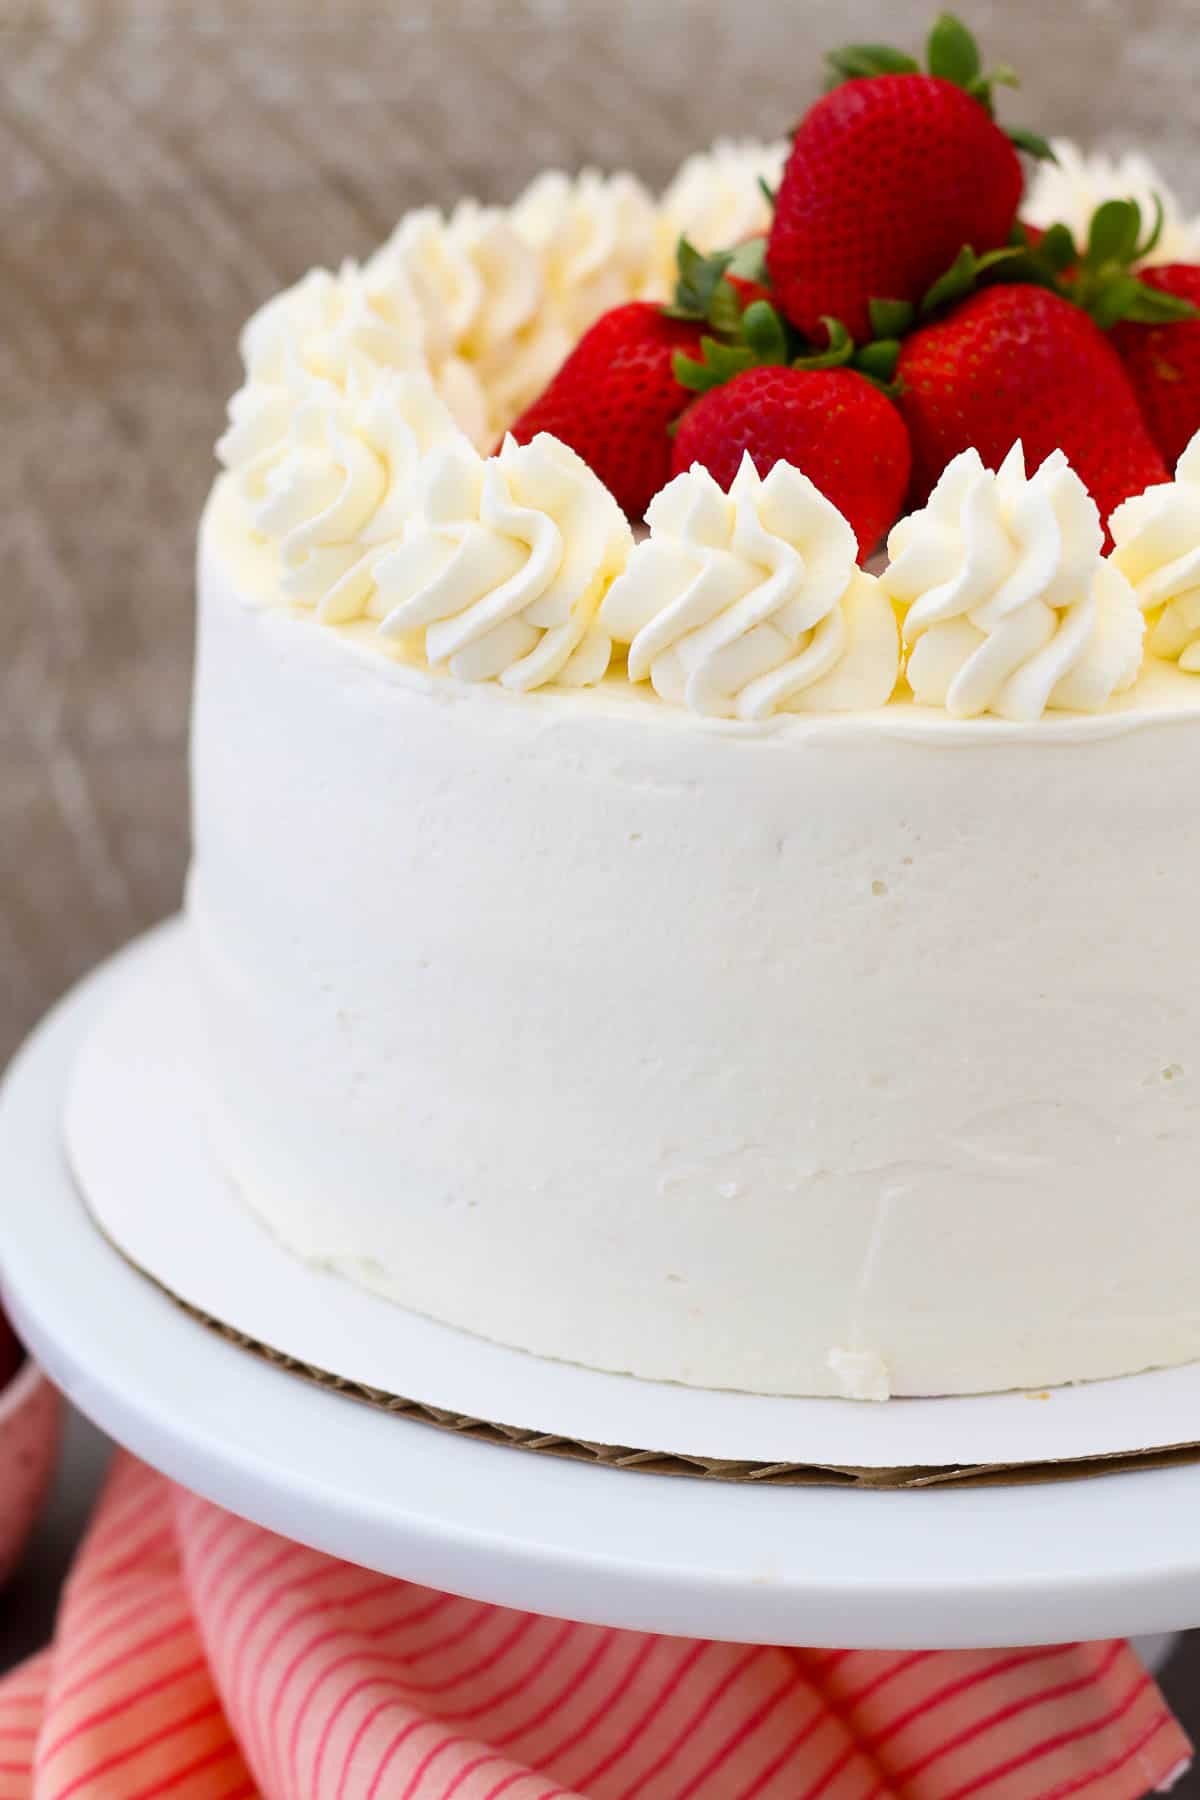
Decorate! Finish off by decorating your strawberry vanilla cake with florets of piped frosting and leftover strawberries for garnish. Check out my tutorial for How to Decorate with Piping Tips for more details.
Tips for Success
Layer cakes don’t need to be intimidating, and this strawberry mascarpone cake is proof! Check out my post on How to Make a Layer Cake for even more cake-making tips.
- Grease and flour your cake pans. I use 8-inch baking pans to make this three-tier layer cake. I’ll always generously grease the pans (usually with Crisco shortening), flour the insides, and also line the bottoms with parchment or Silpat liners to make it easy to remove the cakes once they’re baked.
- Line the outsides of your pans with bake-even strips. This helps to keep the edges of the cake from browning too quickly. When the edges bake too quickly, it forces the batter in the center of the cake to dome even more.
- Add the right amount of flour to the filling. Too little flour and the strawberry puree will be too thin, but too much flour might make it thick and grainy. Use your best judgment, and add a small amount at a time.
- You can use any kind of berry to make the filling. I love to make this strawberry mascarpone cake when berry season is in full swing. While I use strawberries for this recipe, you can definitely substitute your favorite berry in the filling instead. Blueberry or raspberry would be equally delicious!
- It’s best to use the mascarpone frosting right away and keep it refrigerated as you’re working with it. It is still a whipped cream frosting even with the cheese added, so it can’t be over-handled. If you notice that the frosting is starting to wilt, whip it for a couple of minutes to liven it up again.
How to Store Strawberry Layer Cake
Refrigerate this cake for up to 3-4 days. Storing the cake airtight is the best way to maintain its freshness, you can even slice it first to kept it well stored.
If you’d like to prepare the cake layers in advance, once baked they can be stored airtight at room temperature for up to 2 days until you’re ready to frost them.
Can I Freeze This Strawberry Mascarpone Cake?
I don’t recommend freezing this cake once it’s fully assembled and frosted, however, you can definitely freeze the cake layers beforehand.
Once cooled, the individual vanilla cake layers can be wrapped tightly in plastic wrap and stored frozen for up to 3 months. Thaw the cakes in the fridge before frosting and assembling.
Print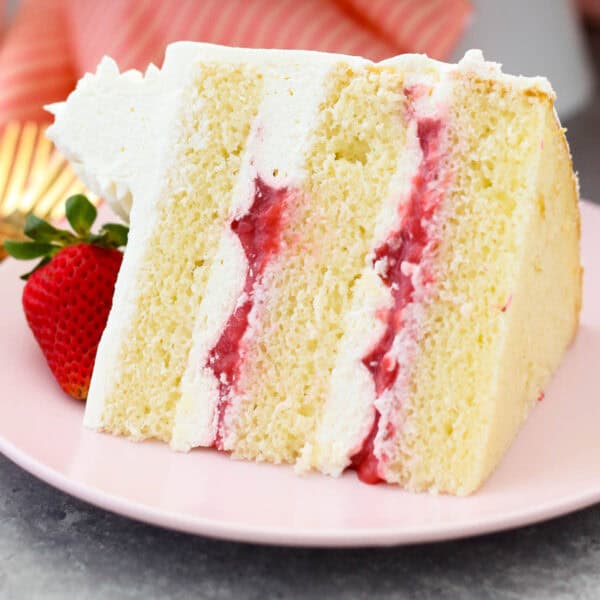
Strawberry Mascarpone Cake
- Prep Time: 70 minutes
- Cook Time: 20 minutes
- Total Time: 1 hour 30 minutes
- Yield: 12 slices
- Category: Cake
- Method: Baked
- Cuisine: American
Description
My absolute favorite Strawberry Mascarpone Cake is made from layers of moist vanilla cake, fresh strawberry filling and silky mascarpone whipped cream frosting. This simple strawberry layer cake is bursting with berries-and-cream flavor. It’s the perfect summertime dessert!
Ingredients
For the Cake:
- 2 cups (380g) granulated sugar
- ½ cup (118 ml) vegetable oil
- 3 large eggs
- 1 tablespoon (14.8 ml) vanilla extract
- ½ cup (118 ml) light sour cream
- 2 ½ cups (350 g) all-purpose flour
- 3 teaspoons (11.2 g) baking powder
- 1 teaspoon (5 g) salt
- 1 ¼ cups (296 ml) milk (I use nonfat)
For the Filling:
- 2 cups strawberries (303g), pureed
- 1 tablespoon (15 ml) lemon juice
- 2 tablespoons (24g) granulated sugar
- 1 tablespoon flour (8g), sifted
For the Frosting:
- 2 ½ cup (592ml) heavy whipping cream
- 1 ¼ cup (163g) powdered sugar
- 1 teaspoon (5ml) vanilla extract
- 16 ounces mascarpone cheese, cold
Instructions
For the Cake:
- Preheat the oven to 350°F. Prepare three 8-inch round baking pans, line the bottom with parchment paper, and grease the sides. Prepare your bake-even strips if desired.
- In a large mixing bowl, combine the sugar, vegetable oil, eggs, and vanilla extract. Beat on medium speed until the eggs and oil are well incorporated and the batter is lighter in color, about 2 minutes. Scrape down the bowl as needed.
- Next mix in the sour cream and beat until well combined.
- Combine the dry ingredients in a separate bowl. Add half the dry ingredients and beat on low speed while pouring in half of the milk. Mix just until the flour starts to incorporate.
- Finally add the remaining dry ingredients, mixing on low speed while pouring in the remaining milk and beating until all of the ingredients are well combined. Use a spatula to scrape down the sides of the bowl and stir the batter from the bottom to the top to ensure it’s well mixed.
- Divide the batter evenly between the three pans, about 1 2/3 cups of batter per pan. Bake at 350°F for 20-23 minutes. Rotate your pans in the oven halfway through baking.
- Test the cake for doneness by inserting a toothpick into the center of the cake. If the toothpick comes out clean, the cake is done. Remove from the oven and allow to cool completely.
For the Filling:
- Chop and puree the strawberries using an immersion blender or food processor.
- In a medium-sized saucepan, combine the flour and sugar, and stir to combine. Add the pureed strawberries, and lemon juice sugar and stir well. Cook over medium-high heat until the mixture starts to boil, stirring frequently.
- Reduce heat and simmer for another 5-10 minutes, stirring occasionally until the strawberry puree starts to thicken. If the puree seems too thin, add up to 1 tablespoon of additional flour.
- Allow the puree to cool completely, refrigerating to help speed up the process.
For the Frosting:
- Place the mixing bowl and whisk attachment in the freezer for 5 to 10 minutes to chill.
- Spoon the cold mascarpone whipped cream into your bowl and beat on a medium-low speed (speed 3 on your stand mixer). Slowly pour in the heavy cream, allowing the mascarpone cheese to turn to a liquid consistency.
- Then increase the mixing speed to high (speed 8-10) and beat it until soft peaks form.
- Next, add the powdered sugar and vanilla extract, beating on low until sugar is incorporated. Then continue beating at a high speed until stiff peaks form.
To Assemble
- Use a cake leveler to cut the domes off the top of the cake. Place a dollop of frosting on your cake board and place the bottom layer of cake on top of that.
- Place half of the whipped cream in a large piping bag fitted with a large open round tip, or simply cut off the end of the piping bag. Pipe a thick border (a dam) along the outside edge of your cake. You may need to do this twice.
- Spread half of the strawberry mixture over the cake, carefully filling the inside of the dam you created (so the sauce doesn’t leak out the sides)
- Pipe another thin layer of frosting over the strawberry sauce and spread it evenly with your offset spatula.
- Add the second layer of cake and repeat the above steps using all of the remaining strawberry sauce. Next, add the final layer of cake on top.
- Use your piping bag to fill in any gaps between your layers and to create a crumb coat. Using an offset spatula or icing smoother, wipe away the excess frosting, leaving you just enough to coat the outside of the cake. Do not mix your crumb coat frosting back into your icing if it has cake debris in it.
- Proceed to frost the top and sides of the cake using your offset spatula. Once the sides of the cake are covered, use an icing smoother to remove any excess frosting.
- Use the remaining frosting to pipe the florets on the top of the cake using an Ateco 846 tip (large open star). Garnish with leftover strawberries. This cake must be refrigerated.
Notes
- Sour cream substitute: Sour cream helps keeps these cupcakes very moist, I do not recommend omitting it. Substitute with non-fat Greek Yogurt if you do not have sour cream. Full-fat sour cream is also workable, but I prefer low-fat or fat-free.
- Any type of fruit for the filling should suffice. If you are using frozen fruit, just be sure the puree has thickened before you take it off the heat. Do not use frozen strawberries that contain any extra juice or syrup.
- Storage and make-ahead options: This cake must be refrigerated once frosted. If you need to make it ahead of time, I recommend making the cake layers and filling them ahead of time. Refrigerate any leftover filling. When you’re ready to assemble, make the frosting. Store in an airtight container or Cake Carrier in the refrigerator. Add fresh fruit when ready to serve. Prepare up to 2 days in advance with proper storage.
- Baking pans: Please note the recipe is tested only as a 3-layer 8-inch pan. The below guidelines are adjusted baking times for the CAKE ONLY. Not for the filling and frosting.
- To make two 9-inch cakes: Bake for 28-32 minutes. Baking times will vary due to how full the pans are, the type of pans, and the true oven temperature. Please note these did “crust” a little more on the outside edge due to extended baking times and they rose quite a bite in the middle, so you’ll lose more of the “dome” of the cake.
- For two 8-inch pans: Divide the batter evenly, about 2 1/2 cups per pan. Bake for 28-32 minutes.
- For 6-inch pans: a full cake recipe will make four 6-inch layers, filling each one with about 1 1/3 cups of batter and baking for approximately 24-30 minutes. Dowels may be required for stacking.
- For 10-inch pans: I’ve never tested this cake recipe with 10-inch pans, but I would recommend a 2-layer cake so you still have nice thick layers. Trying baking for 18-20 minutes and assessing additional time needed from there.
- For a single-layer cake: Bake in a 9×13-inch pan for 28-32 minutes. Cut the frosting in half.
Nutrition
- Serving Size: 1 slice
- Calories: 716
- Sugar: 53.3g
- Sodium: 366.3mg
- Fat: 42.6g
- Saturated Fat: 27.6g
- Carbohydrates: 77g
- Fiber: 1.3g
- Protein: 9.4g
- Cholesterol: 144.6mg



How much in advance can I make the frosting?
This is best when it’s made and applied the cake right away, then store the cake in the fridge. It keeps for 3-4 days for best results.
Can you make the entire cake and frost it the day before and refrigerate it ?
Yes, it will keep well for 3-4 days in the fridge
Can I use buttercream frosting for this recipe? I don’t have all the ingredients on hand to make that frosting.
Yep!
I have made this several times and it’s my go-to cake recipe! I have found excuses to make it, just because it’s so delicious. Here are some comments I have gotten from my friends who I’ve celebrated with:
“This is actually the best frosting I have had in my entire life”
“If no one else is going to have a slice of cake, I will eat the rest of it” (like 1/4 cake left- haha)
“I am a very picky about desserts but this is incredible”
“What is this frosting? I could eat an entire bowl of it”
I have even scooped extra frosting into a decorative bowl with halved strawberries, and women who typically don’t eat much have polished off the entire bowl.
This is a winner!
I love this so much! Thank you so sharing!
I made this for my son’s birthday last year. He is requesting it again this year. We absolutely love it! I would make it more often, but I am not a baker but this is really easy to make, and I need to cut back on the desserts. I would eat most of it if I made it more often.
The cake and strawberry filling are delicious but the mascapone cream was a disaster. It didnt liquefy on mixing, especially as the beater and bowl were cold, and adding cream just caused it to split.
Hi Susan. Glad to hear the cake and the frosting went well! Did you happen to watch my video before you started or perhaps review the recommended tutorial for this frosting? I make this all the time, I personally have never experienced the separating frosting, but others have. About 1/4 cup of heavy cream is enough to mix the mascarpone into the heavy cream for a smooth, liquid consistency. As you proceed to add the remaining heavy cream and increase the mixing speed, it whips up to a soft peaks consistency similar to traditional whipped cream. The addition of powdered sugar will then take soft peak to stiff peaks. I hope this helps. I really recommend trying the frosting again. It’s truly wonderful.
Made this into cupcakes. I doubled the recipe and made just one recipe of the frosting. They were out of this world. The best cupcakes I’ve made!
Love love love Gina! Thank you for sharing!
I make birthday cakes each month for the monthly birthdays, and I made this one for this month everyone loved it, and said it was their favourite. Of course, they say that about many other cakes too. Awesome recipe!
The one question I have is can you freeze leftover cake to save for later?
I love that so much! Thank you Catherine! I personally have not froze it myself and I don’t recommend freezing this cake once it’s fully assembled and frosted.