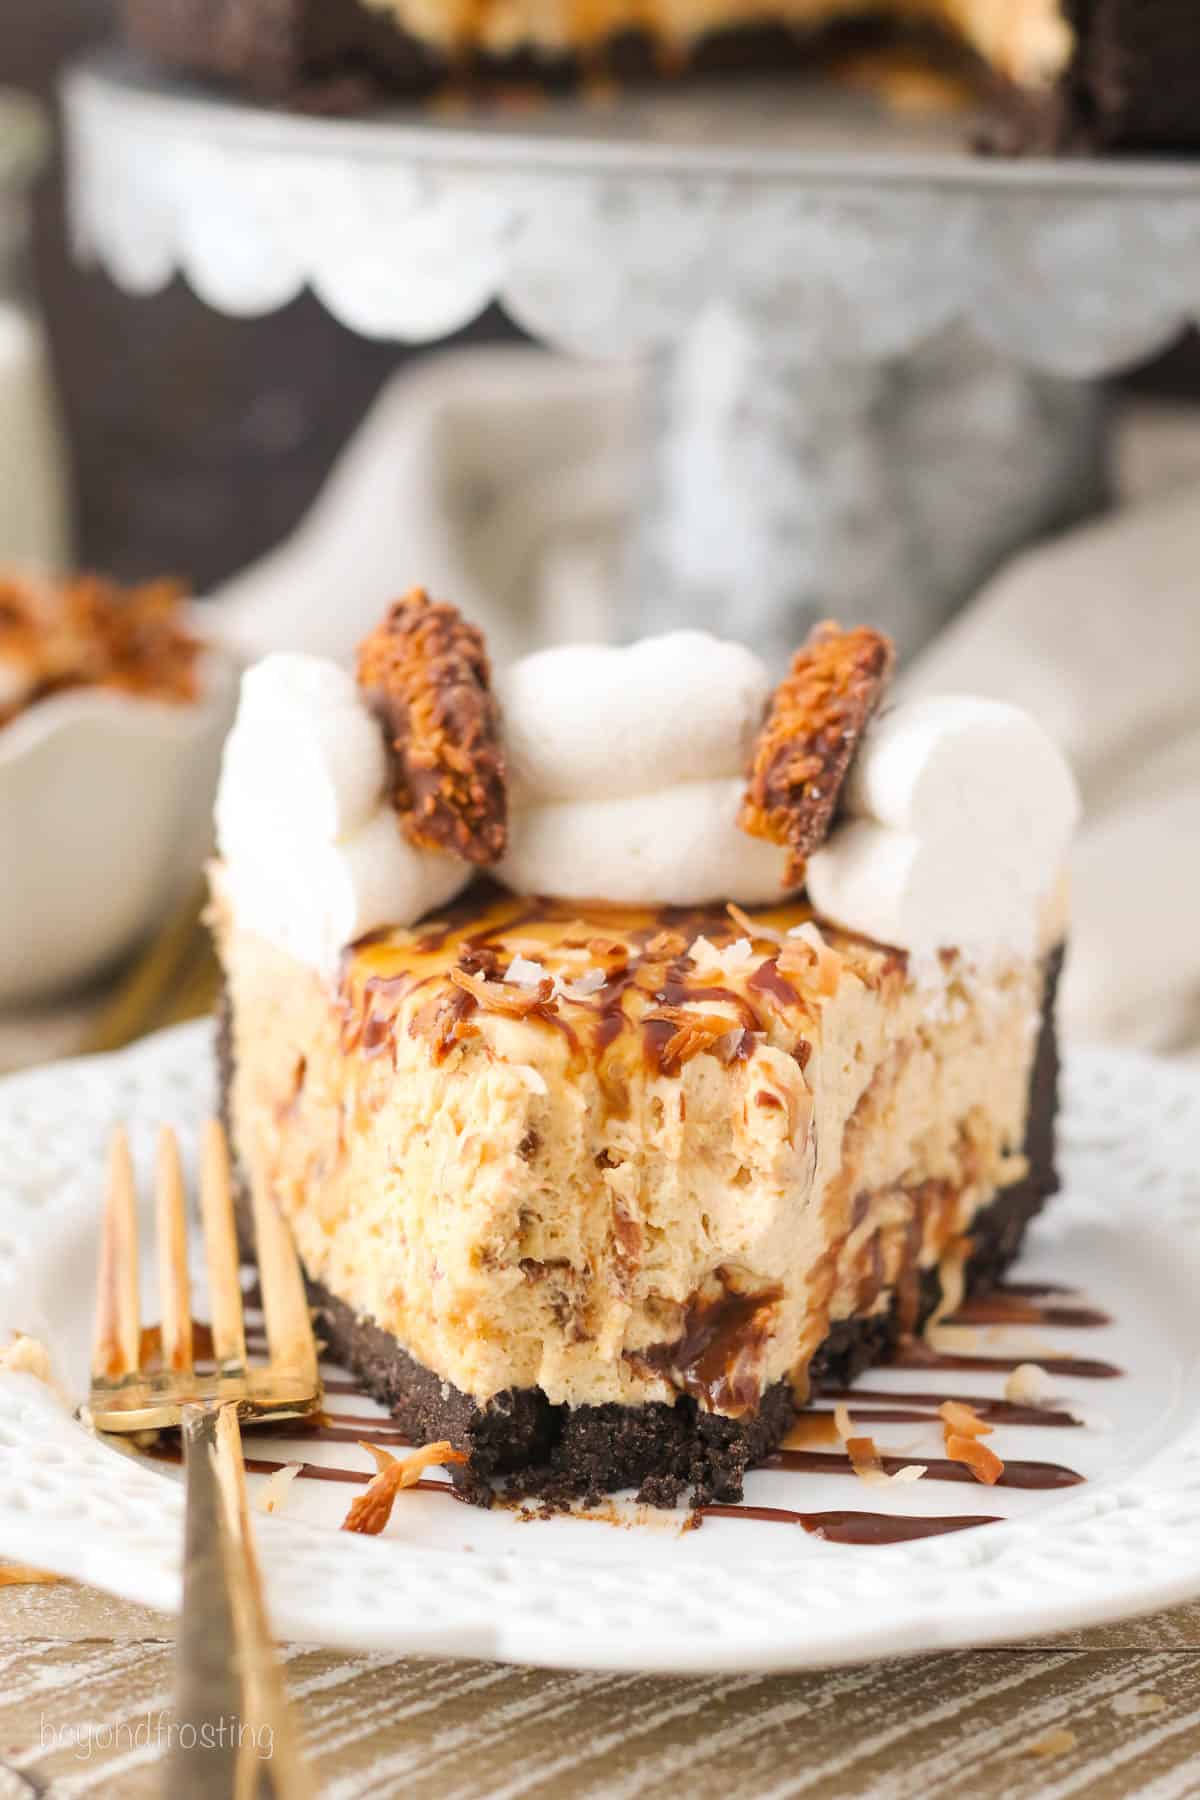
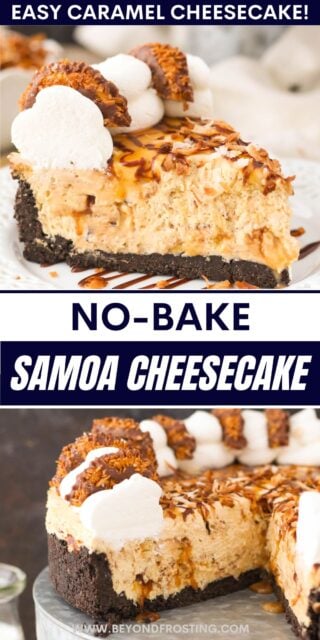
This No-Bake Samoa Cheesecake is a light and fluffy caramel cheesecake in an Oreo crust packed with toasted coconut, shortbread cookies, and a caramel and chocolate swirl. And, of course, your favorite Samoa Girl Scout cookies to top it off!
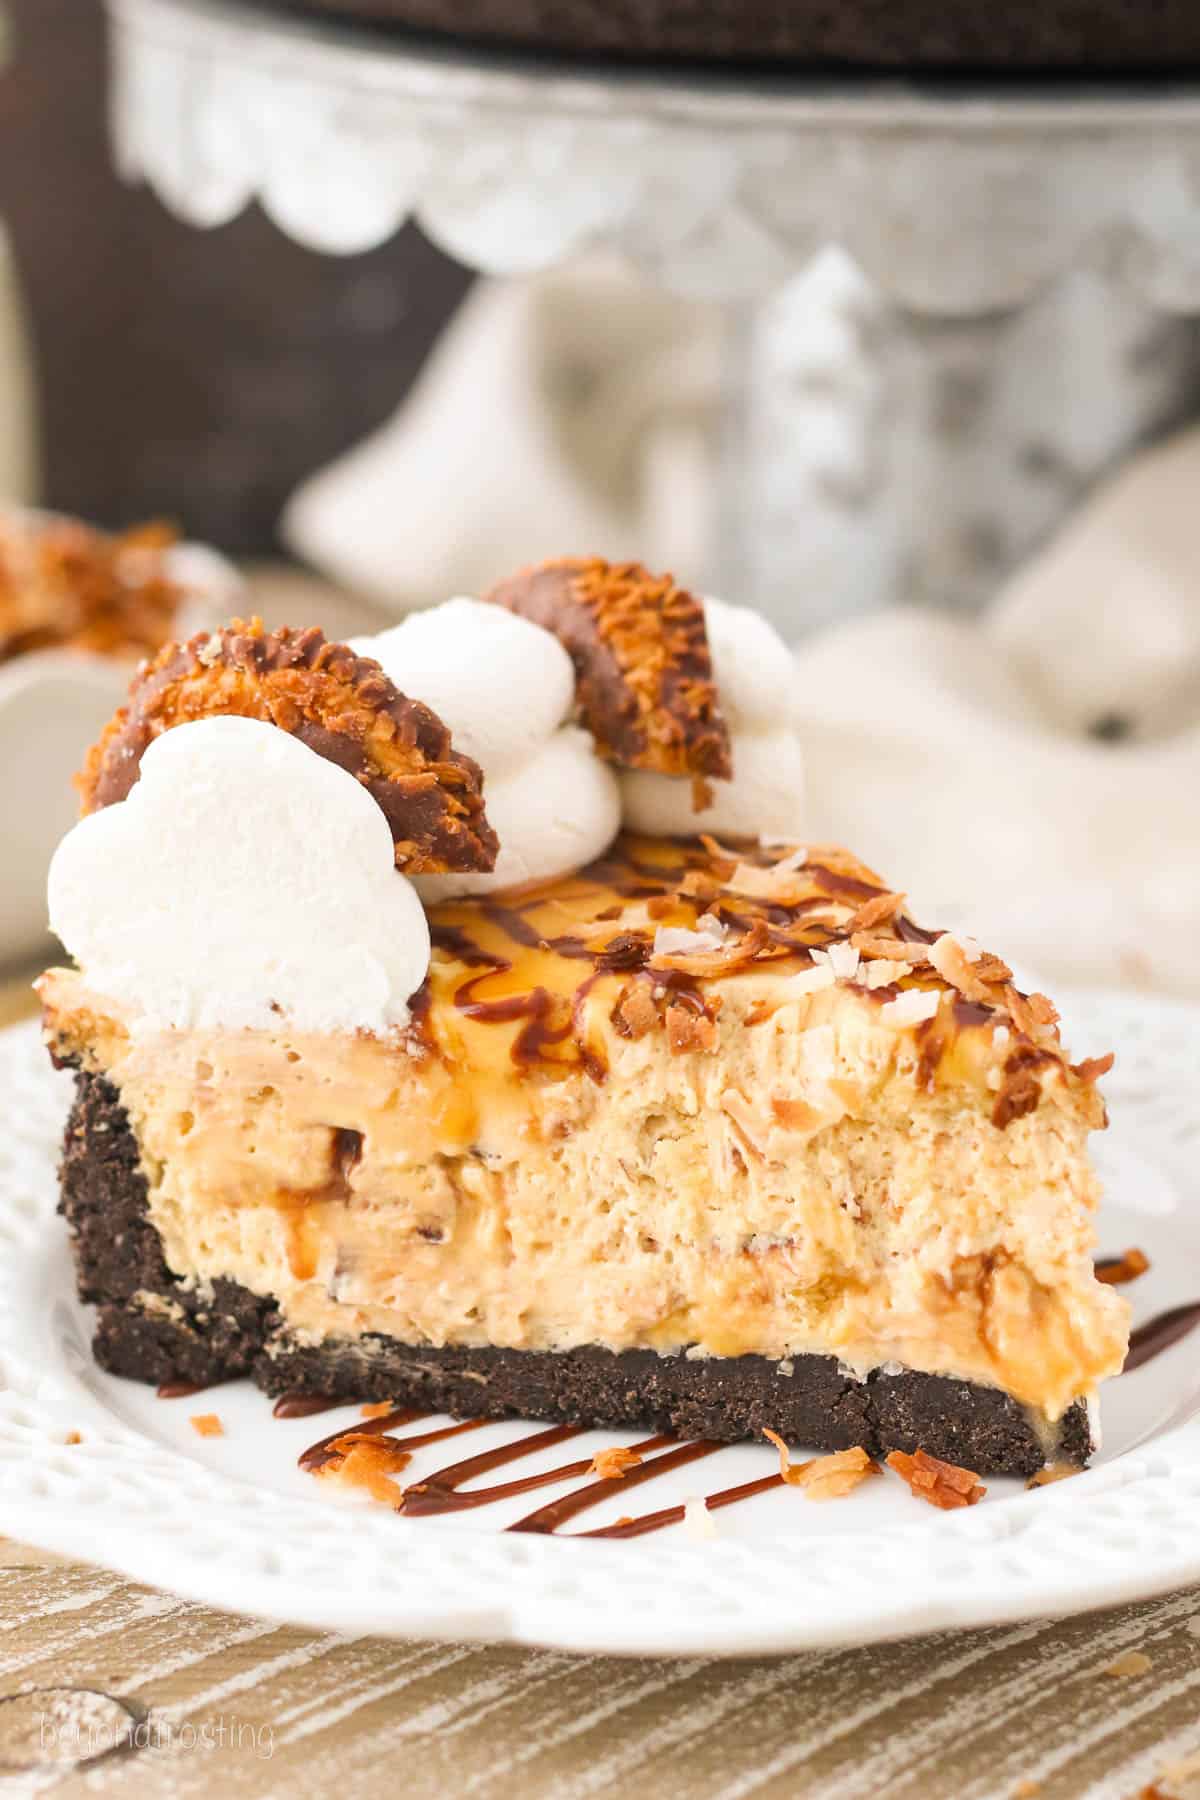
Easy No-Bake Caramel Cheesecake with Oreo Crust
Do you have a favorite Girl Scout cookie? While I’ve always been a thin mint gal, I will never turn down a peanut butter pattie or a Samoa cookie, which I happen to think make the best desserts!
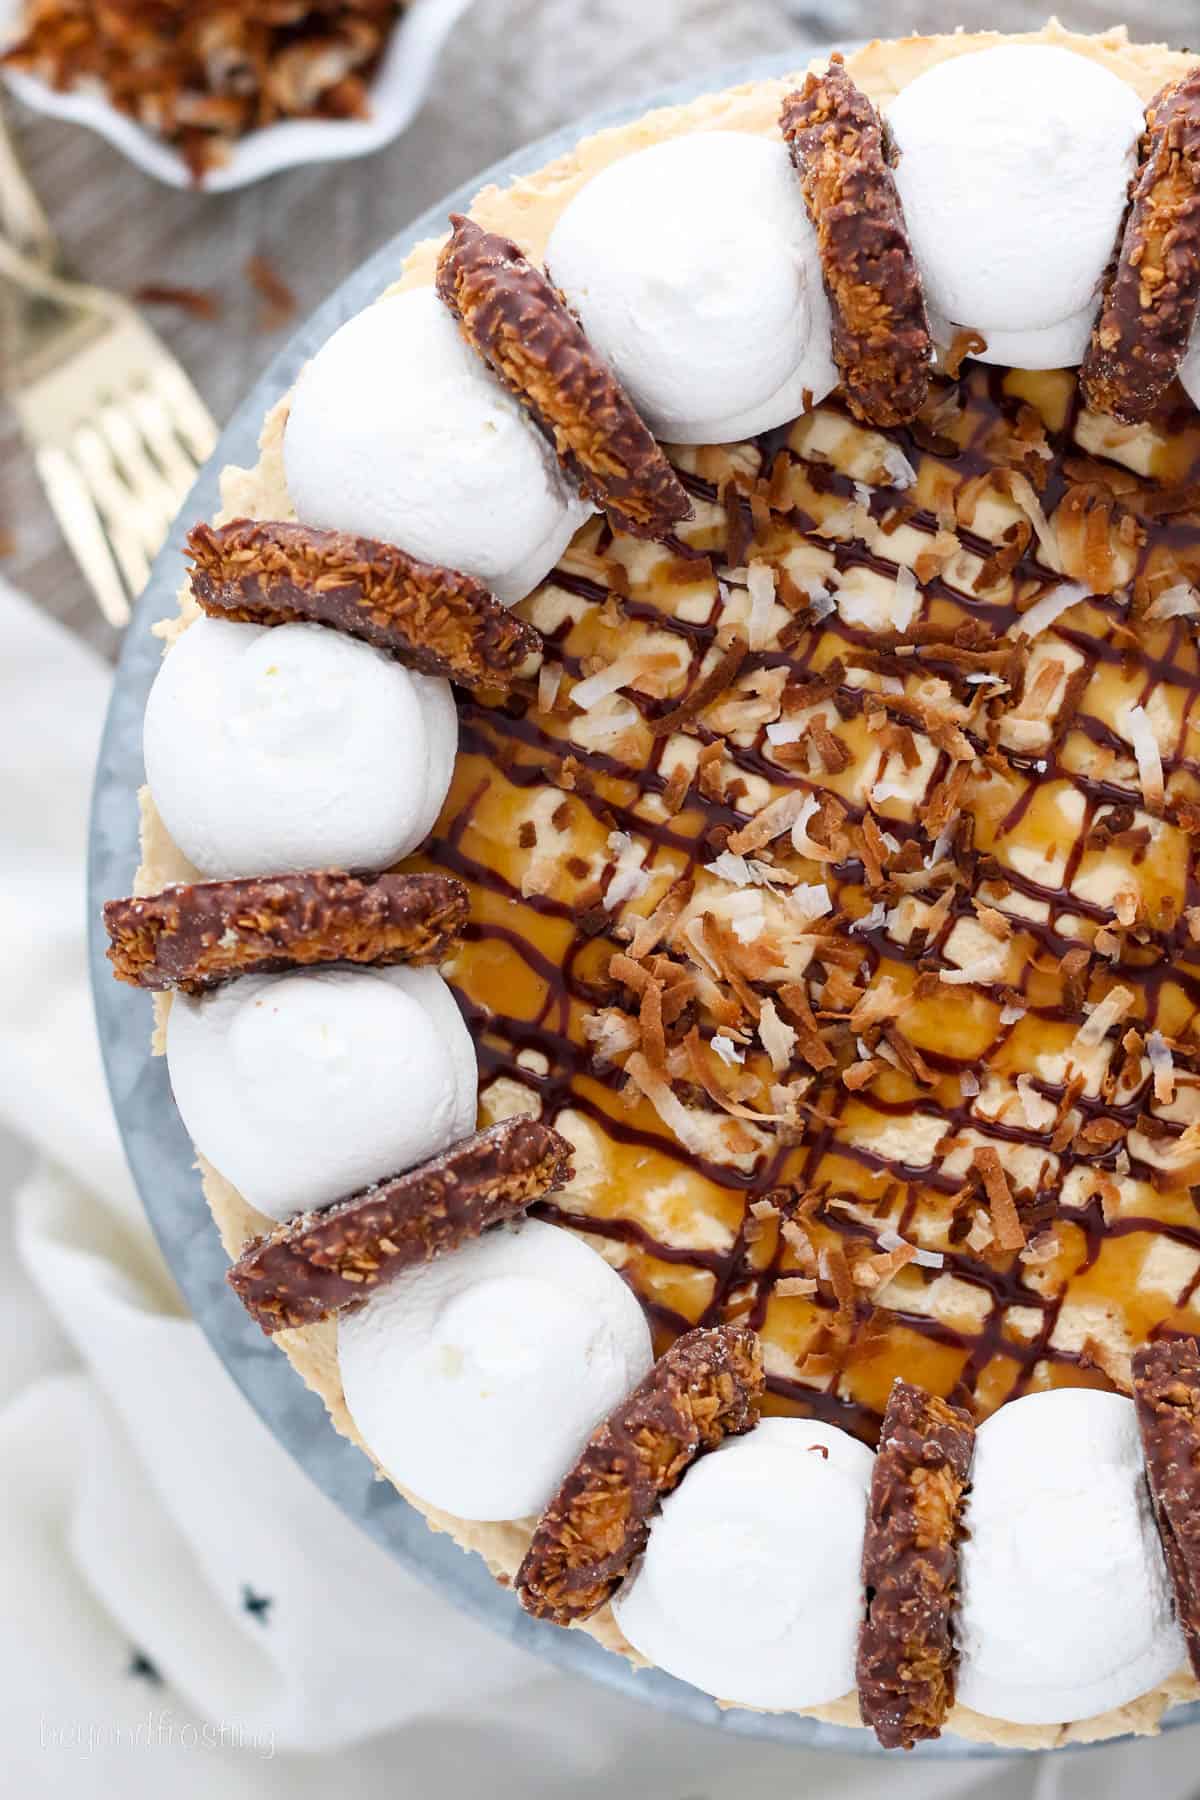
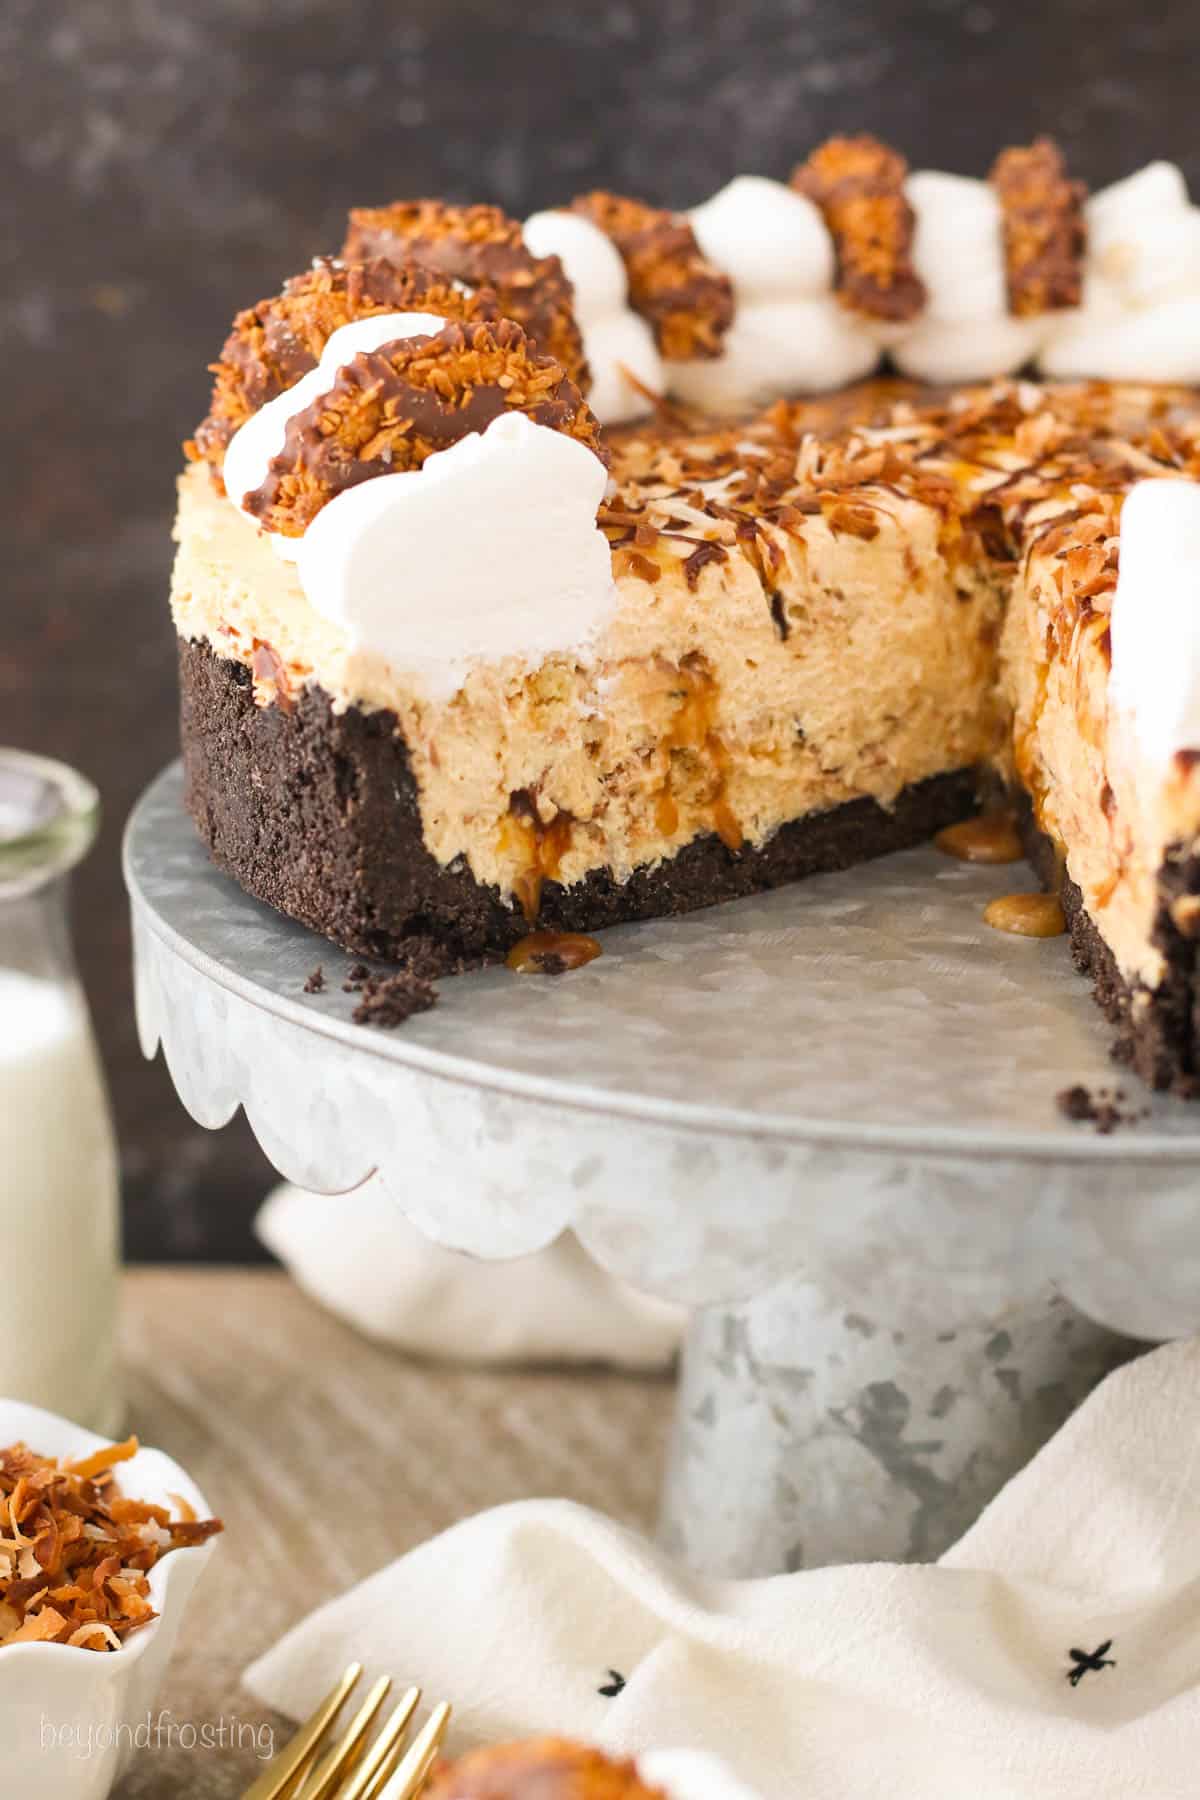
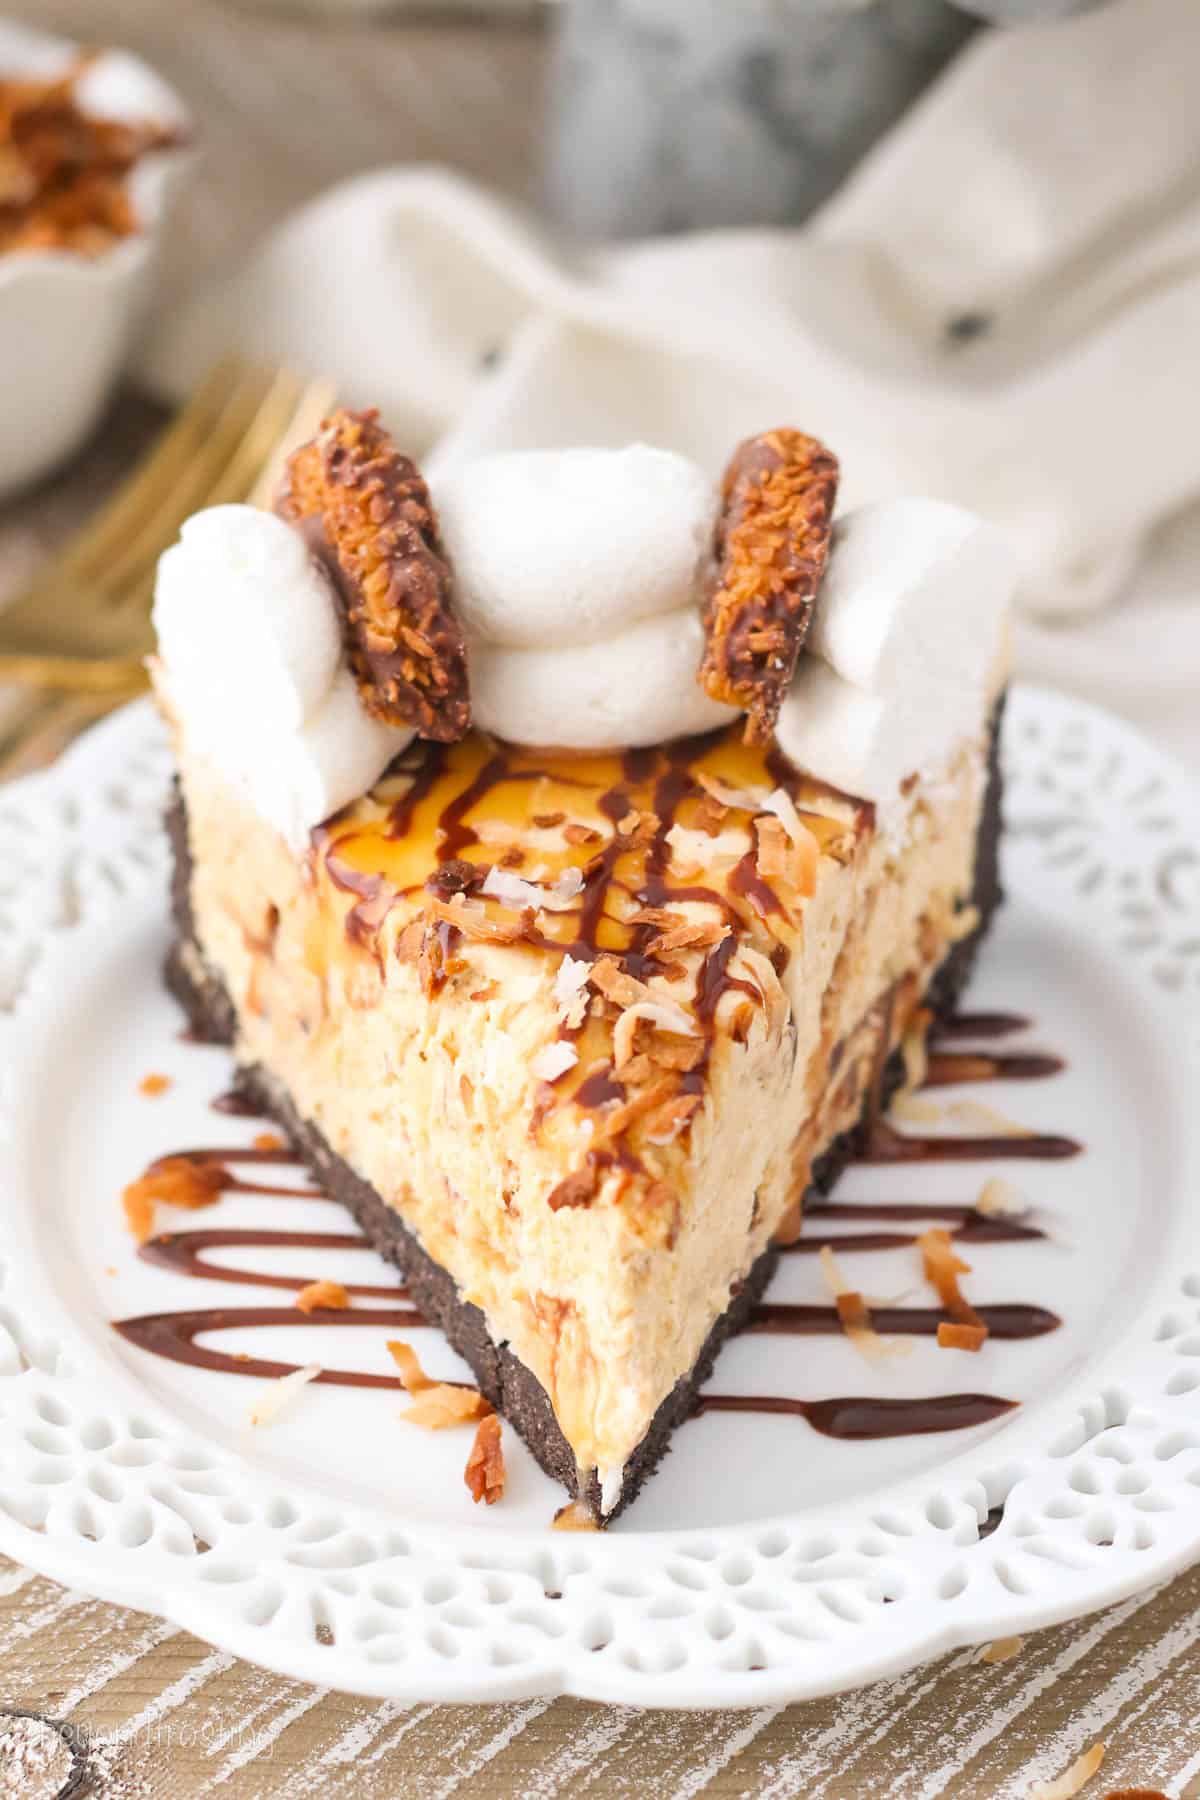
This delicious No-Bake Samoa Cheesecake has all the elements of a Samoa cookie rolled into one decadent dessert. It’s a caramel cheesecake with toasted coconut and shortbread cookies, layered with caramel sauce and hot fudge all in an Oreo crust and topped with whipped cream.
Do you love this Samoa Cheesecake? Check out my caramel pecan cheesecake too!
Key Ingredients
- Coconut – You use sweetened shredded coconut toasted or untoasted, but toasting your own coconut is so easy to do.
- Shortbread cookies– any brand will work. These are crushed up in the filling.
- Cream Cheese – Use full-fat cream cheese blocks for the best texture and start with room-temperature cream cheese.
- Heavy Cream – This recipe calls for homemade whipped cream for both the filling and the topping
- Caramel Sauce- I recommend using a sauce not a syrup as the sauce is much thicker.
- Samoa Cookies – If you can get ahold of a box of Samoa girl scout cookies, great! If not, you can always grab a box of the Keebler Coconut Dreams too.
How to Make No-Bake Samoa Cheesecake
This no-bake cheesecake is super easy to prepare! Here’s a summary of the recipe:
Prepare the Crust:
Grind the cookies into a fine crumb, melt the butter, then combine. Stir until coated, then pour into a greased springform pan. Press the mixture firmly into the bottom and up the sides to form the crust. I provide more detailed photos of how I do it in this tutorial. Let the crust set in the refrigerator while you prepare the filling.
Make the Filling:
Toast the Coconut. In an oven preheated to 350°, bake the coconut on a parchment-lined baking sheet for 5-10 minutes until it reaches the desired color. urn the coconut with a spatula once it starts to cook to prevent burning. Transfer the coconut to a plate to prevent it from further cooking. Cool completely.
Prepare the whipped cream. In a bowl, beat the heavy cream until it’s thickened to soft peaks, then add powdered sugar and beat to stiff peaks. Set aside.
Assemble the filling. In a separate bowl, combine the cream cheese, caramel sauce, sugar, and vanilla extract. Beat until smooth. Then fold the whip into the cream cheese filling and stir until smooth. Mix in the toasted coconut and crushed shortbread cookies
Assemble the Cheesecake:
Pour 1/3 of the filling into the prepared crust. Swirl in a little bit of caramel sauce and chocolate sauce, then repeat two more times with the remaining cheesecake filling. Chill in the fridge for 4-6 hours.
Add the Topping:
Prepare another batch of whipped cream, then pipe a border around the chilled cheesecake. Garnish with hot fudge, caramel, toasted coconut, and Samoa cookie halves.
My Best Tips for No-Bake Cheesecake
I’ve made dozens and dozens of no-bake desserts, I even wrote an entire cookbook about it, so I know a thing or two when it comes to preparing them.
-
- Use a springform pan. The springform pan makes it super easy to remove the cheesecake without damaging it. If you follow my tutorial, you’ll see I line the bottom of a piece of parchment paper that hangs out over the edge. This way when you remove the sides of the pan, you can slide the entire cheesecake onto a serving plate.
- Compress the crust. Use a measure cups to really press the cookie and butter mixture into the pan, this will help it hold together.
-
- Use full-fat cream cheese. It has the best texture and is often less watery.
-
- Cool Whip vs Whipped cream. Either Cool Whip or homemade whipped cream will work, but the key with whipped cream is that it’s properly whipped to stiff peaks.
Commonly Asked Questions
Should I bake the crust?
Nope, there’s no need! I like to place the Oreo crust in the fridge while I prep the filling and it firms up perfectly. I do however recommend baking a crust if you’re using pie plate instead of a springform pan (see below).
Why is my cheesecake not firm?
This could be a number of factors but usually, it’s due to a mishap with the ingredients. Make sure the whipped cream is beaten until stiff peaks, as a wilted whipped cream will not properly set.
Be sure it’s fully chilled. A no-bake cheesecake needs at least 4-6 hours, but add time as needed.
Can I make this in a pie plate?
Yes, you can make this in a 9-inch pie plate, but I recommend a deep dish pie plate if available so there is plenty of room for the filling. If you’re planning to use a pie plate, you might want to consider baking the crust to help it hold together when removing it from the pan. Follow this tutorial for my Oreo Pie Crust.
Can I use a pre-made pie crust?
Yes, you can. but this would likely yield two pies instead of one because there is quite a bit of filling.
How to Store No-Bake Cheesecake
You can prepare the cheesecake up to 2 days in advance and store it in the refrigerator. Tightly wrap the entire pan with plastic wrap and add the toppings once you removed the edge of the pan and just prior to serving for best results.
Once prepared, this should last in the refrigerator for up to 5 days. You can either put the collar back on the pan or store it covered in an airtight container like a cake carrier.
Can I Freeze it?
Yep! No-bake desserts freeze beautifully. Allow the cheesecake to fully set before freezing. Then wrap the entire pan with two layers of plastic wrap and a layer of aluminum foil. Thaw overnight in the refrigerator and add toppings prior to serving.
Print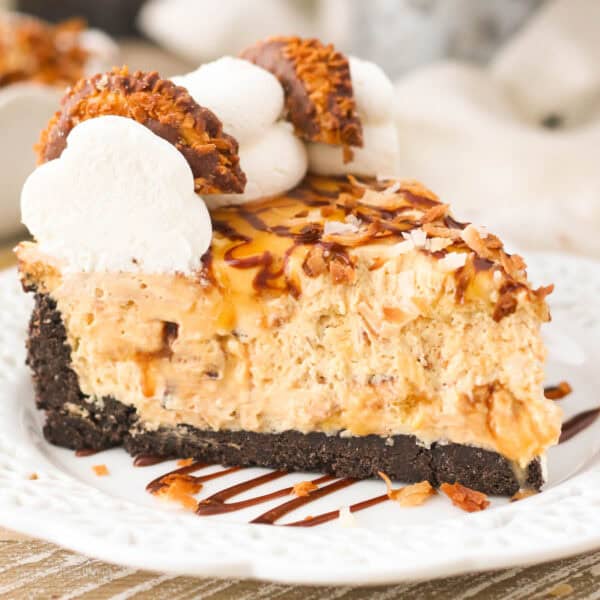
No-Bake Samoa Cheesecake
- Prep Time: 45 minutes
- Chill Time: 4 hours
- Total Time: 4 hours 45 minutes
- Yield: 10 slices
- Category: Cheesecake
- Method: Refrigerator
- Cuisine: American
Description
This No-Bake Samoa Cheesecake is a light and fluffy caramel cheesecake in an Oreo crust packed with toasted coconut, shortbread cookies, and a caramel and chocolate swirl.
Ingredients
For the crust:
- 1 package (14.3 oz) Oreos
- ½ cup unsalted butter, melted
For the filling:
- 1 ¼ cups (296ml) heavy whipping cream
- ½ cup (65g) powdered sugar
- 1 cup toasted coconut
- 16 ounces (452g) cream cheese, at room temperature
- 2/3 cup (106g) caramel sauce, divided
- ½ cup (95g) granulated sugar
- 1 teaspoon (5ml) vanilla extract
- 12 shortbread cookies, crushed
- ¼ cup hot fudge sauce plus additional for garnish
For the topping:
- 1 cup (236ml) heavy whipping cream
- ½ cup (65g) powdered sugar
- 12 Samoa cookies for garnish
Instructions
For the crust:
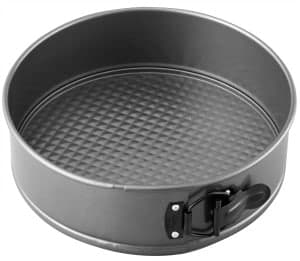
- Prepare a 9-inch springform pan by lightly greasing the edges of the pan with cooking spray, and then wiping gently with a paper towel. Line the bottom of the pan with parchment paper.
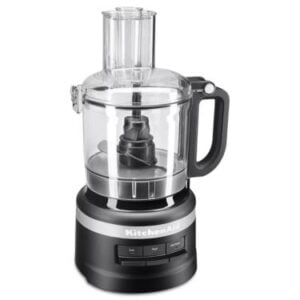
- Grind the cookies into a fine crumb using a food processor blender. Pour the melted butter over the cookie crumbs and stir until the crumbs are well coated.
- Pour the crumbs into your springform pan and press firmly into the bottom and up on the sides to create a thick crust. Refrigerate the crust while you are preparing the filling.
For the filling:
- Preheat the oven to 350°F. Line a baking sheet with parchment paper. Cook until lightly brown 8-10 minutes, stirring halfway through.
- Prepare the whipped cream. Place the mixing bowl and whisk attachment in the freezer for 5 to 10 minutes to chill. Pour the heavy whipping cream into the chilled bowl and use an electric mixer to beat the heavy cream on medium-high speed until soft peaks start to form. Slowly add the powdered sugar and continue beating on high speed until stiff peaks form. Set aside.
- Combine the cream cheese with 1/3 cup of caramel sauce, granulated sugar and vanilla extract. Beat on medium-high speed for 2-3 minutes until smooth. Fold in the prepared whipped cream and stir until completely smooth. Next fold in the toasted coconut (reserve a small handful for garnish) and crushed shortbread cookies.
To assemble:
- Pour 1/3 of the cheesecake filling into the prepared crust, spreading evenly. Swirl approximately 1-2 tablespoons of caramel sauce and hot fudge sauce over top and swirl with a knife. Repeat these steps two more times and spread the top evenly. Refrigerate your cheesecake for 4-6 hours.
For the topping:
- Prior to serving, make a second batch of whipped cream as instructed above. Pipe the borders using a large open round tip and pipe a border around the cheesecake. Garnish with hot fudge, caramel and toasted coconut. Slice the Samoa cookies in half and place them between each dollop of whipped cream.
Notes
Storing, Freezing and Making ahead
- Preparation: You can prepare the cheesecake up to 2 days in advance and store it in the refrigerator. Tightly wrap the entire pan with plastic wrap and add the toppings once you removed the edge of the pan and just prior to serving for best results.
- Storing: Once prepared, this should last in the refrigerator for up to 5 days. You can either put the collar back on the pan or store it covered in an airtight container like a cake carrier.
- Freezing: Allow the cheesecake to fully set before freezing. Then wrap the entire pan with two layers of plastic wrap and a layer of aluminum foil. Thaw overnight in the refrigerator and add toppings prior to serving.
Nutrition
- Serving Size: 1 slice
- Calories: 812
- Sugar: 55.6 g
- Sodium: 385.8 mg
- Fat: 57.3 g
- Carbohydrates: 71.7 g
- Fiber: 1.6 g
- Protein: 6.8 g
- Cholesterol: 131.2 mg
More No-Bake Desserts to Try
If you love no-bake desserts as much as I do, then check out more of my favorites!


This has become a family favorite! Thank you for sharing!
Love to hear that, thank you!
This has become a family favorite! Thank you so much!
Very happy to hear that Barb!
This cheesecake is incredible! Tastes as beautiful as it looks! Would really love to have a recipe for this in a mini-cheesecake! It is even better than the cookie!
Oh I love that idea Tami! Thank you so much!
This cheesecake looks divine! And since its a no bake so easy to prepare!
Thank you Rachel!