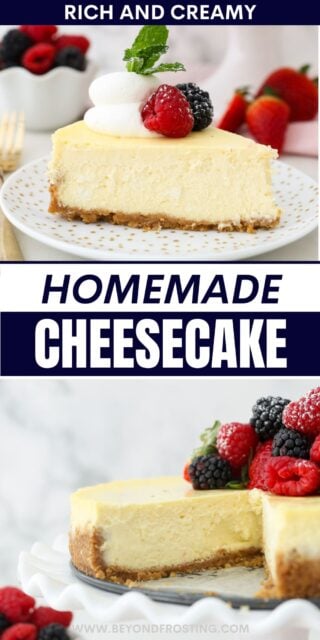
This is the best homemade cheesecake recipe made from creamy classic cheesecake filling baked in a buttery graham cracker crust. Don’t forget a water bath for crack-free results!
If you love this full-sized version, check out my party-ready mini cheesecakes, too.
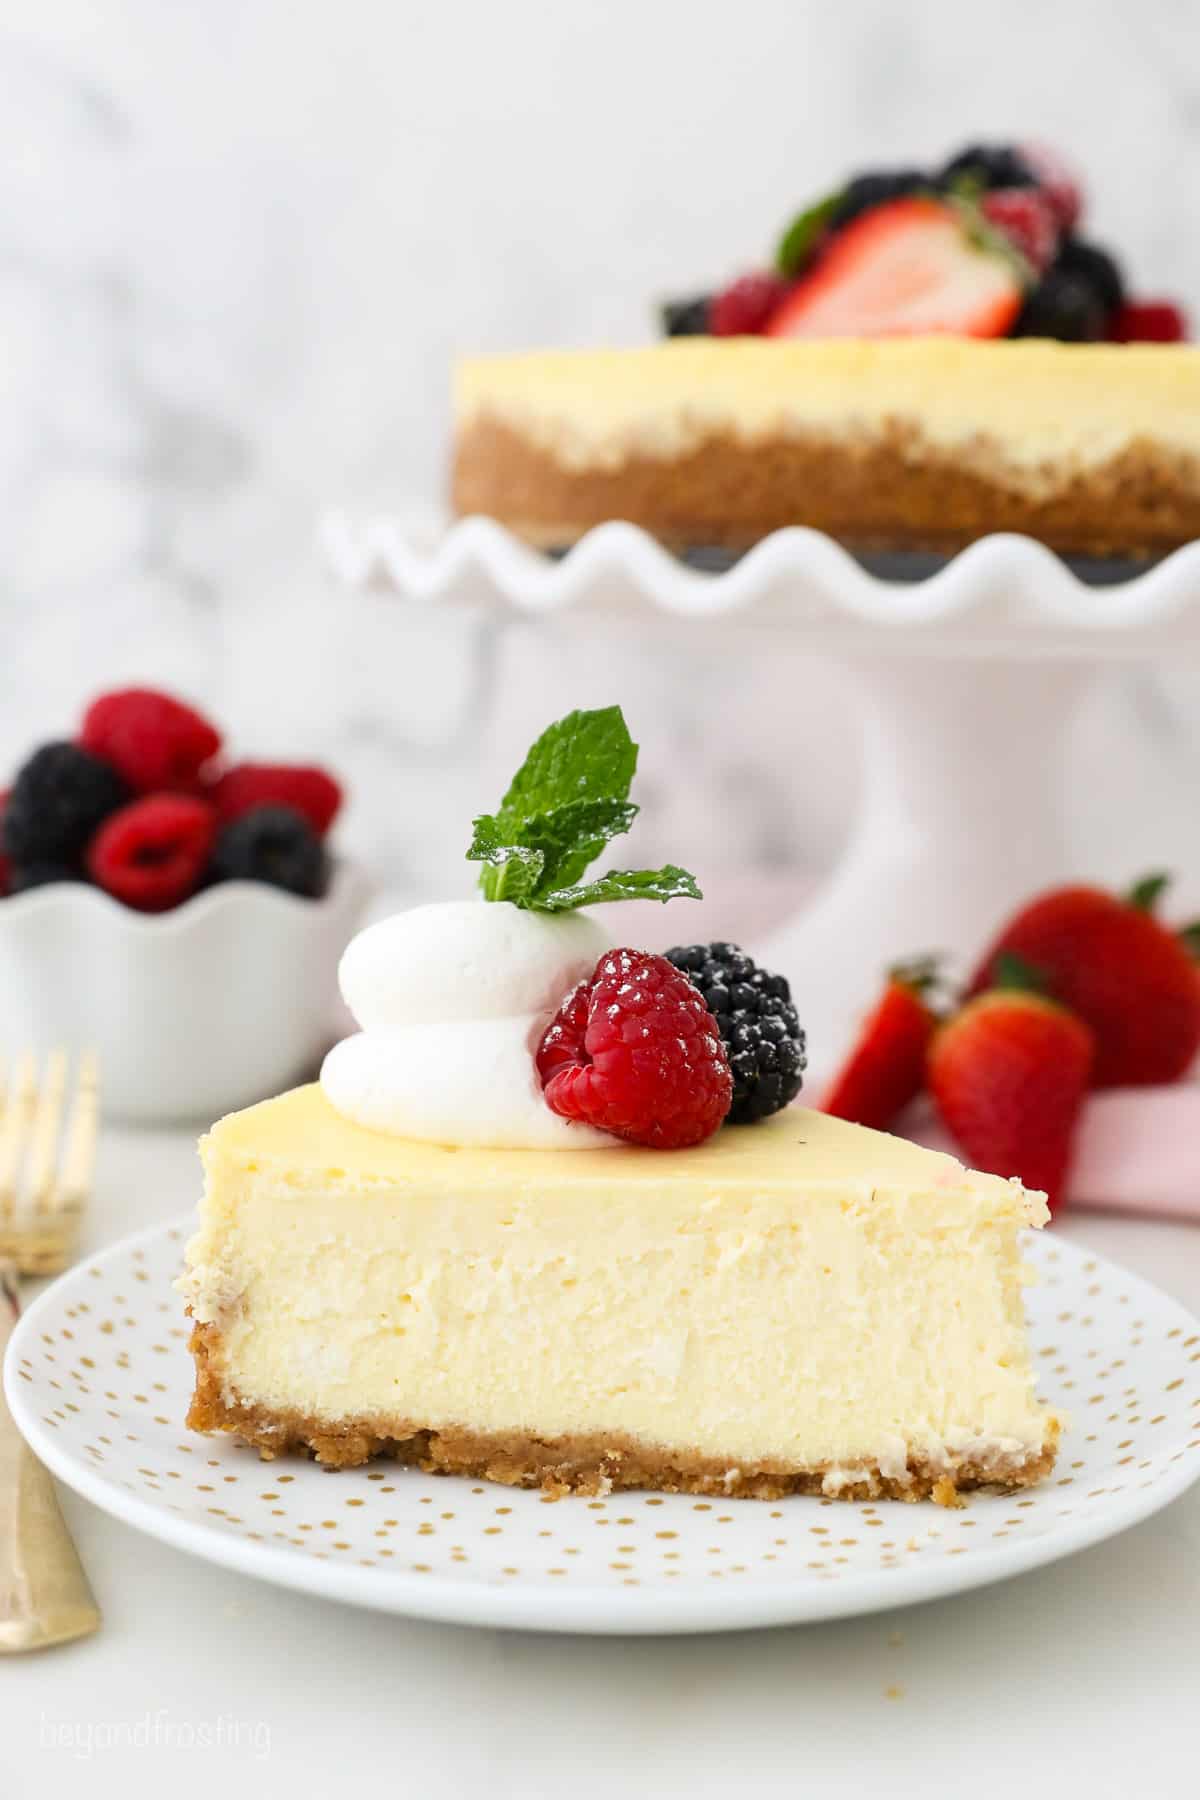
Rich and Creamy Homemade Cheesecake
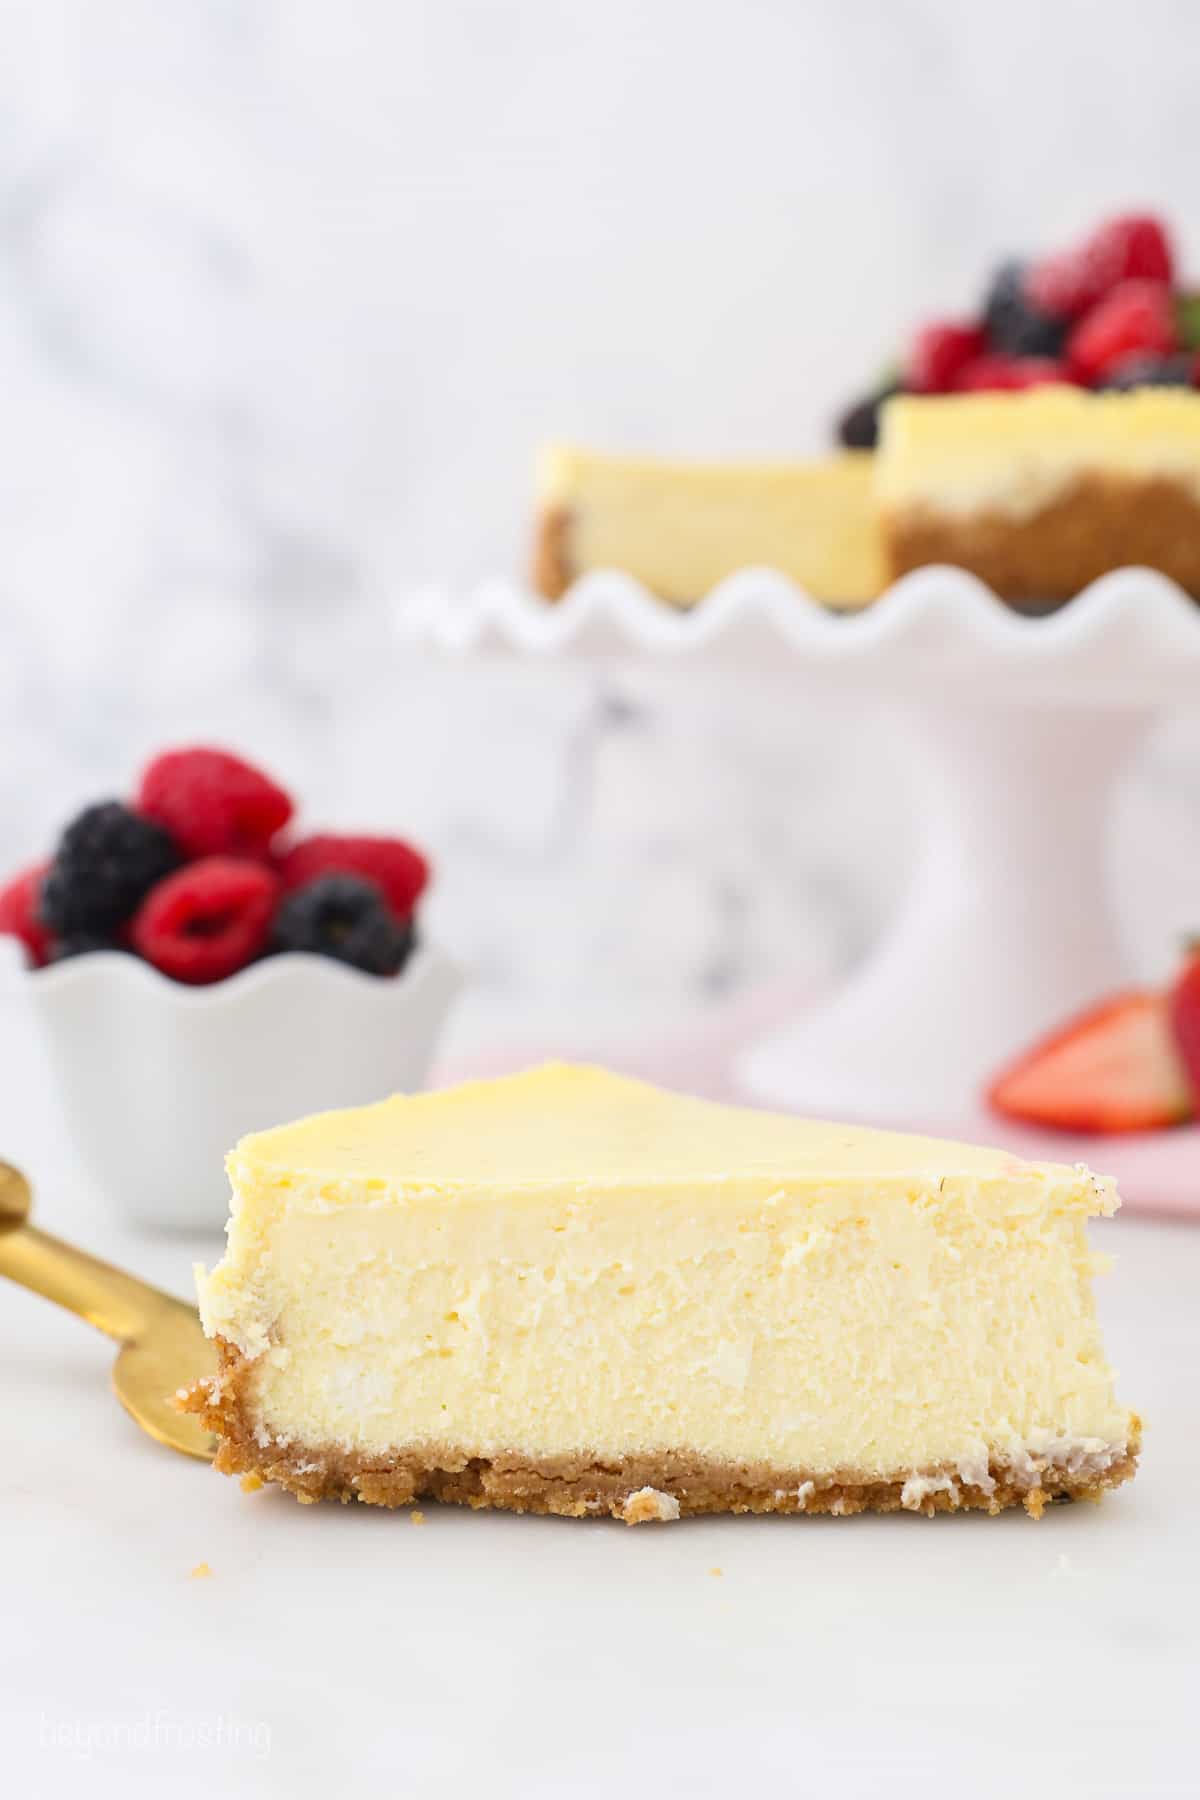
Time and time again, I find myself coming back to this classic homemade cheesecake. It’s rich and creamy, and simple enough to make. Everything about it is just so luxurious. The way that the creamy vanilla cheesecake filling melts away in your mouth, to the delicious crunchy contrast of the buttery graham cracker crust.
A perfect baked cheesecake is one of those dessert recipes that every home baker needs in their back pocket, IMO. This is about to become a surefire favorite!
Why You’ll Love This Creamy Cheesecake Recipe
- Perfect texture. This is my favorite cheesecake recipe largely because of the irresistibly thick and creamy filling. My secret? Extra egg yolks. The added yolks make this the most ultra-rich, indulgent cheesecake you’ll ever taste.
- Easy method. This recipe walks you through how to make a cheesecake step-by-step, from the water bath to cooling, for a perfect, crack-free cheesecake. It’s easier than you think!
- Adaptable. I include some easy topping ideas and variations so you can adapt this cheesecake recipe for all occasions. Holidays, birthdays, you name it.
Ingredient Notes
Let’s start things off with a quick overview of the important ingredients. Remember to scroll to the recipe card below the post with the full ingredients list, measurements, and recipe instructions.
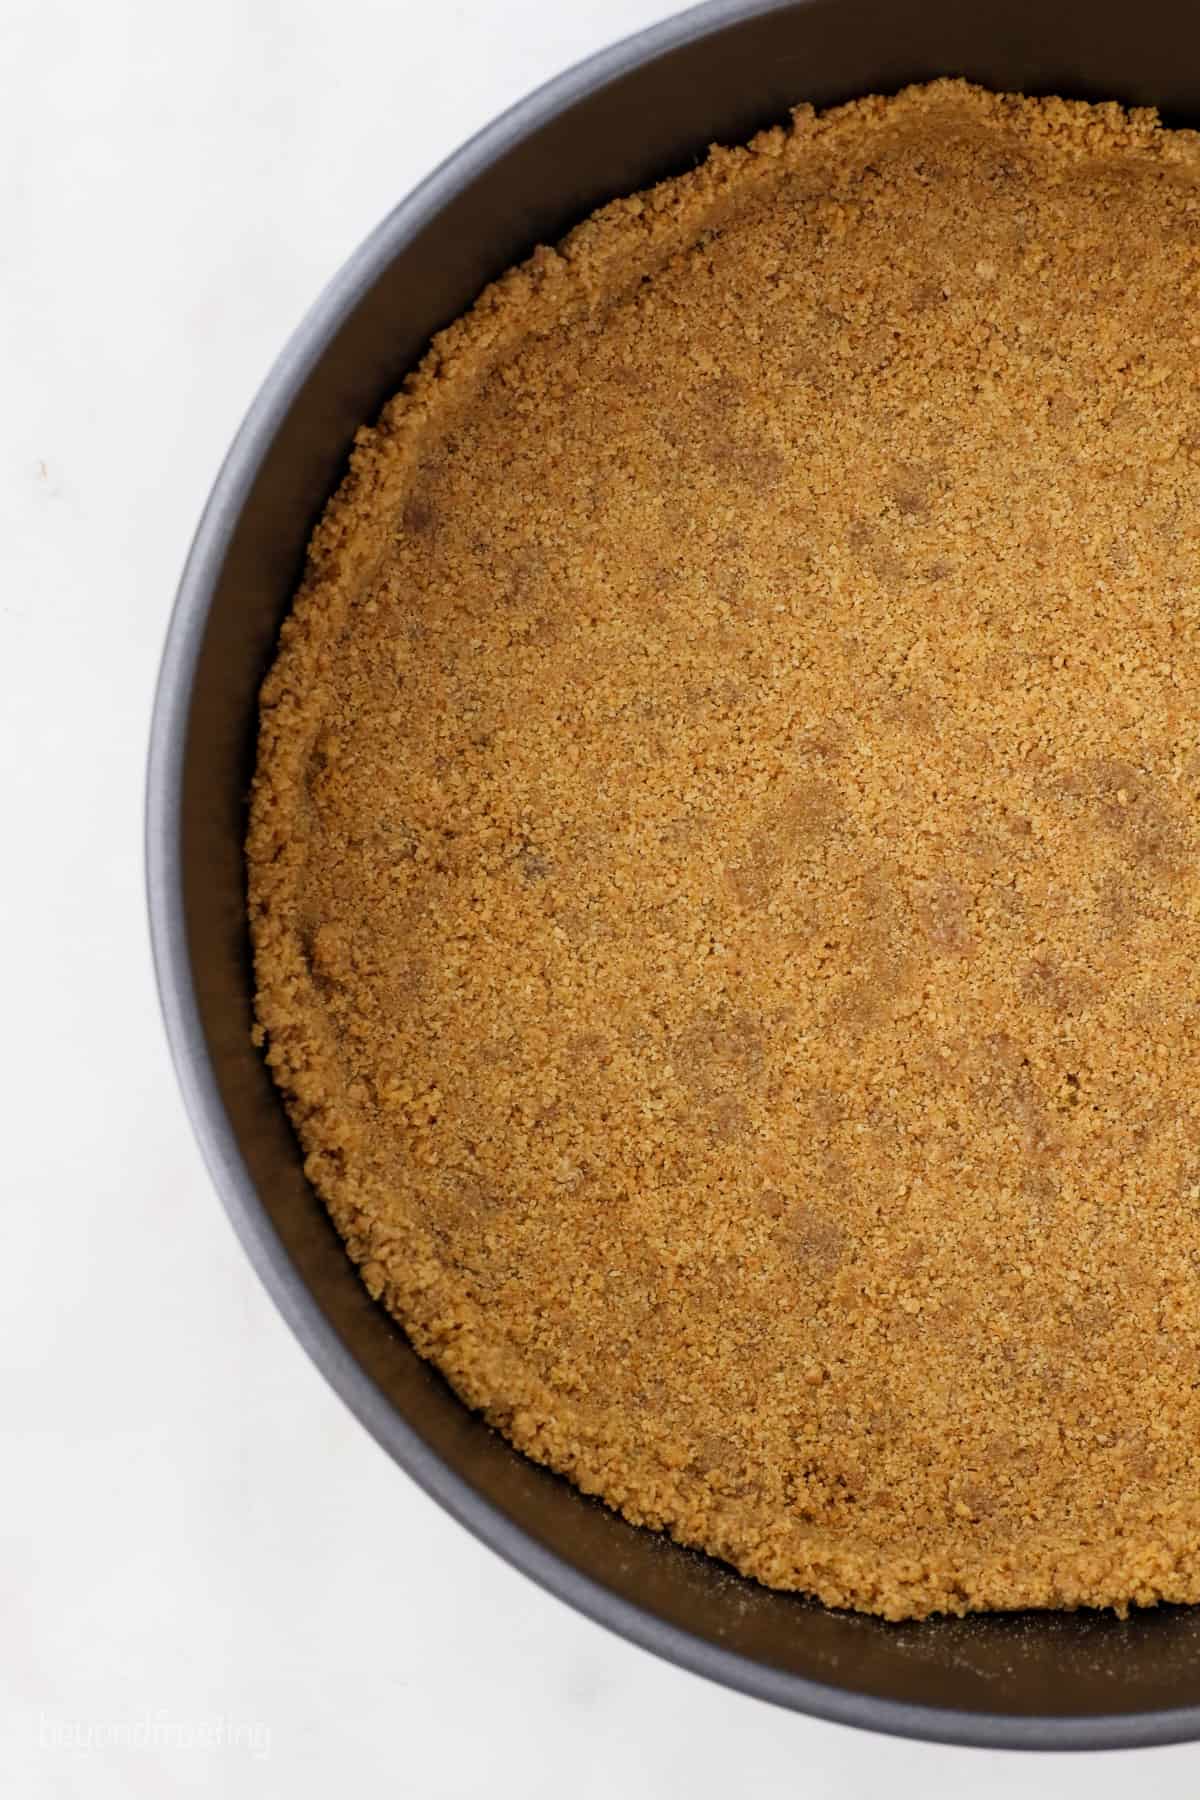
- Graham Cracker Crust – I use my favorite easy Graham cracker crust made from Graham cracker crumbs, brown sugar, and melted butter. You can use white sugar in place of brown sugar if needed, and use a food processor to crush up the Graham crackers.
- Cream Cheese – Be sure you’re using full-fat cream cheese, as low-fat will not provide the creamy texture we’re looking for.
- Sour Cream – Again, ensure you’re using the full-fat version.
- Vanilla – Pure vanilla extract is a must for the best flavor in the filling.
- Eggs – You’ll need two whole eggs, plus 4 additional egg yolks. Extra egg yolks are the secret to an incredibly rich, creamy cheesecake filling.
How To Make a Homemade Cheesecake
If you’ve ever been intimidated by the thought of baking cheesecake from scratch, don’t be. Here’s the easy step-by-step for a perfect creamy cheesecake, every time:
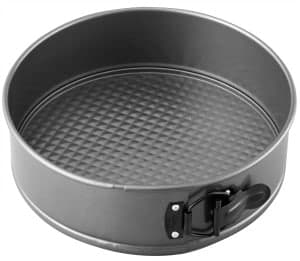
- Prepare the crust. To make the crust, combine graham cracker crumbs, sugar, and melted butter, and then press the mixture into a lined springform pan. Afterward, par-bake the crust in a 325ºF oven for 8-9 minutes, and allow it to cool.
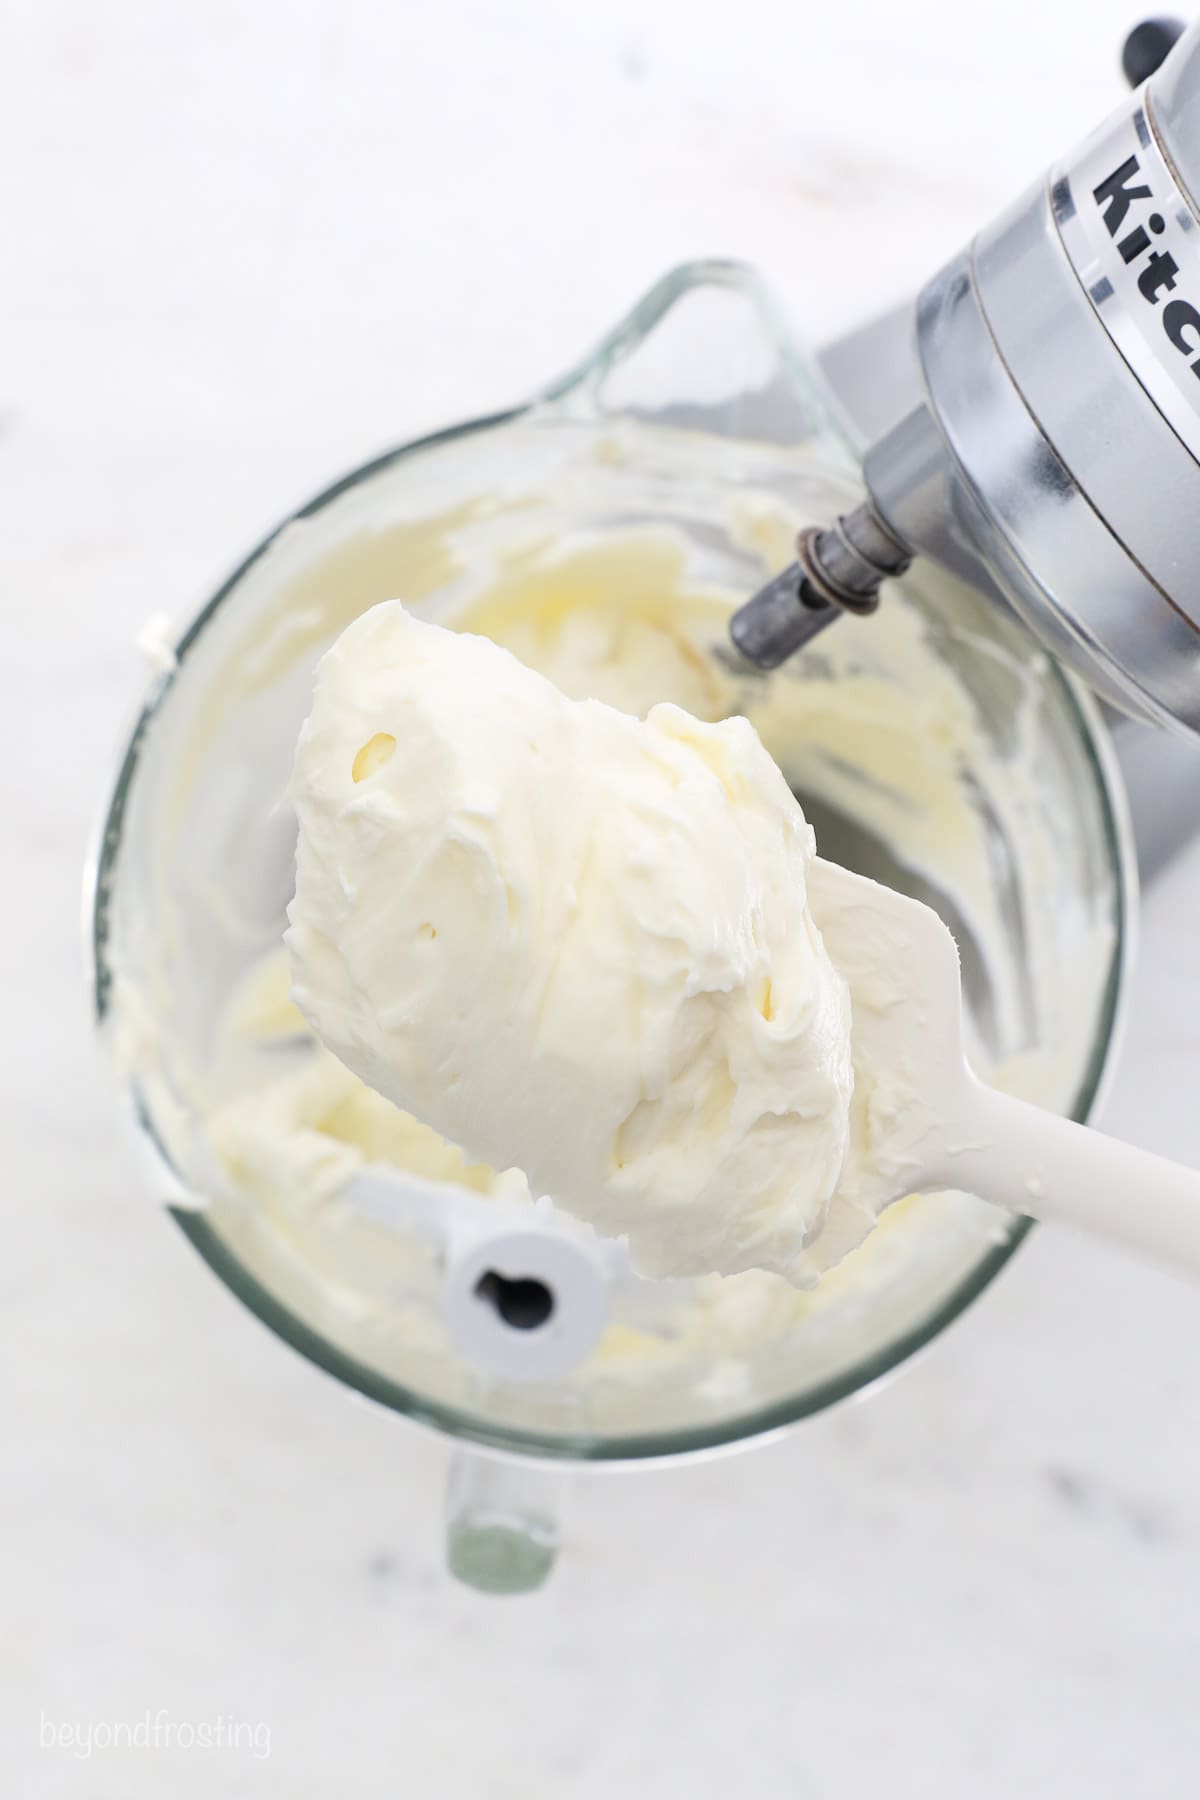
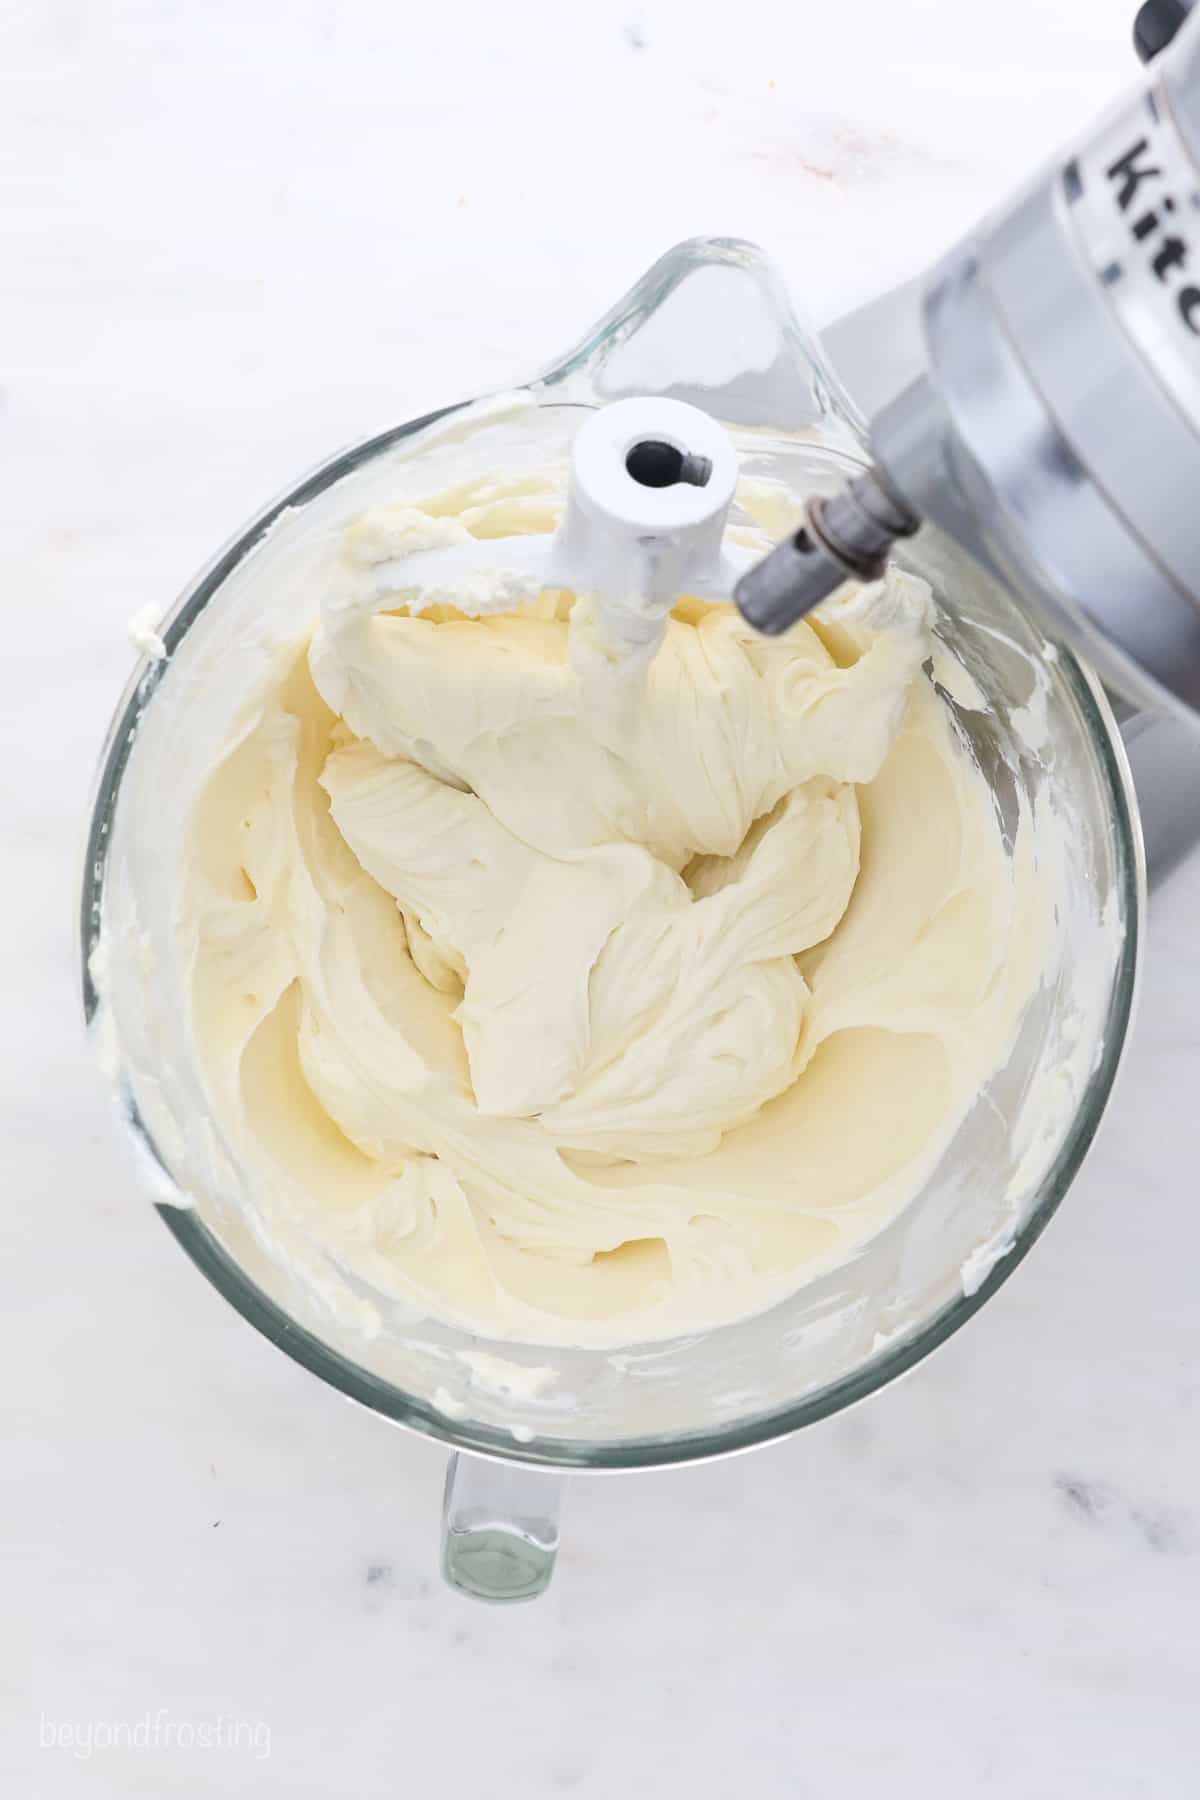
- Make the filling. Next, beat the cream cheese and sugar, followed by the sour cream and vanilla. Once everything is well mixed, whisk the eggs and yolks together and gradually add them to the cheesecake batter.
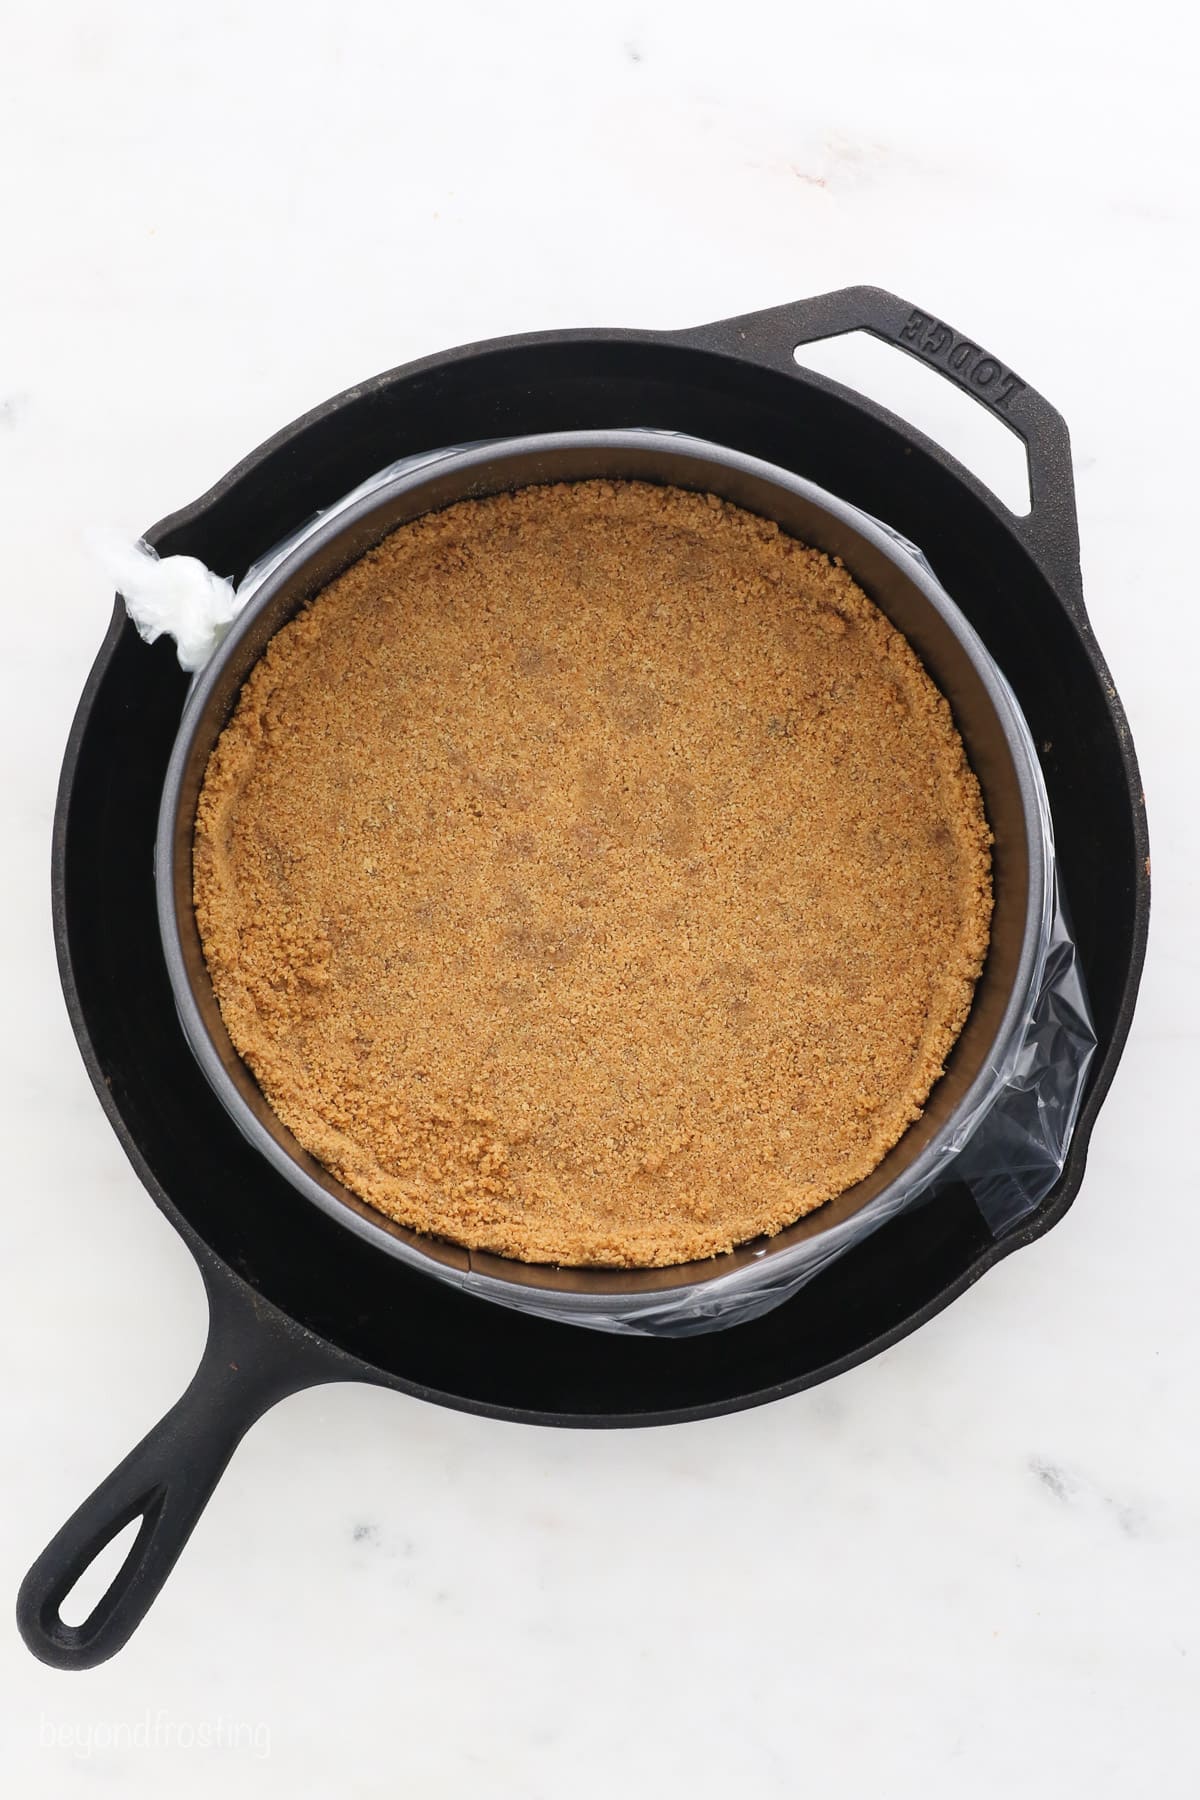
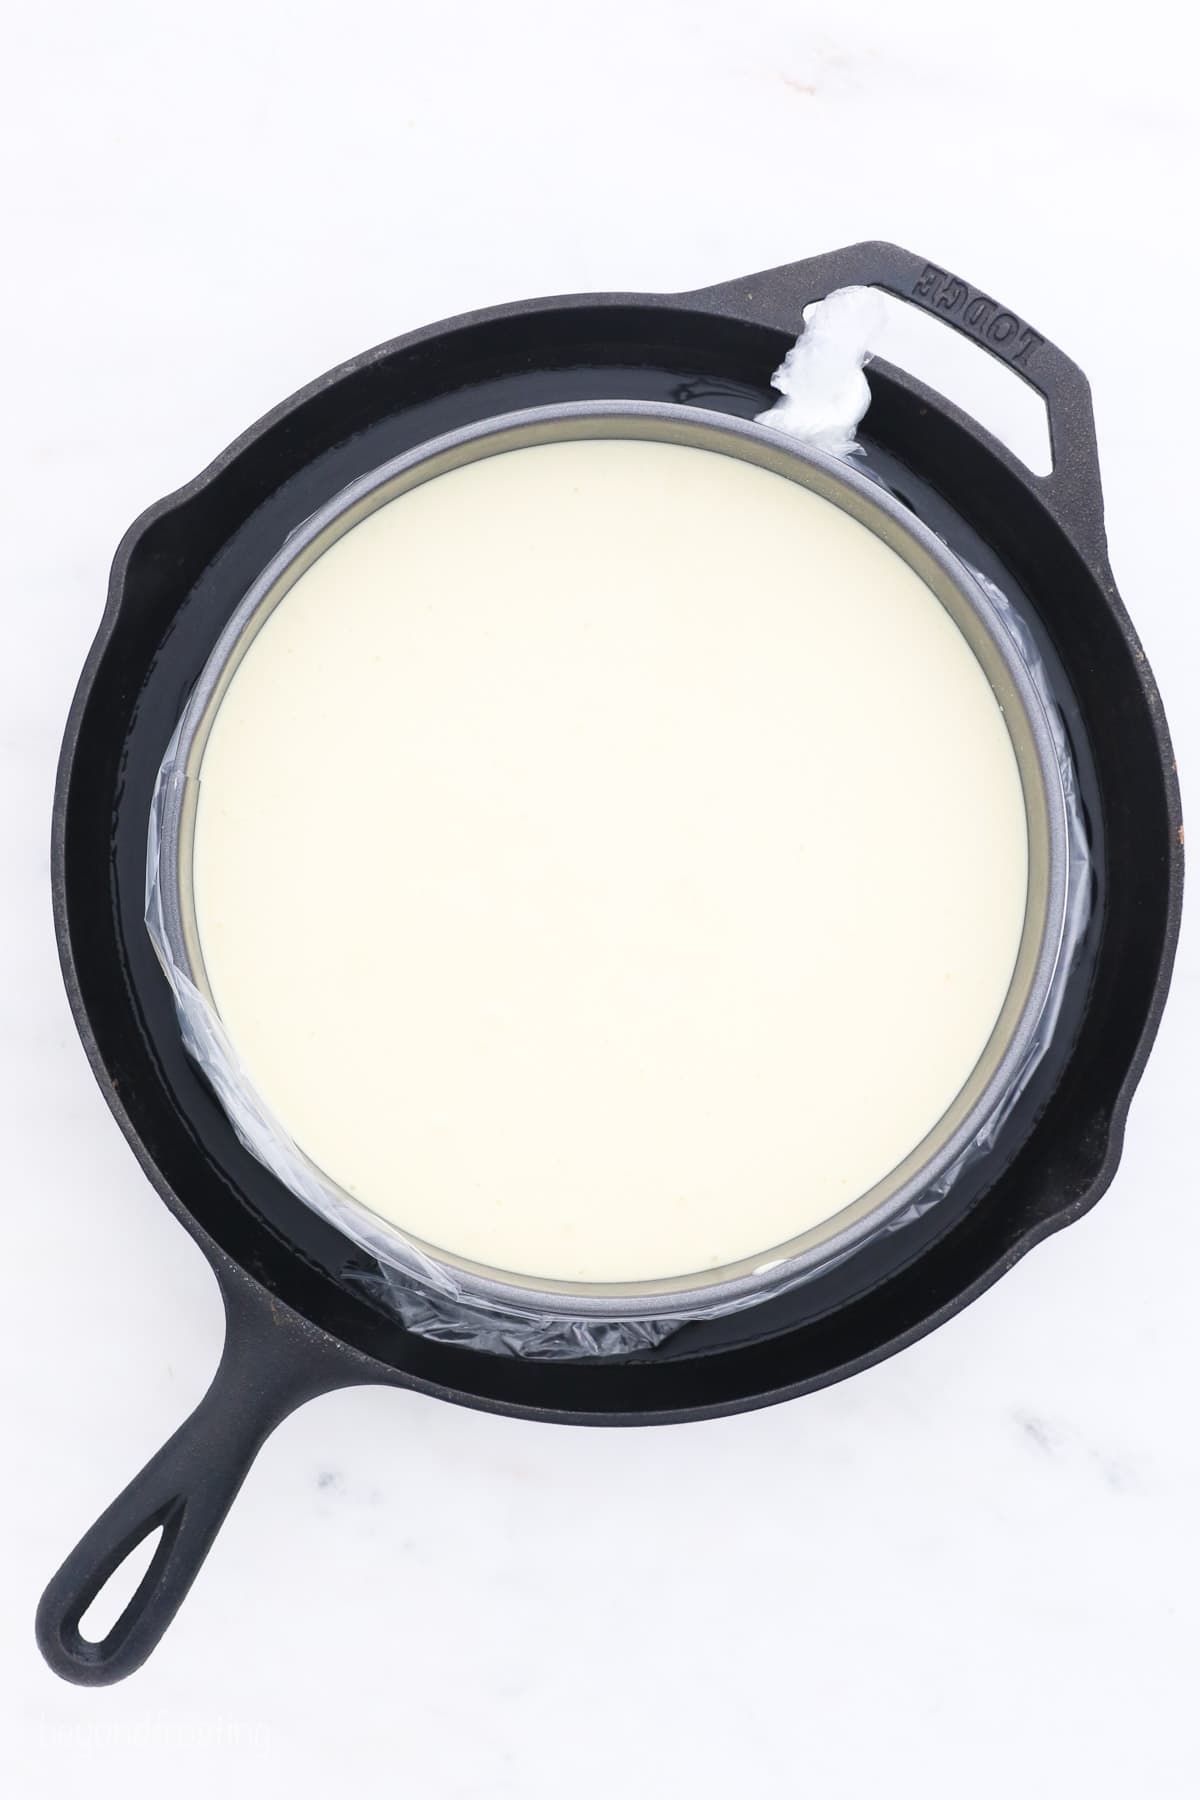
- Assemble. Wrap the bottom of your prepared springform pan/crust with a slow cooker liner, and tie a knot to secure it (see photo). Place in a larger pan, which will hold the water. Pour the batter into the prepared crust.
- Bake. Fill the larger pan with water, until it comes about halfway of the way up the sides of the springform pan and bake it at 325ºF for about an hour, until it’s set in the middle with a slight jiggle.
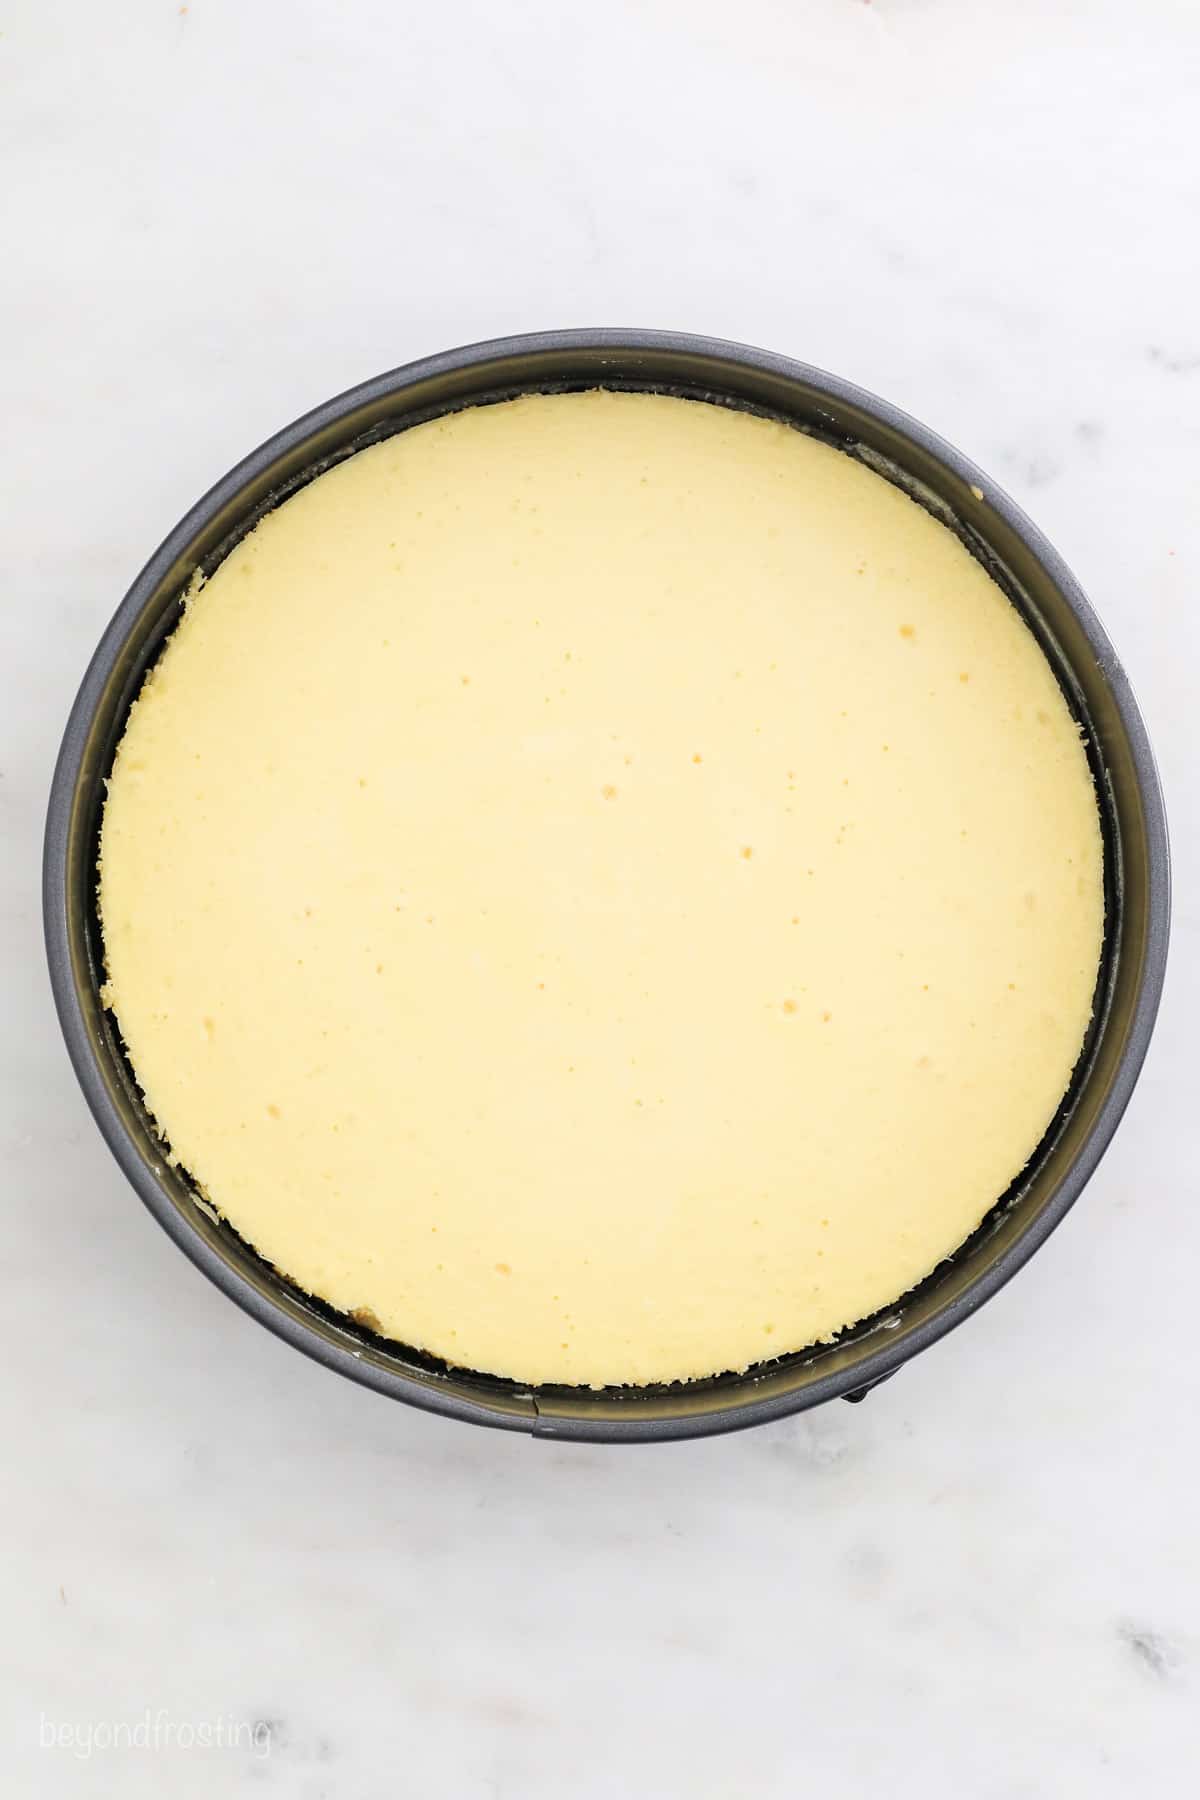
- Cool. Once the cheesecake appears to be cooked (following the jiggle test), switch off the oven, crack the door, and leave the cheesecake to cool inside the oven for another hour. Finally, take the cheesecake out of the oven and let it continue to rest on the counter, before moving the cooled cheesecake to the fridge.
- Chill. Chill the covered cheesecake for 4-6 hours, or overnight, before slicing and serving.
Baking Cheesecake in a Water Bath
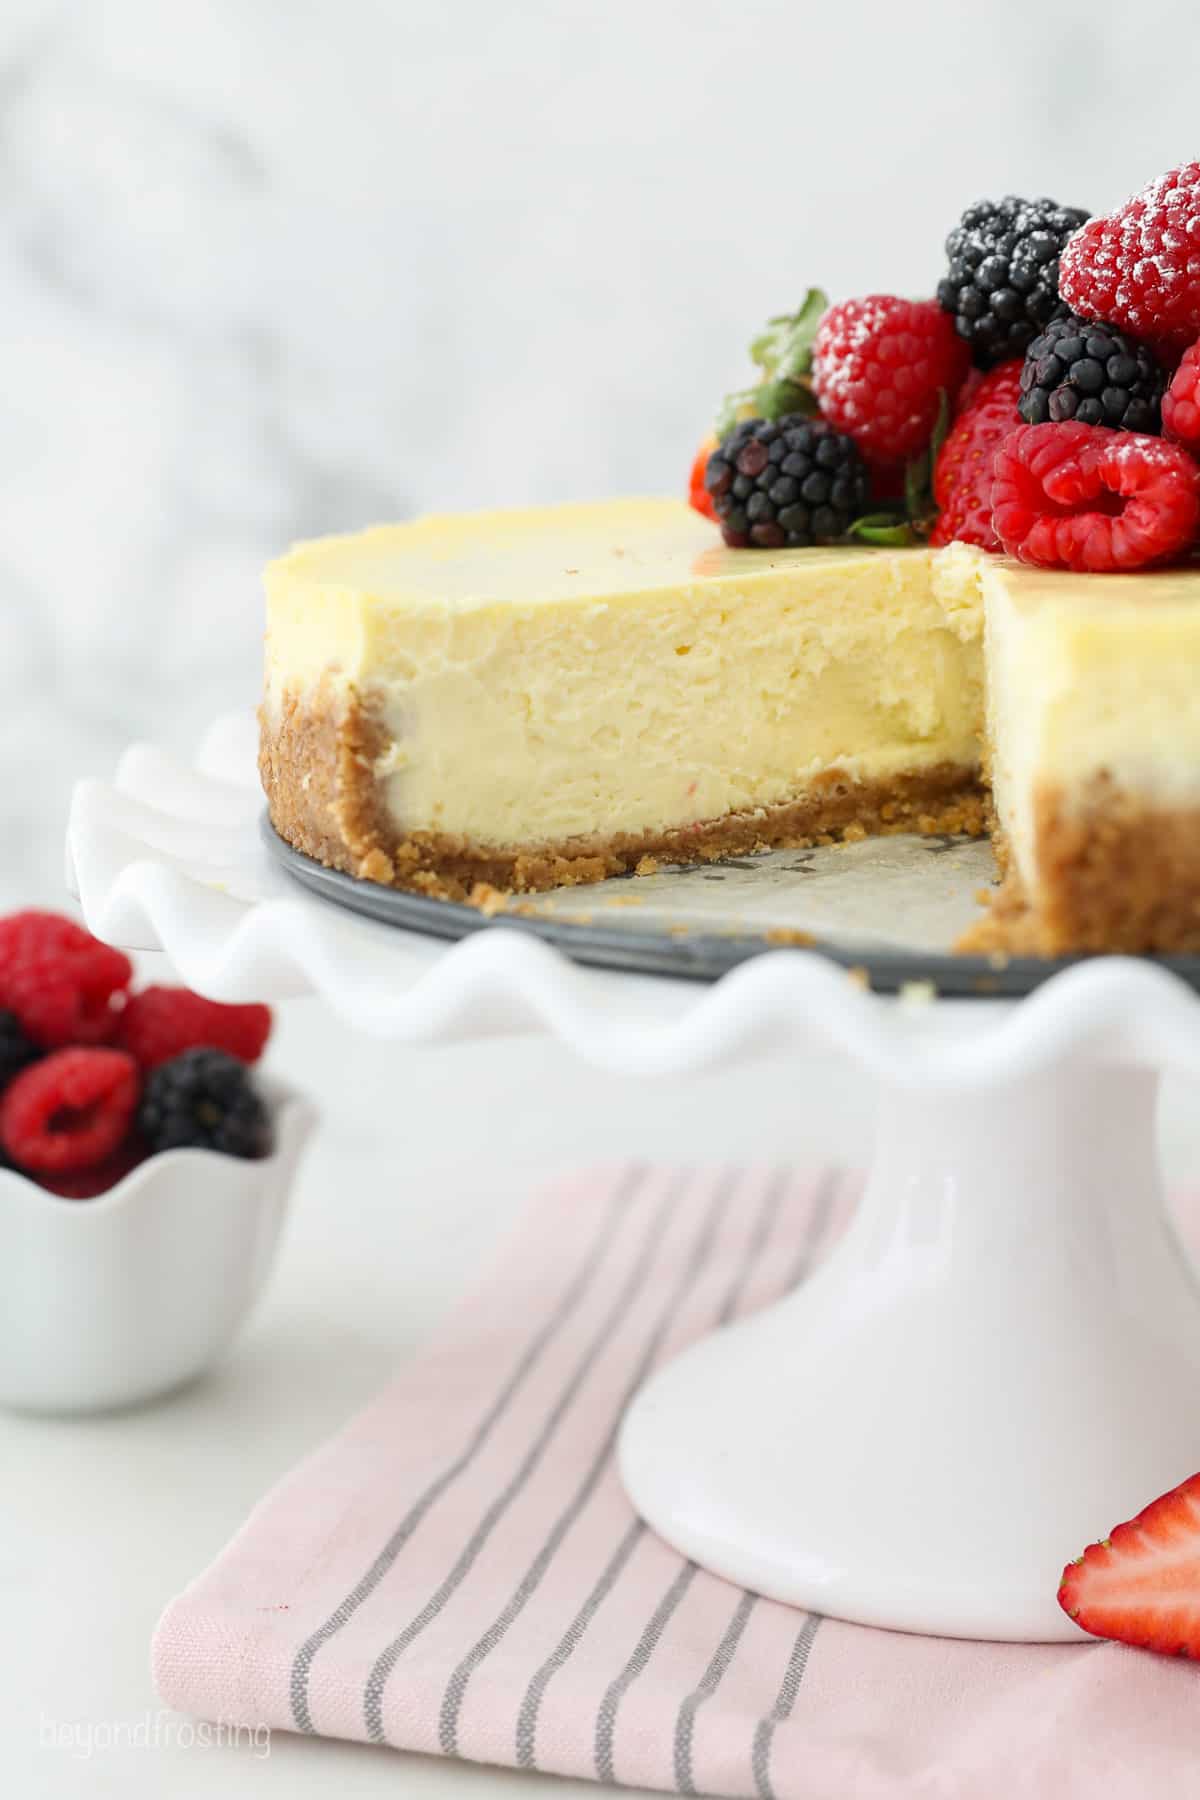
A water bath, or bain marie, might sound like something from an episode of MasterChef, but it’s actually a very simple concept! It’s also the secret to the perfect homemade cheesecake. Baking a cheesecake in a water bath produces steam, which helps the cheesecake bake evenly and prevents cracks.
So, how do you make a water bath? It’s as easy as wrapping the bottom of the cheesecake pan with a slow cooker liner (or aluminum foil), and placing it into a larger pan filled with about 1-2 inches of hot water. I use a 12-inch cast iron pan for my water bath, but any large roasting pan will do. If you have a larger cake pan or anything that’s wider than the springform pan will work. Once your water bath is assembled, your homemade cheesecake is ready for the oven!
Tips for Success
After making all types of cheesecakes, I’ve discovered a few helpful tips and tricks to making it perfect.
- Use room temperature ingredients. The cream cheese, sour cream, and eggs should all be at room temperature before beginning.
- Avoid over-blending the cheesecake filling. Incorporating too much air into the cheesecake batter causes the filling to puff up in the oven, and then deflate.
- Don’t skip the water bath. See the section above for details. A water bath is essential to keep the cheesecake from cracking.
- Wrap the bottom of the pan well. This ensures that no water seeps into the springform pan as it sits in the water bath. The easiest way to do this is with a slow cooker liner. My friend Lindsay introduced me to this idea and wrote a great step-by-step guide.
- If you don’t have a slow cooker liner, no worries! Double-wrap the pan with aluminum foil up to the top edge instead.
- Cool the cheesecake slowly. Let the cheesecake rest in the warm oven for one hour, and then allow it to cool to room temperature on the countertop before you move it to the fridge. Avoid any sudden temperature changes that might cause the cheesecake to crack.
- Keep the oven door closed. After the effort of preparing a water bath, resist the temptation to open the oven door while the cheesecake bakes. You want the oven to stay hot and moist to avoid cracking.
Frequently Asked Questions
Sour cream adds moisture to the cream cheese, giving the cheesecake a softer texture. It also contributes to the light, tangy flavor.
Cheesecake is done baking when the outside edges look set, and the center still has a slight wobble. If it’s loose and liquidy, it needs a bit more time in the oven.
If your cheesecake is just a little wiggly in the middle, this is totally fine. As the cheesecake cools, the center should set up and thicken. However, if your finished cheesecake is runny in the center even after it’s chilled, it could be underbaked.
Cheesecake Toppings
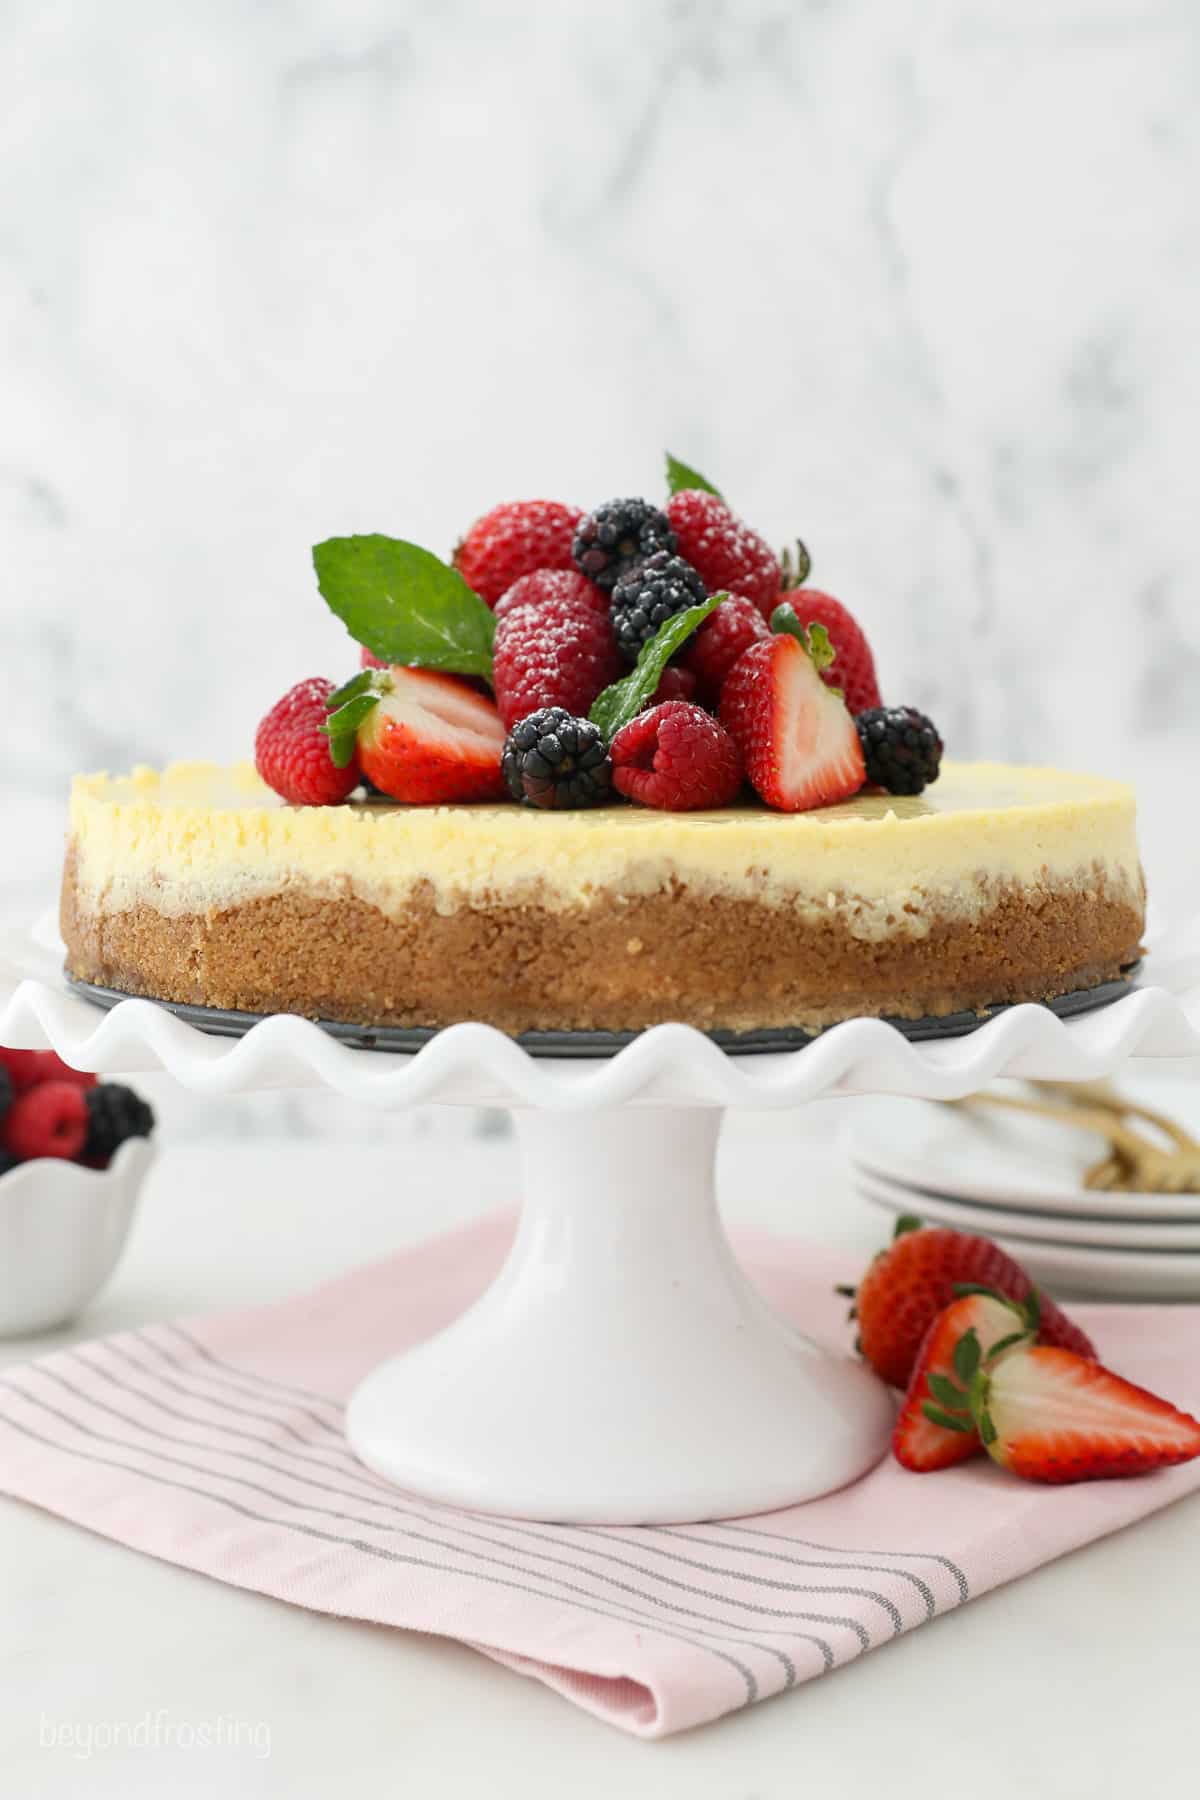
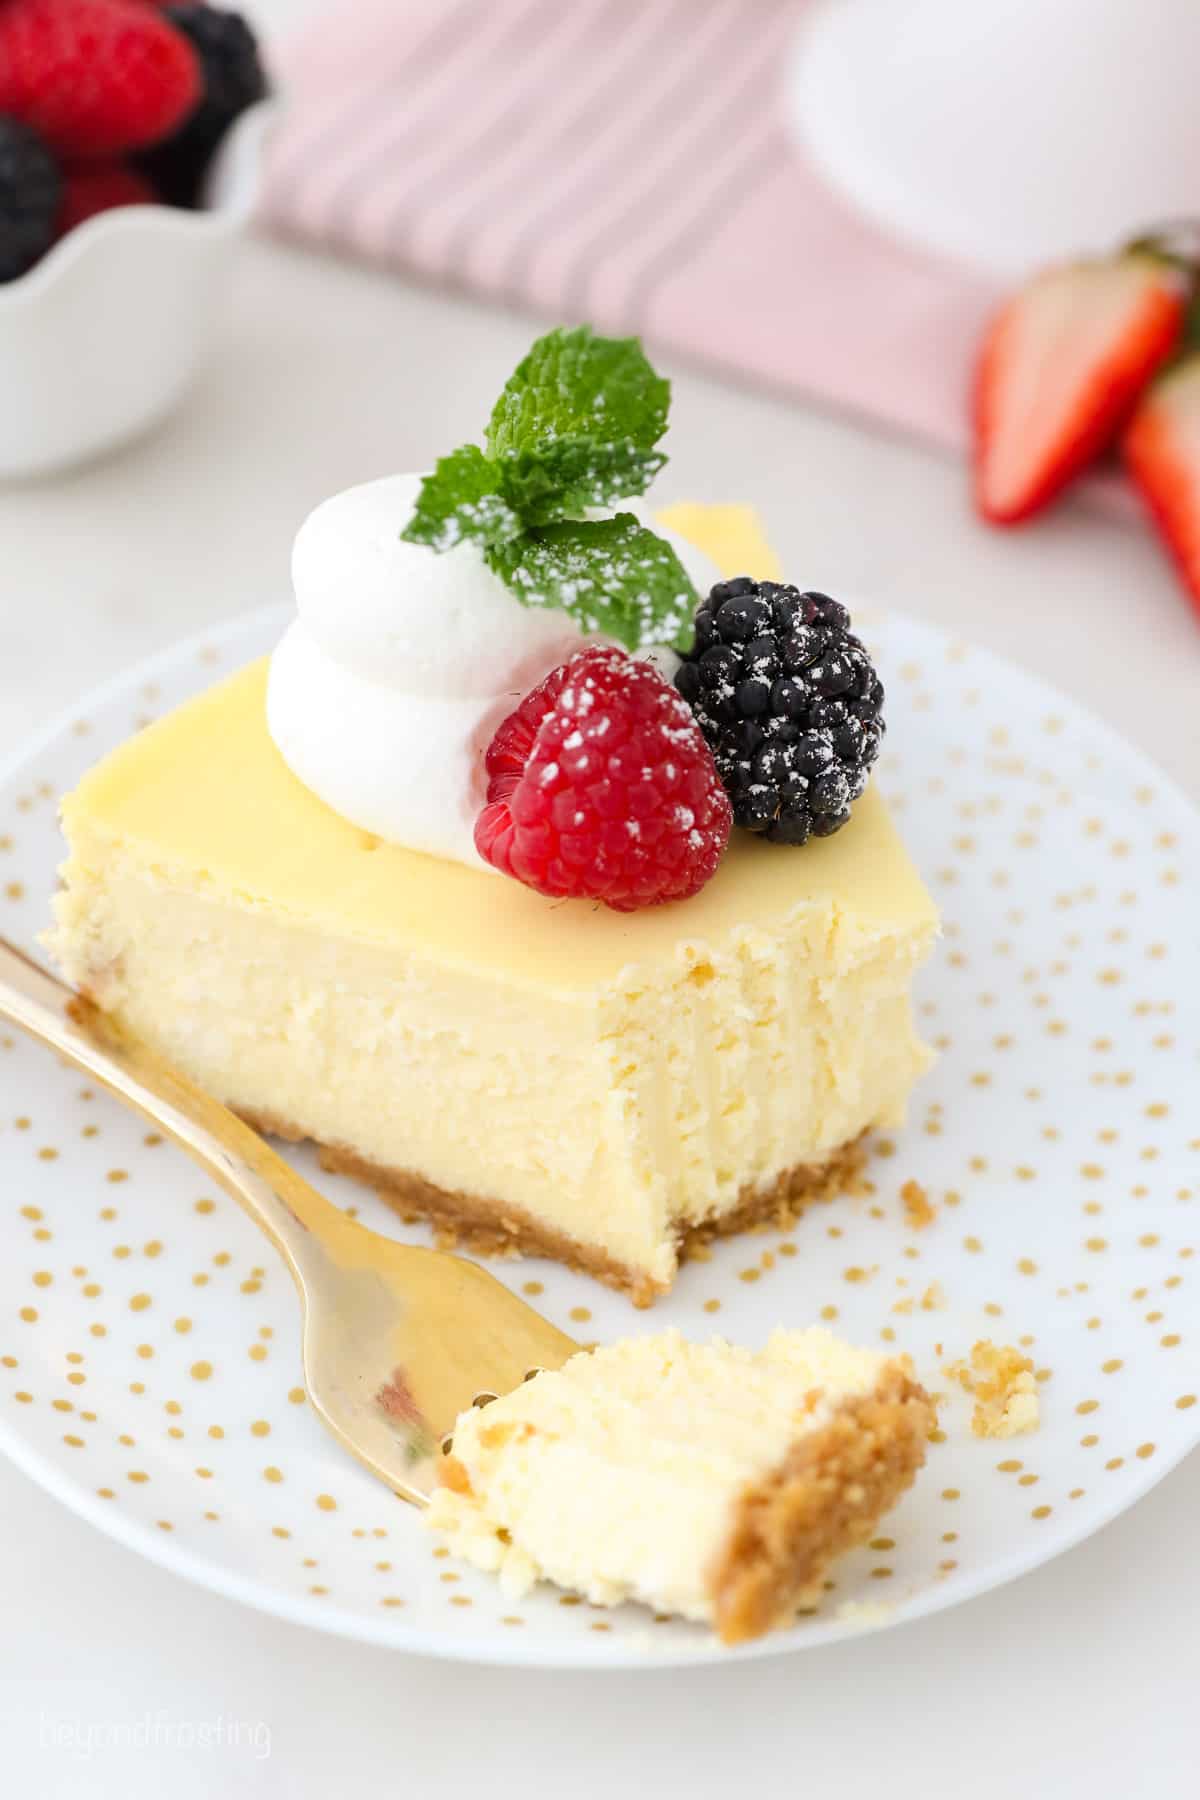
Serve cheesecake chilled from the fridge once it’s had time to set. A slice of this rich, creamy cheesecake is perfect on its own, or you can add your choice of toppings. Dollop your slices with whipped cream and top them with fresh fruit (my personal favorite), or drizzle over some chocolate ganache or caramel syrup for a sweet touch. It would even be good with lemon curd.
Variation Ideas
This classic homemade cheesecake is the base for so many delicious cheesecake recipes on my site. Here are a few easy variations to try:
- Different crust. Make this cheesecake in an Oreo crust for a chocolatey twist, or borrow the Biscoff cookie crust from my mini pumpkin cheesecakes.
- Sprinkles – Stir rainbow sprinkles right into the batter for a colorful, funfetti spin. I recommend using rainbow jimmies (rods) rather than the tiny round balls, as they won’t leak color into the batter. See my mini funfetti cheesecake recipe for details.
- Pumpkin. For a festive fall dessert, try this easy pumpkin cheesecake.
- Blueberry. Give this classic cheesecake a blueberry swirl as I do in this homemade blueberry cheesecake.
- No-bake. Looking for a variation that doesn’t require turning on your oven? Try my best-ever no-bake cheesecake recipe, too!
How to Store
Store this cheesecake in the fridge for up to 5 days. Keep it tightly wrapped with plastic or foil and in the original springform pan, if possible. I recommend leaving off any toppings until you’re ready to serve.
Can I Freeze Homemade Cheesecake?
Absolutely. Allow the cheesecake to cool completely, and then keep it frozen for 1-2 months. You can freeze this dessert in slices, or freeze the entire cheesecake. Separate individual slices with parchment paper. If you can, freeze the cheesecake on a cardboard base. Wrap it tightly in plastic and then in foil, to avoid freezer burn.
More Cheesecake Recipes
- Easy Mini Cheesecakes
- Baileys Chocolate Cheesecake
- Blueberry Cheesecake Bars
- No Bake Oreo Cheesecake
- Easy No Bake Chocolate Cheesecake
- Mini Coffee Cheesecakes
Creamy Homemade Cheesecake
- Prep Time: 60 minutes
- Chill Time: 6 hours
- Cook Time: 60 minutes
- Total Time: 8 hours
- Yield: 8-10 slices
- Category: Dessert
- Method: Oven
- Cuisine: American
Description
This is the best creamy homemade cheesecake recipe made from classic cheesecake filling baked in a buttery graham cracker crust. Don’t forget a water bath for crack-free results!
Ingredients
For the Crust:
- 1 3/4 cups (157g) Graham cracker crumbs
- 2 tablespoons (28g) Light brown sugar, packed
- 6 tablespoons (84g) Unsalted butter, melted
For the Filling:
- 32 ounces (904g) Full-fat cream cheese, at room temperature
- 3/4 cup (143g) Granulated sugar
- 1/2 cup (120g) Full-fat sour cream, at room temperature
- 2 teaspoons (10g) Pure vanilla extract
- 2 Large eggs, at room temperature
- 4 Large egg yolks, at room temperature
Instructions
For the crust
- Preheat the oven to 325°F. Line a 9-inch springform pan with parchment paper in the bottom.
- Grind the graham crackers into a fine crumb. Mix together with the brown sugar and then stir in the melted butter until well combined. Press the crumbs tightly into the bottom and up the sides of the springform pan
- Bake at 325°F for 8-9 minutes. Allow the crust to cool. Then wrap the pan with a slow cooker liner and tie a knot in the side of the bag to secure around the pan. Set aside.
For the filling
- In a large mixing bowl, beat the cream cheese for 2 minutes until free of lumps then add the sugar and beat on low speed until completely smooth, scraping down the bowl occasionally. Next add the sour cream and vanilla extract and mix on low speed until well combined.
- Whisk the eggs and egg yolks together and slowly add to the batter, ensure it’s well mixed before adding more. Scrape down the bowl occasionally.
- Pour the cheesecake batter into the prepared crust. Gently tap the pan on the counter to remove any air bubbles on the surface or use a toothpick. Place the springform pan inside another larger pan. Fill the outside pan with approximately 2-3 cups of warm water so it is about halfway up the sides of the springform pan.
- Bake at 325°F for approximately 60 minutes. The center should be set, but still slightly jiggly. Turn off the oven and leave the door cracked open for 60 minutes. This allows the cheesecake to continue to cool slowly, which helps to prevent cracking.
- Remove the cheesecake from the oven and water bath and cool for at least 1 hour on the countertop, then cover and move to the refrigerator. Refrigerate for 4-6 hours until the cheesecake has set.
Notes
- Ensure all ingredients are at room temperature prior to starting, approximately 1 hour.
- Top this cheesecake with whipped cream and fresh fruit.
- Don’t skip the water bath. Following the tips described in the blog post will help prevent the cheesecake crust from cracking.
- Resist the temptation to open the oven door frequently! You want the oven to stay hot and moist to avoid cracking.
Nutrition
- Serving Size: 1 slice
- Calories: 575
- Sugar: 25g
- Sodium: 411mg
- Fat: 44g
- Carbohydrates: 36g
- Fiber: .5g
- Protein: 9g
- Cholesterol: 228mg


I Absolutely love this recipe I made it for my family and now i have to make 3 More!!! Hands down the Best!!!! So creamy and sweet and Just Perfect 😊
I am going to have to agree with you on this one!
I have never made cheesecake. You make each step very clear and easy. But when do you release the cheesecake from the spring form pan?
I am so happy to hear that Sally. Once it’s full chilled, you can release the spring. I usually do this right before I decorate or serve.
Love this recipe… cheesecake turned out perfect… I did substitute the sources for Greek yogurt.. tastes just as good
Thank you Jason! That’s fantastic!
I made your delish cheesecake for company yesterday. Huge hit, this will be my go to dessert for sure. Made homemade whipped cream dollops on top with blueberries and raspberries!!! One problem there was only one slice left🤔 for me later.
This is so amazing Mel!! Thank you so much!!
What if I don’t have a springform pan? Can I use a regular 9’ cake pan? What would be the best why to remove the pie from the pan?
Any 9-inch pan would work (round or square) but I would not expect to be able to remove the entire dessert from the pan. You would instead slice them as bars, or cut it like a piece of pie.
This was the best tasting cheesecake I’ve ever tasted! It turned out beautifully. It was quite easy to prepare and I’m not a baker! The crockpot liner did the trick. I’ve never baked a more perfect cheesecake.
I love this so much!! Thank you Beth!
I cooked some dark cherries dow with sugar and cornstarch and put it between the layers and it turn out amazing ! 1 st time making this recipe and loved it!
Oh wow! That sounds so fancy! I love that idea, thanks for sharing!