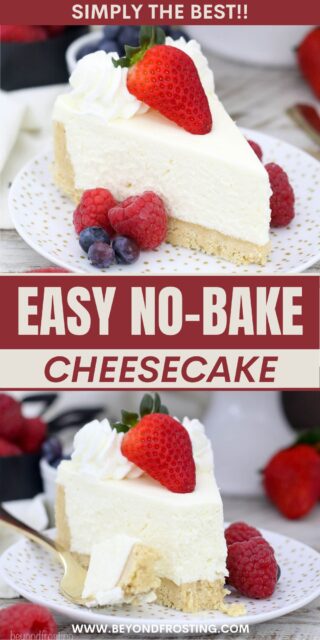
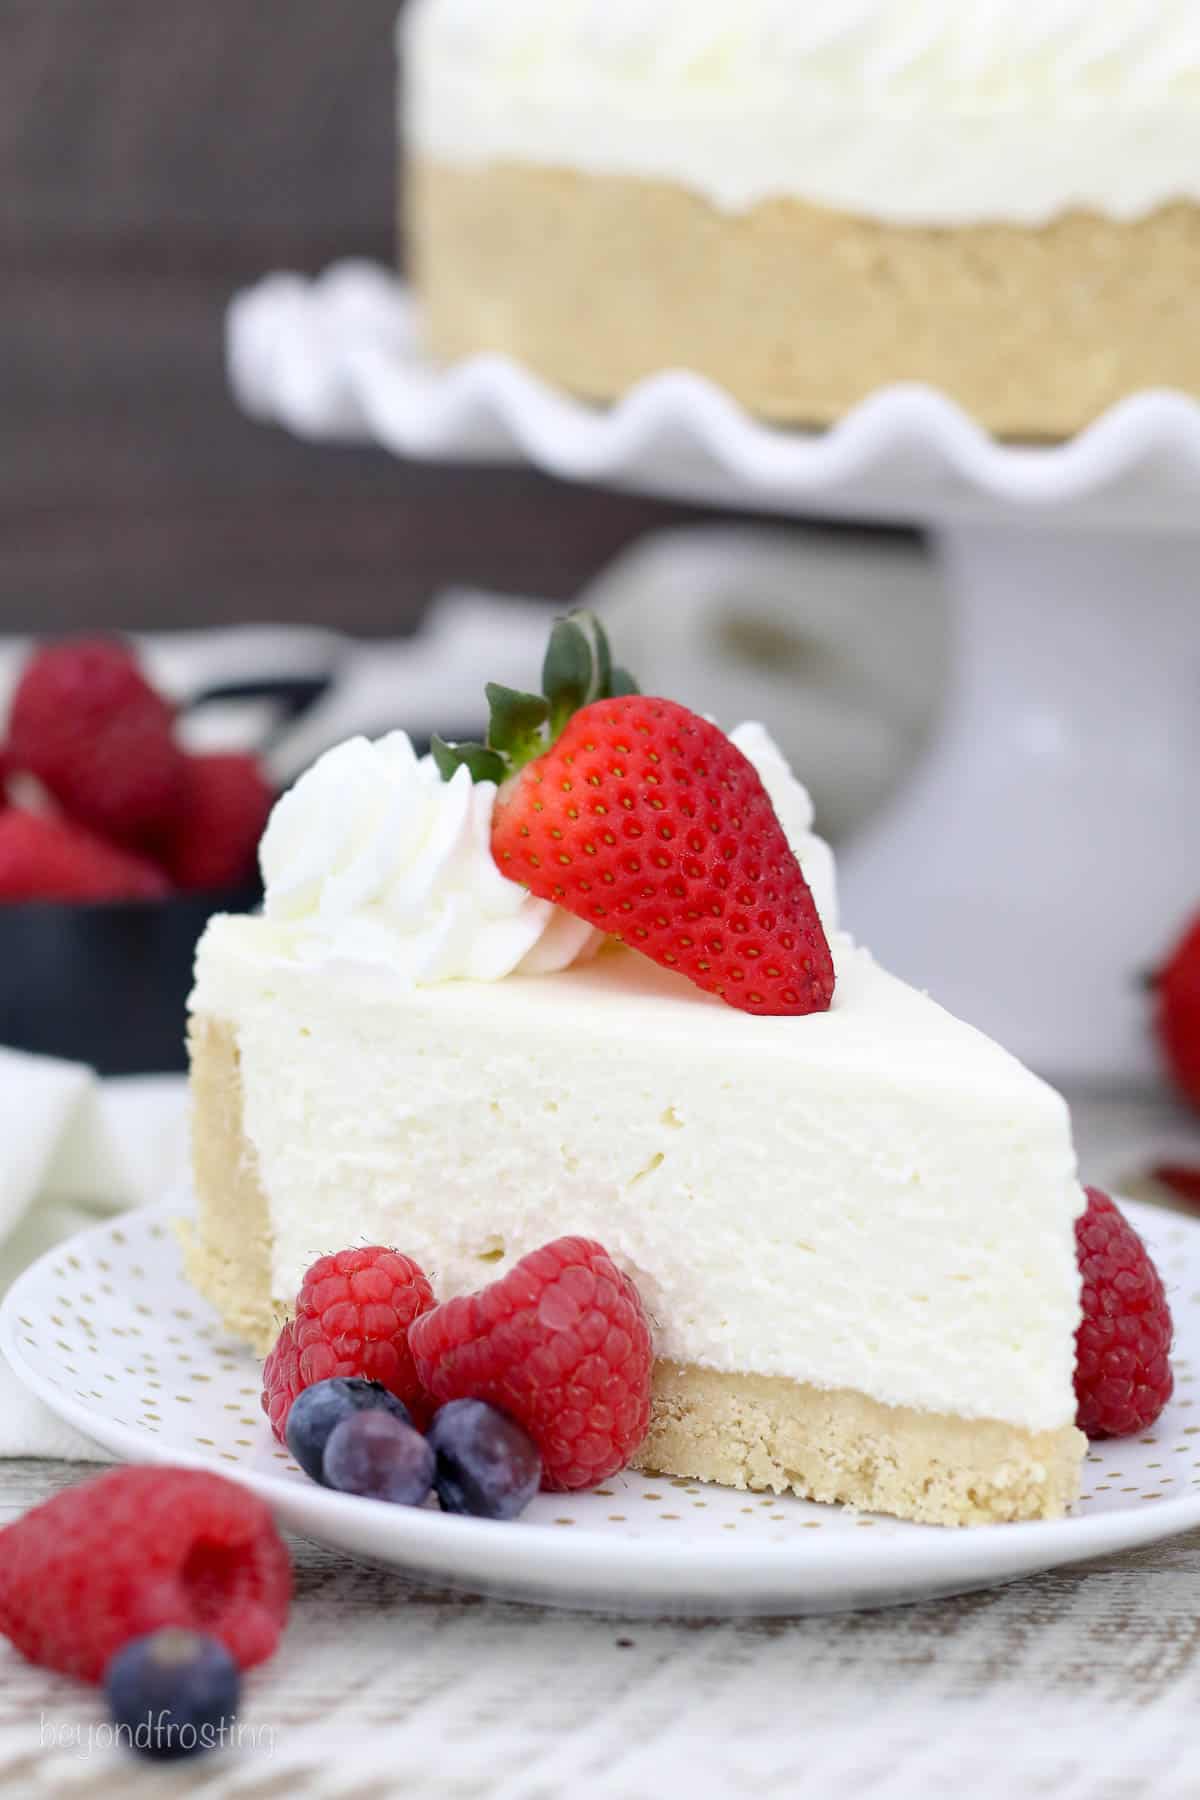
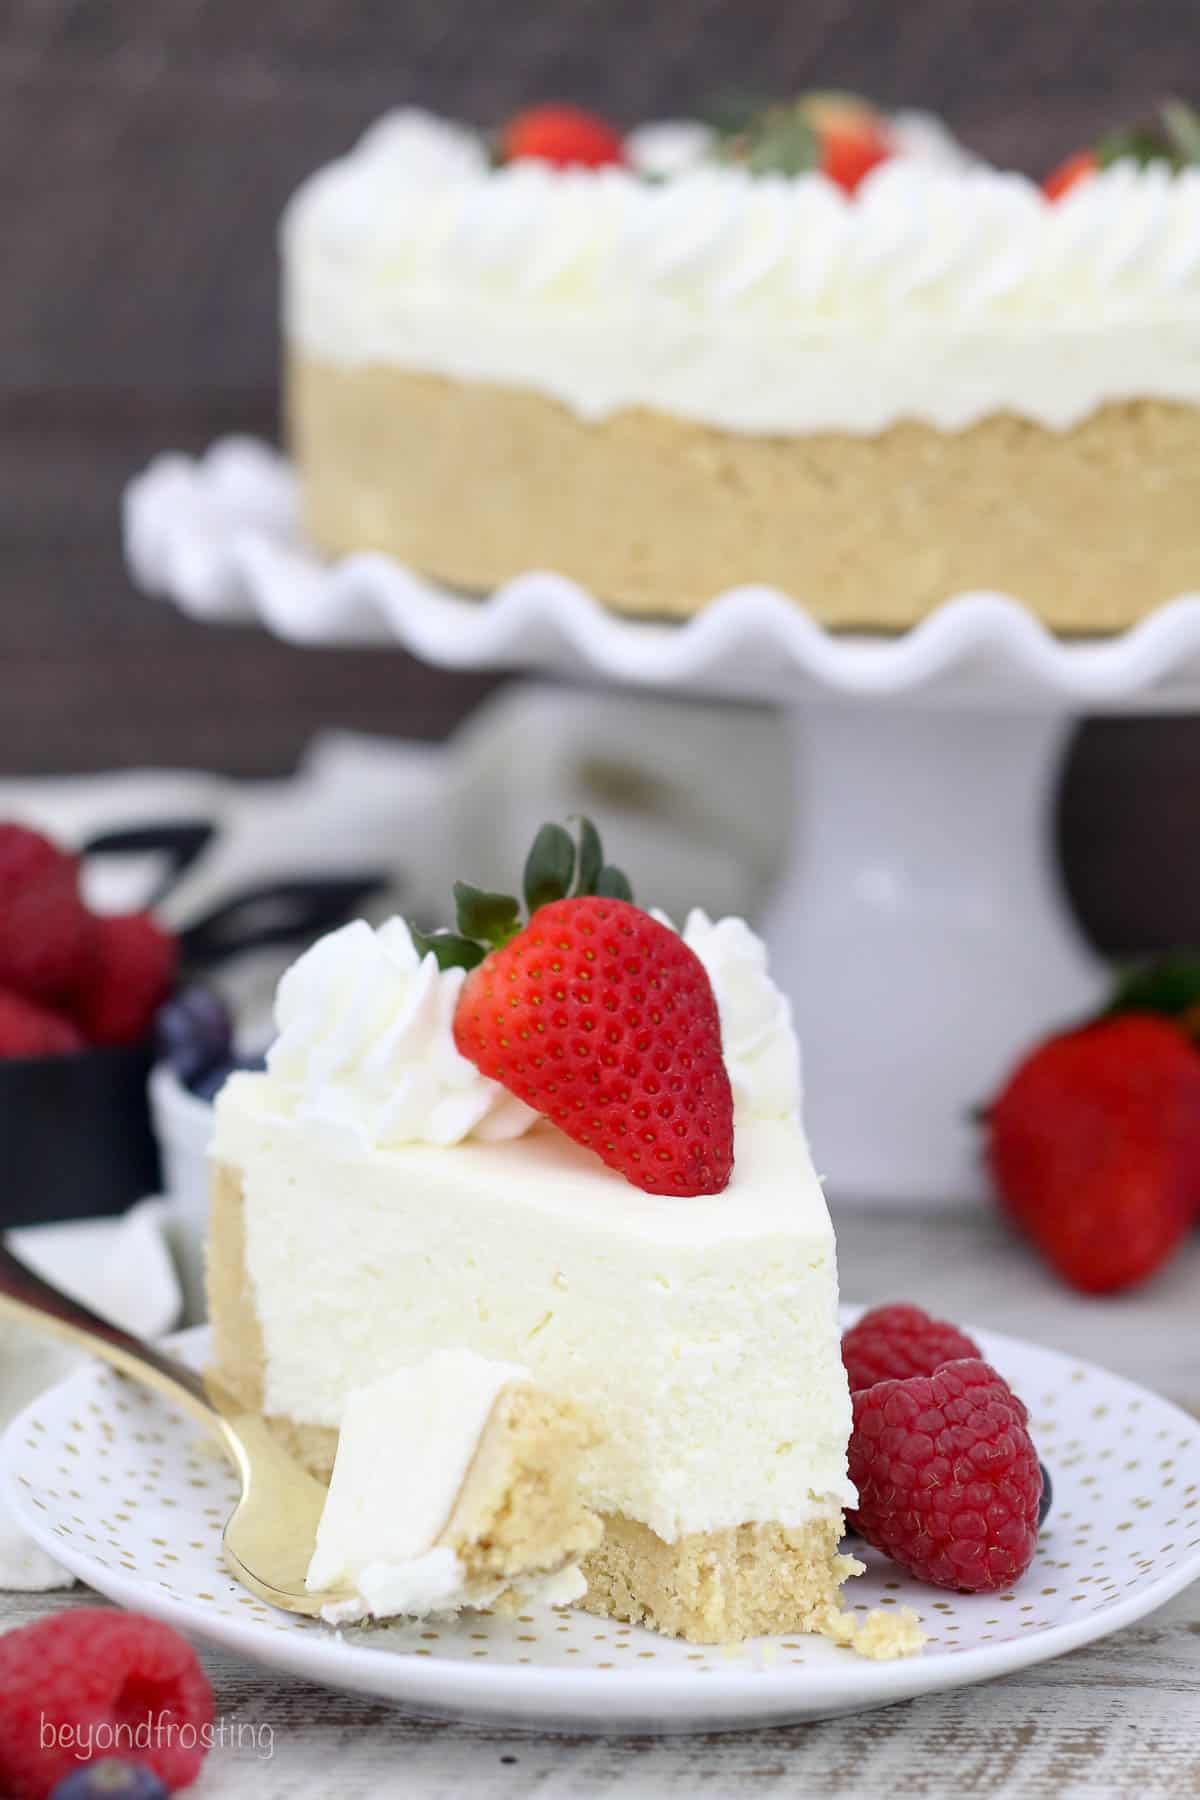
There’s no need to turn on the oven to enjoy a bite of this light and creamy no-bake cheesecake. My secret to the perfect texture is the addition of white chocolate, and it makes all the difference. It’s made completely from scratch without gelatin or Cool Whip.
Easy No-Bake White Chocolate Cheesecake
I’ve always had an obsession with cheesecake; it’s one of my favorite desserts. However, I don’t always have the time and patience to make a baked cheesecake, and I enjoy the lighter and airier texture of a no-bake cheesecake.
For years, I’ve been making different variations of no-bake cheesecakes, and I finally cracked the code on the perfect combination of texture, taste, and consistency.
I’ll get straight to the point. My secret for the perfect easy no-bake cheesecake is melted white chocolate. It balances out the tangy flavor of the cheesecake without being overly sweet. You’ll notice it also makes it just a little thicker than a traditional no-bake cheesecake. If you don’t care for white chocolate, I also have a version using milk or dark chocolate!
Why I Love It
There are a lot of no-bake cheesecakes out there, and arguably most of them seem easier than mine, using premade ingredients like Cool Whip, but with a little more effort and homemade ingredients, you’ll find this is truly the best.
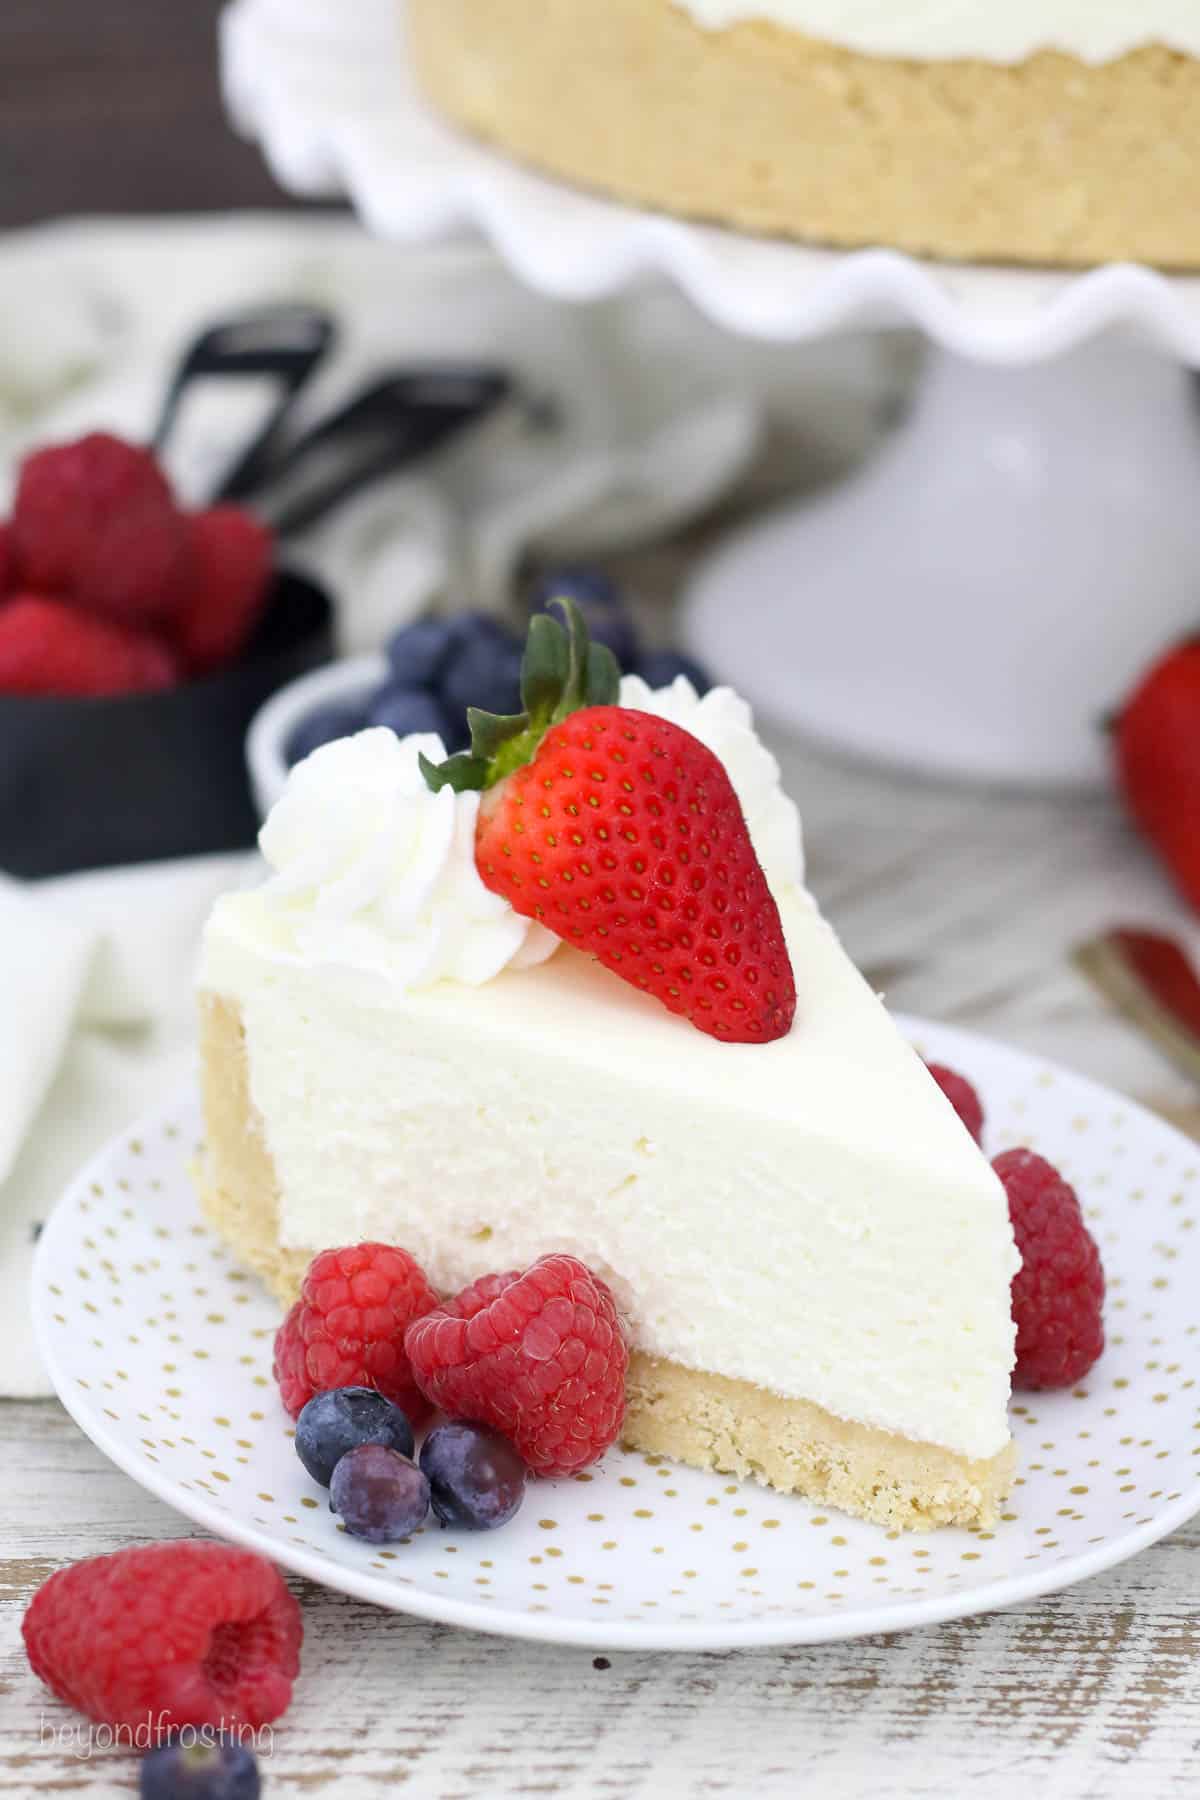
- Texture: It’s thicker than other no-bake recipes, bringing it a little closer to the consistency of a baked cheesecake
- Taste: Even with the addition of the chocolate, you will find this isn’t overly sweet
- Serve for any occasion: Whether it’s brunch or dessert, or even a holiday gathering, this recipe is so versatile and can be served with a variety of toppings.
- Easier than most cheesecakes: Forget the water bath and time it takes to make cheesecake. Once you throw this one together, it needs just a few hours in the fridge. It’s the perfect make-ahead dessert.
Important Ingredients for White Chocolate Cheesecake
The full list of ingredients and needed amounts can be found in the recipe card.
- White Chocolate – I recommend a high-quality white chocolate bar such as Ghirardelli or Lindt. You can use white chocolate chips in a pinch, but it does melt a little bit more oily and actually thicker than a chocolate bar.
- Golden Oreos – I love Oreos for a thicker, sturdier crust, but you can also use regular Oreos, graham crackers, or Nilla wafers.
- Cream Cheese – Make sure you use a block of full-fat cream cheese, not whipped cream cheese or imitation stuff. Cream cheese should be at room temperature for the best results.
- Heavy Whipping Cream- The filling uses homemade whipped cream.
How to Make No-Bake Cheesecake
Make the Crust
For more tips on making a no-bake crust, follow this tutorial.
Grind the Oreos into a fine crumb using a food processor, then combine with the melted butter. Mix to combine, then transfer the mixture to a greased springform pan. Press firmly into the bottom and up the sides of the pan. Chill the crust while you prepare the filling.
Make the Filling
- Melt the chocolate: Combine white chocolate chips and heavy whipping cream. Microwave at 50% power to prevent the chocolate from burning or seizing. Stirring about every 30 seconds or so, until melted and smooth.
- Make the whipped cream: For best results, chill the bowl and beater blades for 5-10 minutes in the refrigerator or freezer. Whip the heavy whipping cream until soft peaks form, then slowly add in the powdered sugar and beat until stiff peaks form. Beating the whipped cream until the proper consistency will ensure the cheesecake will not be runny. If your whipped cream is runny, your cheesecake will have a hard time setting. Chill the whipped cream while you prepare the rest of the filling.
- Beat the cream cheese, sugar, and vanilla: In another bowl, beat the cream cheese for a couple of minutes until it’s smooth and free of lumps, then add n the sugar and vanilla and beat again until well combined. If you want to prevent a lumpy cheesecake, this step is crucial.
- Add the chocolate: Next, you’ll mix in the cooled white chocolate until the filling is well combined.
- Fold in the whipped cream: Use a spatula to fold the whipped cream into the cream cheese mixture until it’s evenly mixed.
Fill, Chill, Serve
- Fill the pan: Pour the prepared filling into the prepared crust, then refrigerate for 3-4 hours until the filling is set.
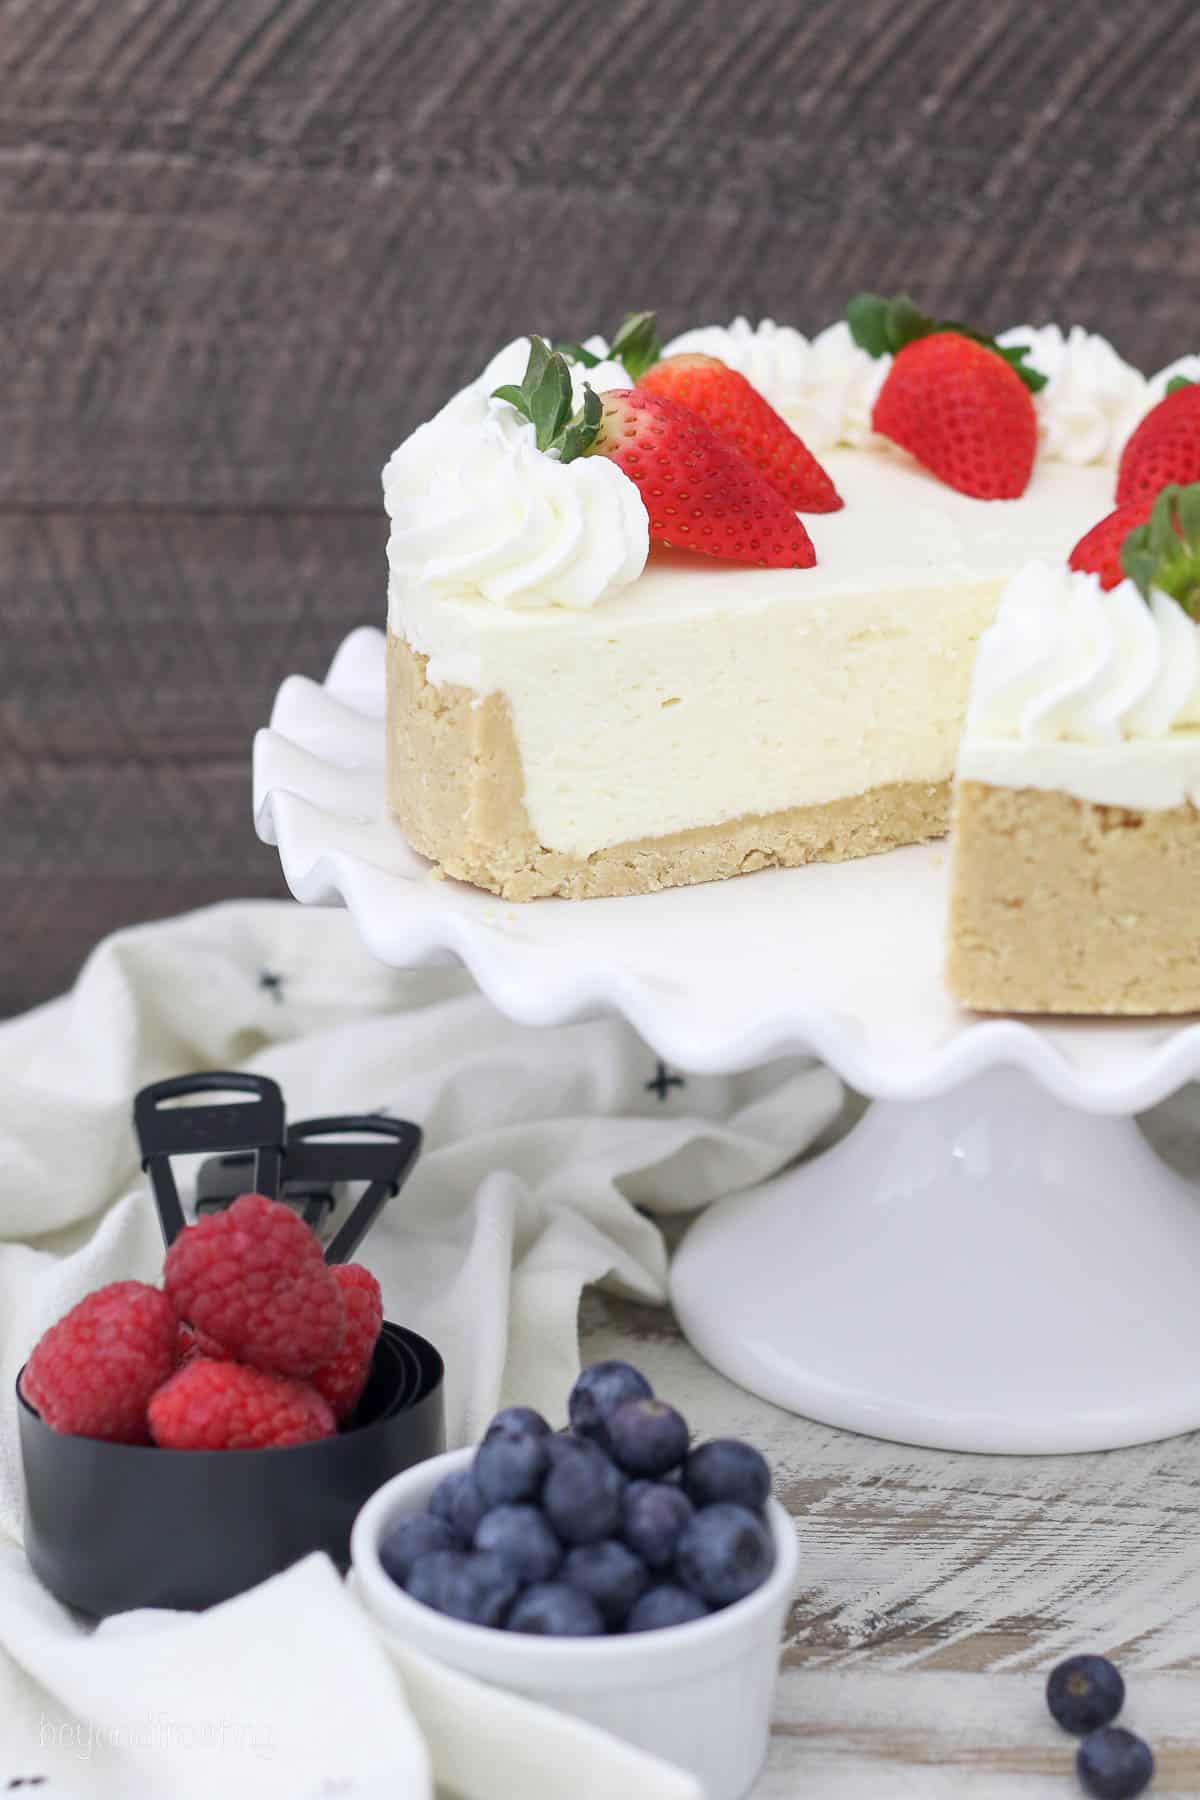
- Top and serve: It’s best to add the toppings before serving. Make another batch of whipped cream and use a large open star tip to pipe whipped cream along the border of the pie, then garnish, slice, and serve.
Why Didn’t My Cheesecake Set?
If your no-bake cheesecake isn’t firm yet, try giving it a couple more hours to set. Do not throw it in the freezer to try to firm it up. The cheesecake can only be frozen once the filling has set.
If, after a few hours, your cheesecake still has not set, it is likely an issue with the ingredients and preparations. Was the whipped cream beaten properly? Did you use the right kind of cream cheese? These cannot be fixed after the filling is combined and chilled.
Tips for a Perfect Cheesecake
- Room temperature cream cheese: Ensuring the cream cheese is at room temperature will allow for a smooth and lump-free filling.
- Use a springform pan. A springform pan makes it so much easier to remove the cheesecake without damaging it. If you don’t have one, you can use a 9-inch square pan and cut it into slices.
- Can I use a pie plate? The filling and crust are quite high, so you’ll need a deep-dish pie plate.
- Prevent the chocolate from burning: Melt the chocolate at 50% power in short increments. If you are unsure how to change the power settings on the microwave, check your manual.
- Time-saving tip: Swap the homemade whipped cream out for Cool Whip.
Topping Ideas
I love a simple fruit topping like seasonal berries but here’s a few alternatives.
- Swap the whipped cream. Try something like a strawberry whipped cream or even a chocolate one.
- Caramel or hot fudge. A simple drizzle of salted caramel or fudge sauce pairs well with this
- Crushed Cookies. If you love the cookies, crumble some up to serve on top
- Fruity sauces. You may prefer a strawberry or blueberry sauce as opposed to fresh fruit
Flavor Variations
This base recipe has inspired me to play around the wth a variety of different flavor options.
- Cookies: Adding your favorite cookies and make an Oreo cheesecake.
- Cookie Dough: If you’re crazy for cookie dough, I love this cookie dough cheesecake too.
- Christmas Option: For a holiday recipe, you’ll love this no-bake peppermint cheesecake
- Serving brunch? Try this mimosa cheesecake to serve alongside a prosecco mimosa.
Recommendations to Prepare Ahead of Time
Cheesecakes are great to prep ahead of time! To prep ahead of time, you have two options:
- How far in advance can I make it? Prepare the cheesecake as instructed, then keep it in the fridge for 1-2 days before serving. I still recommend adding the toppings the day you are serving. Keep the pan wrapped tightly with Saran Wrap to maintain freshness.
- Freezing tips: Prepare the cheesecake as instructed, but leave off the whipped cream. Instead, wrap the pan with foil and Saran Wrap, then freeze for up to 2 months. When you’re ready to serve, thaw in the fridge overnight, then add the toppings before serving.
How Long Does Cheesecake Last in the Fridge?
A fully assembled cheesecake will last for up to 5 days in the refrigerator.
More No-Bake Desserts to Try

No-Bake White Chocolate Cheesecake Recipe
- Prep Time: 30 minutes
- Total Time: 30 minutes
- Yield: 8-10 slices
- Category: Cheesecake
- Method: Refrigerator
- Cuisine: American
Description
There’s no need to turn on the oven to enjoy a bite of this light and creamy no-bake cheesecake. It’s made completely from scratch without gelatin or Cool Whip and white chocolate to achieve the perfect texture and consistency.
Ingredients
For the Crust:
- 1 package (14.3 oz/405g) Golden Oreos
- ½ cup (113g) unsalted butter, melted
For the Cheesecake Filling:
- 8 ounces (226g) white chocolate bar, melted
- 1 ½ cups + 4 tablespoons (413ml) heavy whipping cream, divided
- ½ cup (65g) powdered sugar
- 16 ounces (452) full-fat cream cheese, at room temperature
- ½ cup (95g) granulated sugar
- 1 teaspoon (5ml) pure vanilla extract
For the Topping:
- 1 cup heavy whipping cream
- ½ cup powdered sugar
- fresh fruit as desired
Instructions
For the Crust:
- Prepare a 9-inch springform pan by lightly greasing the edges of the pan with cooking spray and then wiping gently with a paper towel, or use an acetate liner. Line the bottom of the pan with parchment paper.
- Grind the cookies into a fine crumb using a food processor or blender. Melt the butter in the microwave and combine with the cookie crumbs, stirring until well combined.
- Pour the crumbs into the springform pan and press firmly into the bottom and up on the sides of the pan. Refrigerate the crust while you are preparing the filling.
For the Filling:
- Break up the white chocolate bar into smaller pieces, and combine with 4 tablespoons of heavy whipping cream. Microwave at 50% power in 30-second increments, stirring each time until the chocolate is melted. Stir until completely smooth.
- Chill the mixing bowl and beater blade for 5-10 minutes in the freezer or refrigerator. Beat the heavy cream in the chilled bowl and use an electric mixer to beat on medium-high speed until the cream thickens to soft peaks. Add the powdered sugar and continue beating on high speed until stiff peaks form.
- Beat the cream cheese until it’s completely smooth, and scrape down the sides of the bowl as needed. Next, add the granulated sugar and vanilla extract and continue beating until smooth. Then add the melted chocolate, beating until it’s combined.
- Finally, slowly fold in the whipped cream until it’s completely smooth. Pour the filling into the prepared, cooled crust, spreading evenly. Refrigerate for 3-4 hours until it’s firm.
For the Topping:
- Prepare another batch of whipped cream. Follow the instructions above using 1 cup heavy whipping cream and ½ cup powdered sugar. Use a large piping bag to pipe the borders of the cheesecake. Garnish with fresh fruit.
Notes
- Storing: A fully assembled cheesecake will last for up to 5 days in the refrigerator.
- Preparing ahead: I recommend preparing 1-2 days ahead of serving. Add the toppings before serving.
- Freezing: Prior to freezing, ensure the cheesecake is fully set in the refrigerator first. Then wrap the pan with foil and saran wrap. Freeze for up to 2 months, and thaw in the fridge overnight before serving. Add toppings before serving.
- Crust alternatives: Use any type of Oreos, graham crackers (2 1/4 cup crumbs with 1/2 cup butter) or Nilla Wafers
- Cool Whip can be used instead of homemade whipped cream for either the filling or topping, but you’ll still need heavy cream to melt together with the chocolate
- Chocolate recommendations: If possible, use a chocolate bar like Ghirardelli or Lindt instead of chocolate chips.
Nutrition
- Serving Size: 1 Slice
- Calories: 689
- Sugar: 40.6 g
- Sodium: 183.7 mg
- Fat: 56 g
- Carbohydrates: 45 g
- Fiber: 1.6 g
- Protein: 6.6 g
- Cholesterol: 144.2 mg


I’ve made this at least 6 times and it is a favorite among my family and friends! I get requests for it when we have get-togethers. I like that it consistently turns out perfect and I can make it 2 days ahead of time. I enjoy making traditional cheesecakes but this is the one everyone likes best!
This is the best, thank you so much!
Follow the directions perfectly and your cheesecake will come out beautiful!
I love to hear that Elisabeth! Thank you!
I’m excited to try this recipe! Your site is my first check for recipes. :). My question is – in your testing of this recipe, did you ever try it with sour cream added? I ask because so many no-bake cheesecakes have sour cream, and I think the tang of that would be good, but I don’t want to do anything to hurt the texture. Thank you!
Hi there! Thank you so much! No, I have not tried this recipe with sour cream.
Question: do you leave the filling in Oreos to make crust
You do not need to remove the filling of the Oreos