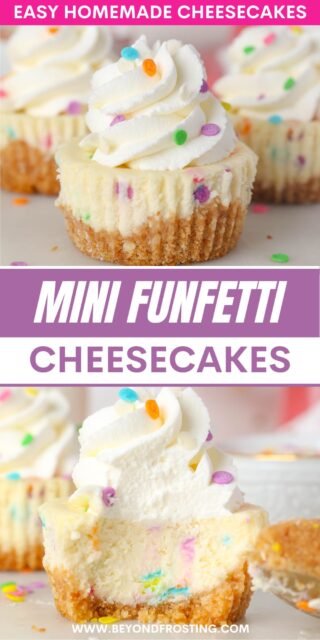
Make rich and creamy Mini Funfetti Cheesecakes loaded with bright rainbow sprinkles. These easy homemade cheesecakes inspired by funfetti cake are the perfect celebration-worthy dessert.
Looking for an equally festive full-sized variation? Try my No-Bake Funfetti Cheesecake recipe!

Festive Funfetti Mini Cheesecakes
Happy birthday!! OK, so maybe it’s not your birthday. But after one bite of these mini funfetti cheesecakes, I can guarantee that it’s going to feel like a celebration.
I love cheesecakes of all kinds, and this recipe is based on my favorite Mini Cheesecakes. These mini treats offer all the luxurious, creamy flavors of a full-sized cheesecake, scaled down to cupcake size. Throw in a splash of festive rainbow sprinkles, and these little homemade cheesecakes are made for a party!
These are baked to soft, moist perfection, then topped with a sweet and simple whipped cream topping, plus more sprinkles (obviously). If you’re looking for something different to make for a birthday, holiday, or just because, this mini cheesecake recipe is a must.

Why You’ll Love This Mini Cheesecake Recipe
These adorable cheesecake bites are loaded with rainbow sprinkles and frosted with whipped cream, what’s not to love? Here are just a few of the many reasons you’ll want to make these mini funfetti cheesecakes over and over again:
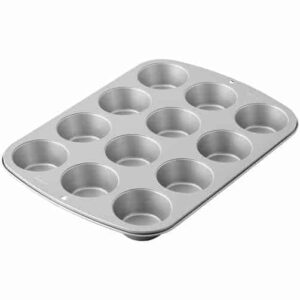
- No fuss. There’s no need for water baths or springform pans when you’re making mini cheesecakes in a cupcake pan! This recipe is quick and easy, with a short baking time.
- Party-worthy. These funfetti cheesecakes are perfect for birthdays and celebrations. This recipe makes enough for about 16 mini cheesecakes, and you can easily double or halve the ingredients as needed.
- Customizable. Treat these mini cheesecakes as you would Funfetti Cupcakes, and get creative with frosting and decorating ideas! See later on in the post for easy topping ideas.
Ingredient Notes
Below are the key ingredients needed to make these irresistible mini funfetti cupcakes. You’ll find the full ingredients list and recipe details in the recipe card in the bottom of the post.
- Nilla Wafers – You’ll need one generous cup of Nilla Wafer cookies to crush into a cheesecake crust.
- Cream Cheese – Full-fat cream cheese will yield the creamiest cheesecake. Use the kind of cheesecake that comes in blocks, and take it out of the fridge ahead of time so that it comes to room temperature.
- Eggs – For structure and richness. You’ll also want your eggs at room temperature before you start.
- Vanilla – For the best flavor, use real vanilla extract.
- Sour Cream – Also at room temperature. Sour cream makes these mini cheesecakes SO creamy and moist. If you don’t have sour cream, use plain Greek yogurt instead.
- Toppings – I top these cheesecake cupcakes with my Homemade Whipped Cream made from heavy whipping cream and powdered sugar. Garnishes are optional, but recommended!
What Type of Sprinkles Are Best?
I recommend using either confetti sprinkles or jimmies (the small rod-like sprinkles) when making confetti cakes, as the colors are less likely to run. Nonpareils sprinkles (the little round balls) tend to leak color when they come into contact with wet batter.

How to Make Mini Funfetti Cheesecakes
Make sure to allow the necessary ingredients to come to room temperature. First, get your oven preheating to 350ºF while you place liners into a cupcake pan. Then, it’s time to make some mini funfetti cheesecakes:
Step 1: Prepare the crust. Begin by pulsing the Nilla wafers in a blender until you reach a fine crumb, then stir in the melted butter. Divide the crust mixture between the cupcake liners and press it gently into the pan.

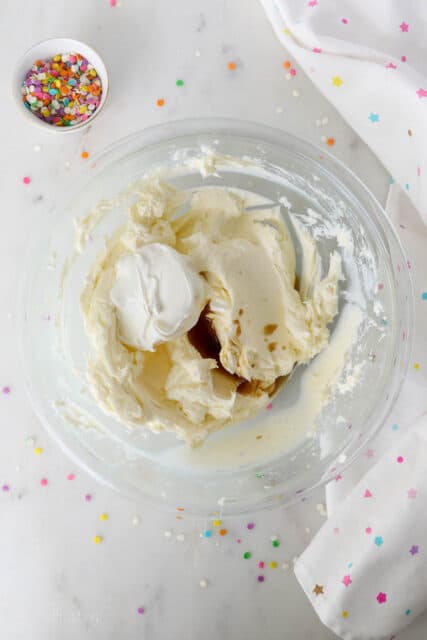
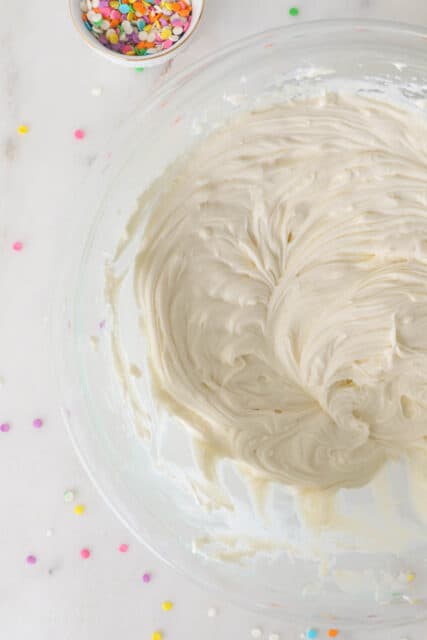
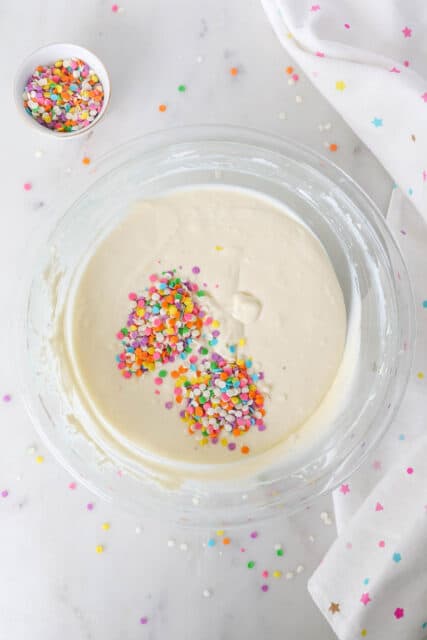
Step 2: Prepare the cheesecake filling. Set your pan aside for now, and in a separate bowl, beat together the cream cheese and sugar. Next, beat in the sour cream and vanilla, followed by the eggs. Lastly, fold in the colored sprinkles.
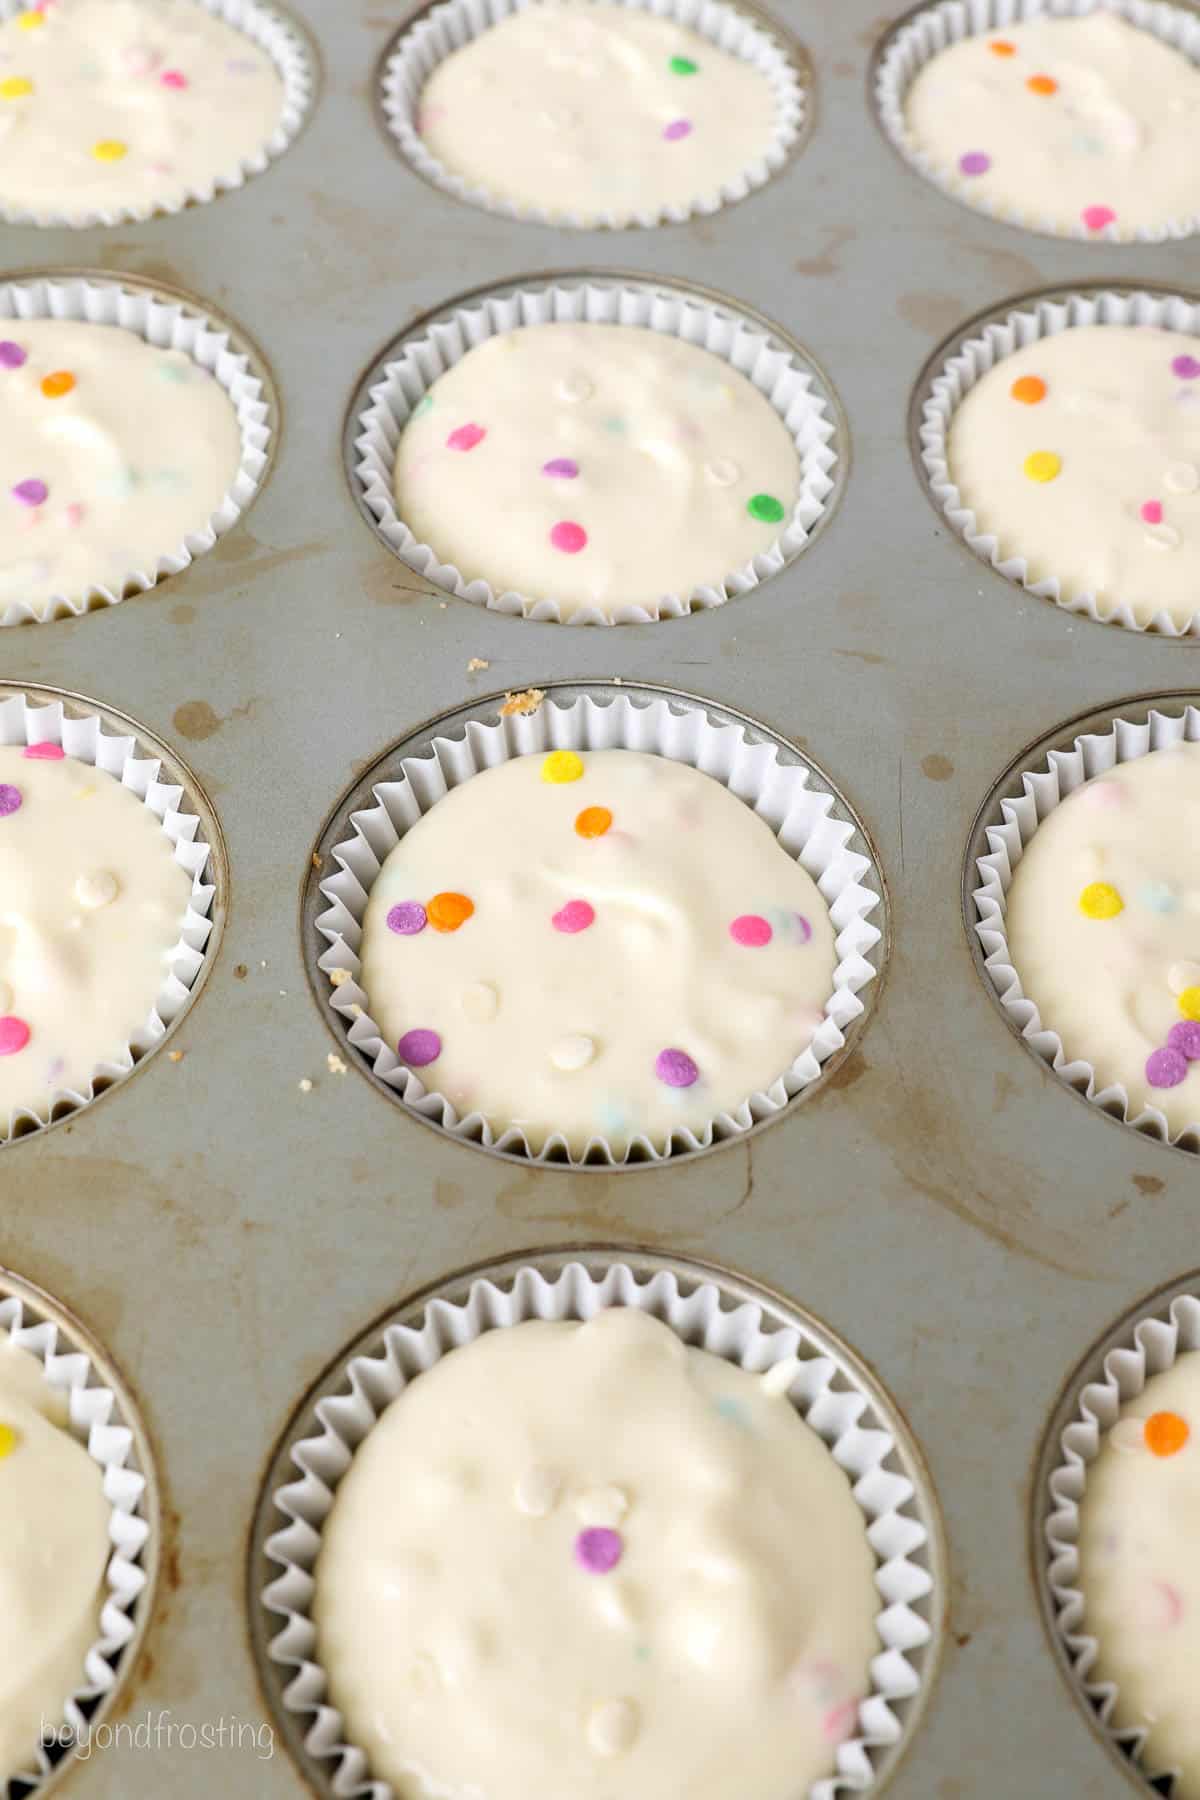
Fill the pan. Spoon the filling into the cupcake liners. I like to use a large cookie scoop for even portions, or you can use a ¼ cup measuring cup. Unlike cupcakes, you can fill the liners nearly full as these cheesecakes won’t rise as much. Add additional sprinkles over the top of the batter before you pop the pan into the oven.
Bake. Bake the mini cheesecakes for 15-18 minutes, then leave them to cool completely in the pan. Afterward, place the cooled cheesecakes into the fridge for a minimum of 2 hours before topping and serving.
Making the Whipped Cream Topping
This part is optional, but I love how a swirl of fluffy whipped cream makes these mini funfetti cheesecakes look like real cupcakes! Here’s how to make the easy whipped topping:
- Chill the bowl. Before you start, place your mixing bowl and whisk attachment into the freezer to chill for 10 minutes or so. Cold tools are key to successful whipped cream!
- Prepare the whipped cream. Next, beat the heavy whipping cream in the chilled bowl until soft peaks form. Gradually beat in the powdered sugar. When stiff peaks start to form, your frosting is ready to use.
- Decorate. Use a piping bag to pipe swirls over the chilled cheesecakes, or dollop the whipped cream on with a spoon. See further down for more topping ideas!

Can I Make Cheesecake Bars Instead?
Yes! You can make these mini cheesecakes as funfetti cheesecake bars instead. Instead of a cupcake pan, transfer the cheesecake batter to an 8- or 9-inch square pan lined with parchment paper. Bake at 350ºF for 15-25 minutes (a 9-inch baking pan calls for a shorter baking time), until the cheesecake is set at the edges and still a little wiggly in the center. See below for more easy recipe variations.
My Best Cheesecake Tips
These funfetti cheesecakes are a breeze to make, but in case you’re new to baking cheesecakes, here are some additional helpful tips:
- Use room temperature ingredients. Ingredients like cream cheese, sour cream, and eggs should all be at room temperature before you begin. This makes them easier to whip and prevents lumps in the batter.
- Don’t overbeat the eggs. The eggs get added last, and it’s important to not overbeat them as it may result in cracks and bubbles in the finished cheesecakes.
- Chill the cheesecakes. Make sure that you budget enough time for the cheesecakes to chill thoroughly in the fridge before serving. Aim for at least 2 hours.
- Add toppings just before serving. I recommend storing these mini cheesecakes as they are, and only adding any toppings right before you serve them. See below for topping suggestions.

Common Questions
Let’s have a look at some cheesecake FAQs:
How do I know when my mini cheesecakes are done?
I recommend the jiggle test! When you take the cheesecake out of the oven, give the pan a gentle shake. The cheesecake should be puffed up and set at the edges, while the middle should still jiggle a bit.
Why did my cheesecake cupcakes sink?
If your mini cheesecakes fall flat in the center after baking, this is likely because the eggs were overbeaten. Overworking the eggs creates air bubbles in the batter, which deflates as the cheesecake cools. Make sure to only mix in the eggs until they’re just combined.
Do mini cheesecakes need to be refrigerated?
Yes. Once they’ve cooled to room temperature, the baked cheesecakes will need to be kept in the fridge. See later in the post for more storage tips.

Toppings and Variation Ideas
These occasion-worthy funfetti cheesecakes are so easy to customize! Whether you’re making these for a birthday party or any other festivity, here are just some of the many ways you can decorate and change up your mini cheesecakes:
- Different Crust – You can make these mini cheesecakes with any kind of cookie crust. Try my Graham Cracker Crust or Oreo Crust for something different. Note that if you use Oreos or another cookie with a filling, reduce the amount of butter in the crust by 1 tablespoon.
- Flavored Whipped Cream – Top these mini funfetti cheesecakes with any frosting your heart desires. My Strawberry Whipped Cream or this Cake Batter Whipped Cream would also be delicious.
- Chocolate Chips – Sprinkle over mini chocolate chips or white chocolate chips, or white chocolate shavings.
- Add a Topping – Top your mini cheesecakes with a drizzle of strawberry sauce (chocolate sauce or caramel sauce are also good options!).
- Fruit – You can top your funfetti cheesecakes with chopped strawberries, raspberries, blueberries, or your choice of fresh-cut fruit.
- Cookies – Chop up Nilla Wafers, Oreos, or chocolate chip cookies to use as a garnish.

How to Store Mini Cheesecakes
Once your cheesecakes have cooled and chilled, keep them stored airtight in the fridge for up to 2-3 days. You can also freeze these mini cheesecakes for longer-term storage, see the next section.
Can I Freeze Funfetti Cheesecake?
Yes, after the cheesecakes have chilled and before they’re frosted, flash freeze for 30 minutes on a baking sheet. Then transfer to an airtight container and freeze for up to 1 month. Defrost the mini cheesecakes in the fridge overnight and add any toppings just before serving.
Print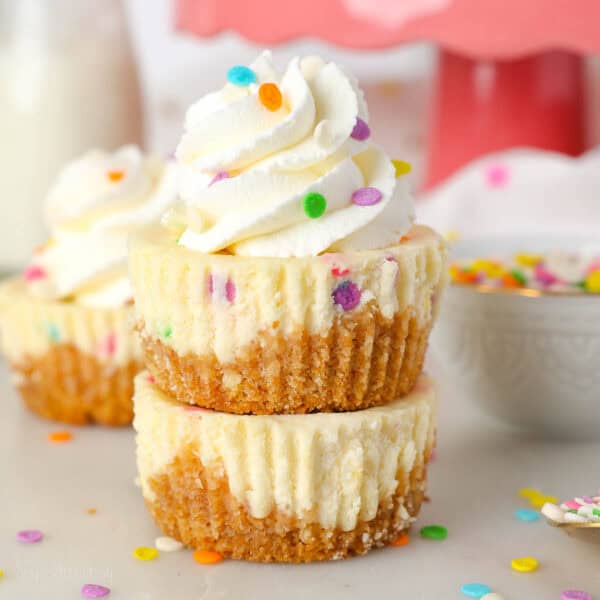
Mini Funfetti Cheesecakes
- Prep Time: 45 minutes
- Chilling Time: 3 hours
- Cook Time: 15 minutes
- Total Time: 4 hours
- Yield: 15-16 cheesecakes
- Category: Dessert
- Method: Oven
- Cuisine: American
Description
These celebration-worthy Mini Funfetti Cheesecakes are loaded with bright rainbow sprinkles! This is an easy homemade cheesecake recipe inspired by funfetti cake, perfect for birthdays!
Ingredients
- 1 ¼ cups (112g) Nilla Wafer crumbs (about 1 heaping cup of cookies)
- 3 tablespoons (43g) unsalted butter, melted
- 16 ounces (452g) full-fat cream cheese, at room temperature
- 1/3 cup (63g) granulated sugar
- 2 large eggs, at room temperature
- 1 tablespoon (15ml) Pure Vanilla extract
- ½ cup (120g) sour cream, at room temperature
- 1/3 cup sprinkles
For the Toppings (optional):
- 1 cup (236ml) heavy whipping cream
- ½ cup (65g) powdered sugar
- Additional sprinkles for garnish
Instructions
For the Cheesecakes:
- Preheat the oven to 350°F. Line a cupcake pan with baking liners.
- Grind the Nilla Wafers into a fine crumb using a food processor or blender, combine them with the melted butter, and stir until well combined. Spoon 1 heaping tablespoon of the crust mixture into each cupcake liner, and press into the pan with a spoon. Set aside.
- In a mixing bowl, beat the cream cheese and sugar until well combined and free of any lumps, scraping down the bowl as needed. Next beat in the sour cream and vanilla extract. Finally, beat in the eggs until well combined and smooth. Stir in the sprinkles.
- Use a large cookie scoop (or ¼ cup measuring cup) to spoon the batter into the prepared cupcake liners. A heaping cookie scoop should fill the liners nearly full, leaving about ¼-inch at the top. Add a few more sprinkles on top.
- Bake at 350°F for 15-18 minutes. The centers of the cheesecake should be slightly jiggly. Remove from the oven and cool completely in the pan. Then refrigerate for a minimum of 2 hours prior to serving. Keep stored in the refrigerator in an airtight container. Add toppings prior to serving.
For the Toppings:
- Prepare the whipped cream. Place the mixing bowl and whisk attachment in the freezer for 5 to 10 minutes to chill. Pour the heavy whipping cream into the chilled bowl and use an electric mixer to beat the heavy cream on medium-high speed until soft peaks start to form. Slowly add the powdered sugar and continue beating at high speed until stiff peaks form. Pipe or spoon onto chilled cheesecakes and top with sprinkles or fresh fruit.
Notes
- Storing: Store in an airtight in the refrigerator for up to 3-4 days.
- Freezing: It’s best to freeze them without a garnish. First, chill the cheesecakes and then flash freeze for 30 minutes on a baking sheet. Then transfer to an airtight container and freeze for up to 1 month. Defrost the mini cheesecakes in the fridge overnight and add any toppings just before serving.
Nutrition
- Serving Size: 1
- Calories: 285
- Sugar: 15 g
- Sodium: 159.4 mg
- Fat: 22.7 g
- Carbohydrates: 21 g
- Fiber: 0.2 g
- Protein: 4.3 g
- Cholesterol: 82.1 mg