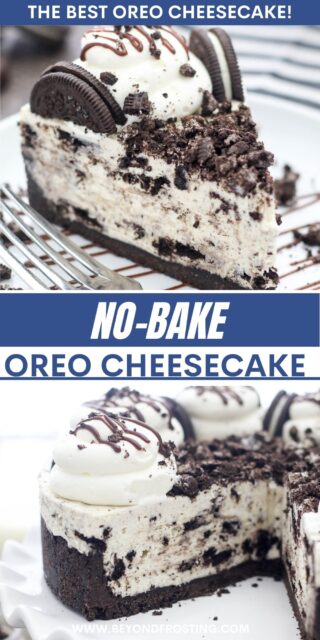
This No-Bake Oreo Cheesecake is an easy no-bake dessert packed full of Oreos inside a perfect Oreo cookie crust. The light, silky cheesecake filling tastes just like Oreo creme! And the best part is, you don’t even have to turn on the oven.
If you love Oreo desserts, give my Brownie Bottom Oreo Mousse Pie a try, too!
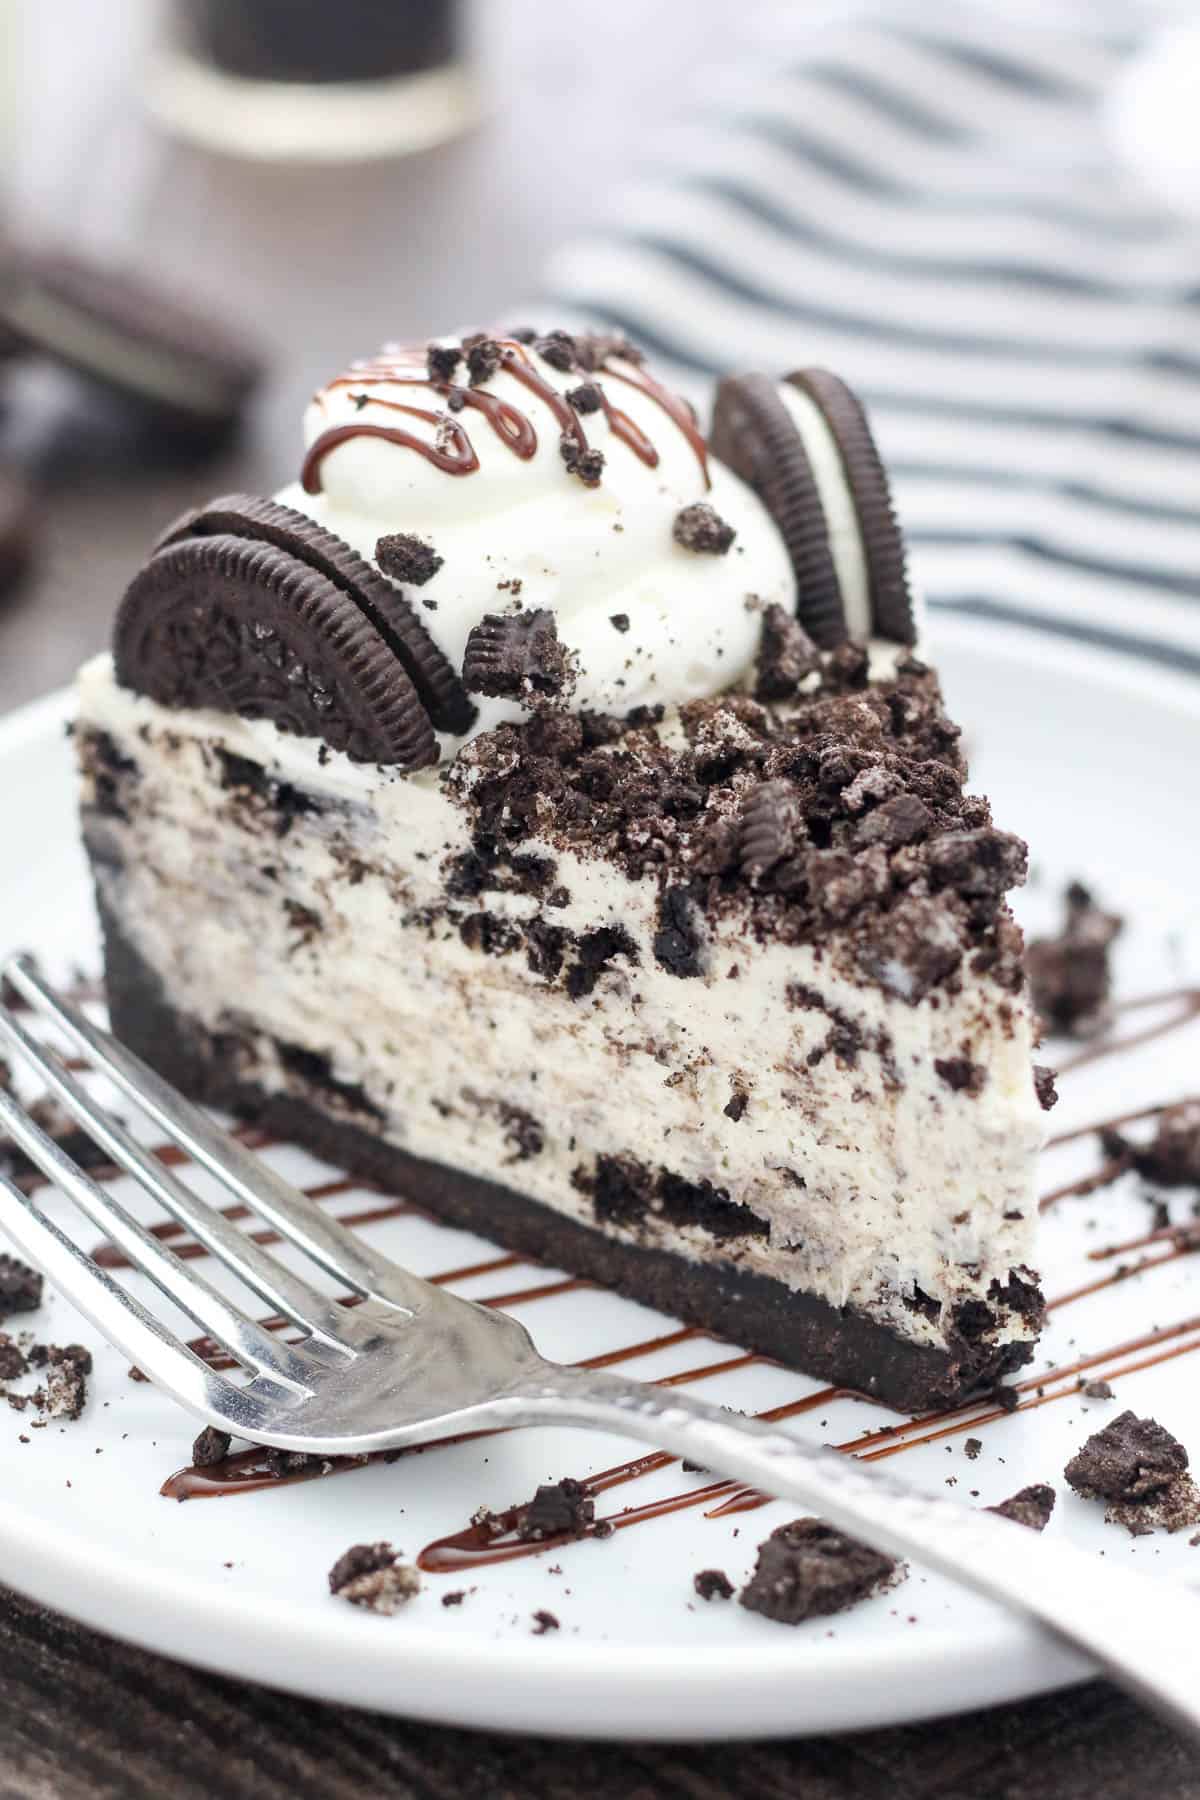
The Best Oreo Cheesecake Ever, No Oven Needed
I rarely play favorites when it comes to desserts (how do you pick one or two out of thousands??), but my no-bake Oreo cheesecake recipe is without a doubt high on my list. This no-bake dessert is unreal. It has a light, airy, velvety cheesecake filling that is to die for, set inside the most perfect Oreo crust.
t tastes just like cool and creamy Oreo creme, filled with even MORE Oreos. It’s incredibly easy, make-ahead friendly, and it freezes like a dream. Honestly, the hardest part is waiting to slice it.
Make it any time of the year: birthdays, holidays, make it ahead for potlucks. It’s especially great in the summer. Who wants to turn on the oven, anyway?
What’s the Difference Between Baked and No-Bake Cheesecake?
The main difference between a no-bake cheesecake and a baked cheesecake is that the latter contains eggs, and calls for baking in order to set. A no-bake cheesecake doesn’t have eggs in the recipe and sets up by chilling in the fridge.
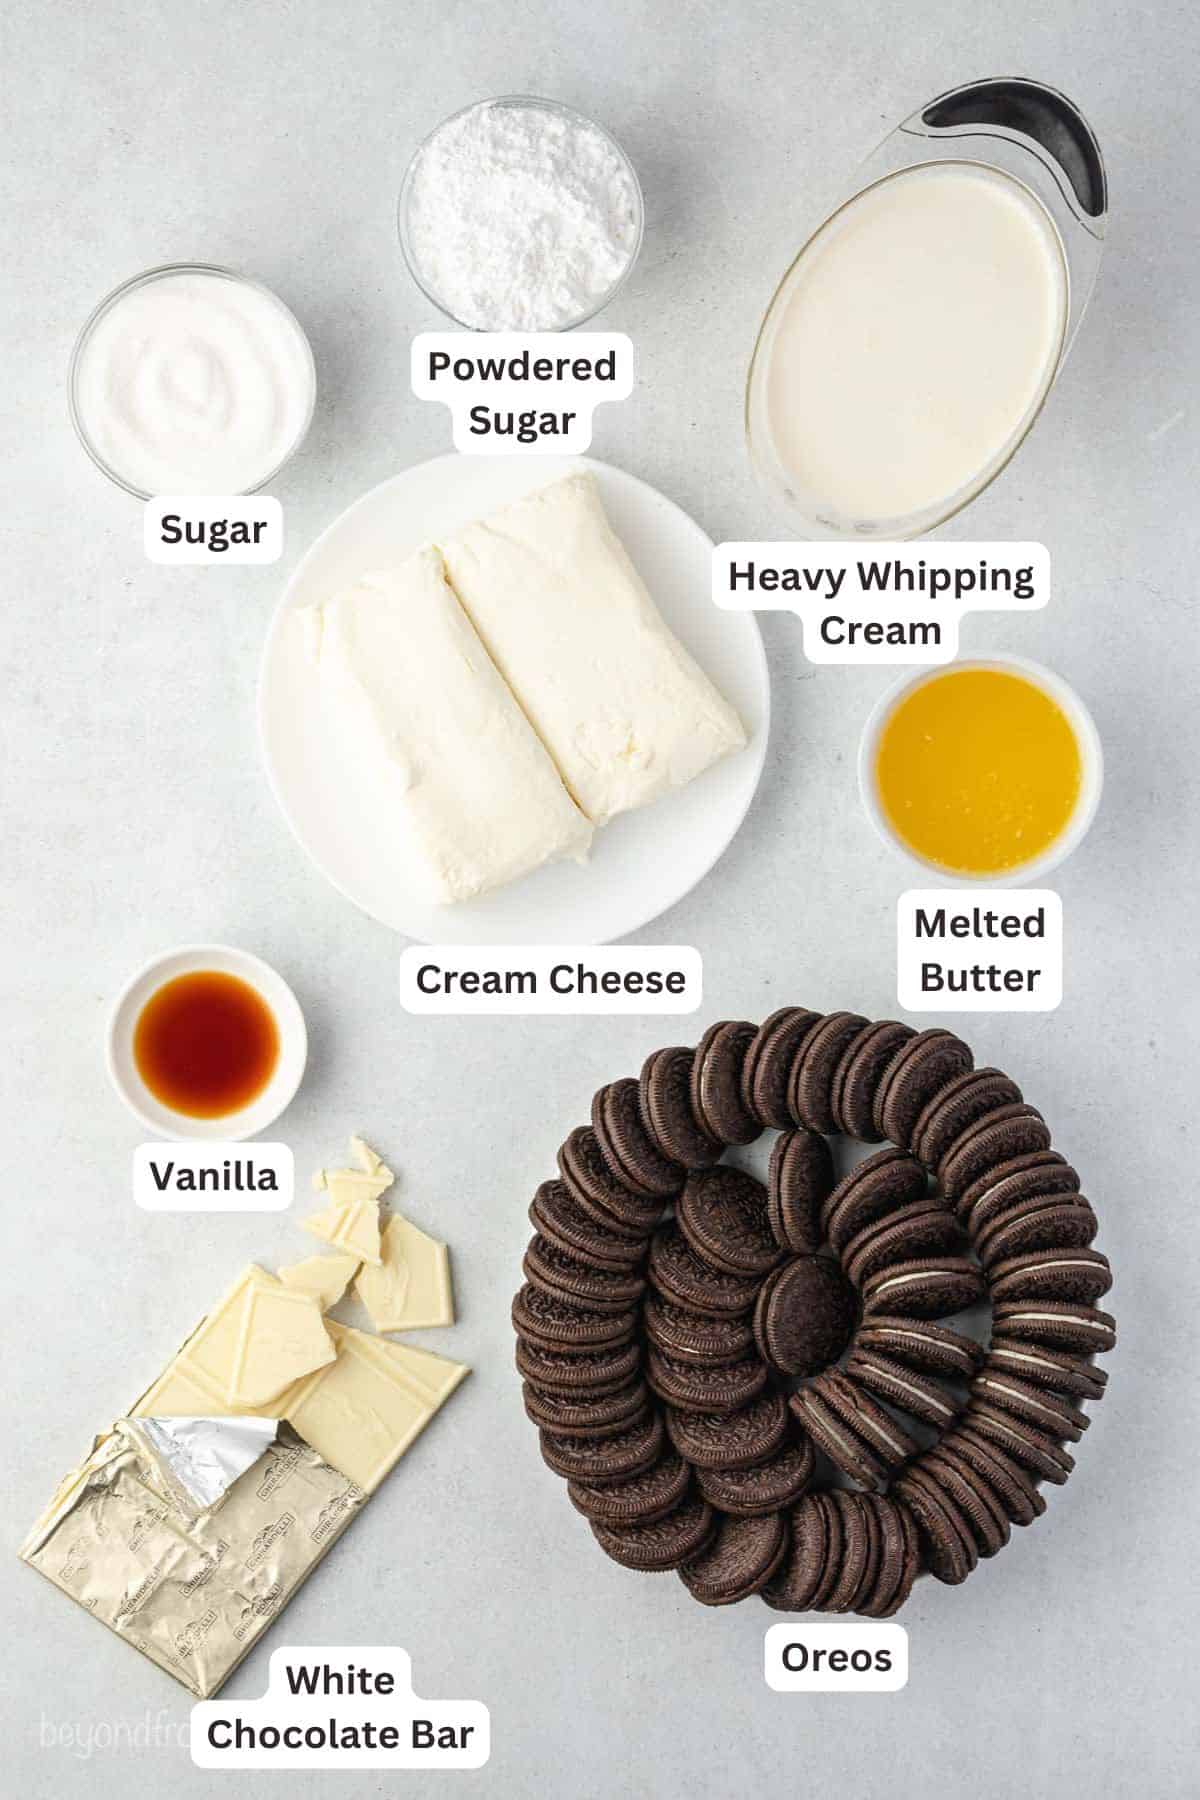
Key Ingredients
Along with your usual pantry suspects, there are a few key ingredients that make up the perfect Oreo cheesecake. I go over them below, with the full details available in the recipe card at the bottom of this post.
- Oreos – There are Oreos all throughout this cake: in the crust, in the filling, and scattered over top. You’ll need at least two packages of Oreo cookies.
- White Chocolate – White chocolate gives the cheesecake a rich and velvety texture without overpowering the flavor. I recommend using a white chocolate bar (like Ghirardelli or Bakers Chocolate), and not chocolate chips, as bars melt much smoother.
- Heavy Whipping Cream – Homemade whipped cream is worth the extra step for an extra light and fluffy filling. However, if you’re looking for a time saver, you can swap it out with Cool Whip instead.
- Cream Cheese – Whenever you’re making cheesecakes of any kind, full-fat cream cheese is always best. Reduced or low-fat cream cheese often has a thinner texture since it contains more water, which softens the consistency of the filling too much.
Why Use White Chocolate In No-Bake Cheesecake?
Including white chocolate in the filling is actually my favorite way to make no-bake cheesecakes. White chocolate lends an air of luxury to the cheesecake filling that’s subtle, and so delicious. If you’ve never used white chocolate in your no-bake cheesecakes before, I urge you to try it!
Including chocolate also makes this filling thicker, to the point where friends and family can’t even believe that it’s a no-bake recipe. You can leave it out and the cake will still set fine without it. The taste and texture just won’t be quite the same.
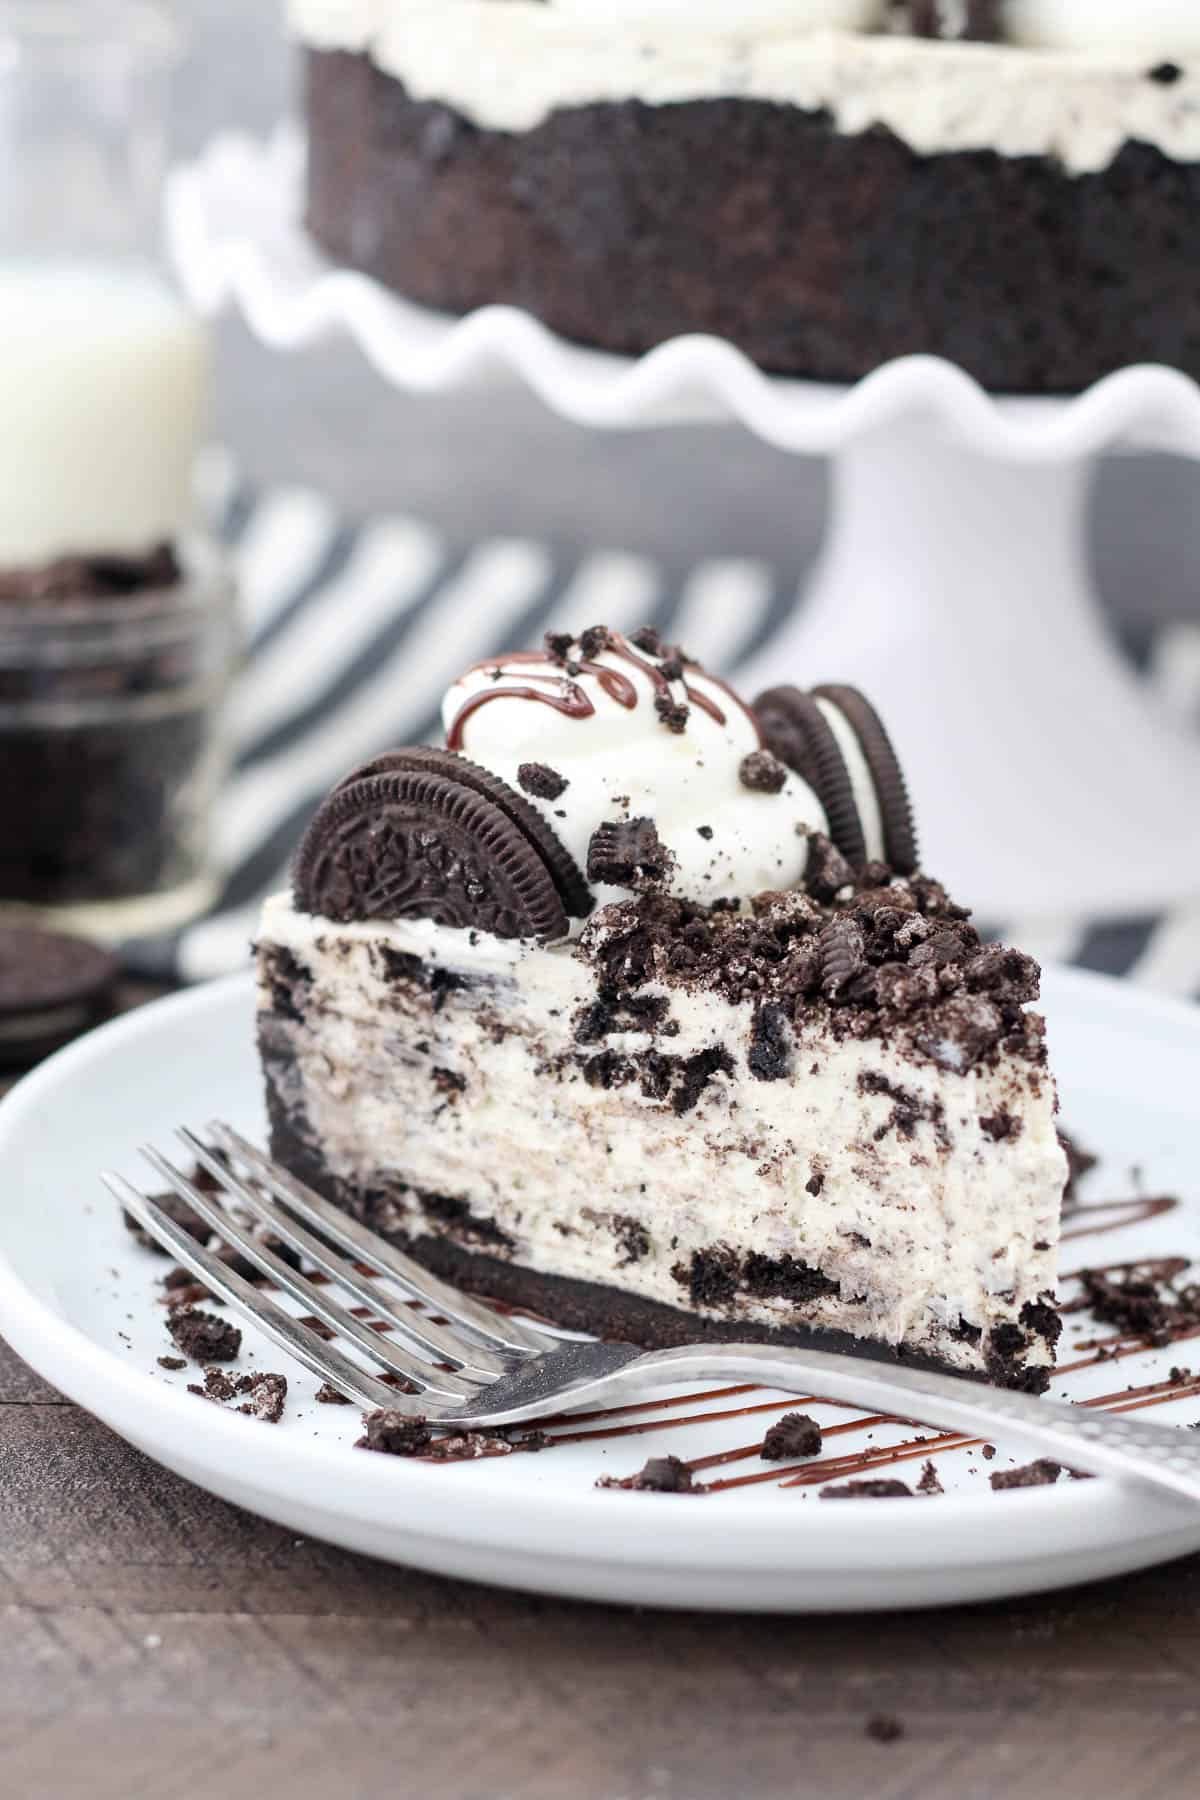
Preparing the Perfect Oreo Crust
Before we begin with the cheesecake itself, properly prepping your pan is key to preventing the crust from sticking. Here are some quick tips for a successful Oreo cookie crust:
How to Prepare the Pan
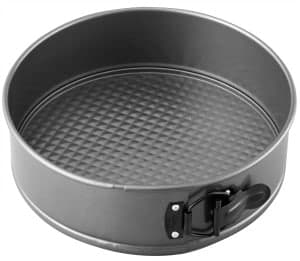
- Use a springform pan. There’s quite a bit of filling in this cheesecake, so I recommend a 9-inch springform pan. If you don’t have one, then a deep dish pie plate will work, or you can use a 9-inch square pan.
- Line the pan with parchment paper. Most springform pans have a textured base. For the best results, line the bottom with parchment paper. Let it hang out over the edge of the pan.
- Lightly grease the edges with cooking spray. Gently wipe the greased sides with a paper towel. This will also help the crust to release more easily from the edges of the pan.
- Press the crumbs tightly into the pan. Use the bottom of a glass or measuring cup to press and flatten the crumbs, so that the crust is less likely to crumble.
With your pan prepped and ready, the Oreo crust comes together quickly with just two ingredients: crushed Oreos and melted butter. No need to remove the filling from the Oreos, either! It actually helps hold the crust together.
- Grind the cookies. Use a food processor to pulverize the Oreos into a fine crumb.
- Add butter. Next, pour melted butter over the cookie crumbs and mix to combine.
- Add to the pan. Dump the crumbs into your prepared baking pan, and press the crust firmly into the bottom and up the sides. Afterward, pop the crust into the fridge while you get started on your cheesecake filling.
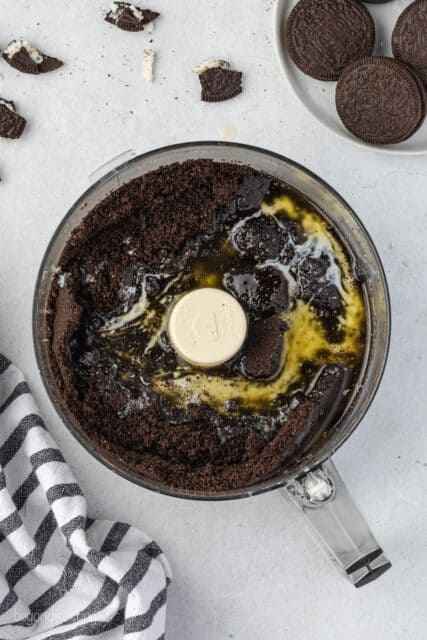
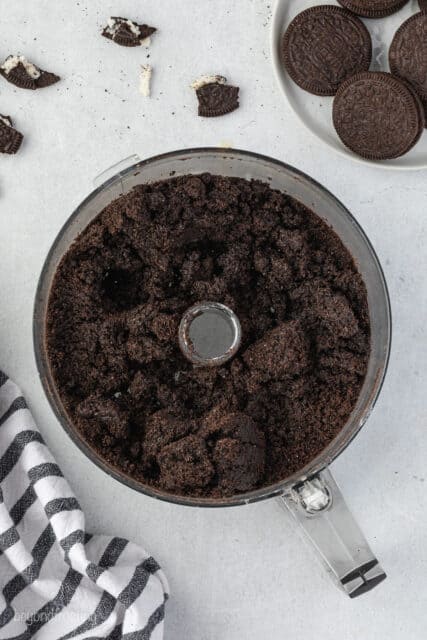
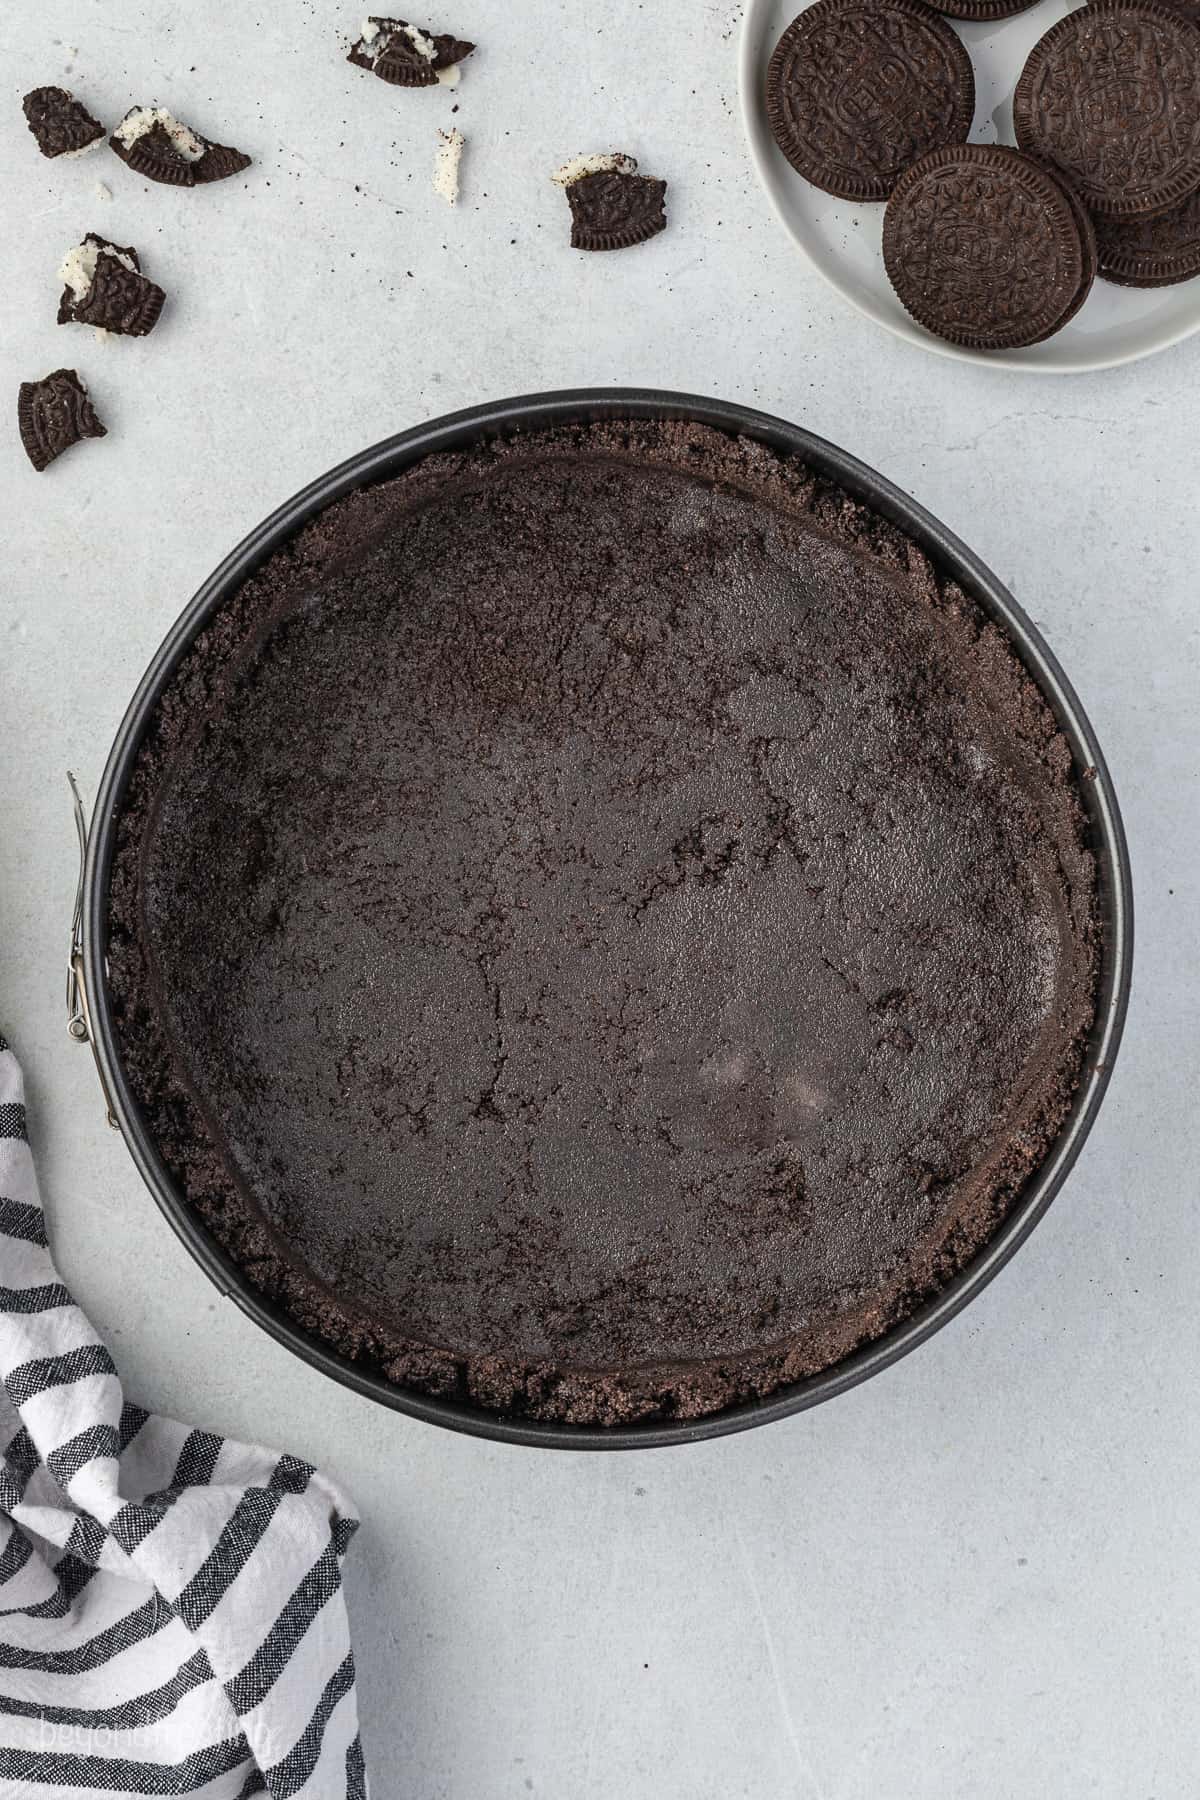
How to Make No-Bake Oreo Cheesecake
I seriously cannot wait for you to dig into this dessert. I recommend making the whipped cream before the filling so that you can set it aside, and use the same bowl to prepare the filling.
Making the Cheesecake Filling
Once your crust is ready, here’s how to make the creamy Oreo cheesecake filling from scratch:
- Melt the chocolate. First, break up the chocolate and melt the white chocolate in the microwave. I recommend adjusting to 50% power to prevent burning. Stir every 30 seconds. Don’t have a microwave? Visit my handy tutorial for how to melt chocolate for more options.
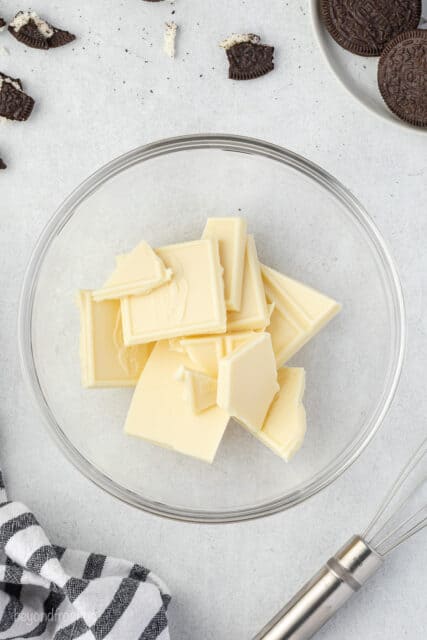
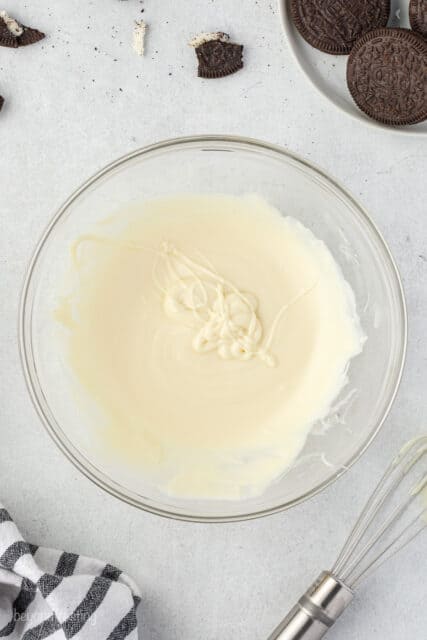
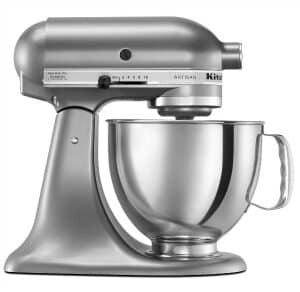
- Prepare the whipped cream. Get the bowl of your stand mixer nice and cold, and then beat the heavy whipping cream until soft peaks begin to form. Next, add the powdered sugar a little at a time while continuing to beat the frosting into stiff peaks. Set aside.
- Beat the cream cheese until smooth. This is the best way to prevent lumps in the filling. Add the sugar and vanilla, beat again, and add the melted chocolate until combined.
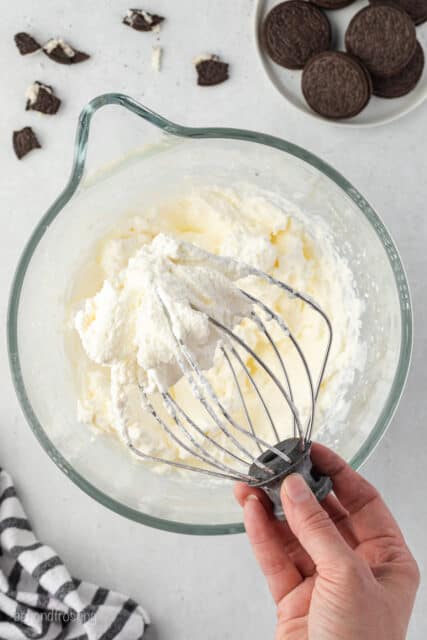
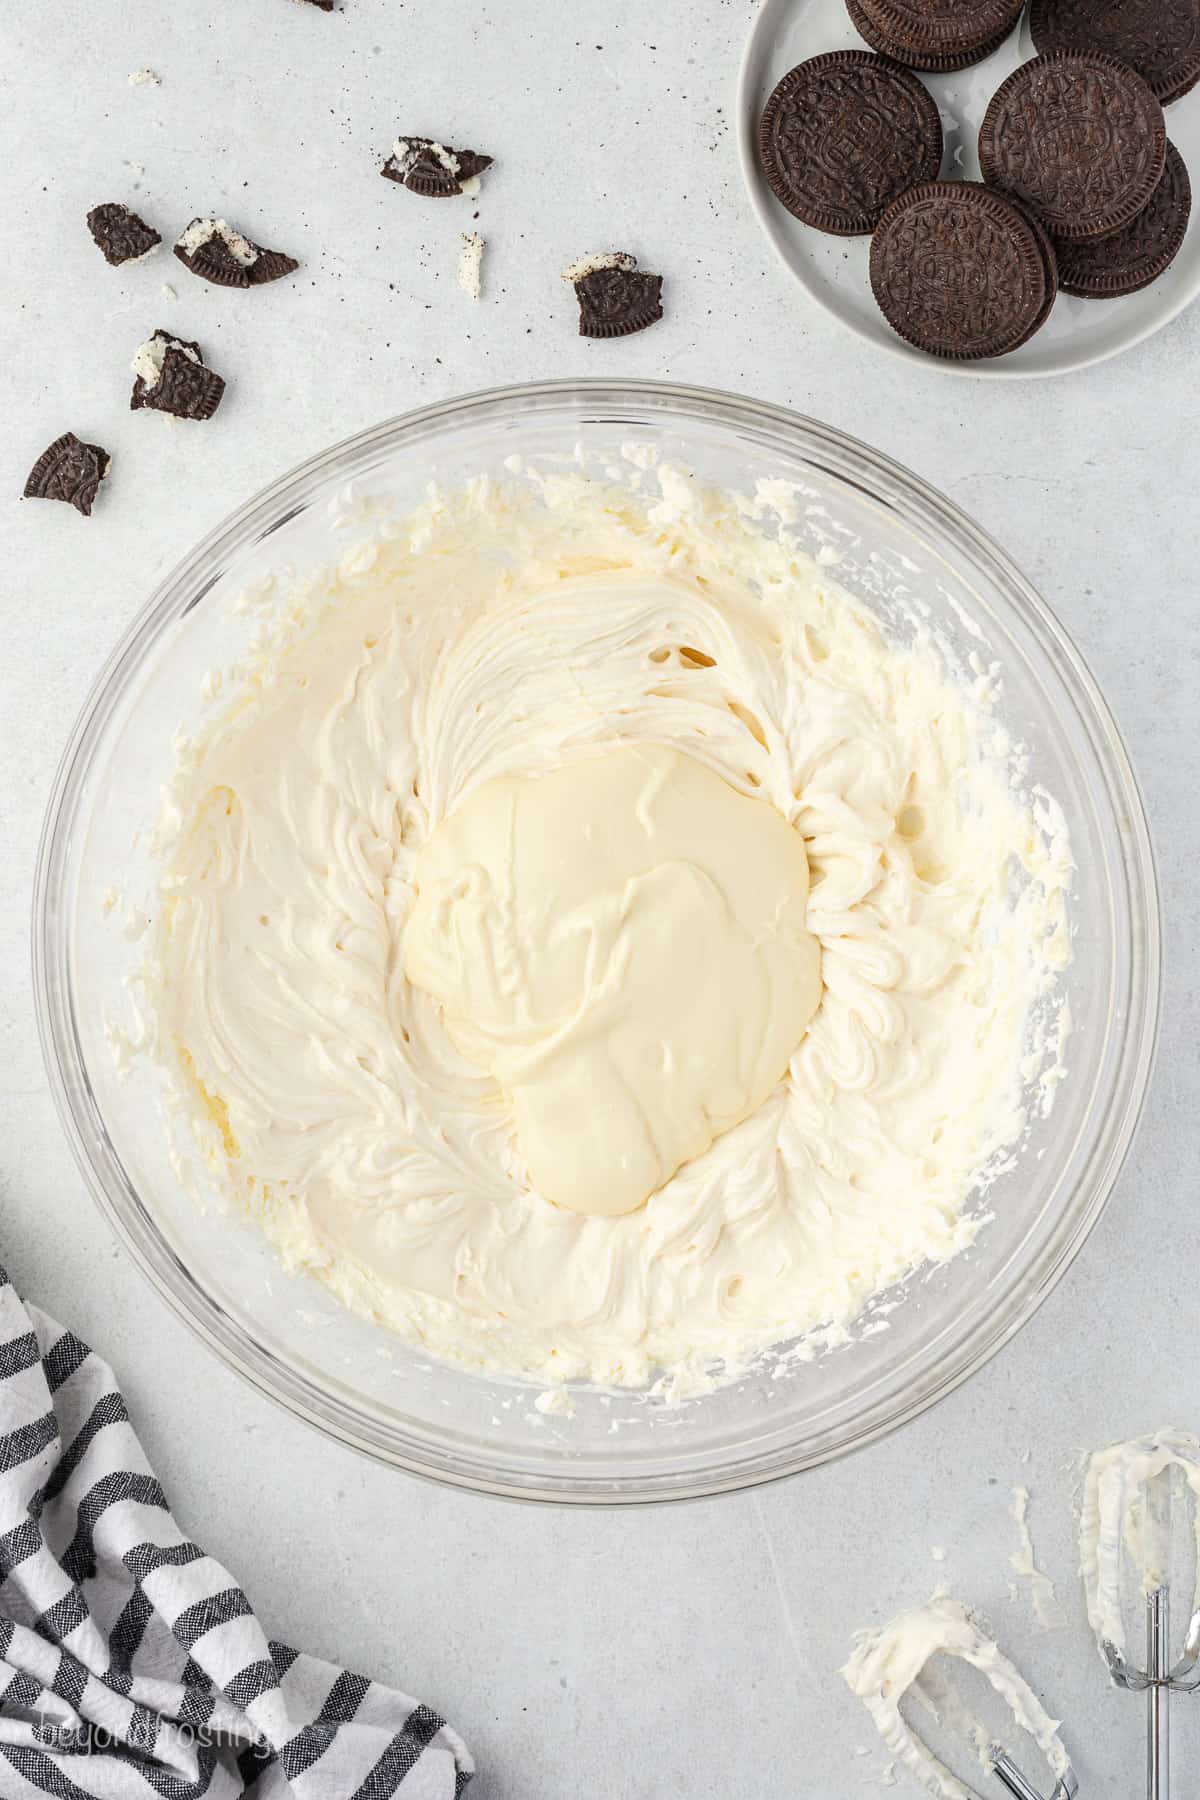
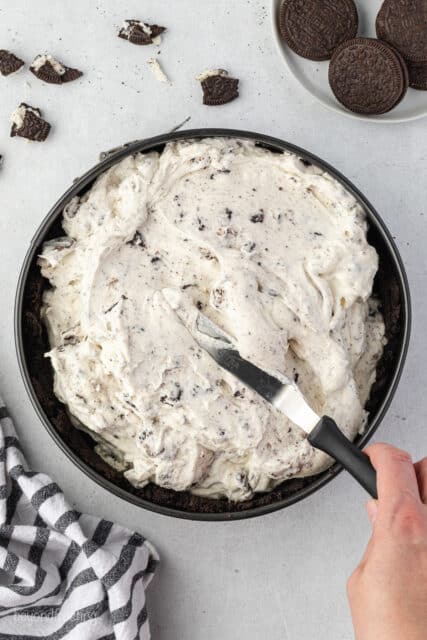
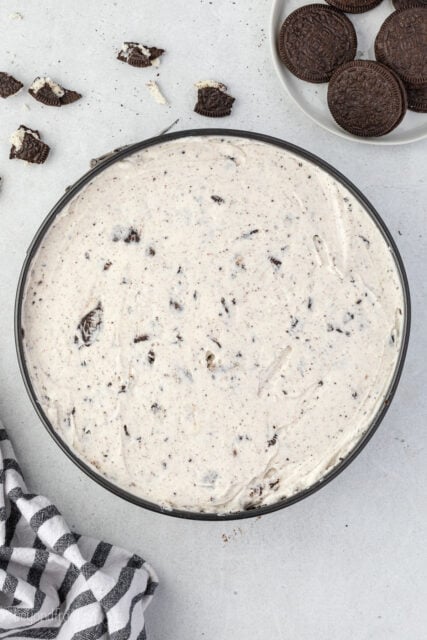
- Fold in the whipped cream, followed by crushed Oreos. You’ll want to mix everything until it’s smooth.
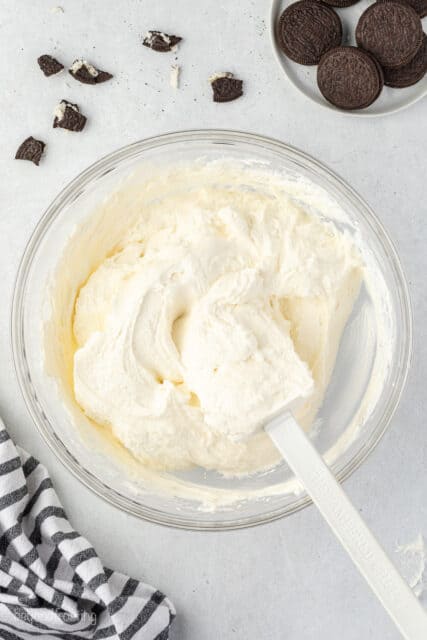
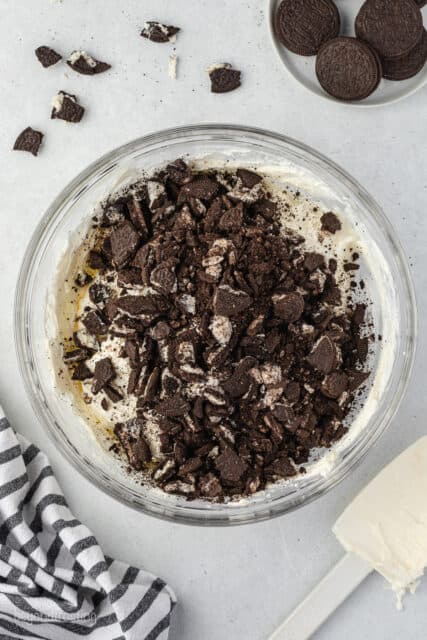
- Fill and chill. Fill the prepared crust, and then refrigerate the cheesecake until it’s set. I recommend letting it chill for at least 4 hours (the longer the better).
Adding the Whipped Cream Topping
After your Oreo cheesecake is chilled and before you’re ready to serve it, whip up another batch of whip cream. Here’s how to decorate the cheesecake:
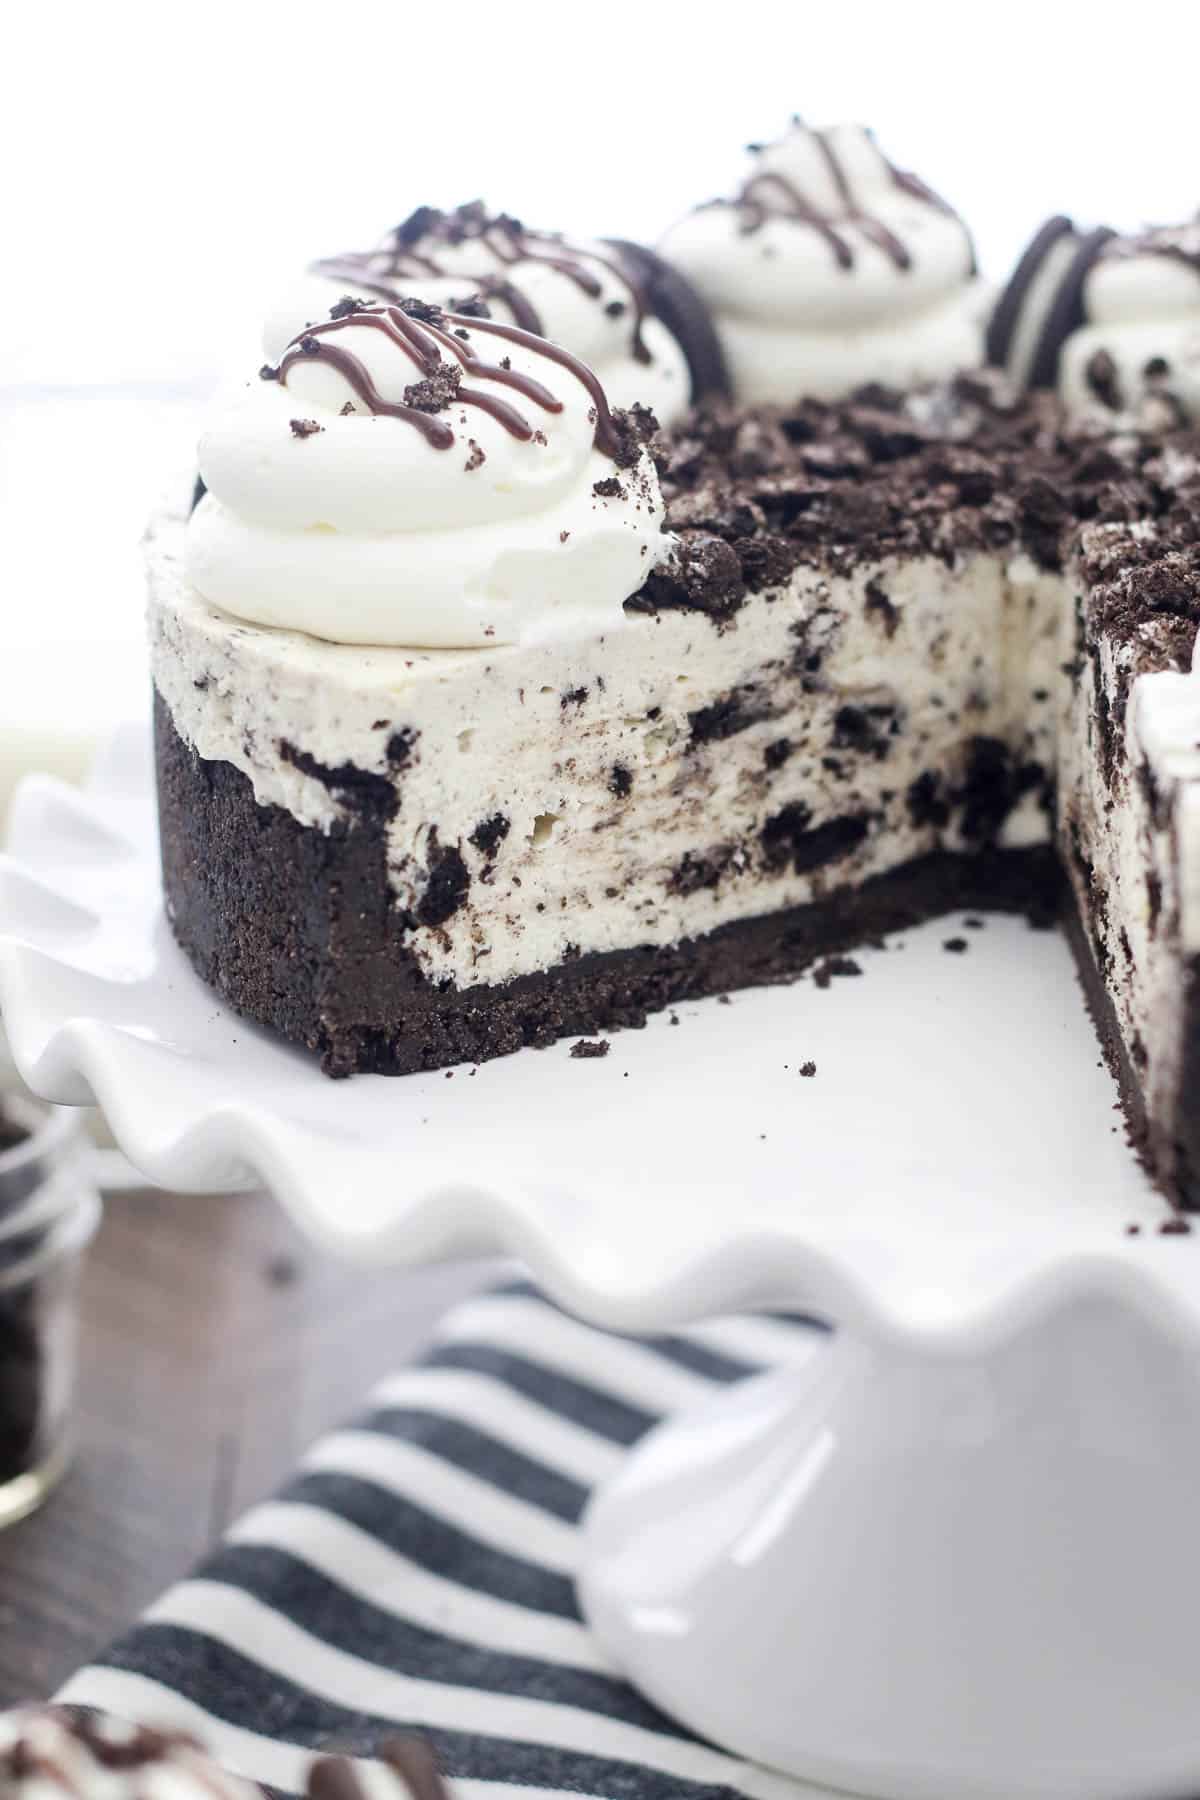
- Decorate. Pipe the whipped cream around the borders of the cake.
- Garnish. Sprinkle over more crushed Oreos and give that baby a drizzle of hot fudge. See below for more cheesecake topping ideas!
Recipe Notes
In addition to my Oreo crust tips from earlier, here are some more helpful tips to have your no-bake cheesecake come out perfect every time:
-
- Use a large enough pan. As mentioned, this recipe makes a lot of filling. Make sure you’re using at least a 9” pan or deep dish pie plate.
-
- Use room-temperature cream cheese. Taking your cream cheese out of the fridge ahead of time will allow it to soften, and it will be so much easier to mix.
-
- Budget enough time for the cheesecake to chill. I recommend 4 hours at the very minimum, but 6-8 hours, or overnight, is even better.
Common Questions
Why is my no-bake cheesecake not firm?
As mentioned above, the longer you can let your cheesecake chill and set, the better. If you don’t give your cheesecake at least 4-6 hours to chill completely, it will be soft and mousse-y, not firm and cheesecake-like.
Additionally, if the whipped cream is not properly prepared, it can affect how the cheesecake sets.
Can I freeze my cheesecake to make it set?
I know this may sound tempting as a way to speed up the process but resist the urge. Freezing a no-bake cheesecake before it’s had enough time to set will change the texture and it just won’t come out the same.
Does No-Bake Cheesecake Need to Be Refrigerated?
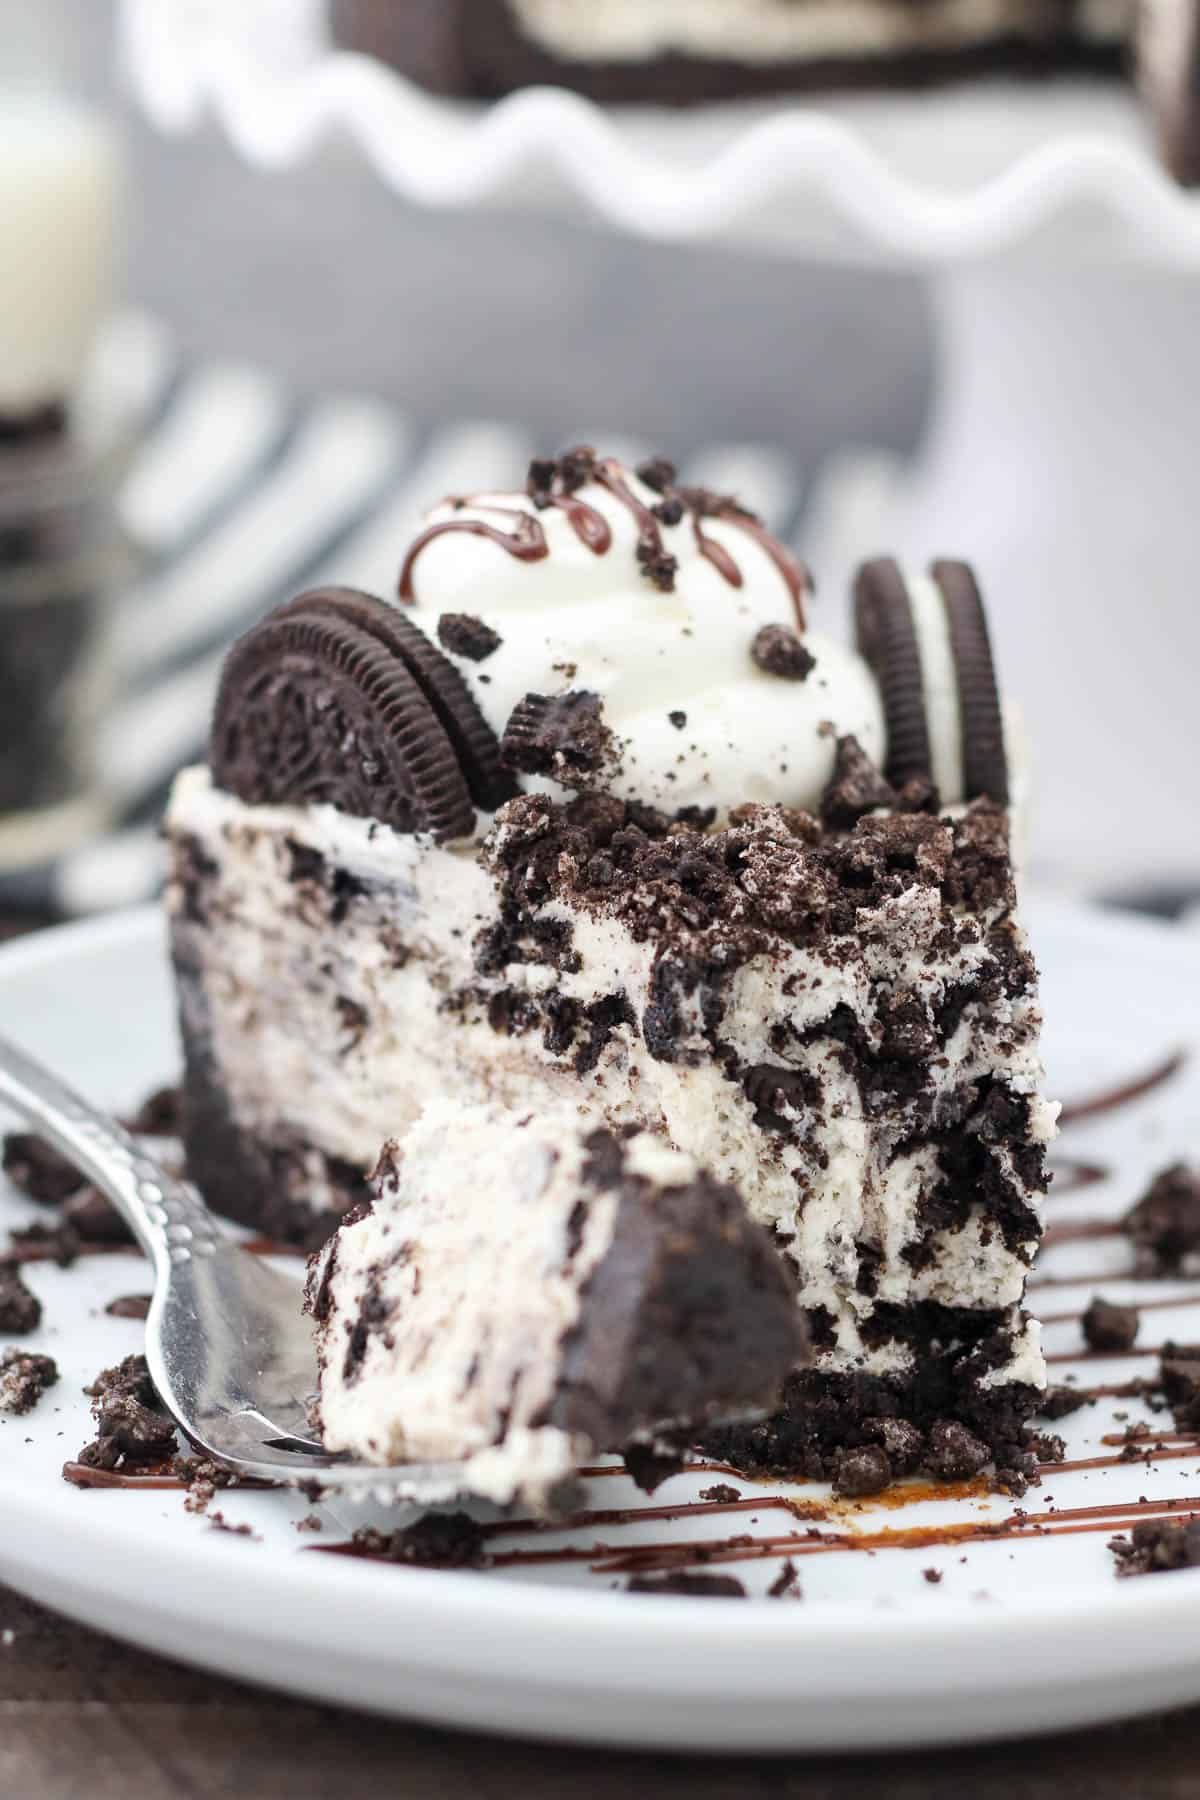
You might be able to skip the oven with this recipe, but refrigerating is a must for no-bake cheesecake. Once it’s chilled for a few hours, wrap the pan tightly in plastic wrap. Take the Oreo cheesecake out just before serving but return it to the fridge as soon as possible.
If it’s left out too long, your Oreo cheesecake filling will become soft and mousse-like, and the crust will crumble more easily.
This is an ideal dessert to make ahead of time (up to 2 days in advance), and it can also be frozen, see the next section.
Can I Freeze No-Bake Cheesecake?
Yes! Let the cheesecake set up in the fridge, and then wrap the pan tightly and keep it frozen for up to 1 month. Thaw your no-bake cheesecake in the fridge before serving.
Print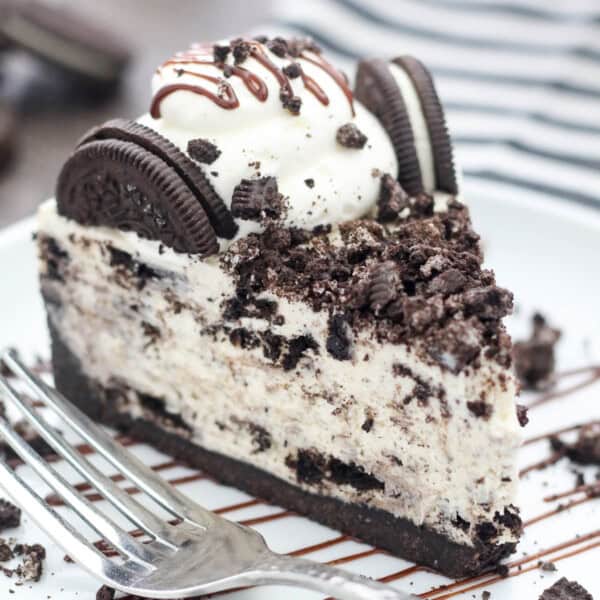
No-Bake Oreo Cheesecake
- Prep Time: 30 minutes
- Cook Time: 4 hours
- Total Time: 4 hours 30 minutes
- Yield: 8-10 slices
- Category: Cheesecake
- Method: No-Bake
- Cuisine: American
Description
You’ll love this No-Bake Oreo Cheesecake! The light and silky cheesecake filling tastes just like Oreo creme, stuffed with even more Oreos inside a classic Oreo cookie crust.
Ingredients
For the crust:
- 1 package (14.3 oz) Oreos
- ½ cup (113G) unsalted butter, melted
For the cheesecake filling:
- 4 ounces white chocolate bar
- 1 ¼ cups (354ml) heavy whipping cream
- ½ cup (65g) powdered sugar
- 16 ounces (452g) full-fat cream cheese, at room temperature
- ½ cup (95g) granulated sugar
- 2 teaspoons pure vanilla extract
- 20 Oreos, crushed
For the topping:
- 1 cup (236ml) heavy whipping cream
- ½ cup (65g) powdered sugar
- Additional Oreos for garnish
- Hot fudge sauce for garnish (optional)
Instructions
For the crust:
- Prepare a 9-inch springform pan by lightly greasing the edges of the pan with cooking spray, and then wiping gently with a paper towel. Line the bottom of the pan with parchment paper.
- Grind the cookies into a fine crumb using a food processor blender. Pour the melted butter over the cookie crumbs and stir until the crumbs are well coated.
- Pour the crumbs into your springform pan and press firmly into the bottom and up on the sides to create a thick crust. Refrigerate the crust while you are preparing the filling.
For the filling:
- In a microwave-safe bowl, microwave the white chocolate at 50% power in 30-second increments, stirring each time until the chocolate is melted. Stir until completely smooth. Set aside
- Prepare the whipped cream. Place the mixing bowl and whisk attachment in the freezer for 5 to 10 minutes to chill. Pour the heavy whipping cream into the chilled bowl and use an electric mixer to beat the heavy cream on medium-high speed until soft peaks start to form. Slowly add the powdered sugar and continue beating on high speed until stiff peaks form. Set aside.
- Beat the cream cheese until it’s completely smooth, scraping down the sides of the bowl as needed. Next, add the granulated sugar and vanilla and beat until well combined. Add the melted chocolate, beating until it’s completely mixed into the cream cheese. Then, fold in the whipped cream until it’s completely smooth. Then stir in the crushed Oreos.
- Pour the filling into the prepared crust, spreading evenly. Chill in the Refrigerate for 3-4 hours minimum.
For the topping:
- Prior to serving, make a second batch of whipped cream as instructed above. Pipe the borders using a large open round tip. Garnish with more crushed Oreos and hot fudge sauce.
Notes
- Storing and freezing: Keep refrigerated up to 5 days, this can be prepared up to 2 days in advance. Add topping the day of serving. Let the cheesecake set up in the fridge, and then wrap the pan tightly and keep it frozen for up to 1 month. Thaw your no-bake cheesecake in the fridge before serving.
- It’s recommend to use a chocolate bar instead of chocolate chips, but in a pinch white chocolate chips will work
Nutrition
- Serving Size: 1 slice
- Calories: 522
- Sugar: 34.5g
- Sodium: 194.9mg
- Fat: 39.9g
- Saturated Fat: 23.3g
- Carbohydrates: 38.2g
- Fiber: 0
- Protein: 4.6g
- Cholesterol: 103.2mg




Can you use Cool Whip instead of making the whipped cream? Both to go into the cheesecake as well as top it?
Yes you’d need an 8 ounce container for the filling and an additional container for the topping
Cool whip can be used rather than heavy whipped cream?
Yes you can use Cool Whip in place of the homemade whipped cream
Can the whipped cream topping for decorating be done ahead of time instead of just before serving? (In case you are making and taking somewhere and won’t have time right before)
Hi Caitlin, yes absolutely. If properly prepared this whipped cream will hold up for a couple of days, especially once it’s decorated.
I have made this for my family and they requested as soon as it was gone to make another one RIGHT AWAY. The little boy I watch (3) calls it Oreo cheese. He says it’s the only cheese he will eat. By far my favorite and most requested recipe I have ever made. Enjoy everyone.
Love that Jessica, so much! Thank you so much for sharing.
Can you make these in those little plastic shooter cups, I want to make them for am upcoming party.
Absolutely!
This was an easy to follow recipe and a huge hit for my cheesecake loving family! Thank you!
Wonderful Emily! Thank you so much for sharing!!
Should I use an 8oz or 16oz cool whip container?
8 ounces for the filling. If you have a 16-ounce save the leftovers for the topping!
A 1/2 a cup of butter is way too much for 1 package of oreos for the crust. I had to throw out and redue using another recipe using 5 tablespoons of butter for the package of oreos which was perfect. I assume that’s a typo in your recipe.
Actually it’s not. For a 9-inch springform pan with a full package of Oreos this is my standard recipe. Pop the crust into the fridge and it sets just fine. If you are using anything other than a standard Oreo, it does need to be adjusted. For instance, double stuff or thin ones, then yes it would be different.
Looks delish… Planning to make this, however, can i omit powdered sugar and/ or granulated sugar?
I don’t recommend it. The powdered sugar in the whipped cream stabilizes it and therefore helps hold the integrity of the cheesecake. The granulated sugar in the filling is so the entire thing doesn’t taste like plain cream cheese
Do you think this would freeze will?
Yep! I would just add the toppings once it has thawed, on the day you plan to serve it for best results.
Do you think this recipe will work in individual serving cups? And if yes, is there any advise you can give to make it successful?
Yes absolutely. You may need to make additional whipped cream for the topping. I am not sure exactly how many it would make as this is due to the size of the cups being used and how much you fill them.
This recipe may seem intimidating but it’s actually pretty simple & super rewarding in the end! I love cheese cake and you can’t beat adding Oreos! I made mine with gluten free Oreos (they taste the exact same just gluten free) followed the recipe to a T and it came out beautifully. Thank you for this recipe!!
Yeah! Thank you so much for the feedback Chelsea! I am so glad you swapped out the Oreos to make this gluten-free! That’s such a great tip!
Do you think it could be made without the crust and low-fat Cool Whip? I would like to make it for my son for his birthday but need a little more information please. Thank you
Hi Glenda- yes to both of your questions. I would recommend a 9-inch square pan without a crust. You could make a 9×13 but it would be very thin squares.
I am going to make the cheesecake using a 9 inch prepared Oreo pie crust I purchased at Walmart. My question is I would like to divide the ingredients into 2 pie crusts. Do you think the filling will be sufficient for both pies?
Hi Michael, yes I think you can divide this between two store brought crust. If you have extra room on top, maybe you can fill it in with whipped cream! Please let me know how they turn out, I am sure others would love to hear!
I just made the cheesecake today and I was able to fill the 2 prepared oreo pie crusts with the filling as written. The amount was perfect, and now I have 2 pies. One for me and one as a gift!
My only concern is that it may be somewhat sweet for my taste. I tasted a little of the filling before I refrigerated them. I’m hoping after they come out of the refrigerator I may not think the recipe is to sweet. Thanks for a great recipe!
Love that Michael! Thank you so much for sharing this feedback!
I tried it and it came out great! It was a big hit with everyone who tried it! Definitely will be doing this recipe again!!
Amazing Samantha! Thank you so much for sharing your feedback!
This recipe is fantastic!!! I have made this multiple times!! I have been asked to make this for a very large crowd and am not sure where to even begin??? How would you convert this recipe in a sheet pan to feed 100 people???
Thank you so much, Michelle! Honestly, I have no idea what proportions, but I think I would start with a 9×13 pan and then adjust from there. See if you like the thickness and proportions
This is such a great recipe! It was east, it tasted so good and everyone loved it. I made it as directed but after it sat in the fridge overnight I added a chocolate ganache to the top, then chilled for an hour or so before serving.
Yees! Thank you so much Denise!
This is my favorite dessert right now! I had to make it again after trying it for the first time because it was so good. It was easy enough to make that I didn’t really need too much guidance the second time. Perfect for holidays and pot lucks if You want to impress anyone!
Amazing! Thank you so much Jenny!!
What kind of fudge do you put on top? Wouldn’t it affect the whipped cream?
I use Smuckers and Hershey’s like you’d find in the ice cream section of the store. As long as the fudge isn’t too hot it should be just fine. If it’s too hot to touch, it’s too hot to use.
Could you convert the recipe for a 6 inch pan?
I have not made a cheesecake in a 6 inch pan but I would at least halve the recipe