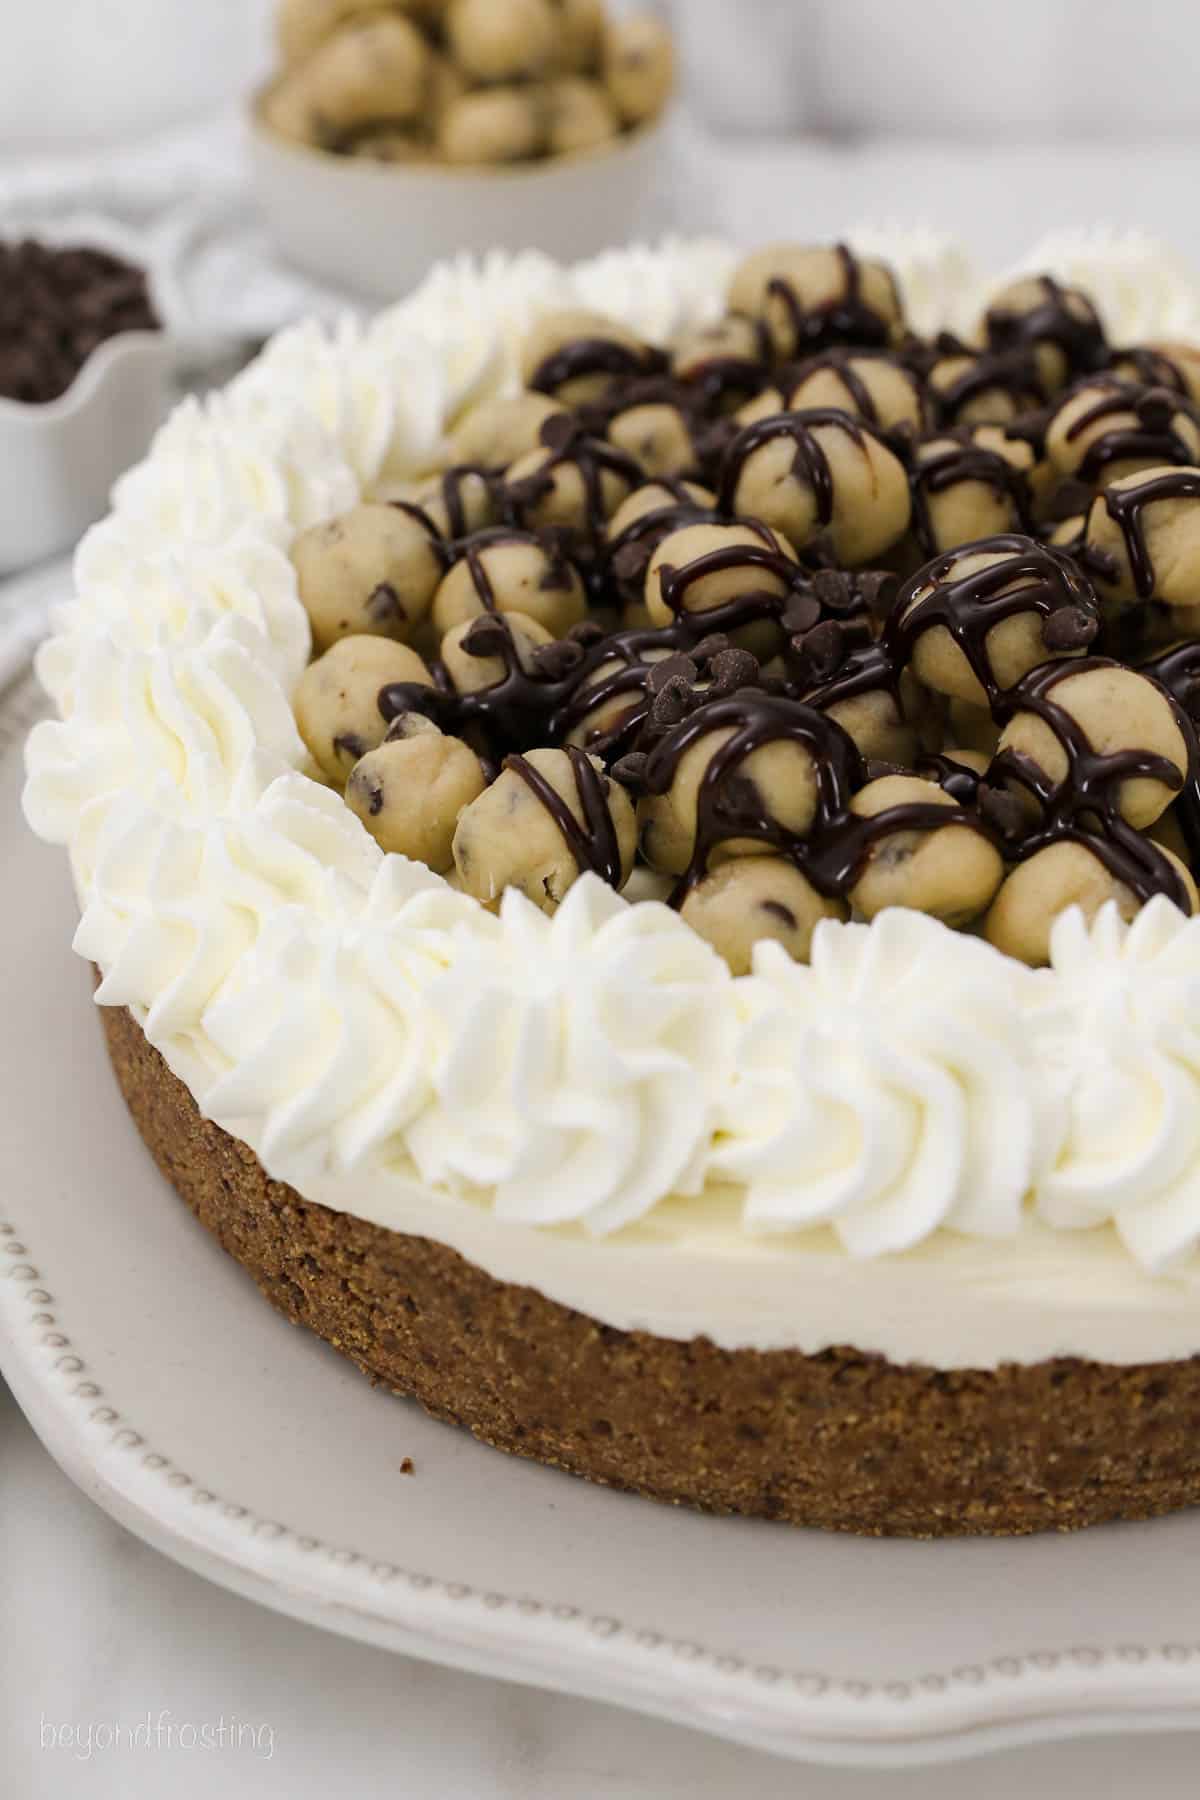
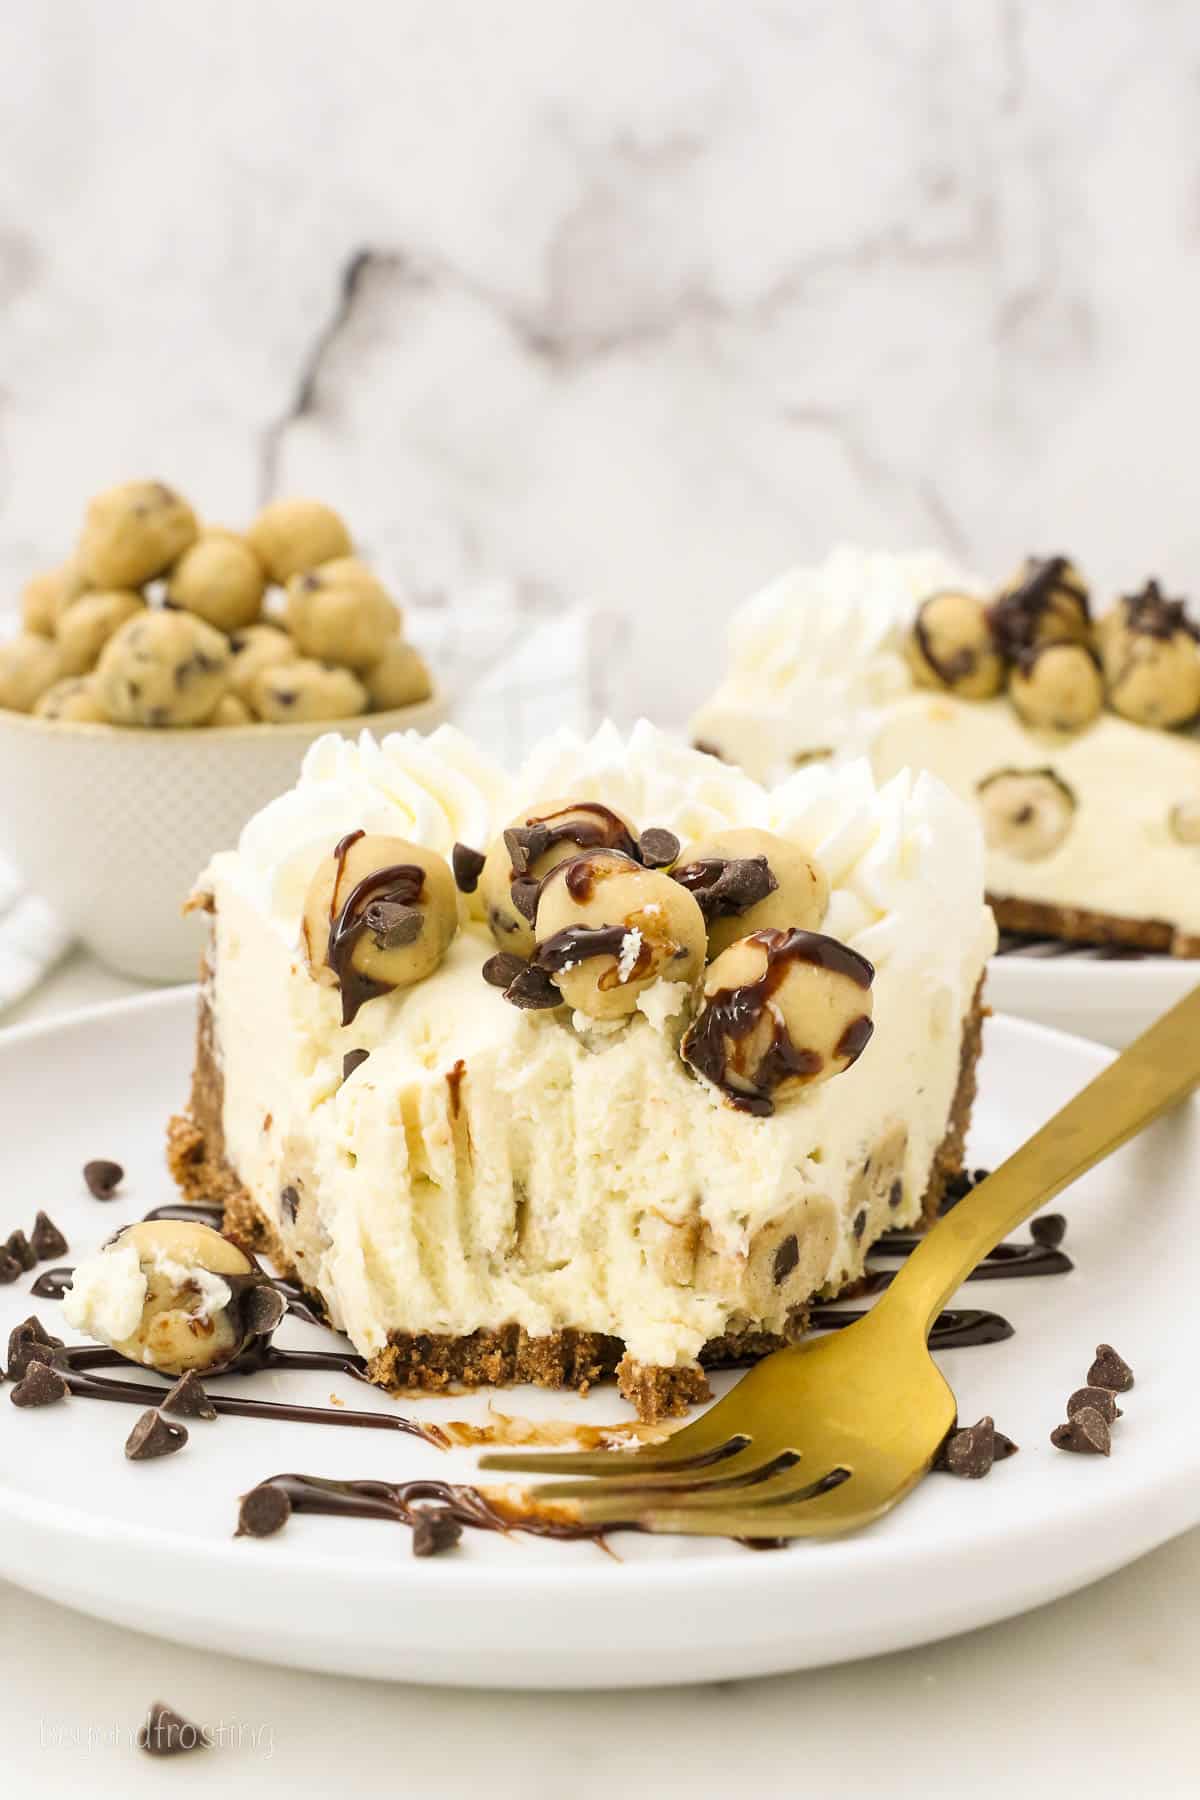
This No-Bake Cookie Dough Cheesecake is a perfect no-bake vanilla cheesecake stuffed with bites of edible cookie dough in a buttery chocolate chip cookie crust. It’s finished with homemade whip, hot fudge, and even more cookie dough!
This post is sponsored by Danish Creamery, all thoughts and opinions are my own.
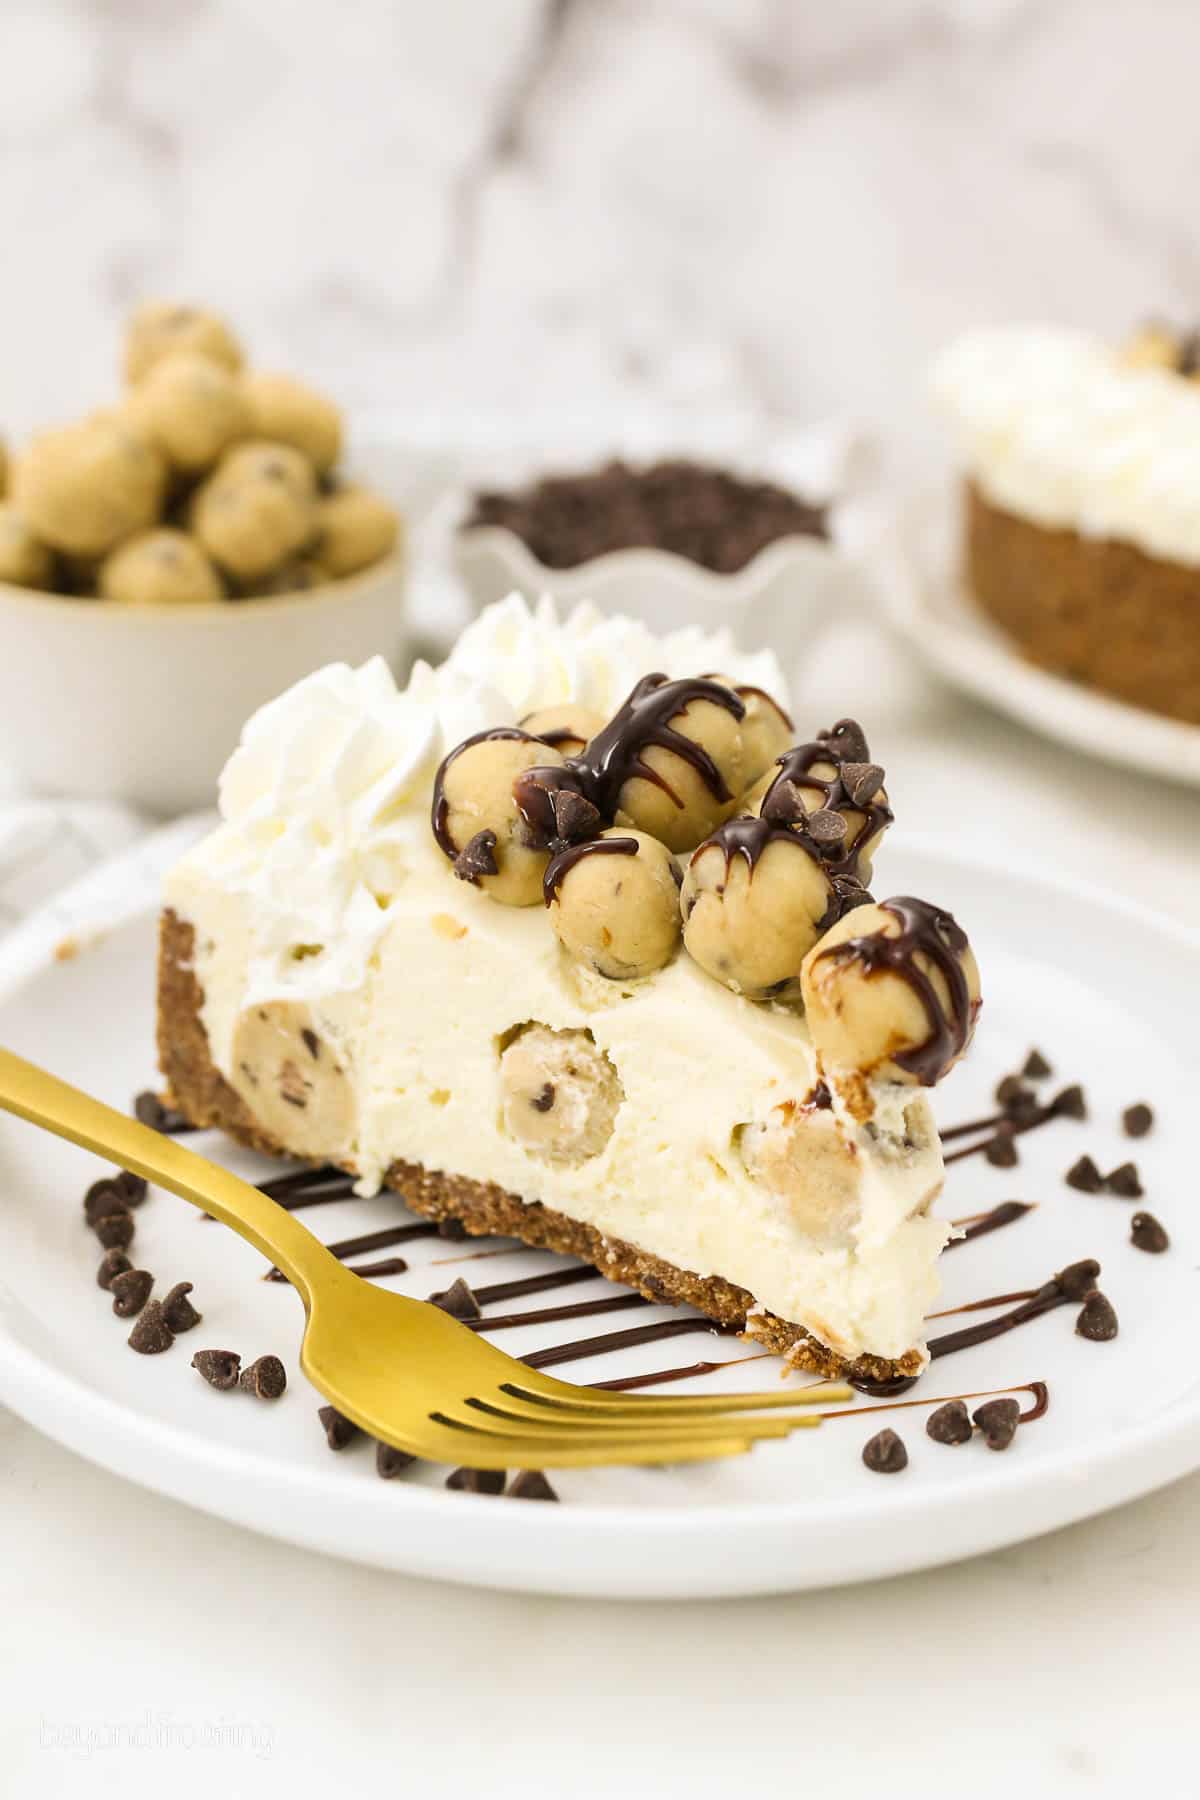
Decadent No-Bake Cheesecake with Cookie Dough
If there’s one thing I need no convincing to eat, it’s cookie dough. I’ve been obsessed with it for as long as I can remember. Whenever my sister babysat us, we used to make cookie dough to eat straight from the bowl.
This magic No-Bake Cookie Dough Cheesecake is right up my alley. I’ve combined my love of cookie dough with my love of no-bake cheesecakes resulting in the most decadent over-the-top dessert that is sure to put a smile on your face. Next to my No-Bake Oreo cheesecake, this is a top contender.
The base recipe starts with my favorite no-bake cheesecake recipe, which uses white chocolate giving it the most perfect texture. I swapped out a graham cracker crust for chocolate chip cookies instead and then loaded it up with edible cookie dough.
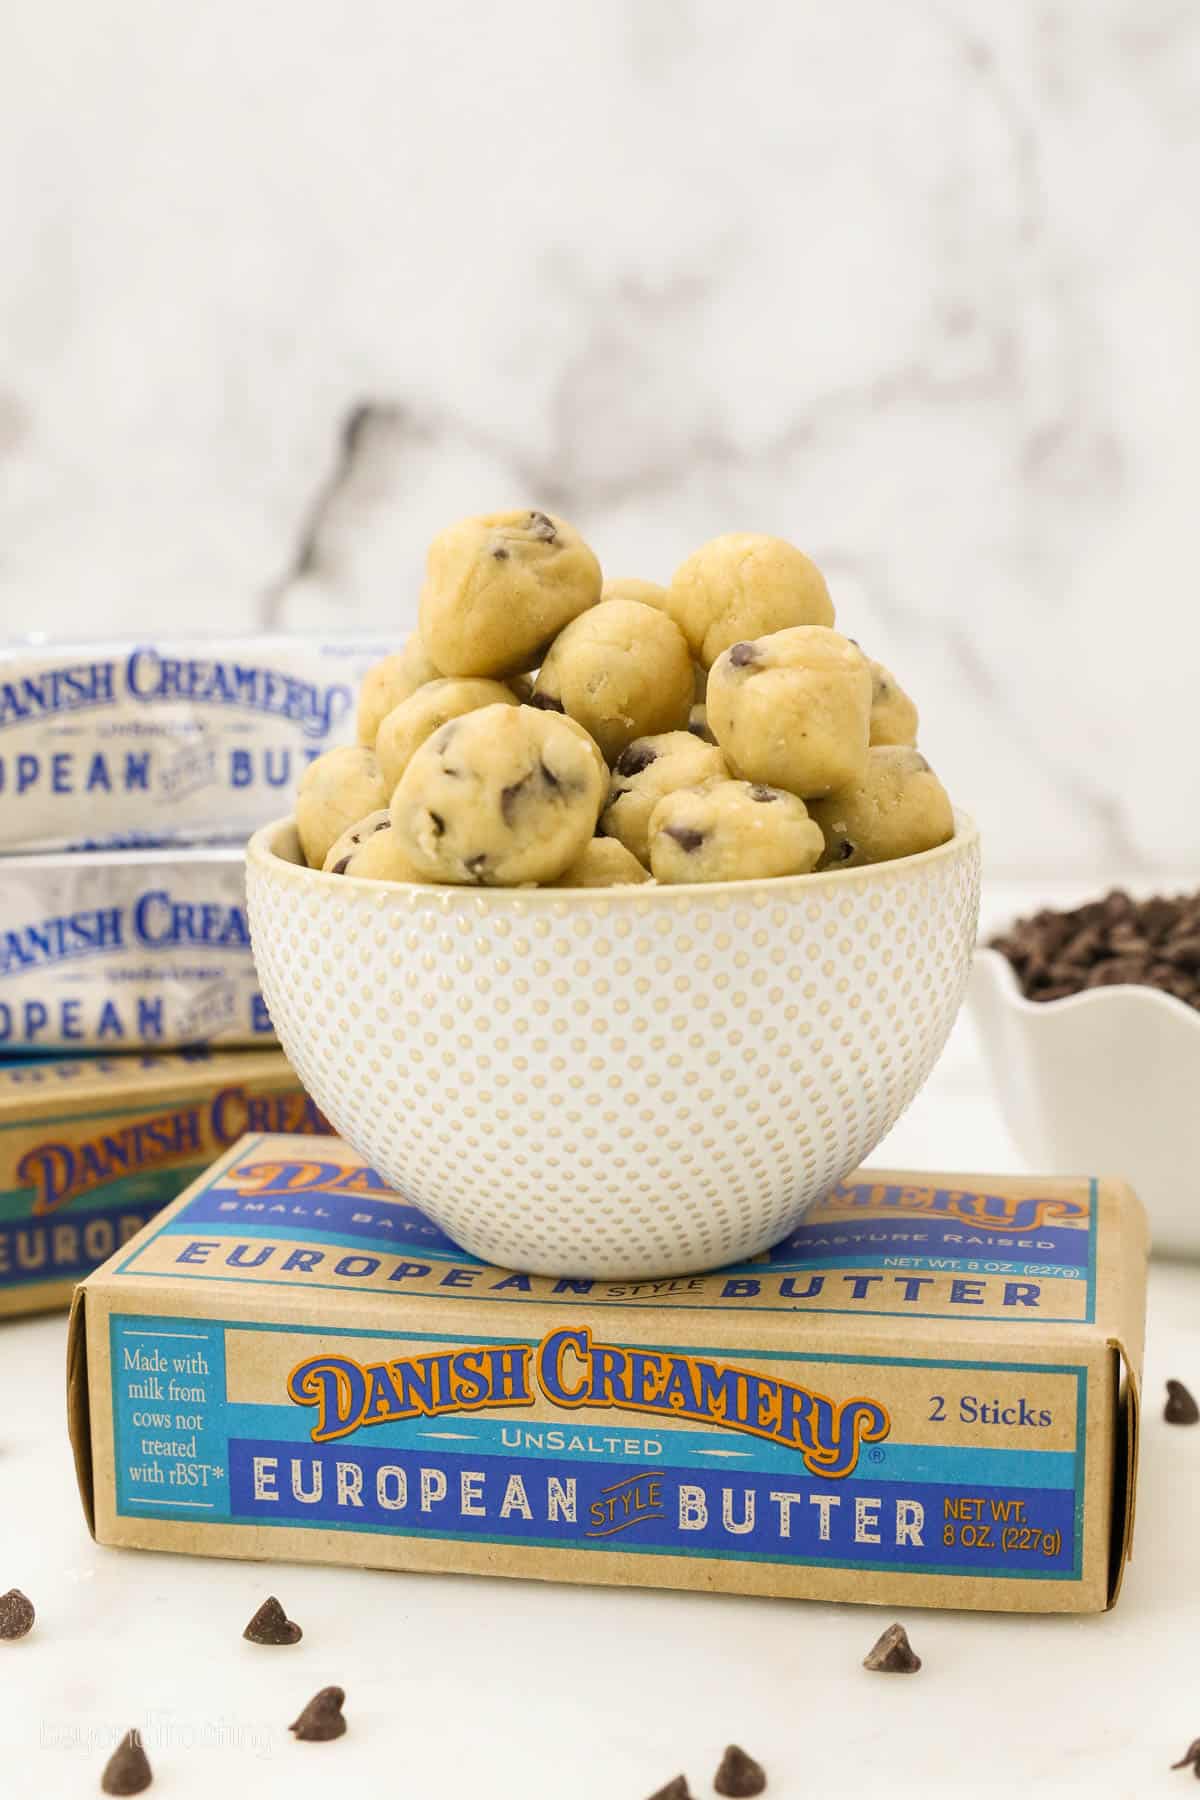
For this recipe, I’ve teamed up with my butter-loving friends at Danish Creamery. Why? Well, when it comes to great baking, high-quality ingredients are key. If you’re going through all the trouble to make an amazing dessert, it deserves the best.
Danish Creamery’s European-style butter starts with pasture-raised cows. Healthy cows produce quality milk! That milk is then churned, in small batches, into the most amazing butter with 85% butter fat—one of the highest available in the market! This means it’s perfect for baking…or “no-baking” in this case.
Okay, let’s get to the recipe!
Key Ingredients
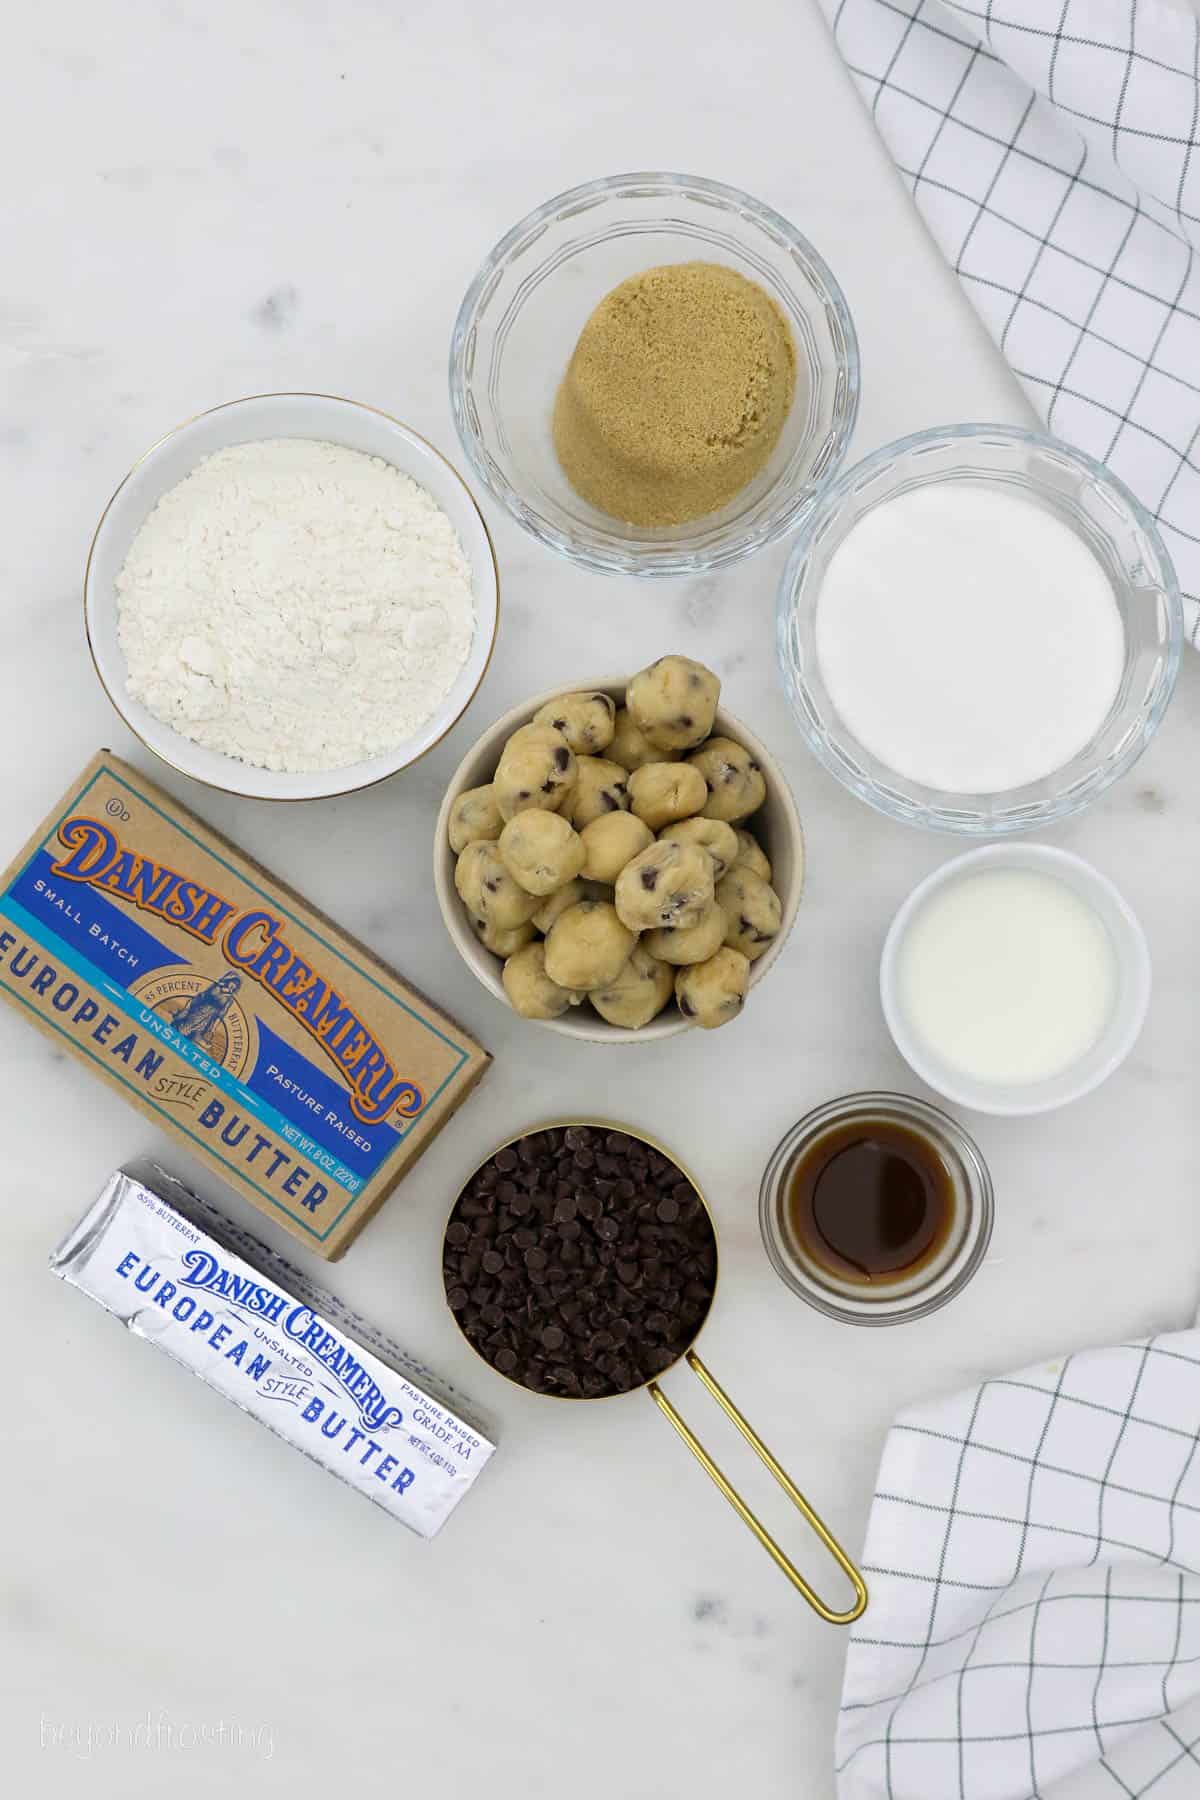
- All-Purpose Flour: You will need to heat treat the flour before making the dough to make sure it’s safe to eat. You can follow my handy tutorial, it takes about 10 minutes.
- Butter: I use Danish Creamy unsalted European butter. Be sure to soften it first so it incorporates easily into the dough. You will need to melt some for the crust.
- Chocolate Chips: Make sure you’re using mini chocolate chips so they distribute throughout the cookie dough. Bigger chocolate chips won’t work since the dough balls are so small.
- Chocolate Chip Cookies: This cheesecake features a cookie crust. I use Chips Ahoy cookies, but feel free to use another variety of “crispy” cookie if preferred. Even Oreos would work.
- White Chocolate: White chocolate is the key to a perfectly creamy, velvety cheesecake filling. I recommend using a chocolate bar as opposed to chocolate chips. It melts more smoothly.
- Cream Cheese: Use full-fat cream cheese for the best texture, and be sure it’s at room temperature.
How to Make Cookie Dough Cheesecake
There are three components of this simple no-bake cheesecake: the cookie crust, the edible cookie dough, and the vanilla cheesecake filling. Here’s a breakdown of the recipe:
Make the Cookie Dough
Our cookie dough balls are made using my super simple edible cookie dough recipe!
- Heat treat the flour: Spread the flour out onto a baking sheet lined with parchment paper and bake for 10 minutes, stirring halfway through. Cool completely then shake it through a fine mesh strainer to break up any clumps.
- Cream the butter and sugar: Soften the butter, then combine with both sugars. Beat until creamy.
- Add the other ingredients: Add the flour, salt, milk, and vanilla. Beat until a dough forms, then mix in the chocolate chips.
- Roll the dough balls: Portion the dough out into small cookie dough balls. Place in the freezer to harden.
Make the Crust
- Combine cookie crumbs and butter: Grind the cookies into a fine crumb, then combine with melted butter, stir it together until the crumbs are well coated.
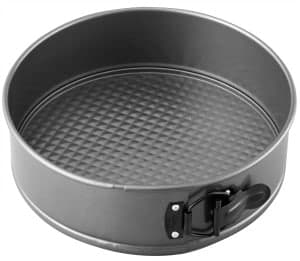
- Form the crust: Pour into a greased 9-inch springform pan, then press into the bottom and up the sides. Here’s my handy tutorial for preparing and making a no-bake crust. Once prepared, set the crust in the refrigerator while preparing the filling.
Prepare the Filling
- Melt the chocolate: In a bowl, microwave the white chocolate with 2 tablespoons of cream, stirring periodically, until the chocolate is melted and smooth. To prevent burning, you can reduce the power level on the microwave to 50% power (consult your manual, it’s easy to do!). Set the melted chocolate aside to cool.
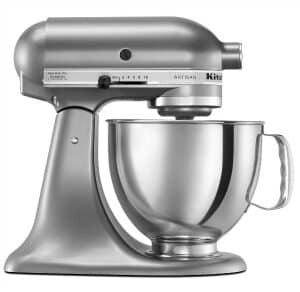
- Prepare the whipped cream: Chill a mixing bowl and whisk attachment in the freezer for a few minutes. Then beat the heavy cream until soft peaks form. Next, add the powdered sugar and beat until stiff peaks form. Set aside.
- Combine: Beat the cream cheese with brown sugar and vanilla until fluffy and free of lumps, then add in the melted chocolate. Beat until mixed, then slowly fold in the whip until smooth. Finally, stir in half of the cookie dough balls.
- Assemble and chill: Pour the filling into the prepared crust, then chill in the fridge for 3-4 hours.
Decorate
- Make the whipped cream: Prepare another batch of whipped cream using the above method with the chilled bowl and whisk attachment. Transfer to a piping bag with a large open star tip.
- Decorate the cheesecake: Pipe the borders of the cheesecake with the whipped cream then garnish with additional cookie dough, hot fudge, and chocolate chips.
Recipe Notes and Helpful Tips
- If you don’t have a springform pan, you can use a deep dish pie plate or 9-inch square pan.
- If the cookie dough seems dry or crumbly, add an extra teaspoon or two of milk until it comes together.
- To prevent burning the white chocolate, melt slowly and stir frequently. I recommend adjusting the power level of the microwave to 50% (check you manual for how to do so, it’s super easy!).
- Add the toppings later. It’s always my preference to allow the cheesecake to set before adding the toppings, so that you can remove the collar of the pan before decorating.
How to Store Finished Cookie Dough Cheesecake
A fully assembled no-bake cheesecake will last covered in the fridge for up to 5 days.
How to Freeze It
This no-bake cheesecake is perfect for freezing. Prepare as directed, and allow the cheesecake to fully set before freezing. You can freeze this directly in the pan, tightly wrapped in plastic and a layer of foil. I do recommend waiting to add the whipped cream toppings and any garnishes until the cheesecake has thawed. Thaw overnight in the refrigerator.
The leftover cookie dough can also be frozen separately, then thawed and added as a garnish.
Print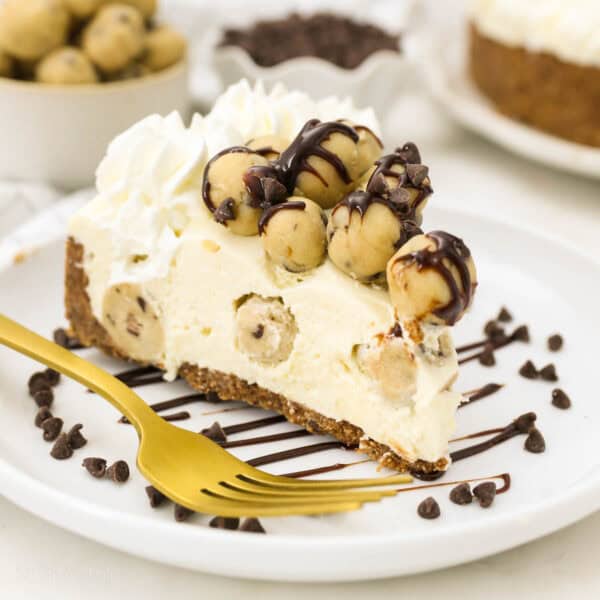
No-Bake Cookie Dough Cheesecake
- Prep Time: 45 minutes
- Chill Time: 4 hours
- Cook Time: 10 minutes
- Total Time: 4 hours 55 minutes
- Yield: 8-10 slices
- Category: Cheesecake
- Method: No-Bake
- Cuisine: American
Description
This No-Bake Cookie Dough Cheesecake is a perfect no-bake vanilla cheesecake stuffed with bites of edible cookie dough in a buttery chocolate chip cookie crust. It’s finished with homemade whip, hot fudge, and even more cookie dough!
Ingredients
For the cookie dough:
- 1 ¼ cups (175g) all-purpose flour, heat treated
- ½ cup (113g) unsalted butter, softened
- ½ cup (95g) granulated sugar
- 1/3 cup (73g) light brown sugar, packed
- ¼ teaspoon salt
- 3 tablespoons (45ml) milk
- 1 tablespoon (15ml) vanilla extract
- ½ cup (90g) mini chocolate chip
For the crust:
- 1 package (13oz) chocolate chip cookies (such as Chips Ahoy)
- 7 tablespoons (127g) Danish Creamery Unsalted Butter, melted
For the filling:
- 4 ounces (113g) white chocolate
- 1 cup (236ml) + 2 tablespoons (30ml)heavy whipping cream, divided
- ½ cup (65g) powdered sugar
- 16 ounces (452g) full-fat cream cheese, at room temperature
- ¼ cup (55g) light brown sugar
- 2 teaspoons (10ml) pure vanilla extract
For the topping
- ¾ cup (177ml) heavy whipping cream
- 3 tablespoons (24g) powdered sugar
- Hot fudge sauce (for topping-optional)
- Mini chocolate chip (for topping-optional)
Instructions
For the cookie dough:
- Prepare the heat-treated flour. Bake the flour on a baking sheet lined with parchment paper at 350°F for 10 minutes, stirring halfway in between. Allow the flour to cool then sift through a mesh sieve.
- Soften the butter in the microwave for 20-30 seconds. In a large mixing bowl, combine the butter, granulated and brown sugar and beat until creamy.
- Then add the heat-treated flour, salt, milk and vanilla extract. Beat together until the dough starts to form. Mix in the mini chocolate chips.
- Roll a small piece of dough between your hands to make small cookie dough balls, about the size of a dime. Place in the freezer while you prepare the rest of this dish.
For the crust:
- Prepare a 9-inch springform pan by lightly greasing the edges of the pan with cooking spray, and then wiping gently with a paper towel. Line the bottom of the pan with parchment paper.
- Grind the cookies into a fine crumb using a food processor blender. Pour the melted butter over the cookie crumbs and stir until the crumbs are well coated.
- Pour the crumbs into the springform pan and press firmly into the bottom and up on the sides to create a thick crust. Refrigerate or freeze the crust while you are preparing the filling.
For the filling:
- In a microwave-safe bowl, microwave the white chocolate and 2 tablespoons of heavy cream at 50% power in 30-second increments, stirring each time until the chocolate is melted. Stir until completely smooth. Set aside to cool.
- Prepare the whipped cream. Place the mixing bowl and whisk attachment in the freezer for 5 to 10 minutes to chill. Pour the heavy whipping cream into the chilled bowl and use an electric mixer to beat the heavy cream on medium-high speed until soft peaks start to form. Slowly add the powdered sugar and continue beating on high speed until stiff peaks form. Set aside.
- Beat the softened cream cheese together with the brown sugar and vanilla extract until it’s fluffy. Scrape down the sides of the bowl as needed.
- Next add the melted chocolate, beating until it’s completely mixed into the cream cheese. Finally, slowly fold in the prepared whipped cream in two batches until it’s completely smooth.
- Finally, stir in half of the prepared cookie dough balls. Pour the filling into the prepared crust, spreading evenly. Refrigerate for 3-4 hours minimum.
For the topping:
- Prior to serving, make a second batch of whipped cream as instructed above. Pipe the borders of the pie with whipped cream using a large open star tip. Garnish with leftover cookie dough, drizzle with warm hot fudge and sprinkle mini chocolate chips over top.
Notes
- White chocolate: I recommend using a chocolate bar as opposed to chocolate chips. Chocolate bars will melt down much smoother because chocolate chips usually have a coating on them, making them oilier once melted. However, either one will work.
- Crust: See my Tips for making a crust in a springform pan
- Cookie dough: If the cookie dough is drier and not clumping together, adding an extra teaspoon or two of milk. If you only want to make cookie dough for the filling and not for the topping then you can make half the cookie dough recipe.
Storage
- A fully assembled no-bake cheesecake will last covered in the fridge for up to 5 days.
- To freeze, prepare as instructed and allow the cheesecake to fully set. Tightly wrap the pan in plastic and a layer of foil and transfer to the freezer. Thaw overnight in the refrigerator. I recommend adding the whipped cream topping and garnishes once the cheesecake has thawed.
- Leftover cookie dough can be stored in the refrigerator for 7 days or in the freezer for 3 months.
Nutrition
- Serving Size: 1 Slice
- Calories: 1108
- Sugar: 73.7g
- Sodium: 430.9mg
- Fat: 73.2g
- Saturated Fat: 42g
- Carbohydrates: 106.8g
- Fiber: 3.9g
- Protein: 11.3g
- Cholesterol: 152.7mg
Visit Danish Creamery | Instagram | Facebook
More No-Bake Desserts You’ll Love
Looking for more delicious no-bake desserts? Here are a few of my favorites!

Hi! Delicious looking cheese cake. Is it possible to use gluten free flour 1:1 for this recipe.
They are usually a 1:1 replacement, but I do find the taste of GF flour to be quite different. So it would be a personal taste preference.
This cheesecake looks amazing, Julianne! I LOVE chocolate chip cookie dough, and I think this must taste absolutely delicious 🙂 Hope you and your family will have a wonderful Christmas holiday!
Thank you Erin!
Really lovely cheesecake, has become a family favourite
That’s wonderful Sandra, thank you so much for sharing!